Create VSI From Default LSF Image
Start IBM Cloud Shell from the browser
Find the icon to lauch Cloud Shell in the dash board:
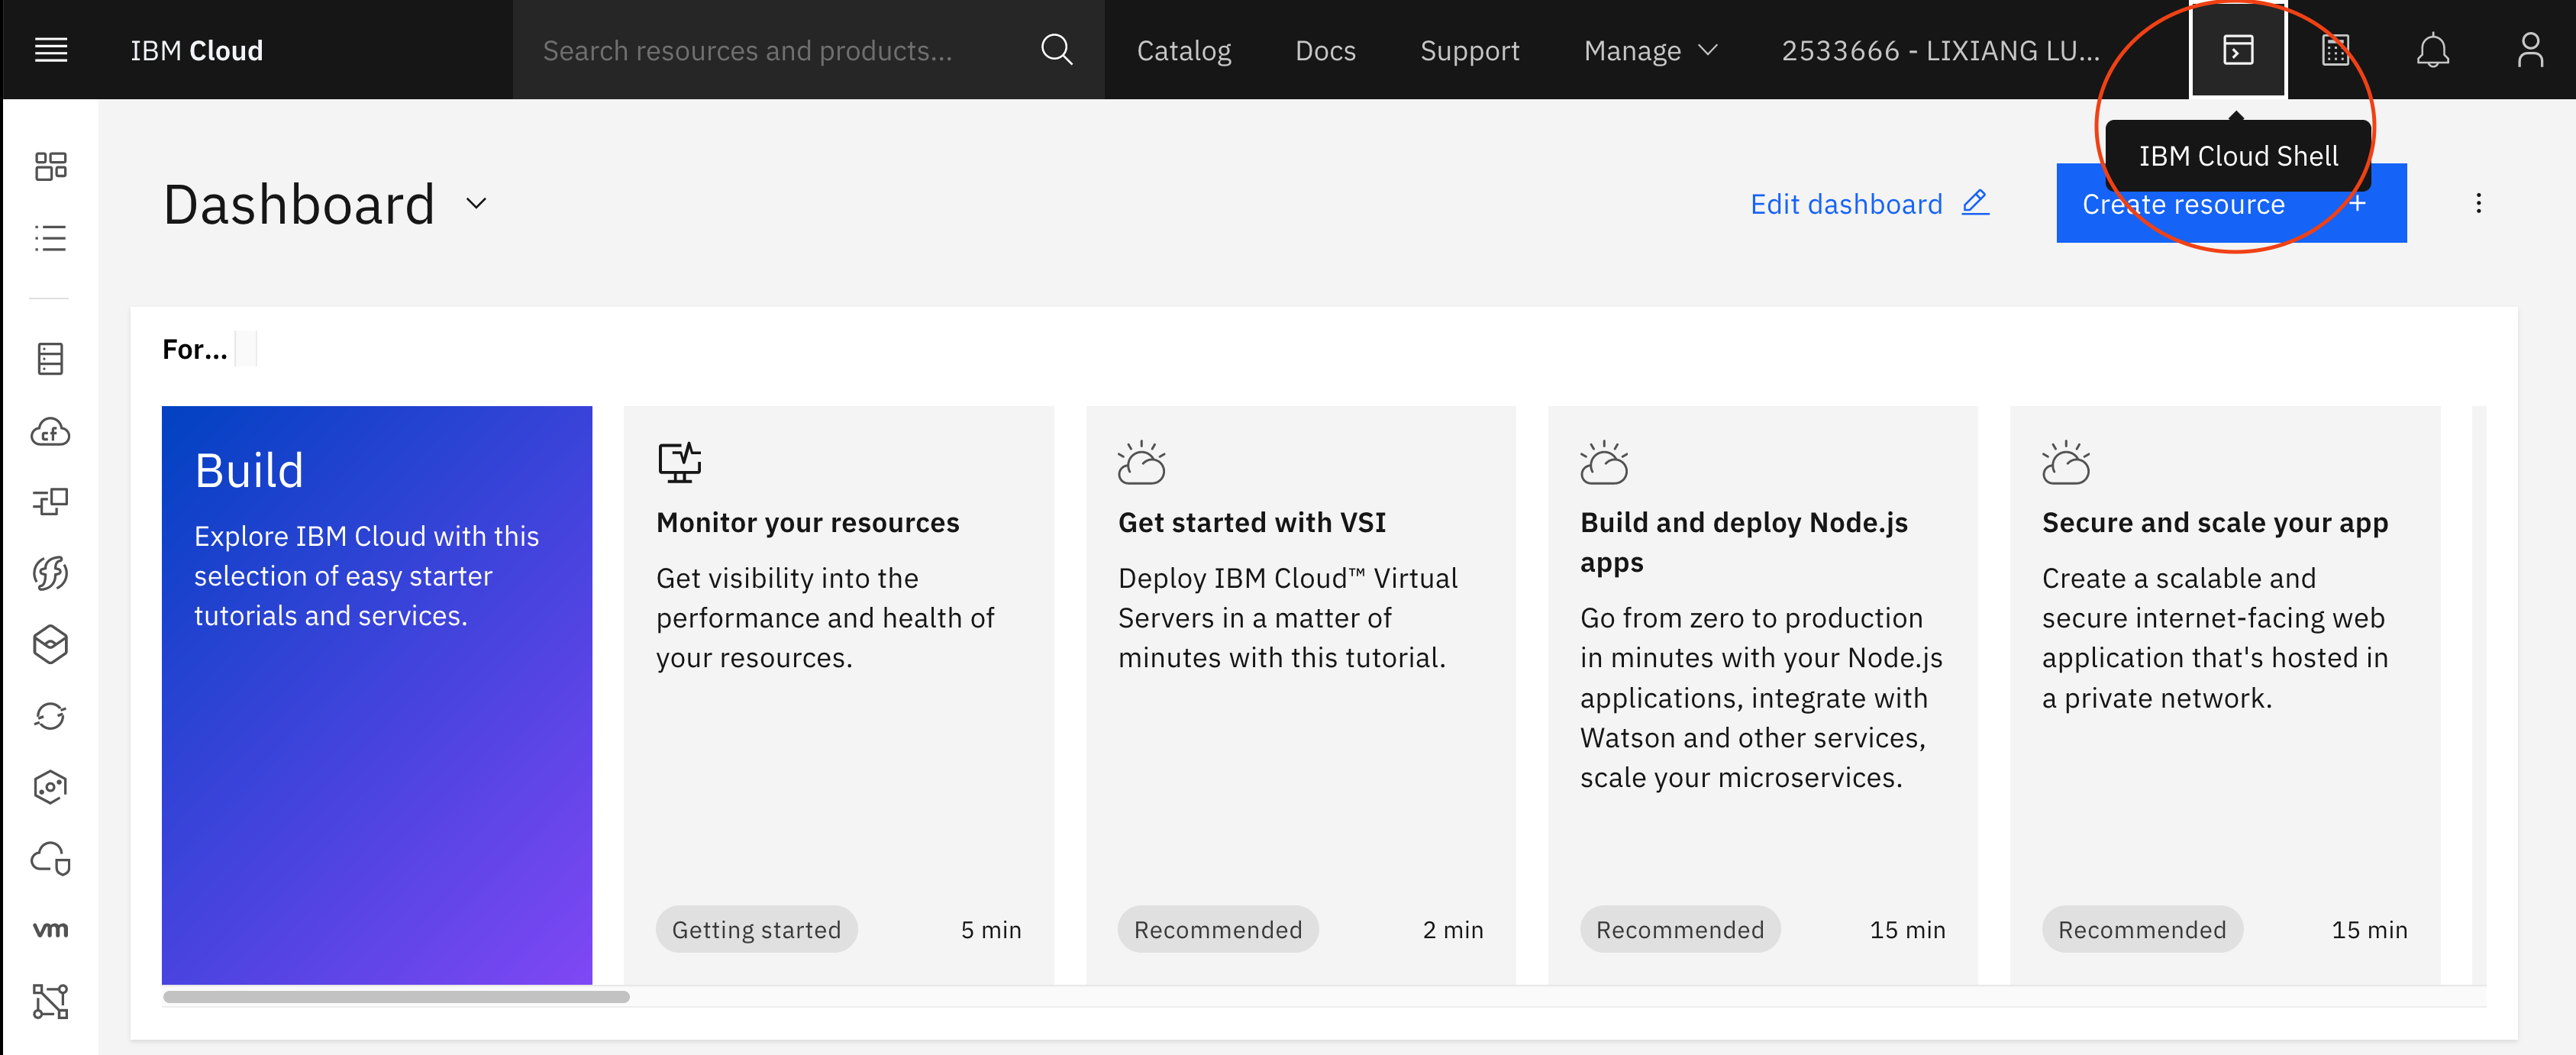
It will create another browser window with the Cloud Shell:
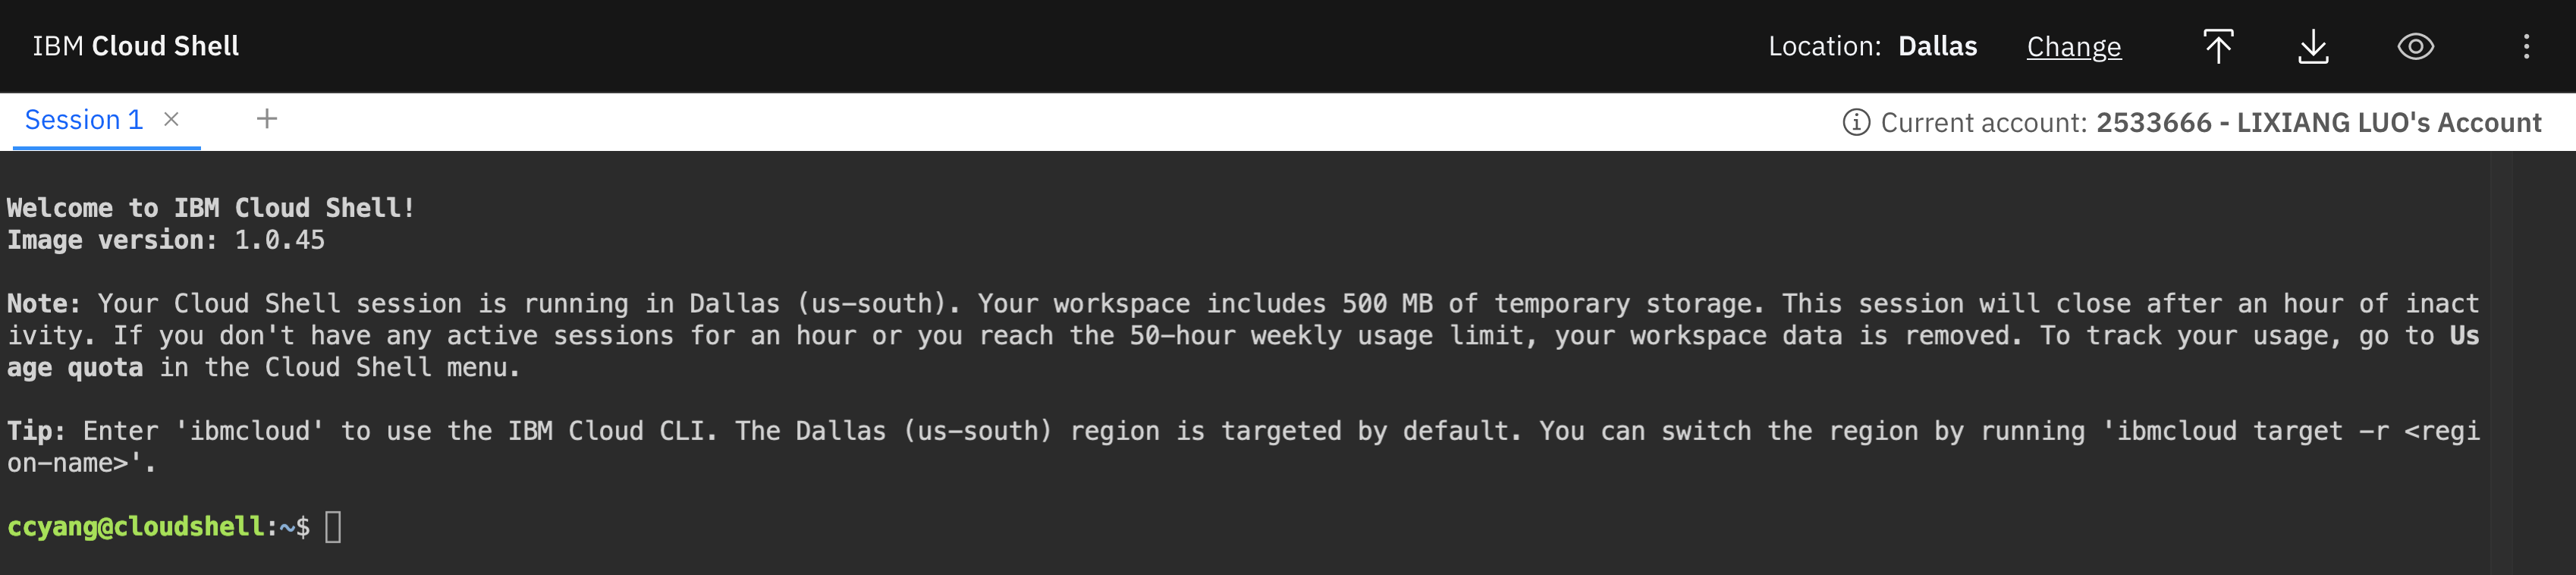
In the Cloud Shell, follow the next steps to create a VSI (assuming bash):
- Assign values to environment variables for commands later
# Replace CLUSTER_PREFIX with the one you used to create the existing LSF cluster
# Replace KEY_NAME, RESOURCE_GROUP_NAME, ZONE_NAME and CLUSTER_IMG_ID as needed
CLUSTER_PREFIX=<cluster-name-prefix>
CLUSTER_VPC_NAME=${CLUSTER_PREFIX}-vpc
CLUSTER_SUBNET_NAME=${CLUSTER_PREFIX}-subnet
CLUSTER_IMG_ID=r006-68478a2e-4abc-4bfb-9e4f-a6fb3b9b235f
CLUSTER_SG_NAME=${CLUSTER_PREFIX}-sg
CUSTOM_IMG_NAME=${CLUSTER_PREFIX}-custom-img
CUSTOM_IMG_VSI_NAME=${CUSTOM_IMG_NAME}-vsi
ZONE_NAME=us-south-3
PROFILE_NAME=bx2-2x8
KEY_NAME=ccyang-pub-key
RESOURCE_GROUP_NAME=Default
The CLUSTER_IMG_ID can be found from the open-source terraform script in IBM Cloud hpc-cluster-lsf github repository.
You can choose the OS you wish to use. You should make sure the region key is the same as where you will create the VSI and where the custom image should be.
- Create a VSI
ibmcloud is instance-create \
    ${CUSTOM_IMG_VSI_NAME} \
    ${CLUSTER_VPC_NAME} \
    ${ZONE_NAME} \
    ${PROFILE_NAME} \
    ${CLUSTER_SUBNET_NAME} \
    --image ${CLUSTER_IMG_ID} \
    --keys ${KEY_NAME} \
    --resource-group-name ${RESOURCE_GROUP_NAME} \
    --sgs ${CLUSTER_SG_NAME}
- Use the following command to check the status of the new VSI. Wait till the instance is in running state.
ibmcloud is instance ${CUSTOM_IMG_VSI_NAME}
- Get assigned IP address
ibmcloud is instance ${CUSTOM_IMG_VSI_NAME} --output JSON | jq -r .network_interfaces[0].primary_ipv4_address
Keep the Cloud Shell open, we will reuse it in step 03 to create the custom image.