Existing Provided Assembly
The “Existing Provided Assembly” entry, found in the “Assembly Configurations” section of the scenario palette, is available to all scenarios. Adding it to the scenario will add an input property to the scenario, which must be set each time it is executed.
The following guide shows you to use the “Existing Provided Assembly” configuration in your scenarios.
Add Existing Provided Assembly
Add the “Existing Provided Assembly” entry by dragging it from the scenario palette into the “Assemblies” panel at the top of the scenario

Set the name of the input Assembly in the step. This name is of your choosing and is not supposed to match an existing Assembly. It is a reference to the Assembly which will be provided at runtime and used to refer to this Assembly throughout the scenario.

Execute Steps Against Existing Provided Assembly
You may reference the existing provided assembly in any steps requiring the name of an Assembly.
Add a step which requires an Assembly name. Set the name to the same value as your “Existing Provided Assembly” entry

Execute Scenario
When executing a scenario with an “Existing Provided Assembly” you will be prompted to provide the name of an existing Assembly, which will play the role of the provided Assembly. Any steps referring to the provided Assembly will execute against the Assembly given.
Execute the scenario by clicking the “Run Scenario” button at the top of the designer
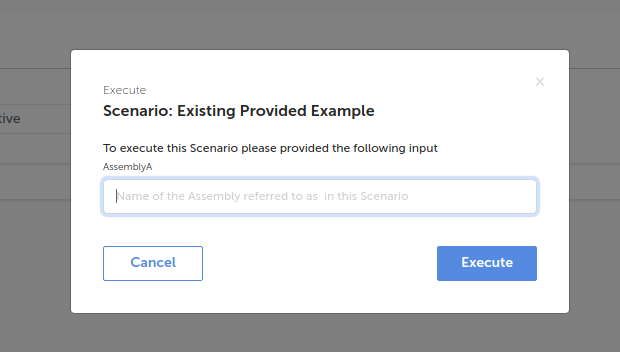
A dialog box will appear requesting the name of an Assembly to use as the “Existing Provided Assembly”

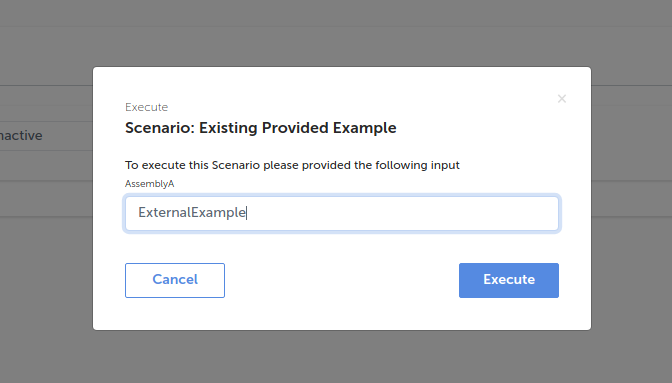
Provide the name of an Assembly you want to execute this scenario with

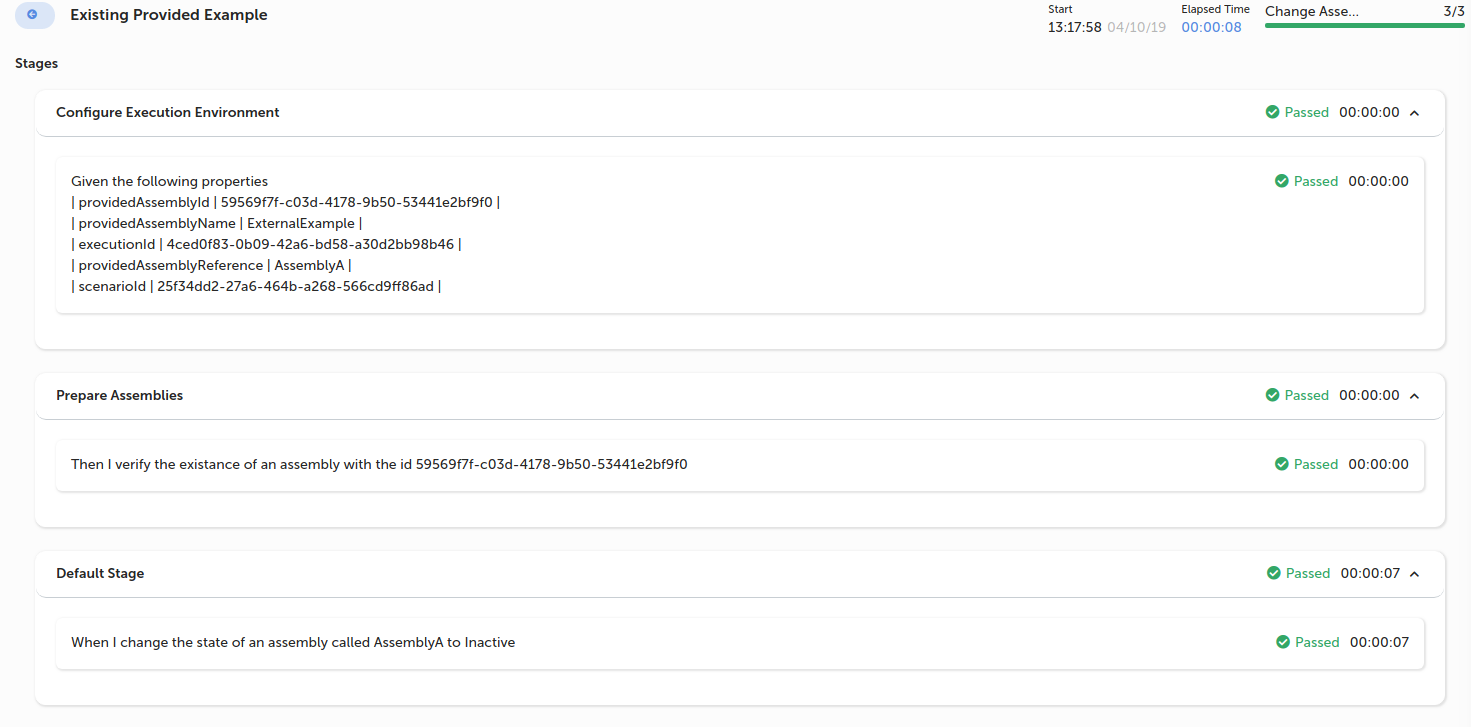
Click “Execute” to be taken to the execution screen. You will see an additional step has been added to your scenario which identifies the Assembly you provided exists.

In our example, as the “Change State” step executes we will see the process is executed against the “ExternalExample” Assembly we provided.