4. Webhook and Kafka Data Load
In this section, we will configure a generic webhook connection. If a dedicated connection is not available for a data source, you can use the generic webhook connection to provide an endpoint for applications to send JSON format events to the Cloud Pak for AIOps via HTTP POST requests. You can also include a JSONata file to map incoming JSON payloads to the Cloud Pak for AIOps event data schema. The webhook endpoint is exposed via an OpenShift edge route that includes a unique, automatically-generated ID.
Also in this section, we will create a couple of bash scripts. The first script will be used to load data via the webhook connection and the second script will be used to load data into a kafka topic. The usage of these two scripts will become more clear as you move into the different sections of the Lab.
4.1: Creating a Webhook Integration
Log into the Cloud Pak for AIOps:
- from the burger menu in the top-left navigate to: Define → Integrations
- from the Integrations page click on Add integration
- from the Add integrations page search for webhook, click on the Generic Webhook tile and click Get started.
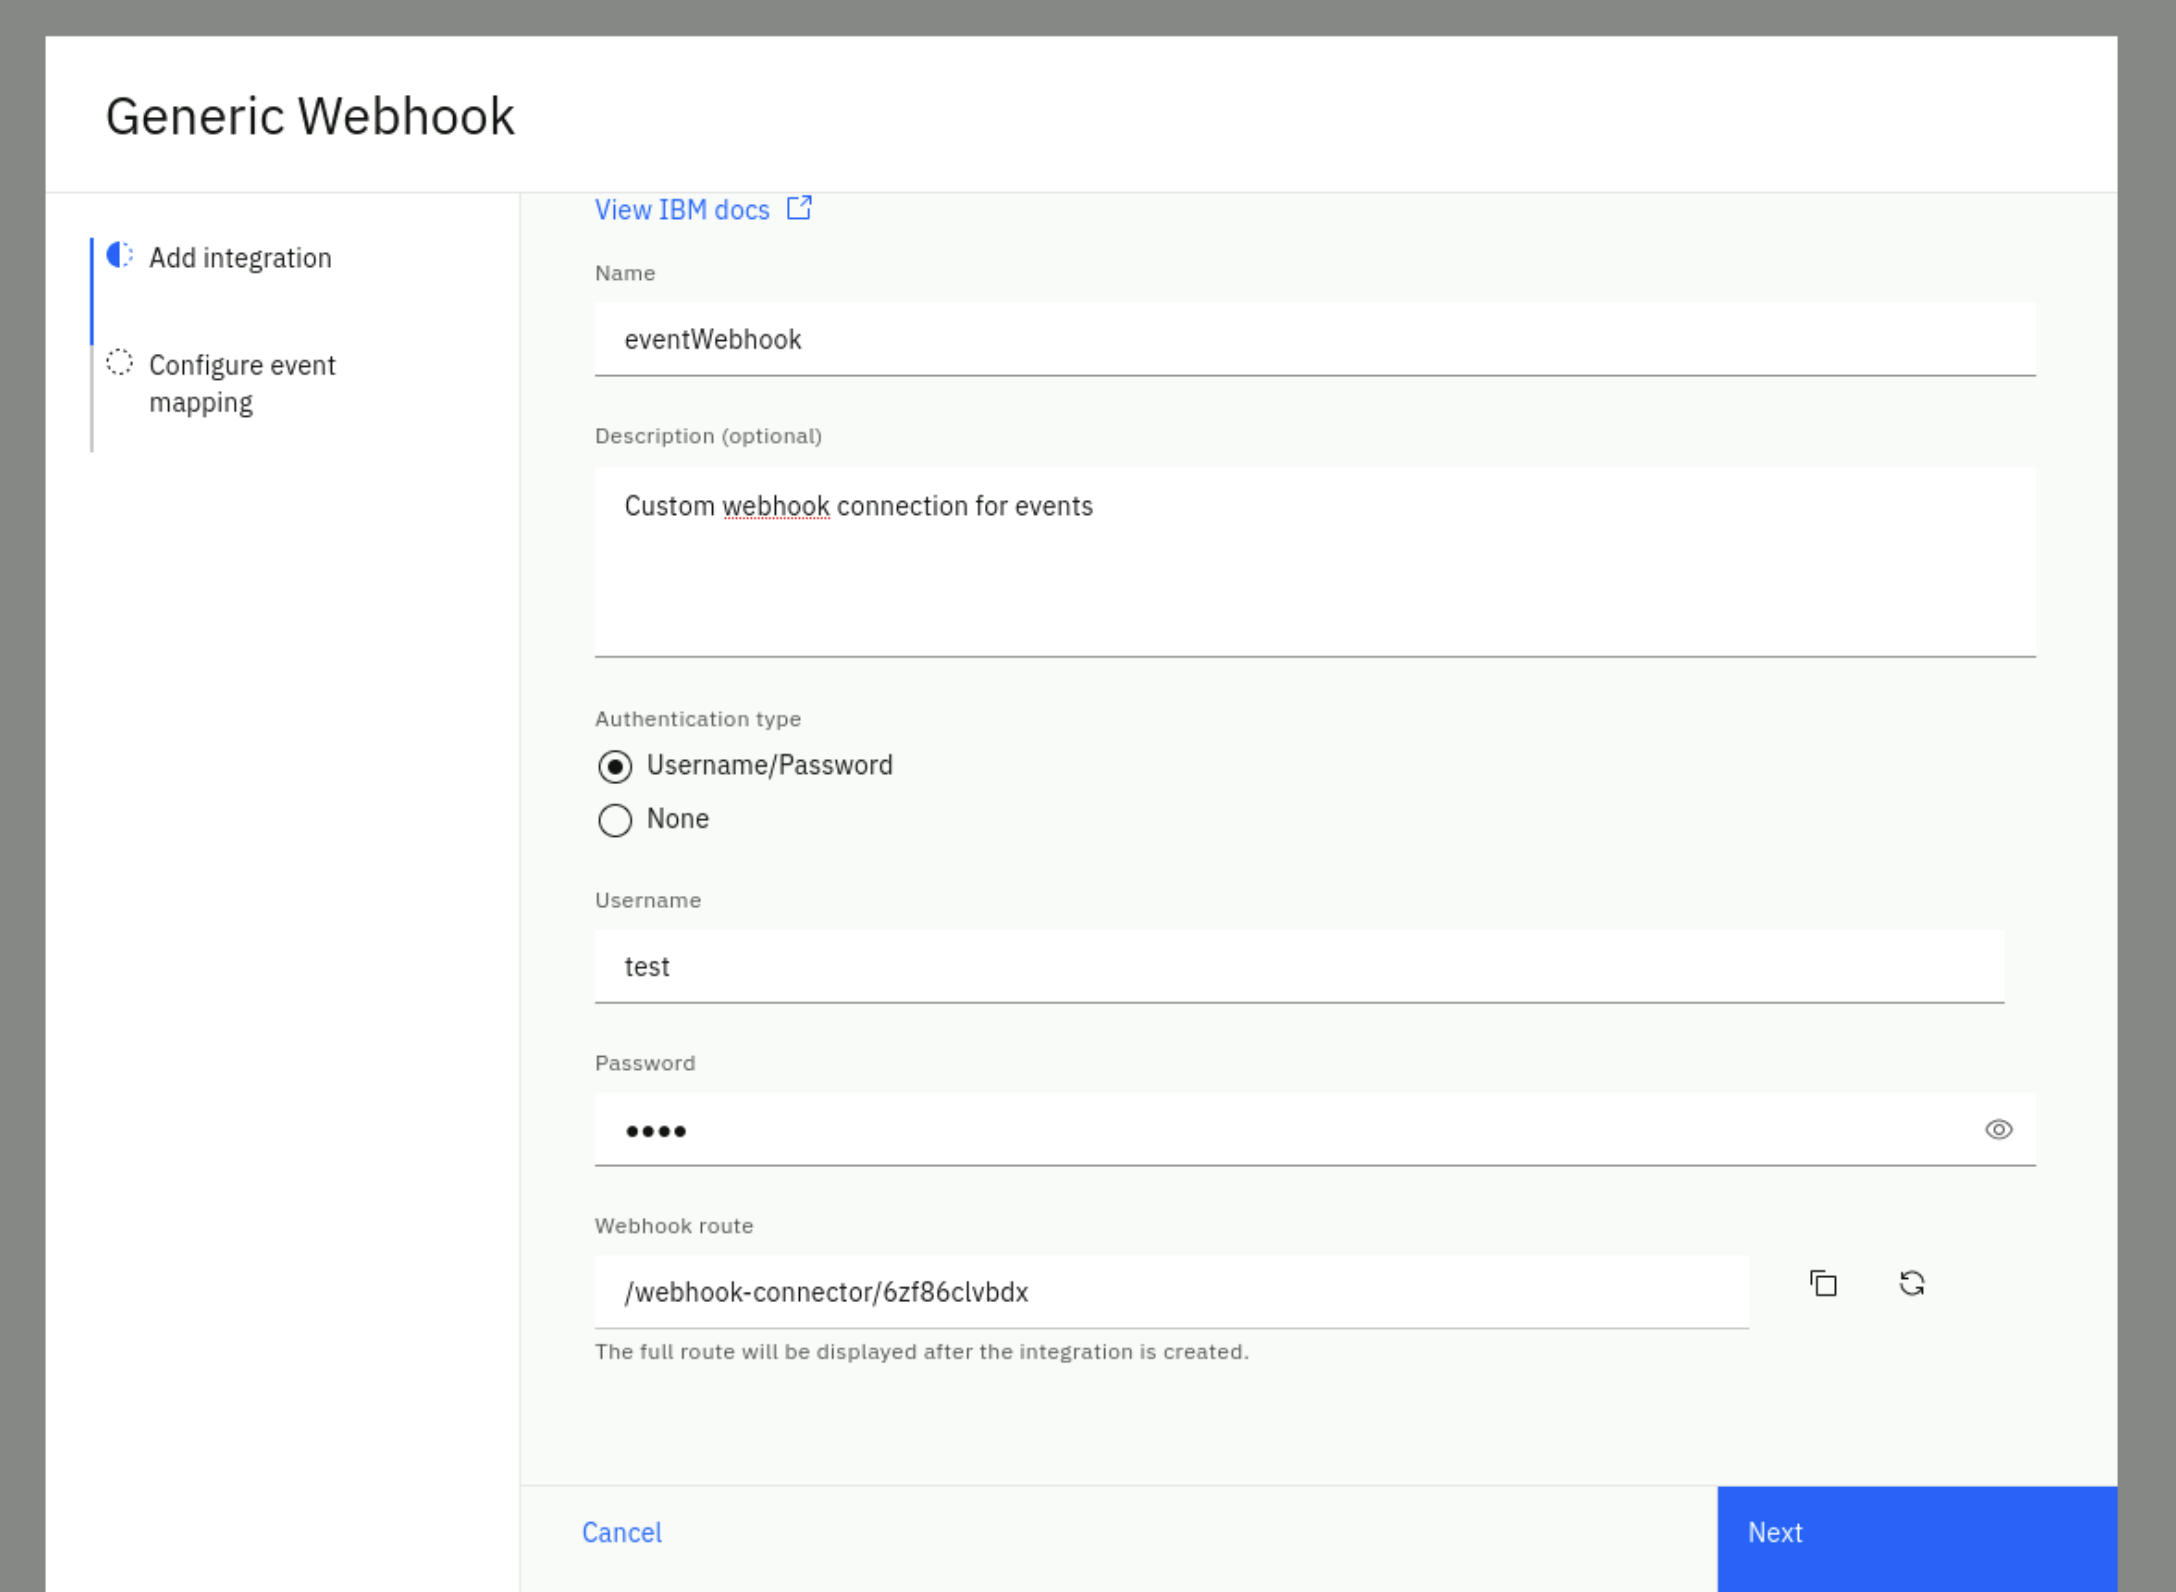
Fill the Add integration form with these values:
- Name: eventWebhook
- Description: custom webhook integration for events
- Authentication type: select Username/Password
- Username: pick a username (e.g. test)
- Password: pick a password (e.g. test)
Your complete form should look like this (note that your route will be different)

Click Next.
In the Configure event mapping form:
- Confirm the Enable webhook slider is green (On)
- The webhook connector leverages JSONata which is a simple expression language to transform JSON data. You can read about JSONata here. In this Lab, we provide the JSON event format as expected by the Cloud Pak for AIOPs, therefore the JSONata is just a "passthrough". In a real scenario, you will find this mapping capability very useful.
Enter the following JSONata configuration (use the copy helper icon (top-right) for one-click copy)
{
   "sender":{
      "service": sender.service,
      "name": sender.name,
      "type": sender.type
   },
   "resource":{
      "application": resource.application,
      "name": resource.name,
      "hostname": resource.hostname,
      "type": resource.type,
      "ipaddress": resource.ipaddress,
      "location": resource.location
   },
   "type":{
      "classification": type.classification,
      "eventType": type.eventType
   },
   "severity": severity,
   "summary": summary,
   "occurrenceTime": occurrenceTime,
   "expirySeconds": expirySeconds
}
Click on Done. You will see a new webhook created as shown below. After the webhook has finished initializing copy the Webhook route URL on the right. You will need this URL in the next step.

4.2: Create the Webhook Event Loader Script
Lets create a lab folder for the upcoming files in the home directory and change to this new folder. Run the following command from the Terminal window:
cd; mkdir lab-alert; cd lab-alert
We will create a simple bash script that reads an event file and calls the webhook URL with every event in the file as a parameter.
Create a file called event-load-webhook.sh by running the following command in the Terminal window to open the text editor , copy the bash script below (use the copy helper icon (top-right) for one-click copy), paste it into the text editor.
gedit event-load-webhook.sh
#!/bin/bash
# this is the event-load-webhook.sh script

# Check if a file is provided as a parameter
if [ $# -eq 0 ]; then
  echo "Please provide an event file as a parameter."
  exit 1
fi

###########################################
WEBHOOK_URL='<insert the webhook URL here>'
# Note below there is a colon character ':' between the username and password e.g. test:test
AUTH=<insert your chosen user name>:<insert your chosen password>
###########################################


# Read the event file line by line and submit the event via webhook
while IFS= read -r line; do
  curl -X POST -u $AUTH --insecure -H 'Content-Type: application/json' $WEBHOOK_URL -d "$line"
  echo ""
done < "$1"
There are two changes you need to make to the script:
- assign to WEBHOOK_URL the webhook route of the webhook you just created in the previous step
- assign to AUTH the chosen user name and password of the webhook you just created in the previous step e.g. test:test
Click on the Save button in the text editor and close the editor window (click on the X).
4.3: Create a Kafka Event Loader Script
Finally, we will create another simple bash script that will take an event or alert file and a kafka topic as parameters and it will load this data into the kafka topic.
Create a new file called event-load-kafka.sh by running the following command in the Terminal window to open the text editor , copy the bash script below, paste it into the text editor, click on the Save button in the text editor and close the editor window (click on the X).
gedit event-load-kafka.sh
#!/bin/bash
# this is the event-load-kafka.sh script

# Check parameters
if [ $# -lt 2 ]; then
  echo "Please provide an event file and a kafka topic as parameters"
  exit 1
fi

export EVENTS_FILE="$1"
export KAFKA_TOPIC="$2"

oc project cp4aiops

# Change Cassandra aiops.alerts table data expiration default_time_to_live (TTL) to 5 years
oc exec -it aiops-topology-cassandra-0 -- \
    /opt/ibm/cassandra/bin/cqlsh \
    --ssl \
    -u $(oc get secret aiops-topology-cassandra-auth-secret -o jsonpath='{.data.username}' | base64 --decode) \
    -p $(oc get secret aiops-topology-cassandra-auth-secret -o jsonpath='{.data.password}' | base64 --decode) \
    -e 'ALTER TABLE aiops.alerts WITH default_time_to_live = 157784630;'

# Set Password and Broker
oc extract secret/iaf-system-cluster-ca-cert --keys=ca.crt --to=- > ca.crt
export sasl_password=$(oc get secret cp4waiops-cartridge-kafka-auth-0 --template={{.data.password}} | base64 --decode)
export BROKER=$(oc get routes iaf-system-kafka-bootstrap -o=jsonpath='{.status.ingress[0].host}{"\n"}'):443

# Load data using kafka-cat tool
kcat \
-X debug=msg \
-X security.protocol=SASL_SSL \
-X ssl.ca.location=ca.crt \
-X sasl.mechanisms=SCRAM-SHA-512 \
-X sasl.username=cp4waiops-cartridge-kafka-auth-0 \
-X sasl.password=$sasl_password \
-b $BROKER \
-P \
-t $KAFKA_TOPIC \
-l $EVENTS_FILE
You will use these event loader scripts in the following labs.