4. Create the runbook actions
4.1: Overview
In this lab, you will create two actions which will later be added to the runbook we shall create.
The first of the two actions calls an external website that returns a fact about cats along with an integer value indicating the number of characters returned in the fact. In our example, we will extract this integer value from the returned payload and pass it as a parameter to the second action. The second of the two actions will take the parameter from the first action and create a file on the target host that includes the passed parameter in the name of the file.
4.2: Create the first action
Use the following steps to create the first action:
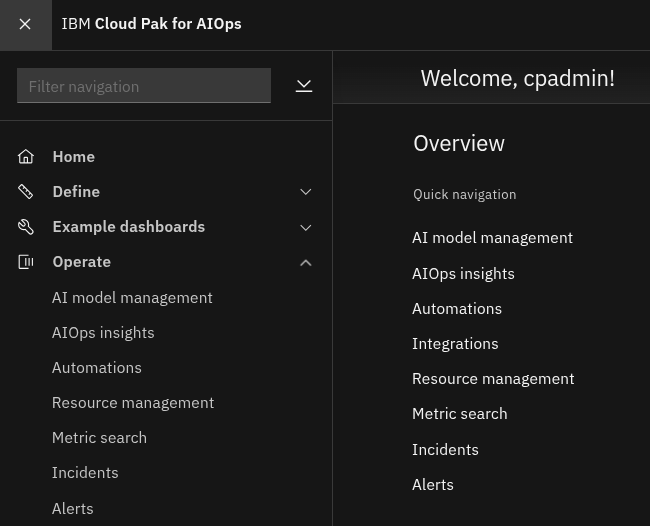
- Log in to the AIOps console
- Select Automations from the Quick navigation menu or Operate → Automations from the main menu
- Select the Actions tab
- Click the Create action button to create the action
- Select HTTP from the Type drop-down menu
- Enter a Name for the action:
Fix problem - Expand the Action HTTP request section

- Select Custom API from the Target API drop-down menu
- Enter the following for the API endpoint:
https://catfact.ninja/fact?max_length=140 - Select GET from the Method drop-down menu
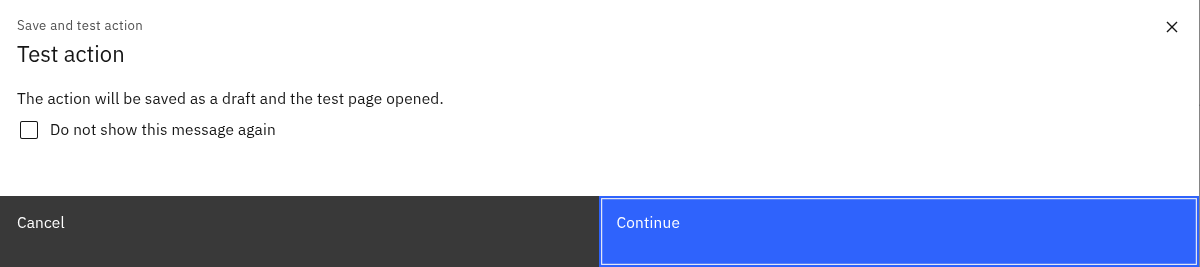
- Click on the Test button at the bottom to test the action
- You will see the following pop-up - click Continue to continue:
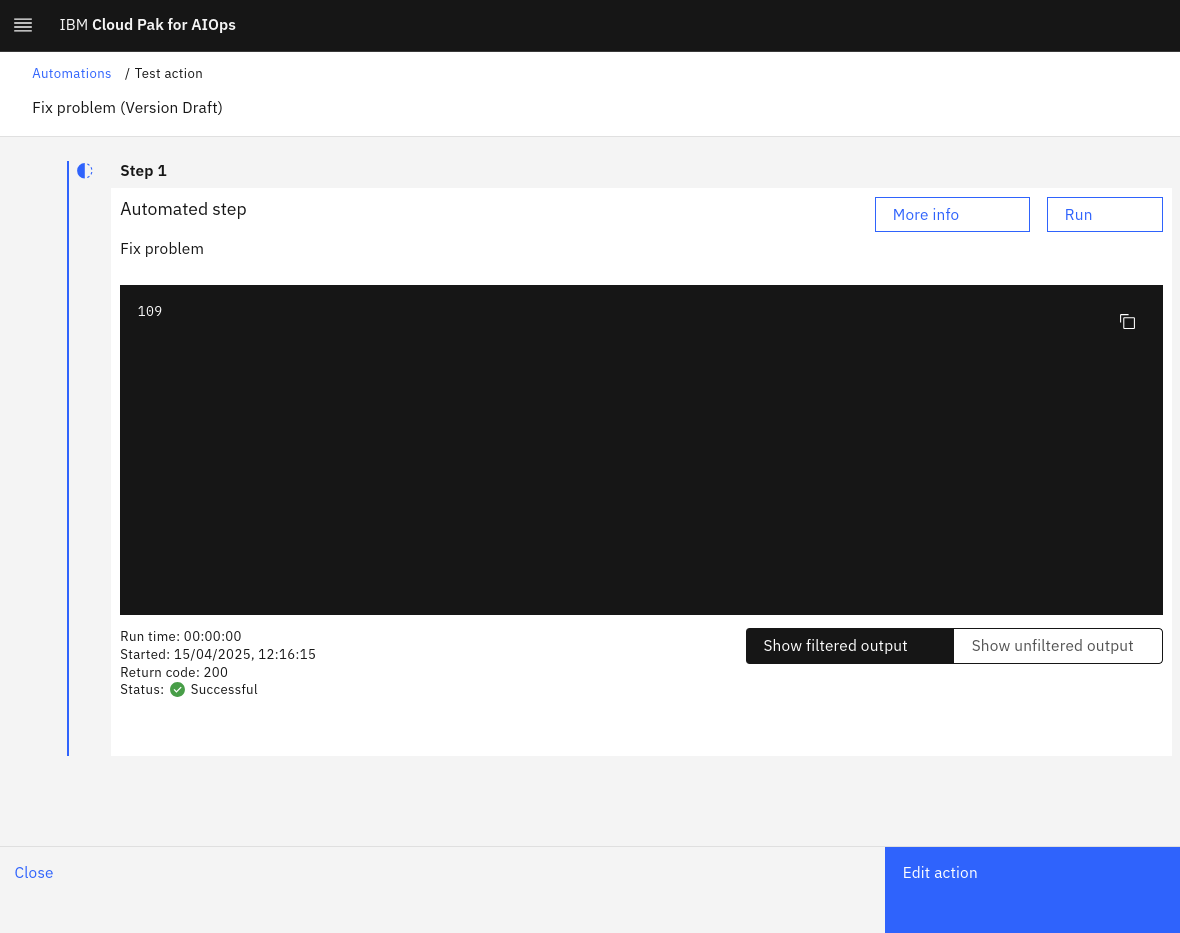
- Click on the Run button to run the action and observe the output - it should look similar to the below screenshot:
If you get rate limit exceeded error, click on Run again
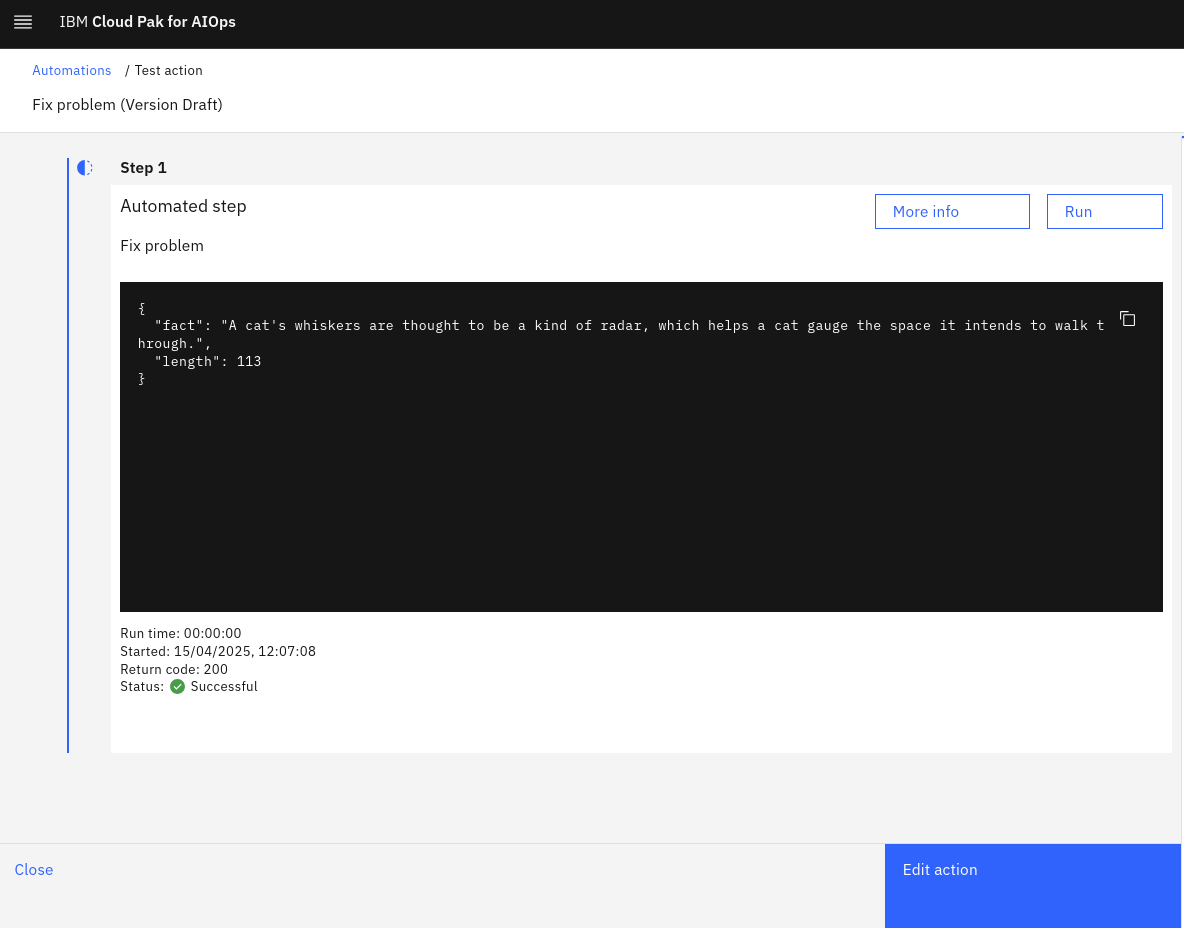
We have not applied the filter to the action output yet, so we will see the full response from the target server.
Click Edit action to return to the action edit screen to continue editing your action.
- Scroll down to the Action output section
- Toggle the Filter action output switch on
- Select JSONPath from the Choose query syntax drop-down menu
- Enter:
lengthinto the Enter query pattern box
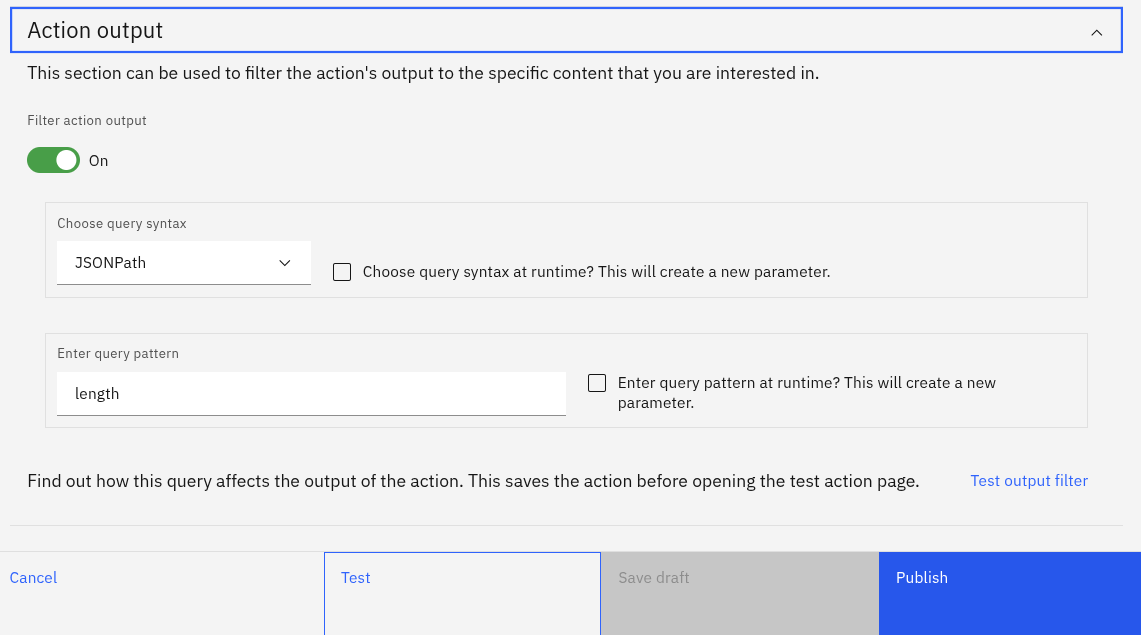
- Click on the Test button to retest the action
- You will see the following pop-up - click Continue to continue:
- Click on the Run button to run the action and observe the output - it should look similar to the below screenshot:
This type of action output filter specifies that the output should parse the JSON payload returned, extract the value of the length attribute, and only display that.
Click Edit action to return to the action edit screen to continue editing your action.
- Click on the Publish button to save the action and make it available for use
4.3 Create the second action
Use the following steps to create the second action:
- Log in to the AIOps console and select Automations from the main menu
- Select the Actions tab
- Click the Create action button to create the action
- Select SSH from the Type drop-down menu
- Enter a Name for the action:
Create file - Scroll down to the Action script section
- Select Bash from the Shell drop-down menu
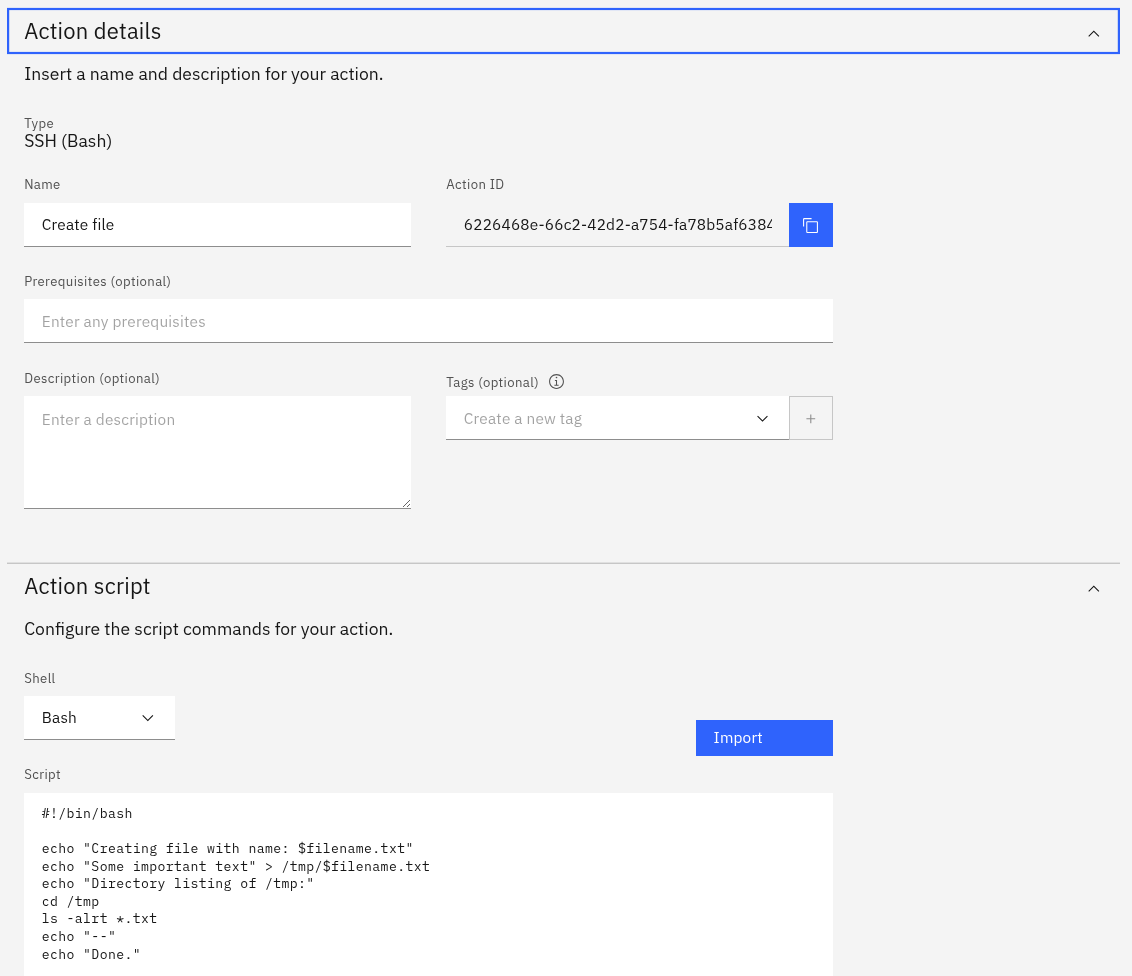
- Enter the following into the Script box:
#!/bin/bash

echo "Creating file with name: $filename.txt"
echo "Some important text" > /tmp/$filename.txt
echo "Directory listing of /tmp:"
cd /tmp
ls -alrt *.txt
echo "--"
echo "Done."
- Your Action details should look something like the following:
- On the top-right of the screen, click on the 3 dots next to the
targetparameter and select Edit

- Check the box marked Set a default value
- Enter:
netcoolvmin the Default value (optional) box and click Save - Next, click on the 3 dots next to the
userparameter and select Edit - Check the box marked Set a default value
- Enter:
netcoolin the Default value (optional) box and click Save - Click the Add parameter button to add a third parameter
- Type:
filenameinto the Parameter box - Select A single string value from the Type drop-down menu
- Click Save to save your new parameter

- Click on the Test button to test the action
- You will see the following pop-up - click Continue to continue:
On the test action screen, you will notice that the target and user parameters are prepopulated with the default values. Because the third attribute $filename doesn't specify a default value, you will need to enter a value to test it out.
- Enter:
123into the $filename box
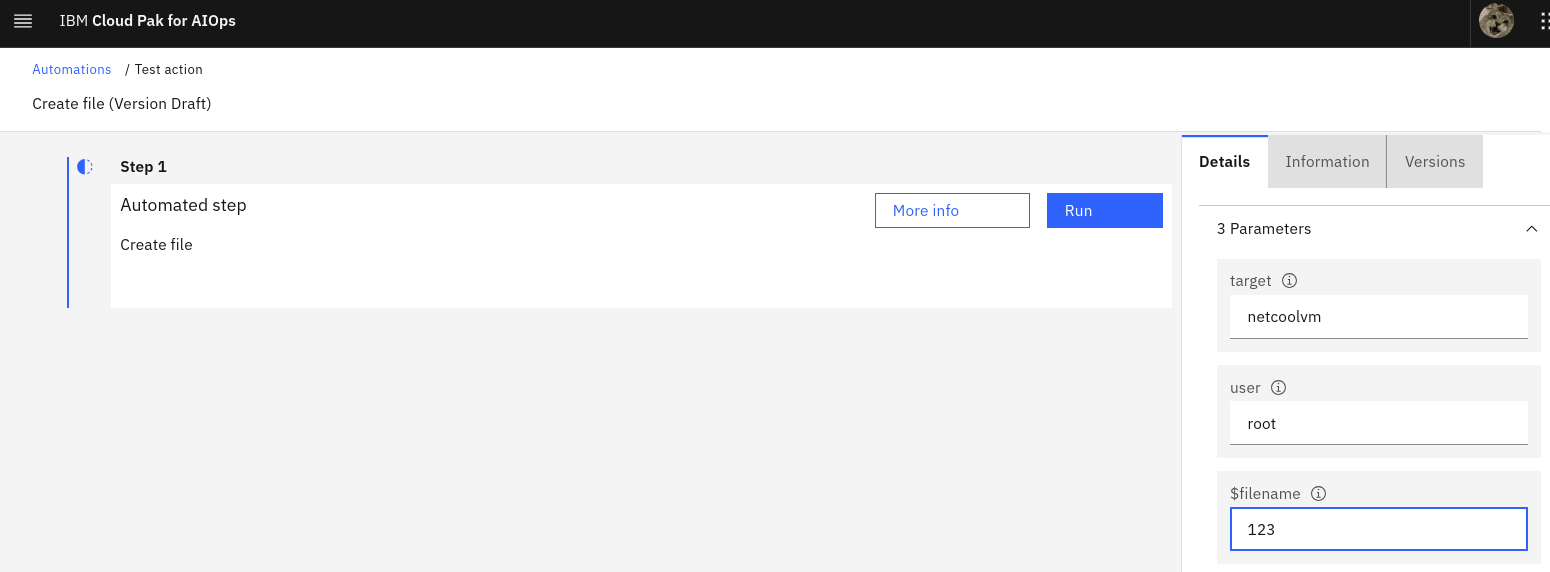
- Click on the Run button to run the action
- Observe the output:
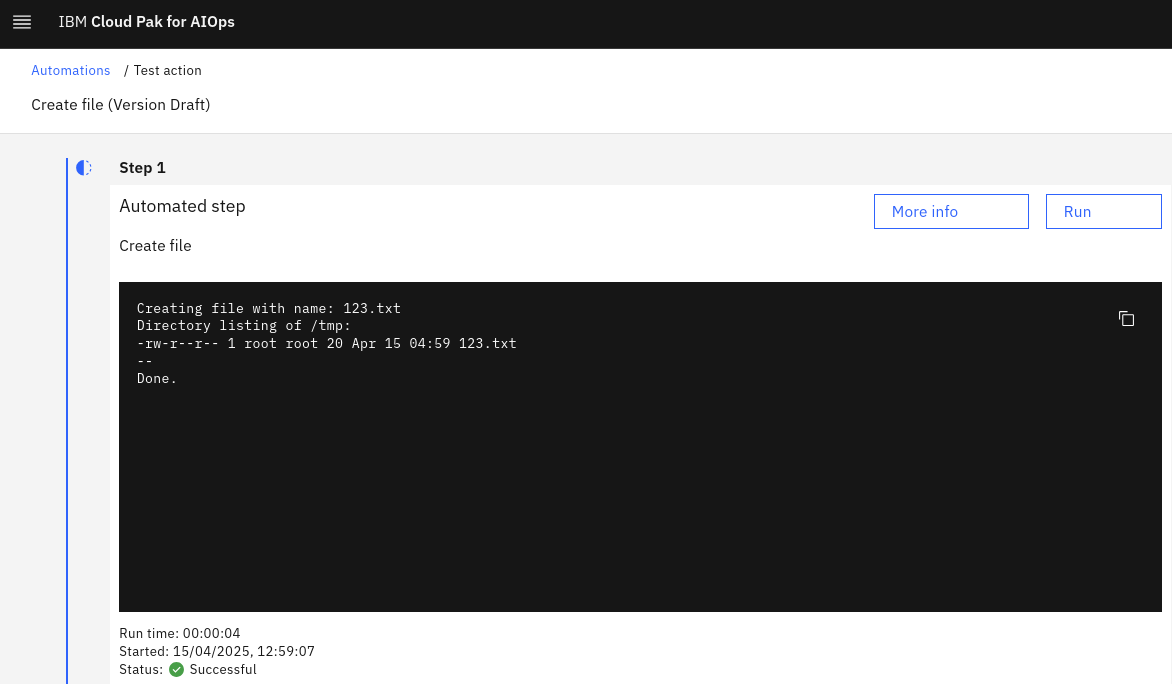
If you have set up your SSH key correctly in the first part of this lab, your script should successfully connect to the netcoolvm and see output like the above. If all goes well, a file by the name 123.txt will have been created and shown in the directory listing.
Click Edit action to return to the action edit screen and continue:
- Click on the Publish button to save the action and make it available for use
You should now have two new actions which we will use to create our runbook in the next module:
