Instana agent
In this section, you will proceed with the installation of the Instana Agent to enable monitoring and observability of your Kubernetes (K3s) cluster. The Instana agent is designed to automatically discover and monitor all running services and applications within the Kubernetes environment, capturing detailed telemetry data such as CPU and memory usage, network traffic, and application-specific metrics. This data is sent to the Instana backend for real-time analysis and visualization.
By deploying the Instana agent, you gain access to powerful features like automatic root cause analysis, anomaly detection, and service dependency mapping. These capabilities allow you to proactively manage and optimize your Kubernetes (K3s) cluster, ensuring high availability and performance of your microservices. The installation process involves configuring the necessary permissions and environment variables, applying the manifest, and verifying the successful deployment of the agent. Detailed documentation and support are available to guide you through each step.
Instana agent deployment options
The Instana agent can be installed using several methods, each catering to different deployment preferences and requirements. These methods include using a Helm chart, an Operator, or a static YAML file (soon to be deprecated).
-
The Helm chart method provides a flexible and customizable way to deploy the Instana agent, allowing you to manage the installation and configuration through Helm's package management capabilities. This approach is ideal for users who prefer a streamlined and repeatable deployment process.
-
The Operator method leverages Kubernetes Operators to automate the deployment and management of the Instana agent. This method simplifies the operational complexity by handling tasks such as upgrades and scaling, making it suitable for environments that require robust automation and lifecycle management.
-
The static YAML file method, although soon to be deprecated, offers a straightforward way to deploy the Instana agent by applying predefined YAML manifests. This method is useful for users who prefer direct control over the deployment configuration.
For the purpose of this training, we will opt for the Helm chart installation method.
Helm chart
To begin, log in to your Instana UI using your credentials.
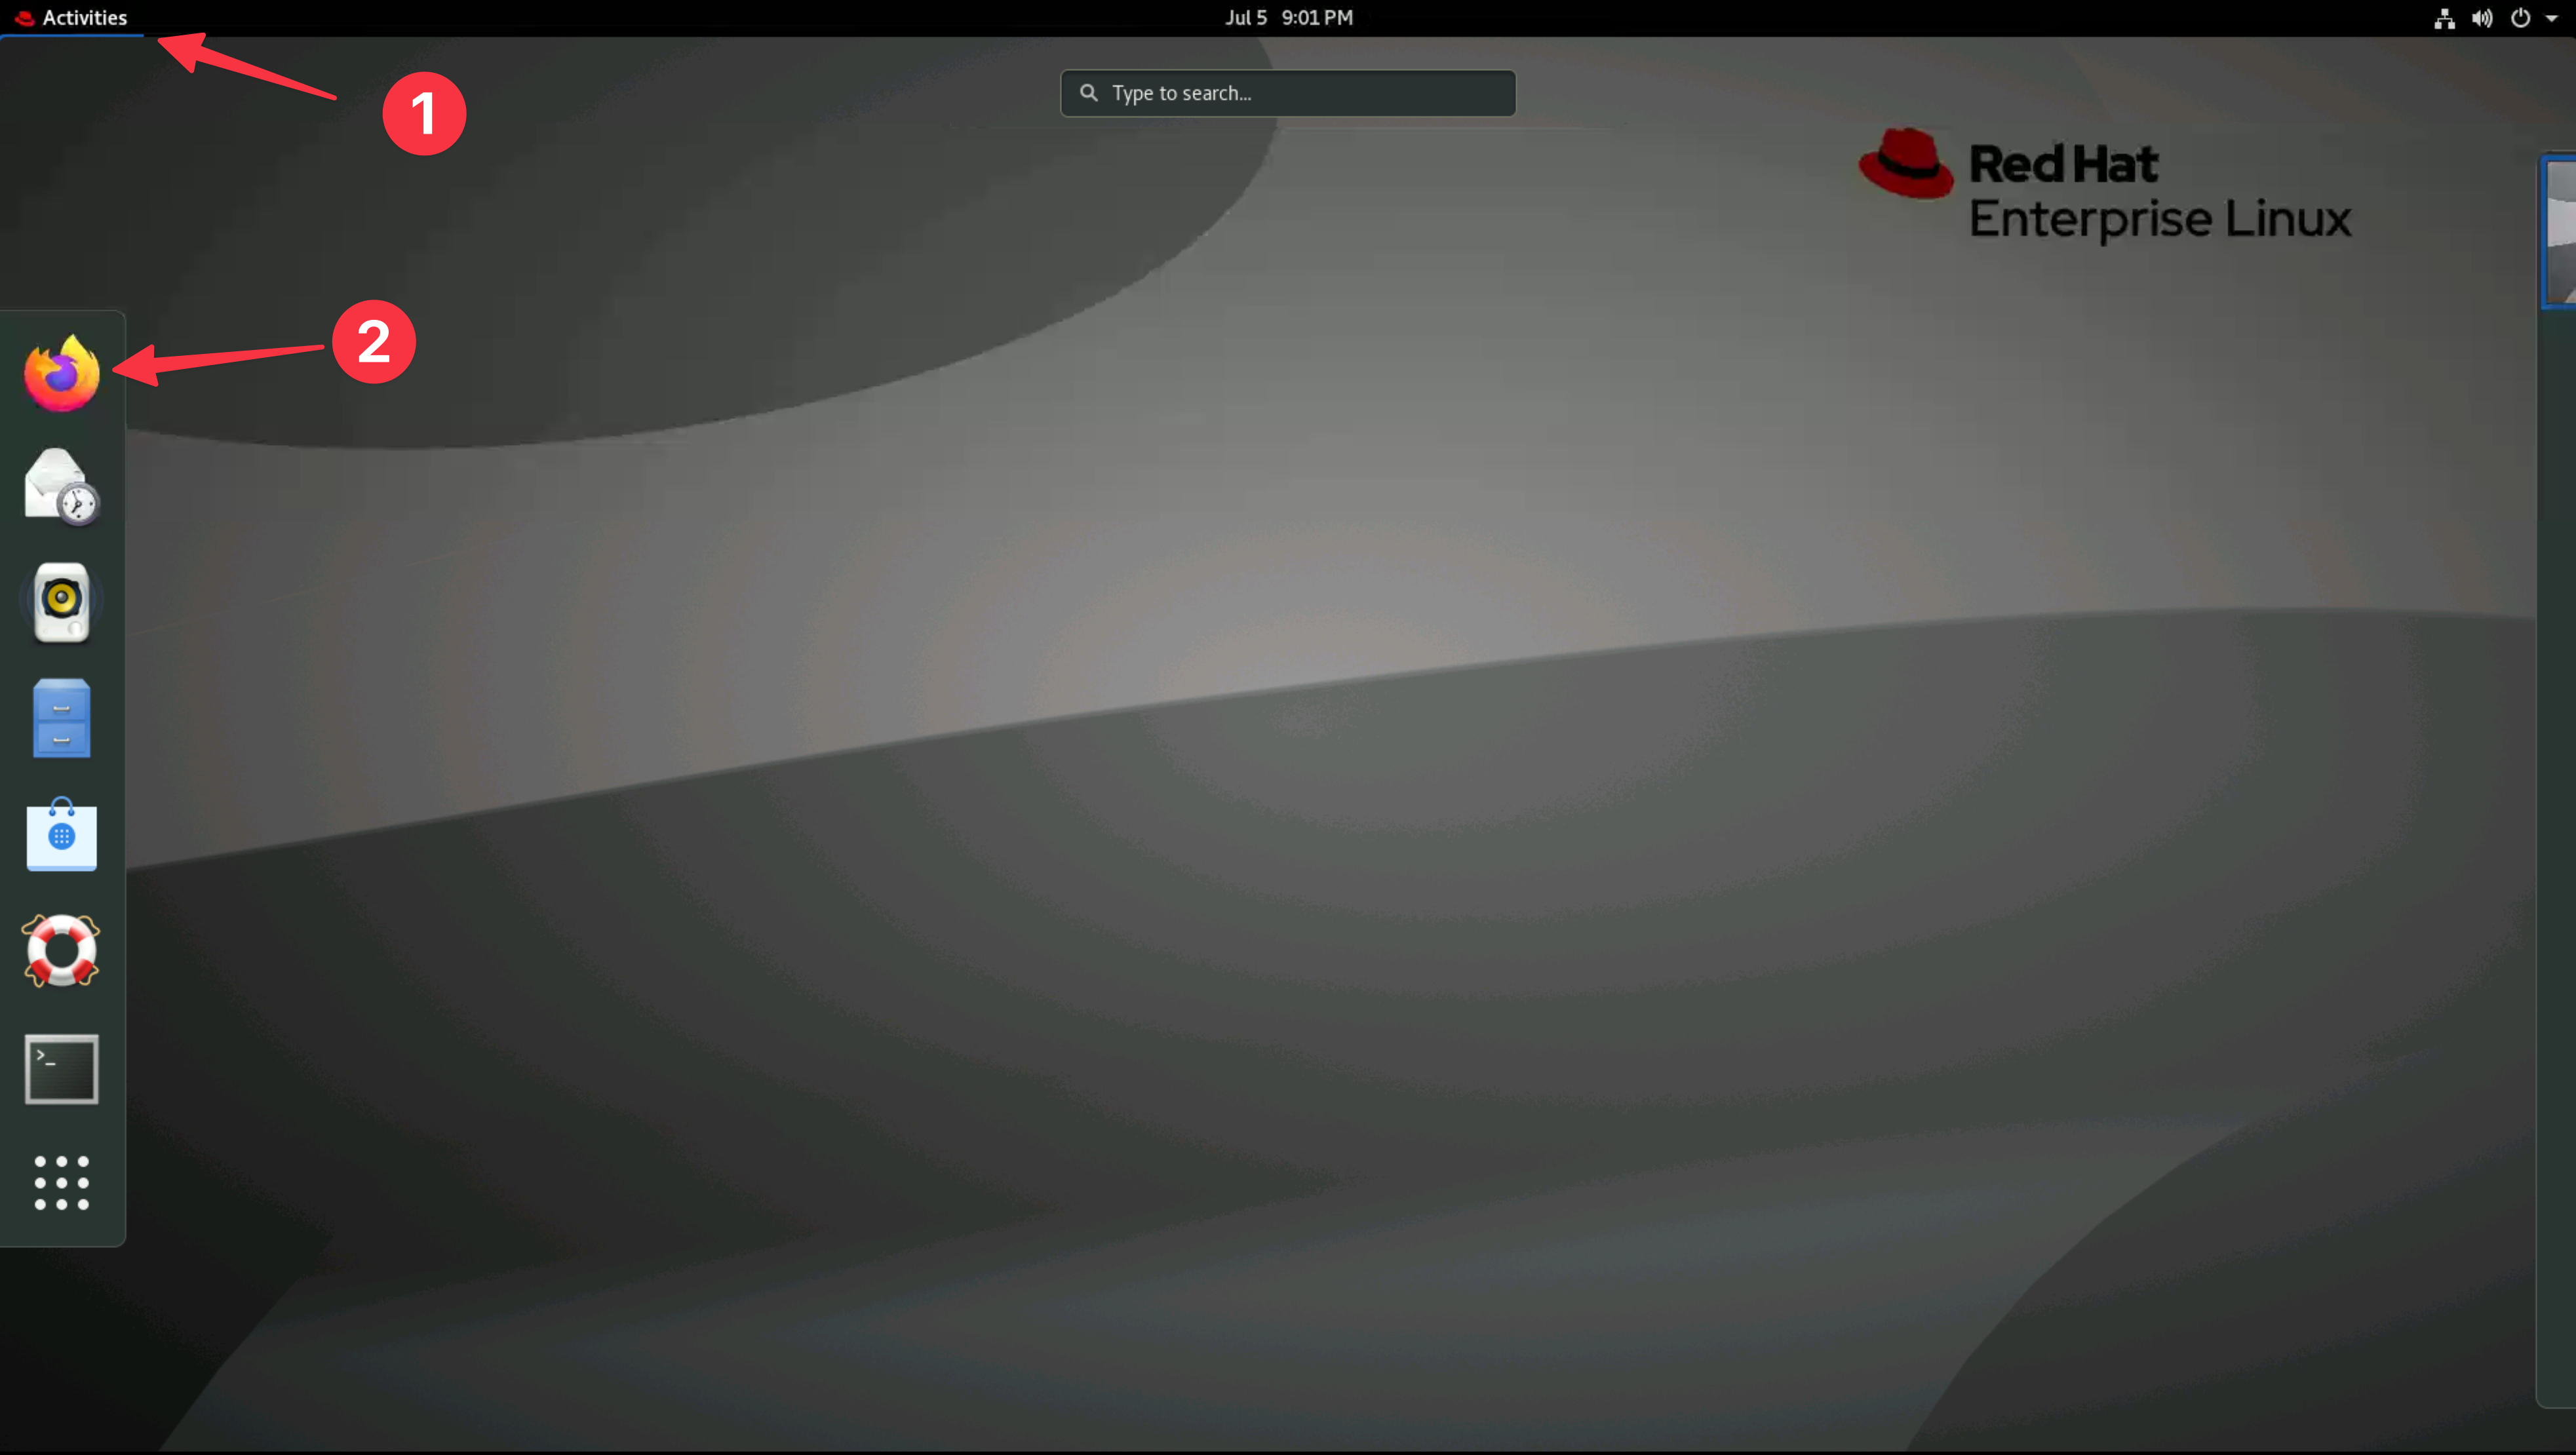
From the Bastion host open the Firefox browser and select the Instana bookmark.
If you are unsure how to get access to the Bastion host (Guacamole) see Accessing a Lab Environment
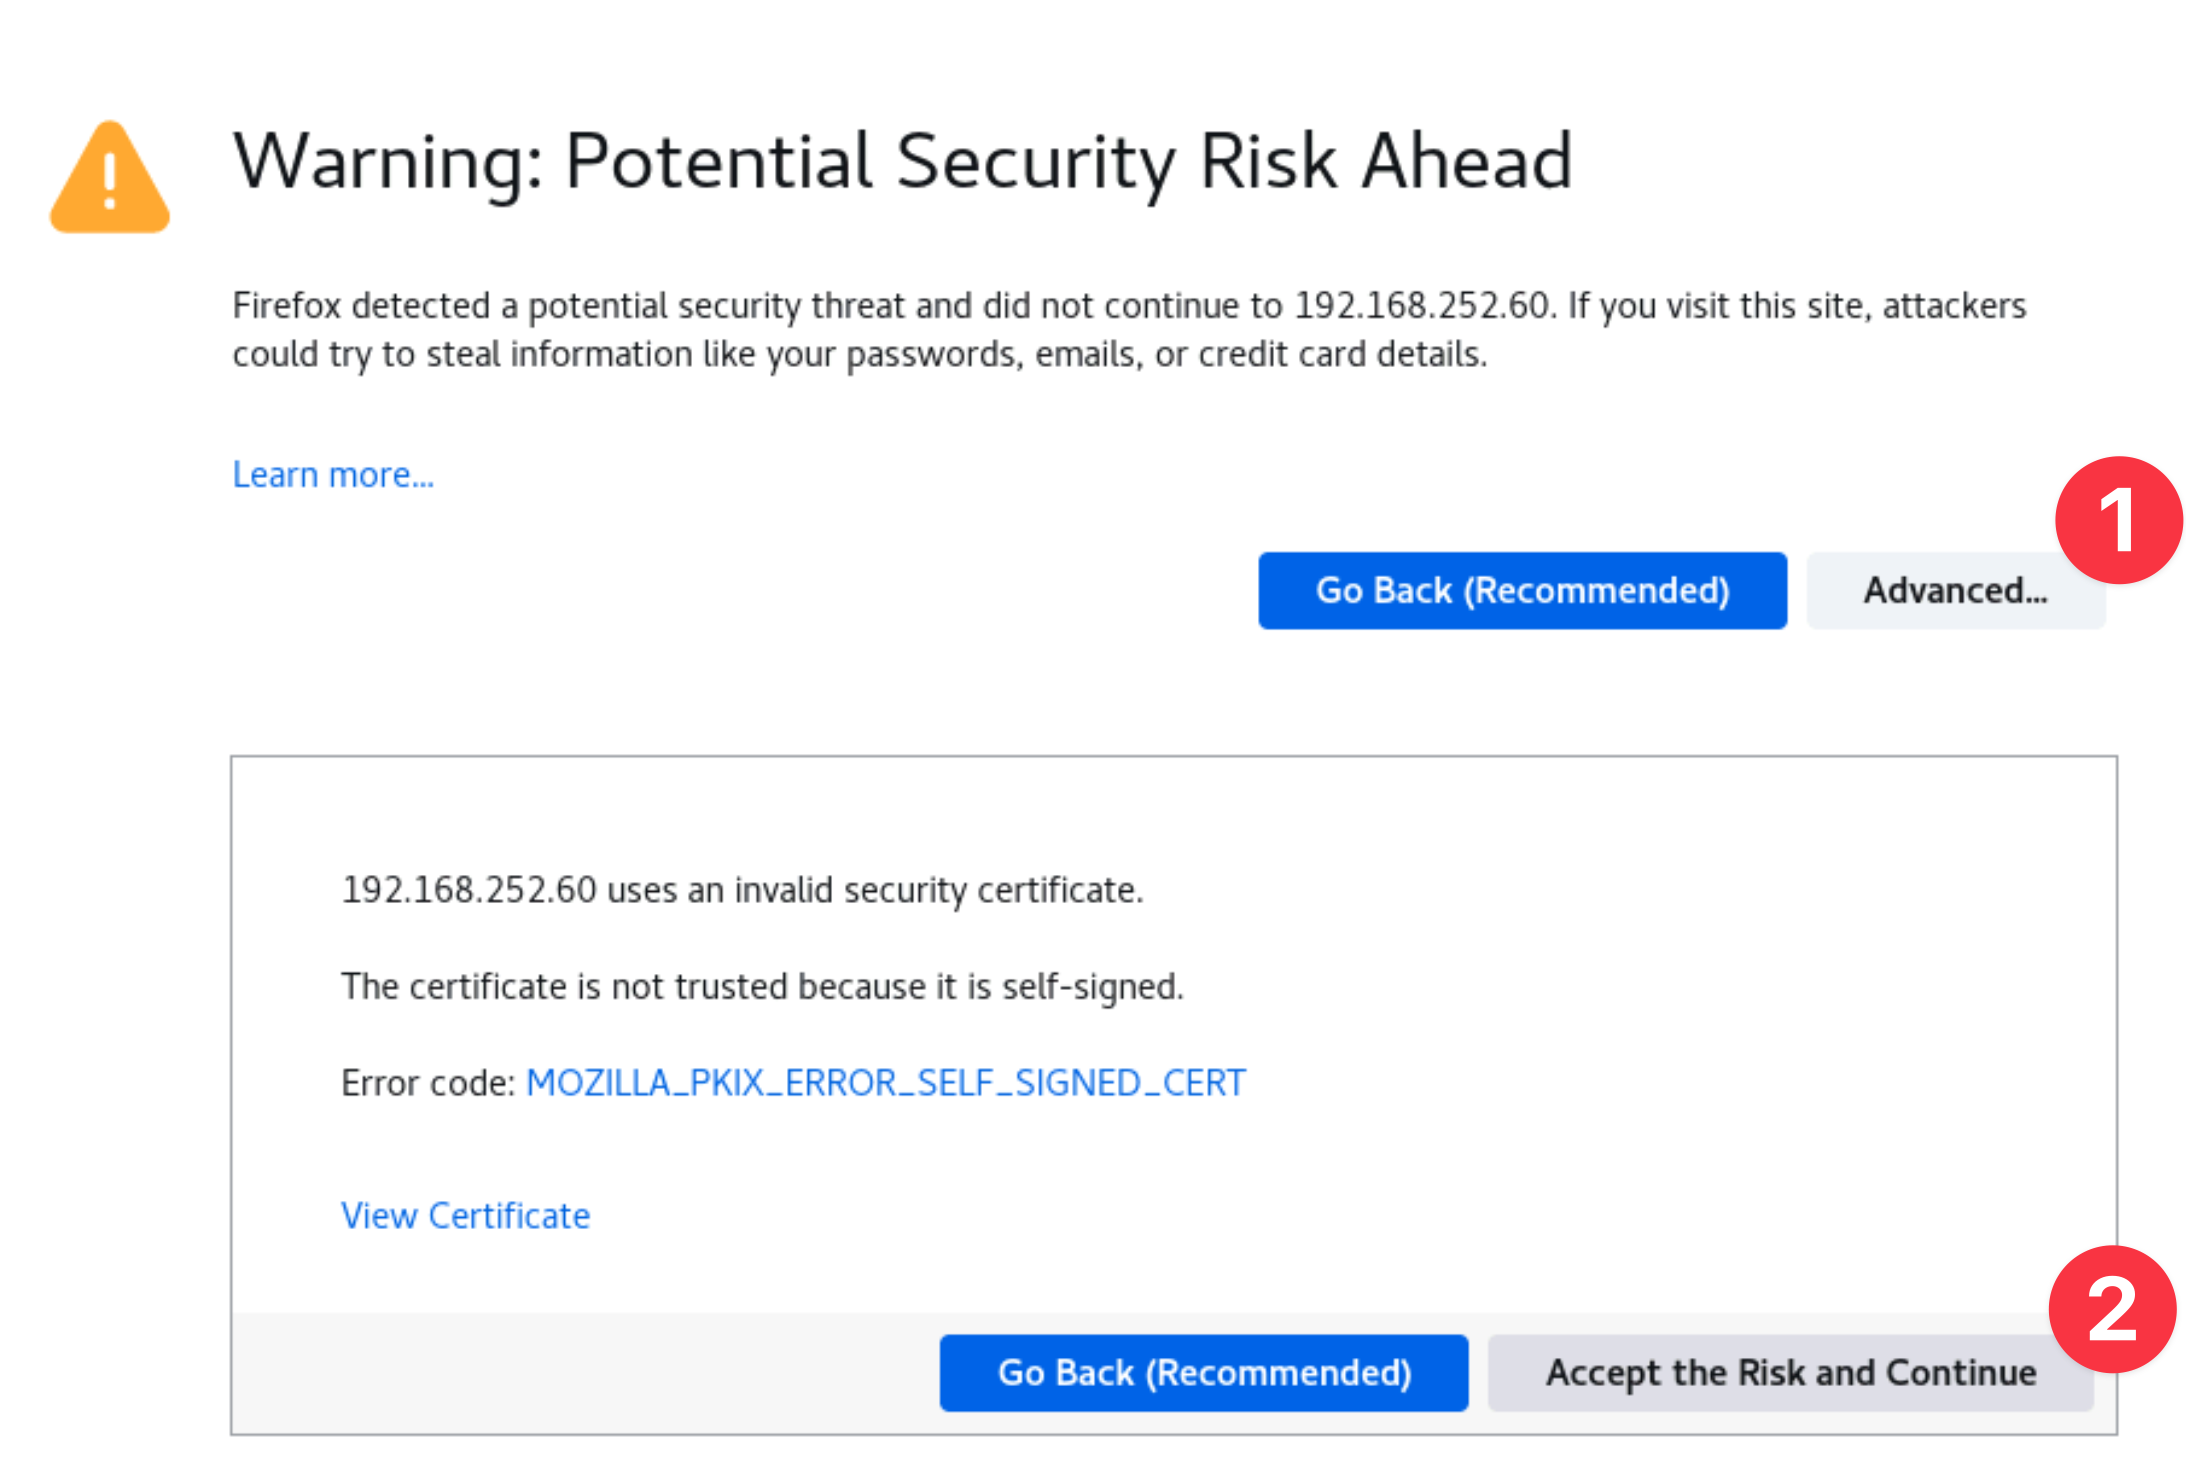
You can safely ignore the warning about the certificate being untrusted.
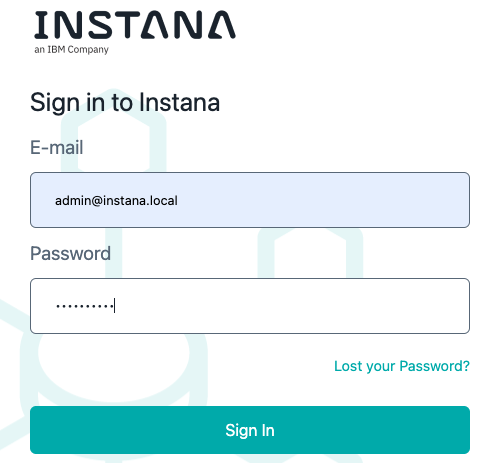
When prompted, enter the username and password that you updated earlier.
- Username: admin@instana.local
- Password: Passw0rd
Once you have successfully logged in, navigate to the main dashboard where you can access various monitoring and management tools. Look for the Deploy agent link. Click on this link to proceed.
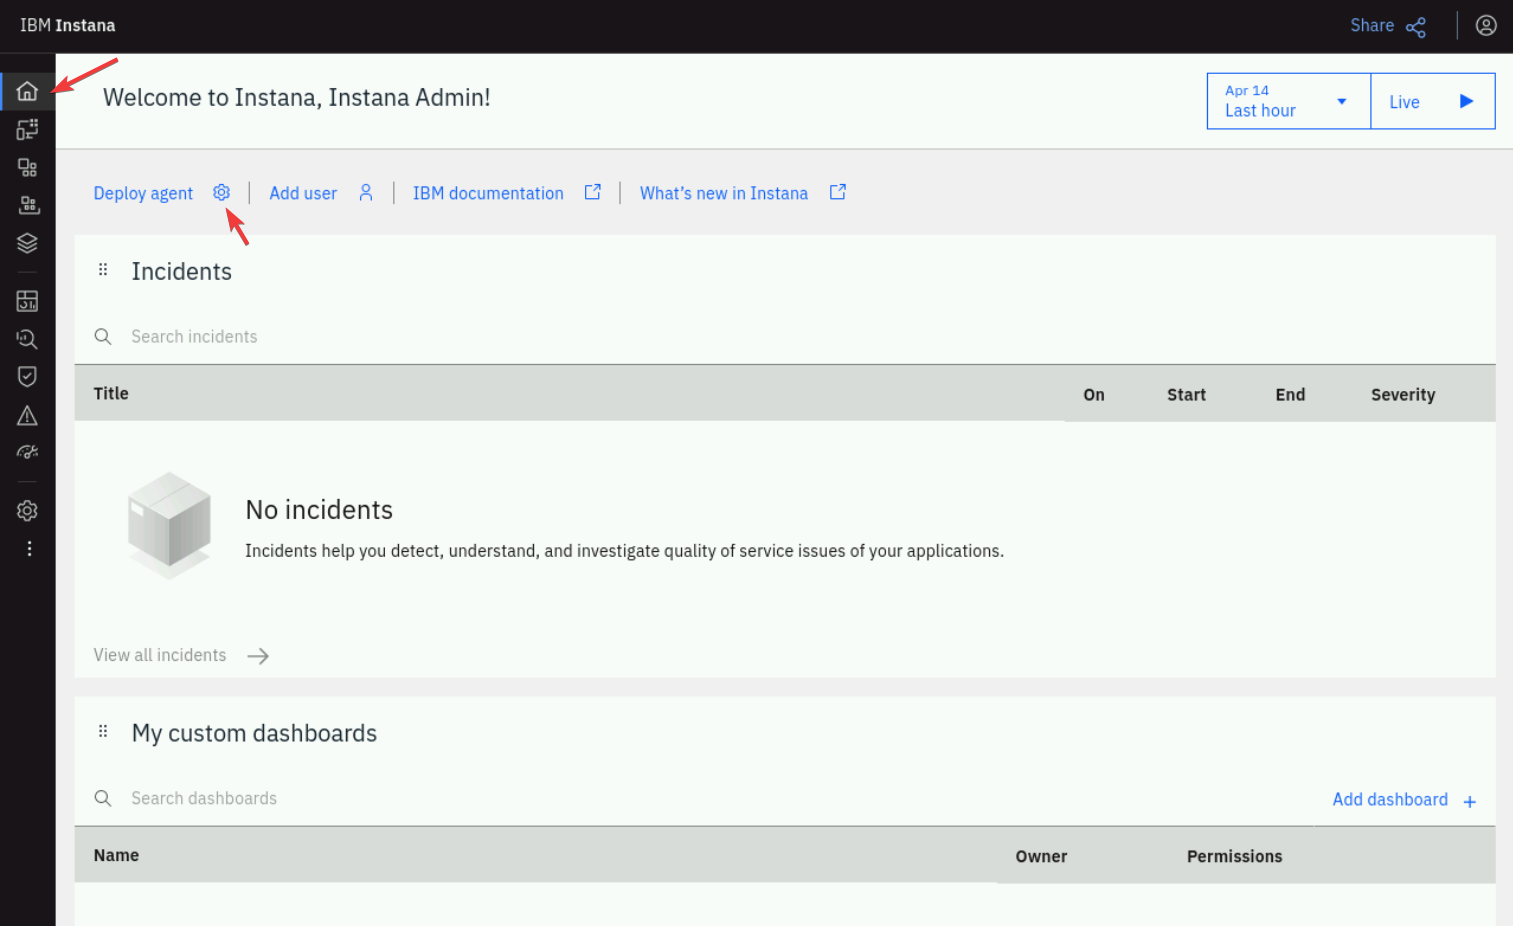
You will be guided through the necessary steps to deploy the agent. Follow the on-screen instructions carefully to ensure the agent is deployed correctly and starts monitoring your system as intended.
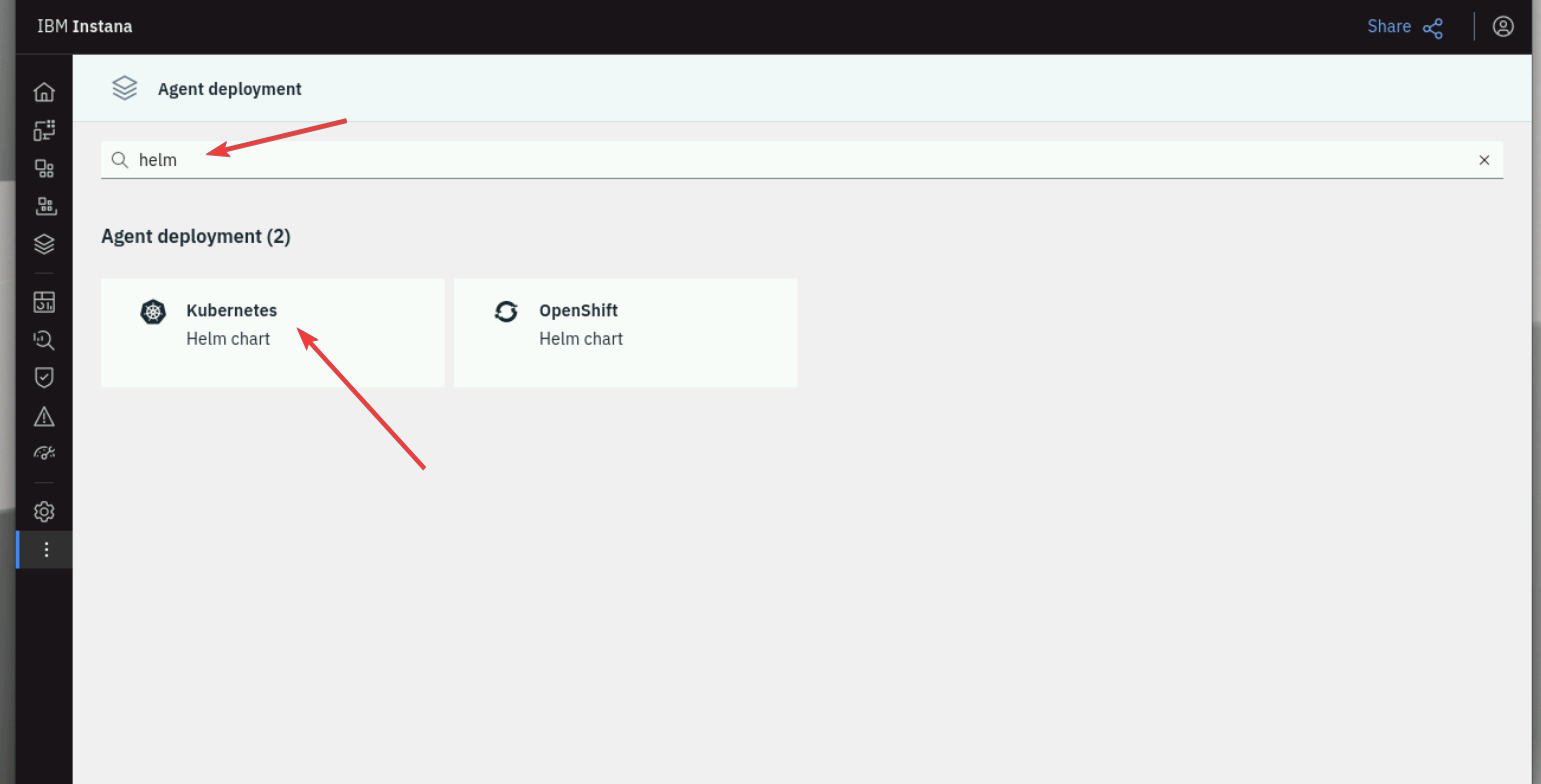
After navigating to the Deploy agent section, you will be presented with
various deployment options. Search for helm, then select the Kubernetes Helm
chart option:
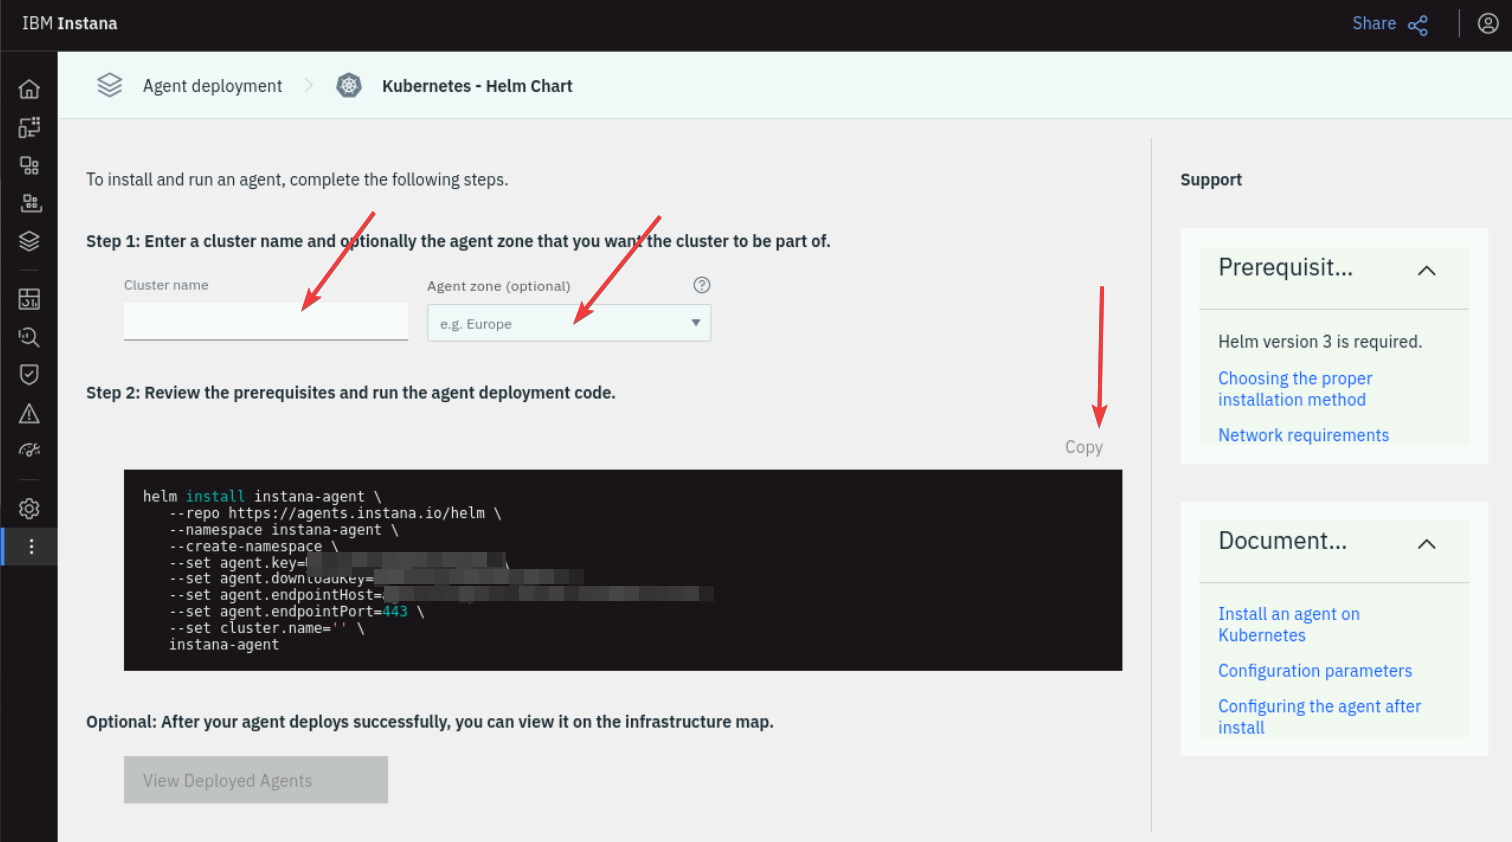
Helm installation method simplifies the deployment process by using Helm charts, which are packages of pre-configured Kubernetes resources.
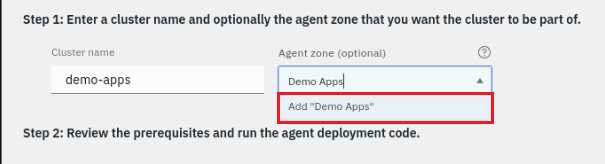
During the installation, you can specify the Cluster name and the Agent zone parameters. Setting these values allow you to find your Agent and Kubernetes Cluster within the Instana UI and not get confused by data coming in from other agents.
Provide a meaningful name for the Cluster and specify and Agent Zone. These namespace will show up within the Instana UI:
Cluster name: demo-apps
Agent Zone: Demo Apps
Zones are used to organize the Instana agents. Many customers create zones for lines of business, data center locations, public cloud regions, etc.
Once you have selected the Helm installation option, you will be provided with a Helm chart installation script. Copy this script to your clipboard, as you will need to execute it in your Kubernetes environment to complete the installation.
Once you have copied the Helm chart installation script, switch back to your terminal console in order to connect to your K3s cluster.
ssh jammer@demo-apps
After displayed prompt with a key fingerprint, please type "Yes" and hit Enter.
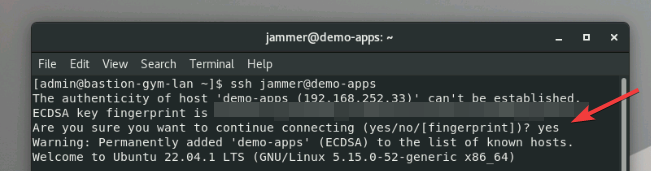
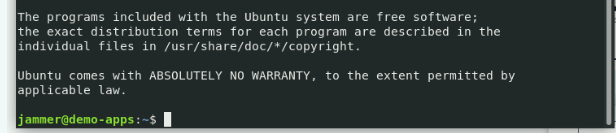
Ensure you are connected to the correct cluster - you should be able to see similar prompt as presented on the below picture
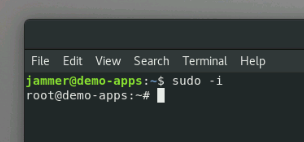
Now, let's switch user from "jammer" to a "root" by using this commands
sudo -i
The results should be similar as below
Let's also make sure, we have a proper KUBECONFIG variable value. Please run this command
export KUBECONFIG=/etc/rancher/k3s/k3s.yaml
You are now all set. To begin the Helm chart Instana agent installation, please paste the copied Helm chart installation script.
This script contains all the necessary commands to install the Instana agent on your Kubernetes cluster using Helm.
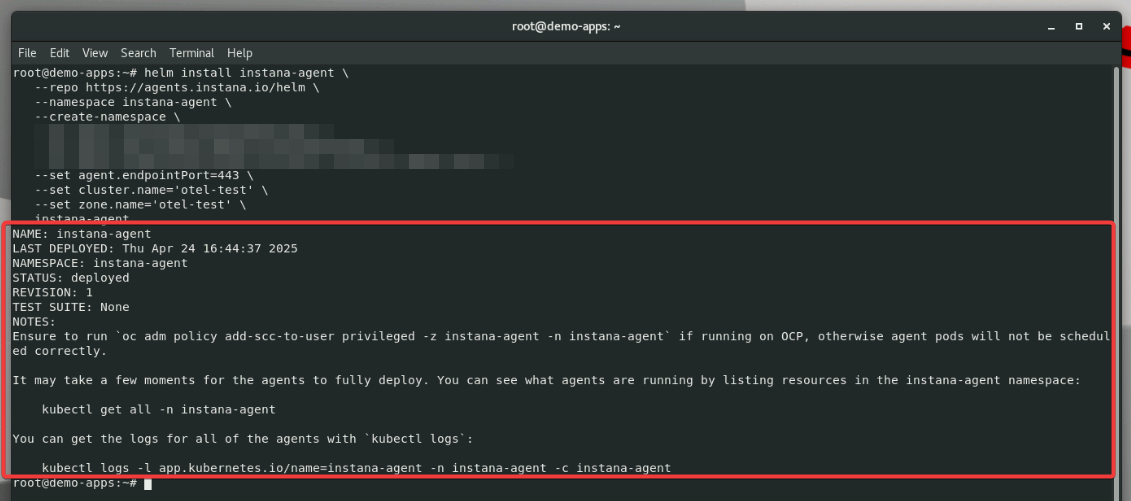
After pasting the script, hit enter to execute the commands. The installation process will begin, and you should see output indicating the progress of the deployment. Monitor the console for any messages that may require your attention to complete the installation successfully.
The fields like key, endpoint, etc. have been replaced with [REMOVED] value. You need to use values from your environment.
helm install instana-agent \
   --repo https://agents.instana.io/helm \
   --namespace instana-agent \
   --create-namespace \
   --set agent.key= [REMOVED] \
   --set agent.downloadKey= [REMOVED] \
   --set agent.endpointHost= [REMOVED] \
   --set agent.endpointPort=443 \
   --set cluster.name='demo-apps' \
   --set zone.name='Demo Apps' \
   instana-agent
The results of the action should be similar to the presented image
Once you have executed the Helm chart installation script in your terminal, it's
important to verify that the installation was successful. To do this, you can
use specific commands to check the status of the deployed resources. Use the
command below to list all the pods in the instana-agent namespace and ensure
they are running correctly:
kubectl get pods -n instana-agent
By reviewing the output of these commands, you can ensure that the Instana agent has been deployed successfully and is functioning as expected.
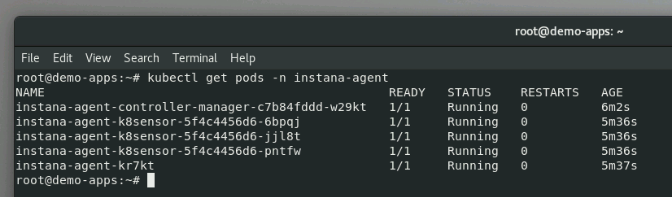
All pods should be in a RUNNING phase, all of them should also have a READY
state of 1/1 values as explained on the picture above.
Verify Kubernetes monitoring
After verifying the successful installation of the Instana agent on your Kubernetes cluster, return to your Instana UI to confirm that the agent is collecting metrics. Navigate to the main dashboard and click on the "Kubernetes" option in the left side menu. This section provides an overview of your Kubernetes environment, including various metrics and performance data.
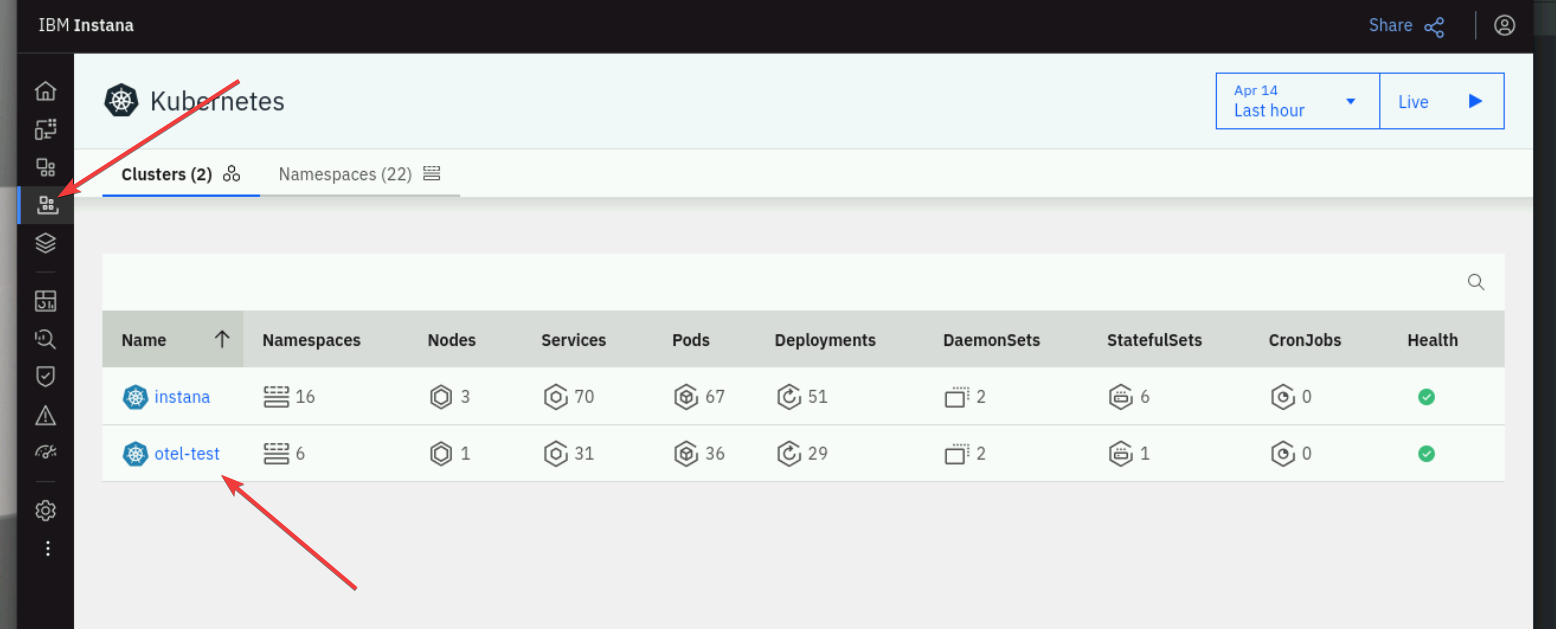
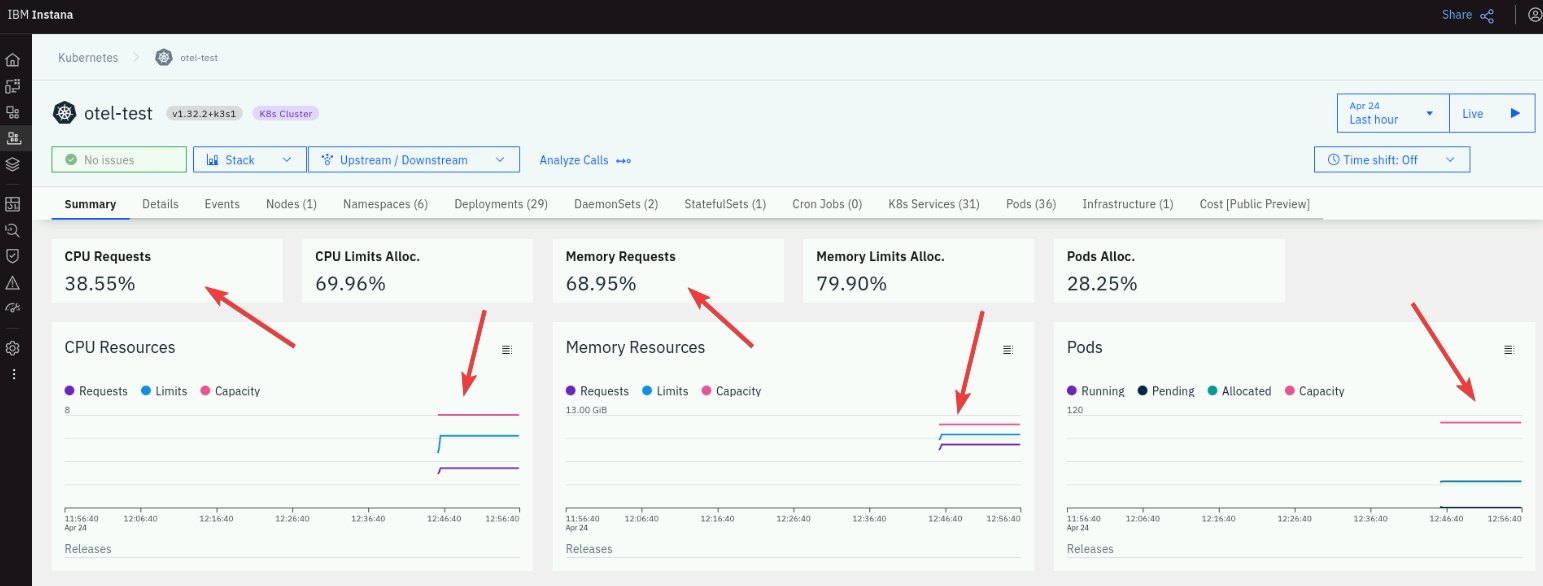
Ensure that you are receiving metrics from your cluster by checking the displayed data. Look for information such as CPU usage, memory consumption, pod statuses, and other relevant metrics. If the data is being populated correctly, it indicates that the Instana agent is functioning as expected and monitoring your Kubernetes cluster effectively.
Summary
This concludes the Instana agent installation section.
Key takeaways:
- Instana UI Navigation: Familiarized yourself with the Instana UI, particularly the "Deploy agent" and "Kubernetes" sections.
- Helm Installation: Understood the process of deploying the Instana agent using Helm charts for Kubernetes.
- Verification: Learnt how to verify the successful deployment and ensure metrics are being collected from your Kubernetes cluster.
Please move to the next section of the course.