Configure Policies
Introduction
Turbonomic defines a set of default policies for each entity type which are used to analyze data and make action recommendations.
Users can define their own policies for each entity in the supply chain based on business requirements.
Policies define business rules to control how Turbonomic
- analyzes resource allocation.
- displays resource status
- recommends or executes actions.
In this lab, you will configure an SLO policy for the Robot Shop application to understand how Turbonomic ARM uses target data already configured to make action recommendations that will assure application performance.
3.1: Open the Turbonomic Dashboard
If you are unsure how to get access to the Bastion host (Guacamole) see Accessing a Lab Environment
Open the Turbonomic ARM user interface in your browser:
-
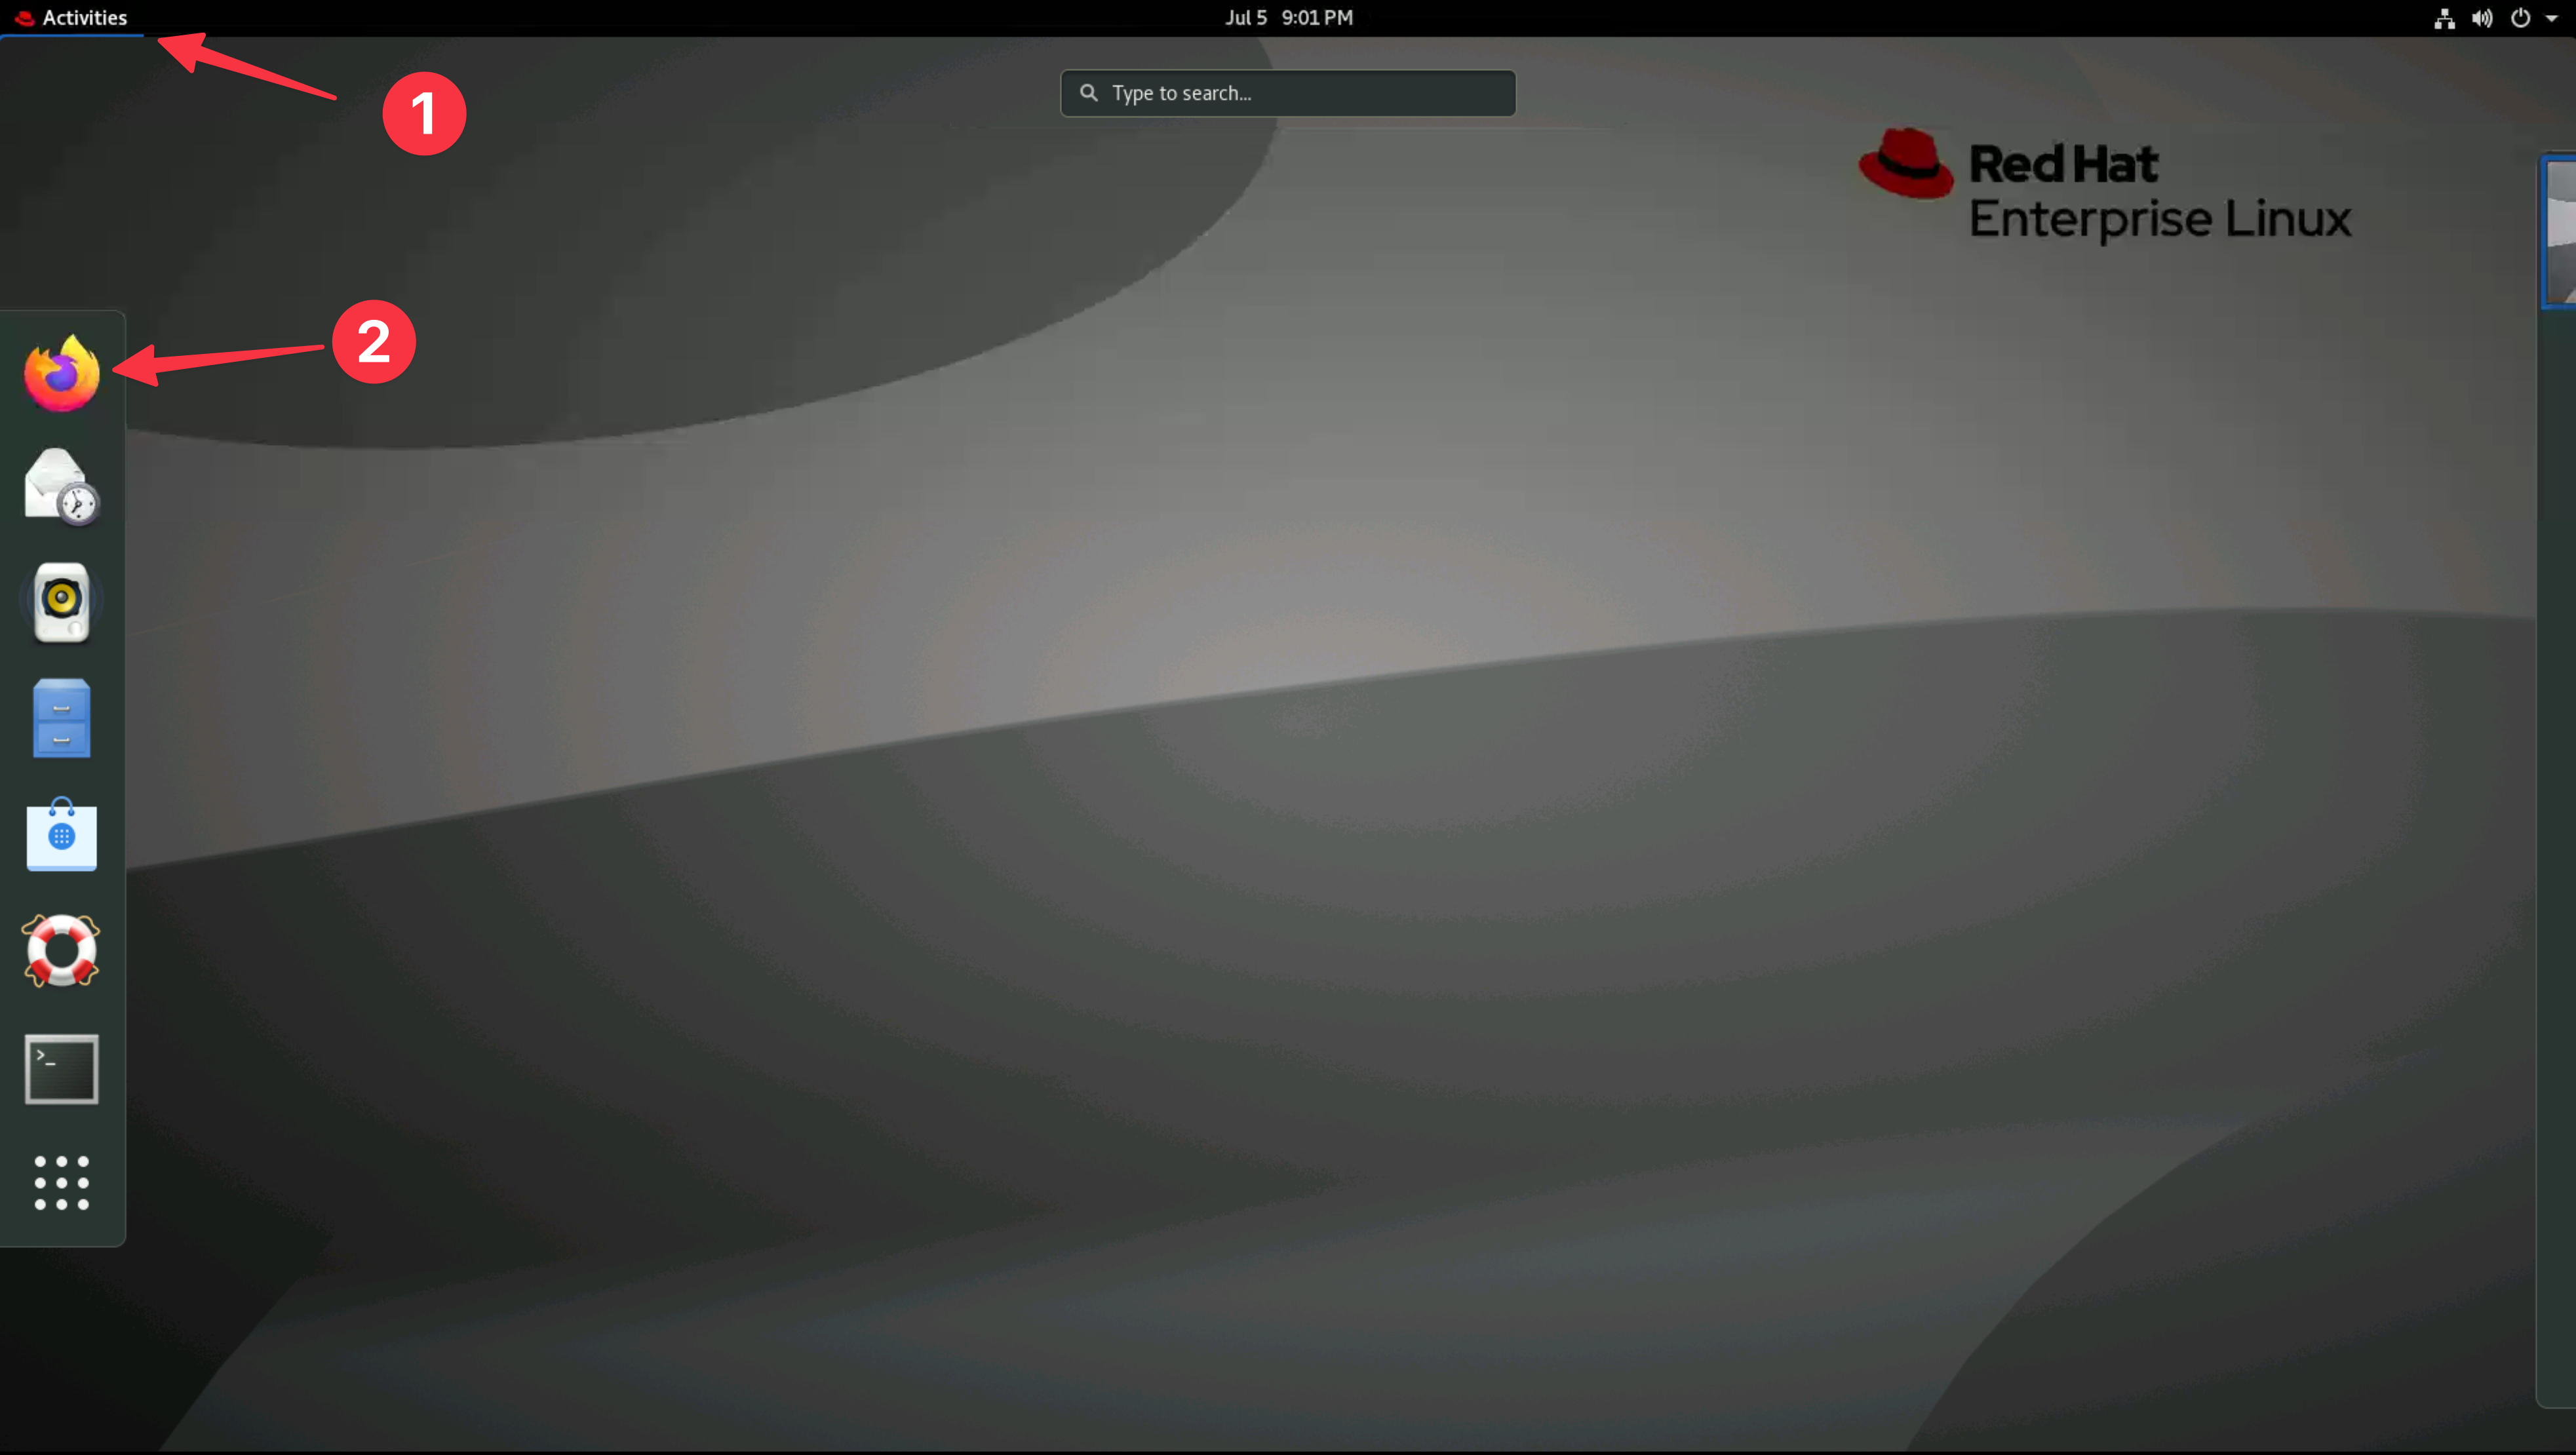
Select Activities at the top left of the bastion host.
-
Select Firefox
-
Click on the Turbonomic bookmark.
-
Login to Turbonomic
- Username:
administrator - Password:
Passw0rd
- Username:
There is currently a known issue with the integration between Turbonomic and Instana in the lab environment preventing data ingest from Instana.
Until this is resolved the workaround is to re-save and rediscover the Instana target. To do this:
- Select Settings from the left navigation pane
- Select Target Configuration
- Edit the Instana target that is in a critical state. DO NOT change anything. Just click Save.
- Check the checkbox next to the Instana target and click Rediscover
This will force a re-discovery of the Instana target and should resolve the issue. The UI will begin to populate with data from Instana after a few minutes.
3.2: Create Groups
In Turbonomic ARM, groups:
- are a collection of like entities.
- can be used any place where you can scope.
- are automatically created in some cases.
Now we first need to create the group containing the Robot Shop business application.
In the Turbonomic ARM user interface:
-
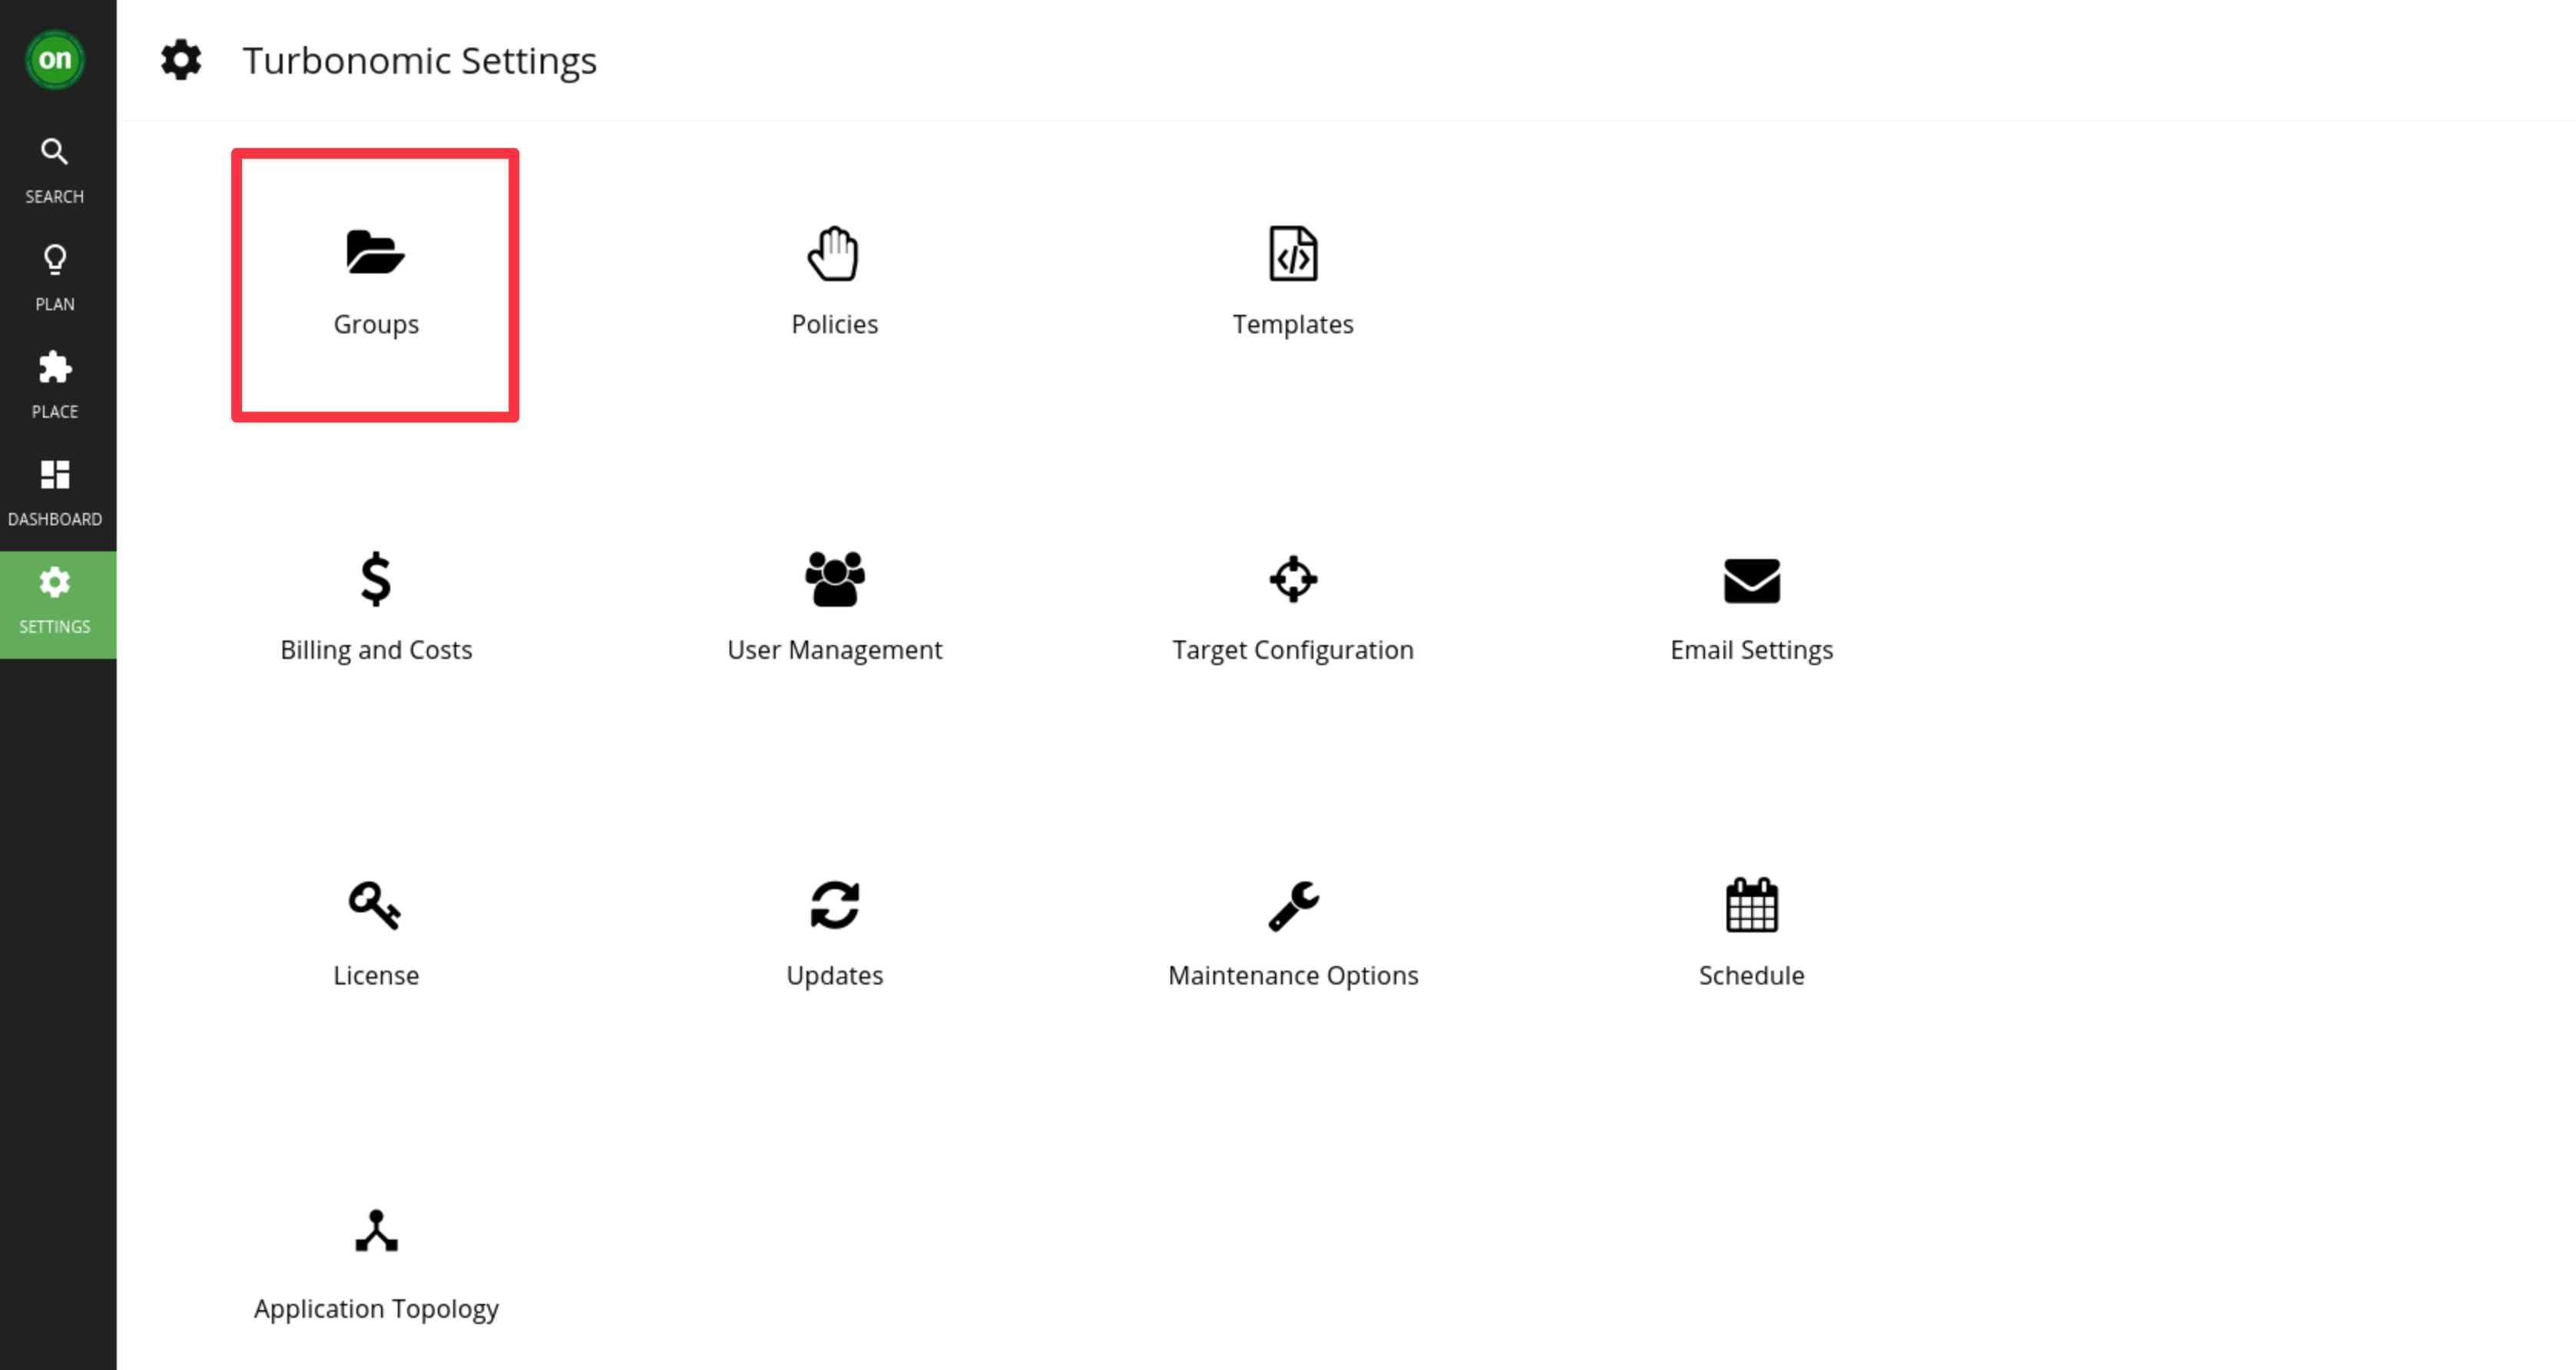
Click on Settings -> Groups:
-
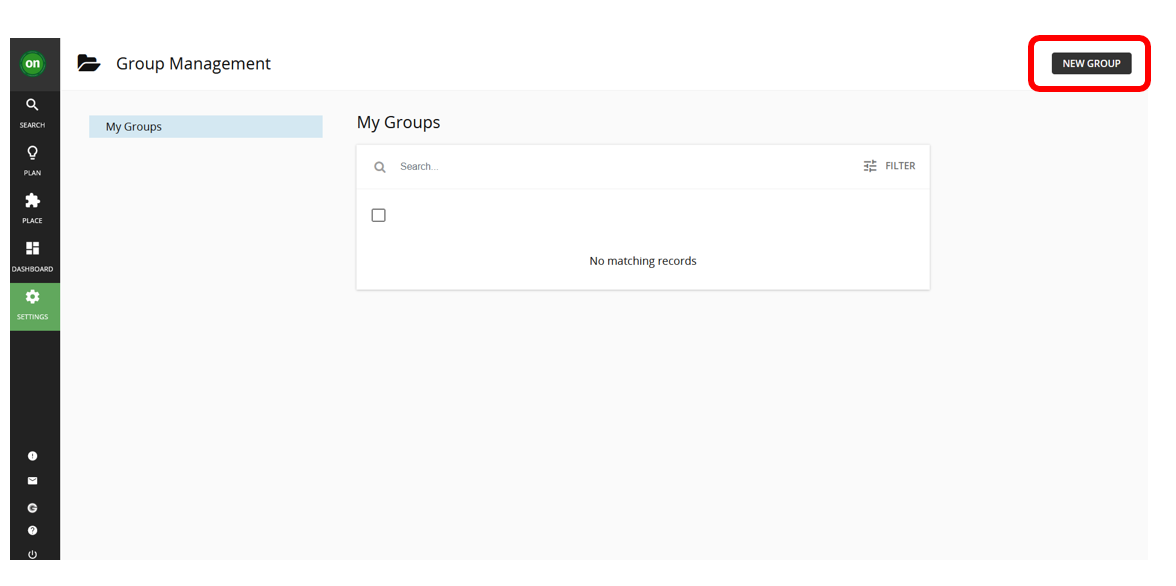
Click on NEW GROUP:
-
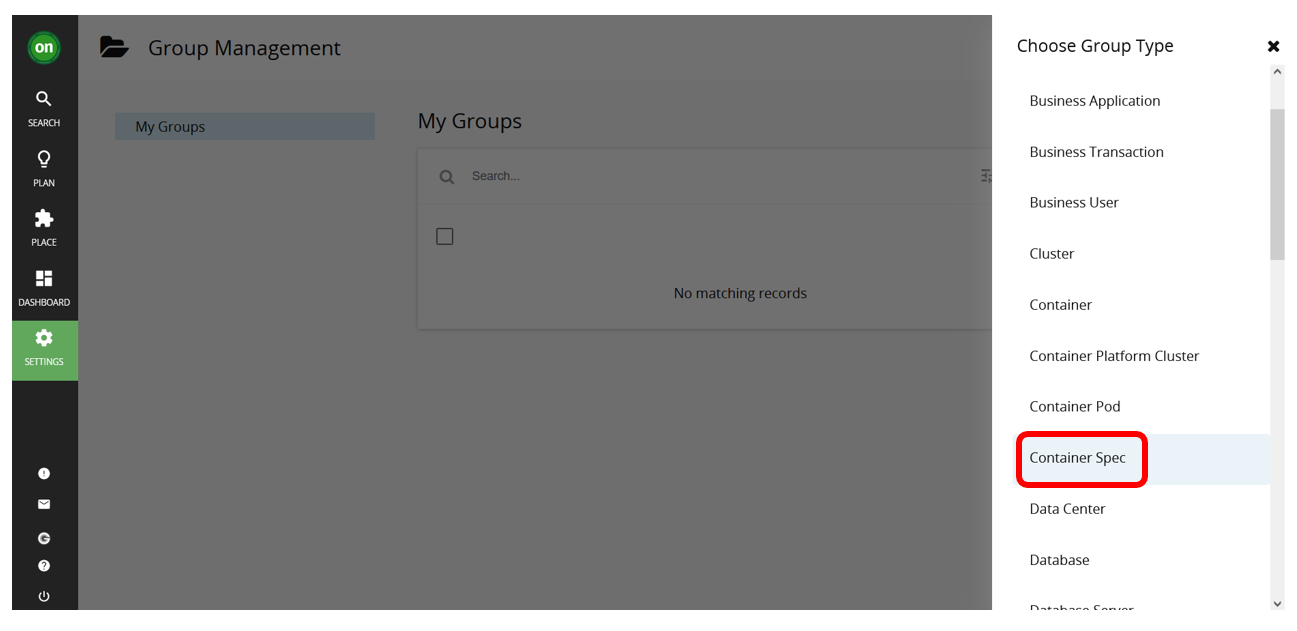
Click on Container Spec:
-
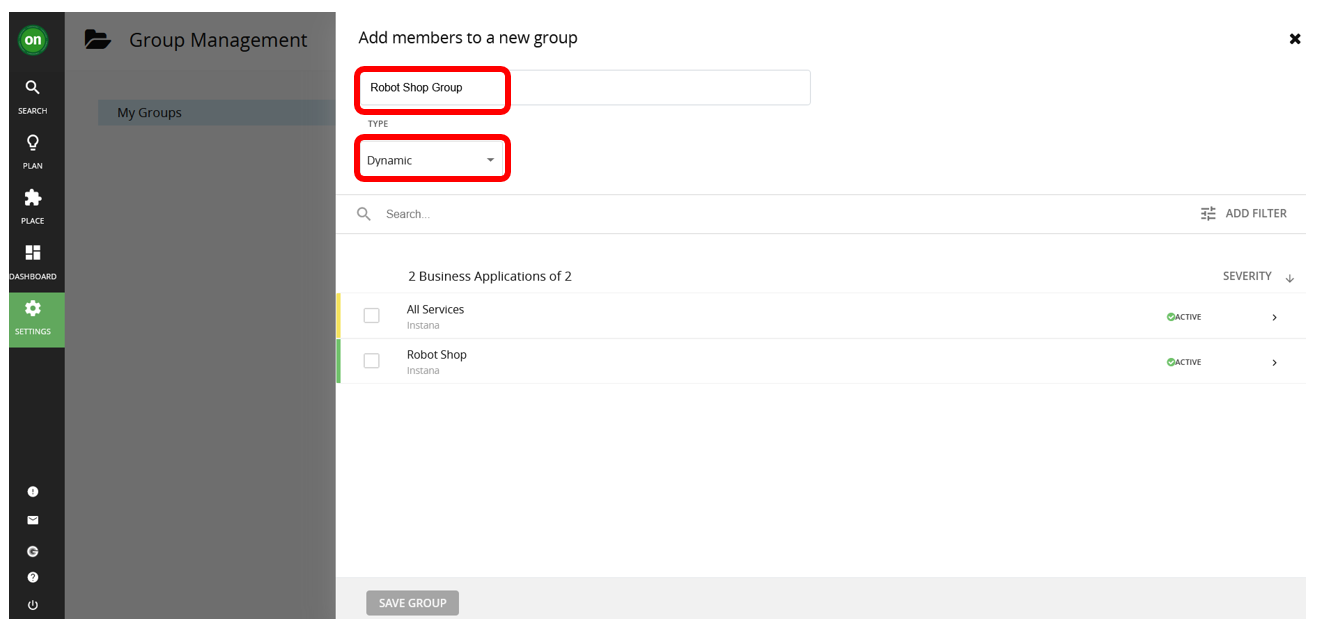
Enter the group name as
Robot Shop Groupand select the Dynamic type:Static vs Dynamic- use Dynamic groups if there is criteria which can define your group.
- use Static groups when:
- You do not expect membership to ever change.
- There is no criteria that can be used to define the group.
-
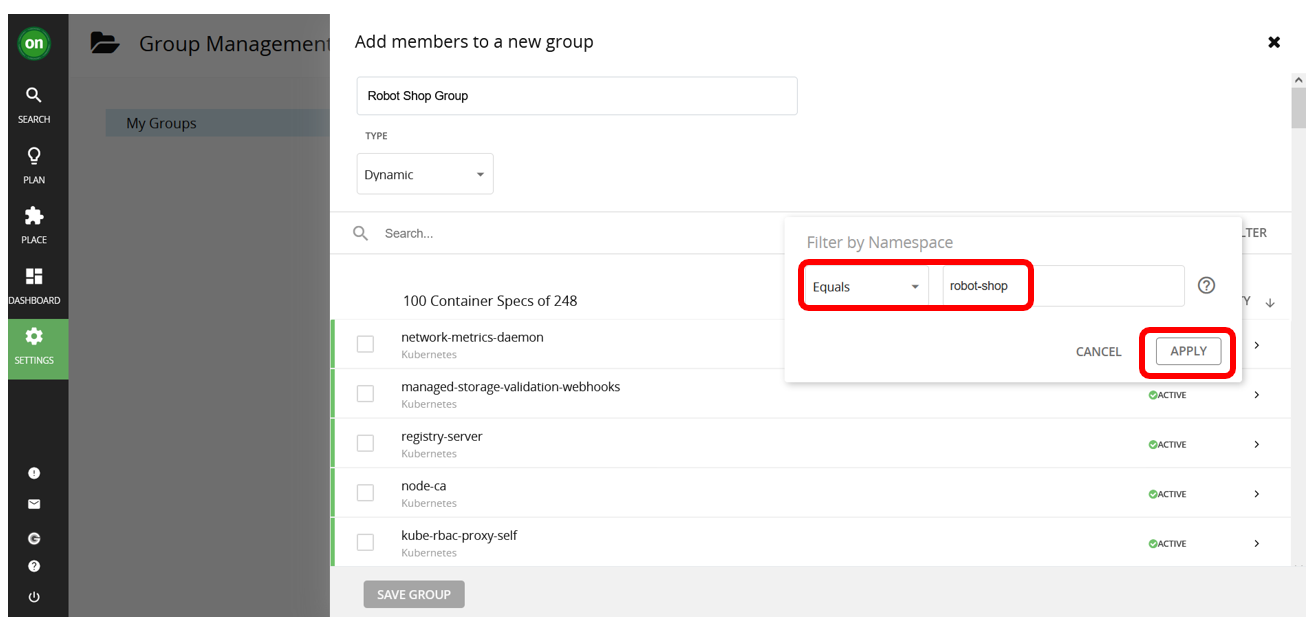
Click on ADD FILTER and select Namespace
-
Select filter Equals and enter the expression
robot-shopthen click the Apply button:cautionUntick any other checkboxes that are selected.
-
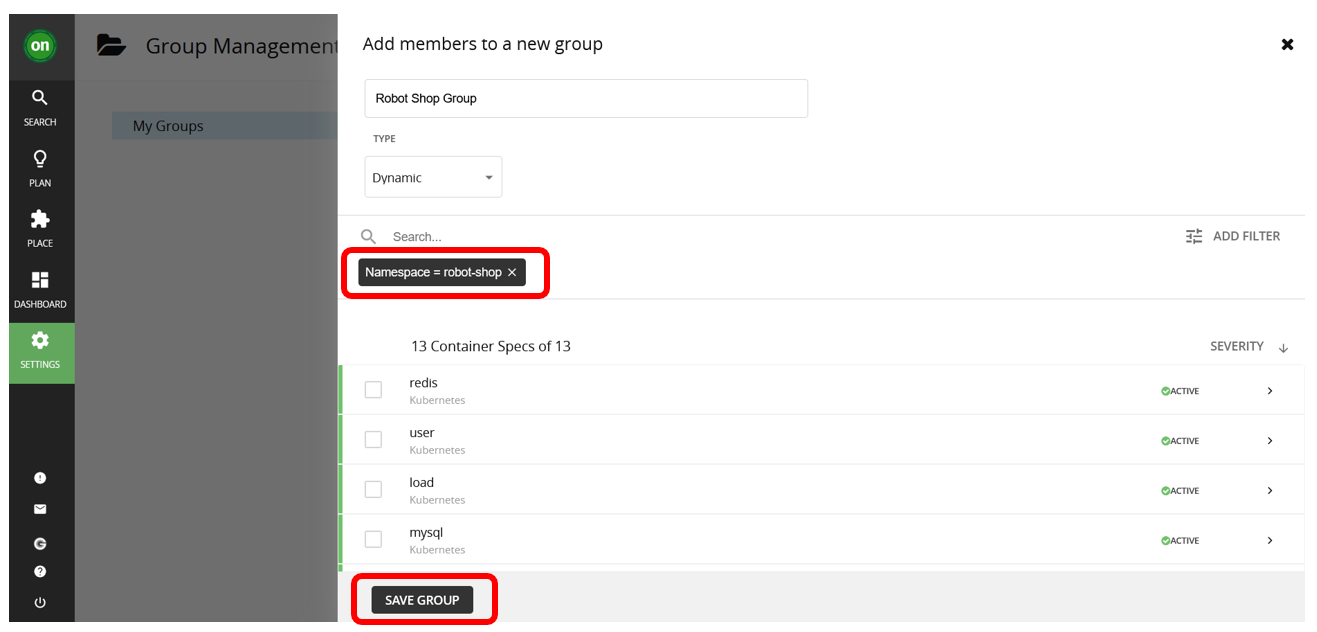
Click on the SAVE GROUP button:
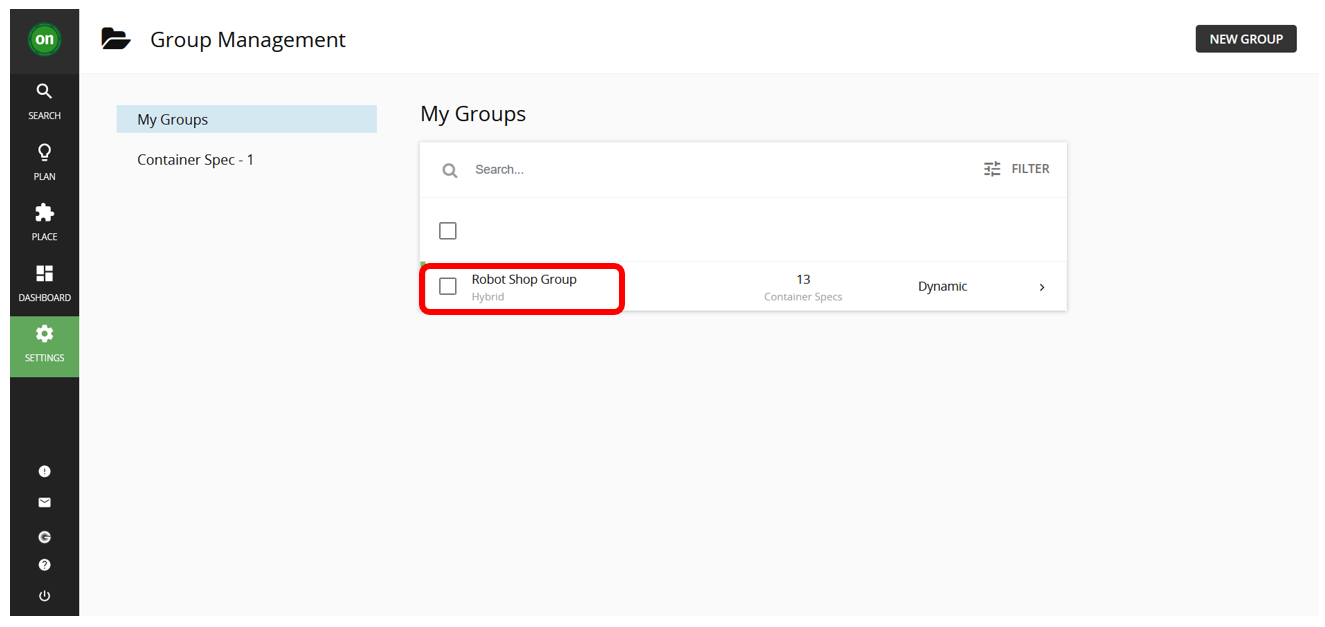
You should now see the Robot Shop Group newly created.
3.3: Setup a Policy
-
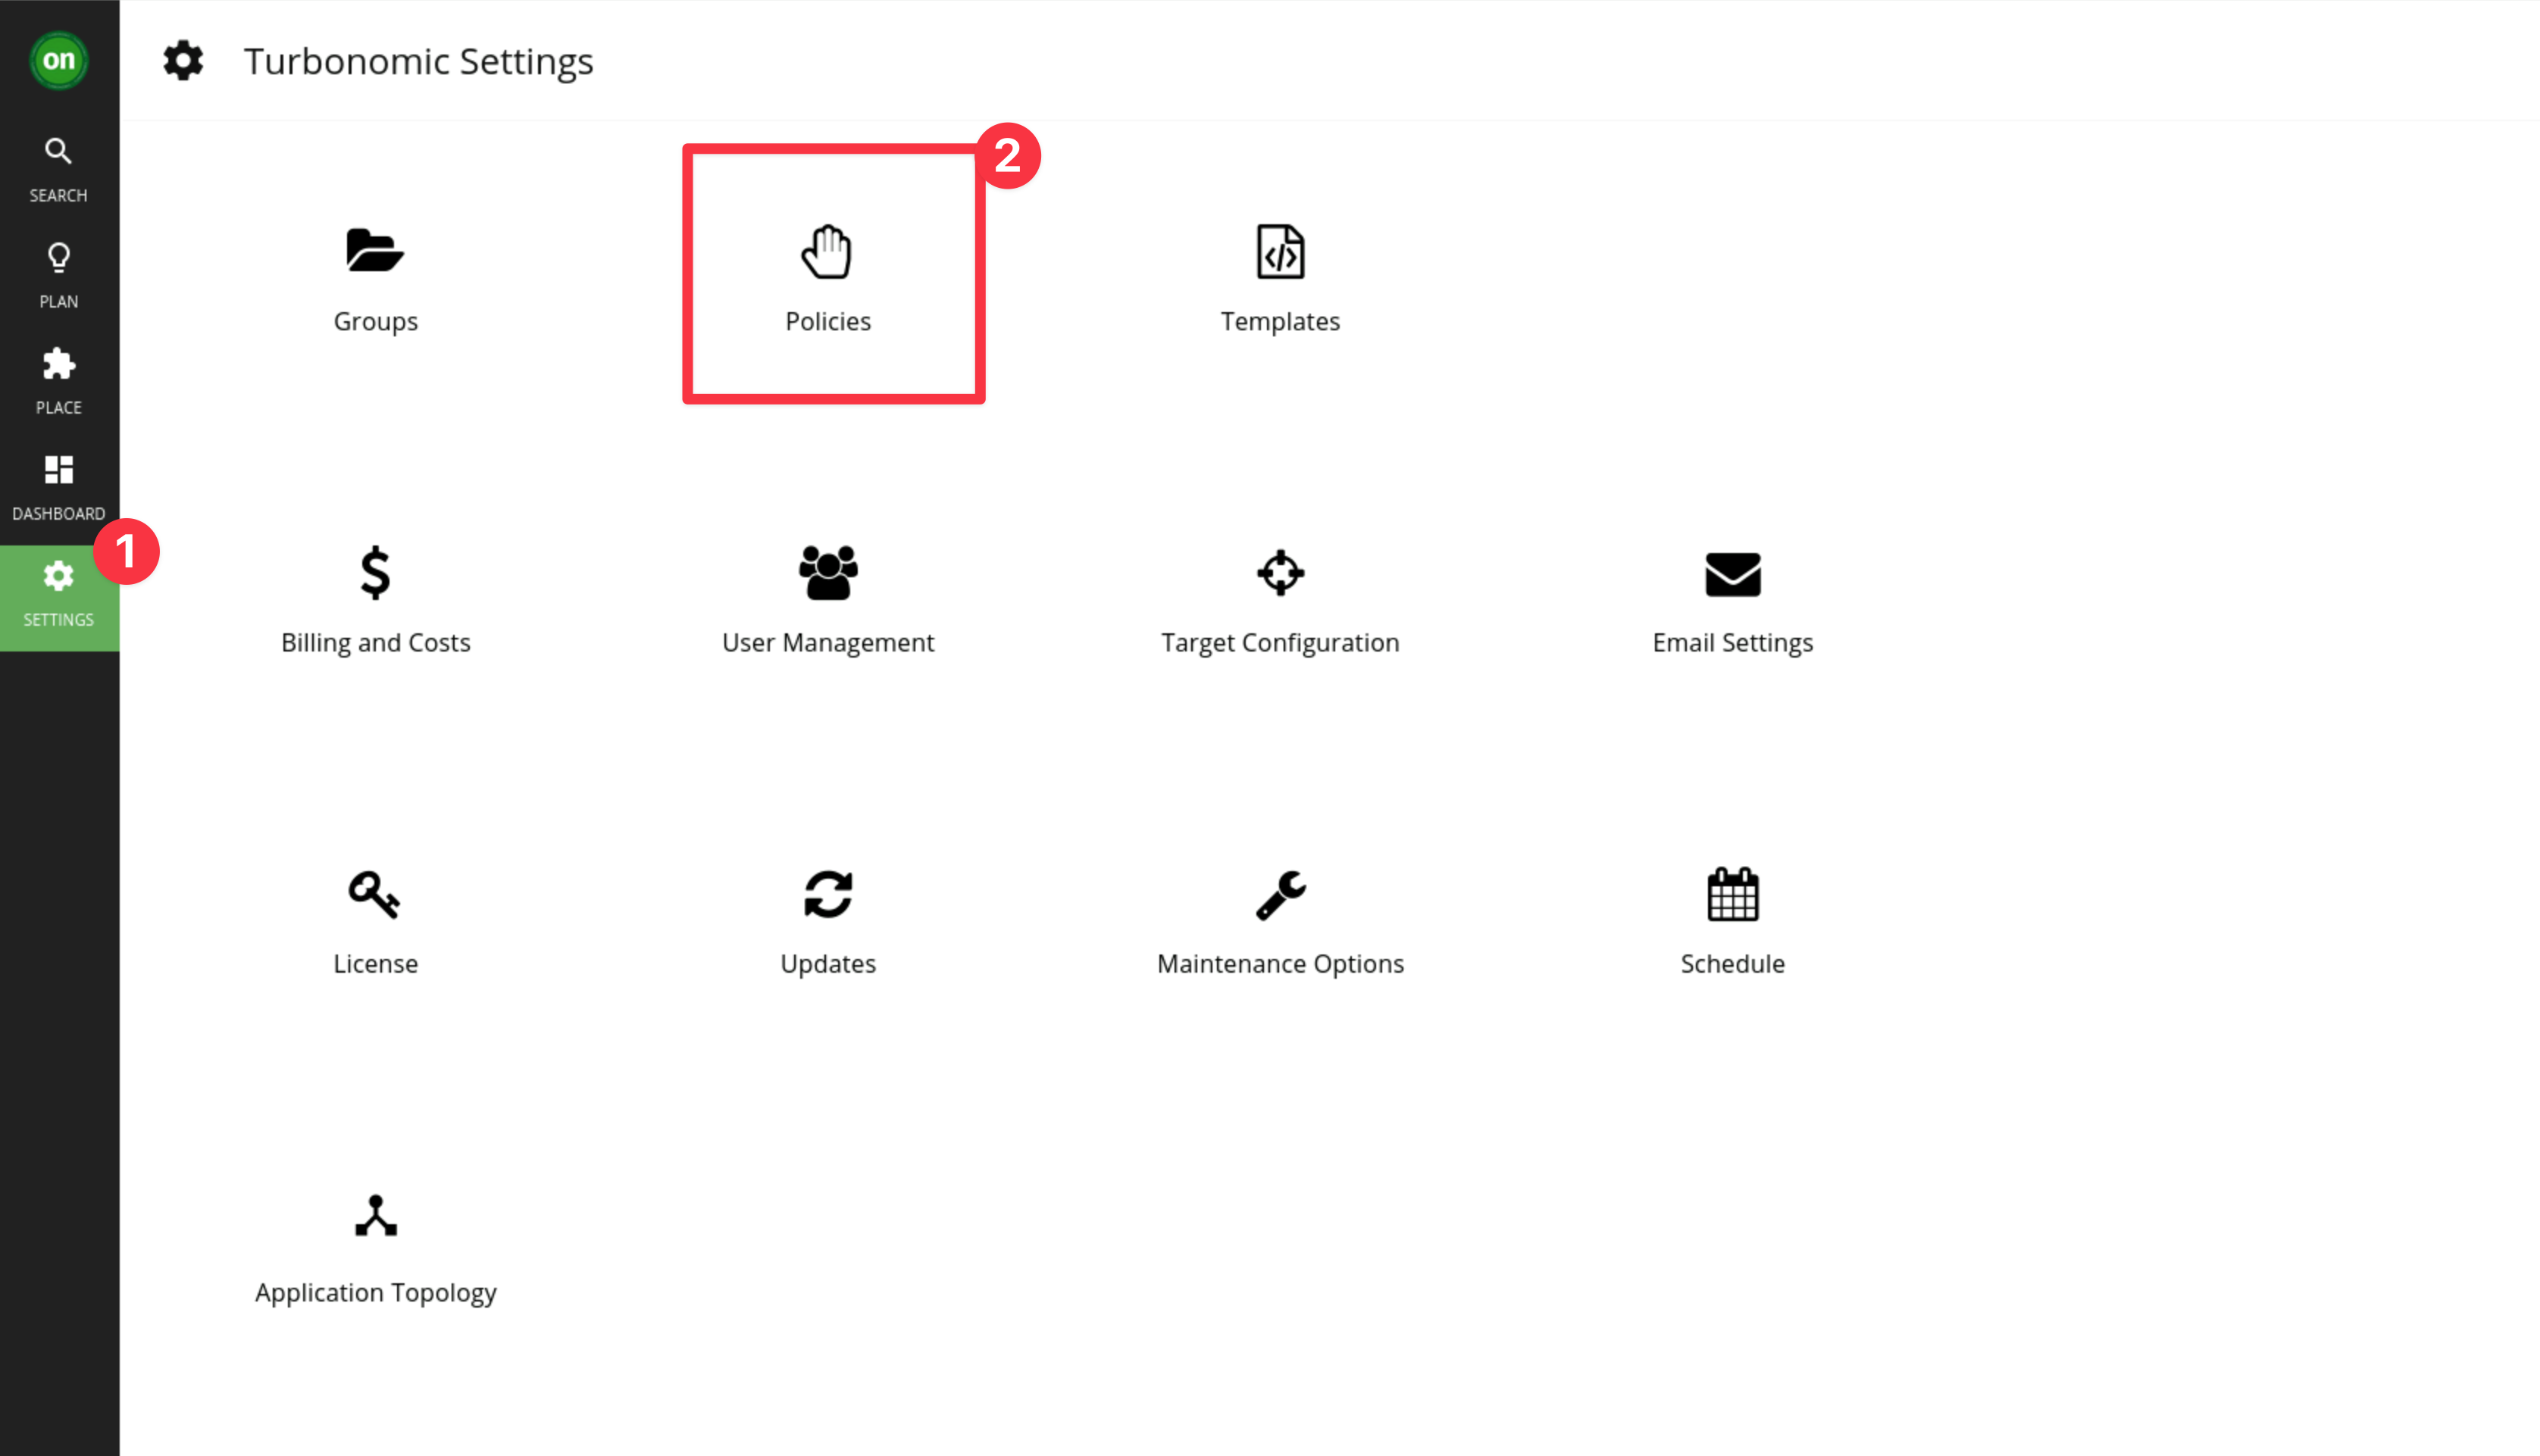
Click on Settings and select Policies:
-
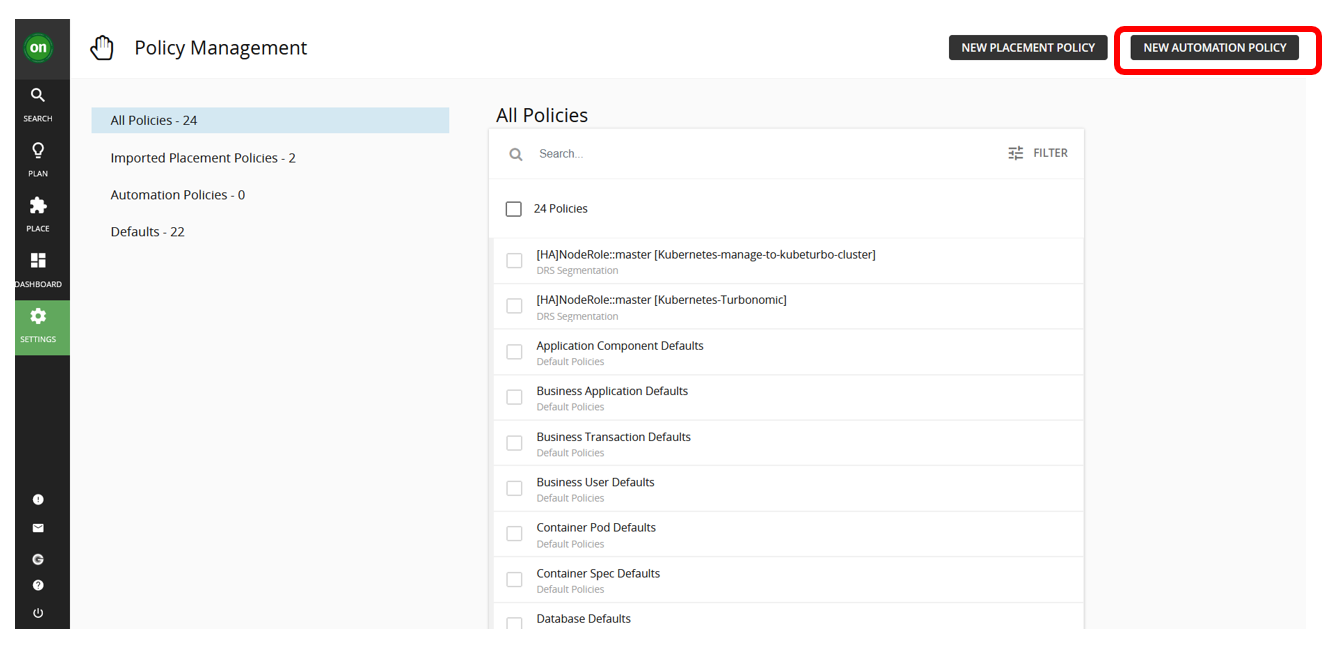
Then click on NEW AUTOMATION POLICY:
-
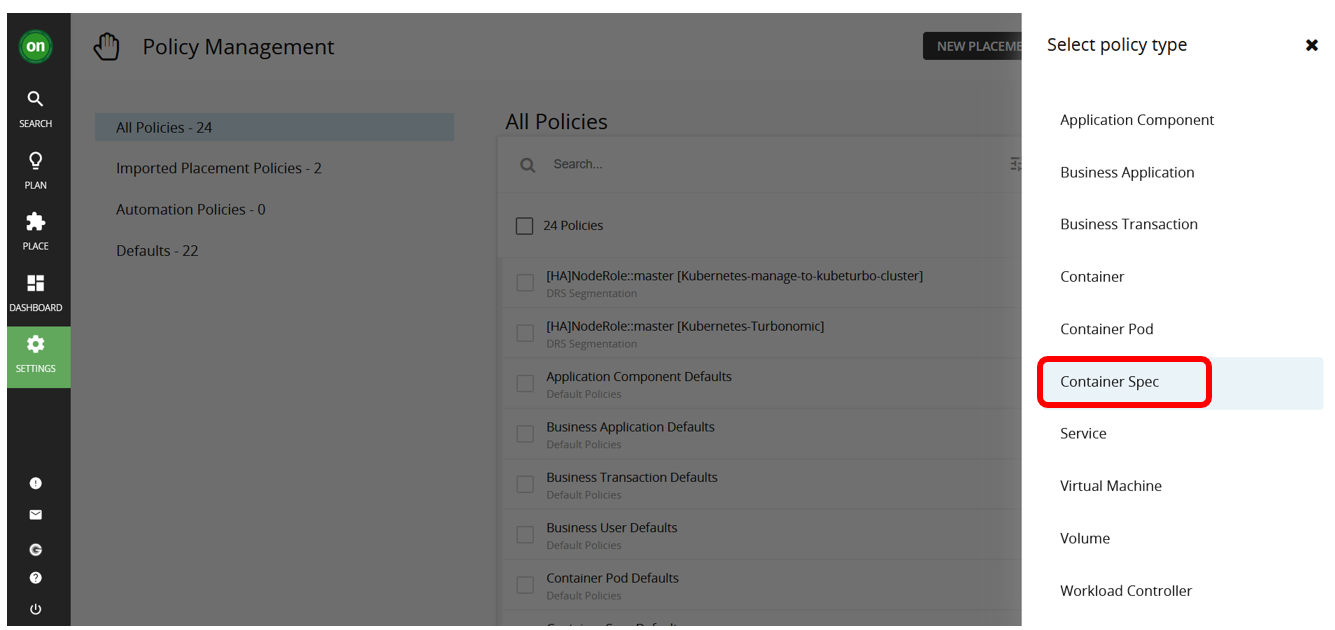
Select Container Spec as the policy type for the Robot Shop application:
-
Fill in the name as
Robot Shop Container Spec Policyand click on ADD CONTAINER SPEC GROUPS: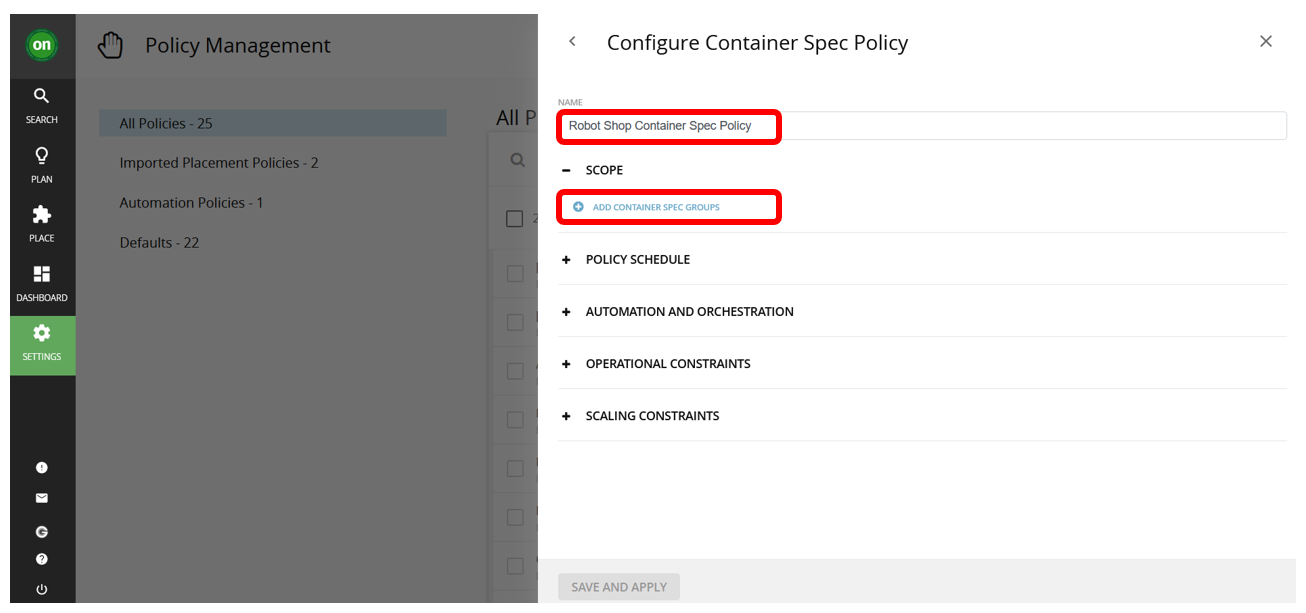
-
Select the Robot Shop Group checkbox and click on the SELECT button.

-
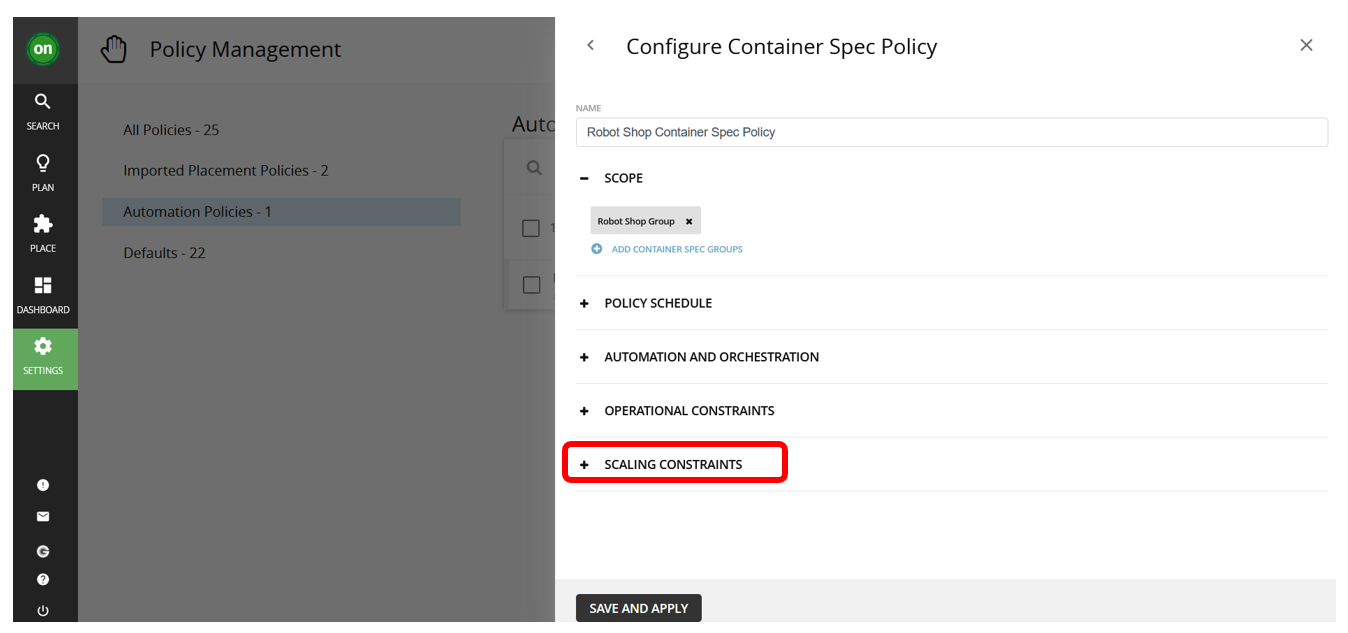
Expand the SCALING CONSTRAINTS section:
-
Configure the scaling constraints as in the image below:

-
Then click the SAVE AND APPLY button. With the policy configured, Turbonomic will analyze performance data over time and then provide placement and resource sizing recommendations with no minimum observation period.
-
The scoped policy you have created can be found in the Automation Policies category:
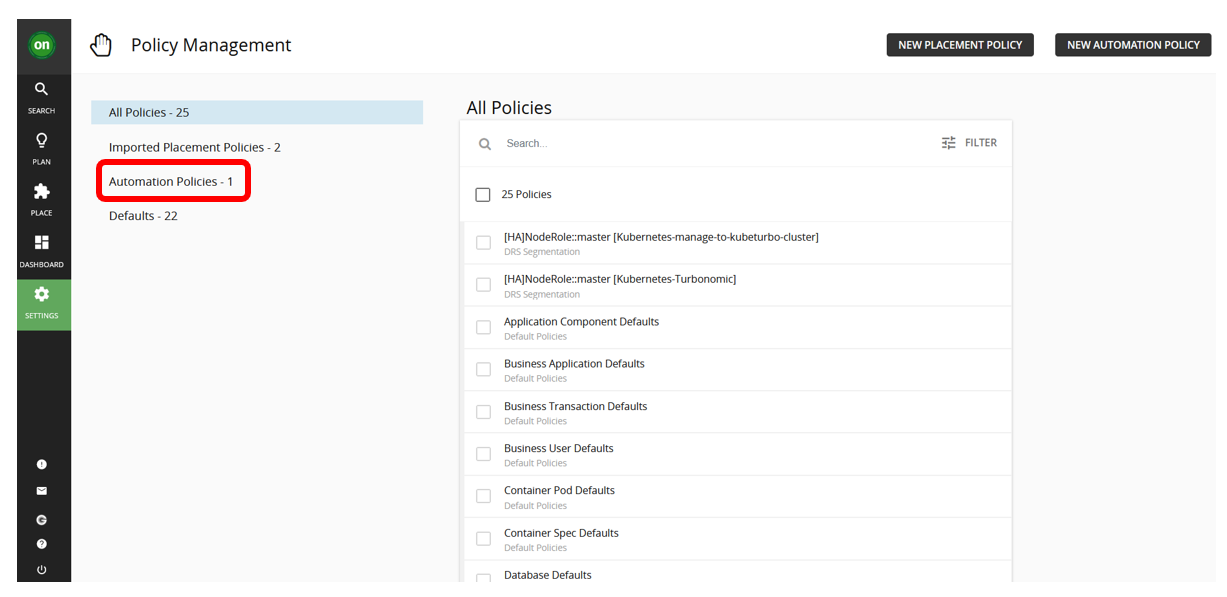
-
The Imported Placement Policies category is specifically to filter for imported on-prem policies:

-
The Defaults category represents the policies that govern entire entity types. If you were to change these policies they would apply to all entities of that type.

-
Now go back to the Turbonomic dashboard by clicking the green on at the top left of the page. Wait for up to 10 minutes and you will notice there are Actions now:
The Demo Environment Could Take Some TimeEach environment may be performing a little differently to others. Depending on the environment you may see either Global Pending Actions or Business Application Actions or both.
As long as you see at least one of these, you can proceed with the lab. If not you should wait a little longer for Turbonomic to collect more data and suggest possible actions.
If required you can increase the load on the Robot Shop application by scaling the load generator. From the bastion node open a new Terminal and run
oc scale --replicas=2 deployment rs-website-load -n robot-shop --kubeconfig ~/kubeconfig-apps.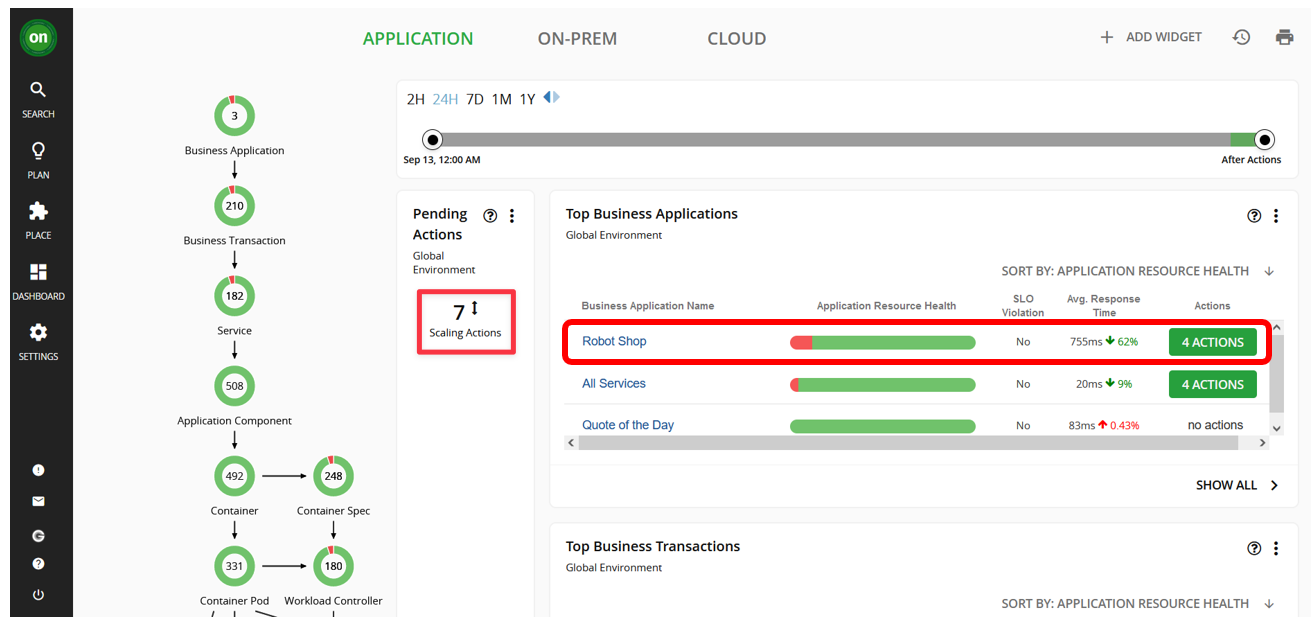
3.4: Editing a Policy
This is for information only, there is no need to actually edit any policy for these labs.
To edit a policy, navigate to Settings -> Policies and select the policy you would like to edit:
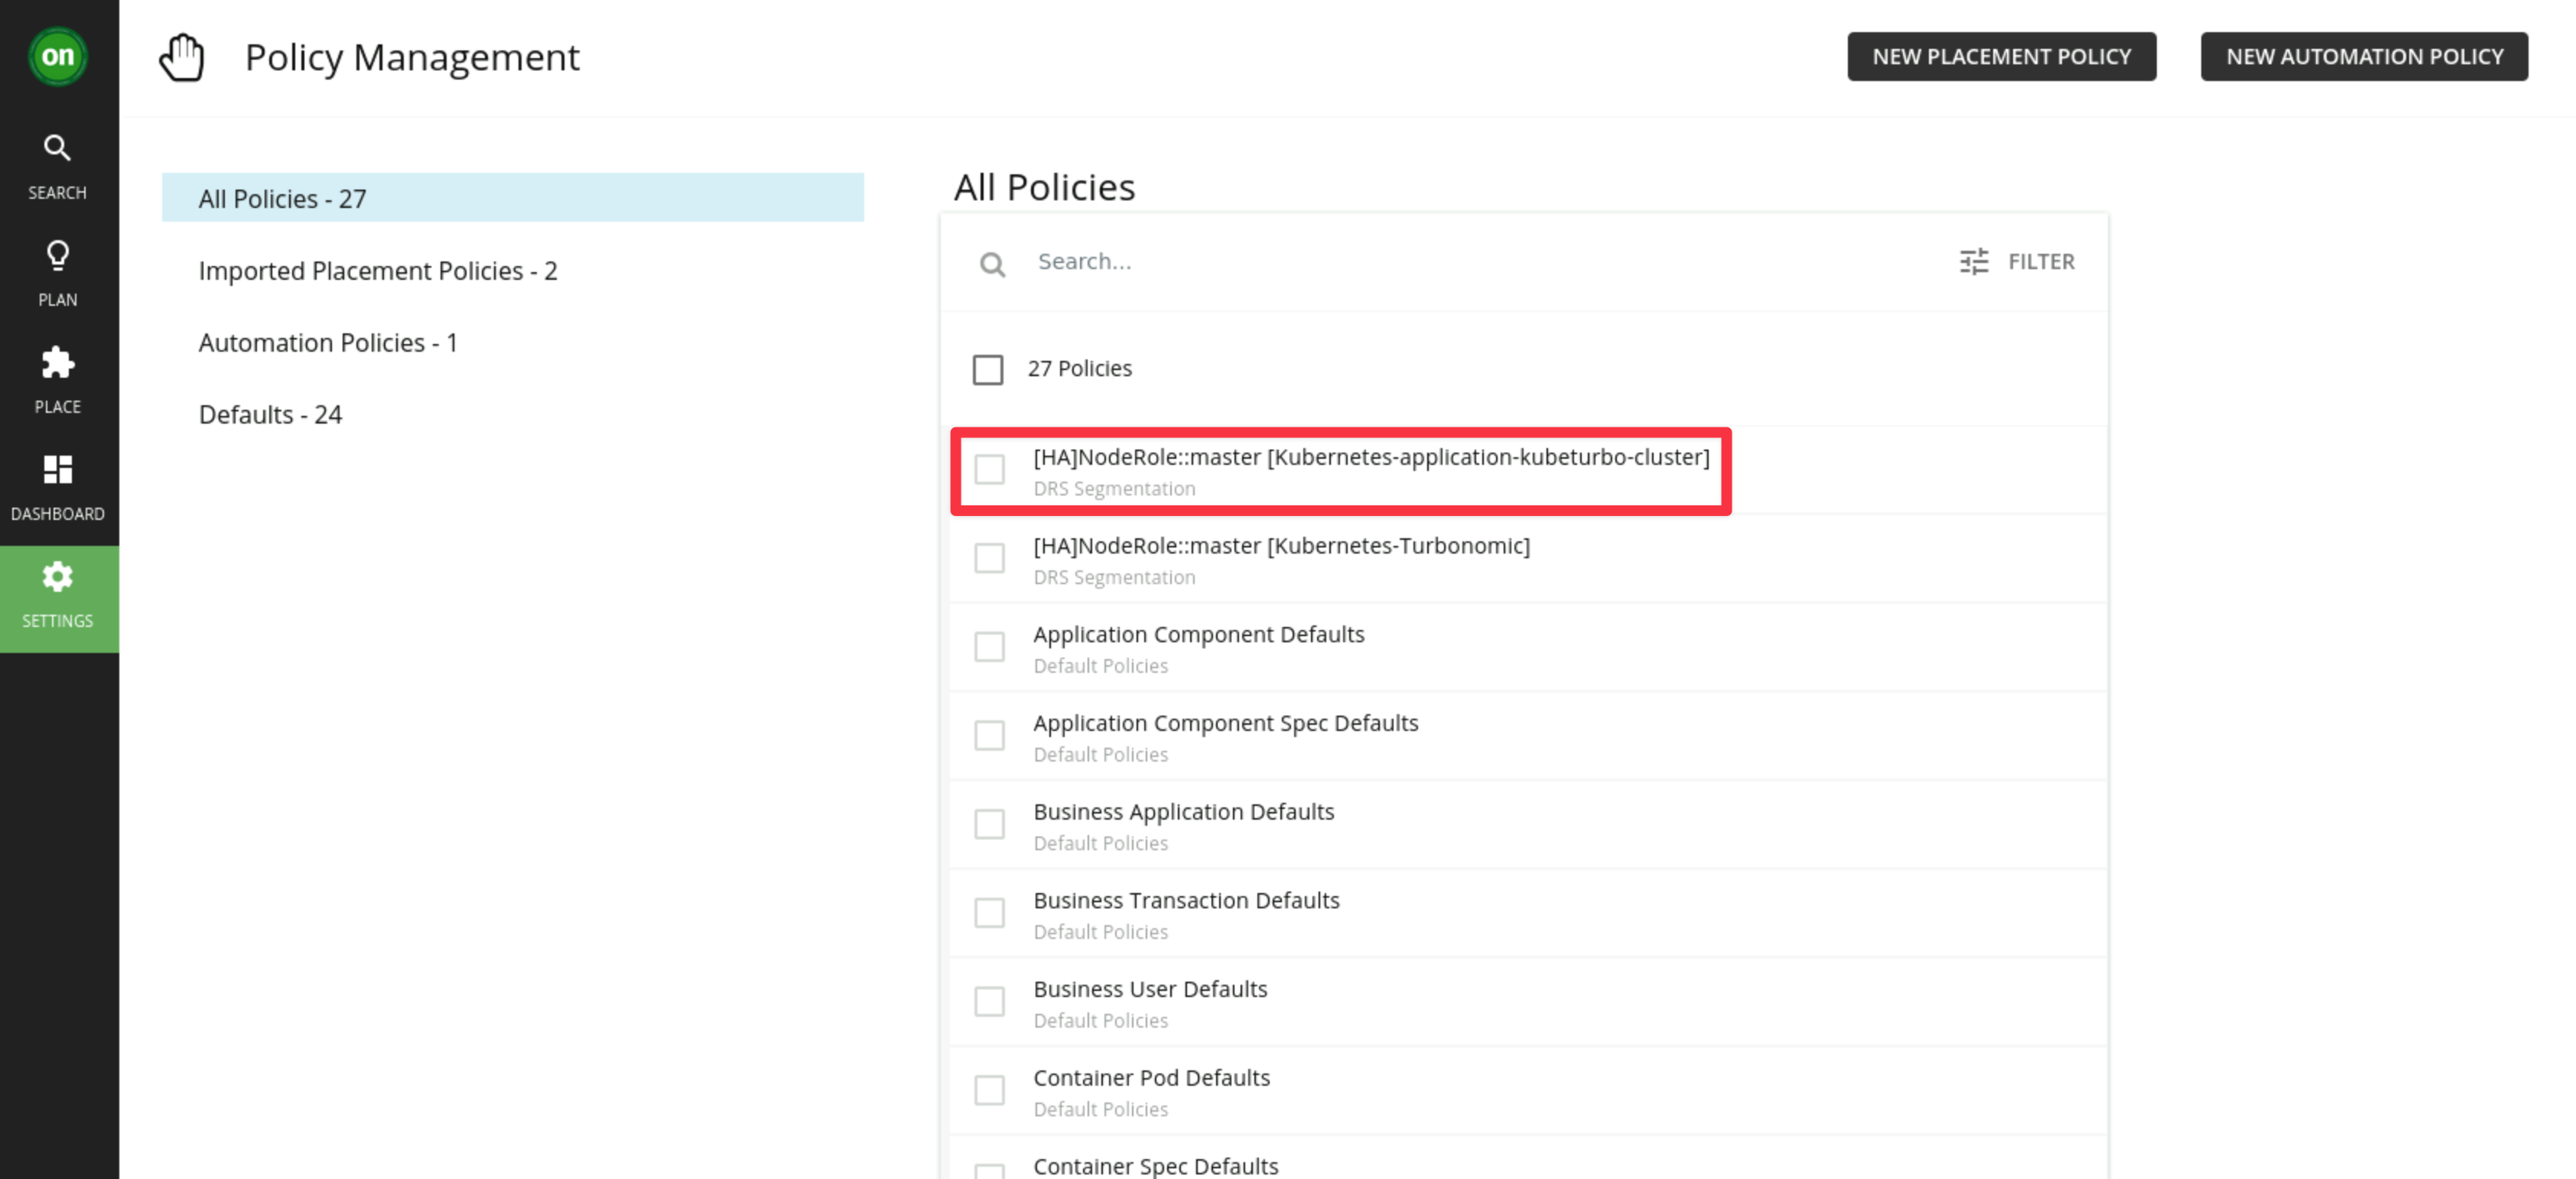
Make your changes and save.
3.5: Deleting a Policy
This is for information only, there is no need to actually delete a policy for these labs.
- To delete a policy navigate to Settings -> Policies and select the checkbox next to the policy you want to delete. Then click the Trash icon:

3.6: Summary
In this section, you have learned how to create a scoped policy for a container spec, in this case to govern an application container spec.
Next, we will look at how to take actions to assure application performance.