After creating an Event Endpoint Management service, set up an Event Gateway to connect your service with your Kafka cluster. You can then describe topics from that cluster as event sources, adding them to the Event Endpoint Management catalog, and making them available to share as event endpoints through options.
Follow the steps in this guide to get your topics described in Event Gateway and make them available to others in your organization.
Before you begin
- Ensure you have a host with Docker installed for deploying an Event Gateway.
- Ensure you have the connection details for your Kafka cluster available.
- Ensure you have at least one Kafka topic.
Note: Don’t have a Kafka cluster? We’re working on a trial experience that doesn’t require your own Kafka cluster. Let us know if you want to be notified when this is available.
Add an Event Gateway
Set up an Event Gateway to manage the connection and access control between your Kafka cluster and your Event Manager component within Event Endpoint Management. The gateway handles access to the event endpoints through which others can access the data available on the topics.
The Event Endpoint Management UI helps you create a configuration file for deploying the gateway. For this getting started, the UI guides you through creating a configuration file for a Docker image that can be used to install a gateway on a host where you have a Docker engine running. Use the image to start an Event Gateway that contains the required settings to register the gateway with your Event Manager.
To add an Event Gateway:
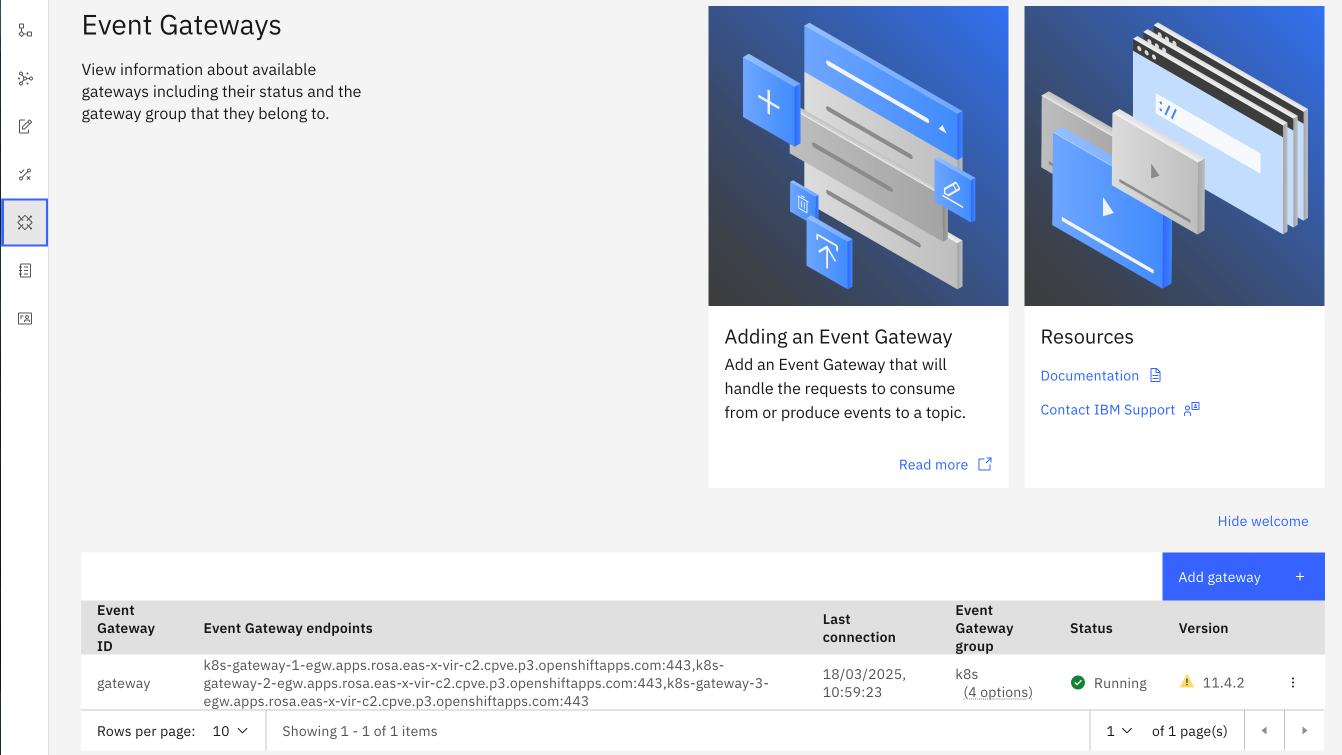
- In the navigation pane, click Administration > Event Gateways.
-
Click Add gateway.
-
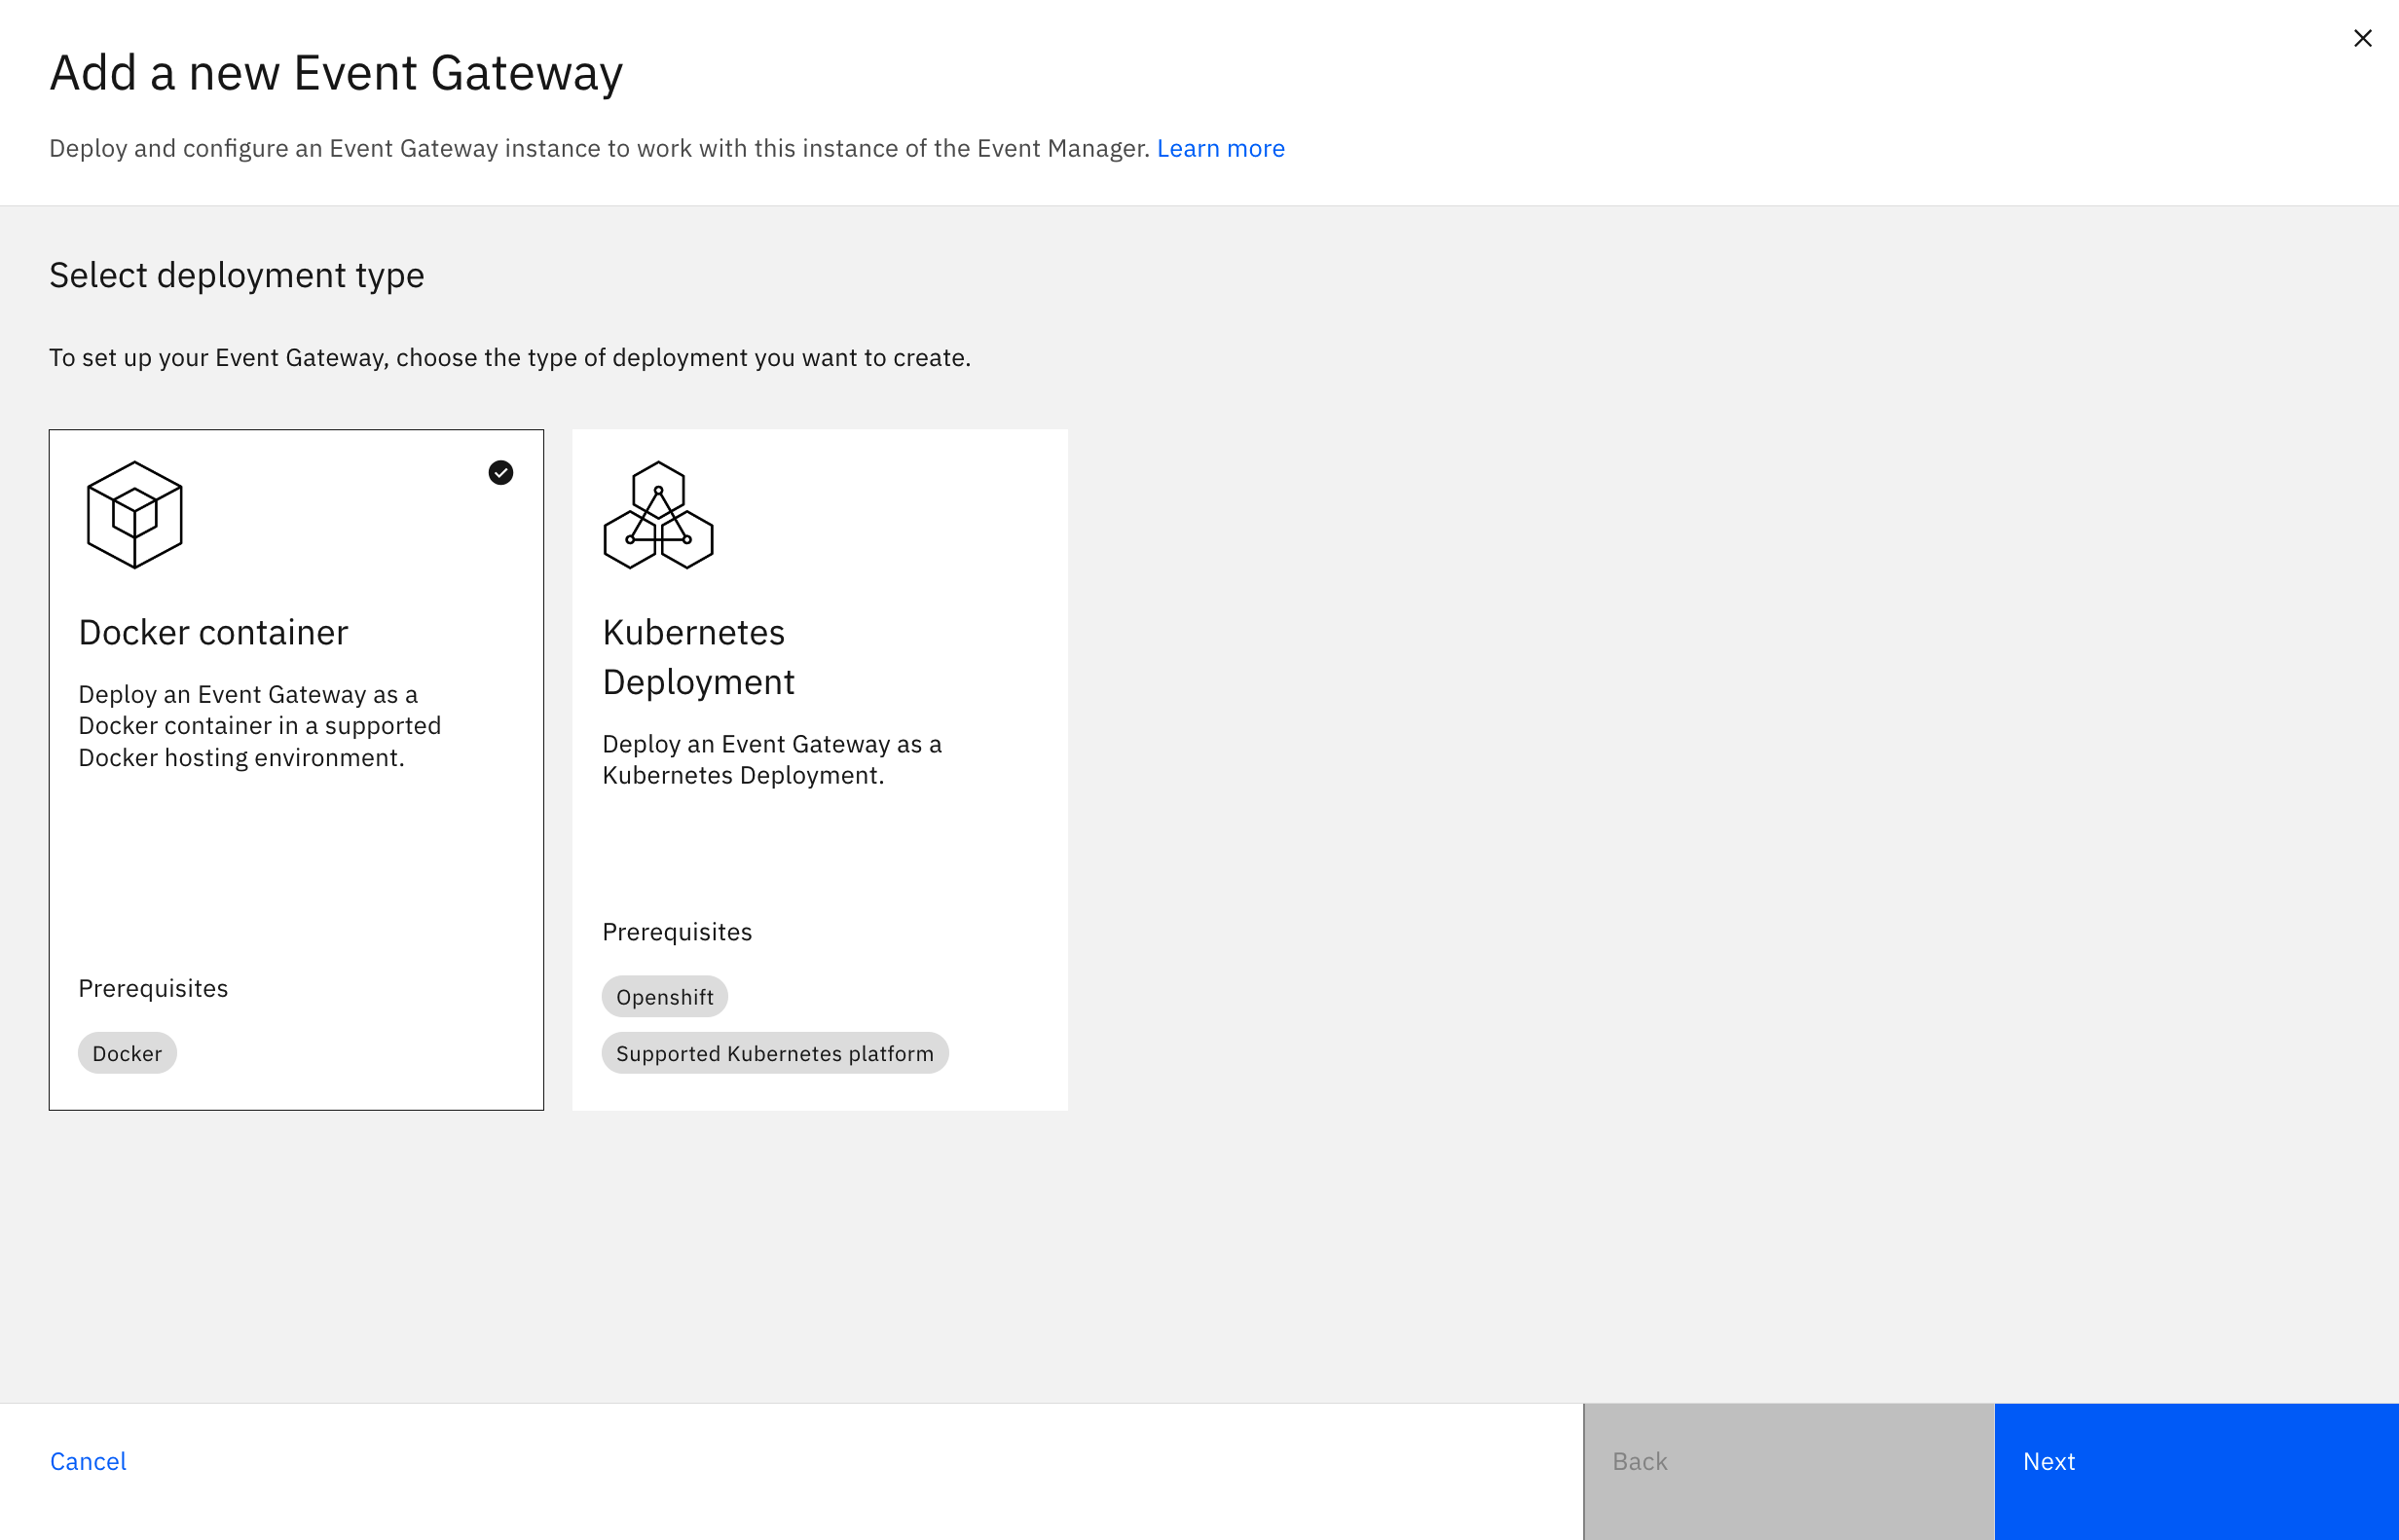
Select the Docker tile, then click Next.
-
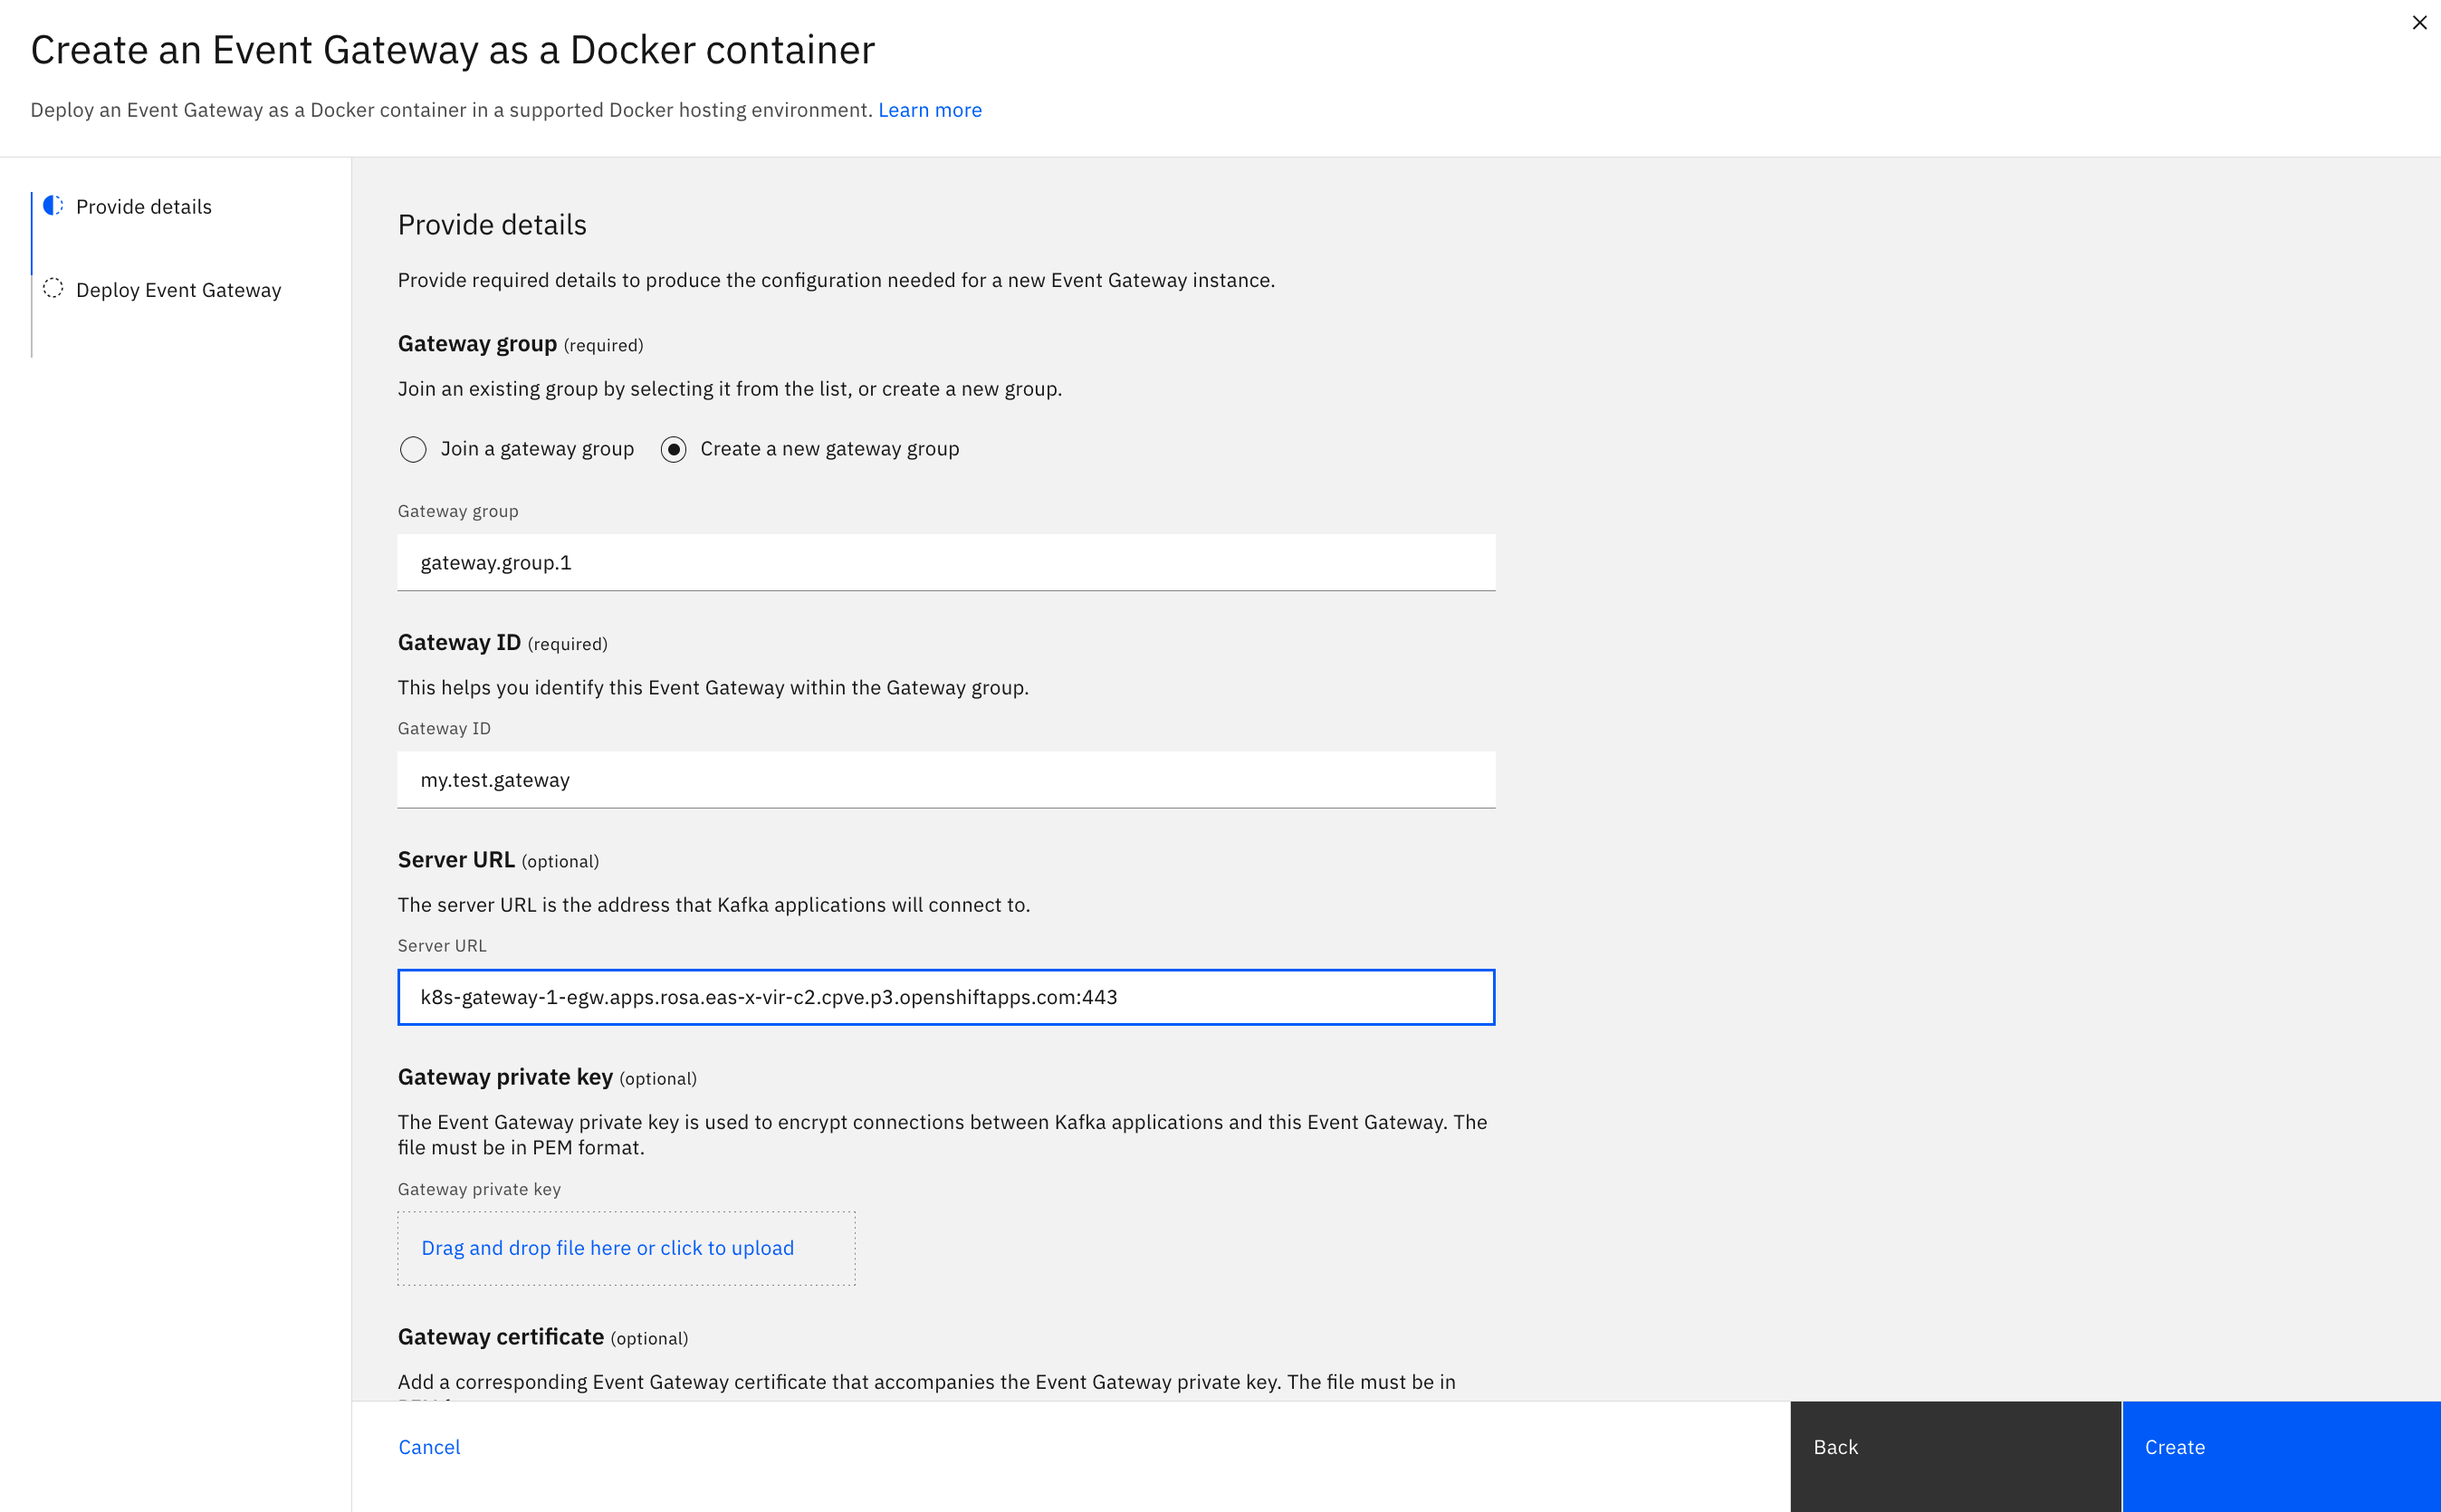
Provide the configuration details for your gateway, then click Create.
- Gateway group: Create a gateway group for your new gateway. An Event Gateway group is a set of gateway instances that can be logically grouped and scaled together. For this example, you could simply create a test group and call it
gateway.group.1 - Gateway ID: Provide an ID for your new gateway that is unique within the gateway group. For example,
my.test.gateway - Server URL: The address of your new gateway that client applications will use to access event endpoints through the gateway.
To configure TLS communication between client applications and the gateway, upload the following certificate files:
- Gateway private key: PEM file that contains the private key that is used to encrypt client application connections to your new gateway. The private key must be created with the gateway address in the SAN.
- Gateway certificate: PEM file that contains the public certificate that is used to encrypt client application connections to your new gateway. The certificate must be created with the gateway address in the SAN.
- CA certificate: PEM file that contains the CA certificate that client applications must add to their truststores for secure communication with your new gateway. This CA certificate must be an ancestor of the Gateway certificate.
- Gateway group: Create a gateway group for your new gateway. An Event Gateway group is a set of gateway instances that can be logically grouped and scaled together. For this example, you could simply create a test group and call it
-
Copy the generated command and run it in your Docker environment to deploy the Event Gateway. For example:
docker run \ -e backendURL="<provide-gateway-url>" \ -e KAFKA_ADVERTISED_LISTENER="<provide-gateway-advertised-listener-addresses>" \ -e BACKEND_CA_CERTIFICATES="-----BEGIN CERTIFICATE-----\nMIID..." \ -e GATEWAY_PORT=8443 \ -p 8443:8443 \ -e API_KEY="36e88938-fb08-401b-ab89-191ea9b30503" \ -e LICENSE_ID="L-AUKS-FKVXVL" \ -e ACCEPT_LICENSE="false" \ -d us.icr.io/ea-dev/stable/eem/ibm-eventendpointmanagement/egw@sha256:0887f587bc6c56126eb824c860c03867e7ead207198c2cd8ba9d3878d26acca0 - Return to the Event Gateways page to monitor the status of the new event gateway. When the gateway is registered, the status reports Running.
Add a topic
Add a topic to Event Endpoint Management to make it available to others as an event source. In this guide, you are adding a topic to consume events from.
To add a topic:
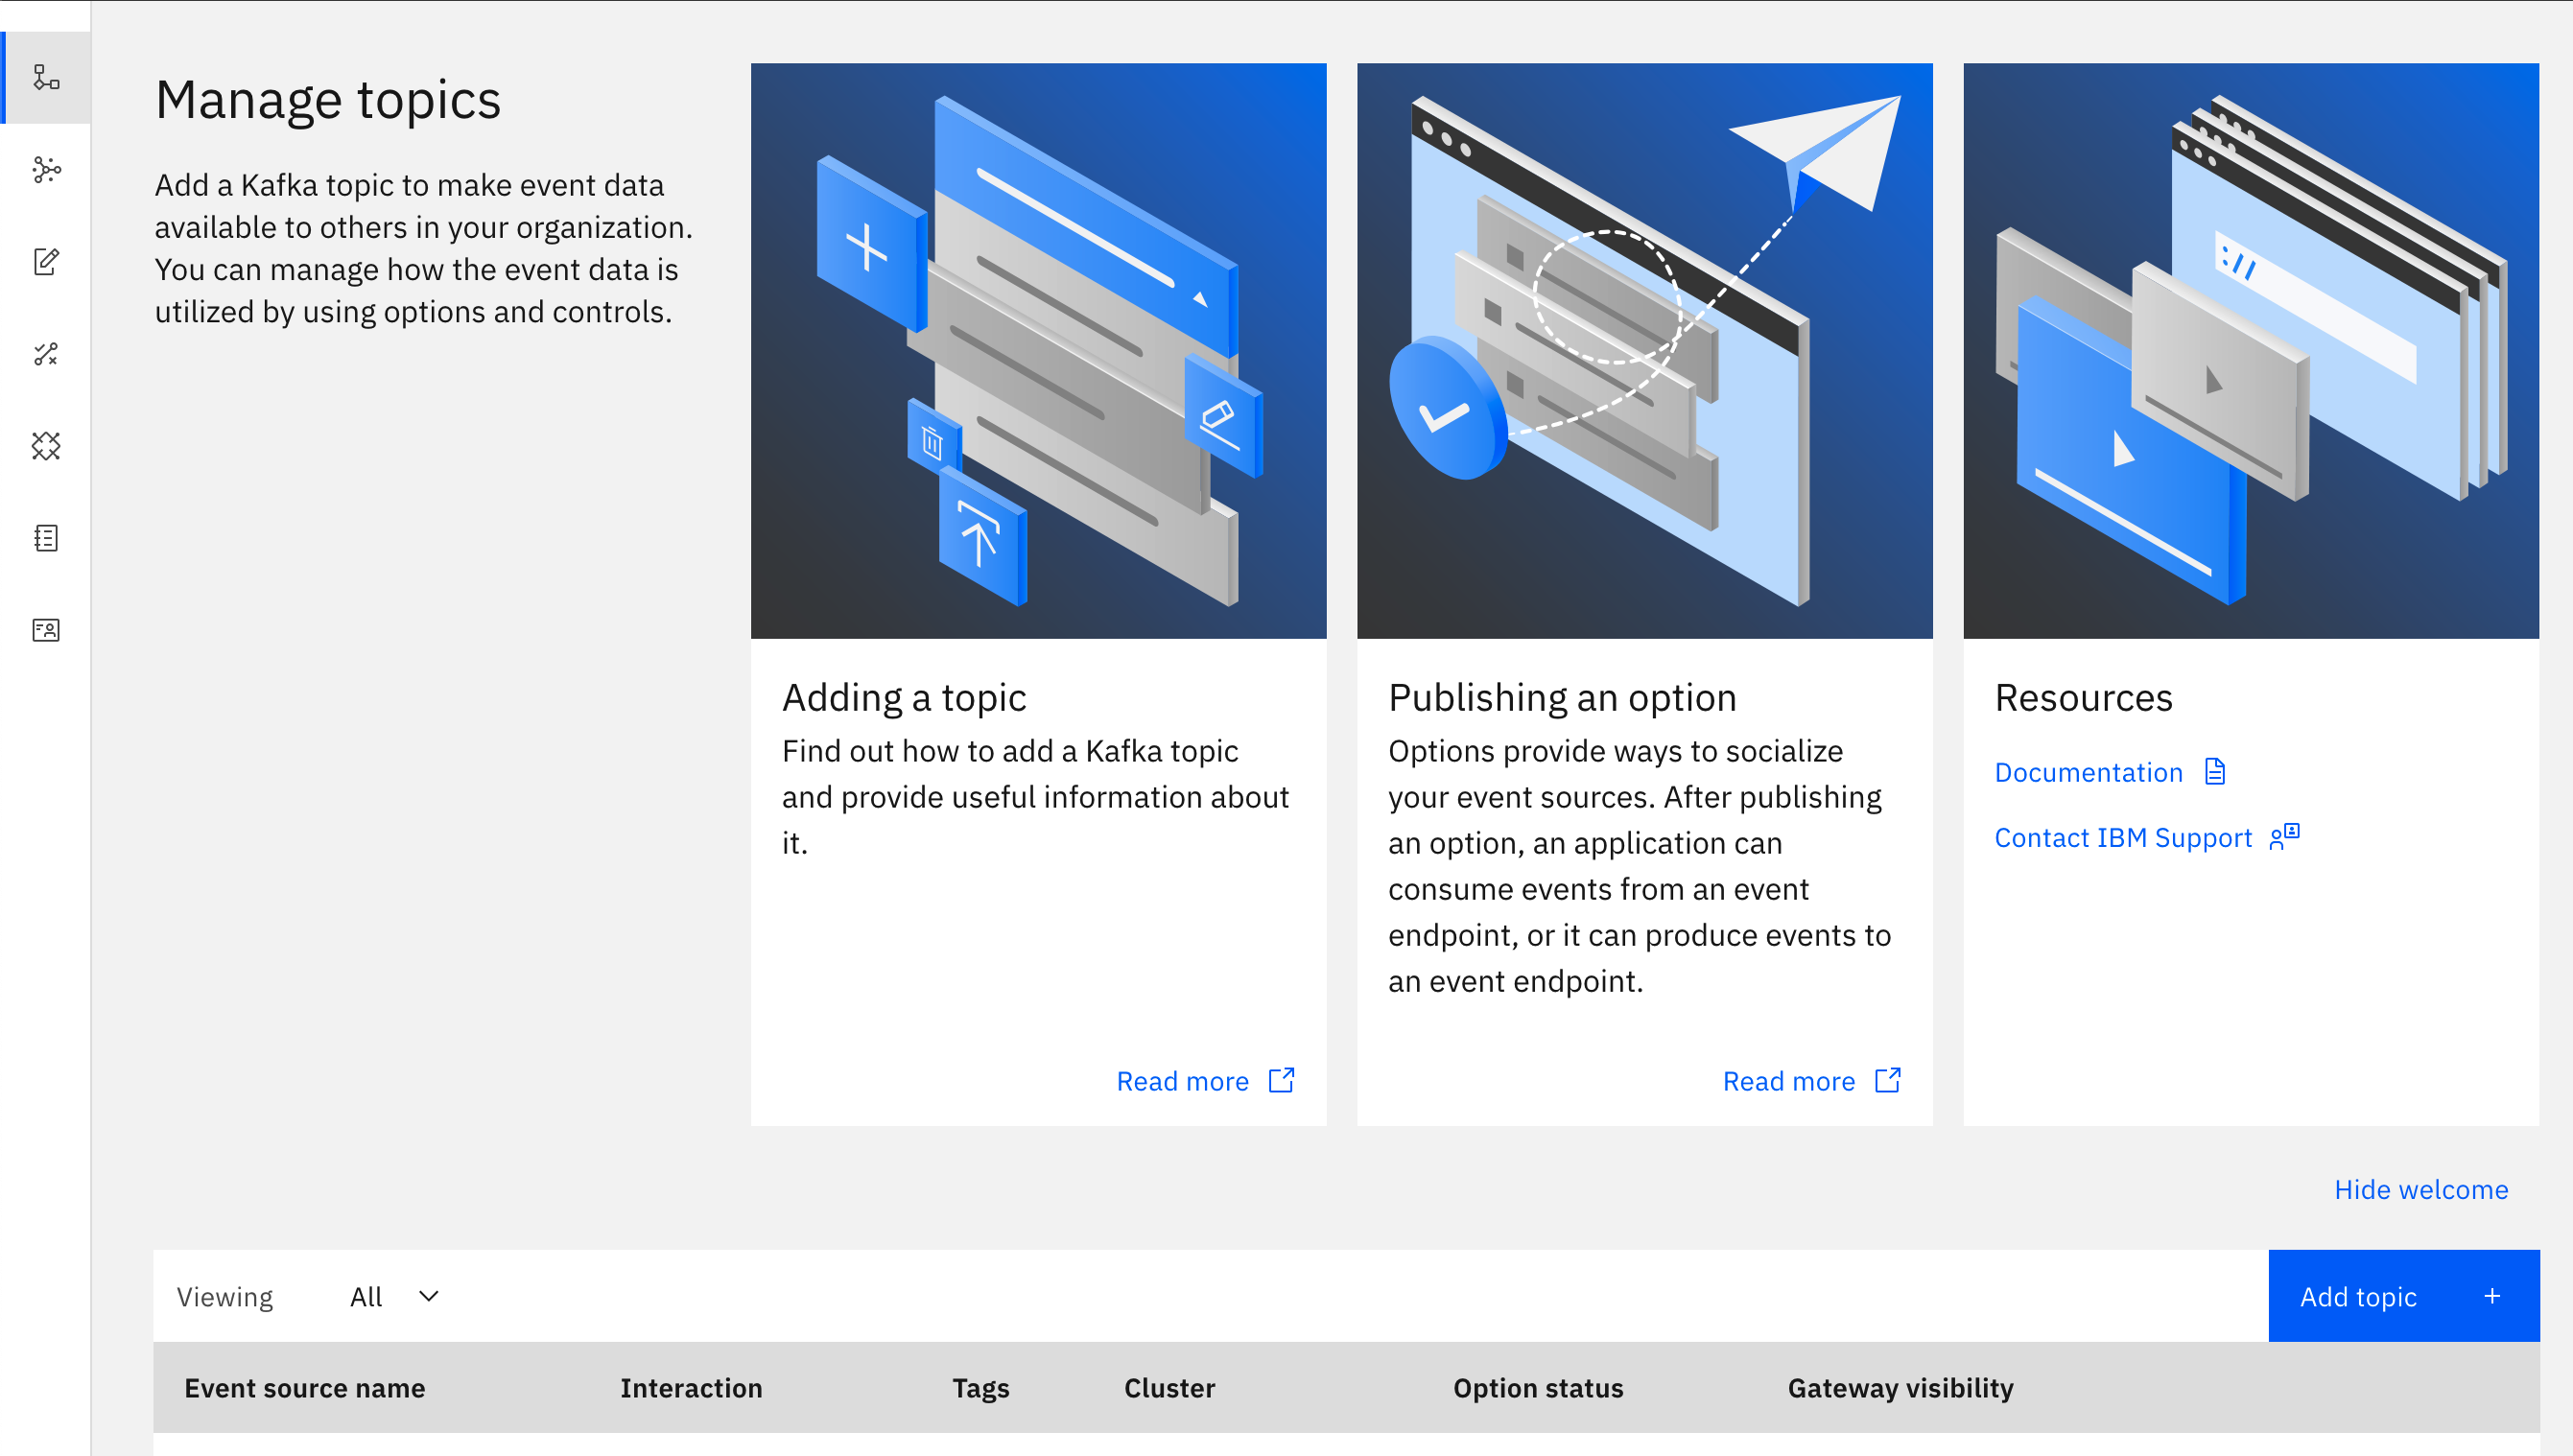
- In the navigation pane, click Manage topics.
-
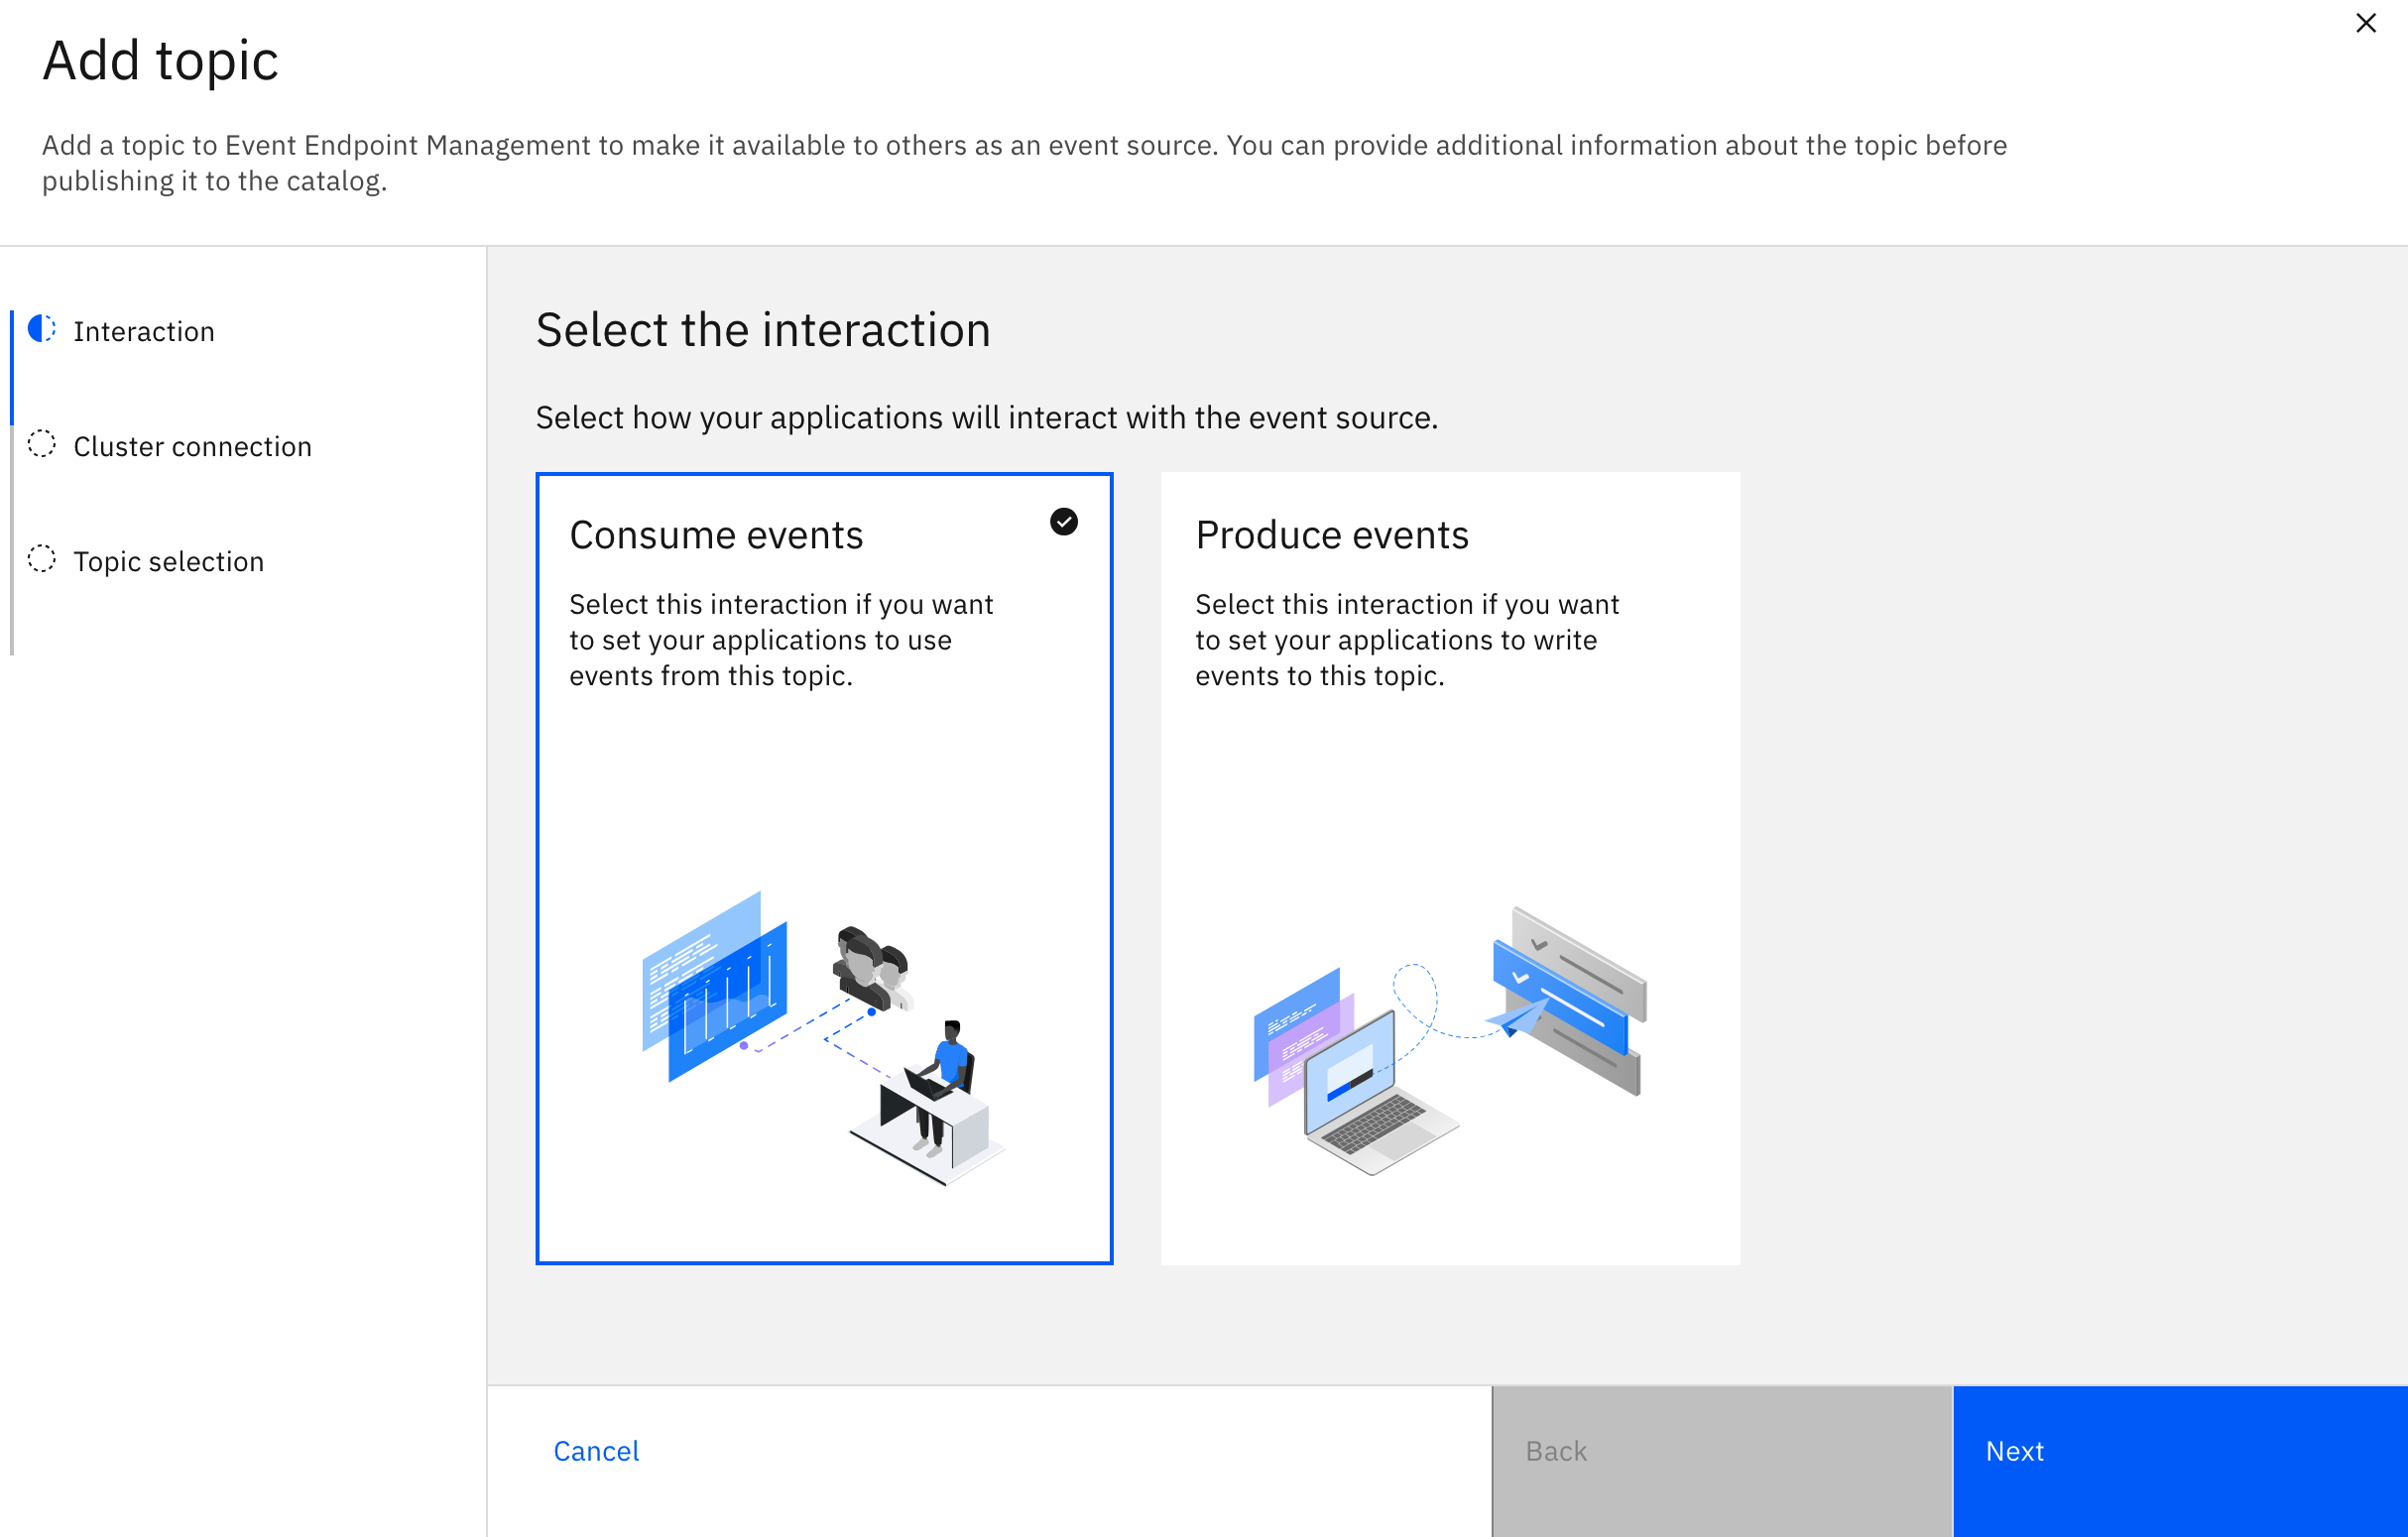
Click Add topic.
-
In the Interaction pane, select how your application will interact with the event source. Click Consume events and click Next.
- Enter a unique name for your new cluster, and click Next.
-
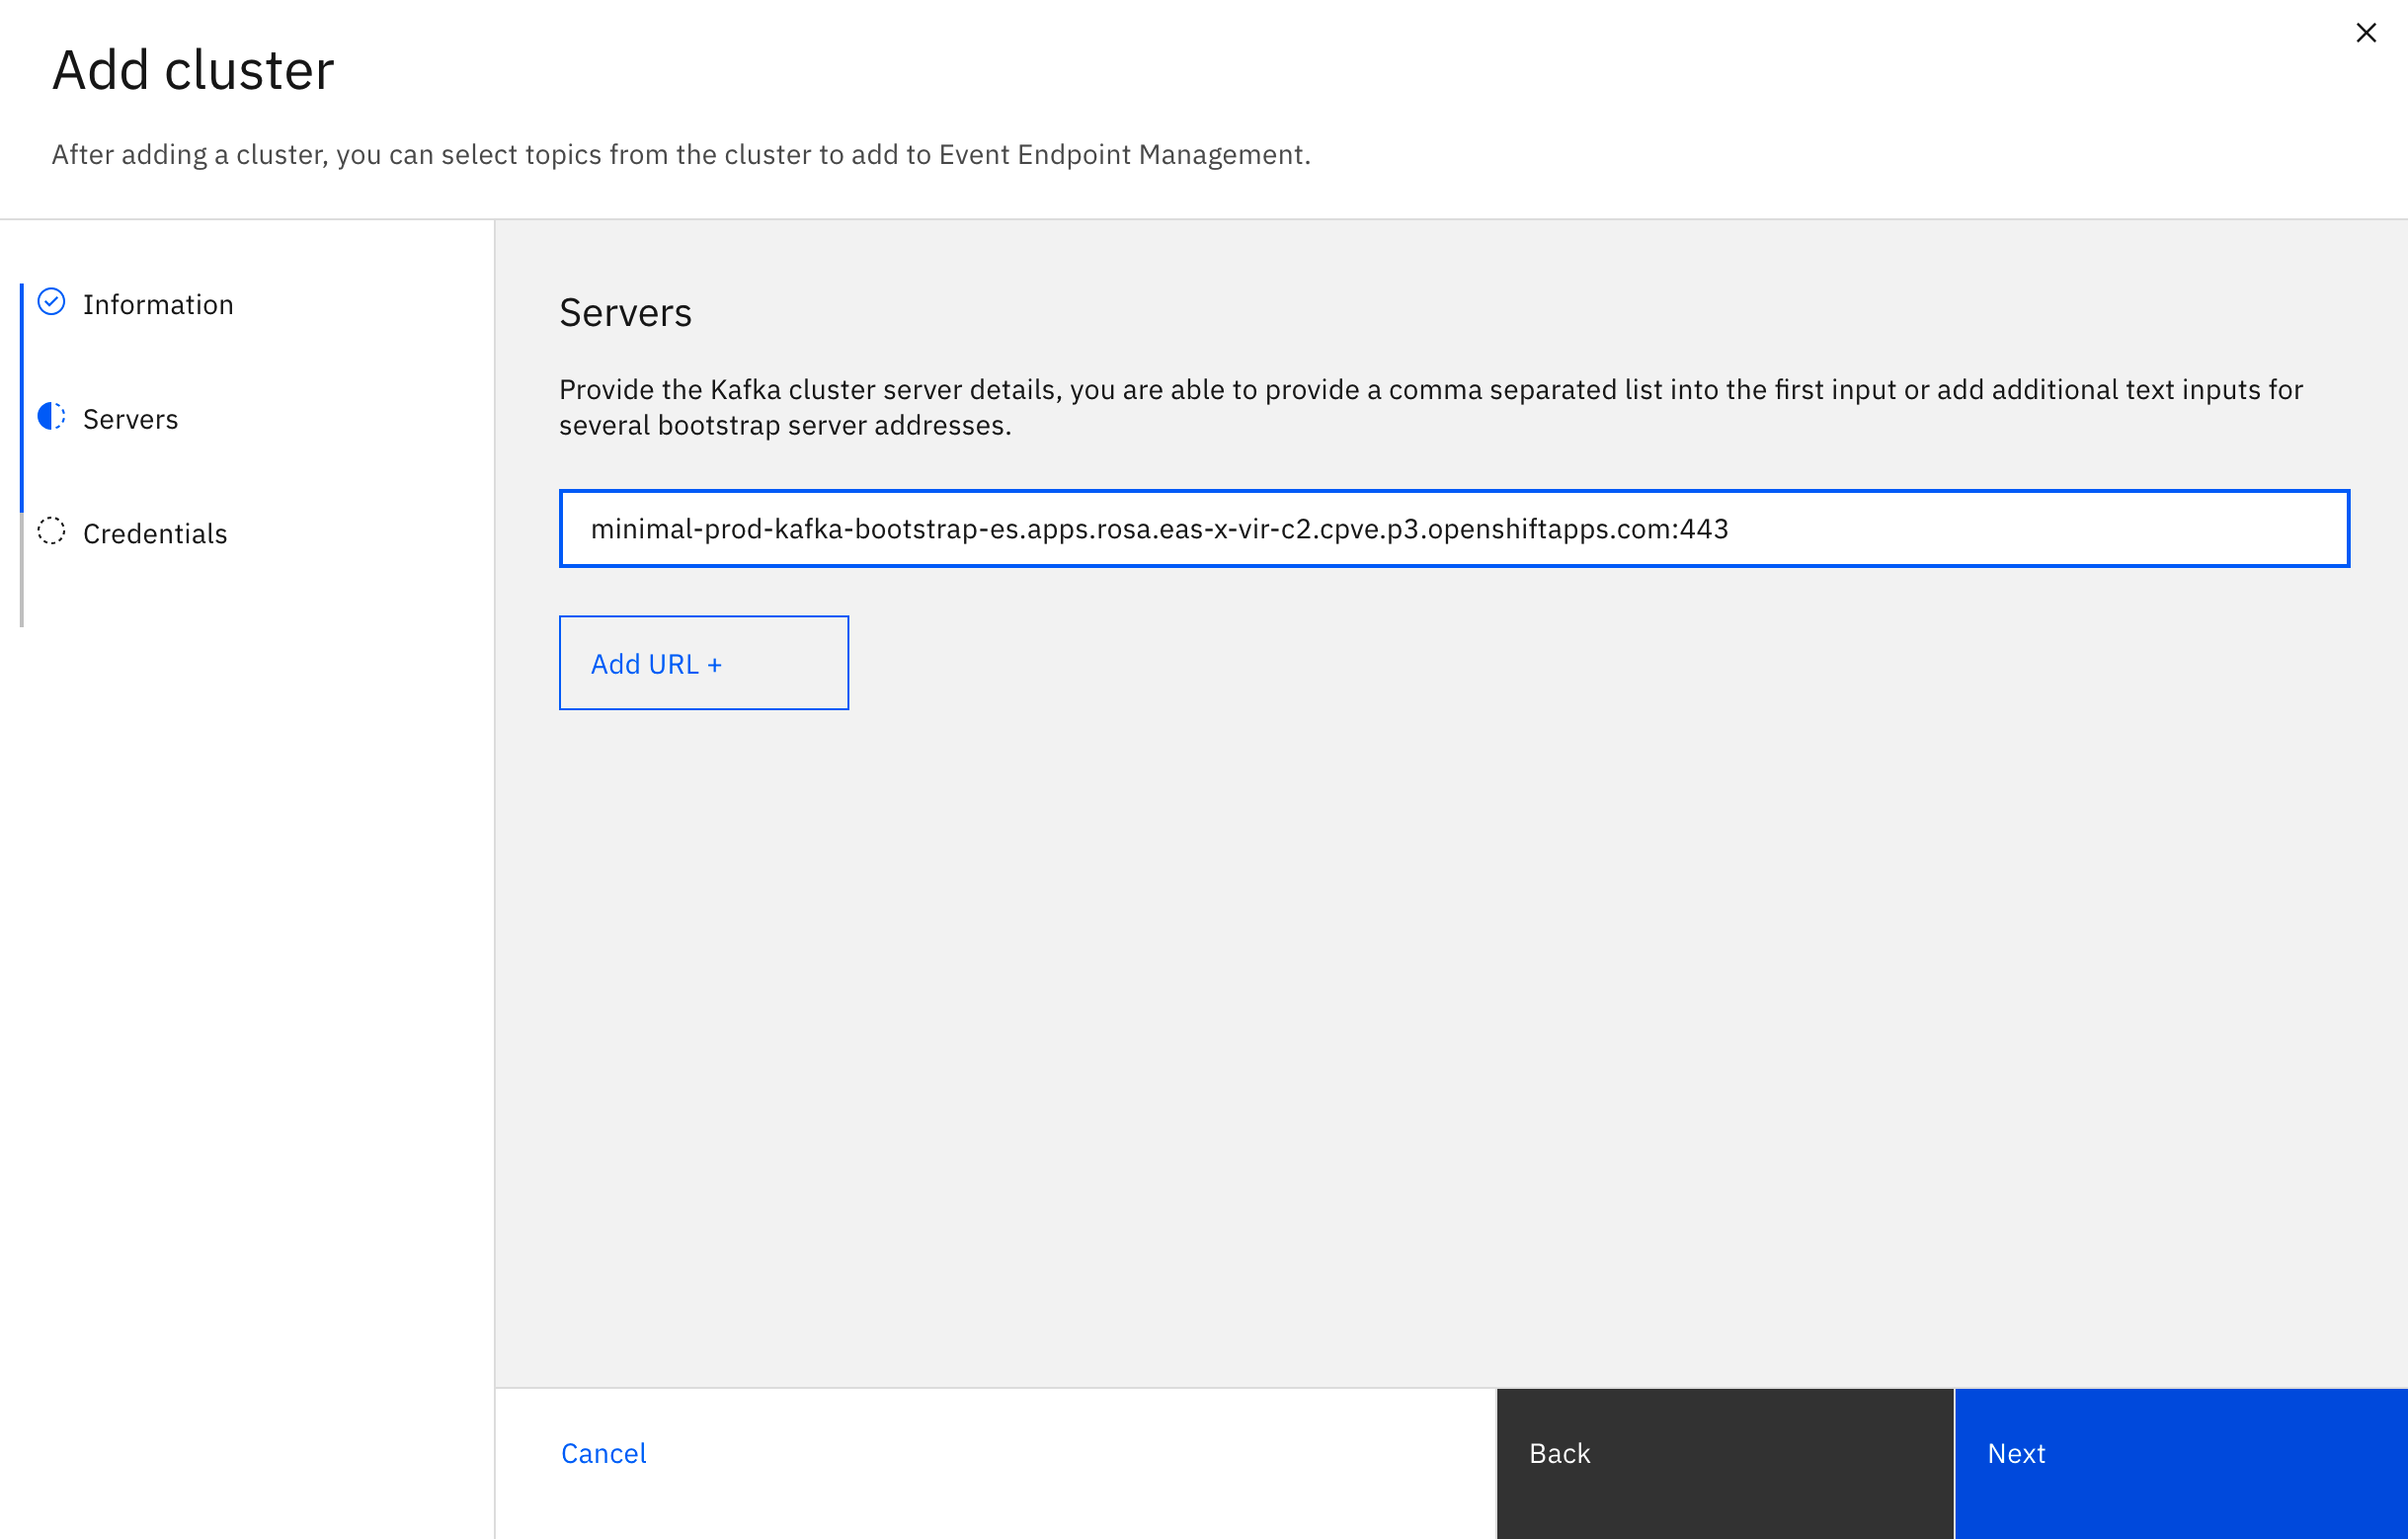
Enter the bootstrap server URL for your Kafka cluster, and click Next.
Note: After you click Next, Event Endpoint Management validates the entered server URL. While validating, if any untrusted certificates are found on the bootstrap server URLs, you are asked to confirm whether you accept the certificates found. If you do, select the Accept all certificates checkbox, and click Next.
- Optional: If the Kafka endpoint is configured to require mutual TLS authentication, then you must upload the private and public keys (ask your Kafka cluster administrator if you do not have them). Upload the private and public keys in PEM format.
- Optional: If the entered bootstrap server URLs require SASL credentials to authenticate with Kafka, you are prompted to provide credential details. If required, select the Security protocol, and enter your username and password.
- Click Next.
-
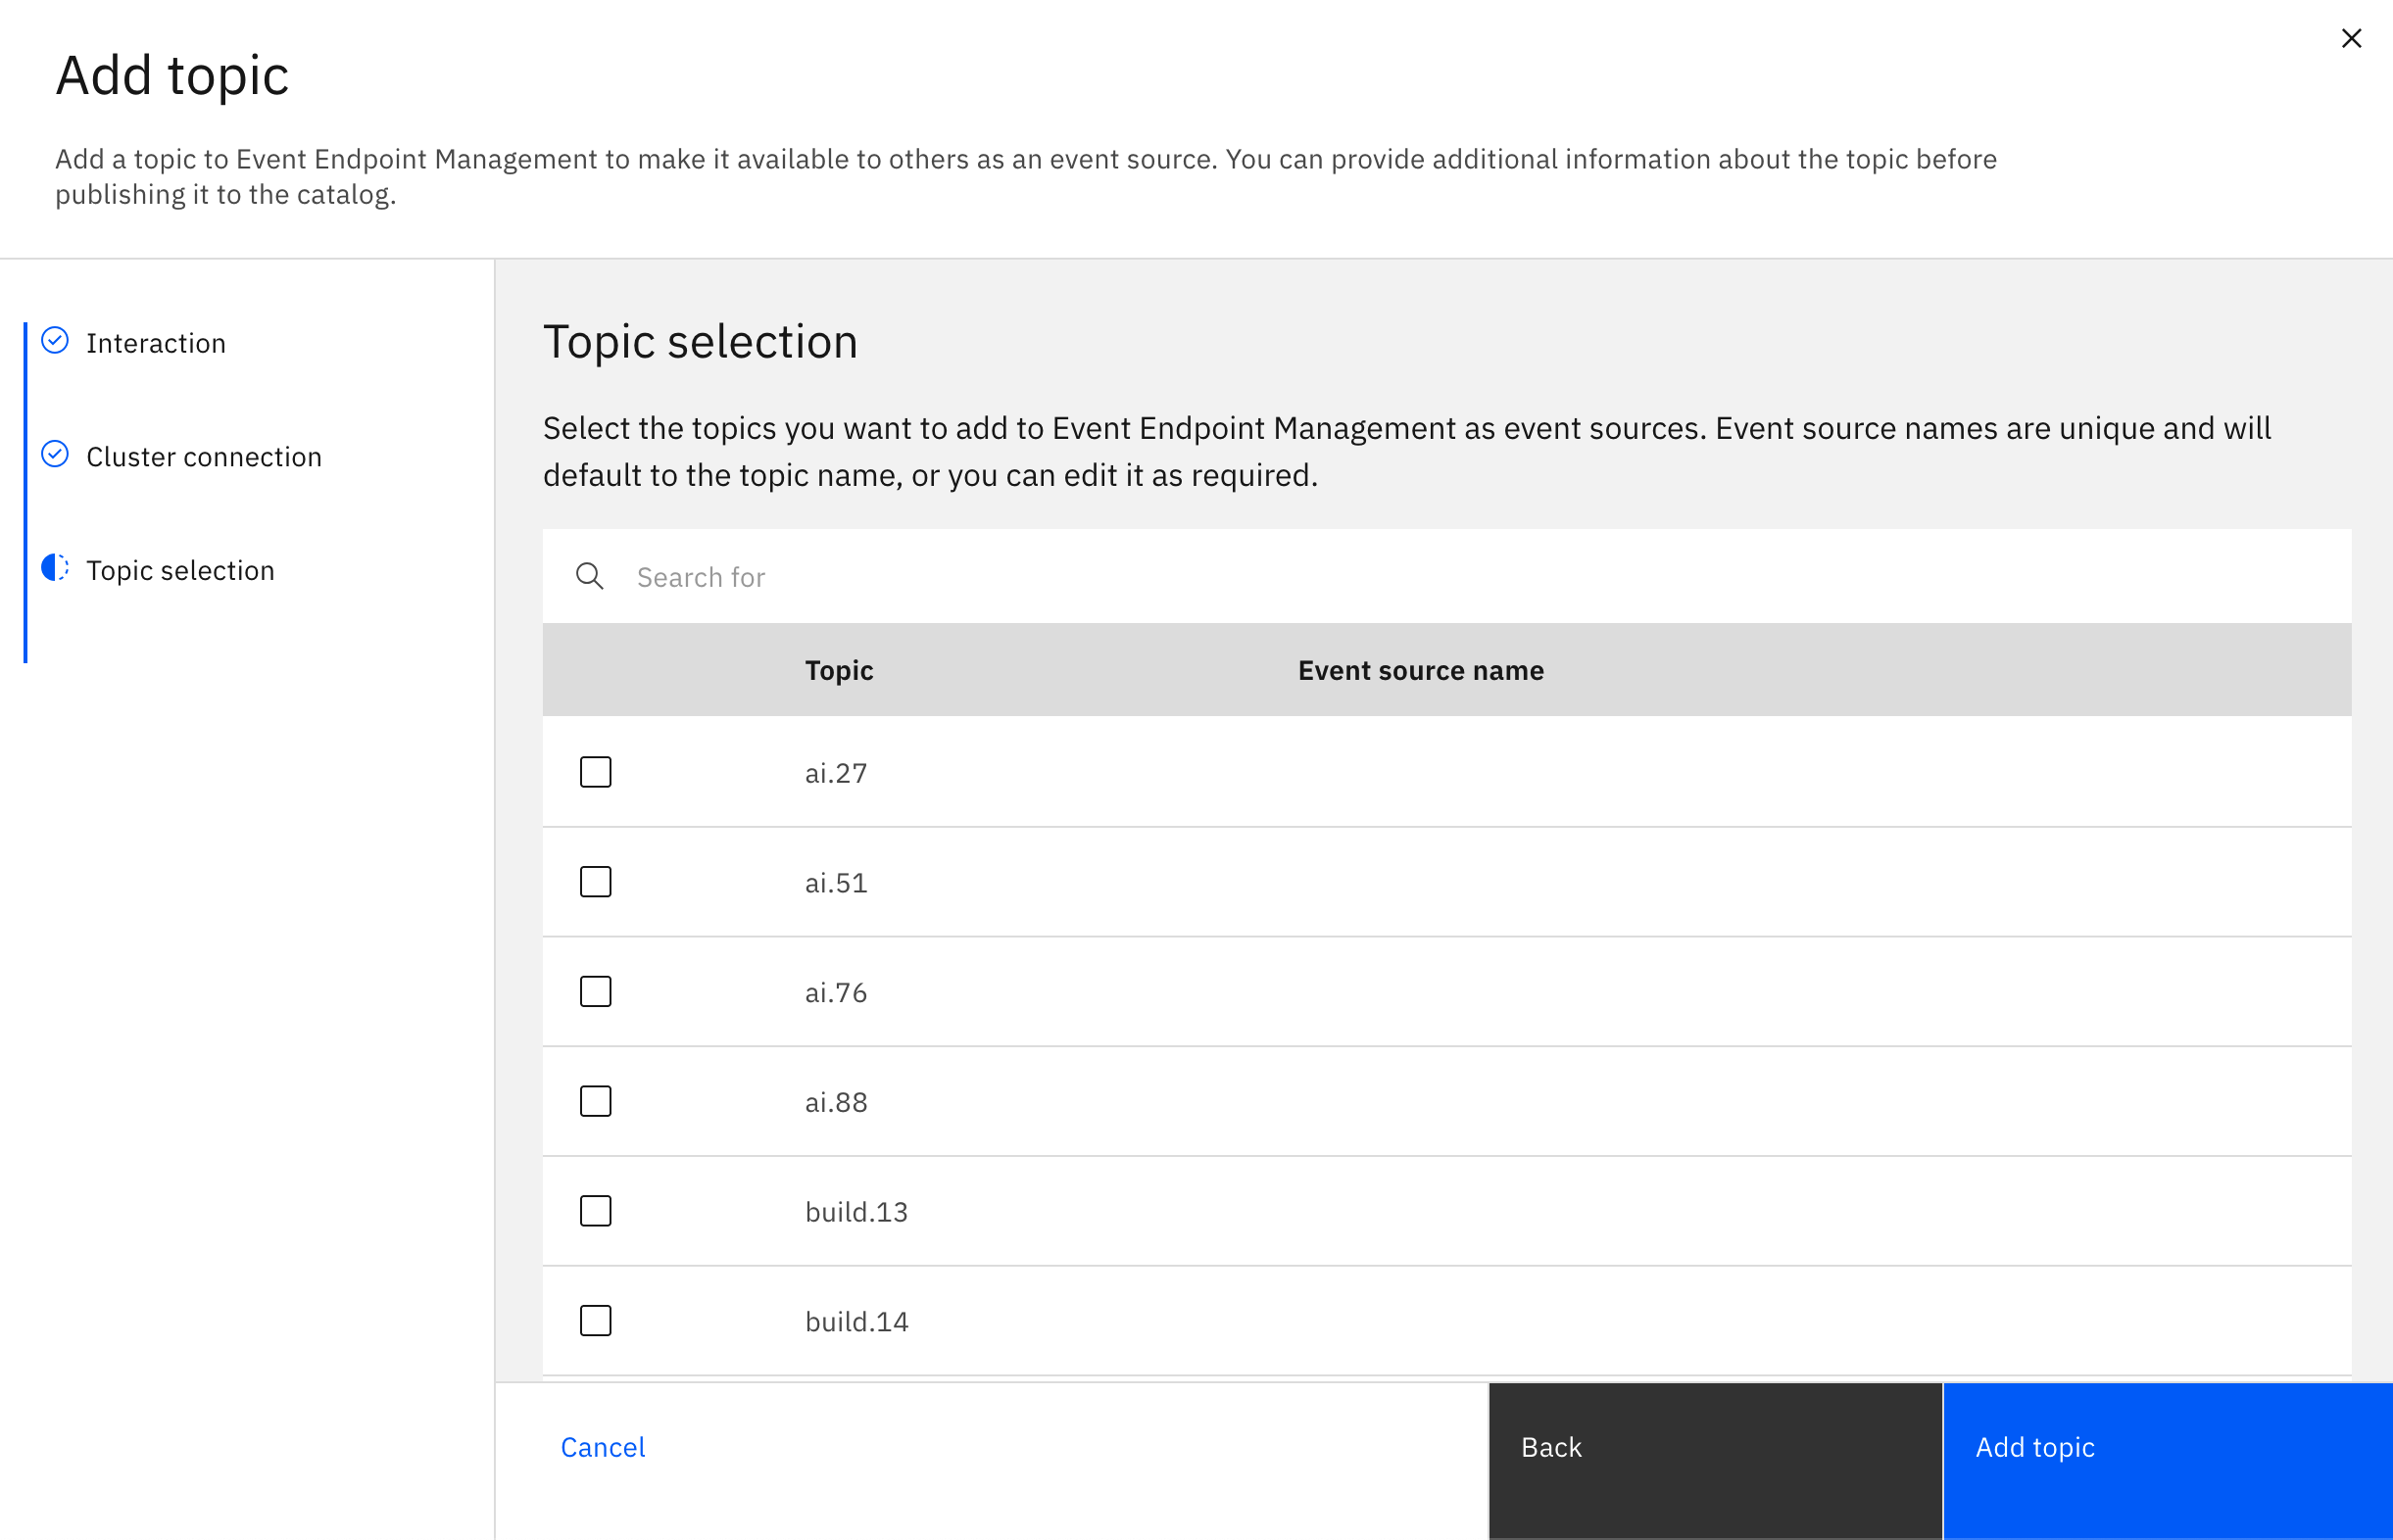
Select a topic to add from the list of topics available on this cluster.
-
Optional: If a name is not added by default, enter a unique event source name for the topic selected.
Note: The event source name is the unique ID that identifies your topics.
- Click Add Topic.
Note: If any of the event source names that you entered are already in use, an error message is displayed to indicate that there is a conflict and it failed to add the topic. Otherwise, your new topics are added to Event Endpoint Management.
Your new event source appears in the Manage topics page with the Options status as 0 published. You can now create an option for your event source.
Create and publish an option
Create an option for the event source to control how users can access it. For example, you can set a control to determine who can subscribe to an event source by forcing users to request access. You can then approve or reject requests. When an option with controls is published, it becomes available to users to as an event endpoint to which they can request access to.
To create an option with approval control:
- In the navigation pane, click Manage topics.
- Click the event source that you added earlier. This is the topic you added earlier by describing it as an event source.
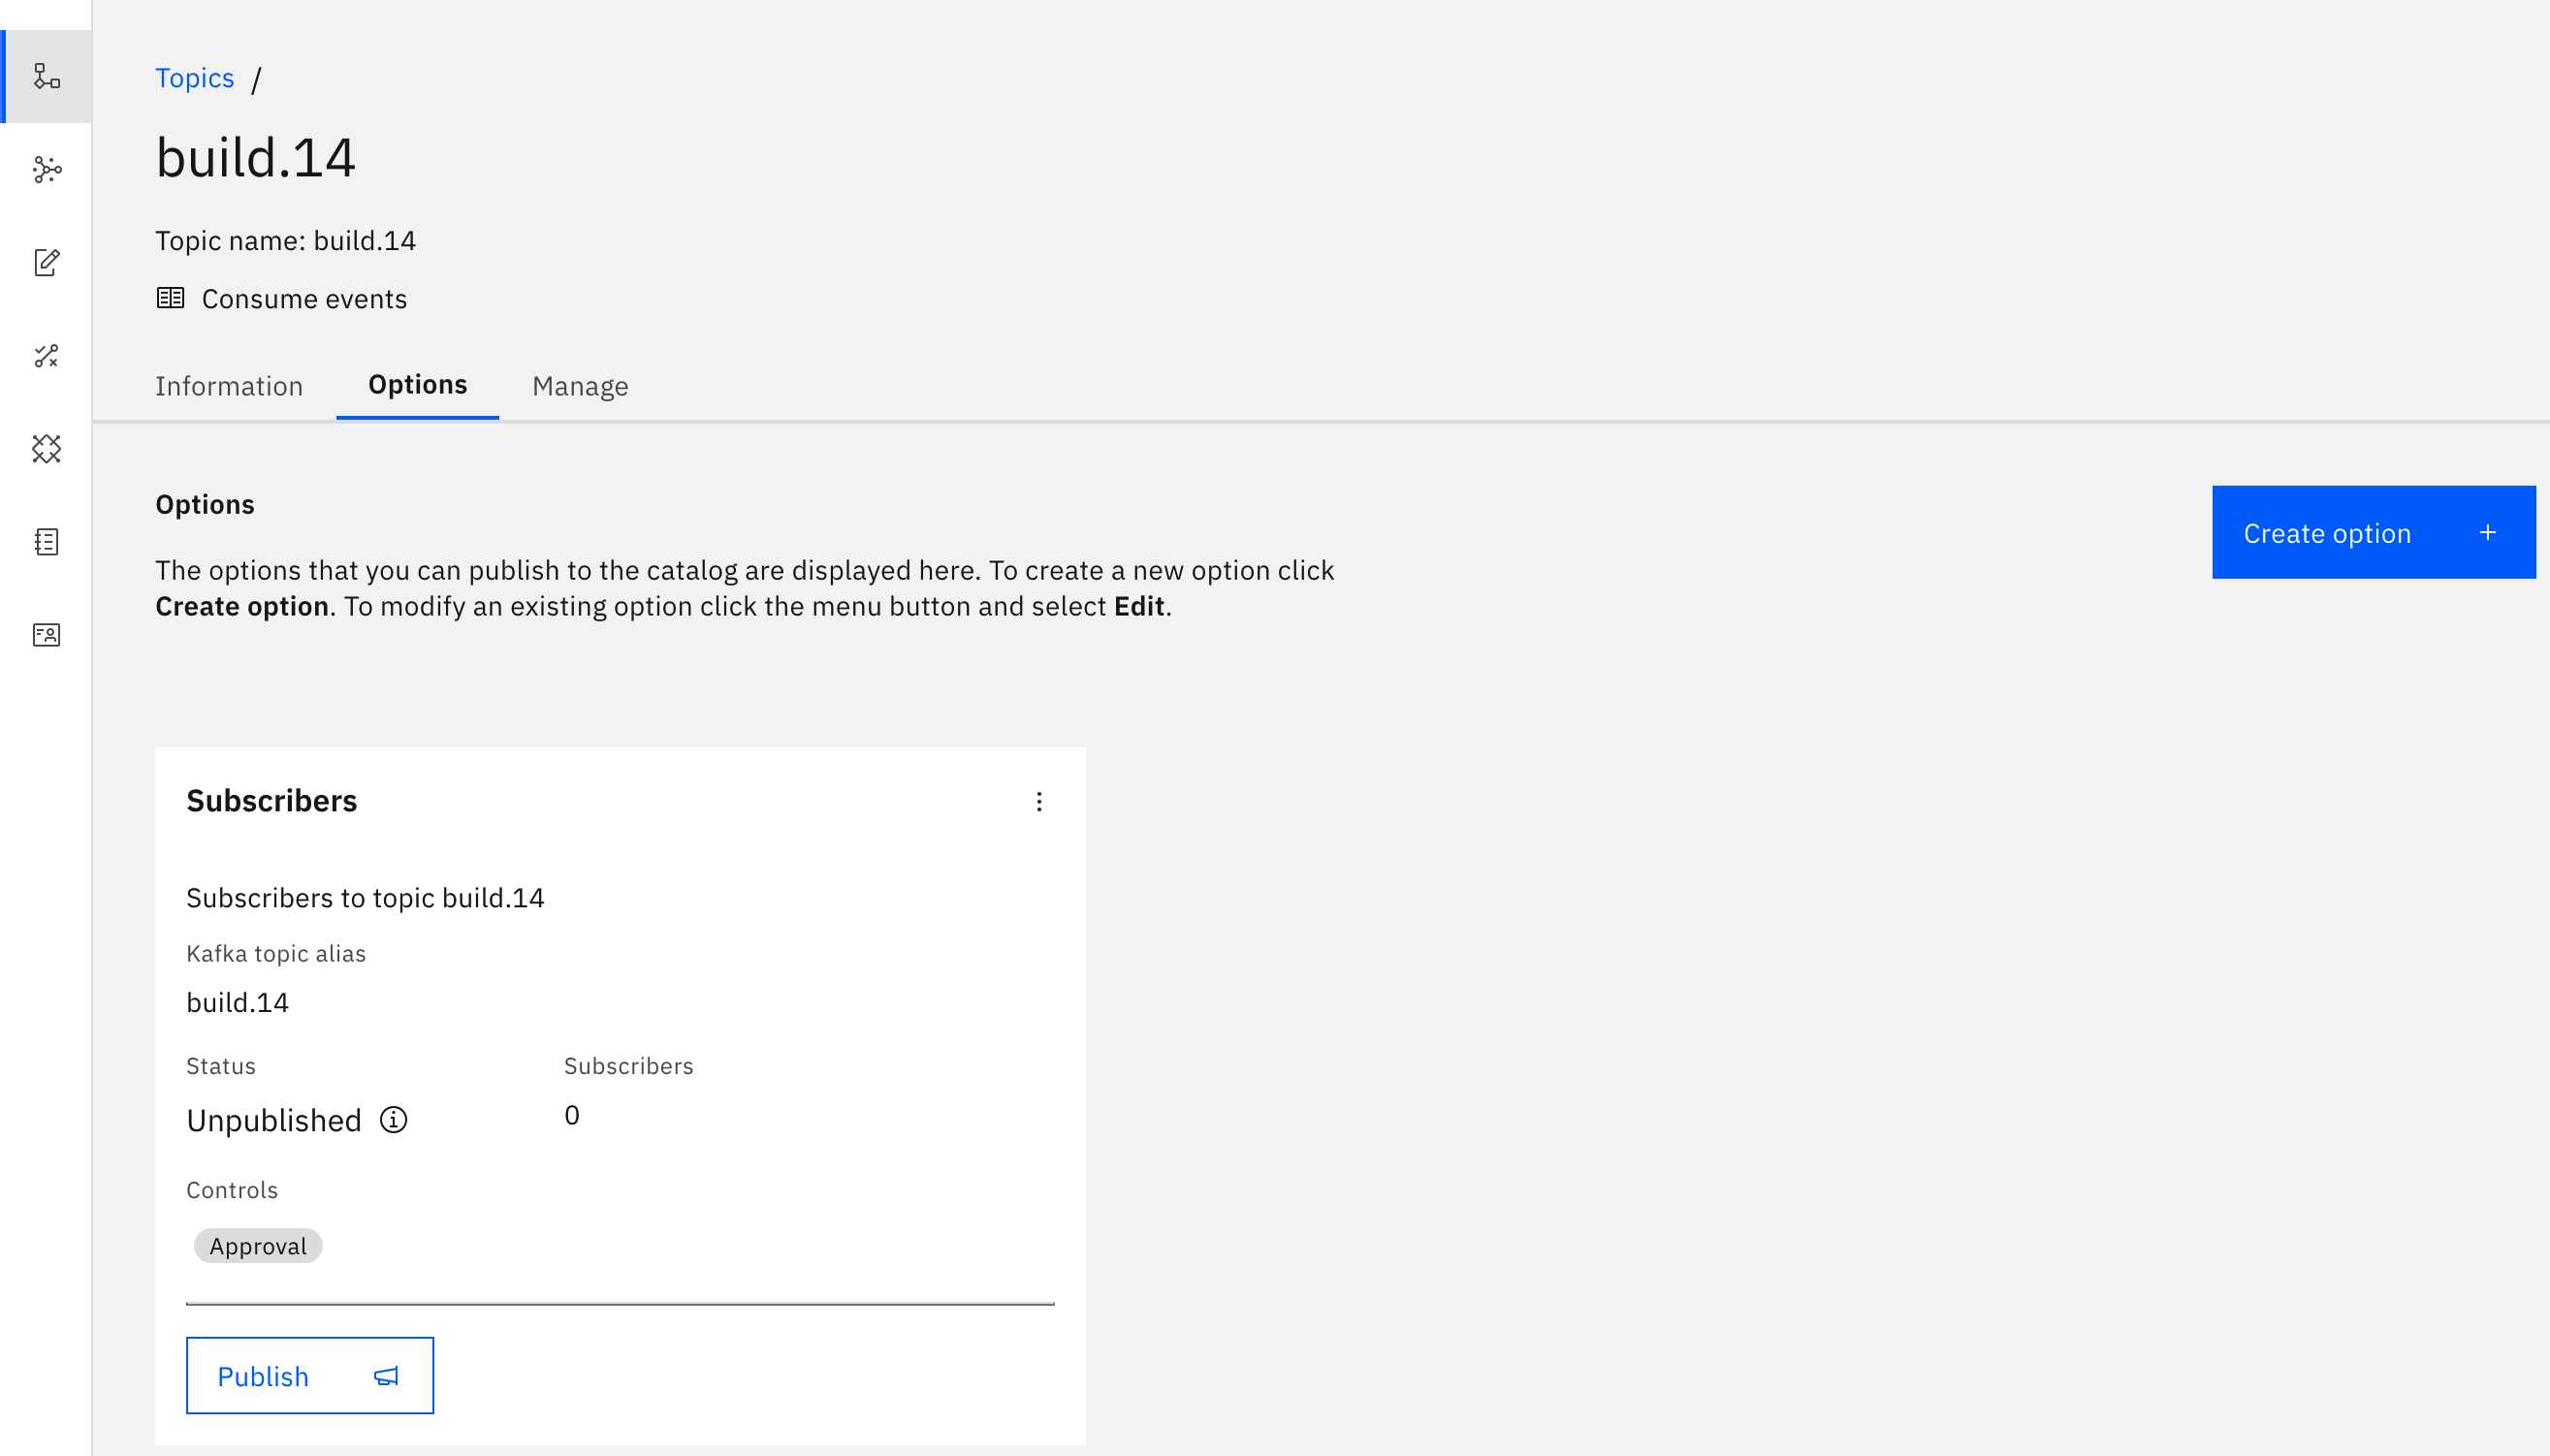
- Click the Options tab.
- Click Create option. The Details pane is displayed.
- In the Option name field, provide a name for your option. For example,
Subscribers. - In the Alias field, provide the Kafka topic name. This is the name of the topic you added earlier, for example,
build.14. - Optional: In the Description field, provide a description of your option. For example,
Subscribers to topic build.14. - Click Next. The Controls pane is displayed.
- Click Add control. Select Approval and click Add control.
-
Click Save. Your new option is displayed.
- To publish the option with approval control you just created, and make the event endpoint available to subscribe to, click click Publish on the tile for the option.
- In the Publish option dialog, select the gateway group you added your gateway to earlier.
- Click Publish.
After the option is published, application developers can discover the corresponding event endpoint in the Event Endpoint Management catalog, and consume from it.
Consume from the event endpoint
The option you published for the event endpoint has an approval control you set up earlier. This means that application developers can now go to the catalog, find the event endpoint, and subscribe to it for access. After you grant access, they can configure their application to consume from the topic through the event endpoint by using standard Kafka client configuration settings.
Pretend you are now an application developer. To consume events from the topic you described and added an event endpoint for:
-
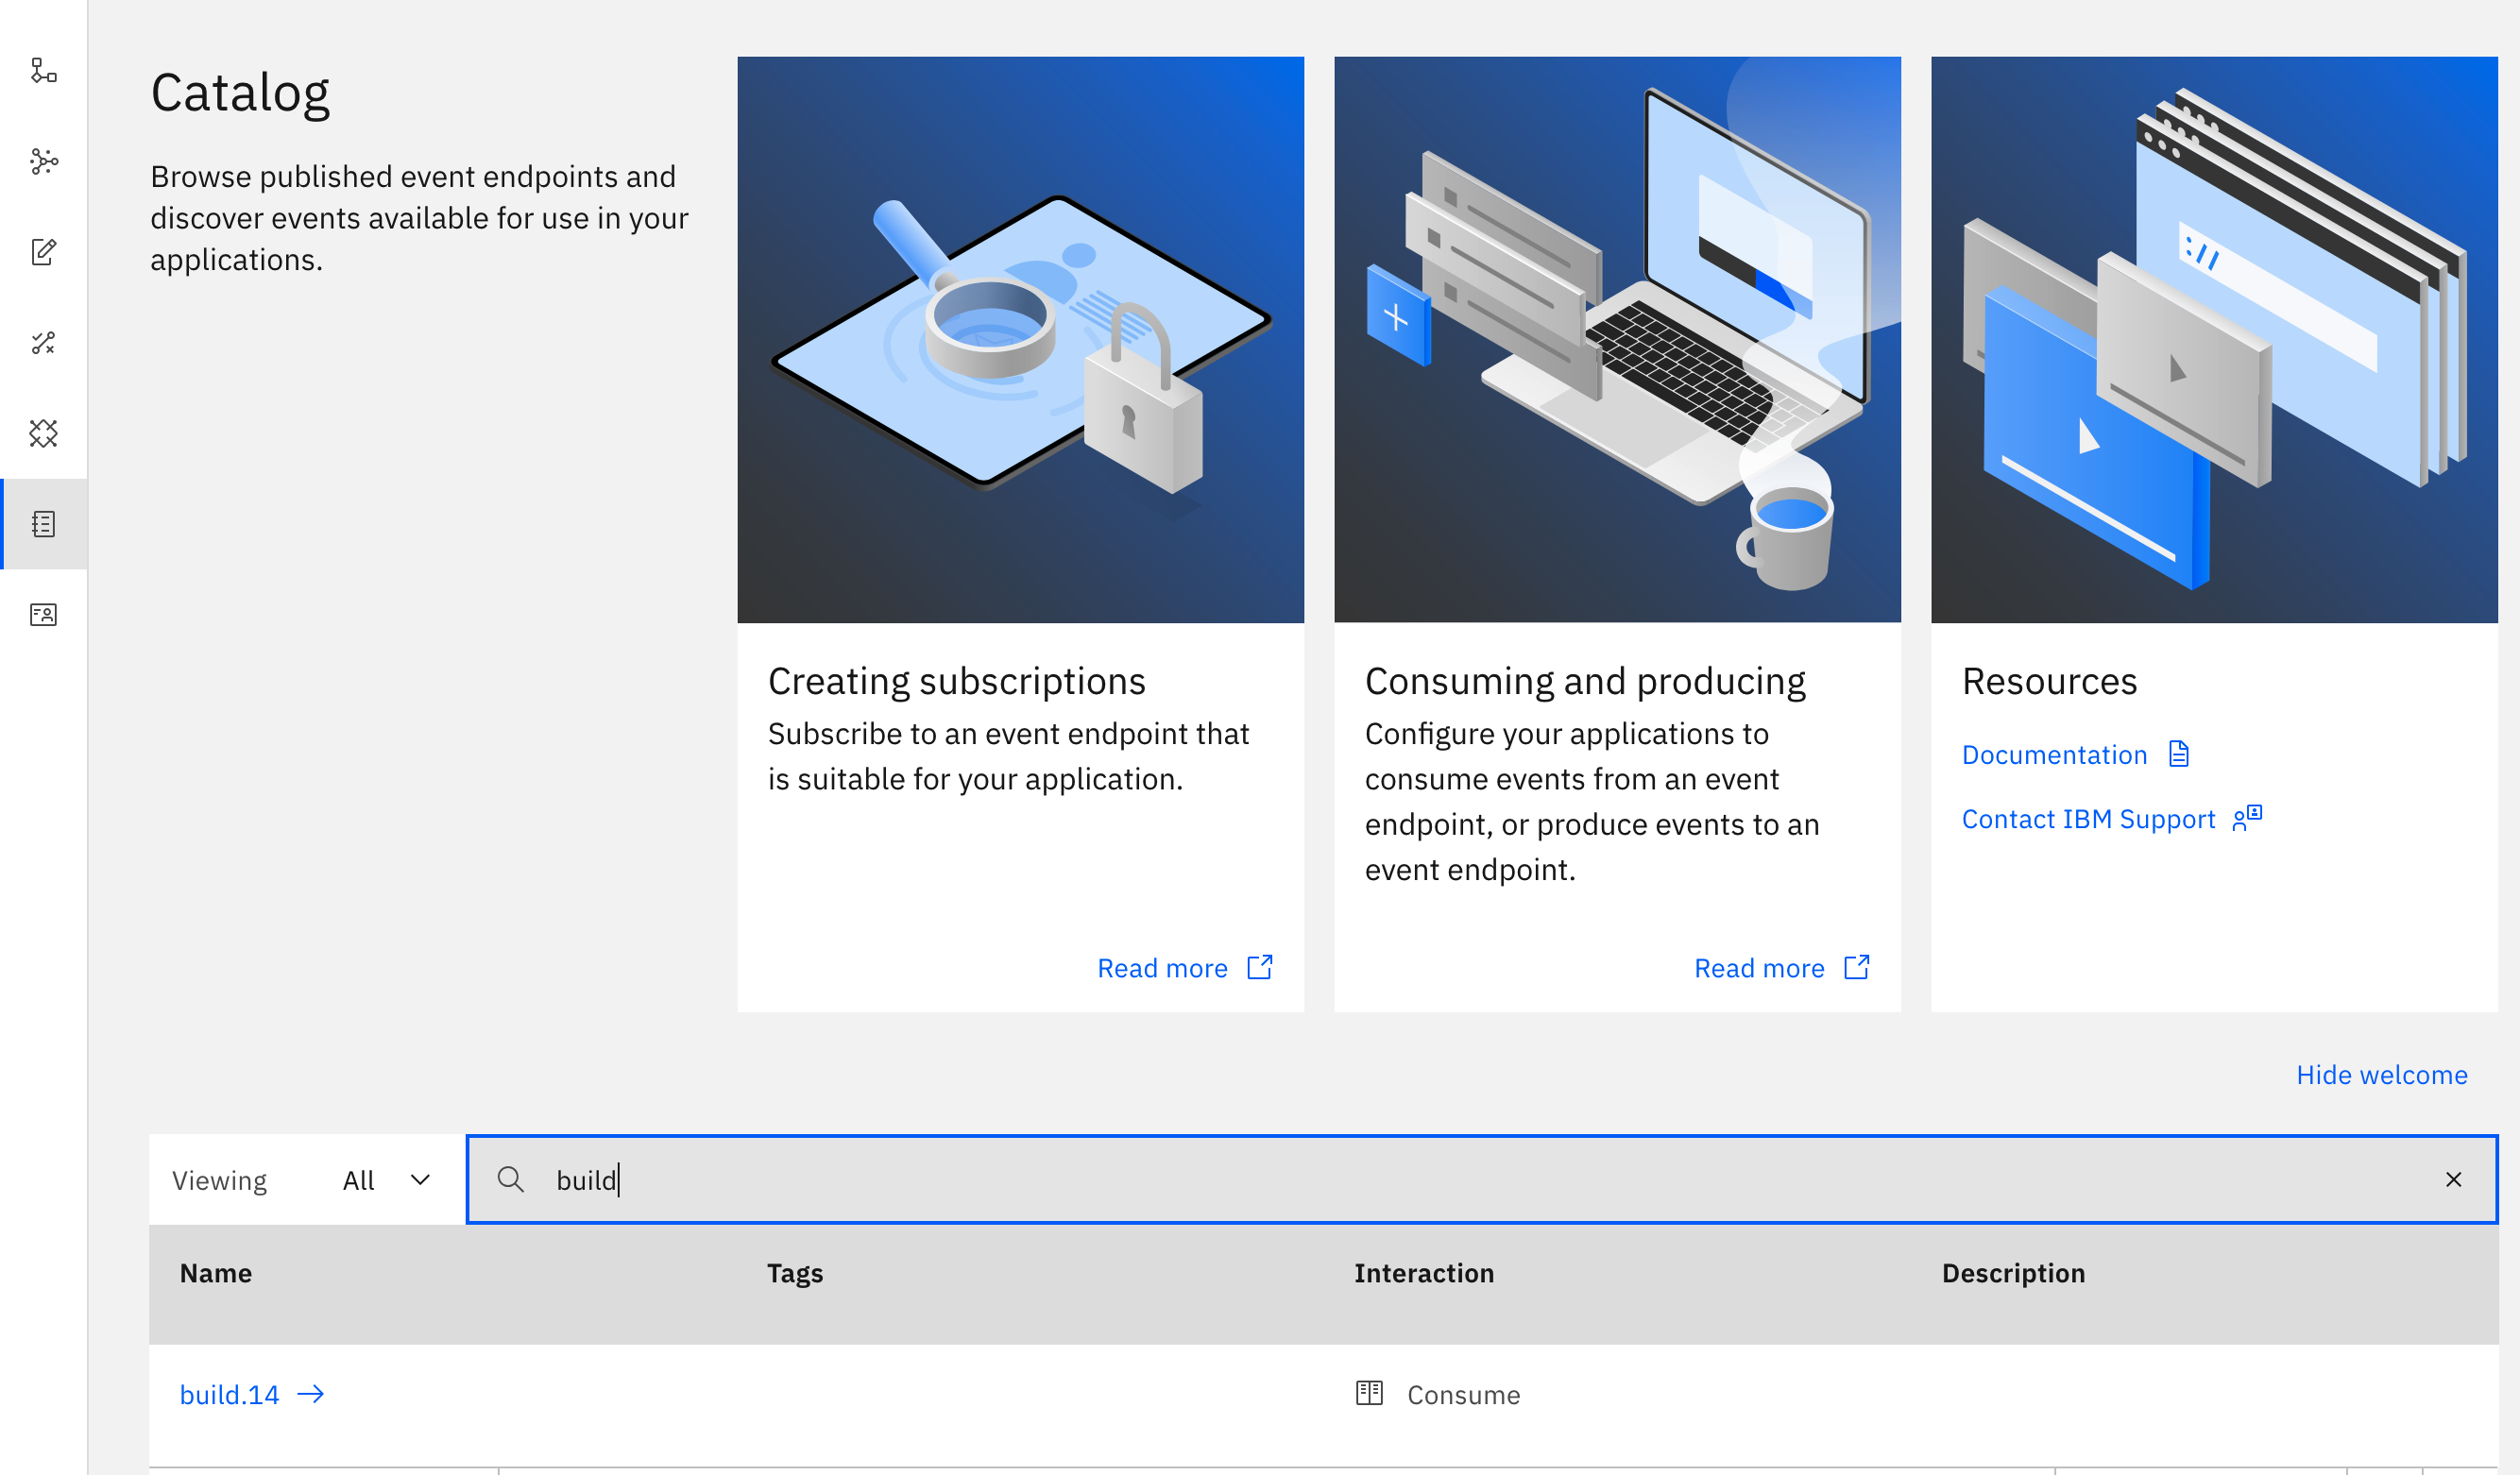
In the navigation pane, click Catalog.
-
Locate the event endpoint in the list (for example,
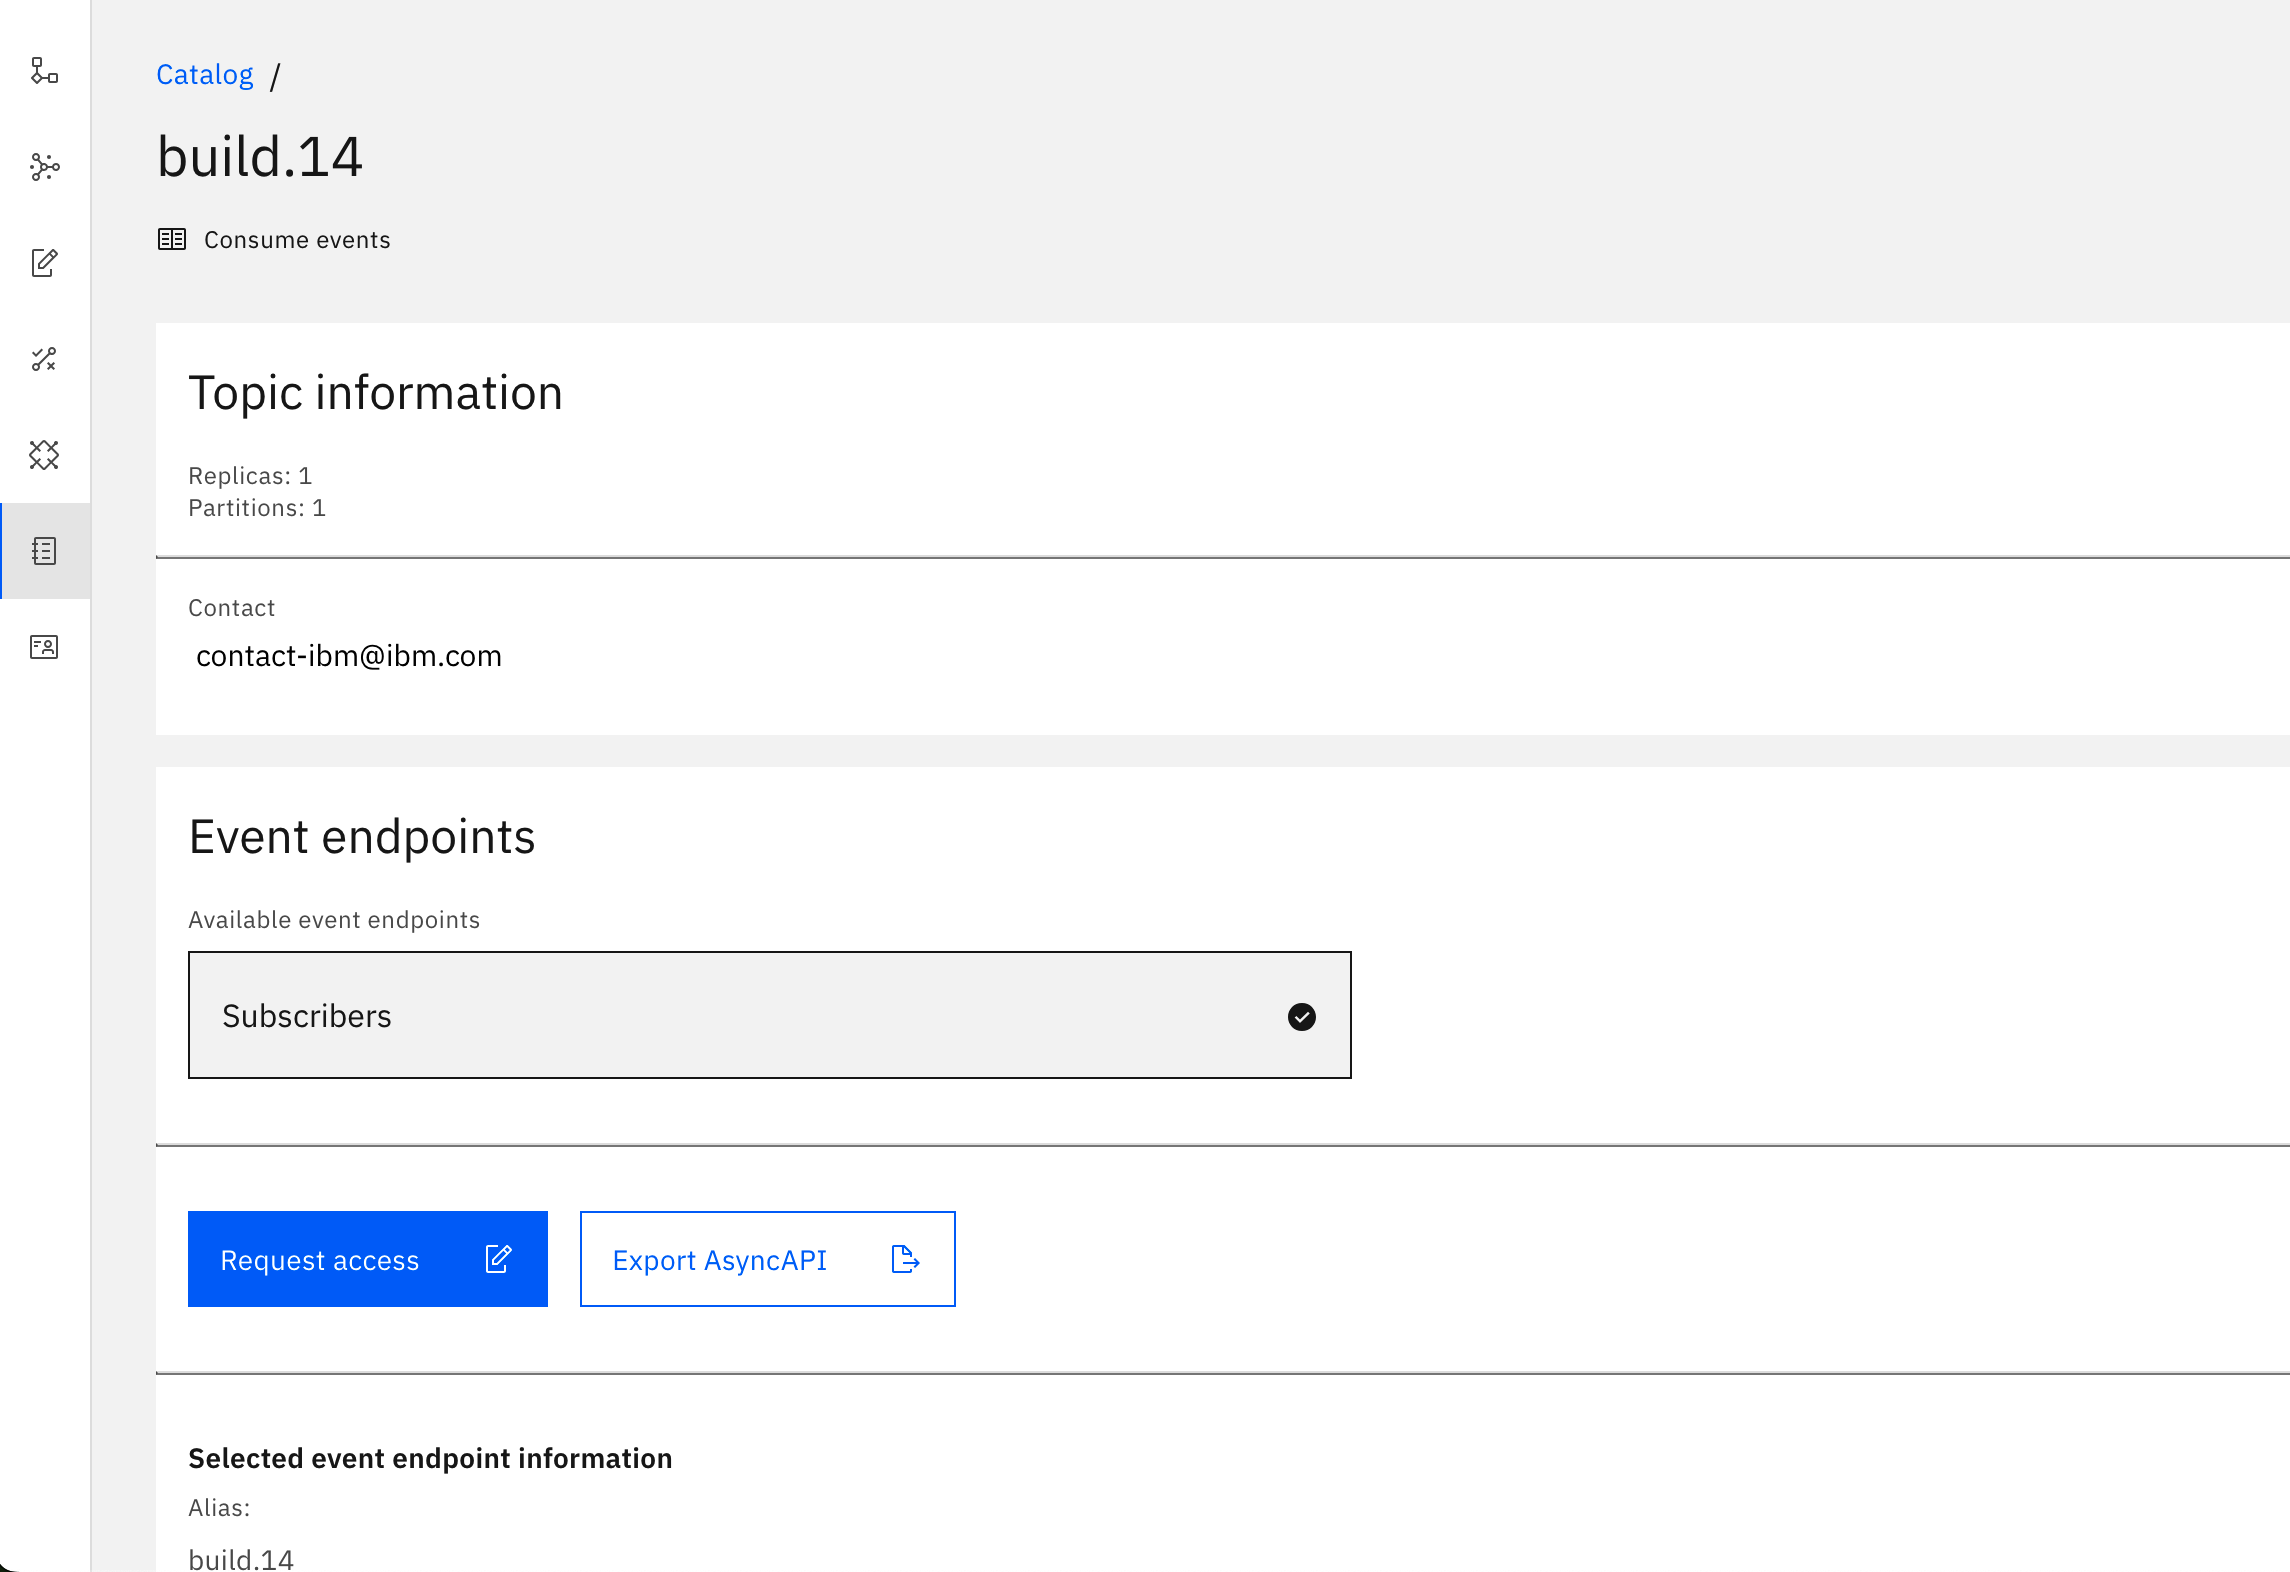
build.14), and click the name. The Topic information page is displayed. -
Click Request access, and fill in the form.
As the event source owner, you can approve this request as follows:
- In the navigation pane, click Access requests. All the requests against options that you own are displayed.
- Locate the access request in the list and click View request.
- Click Approve request.
After access is granted, you can use the information on this page to configure your client to consume from the topic. The Event Endpoint Management UI provides help with this on the Topic information page by providing useful details such as event endpoint server URLs, and code samples in different languages to add to your client’s configuration.
For a simple test, you could try consuming from the topic by using an open-source command-line tool, for example, kcat.
The way that you provide the configuration settings to your client varies from client to client. However, the following settings are common for every client:
Bootstrap servers: The set of Event Gateway server addresses that provide access to an event endpoint is available on the Topic information page under Selected event endpoint server URLs as mentioned earlier.Security mechanism: Set asSASL_SSLif username and password are used in the subscription. Set asSSLif mTLS is used without a username and password.SSL configuration: The Event Gateway exposes only a TLS-secured endpoint for clients to connect to. For each Selected event endpoint server URLs, the server certificate can be downloaded in PEM format from the Topic information page. Configure your client to trust this certificate.SASLcredentials: IfSASL_SSLis specified as theSASL mechanism, then setSASL username, andSASL passwordwith the values retrieved when you subscribed to the event source.Topic name: The name of the event endpoint you want your application to use. The name is displayed in the Catalog table under the Name column and as the heading of the Topic information page when you click the name.
