Unpack arrays
With the unpack arrays node, you can extract each array element as a new property in separate events or extract the array elements as new properties that are all included in the same event.
Scenario
As a retailer, you seek greater insight into the reasons for product returns. To achieve this, you can leverage product reviews to identify returned products with size or length issues.
In this tutorial, you will unpack each product in the returns array into separate events and combine them with any associated product reviews.
In the review/characteristics array, specific reviews for characteristics such as size and length are unpacked into new properties, allowing for separate trend computations.
Before you begin
The instructions in this tutorial use the Tutorial environment, which includes a selection of topics each with a live stream of events, created to allow you to explore features in IBM Event Automation. Following the setup instructions to deploy the demo environment gives you a complete instance of IBM Event Automation that you can use to follow this tutorial for yourself.
Versions
This tutorial uses the following versions of Event Automation capabilities. Screenshots can differ from the current interface if you are using a newer version.
- Event Endpoint Management 11.6.4
- Event Processing 1.4.6
Instructions
Step 1: Discover the topics to use
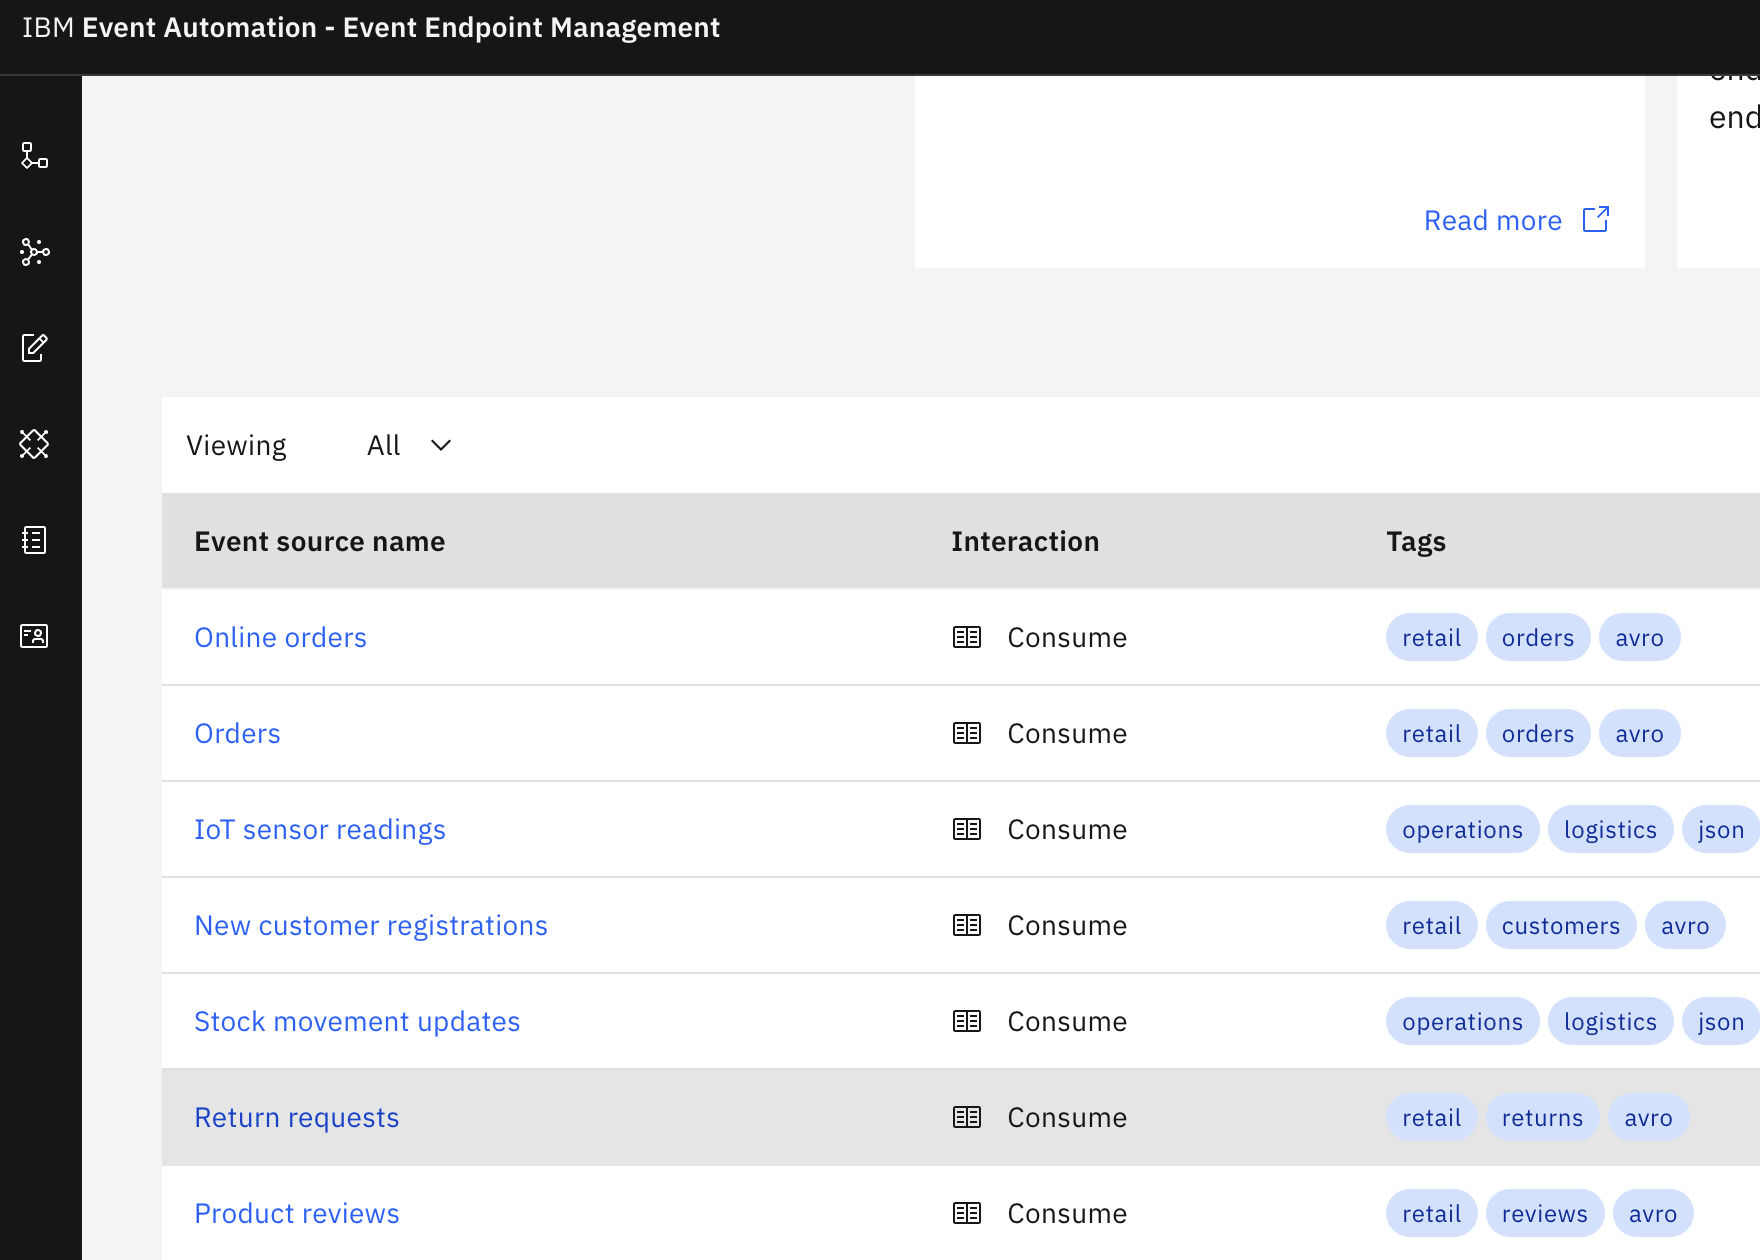
For this scenario, you need sources of the return requests and product reviews events.
-
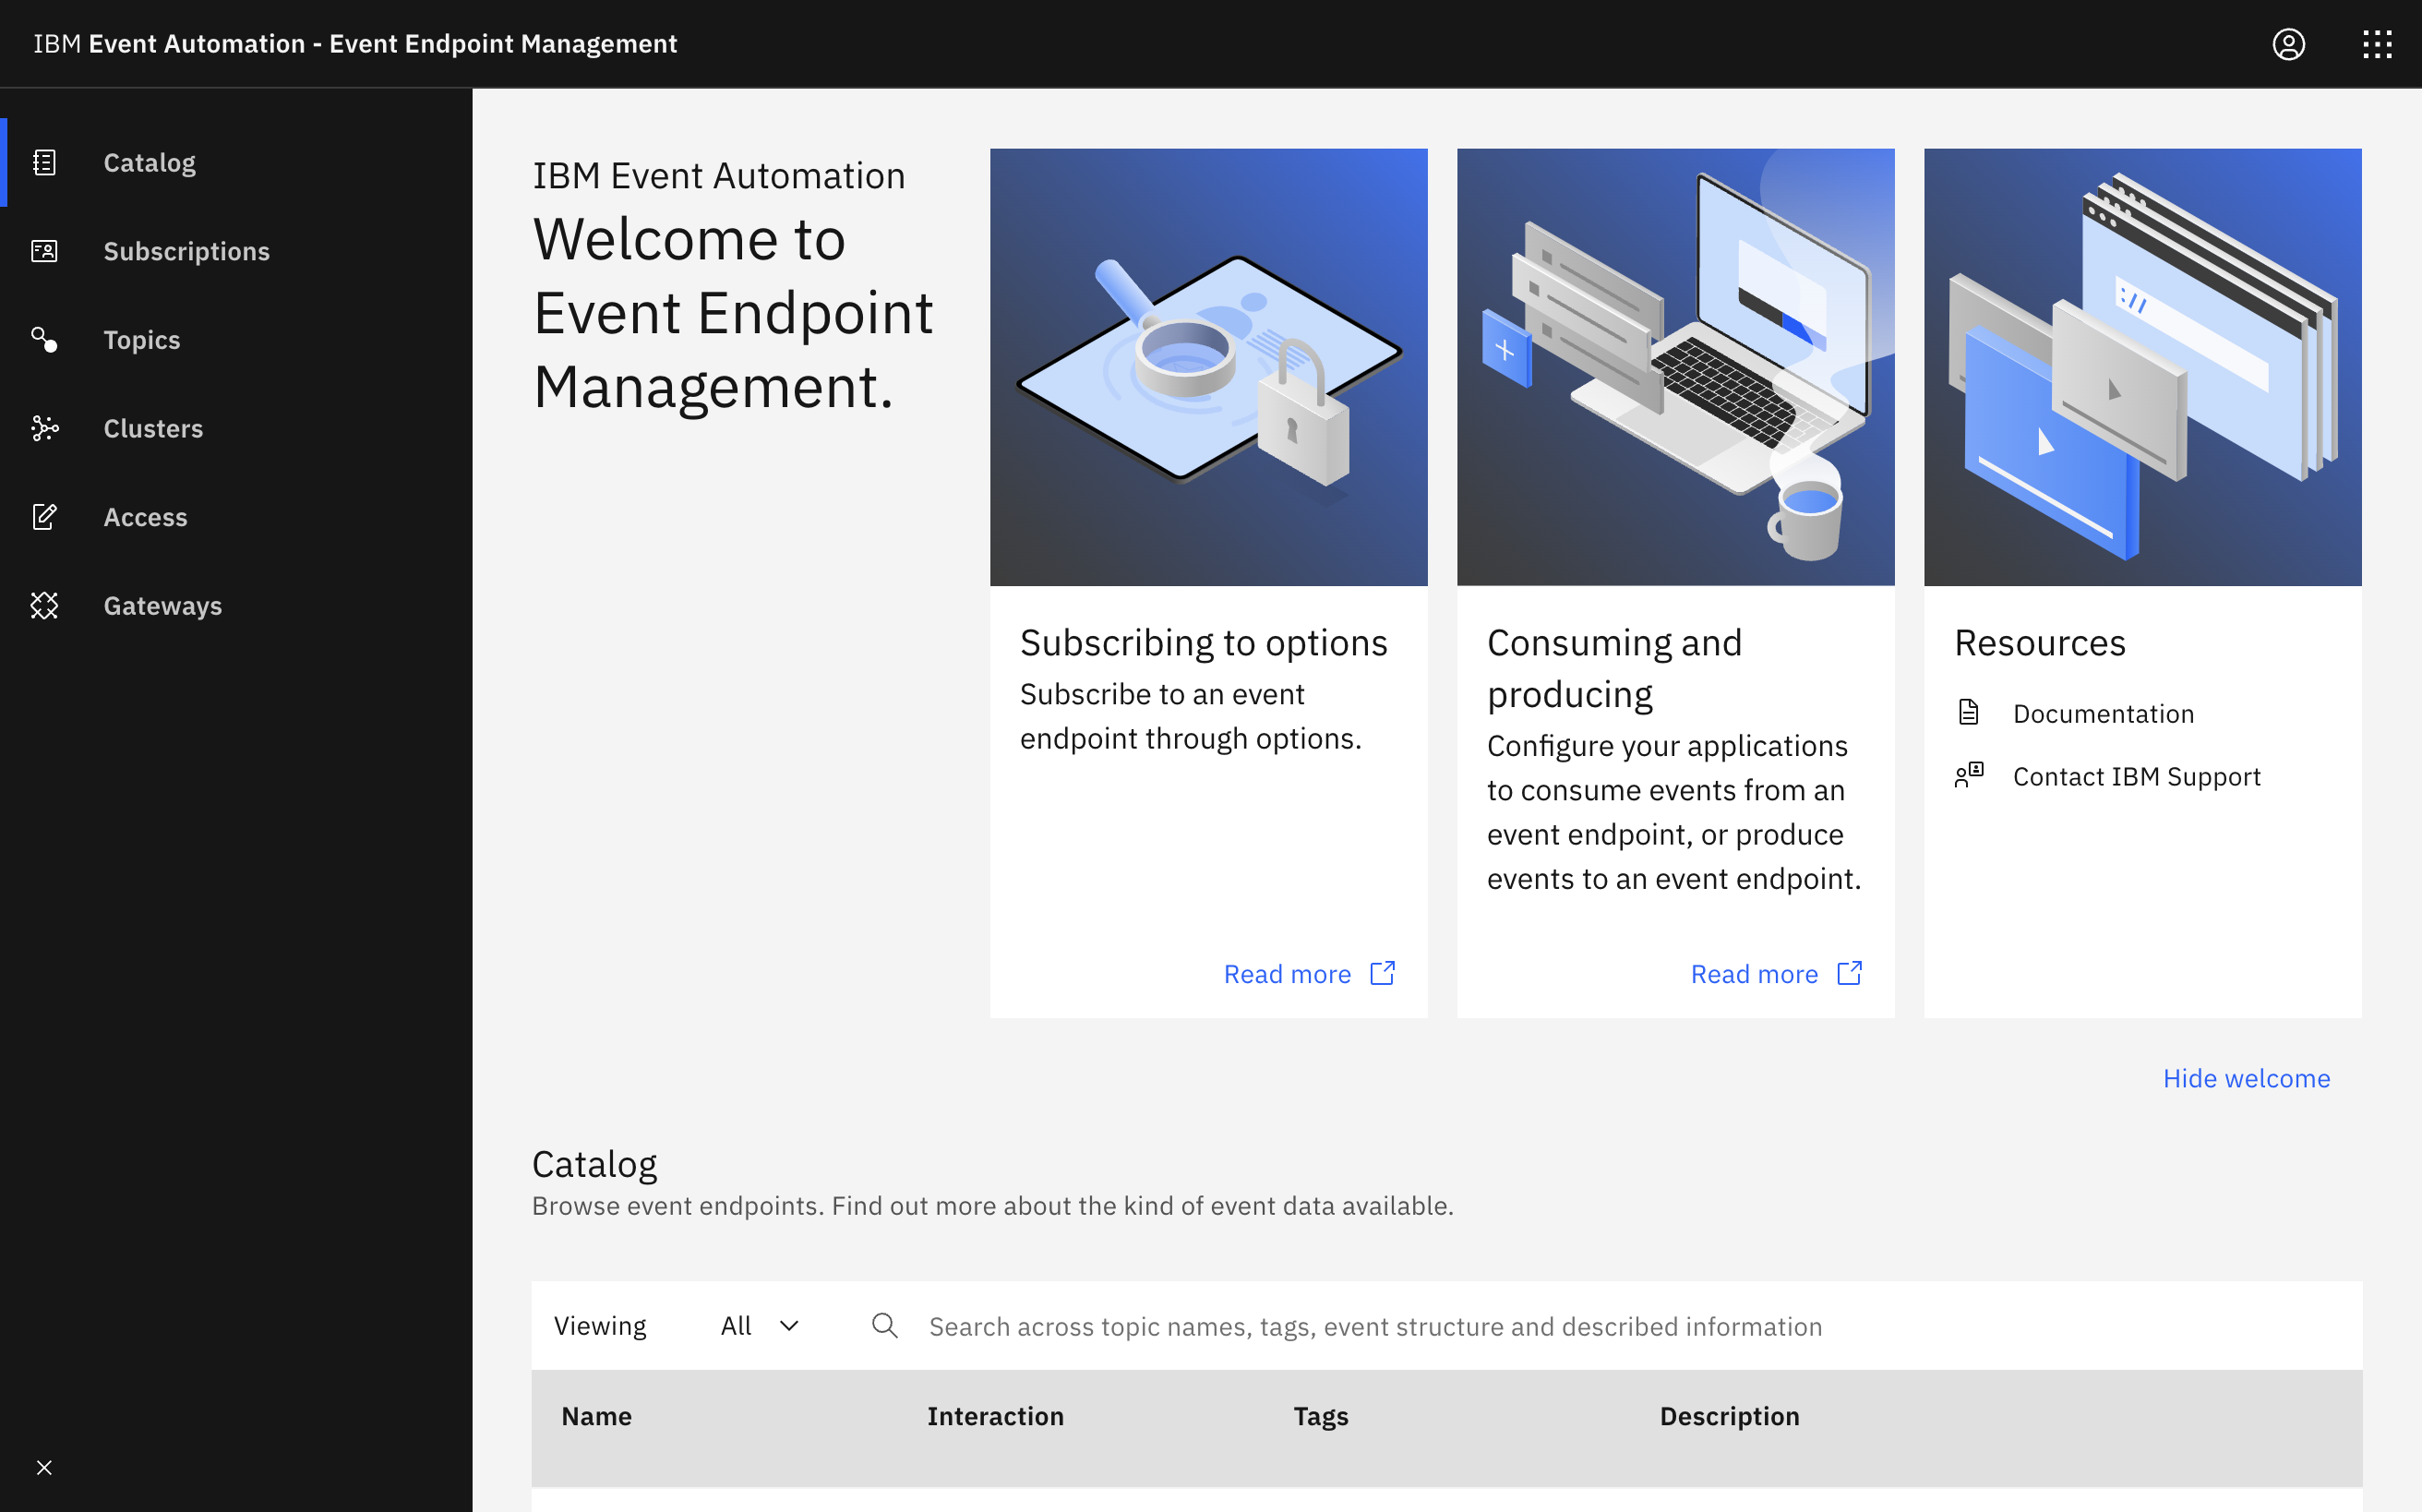
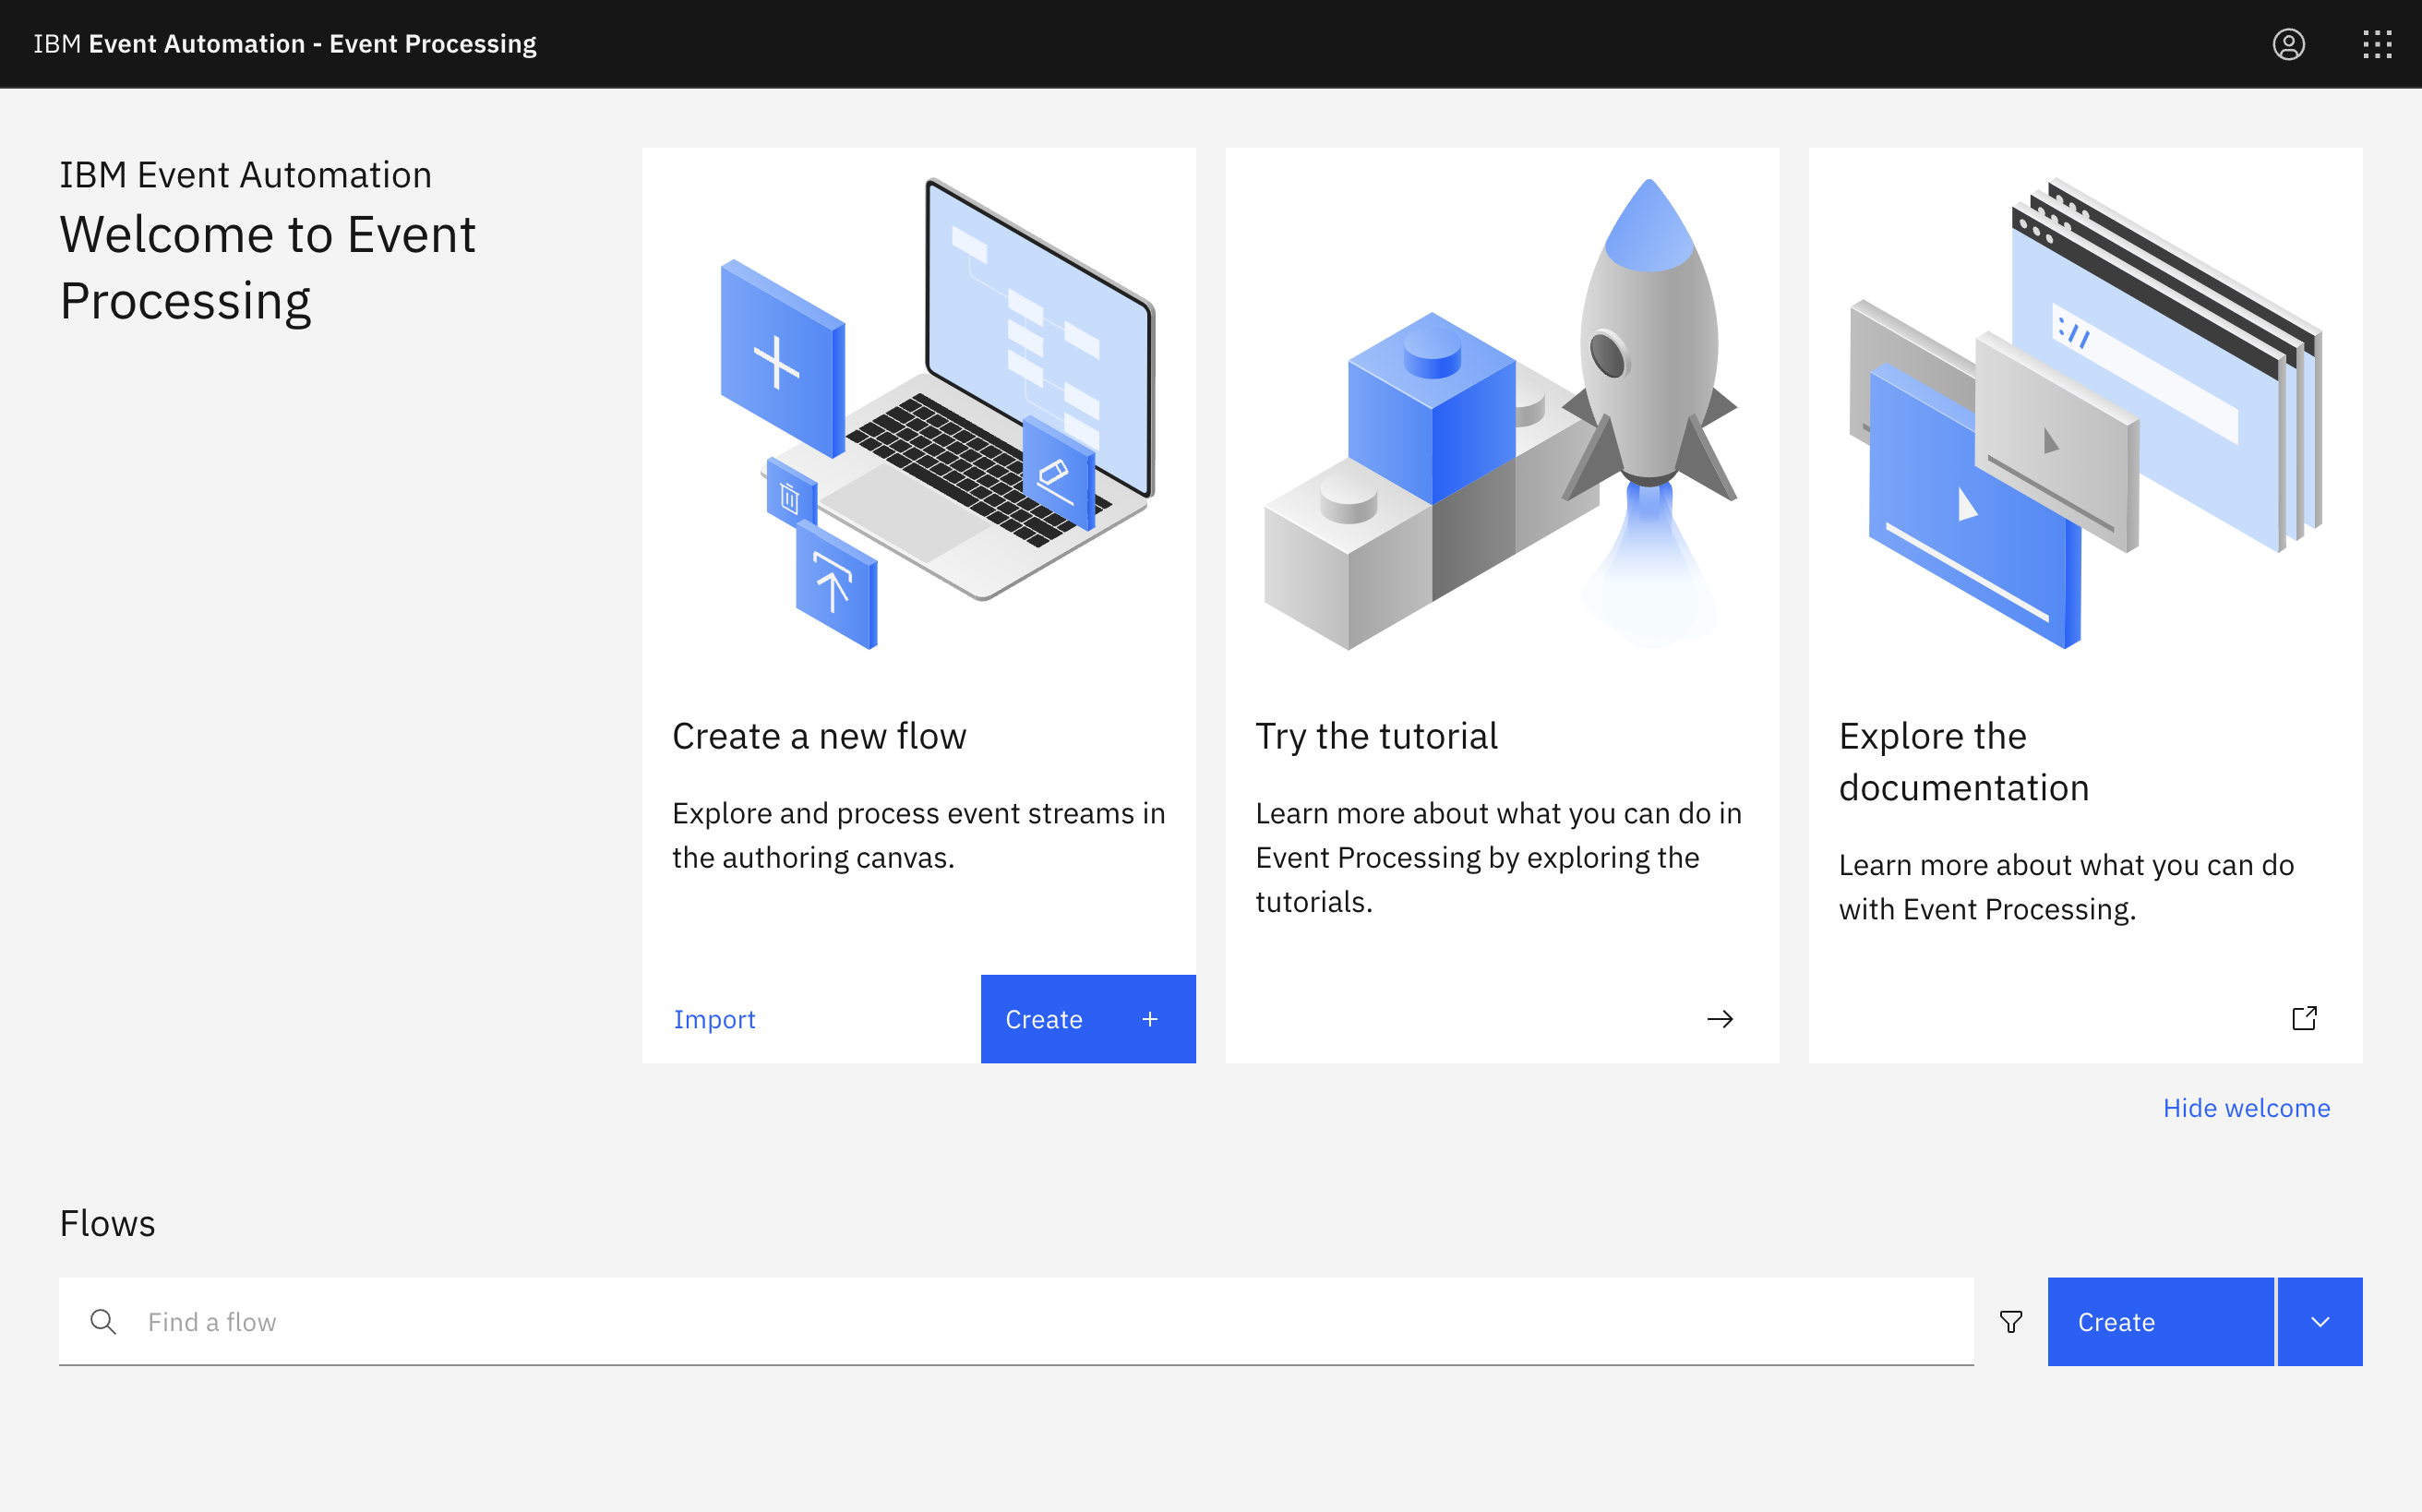
Go to the Event Endpoint Management catalog.
If you need a reminder about how to access the Event Endpoint Management catalog, you can review Accessing the tutorial environment.
-
Find the
Return requestsandProduct reviewstopics. -
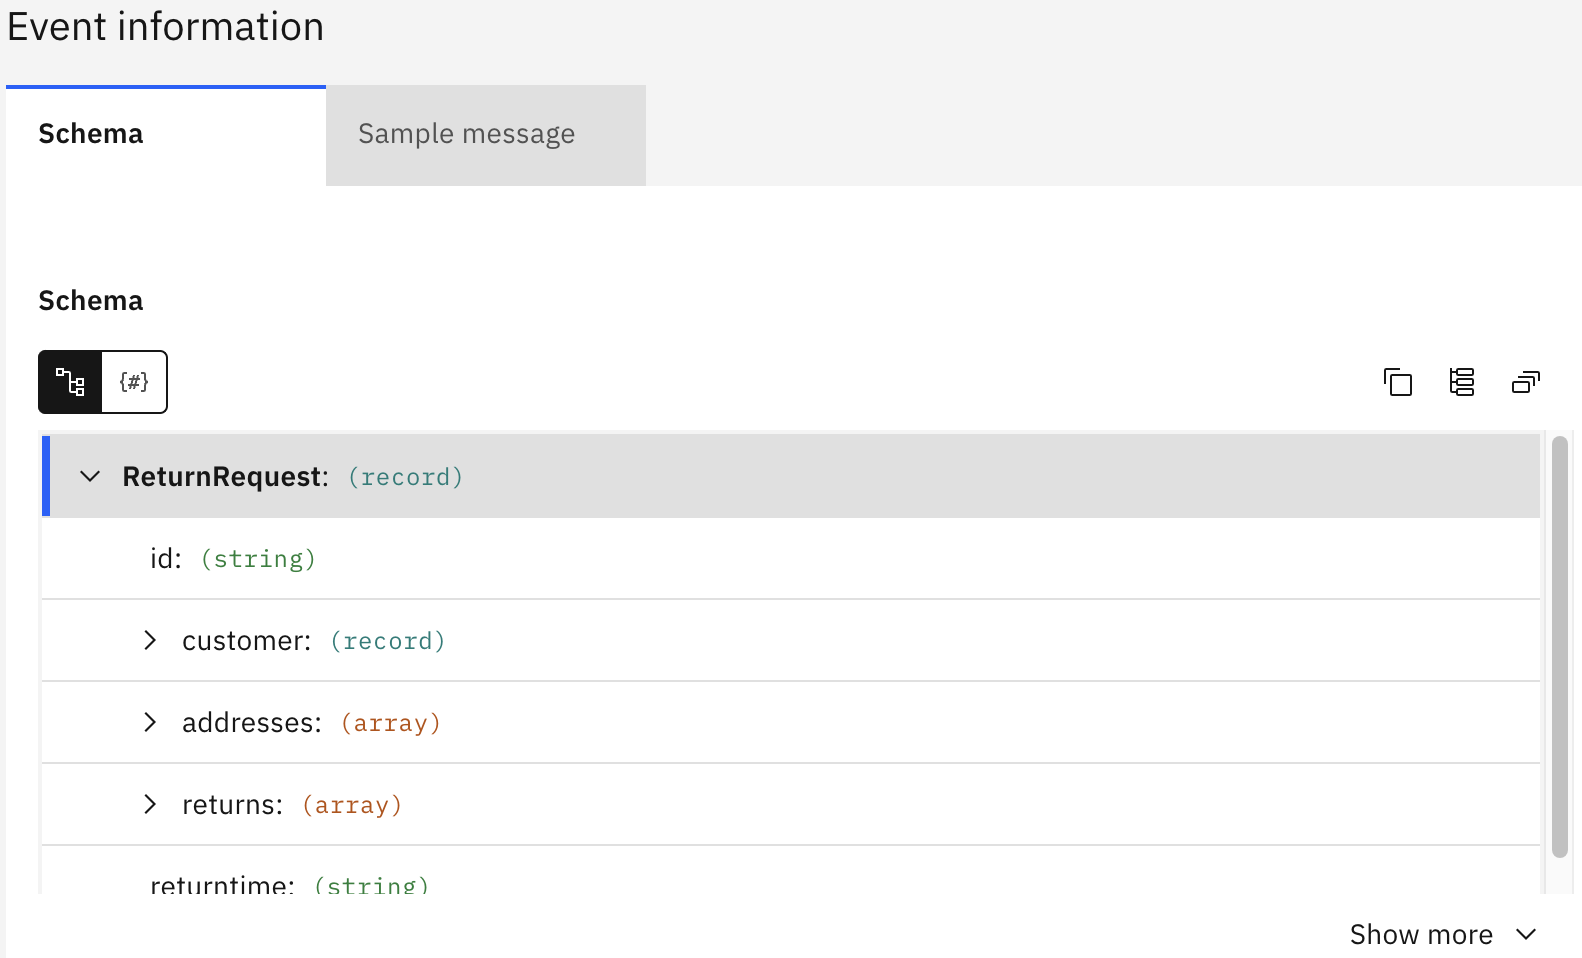
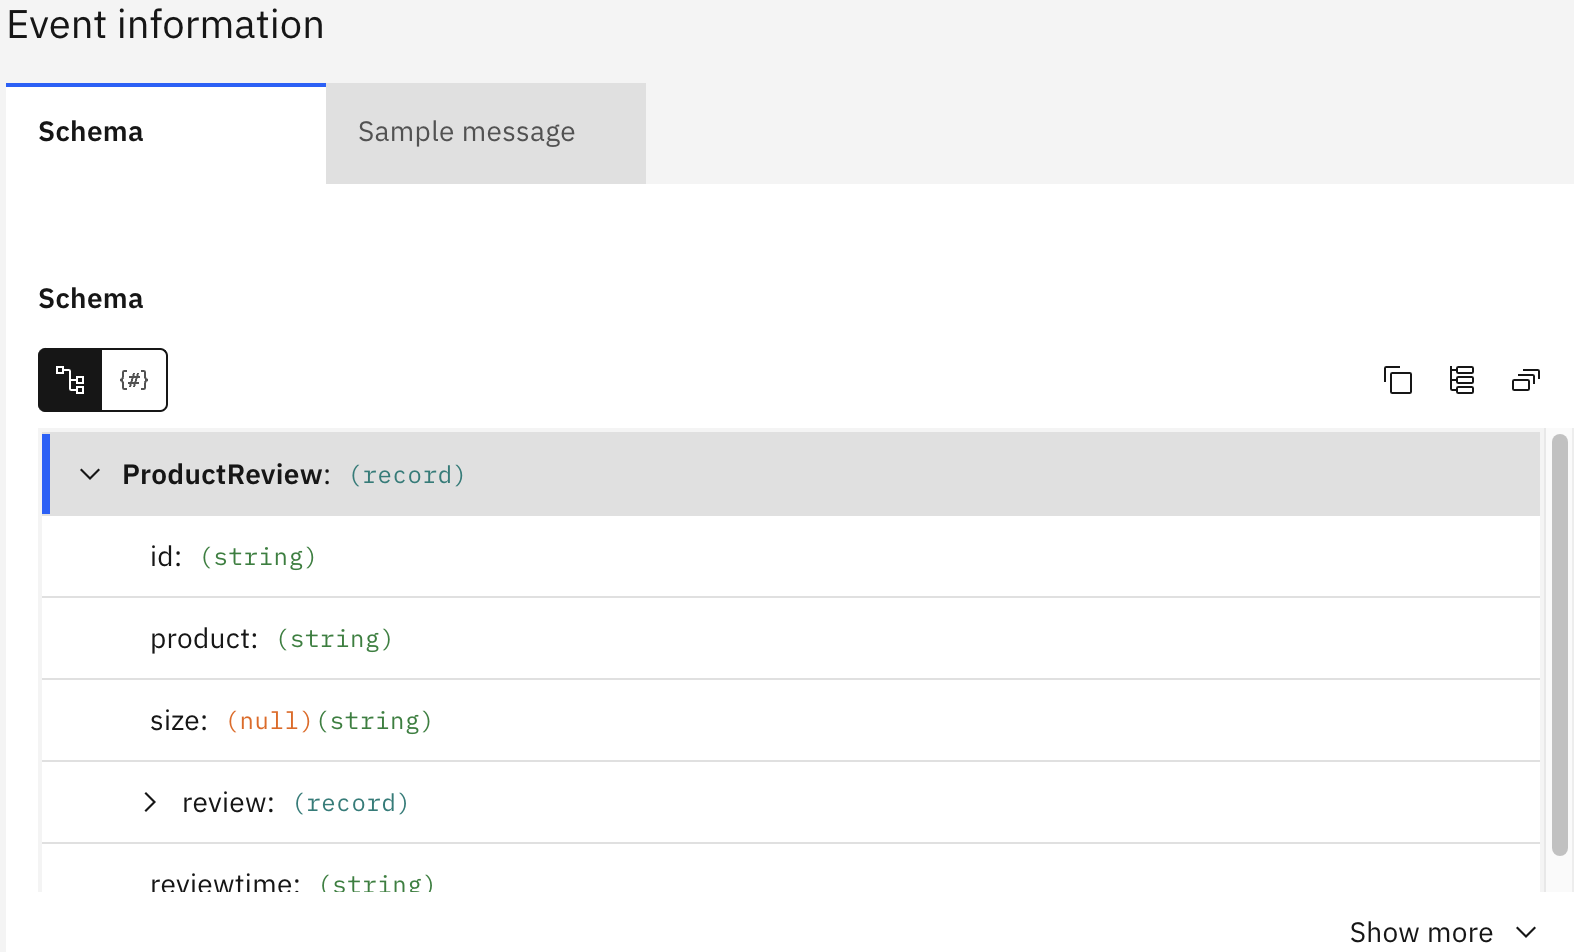
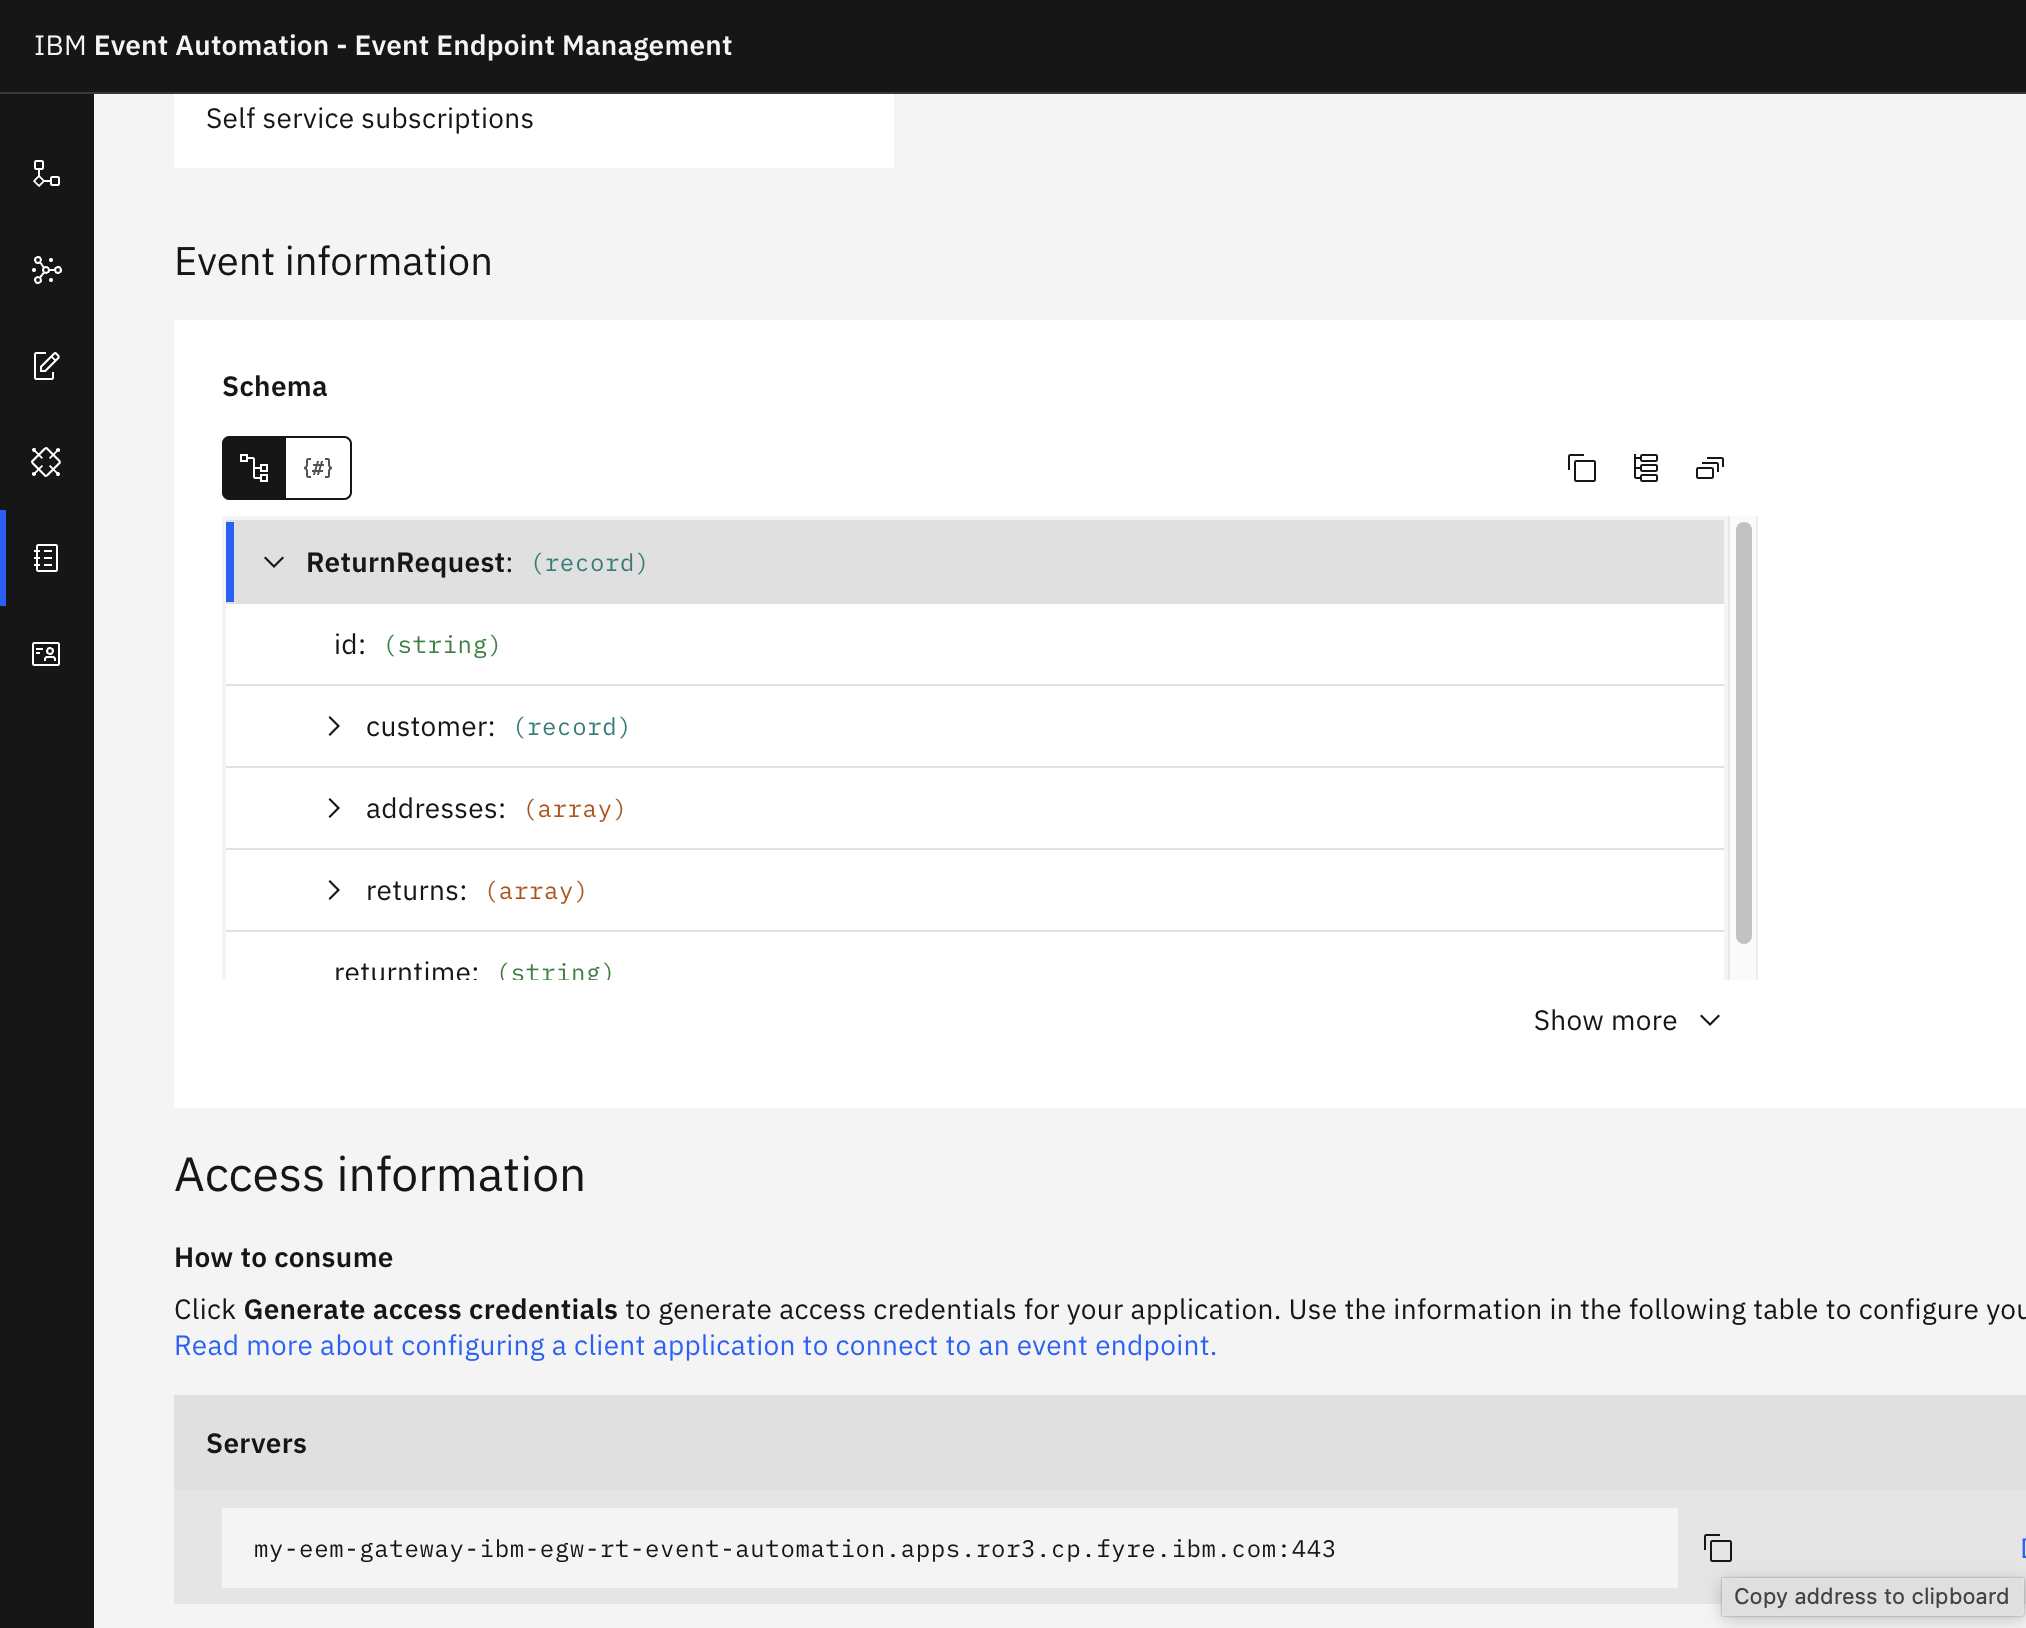
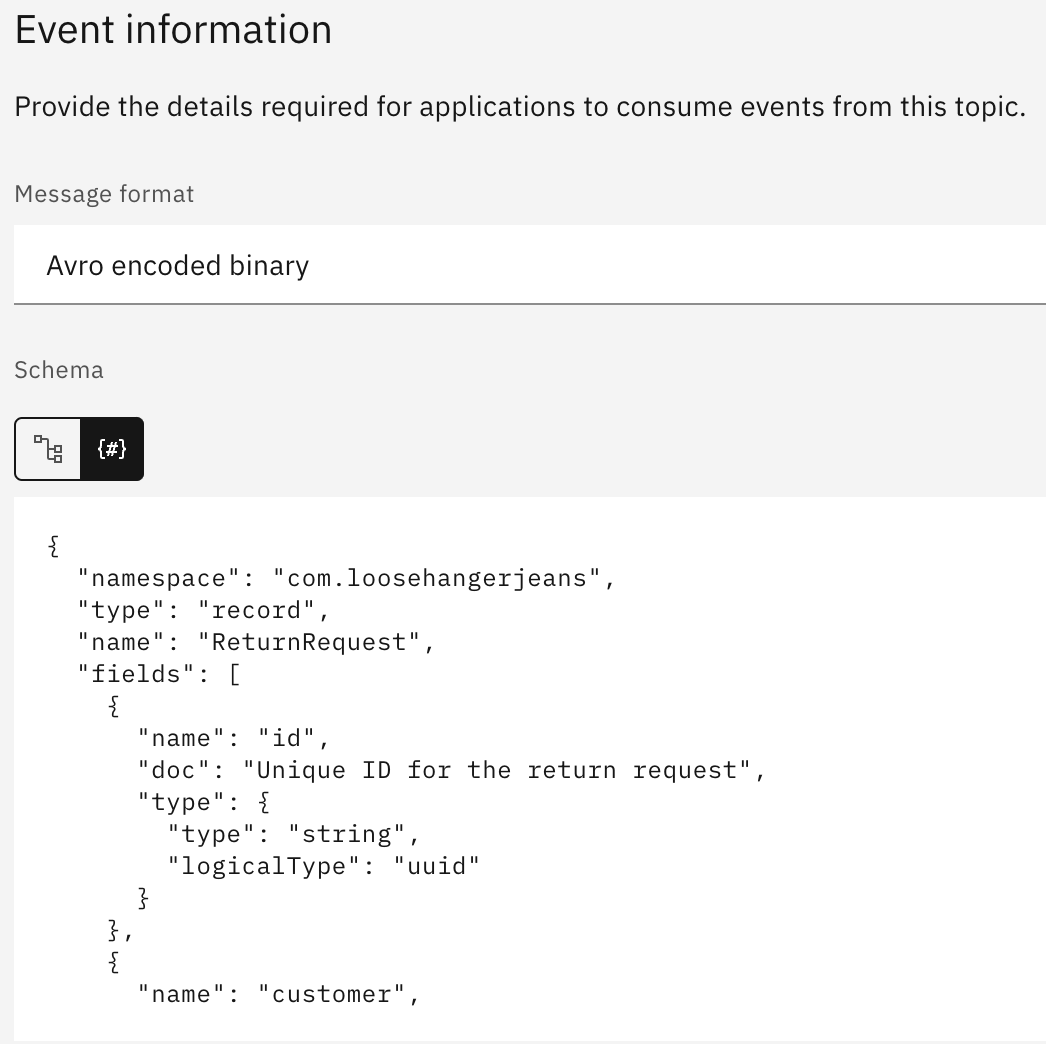
Click into the topics to review the information about the events that are available here. Look at the schema to see the properties in the events, and get an idea of what to expect from events on these topics.
Tip: Keep this page open. It is helpful to have the catalog available while you work on your Event Processing flows to refer to the information about the events as you work. Complete the following steps in a separate browser window or tab.
Step 2: Create a flow
To create a flow, complete the following steps:
-
Go to the Event Processing home page.
If you need a reminder about how to access the Event Processing home page, you can review Accessing the tutorial environment.
-
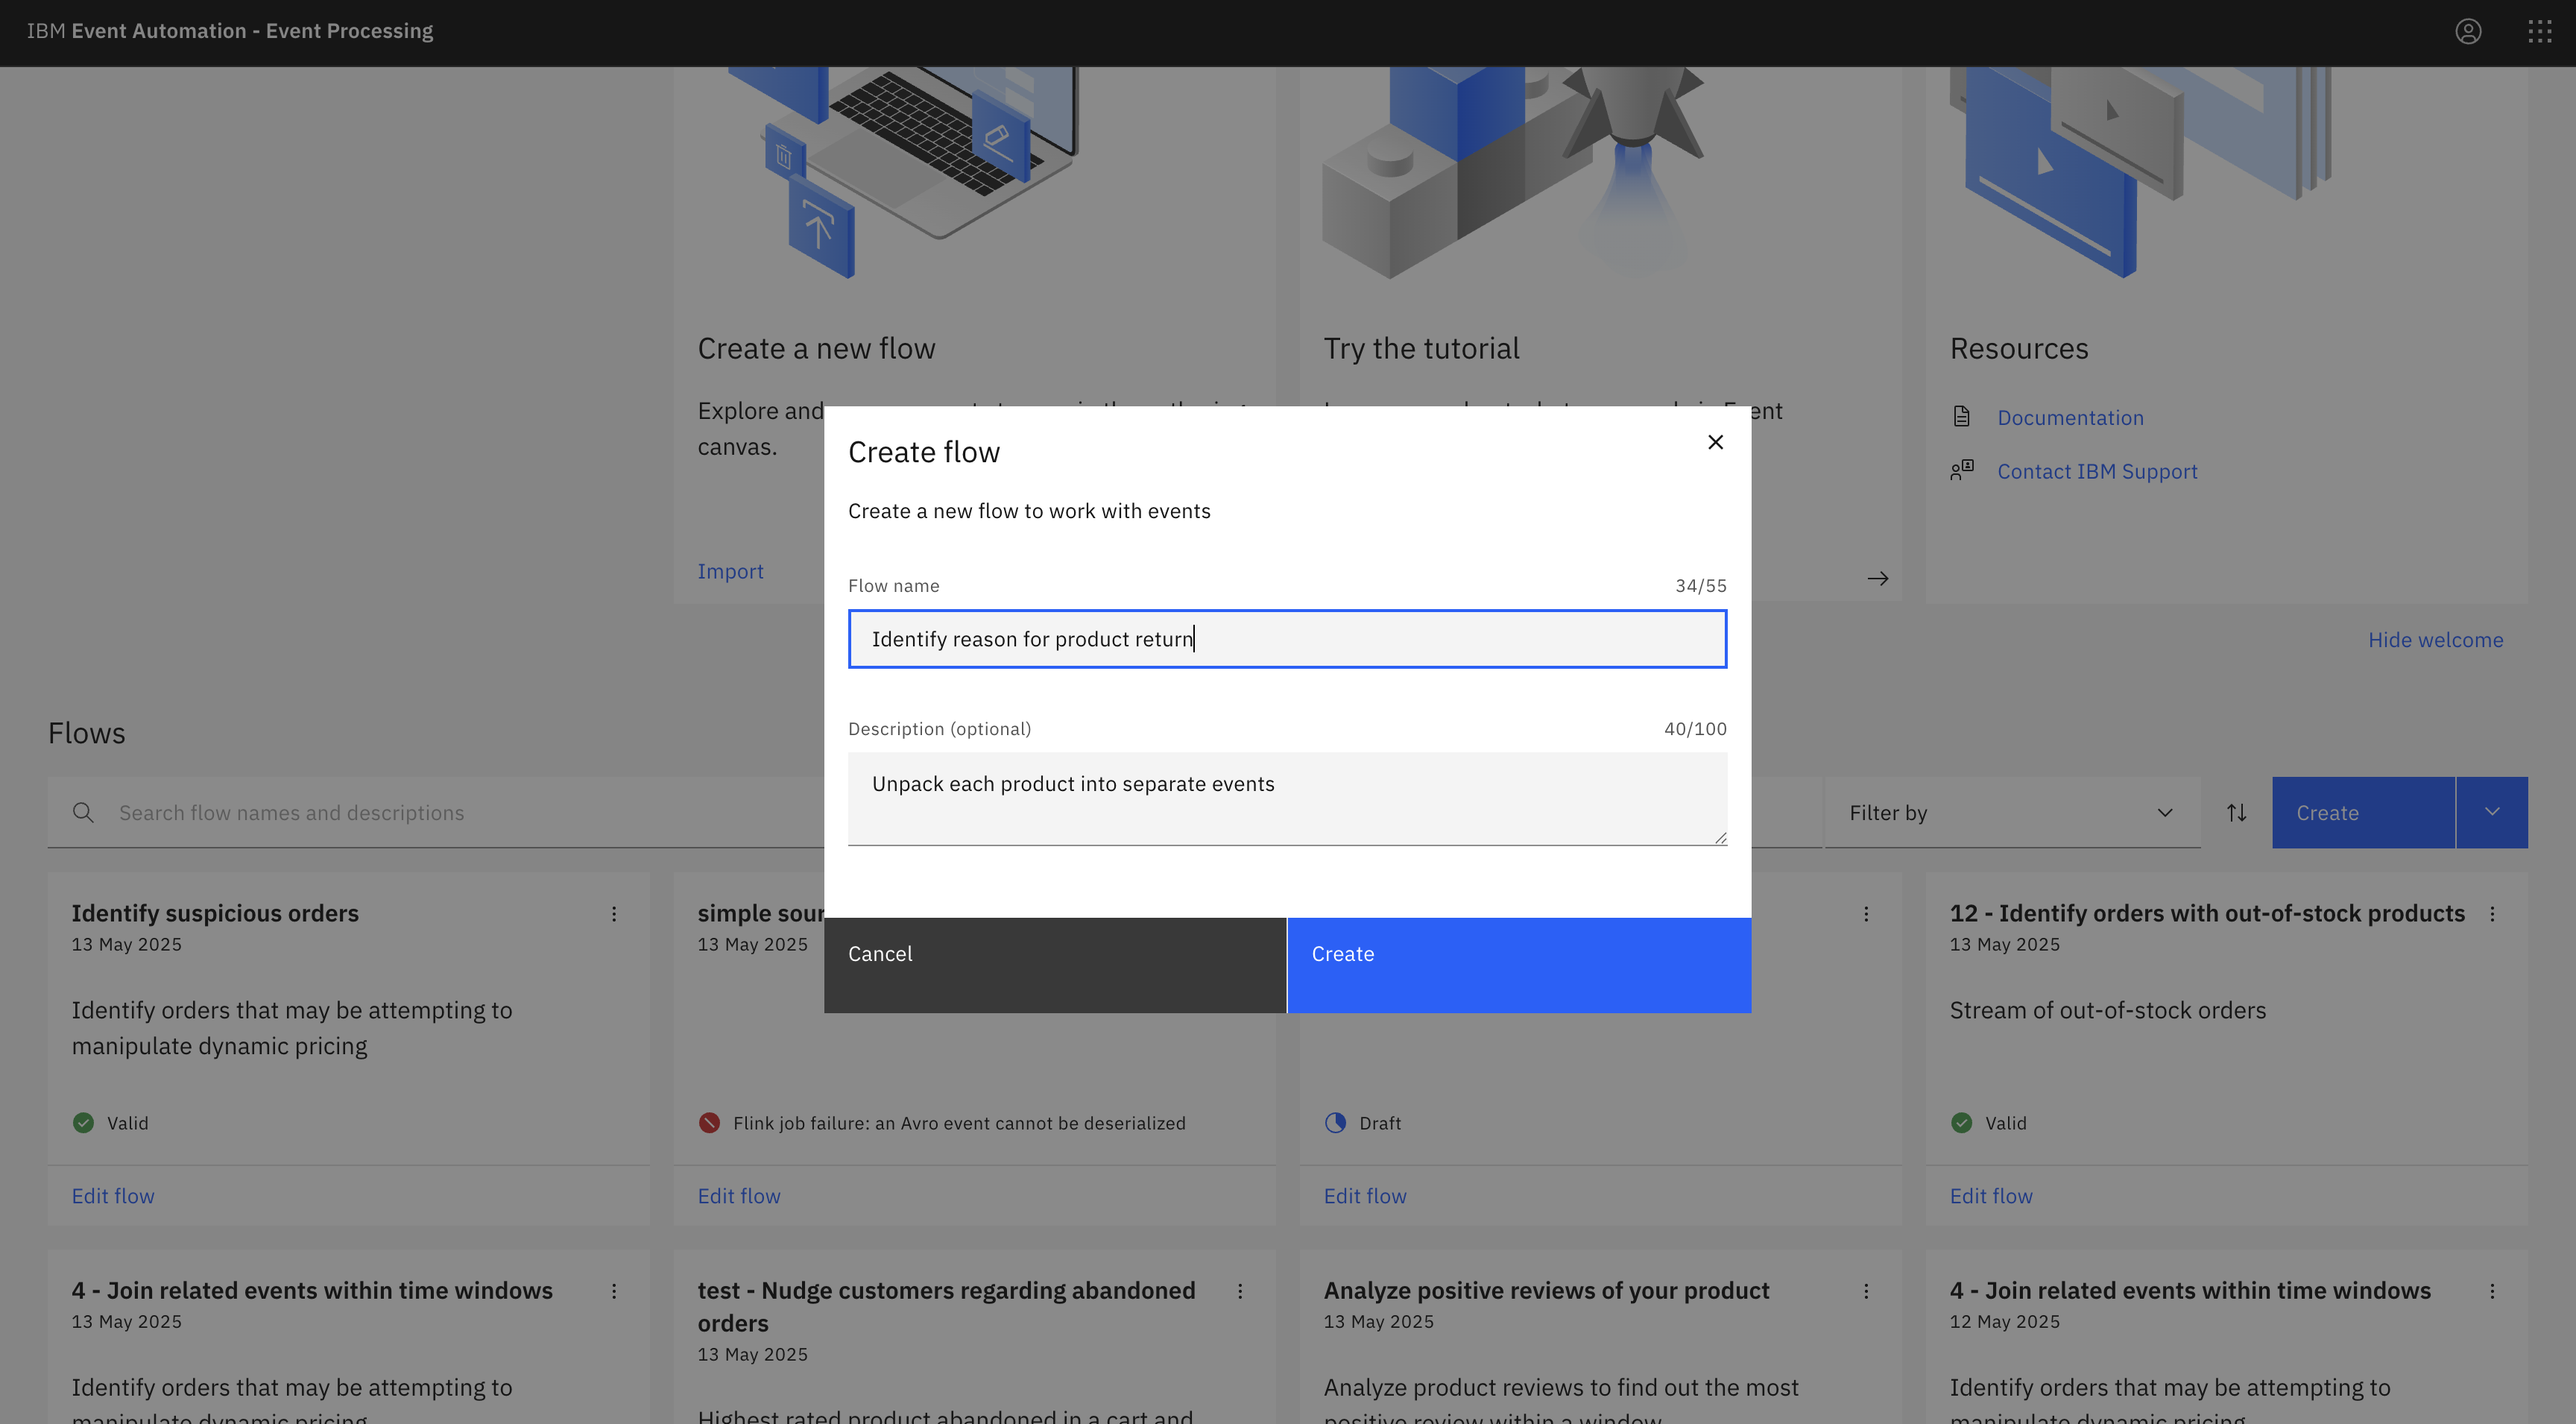
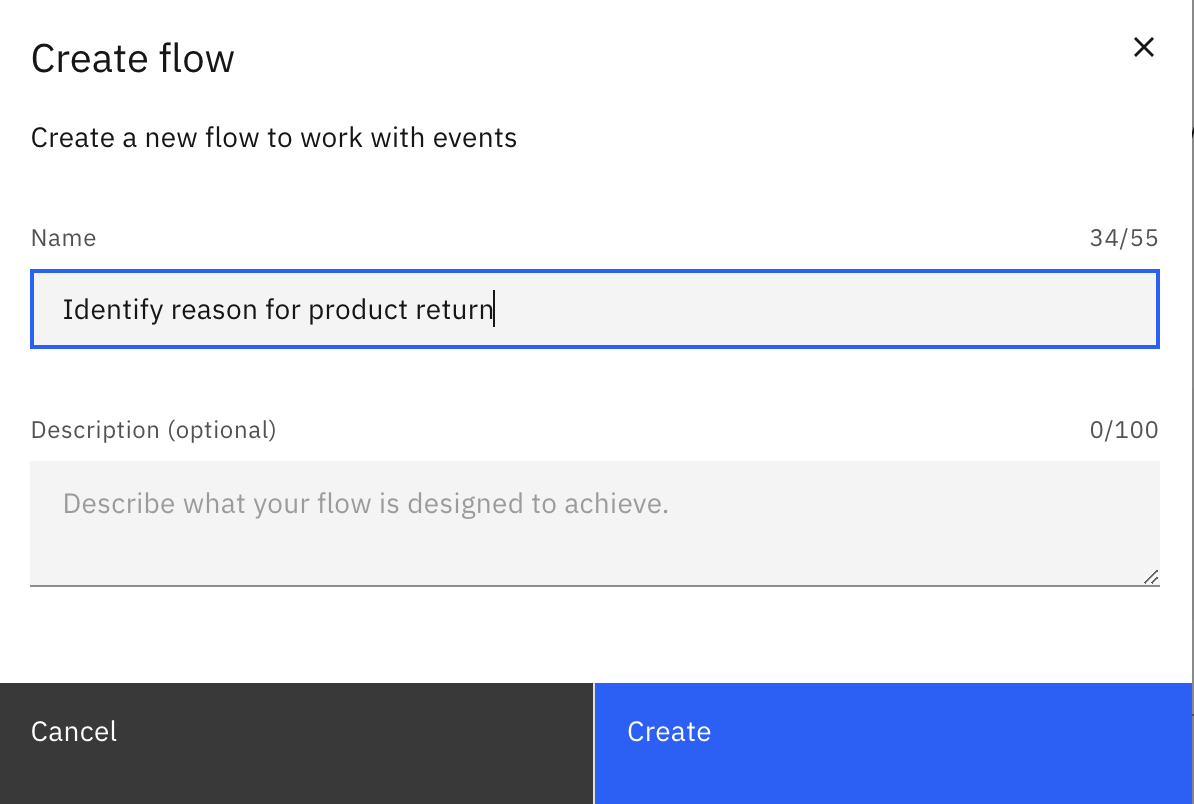
Create a flow, and give it a name and description to explain that you will use it to have more insight into the reasons for product return.
Step 3: Add an event source node for the Return Requests topic
The next step is to bring the stream of events you discovered in the catalog into Event Processing.
To create an event source, complete the following steps:
-
Add an Event source node.
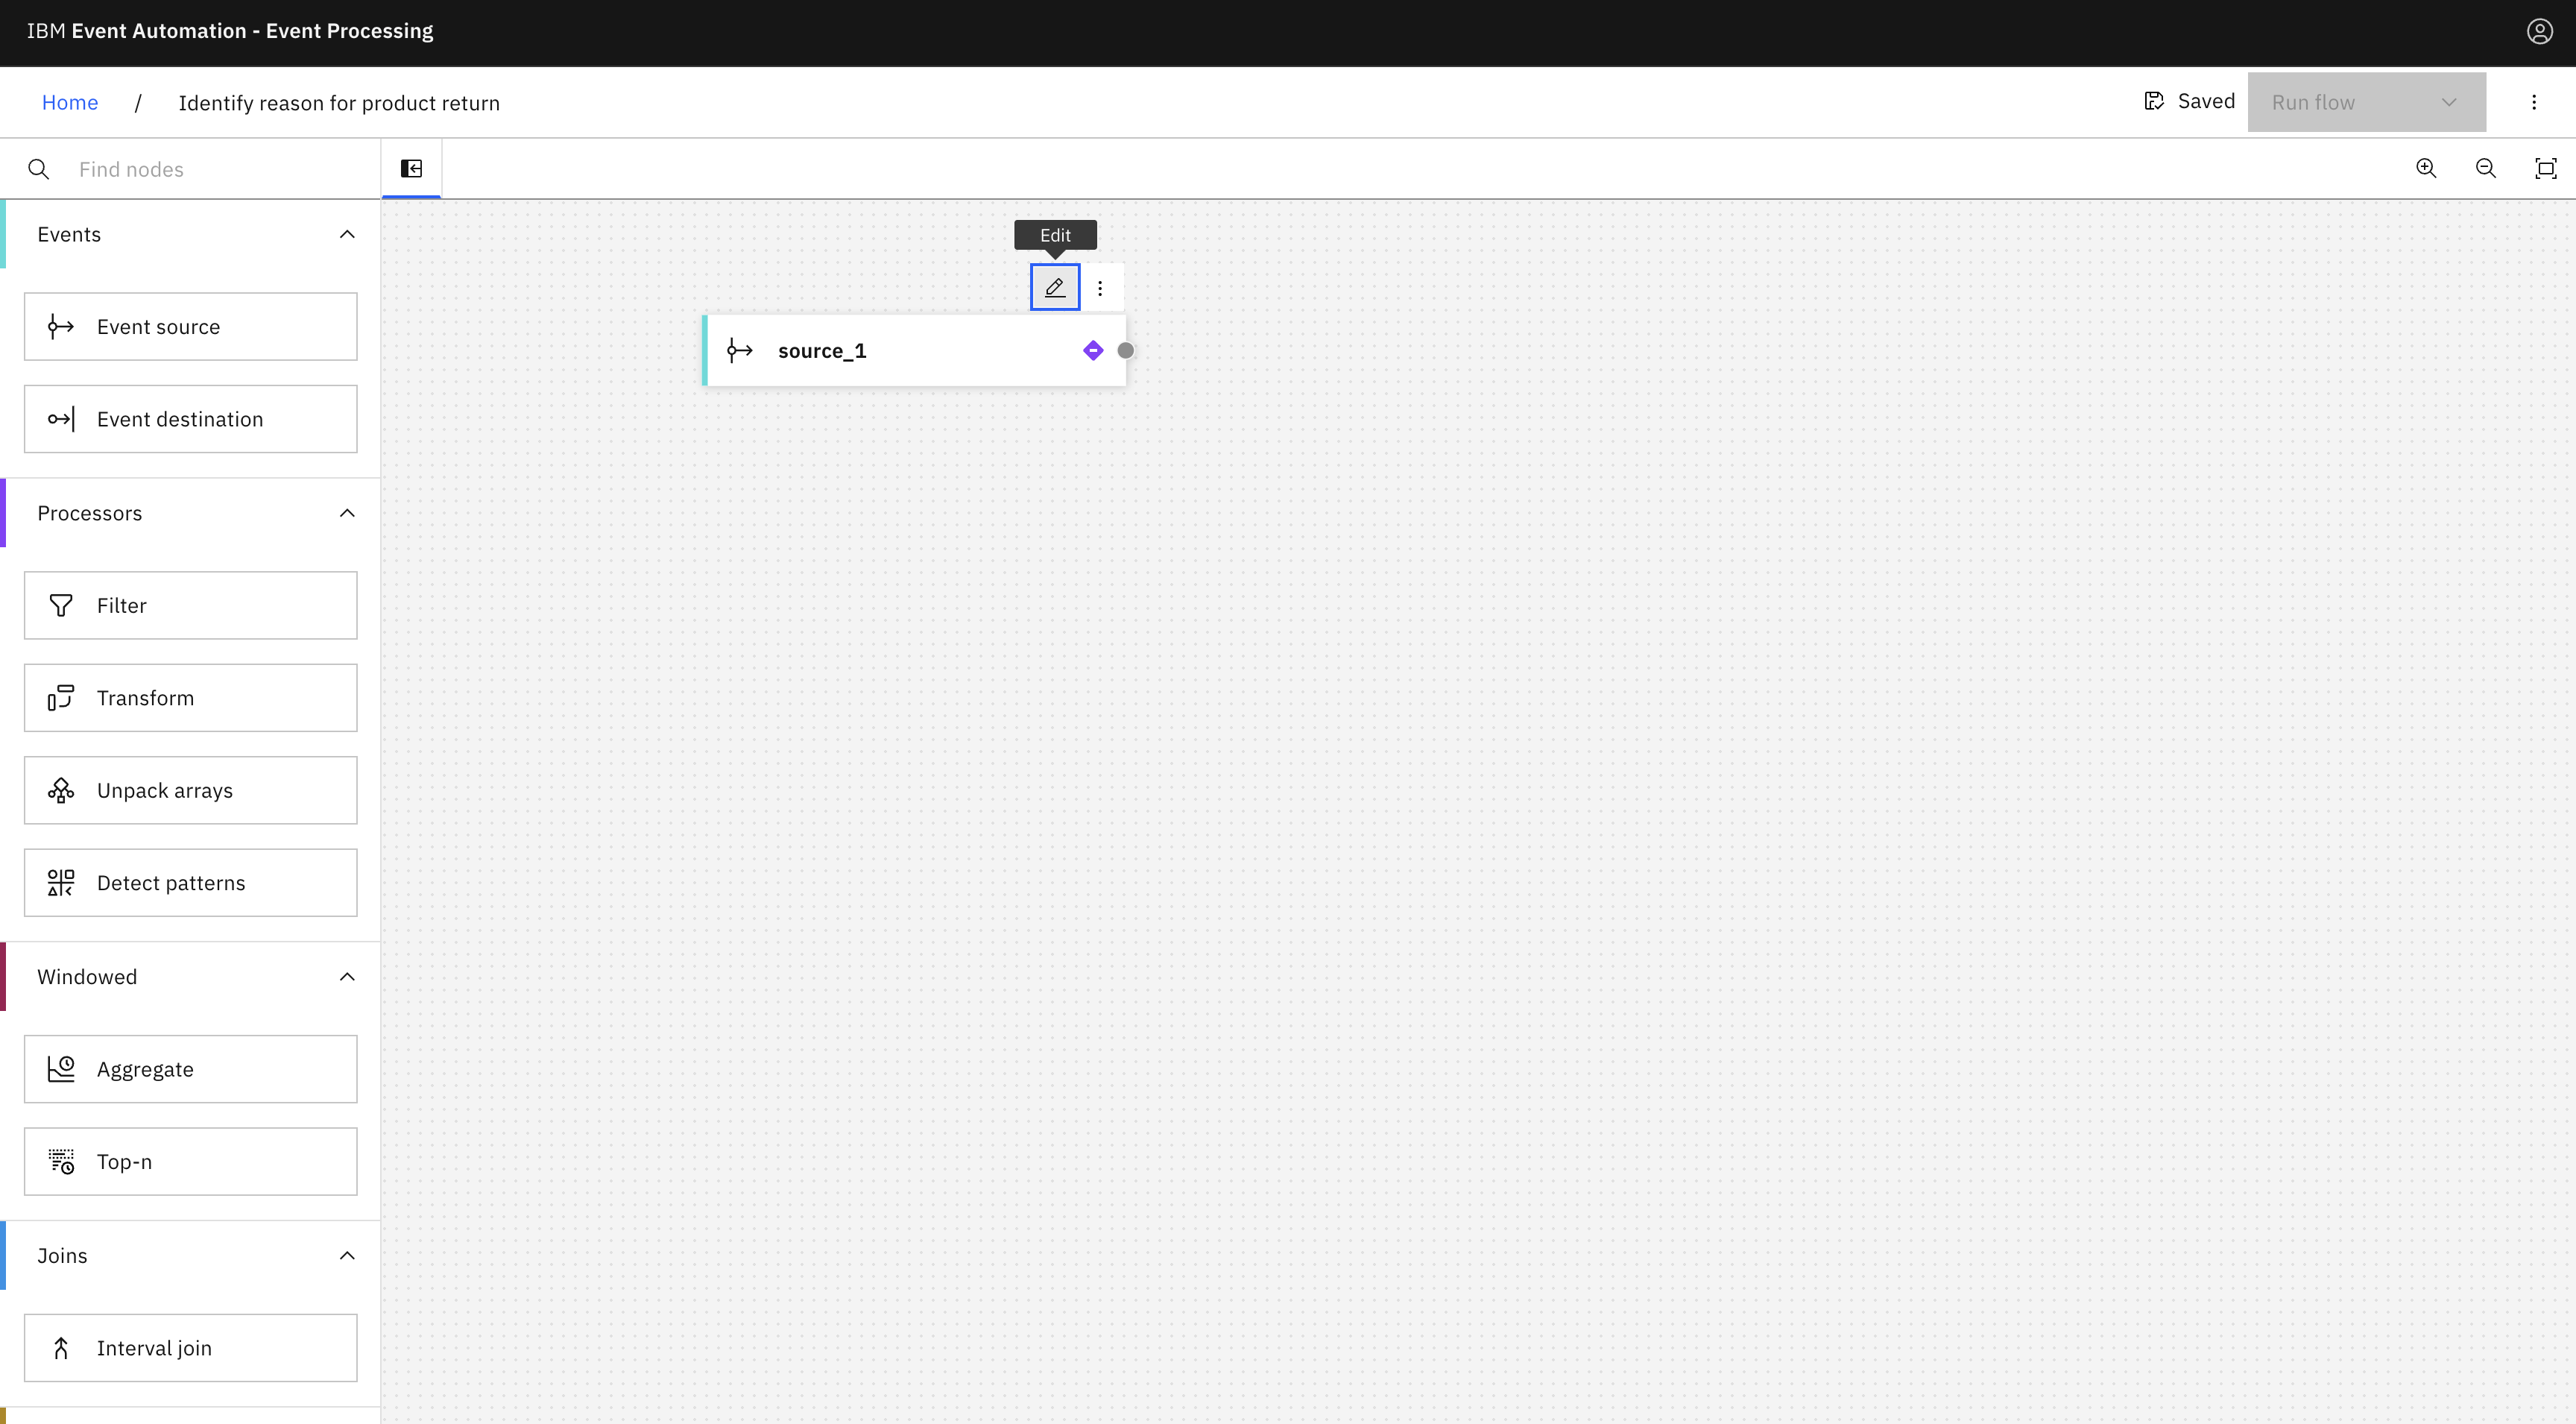
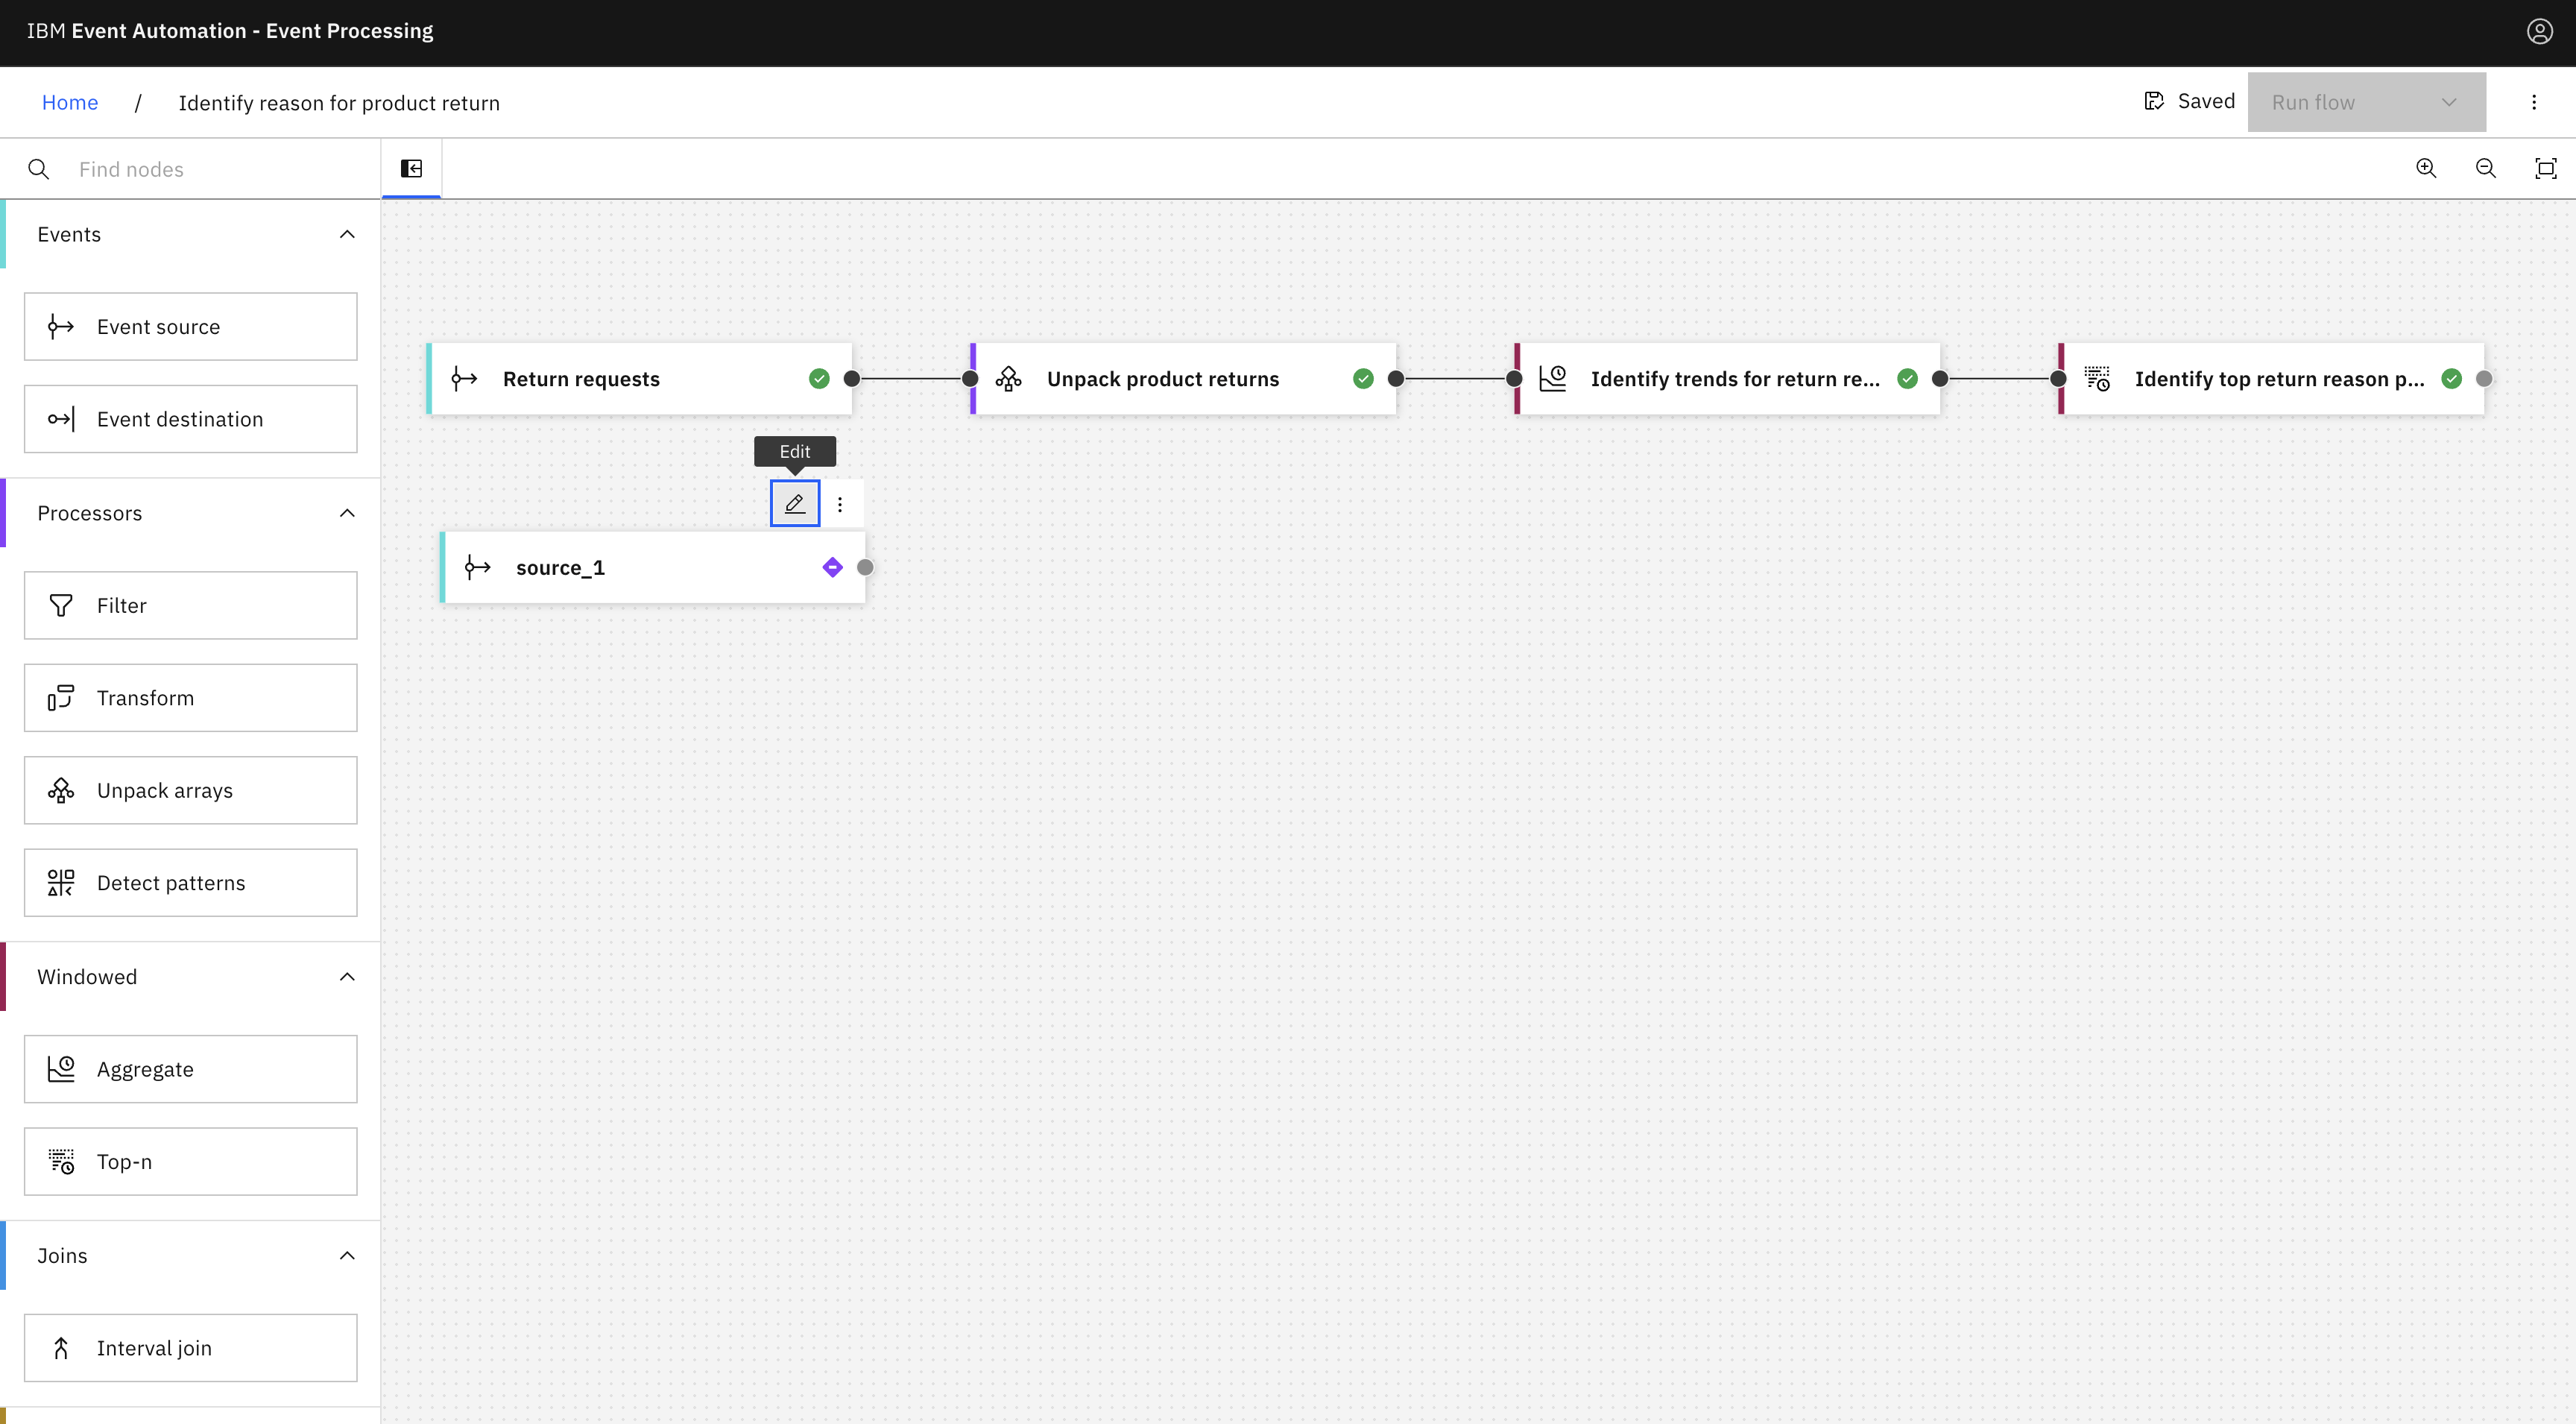
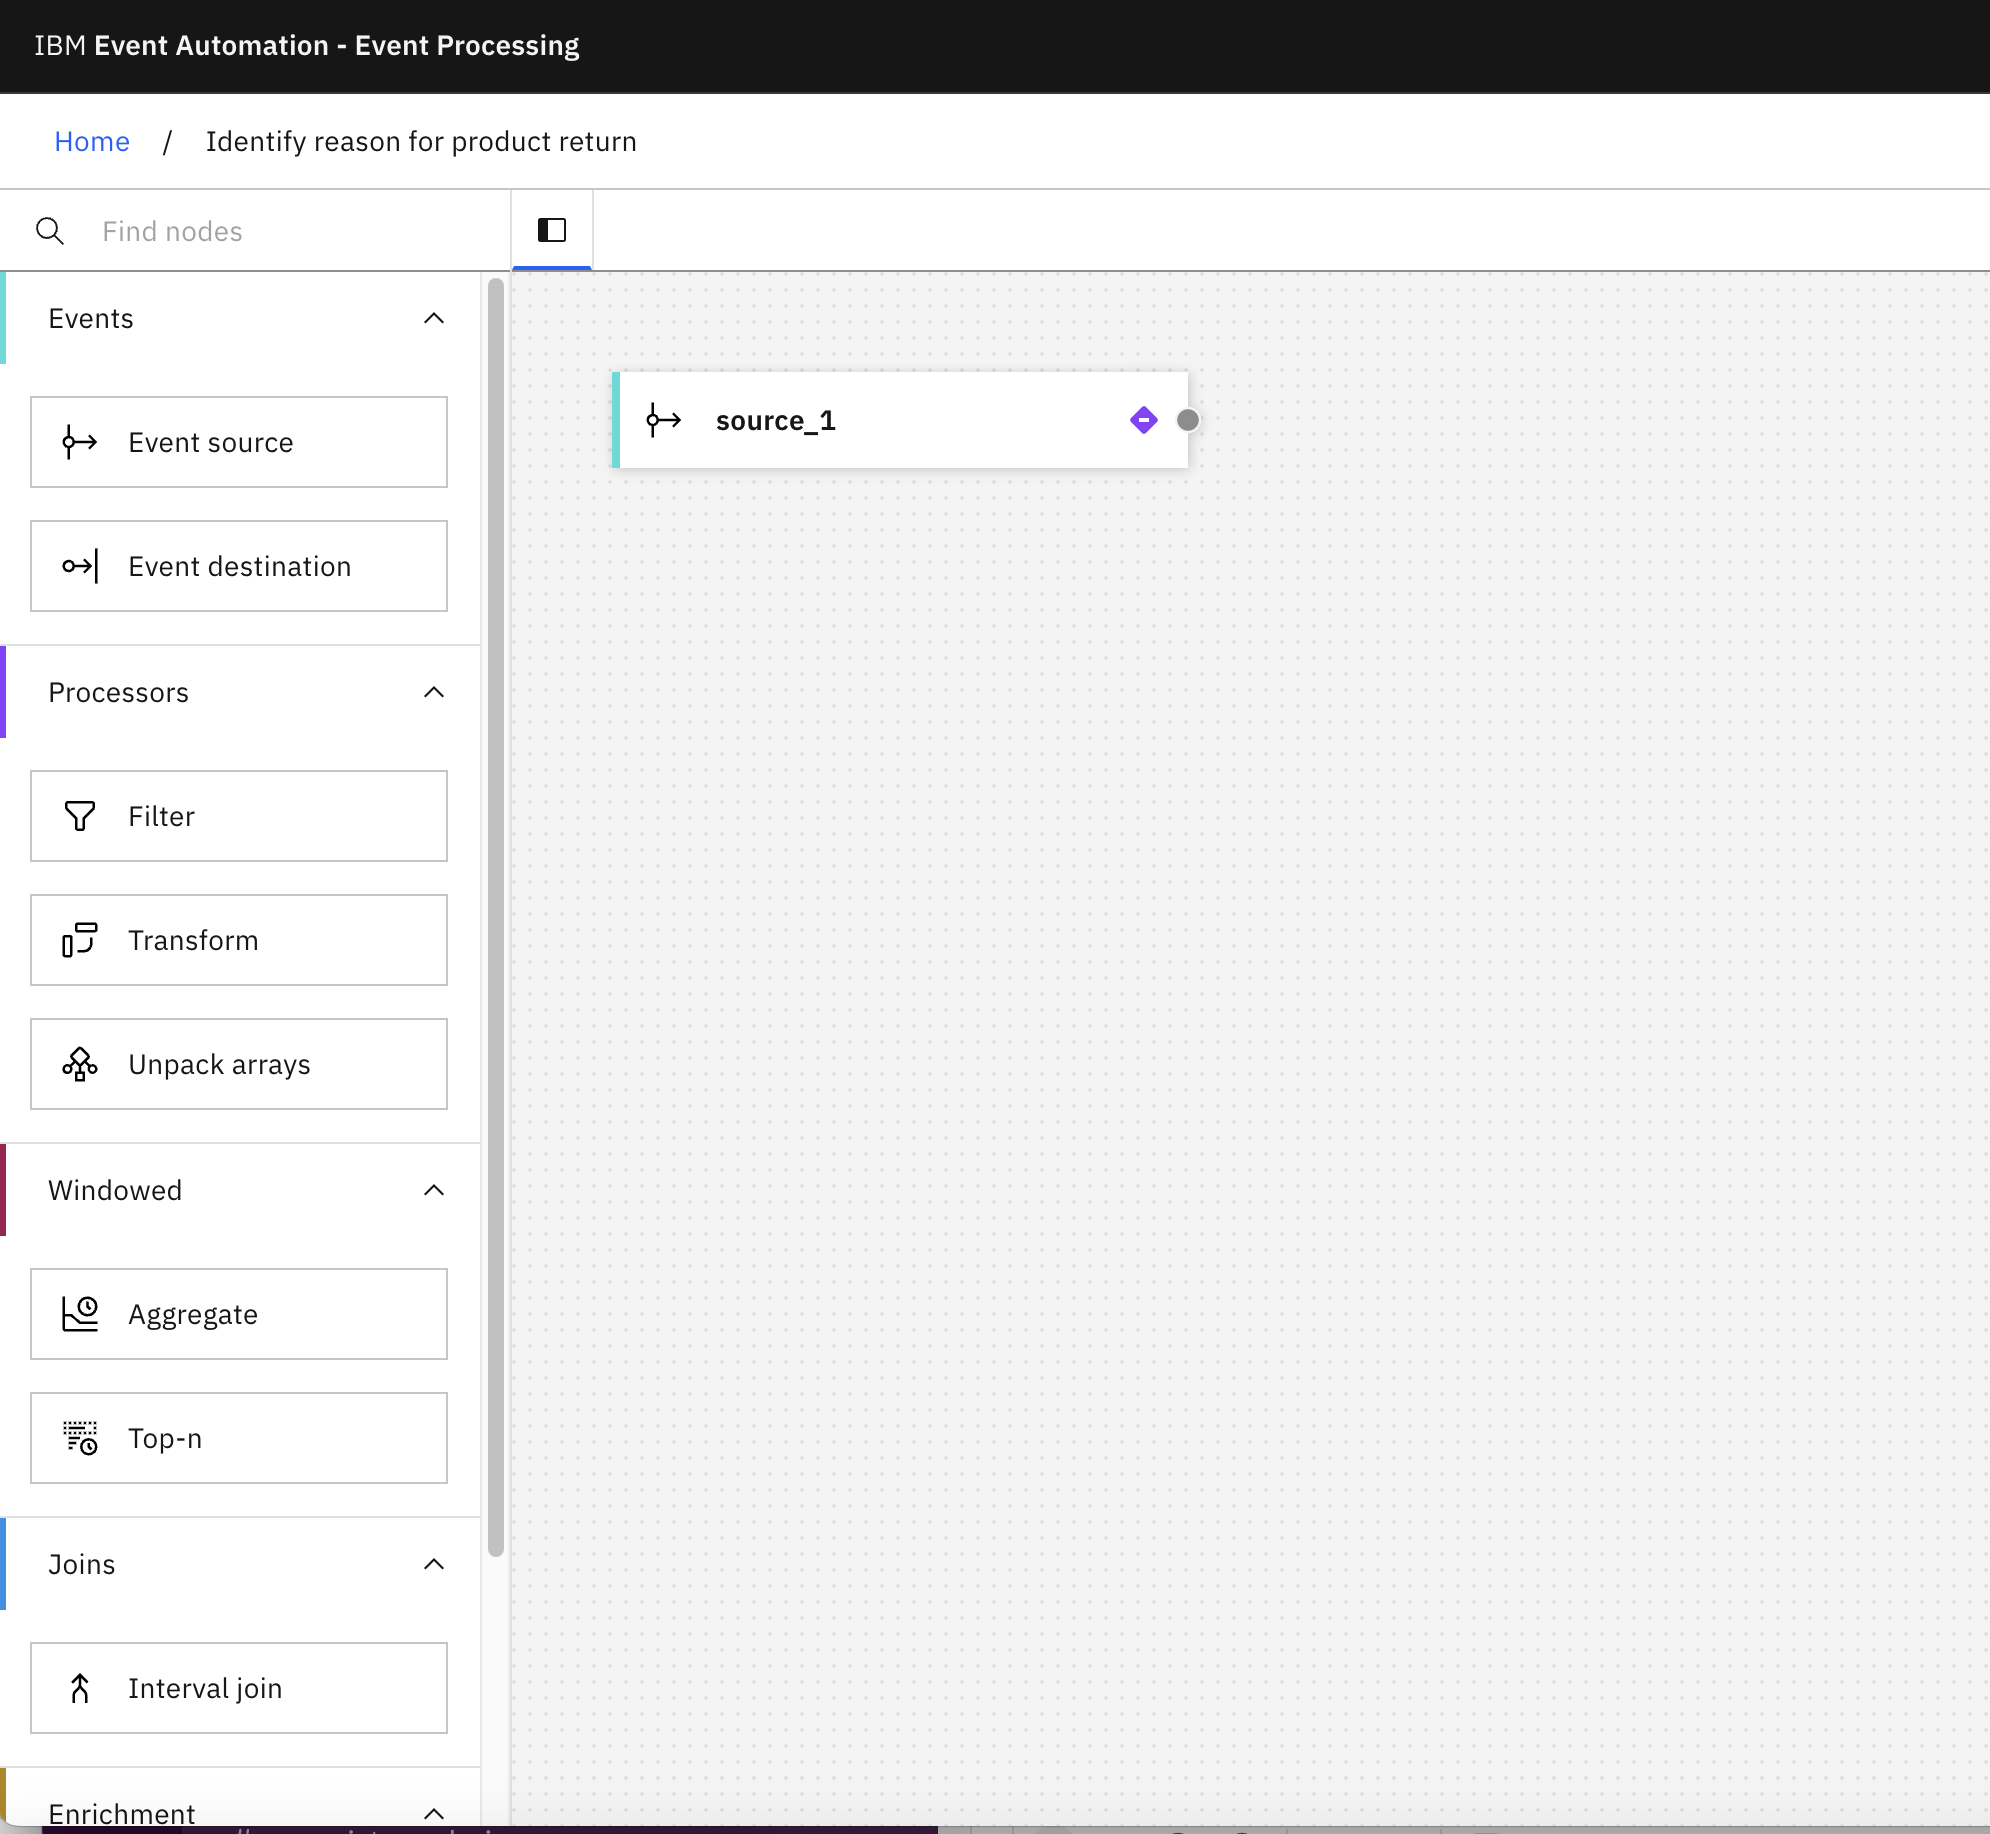
When you create a flow, an event source node is automatically added to your canvas. A purple checkbox
is displayed on the event source node indicating that the node is yet to be configured.
Hover over the node, and click
Edit to configure the node.
-
Ensure that the Add event source tile is selected, and then click Next.
-
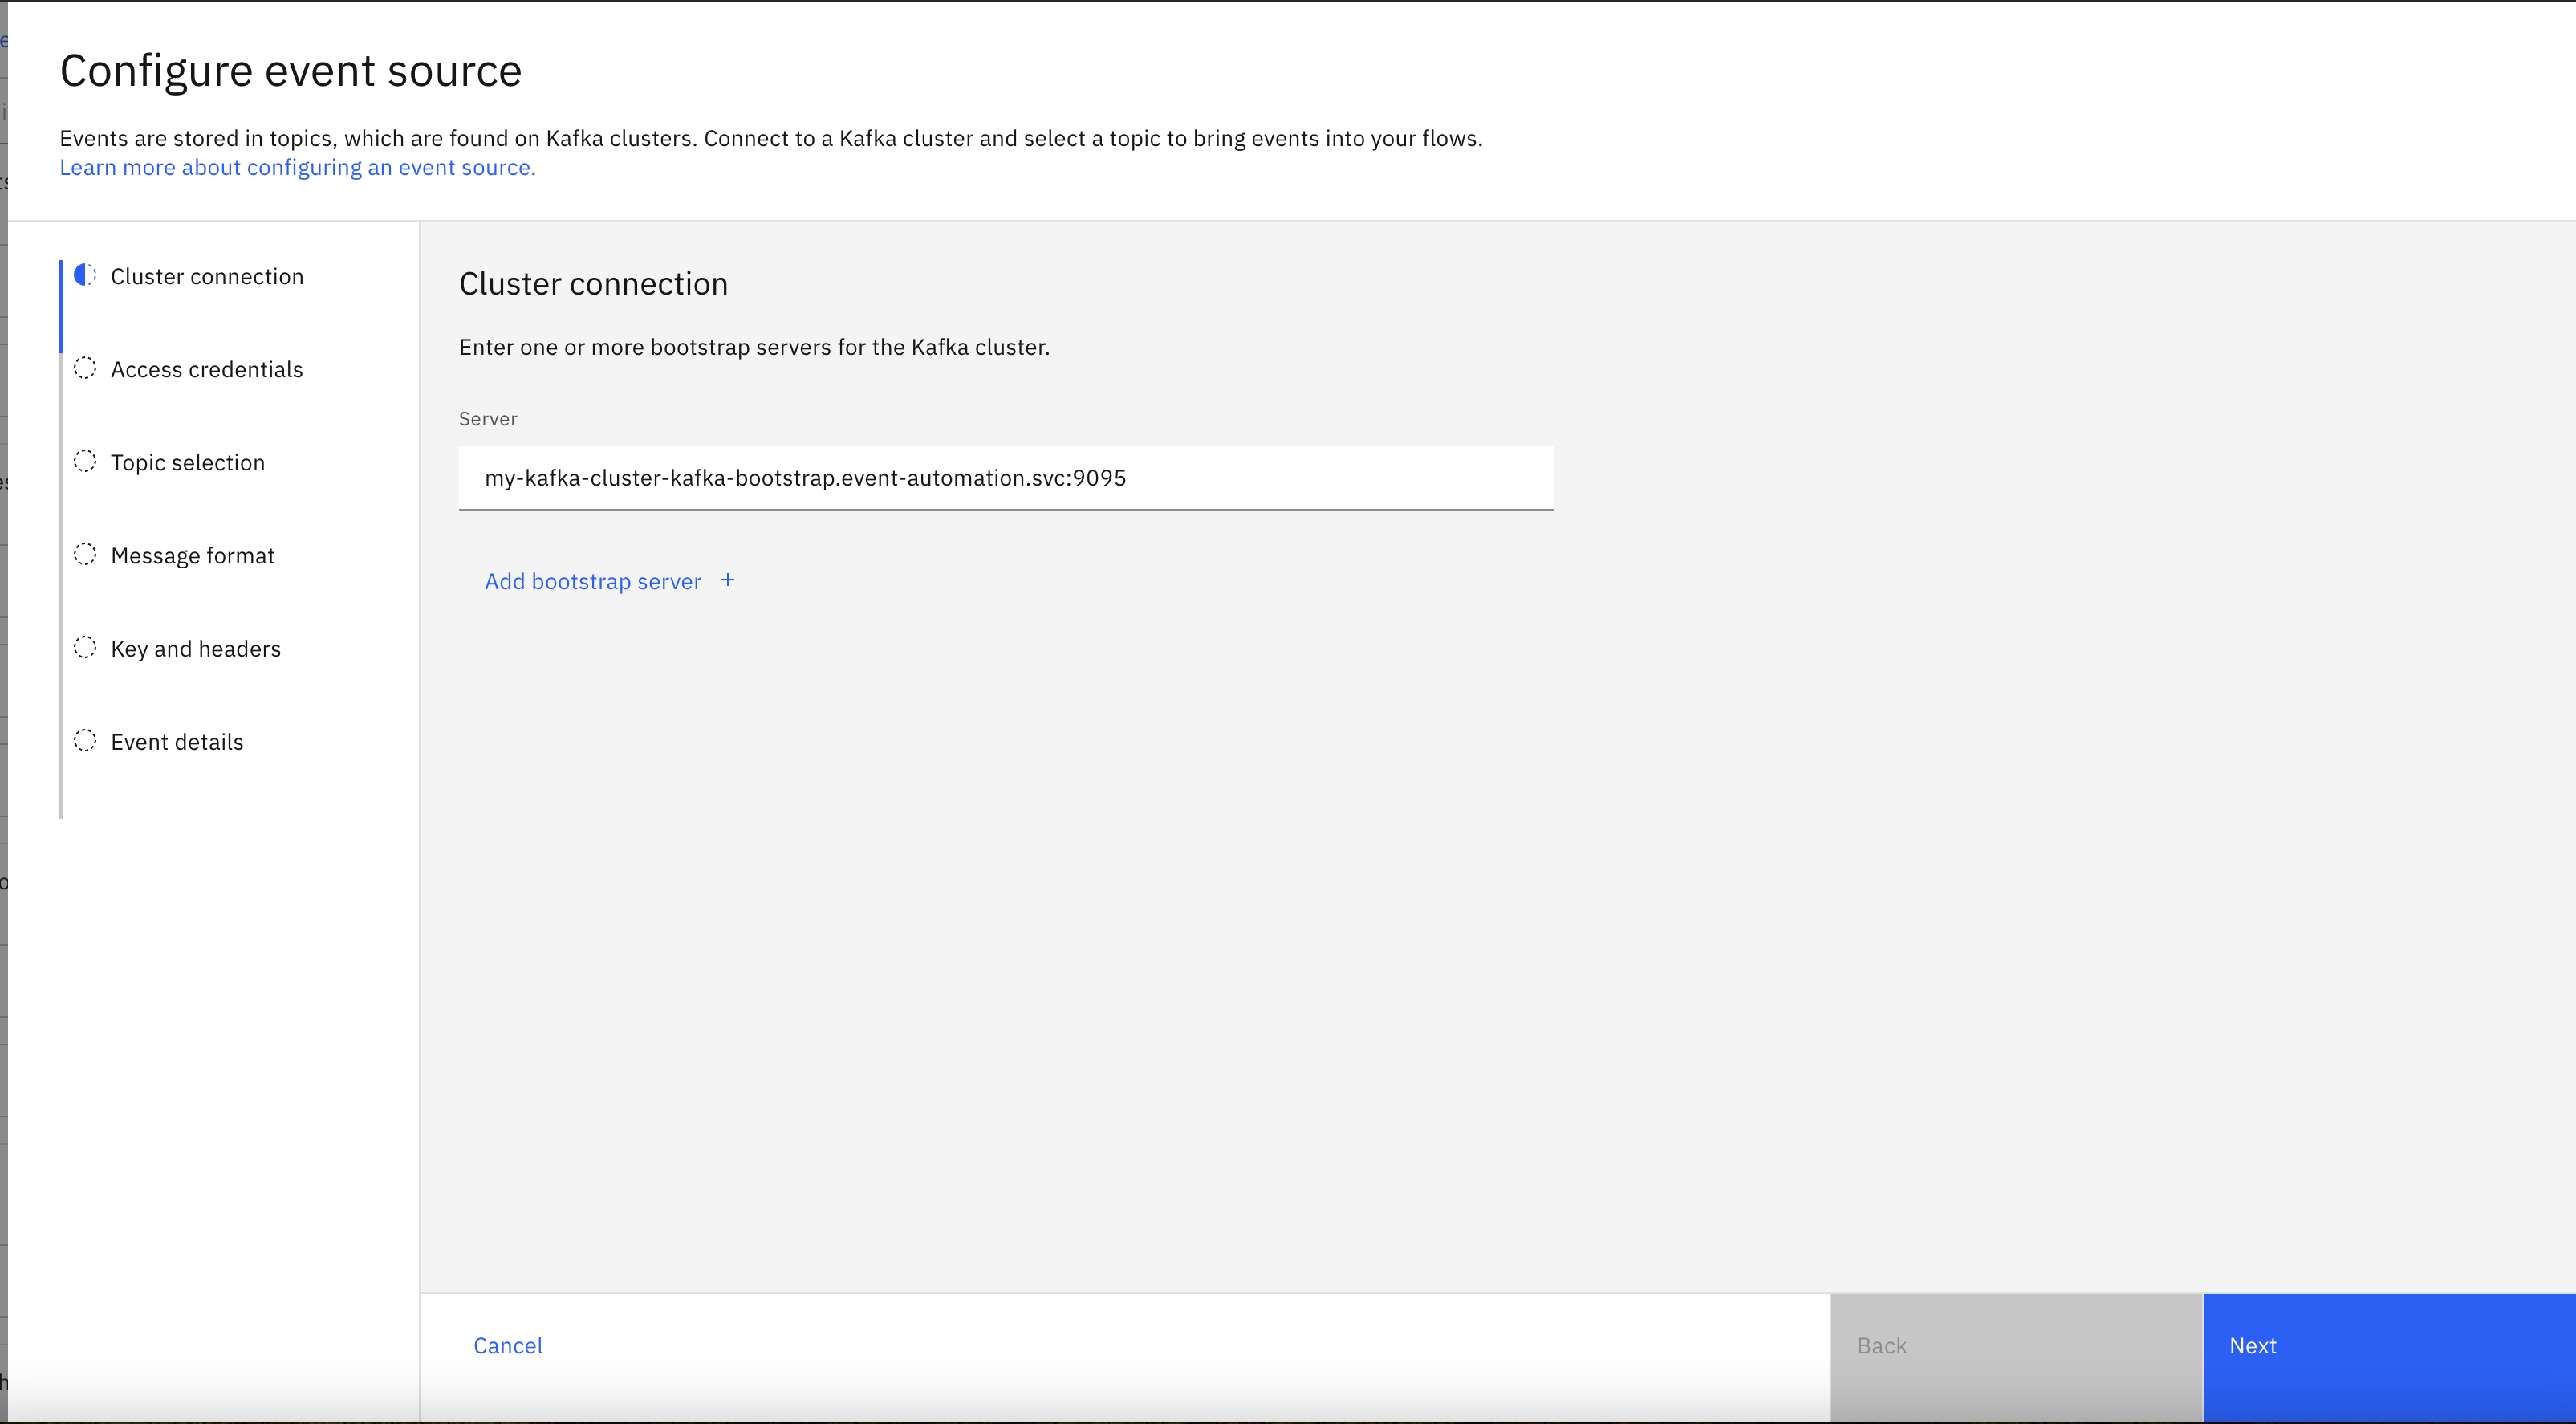
Get the server address for the event source from the Event Endpoint Management topic page.
Click the Copy icon next to the Servers address to copy the address to the clipboard.
-
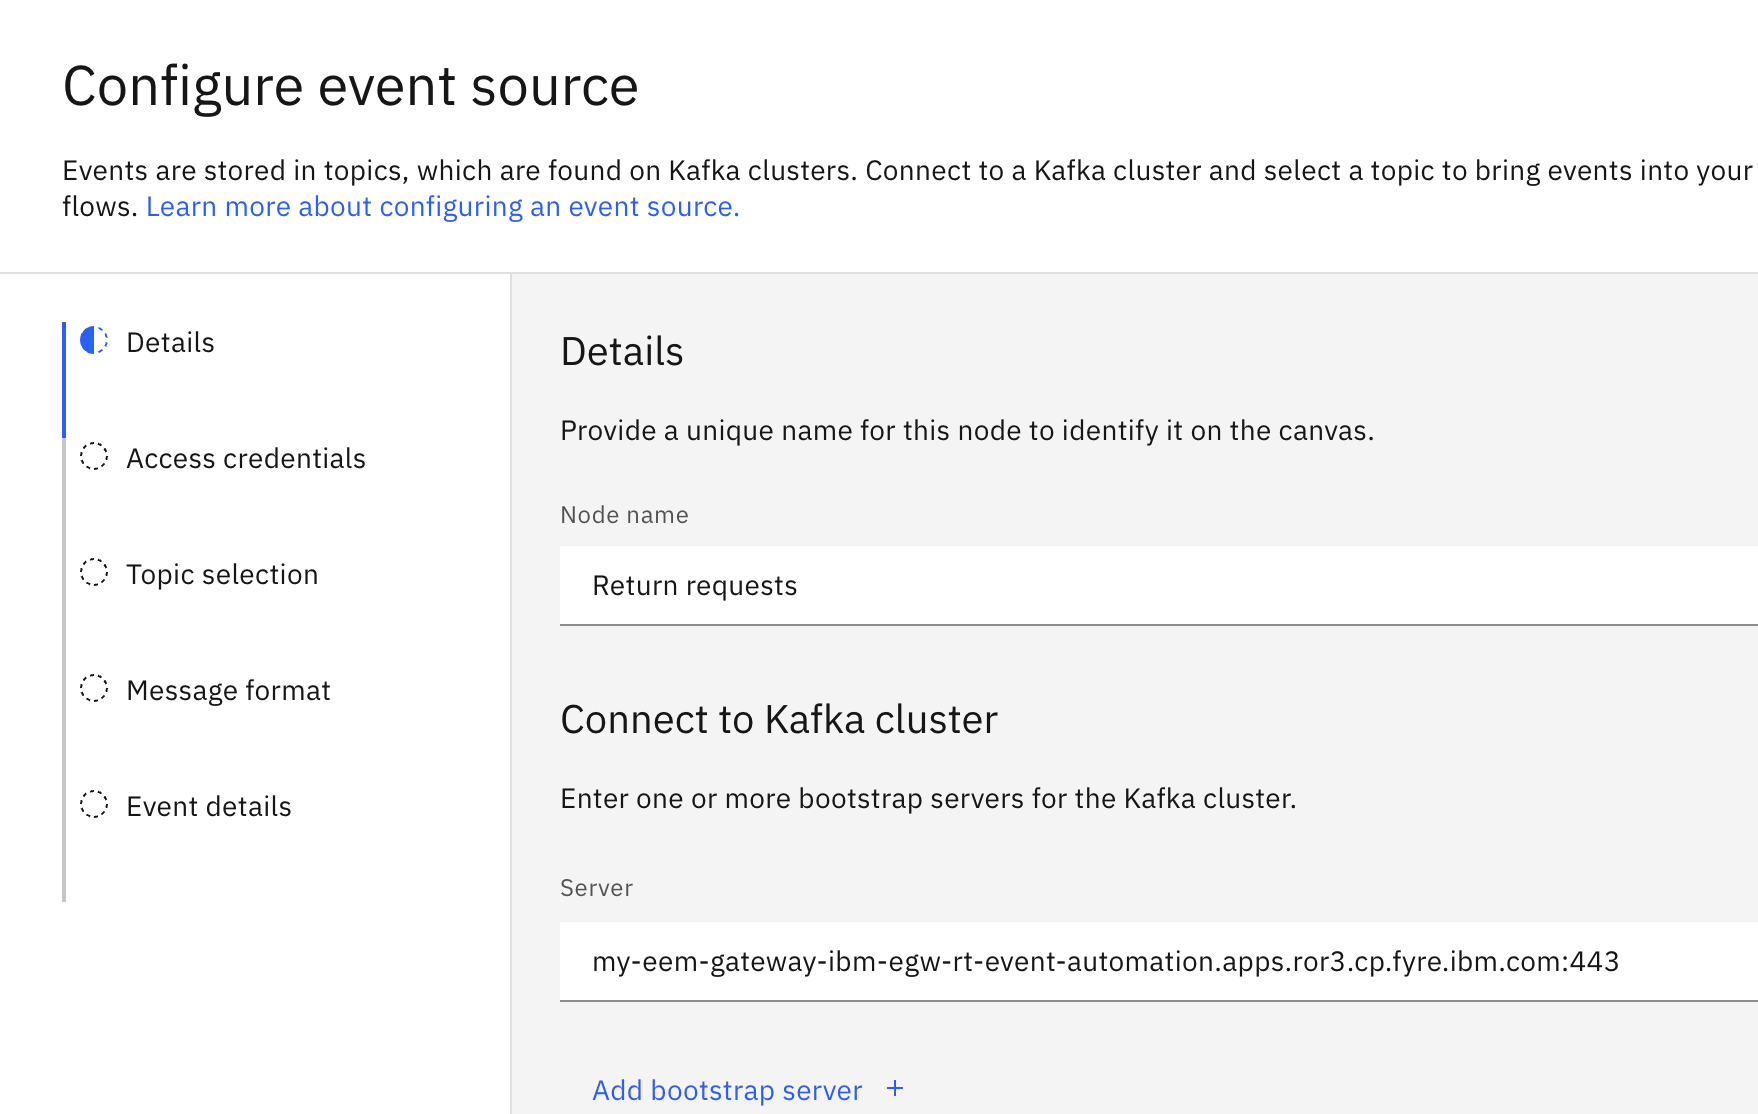
Go to Event Processing, and configure the new event source.
In the Bootstrap server field, paste the server address that you copied from Event Endpoint Management in the previous step.
Click Next.
-
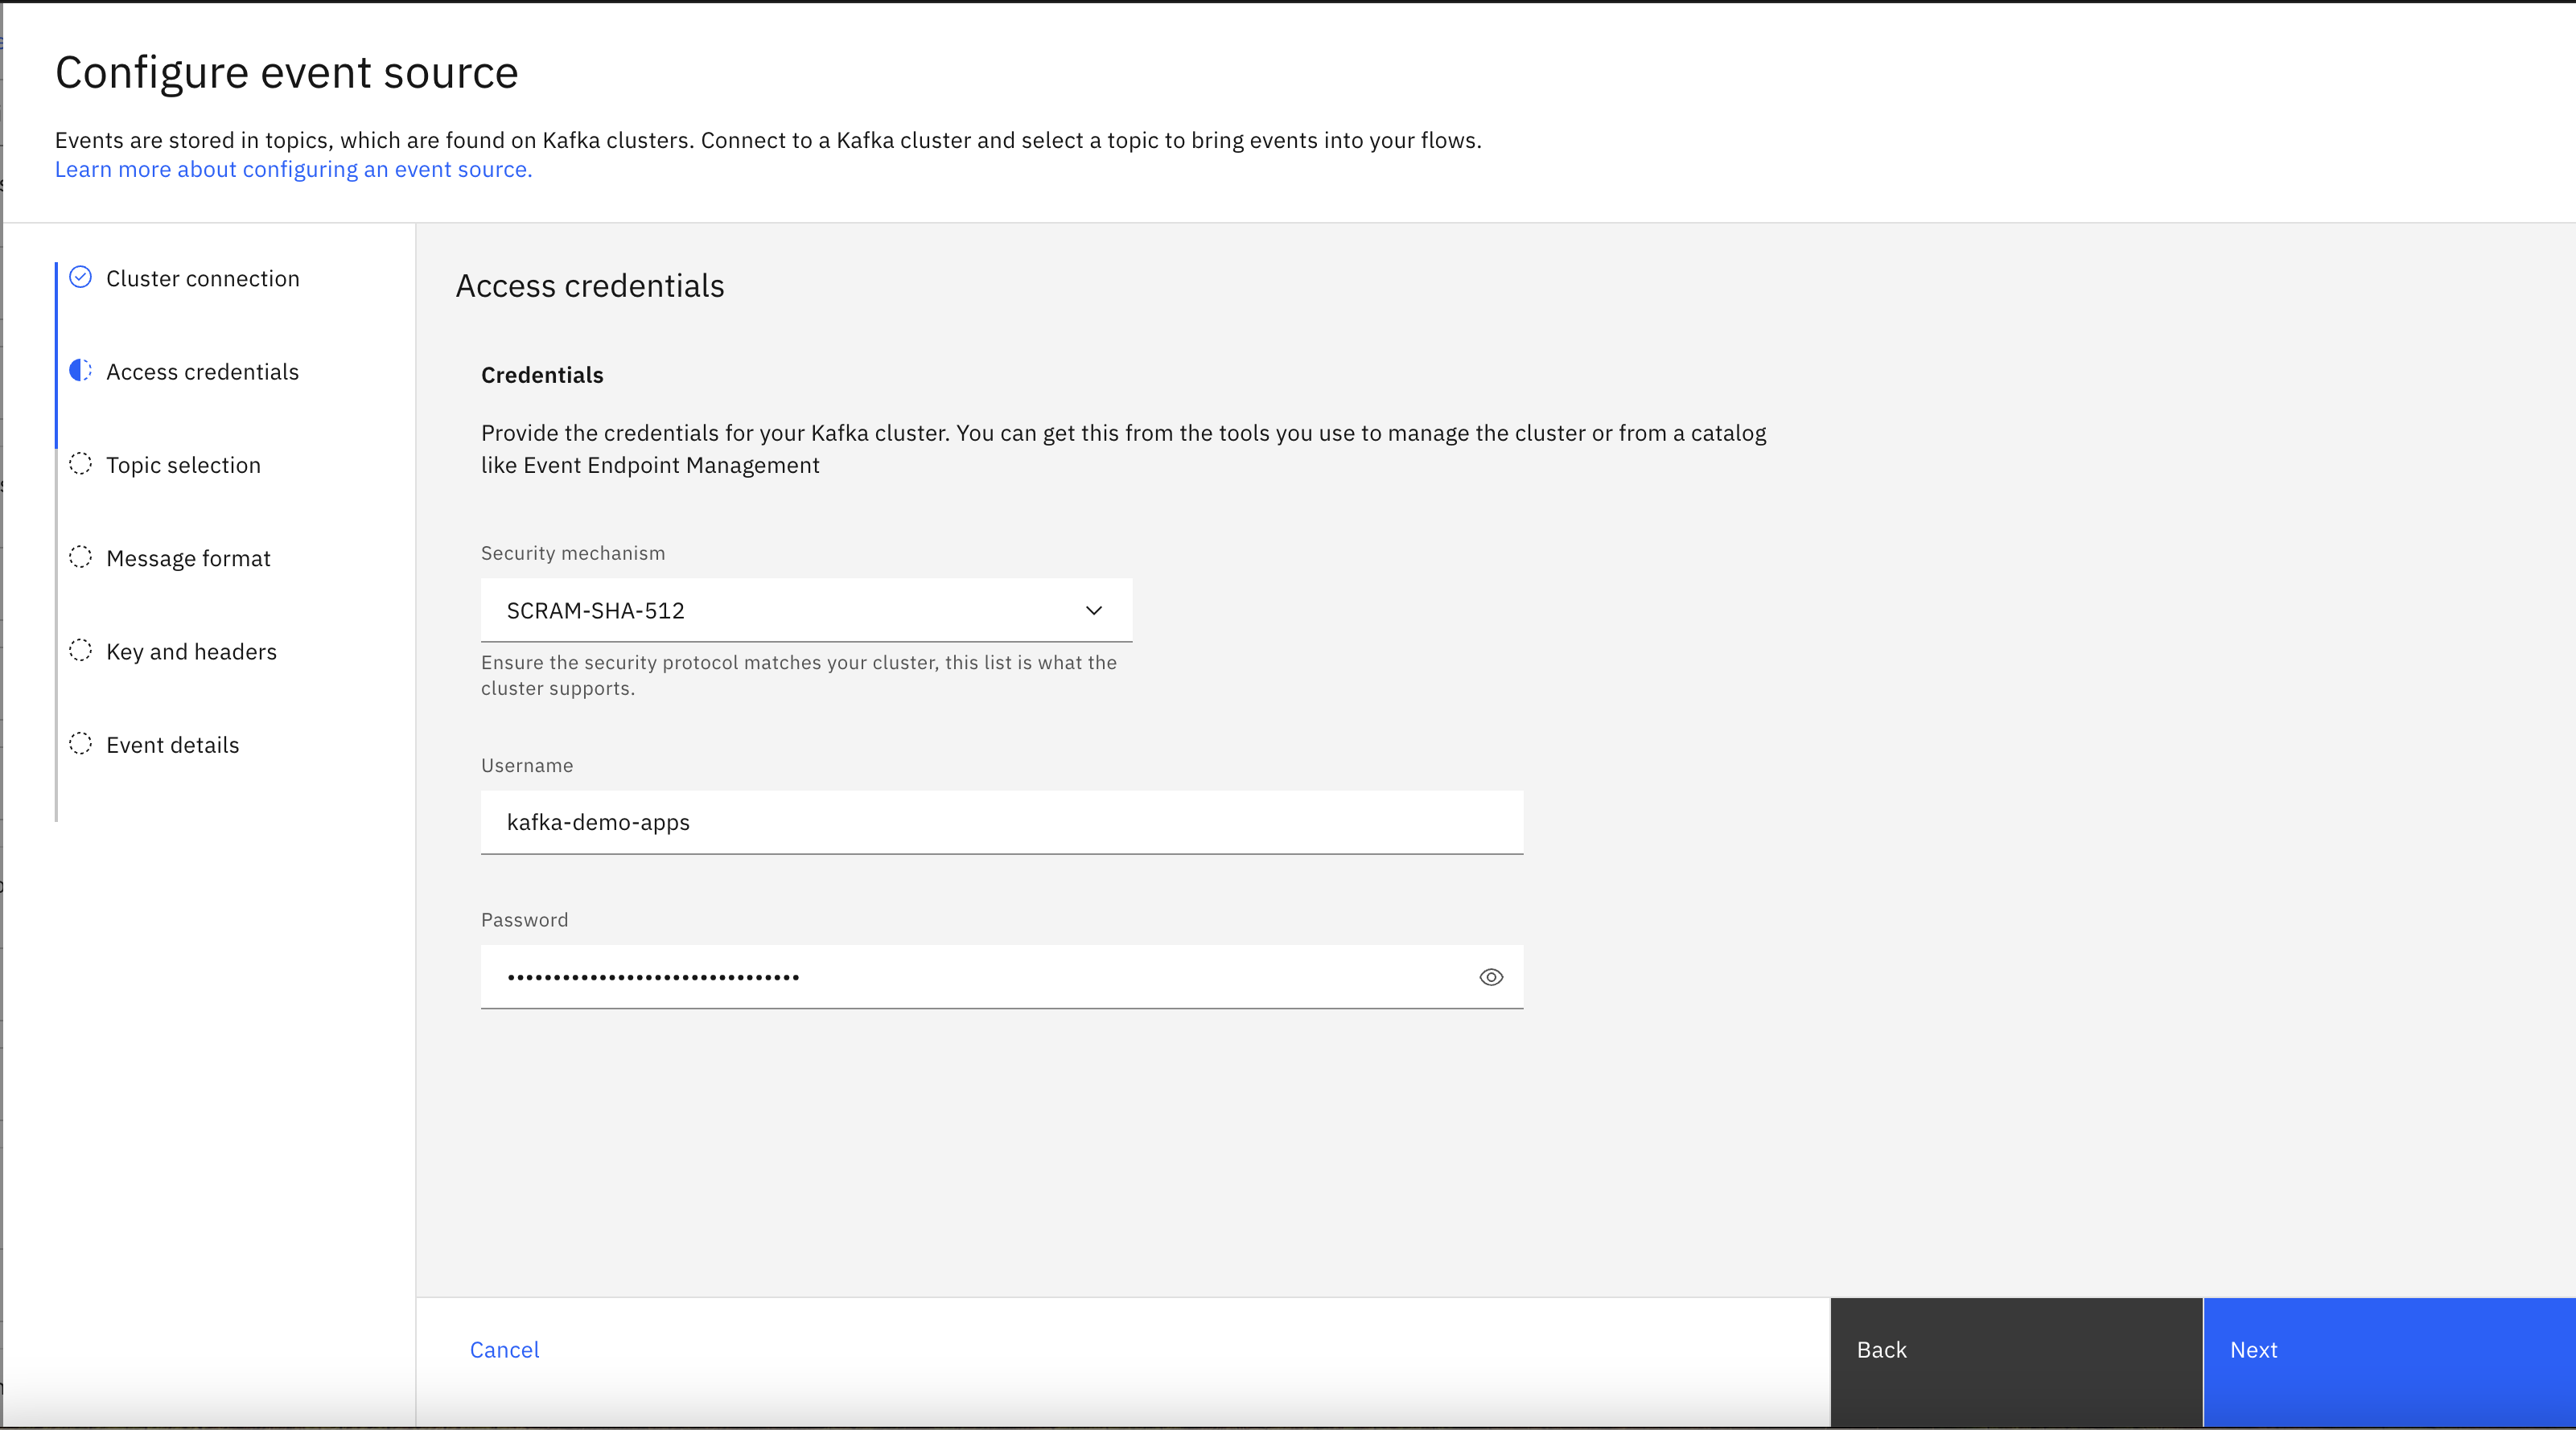
Generate access credentials for accessing this stream of events from the Event Endpoint Management page.
Click Subscribe, and provide your contact details.
-
Copy the username and password from Event Endpoint Management and paste into Event Processing to access the topic.
The username starts with
eem-.Click Next to go to the Topic selection pane.
-
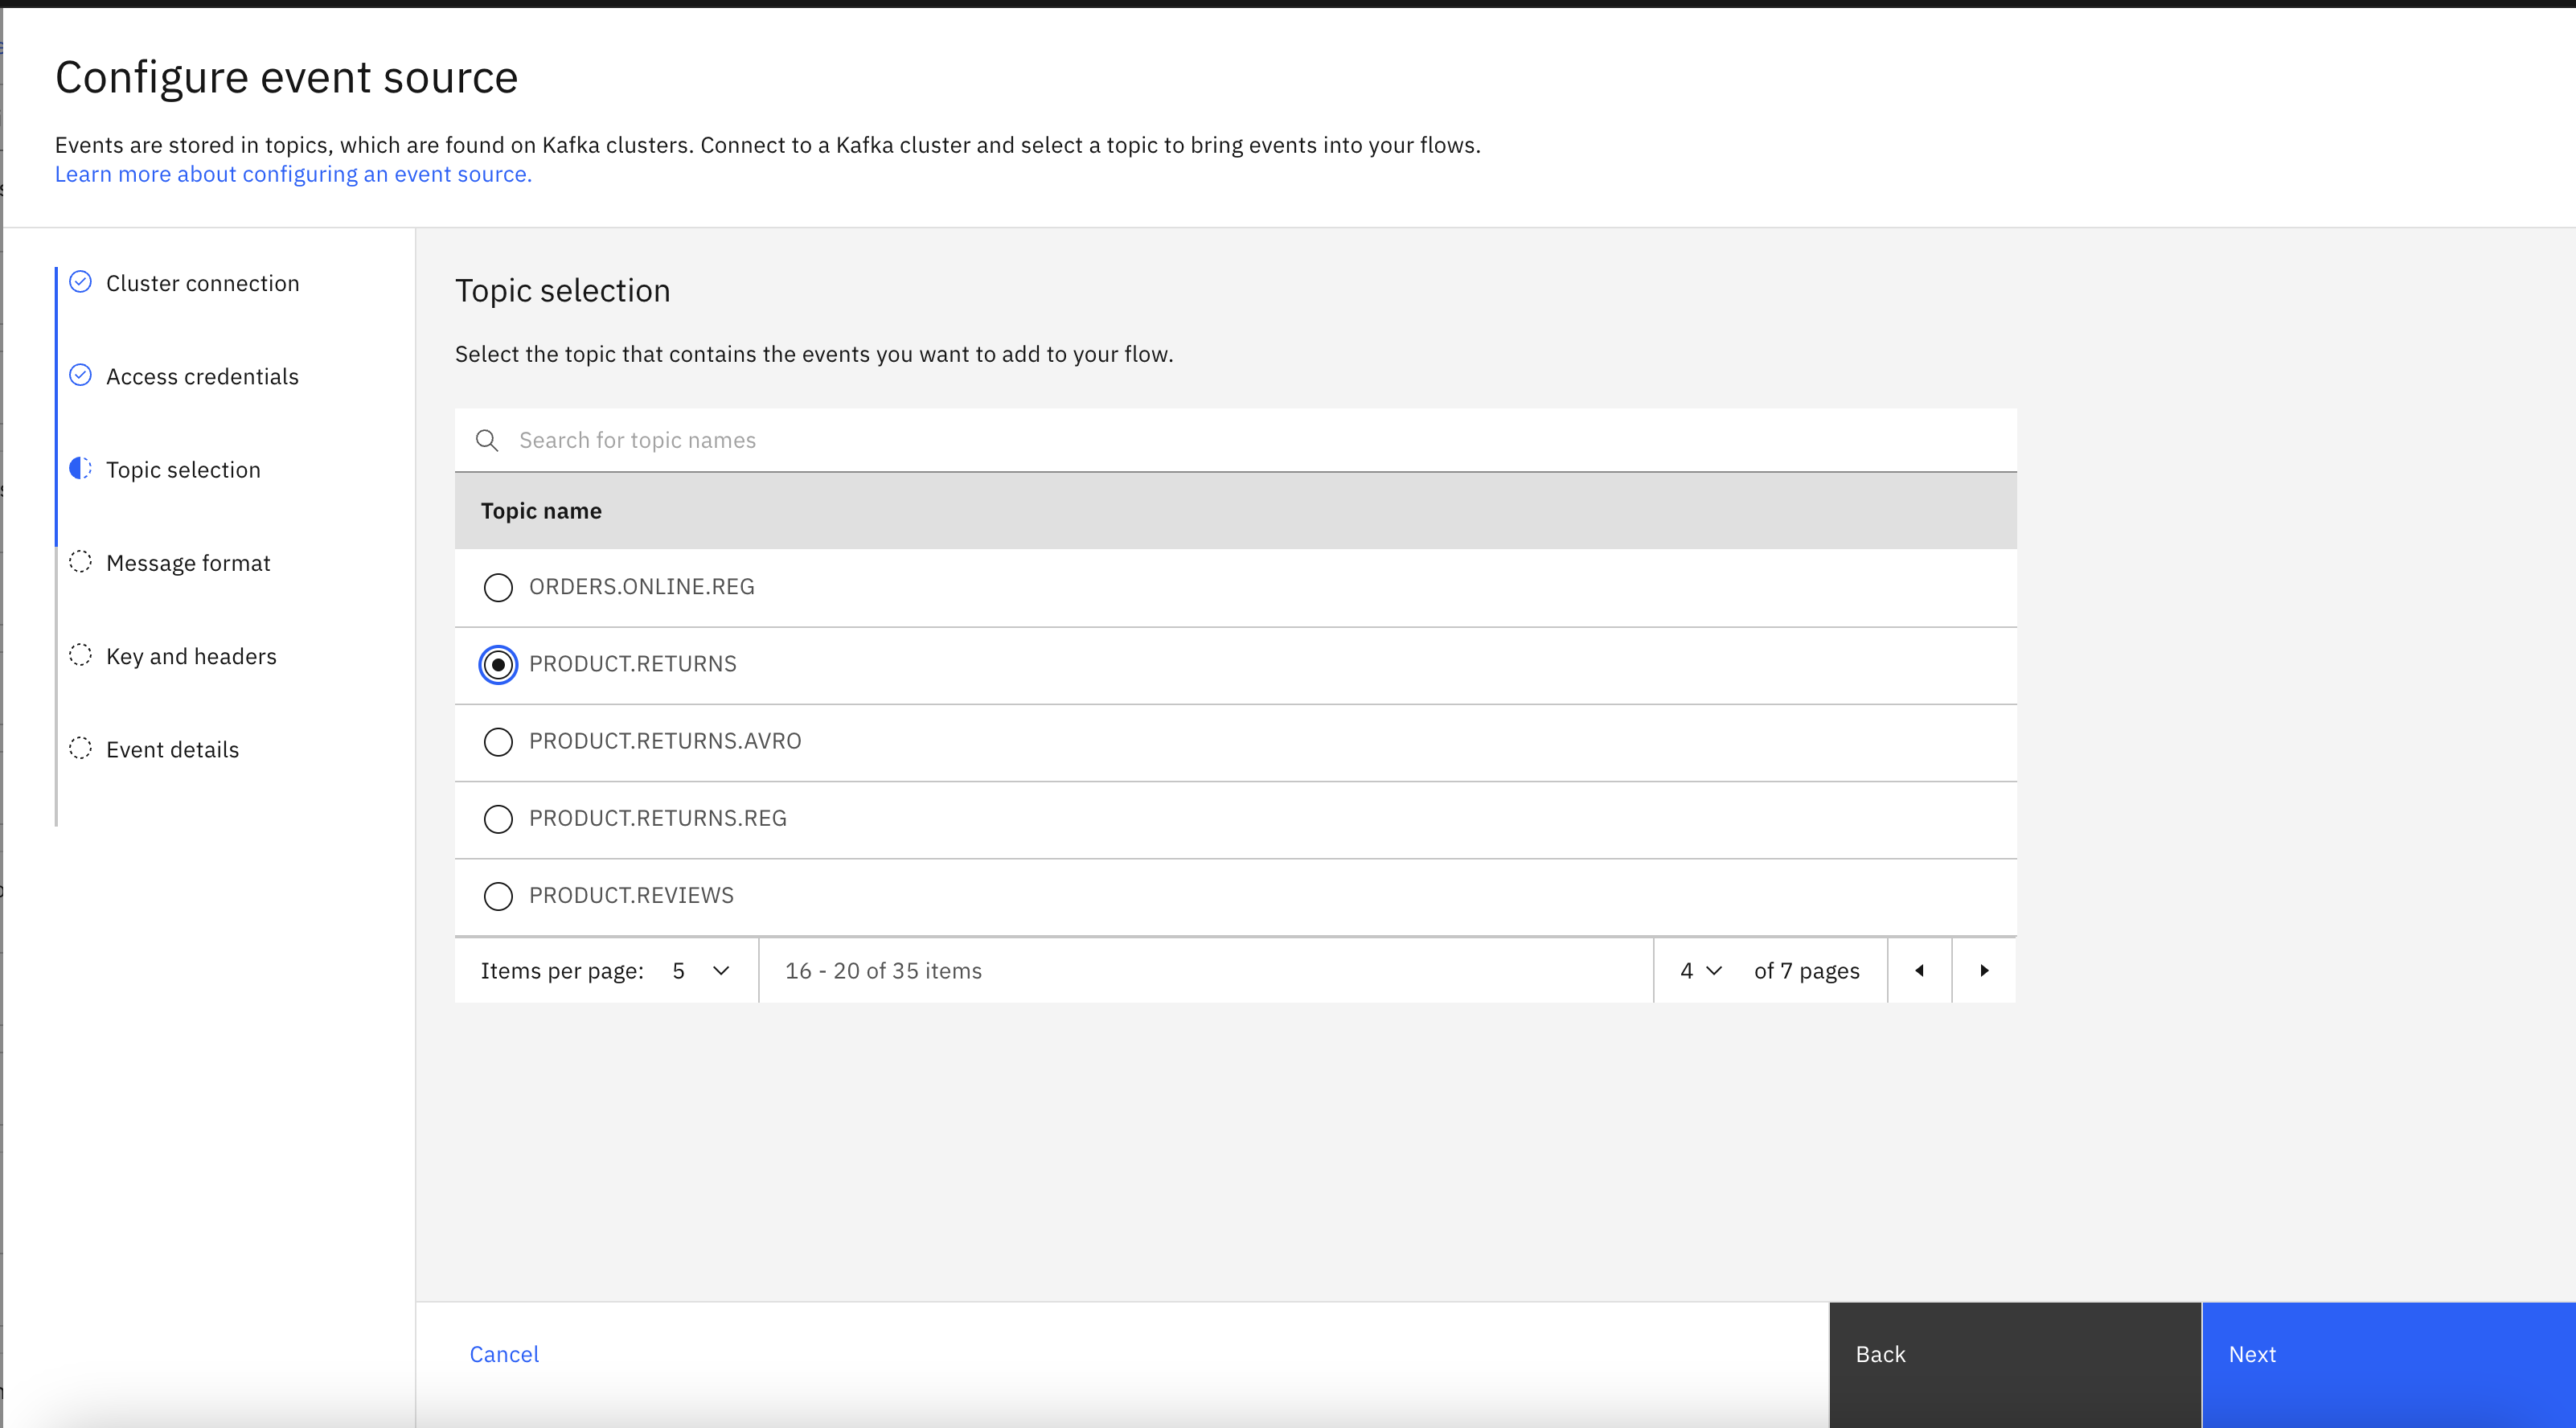
Select the
PRODUCT.RETURNStopic to process events from, and click Next. -
Get the schema for return requests node from Event Endpoint Management.
Click the Copy icon in the schema section to copy the schema to the clipboard.
You need to give Event Processing a description of the events available from the topic. The information in the schema enables Event Processing to give guidance for creating Event Processing nodes.
-
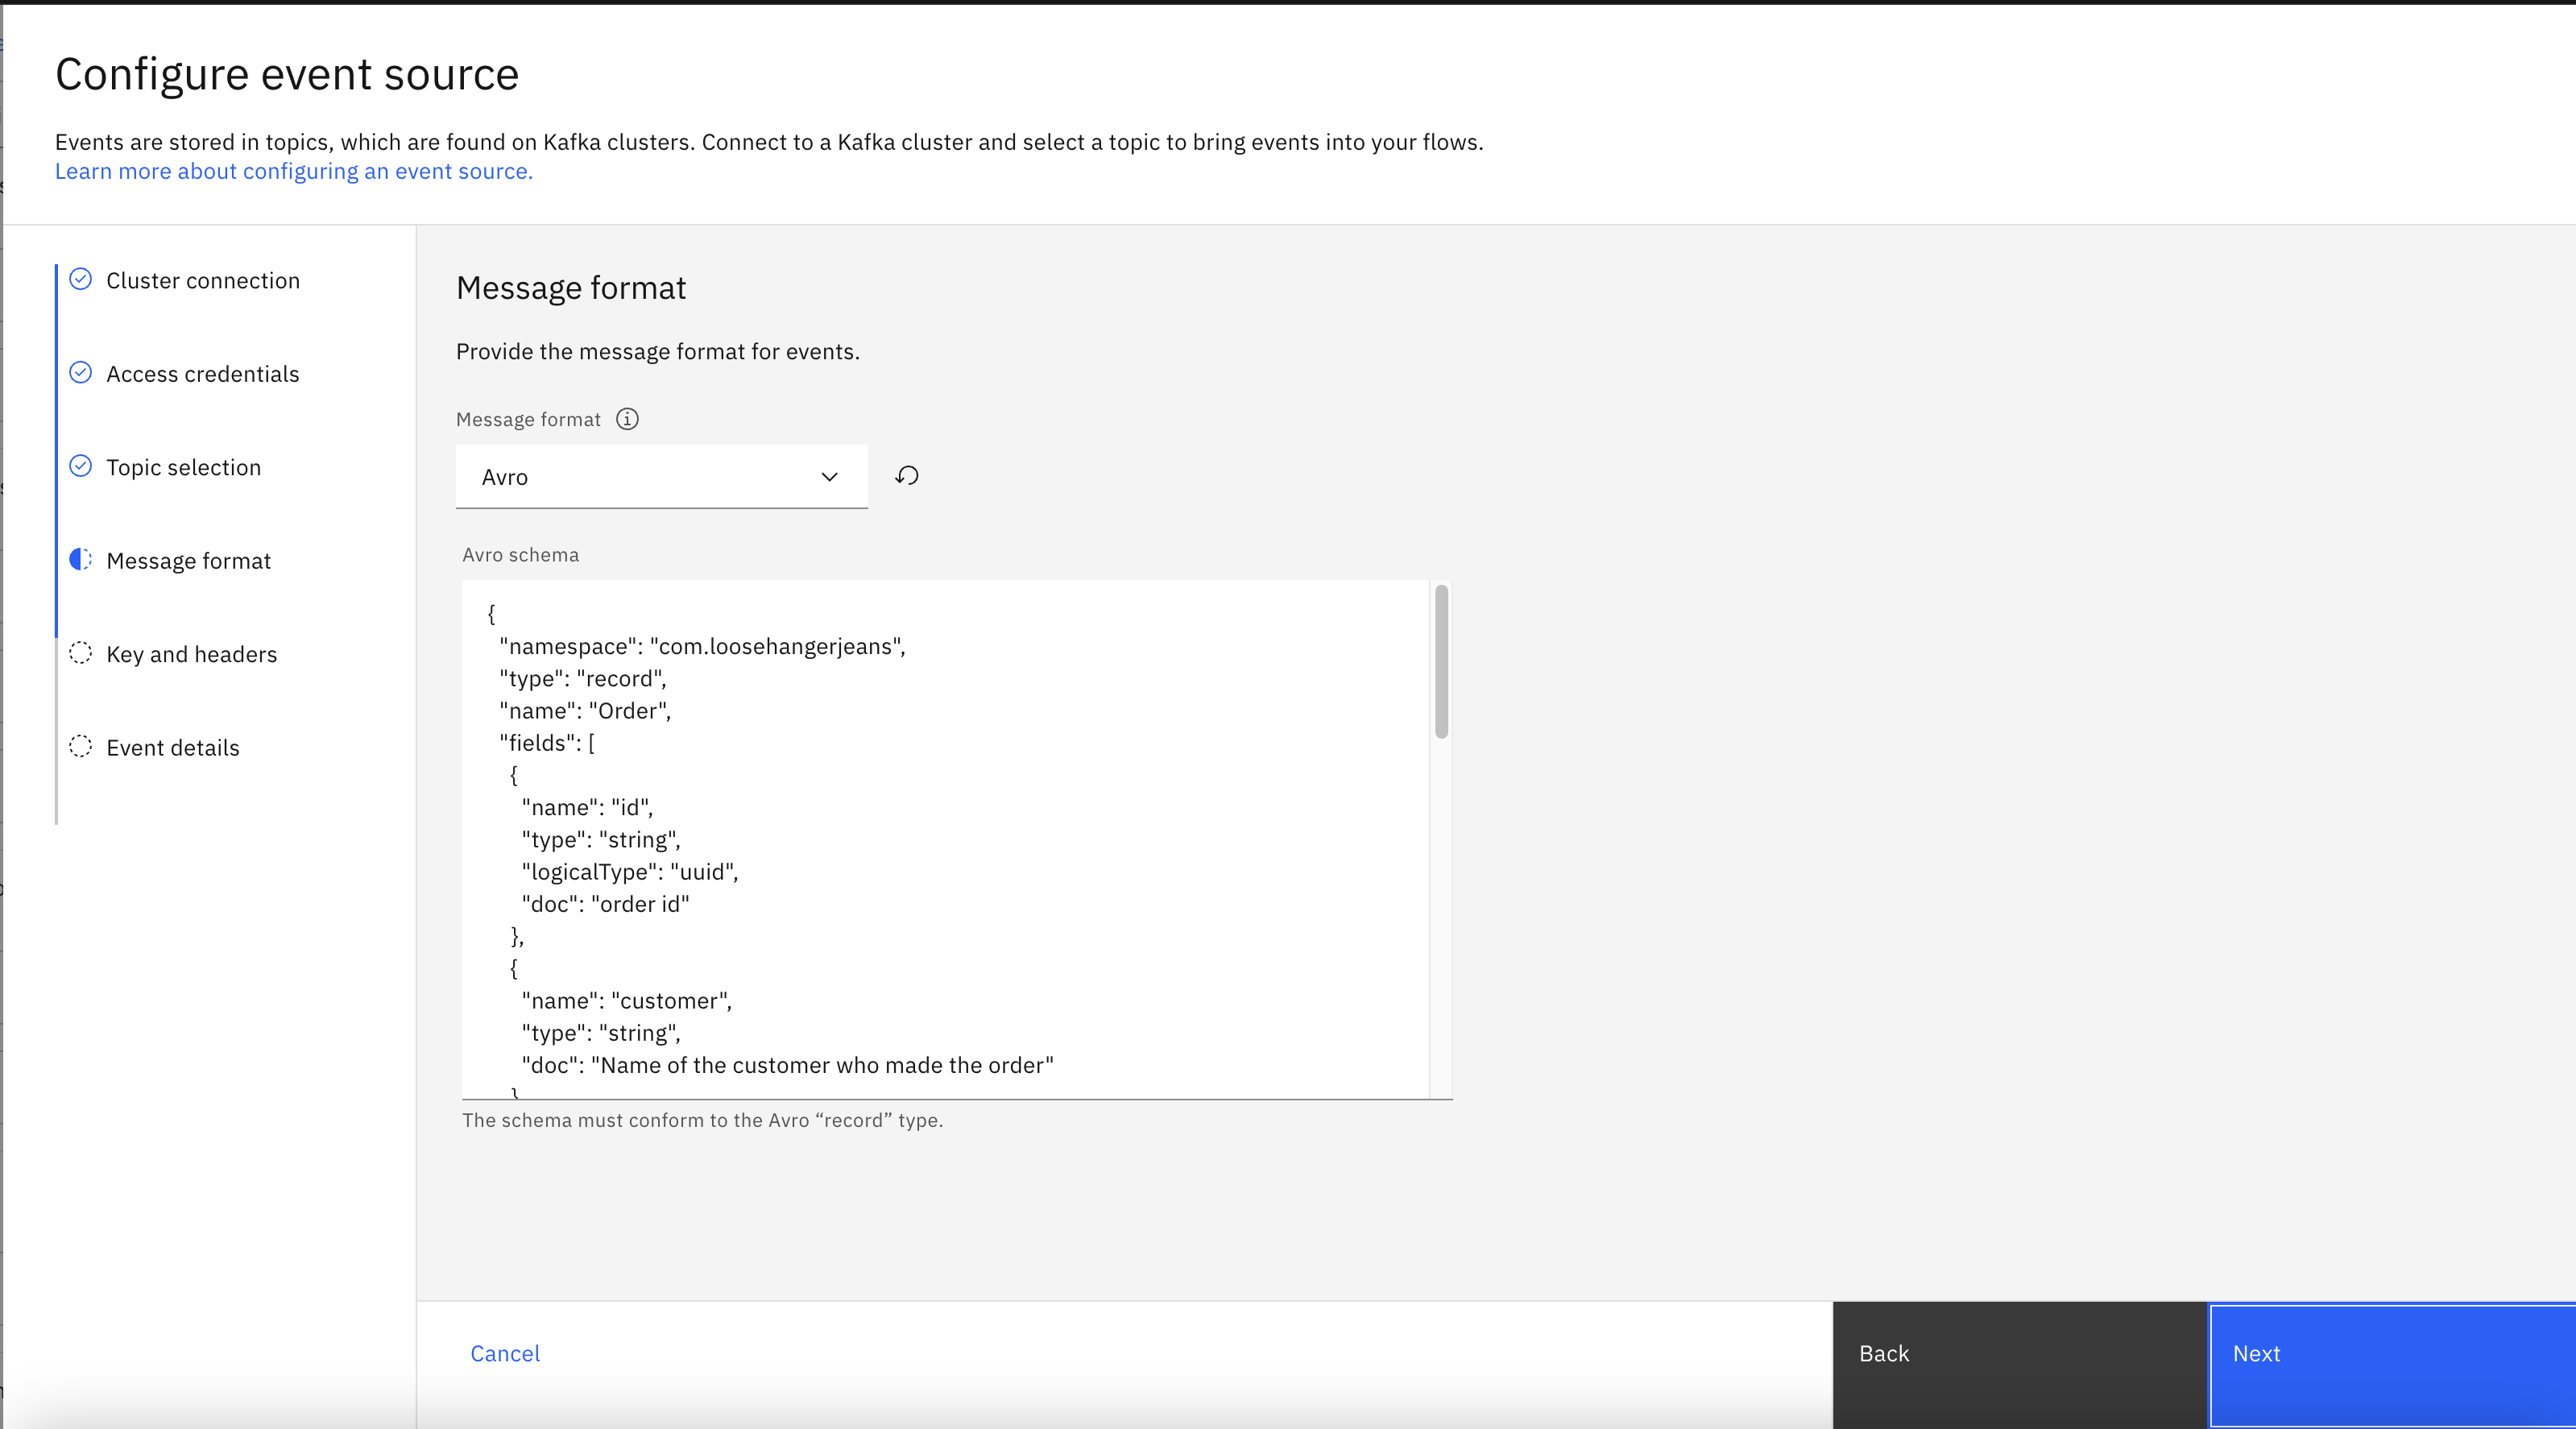
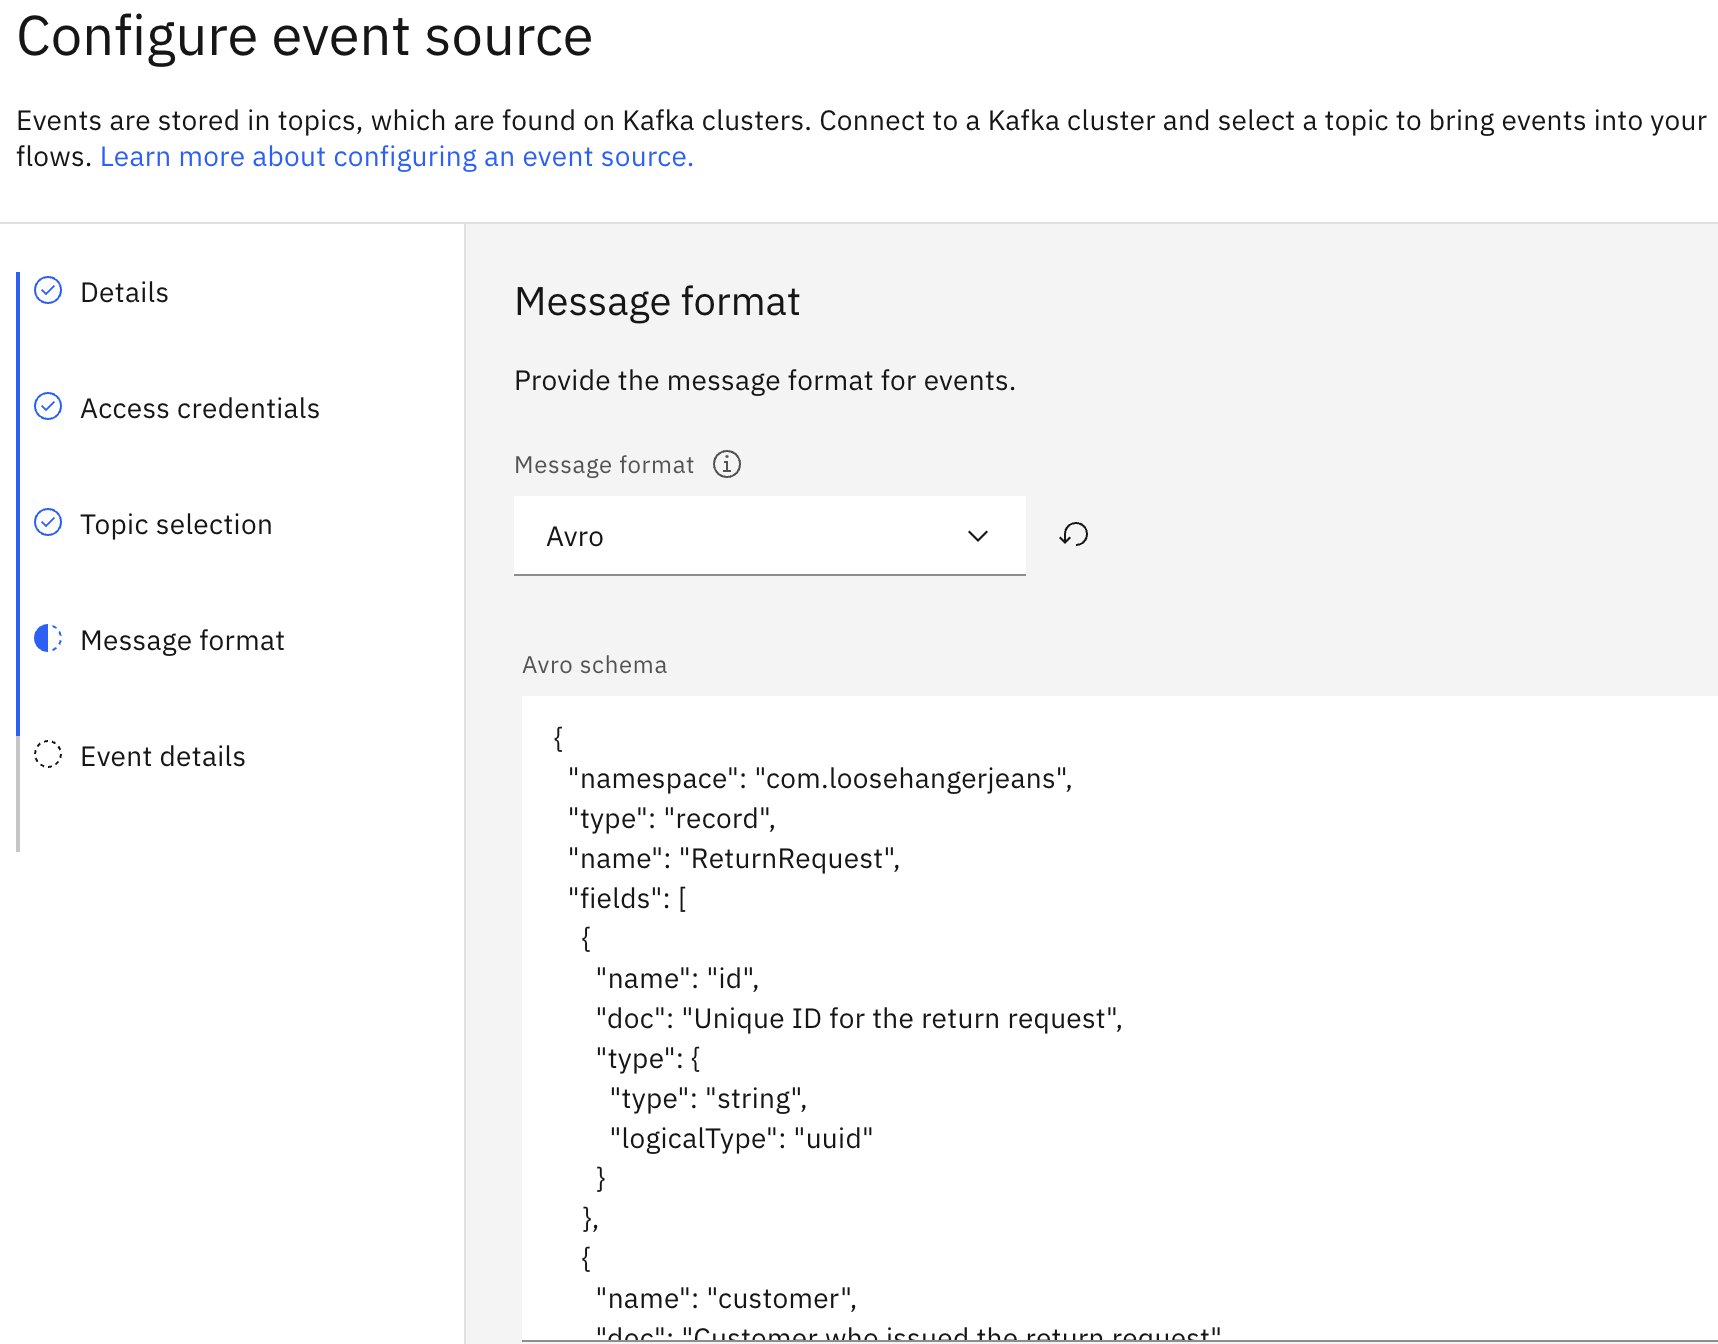
The
Avromessage format is auto-selected in the Message format drop-down. Paste the schema into the Avro schema field, and click Next. -
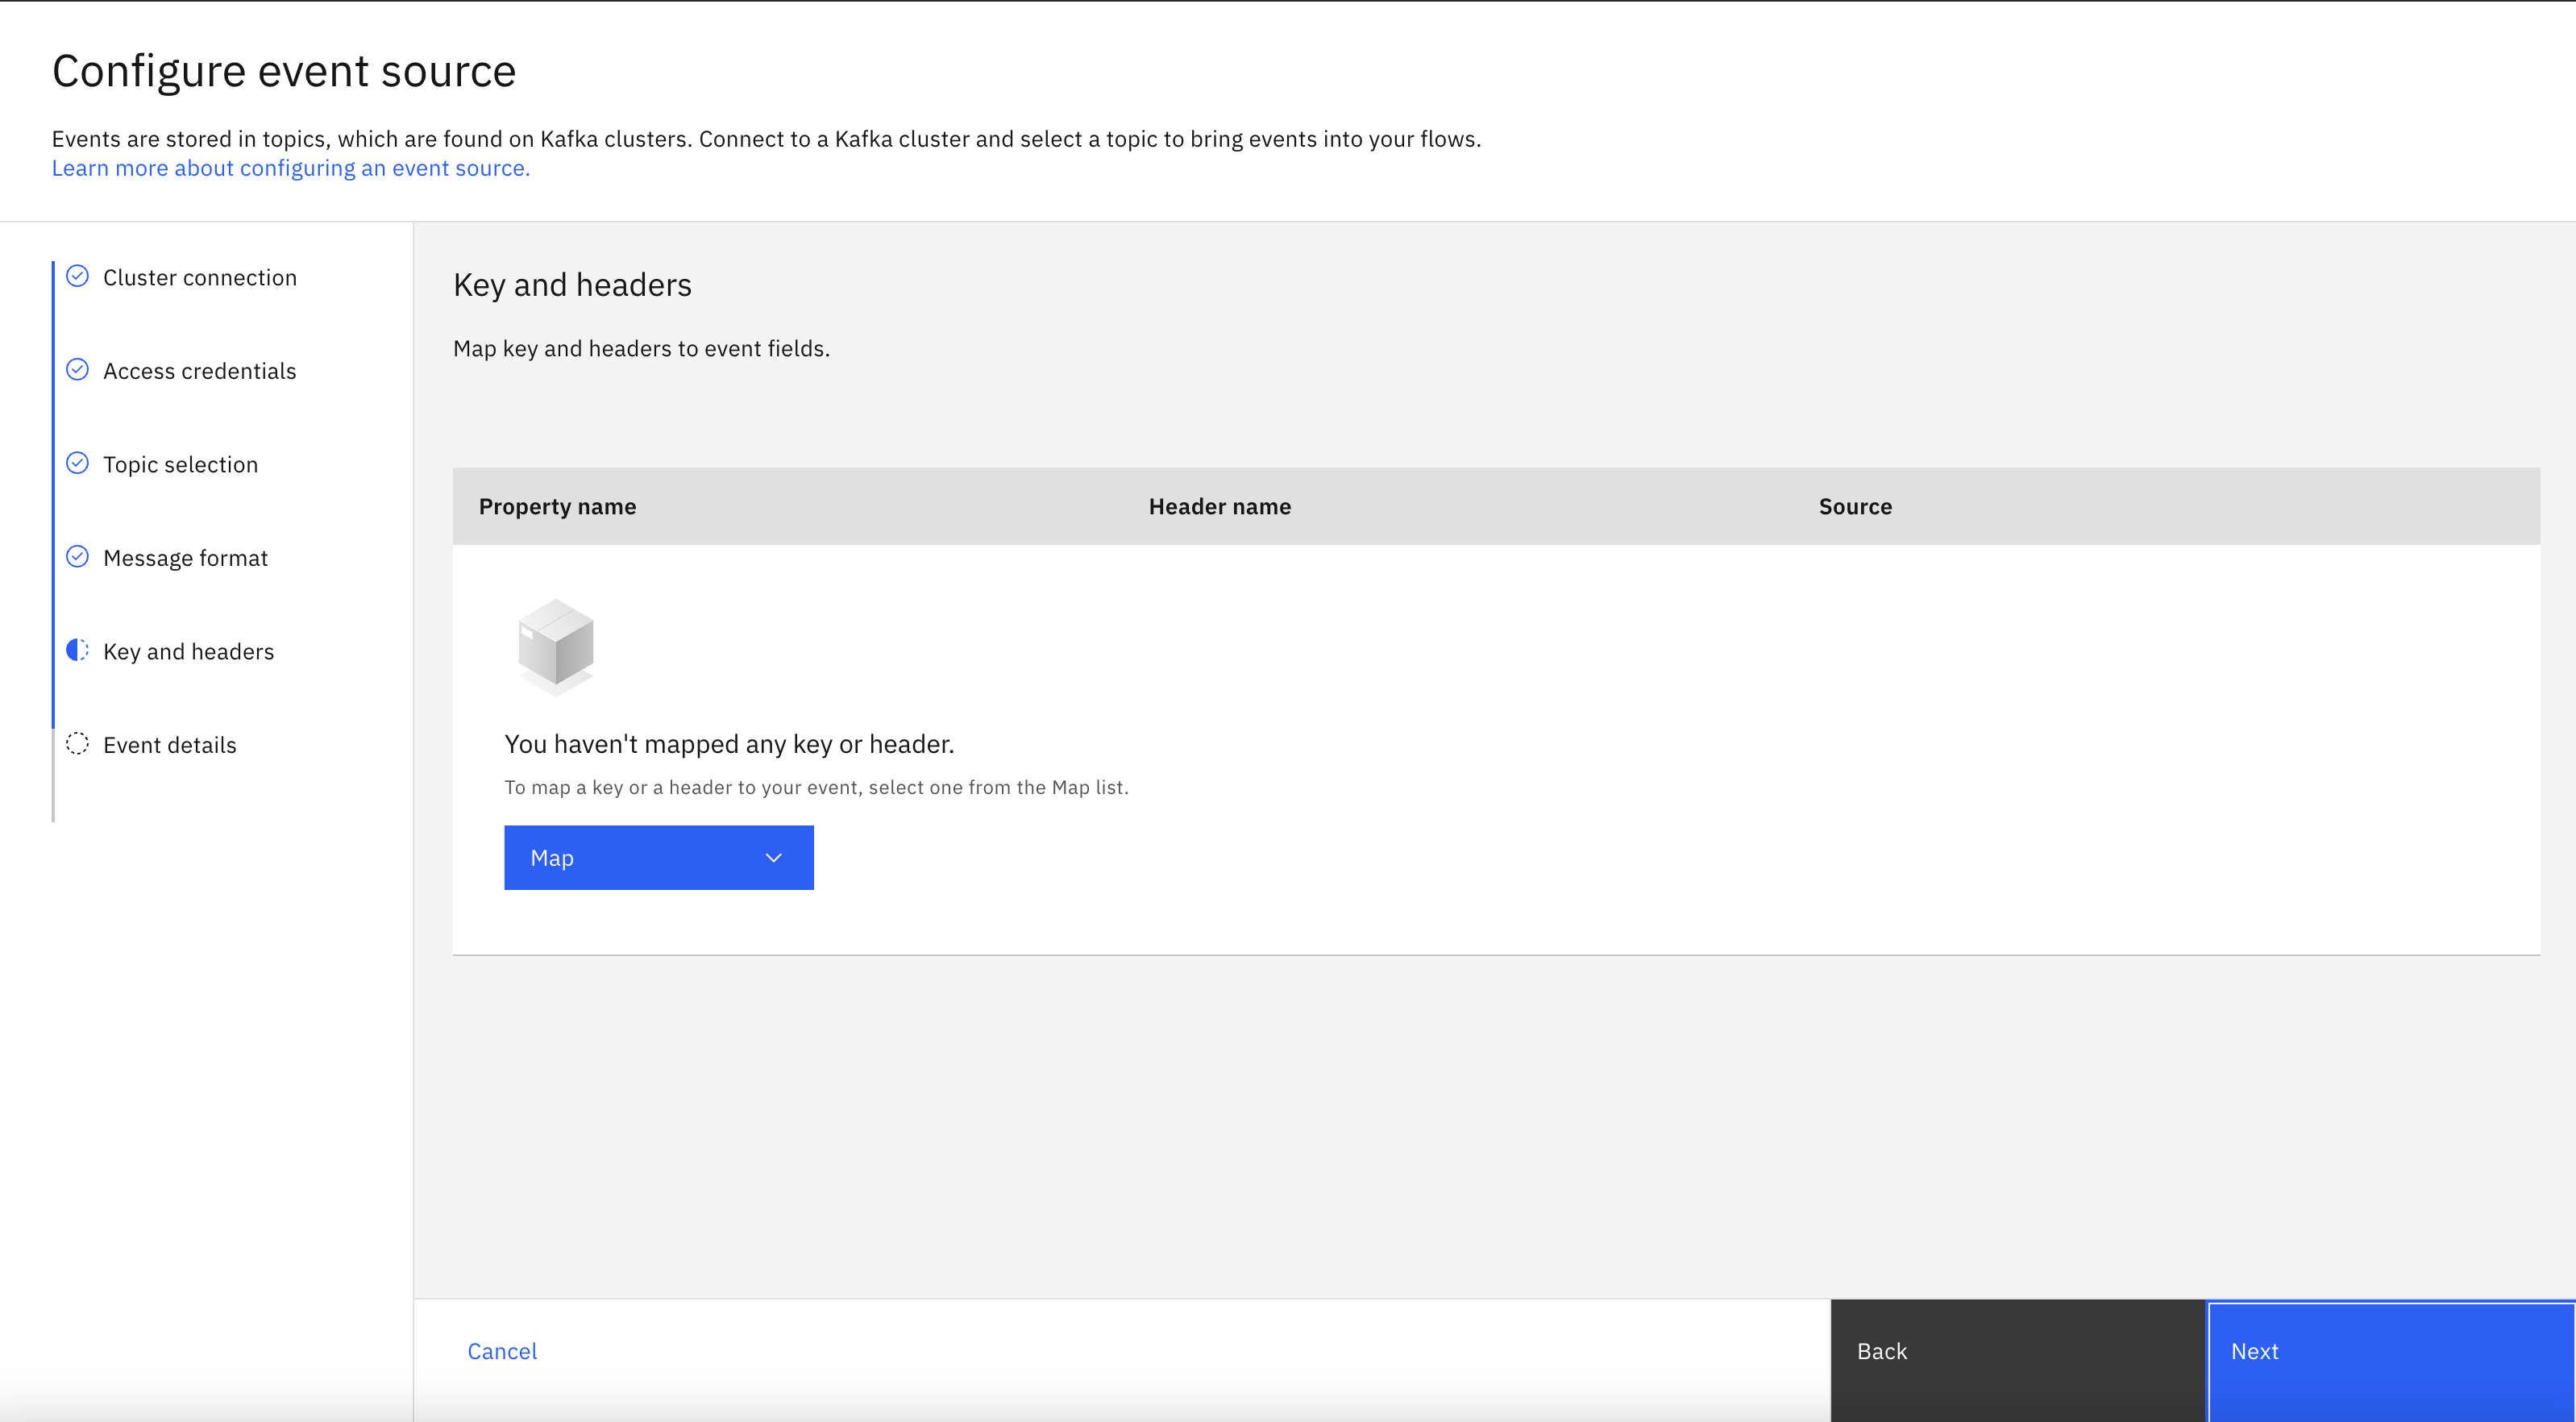
In the Key and headers pane, click Next.
Note: The key and headers are displayed automatically if they are available in the selected topic message.
-
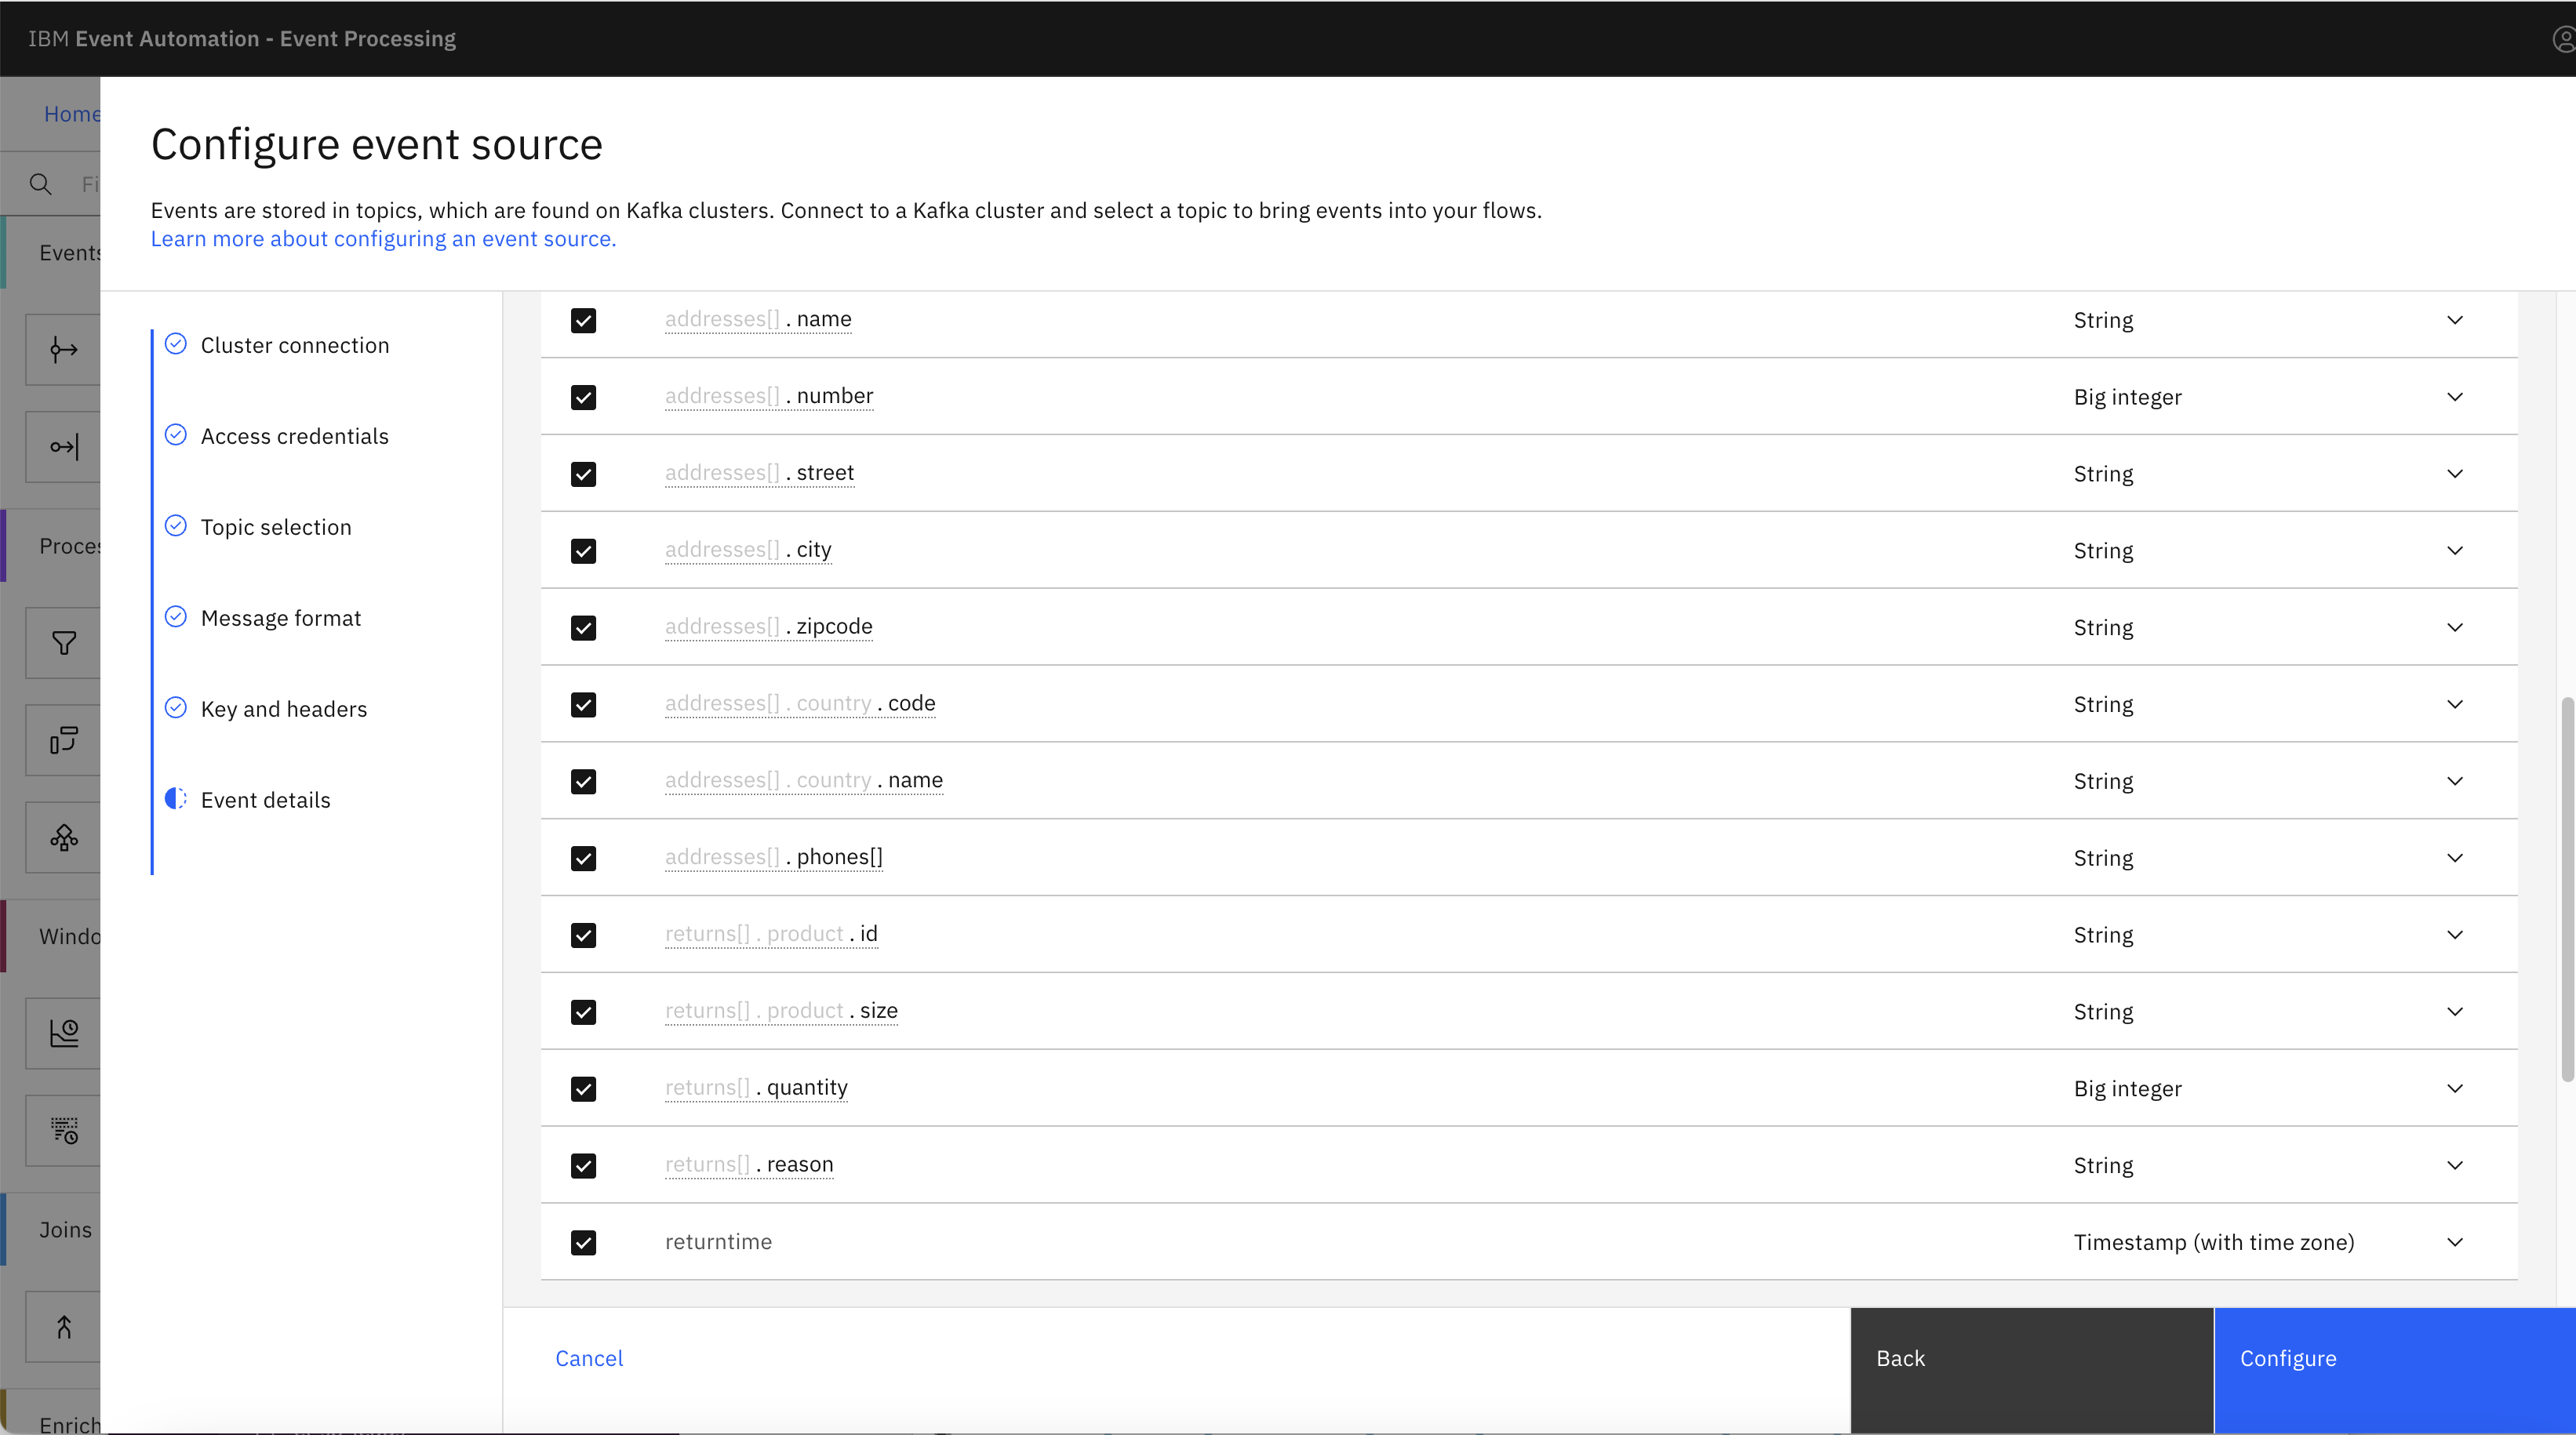
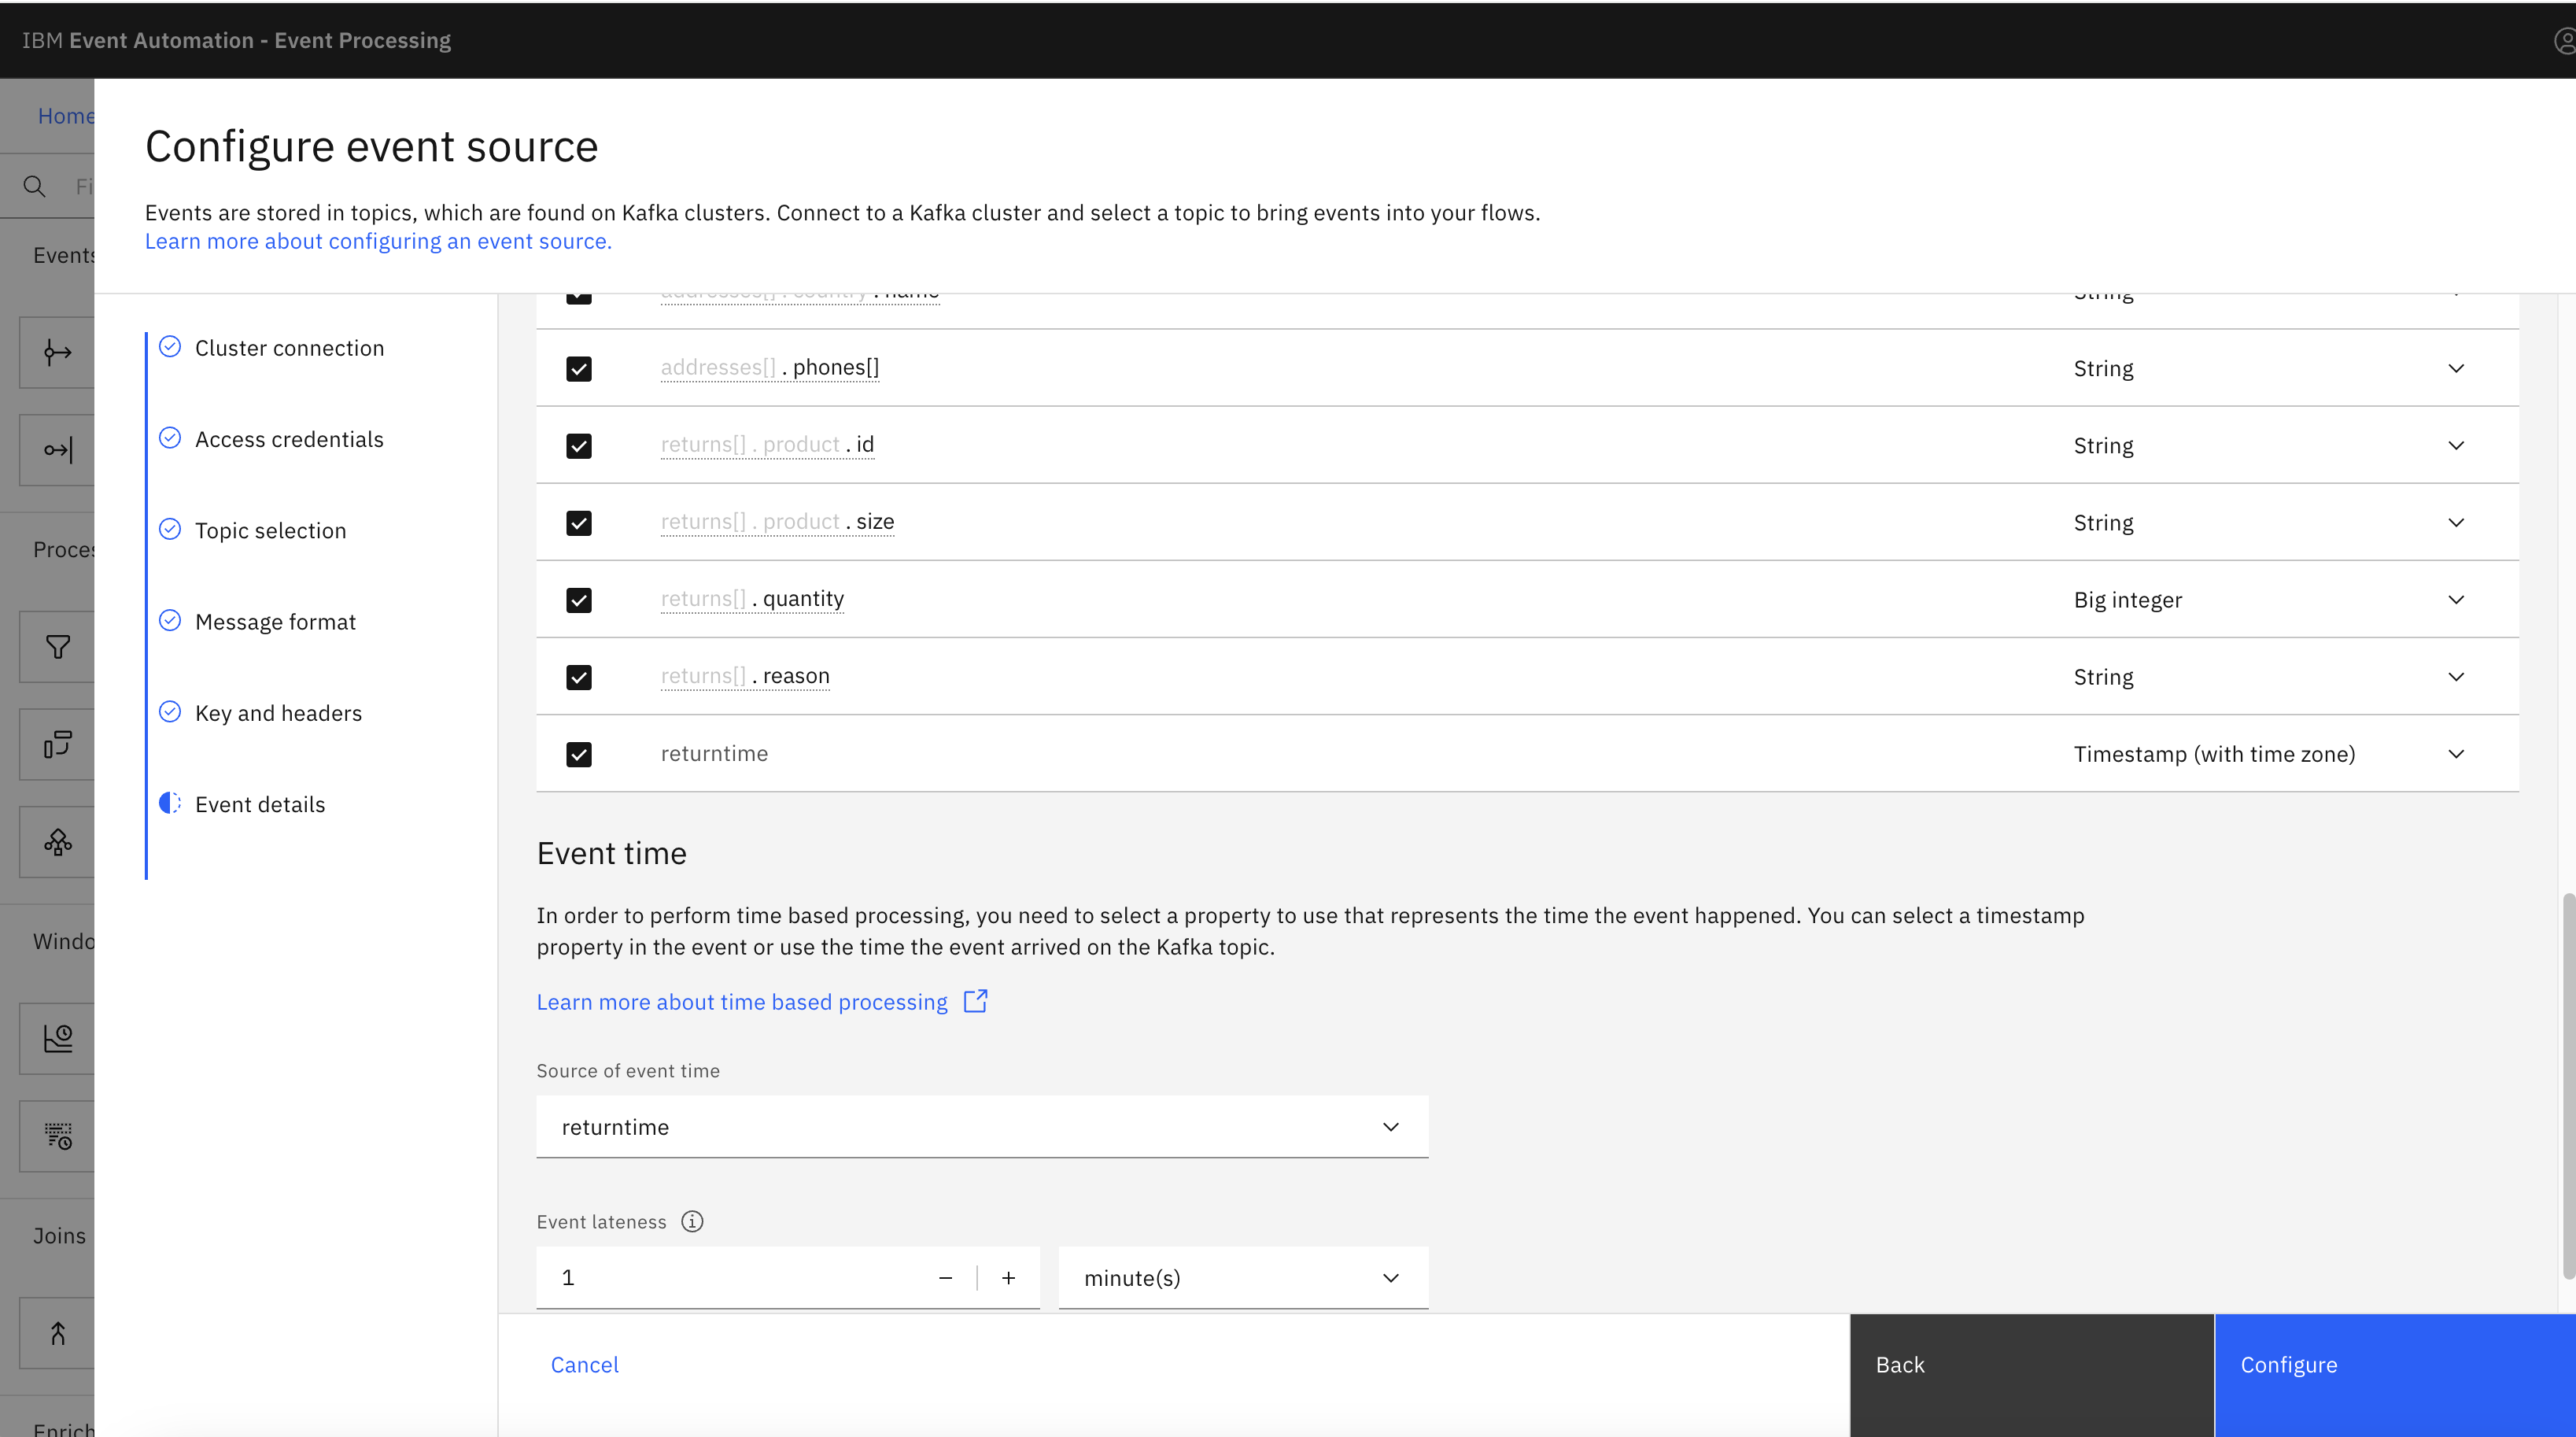
In the Event details pane, change the
returntimeproperty type toTimestamp (with time zone).Note: The
returntimestring is converted to a timestamp to usereturntimeas event time. Only properties with a timestamp type can be used as event time to perform time-based processing. -
Configure the event source to use the
returntimeproperty as the source of the event time, and to tolerate lateness of up to 1 minute(s). -
Click Configure to finalize the event source configuration.
Step 4: Unpack the returned products into events
The next step is to unpack the returns array that contains product returns into events.
To add an unpack array node, complete the following steps:
For more information about how to create an unpack array node, see unpack array node.
-
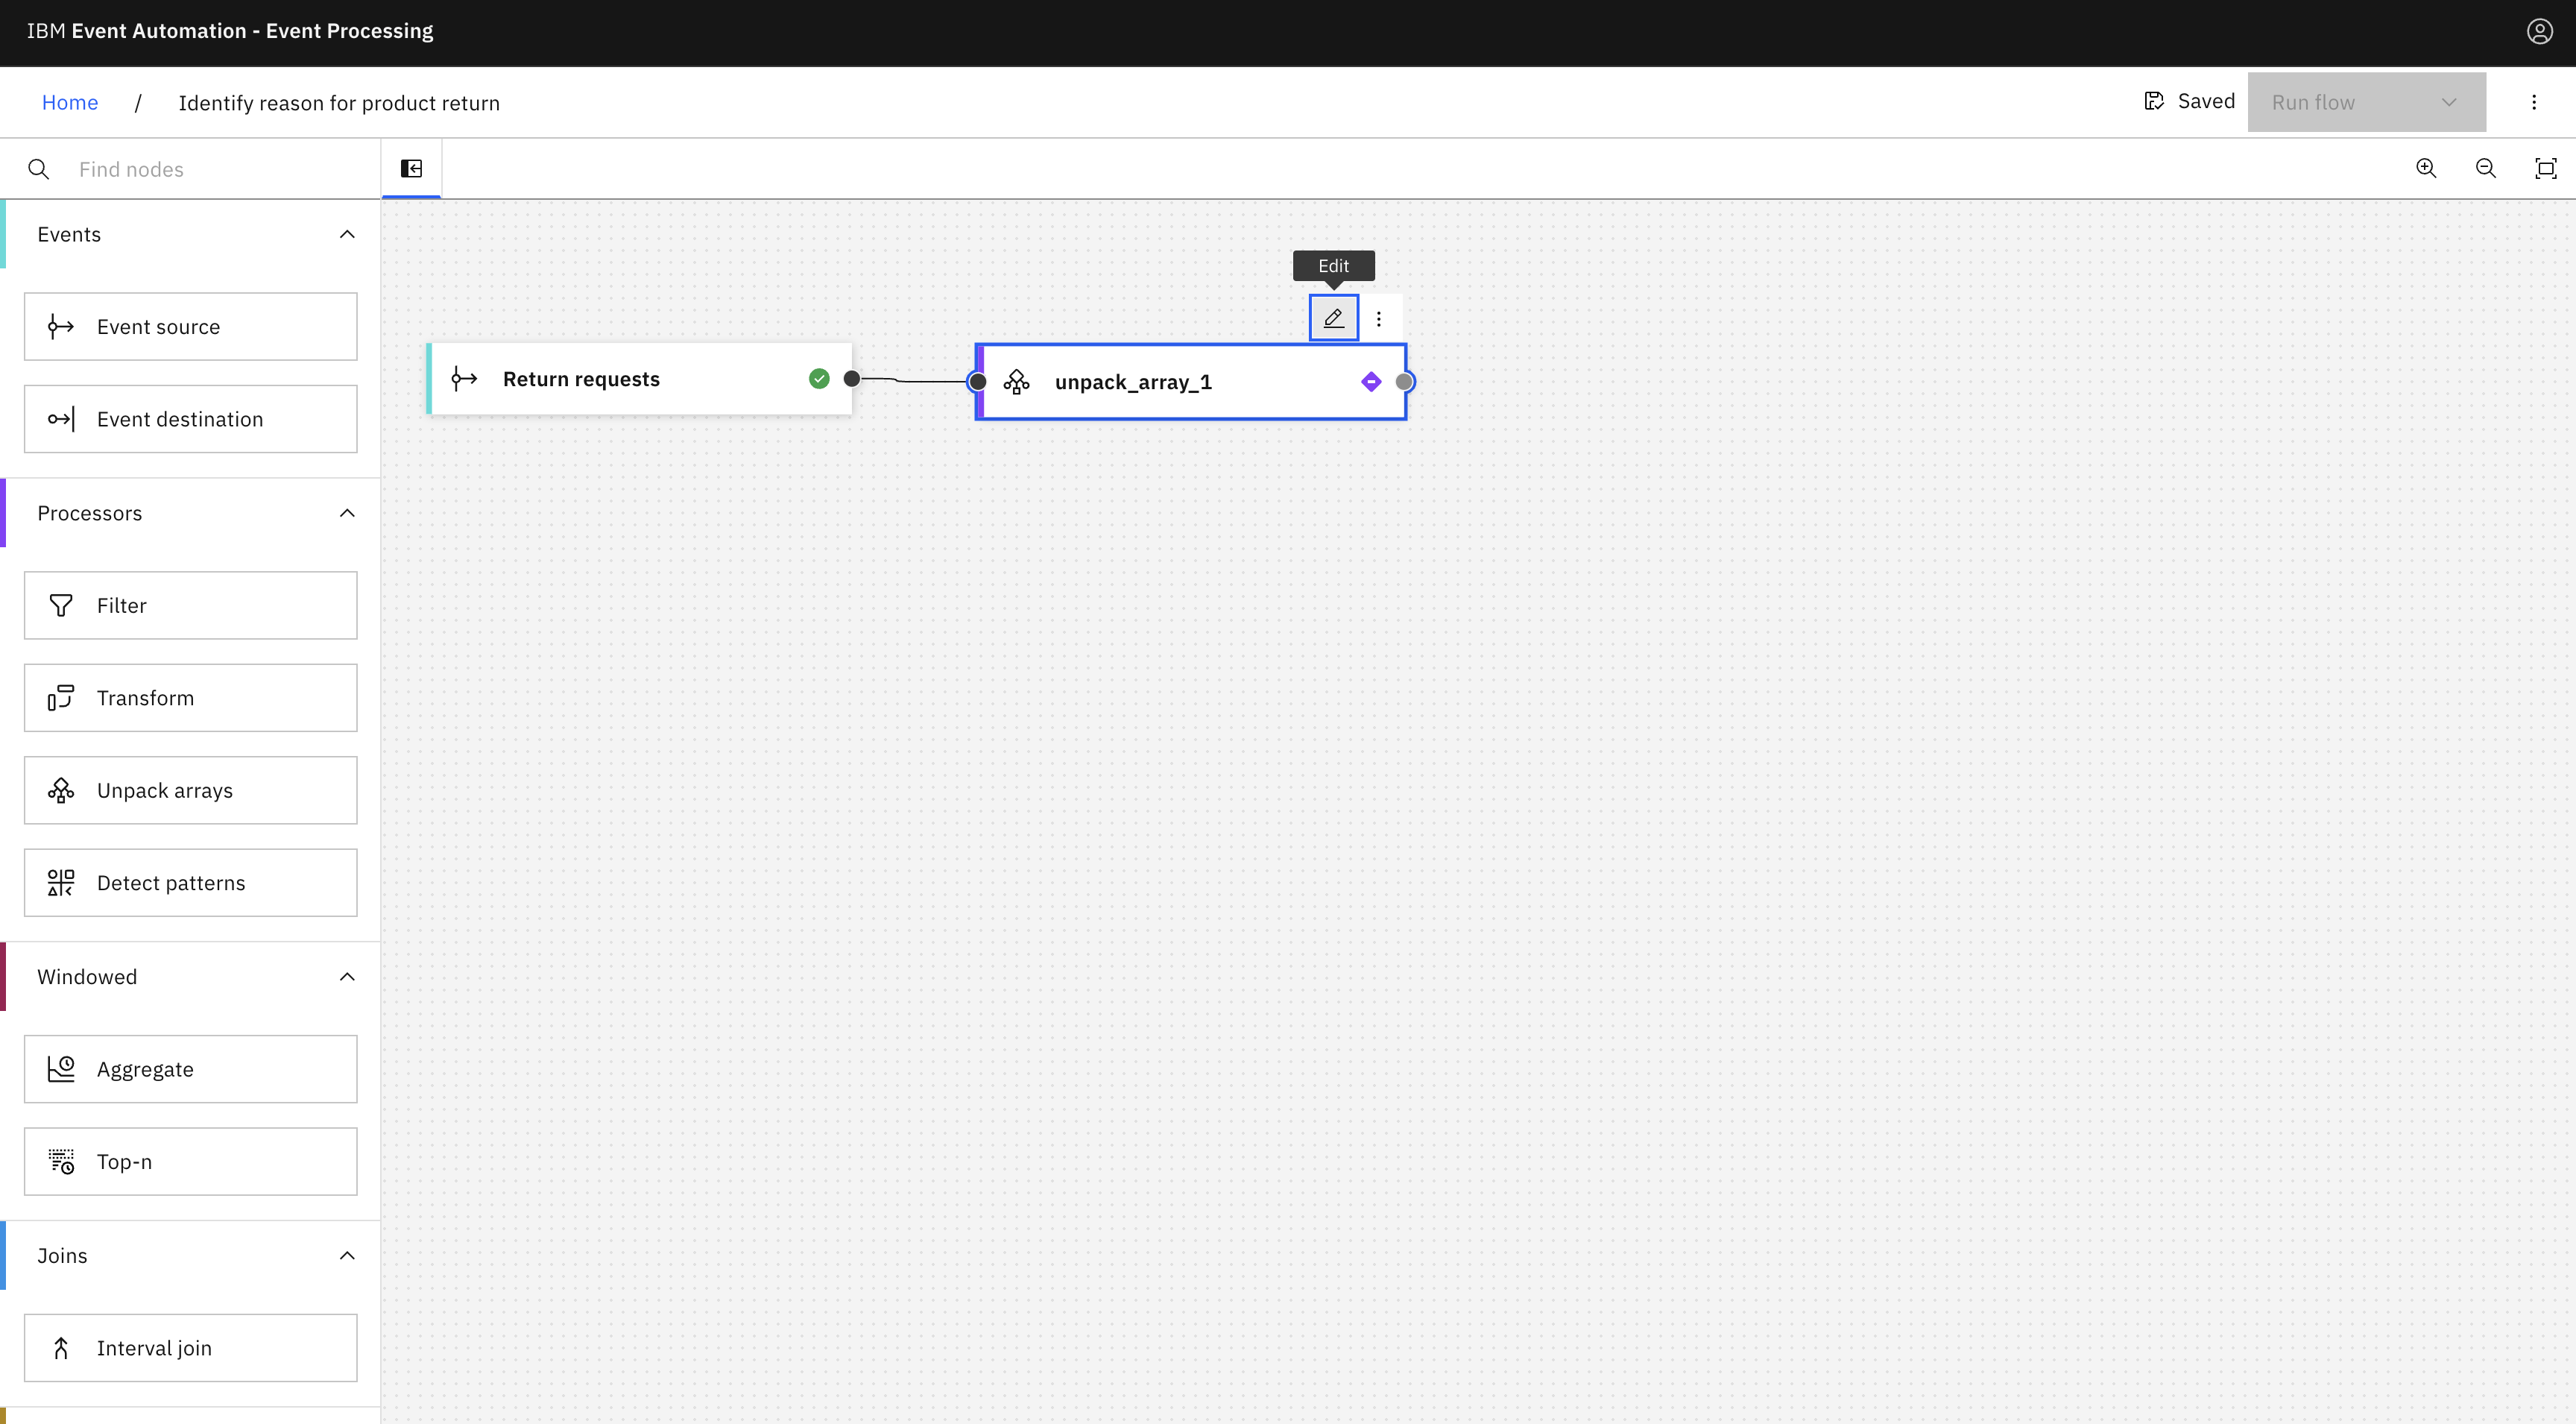
Add an unpack array node and link the
Return requestsnode to the unpack array node. -
Hover over the unpack array node, and click
Edit to configure the node.
-
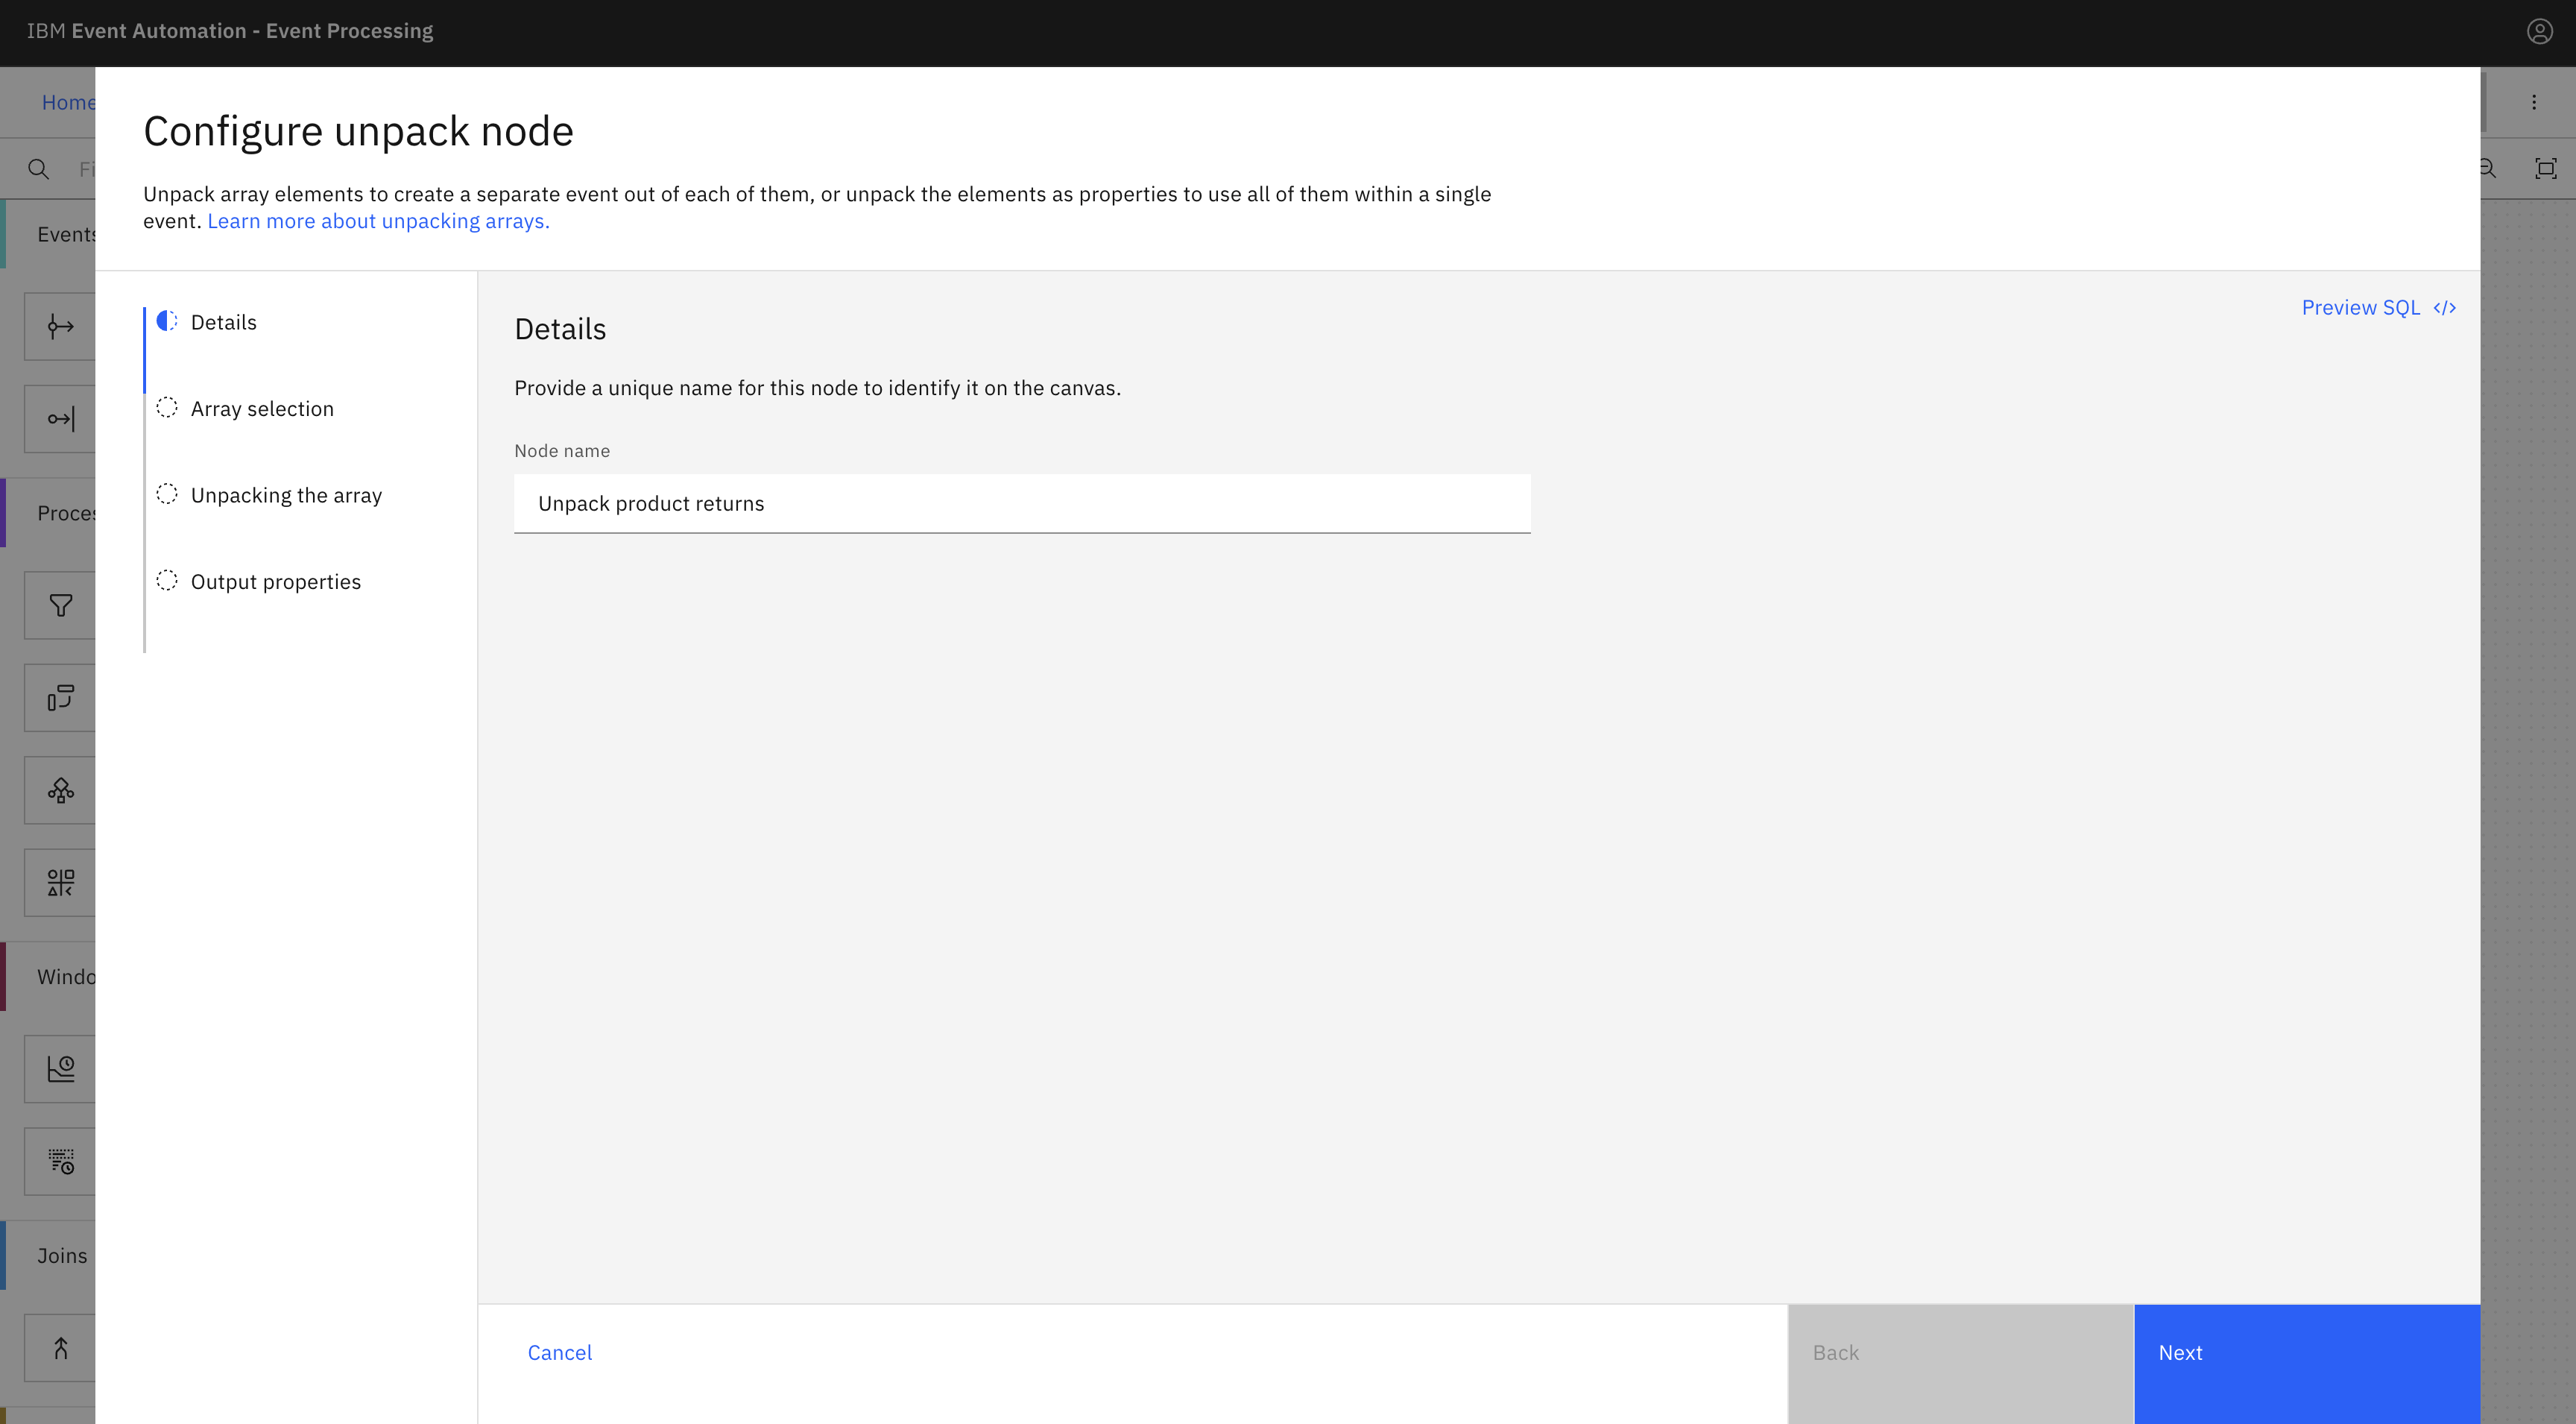
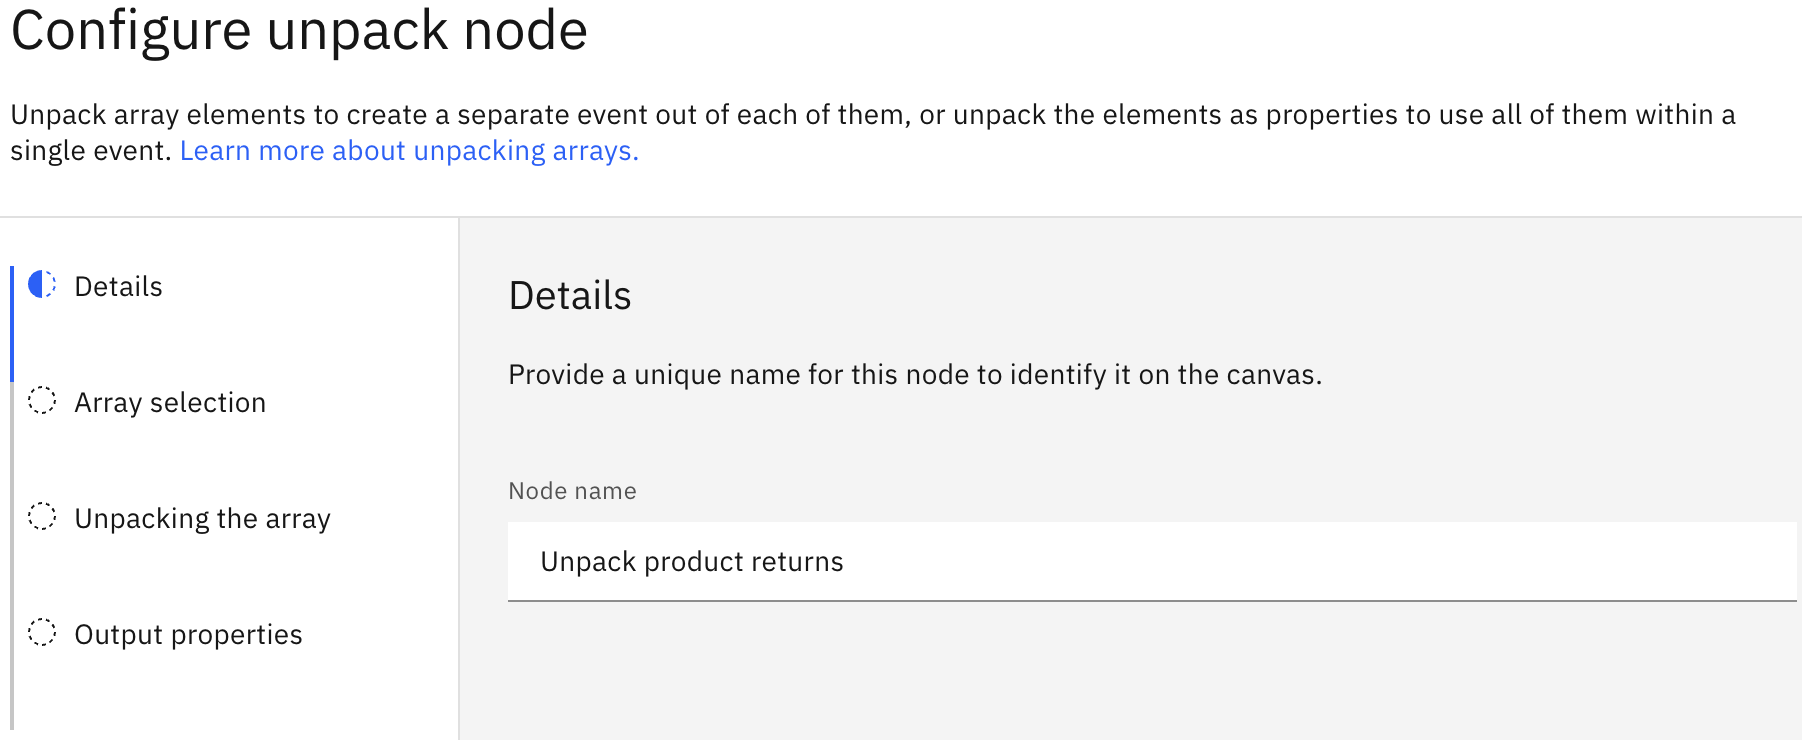
In the Node name field, enter the name of the unpack array node as
Unpack product returns, and then click Next. -
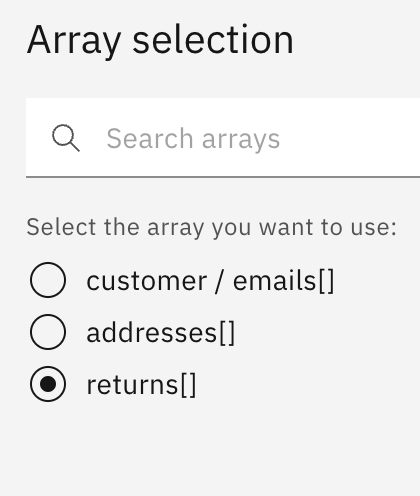
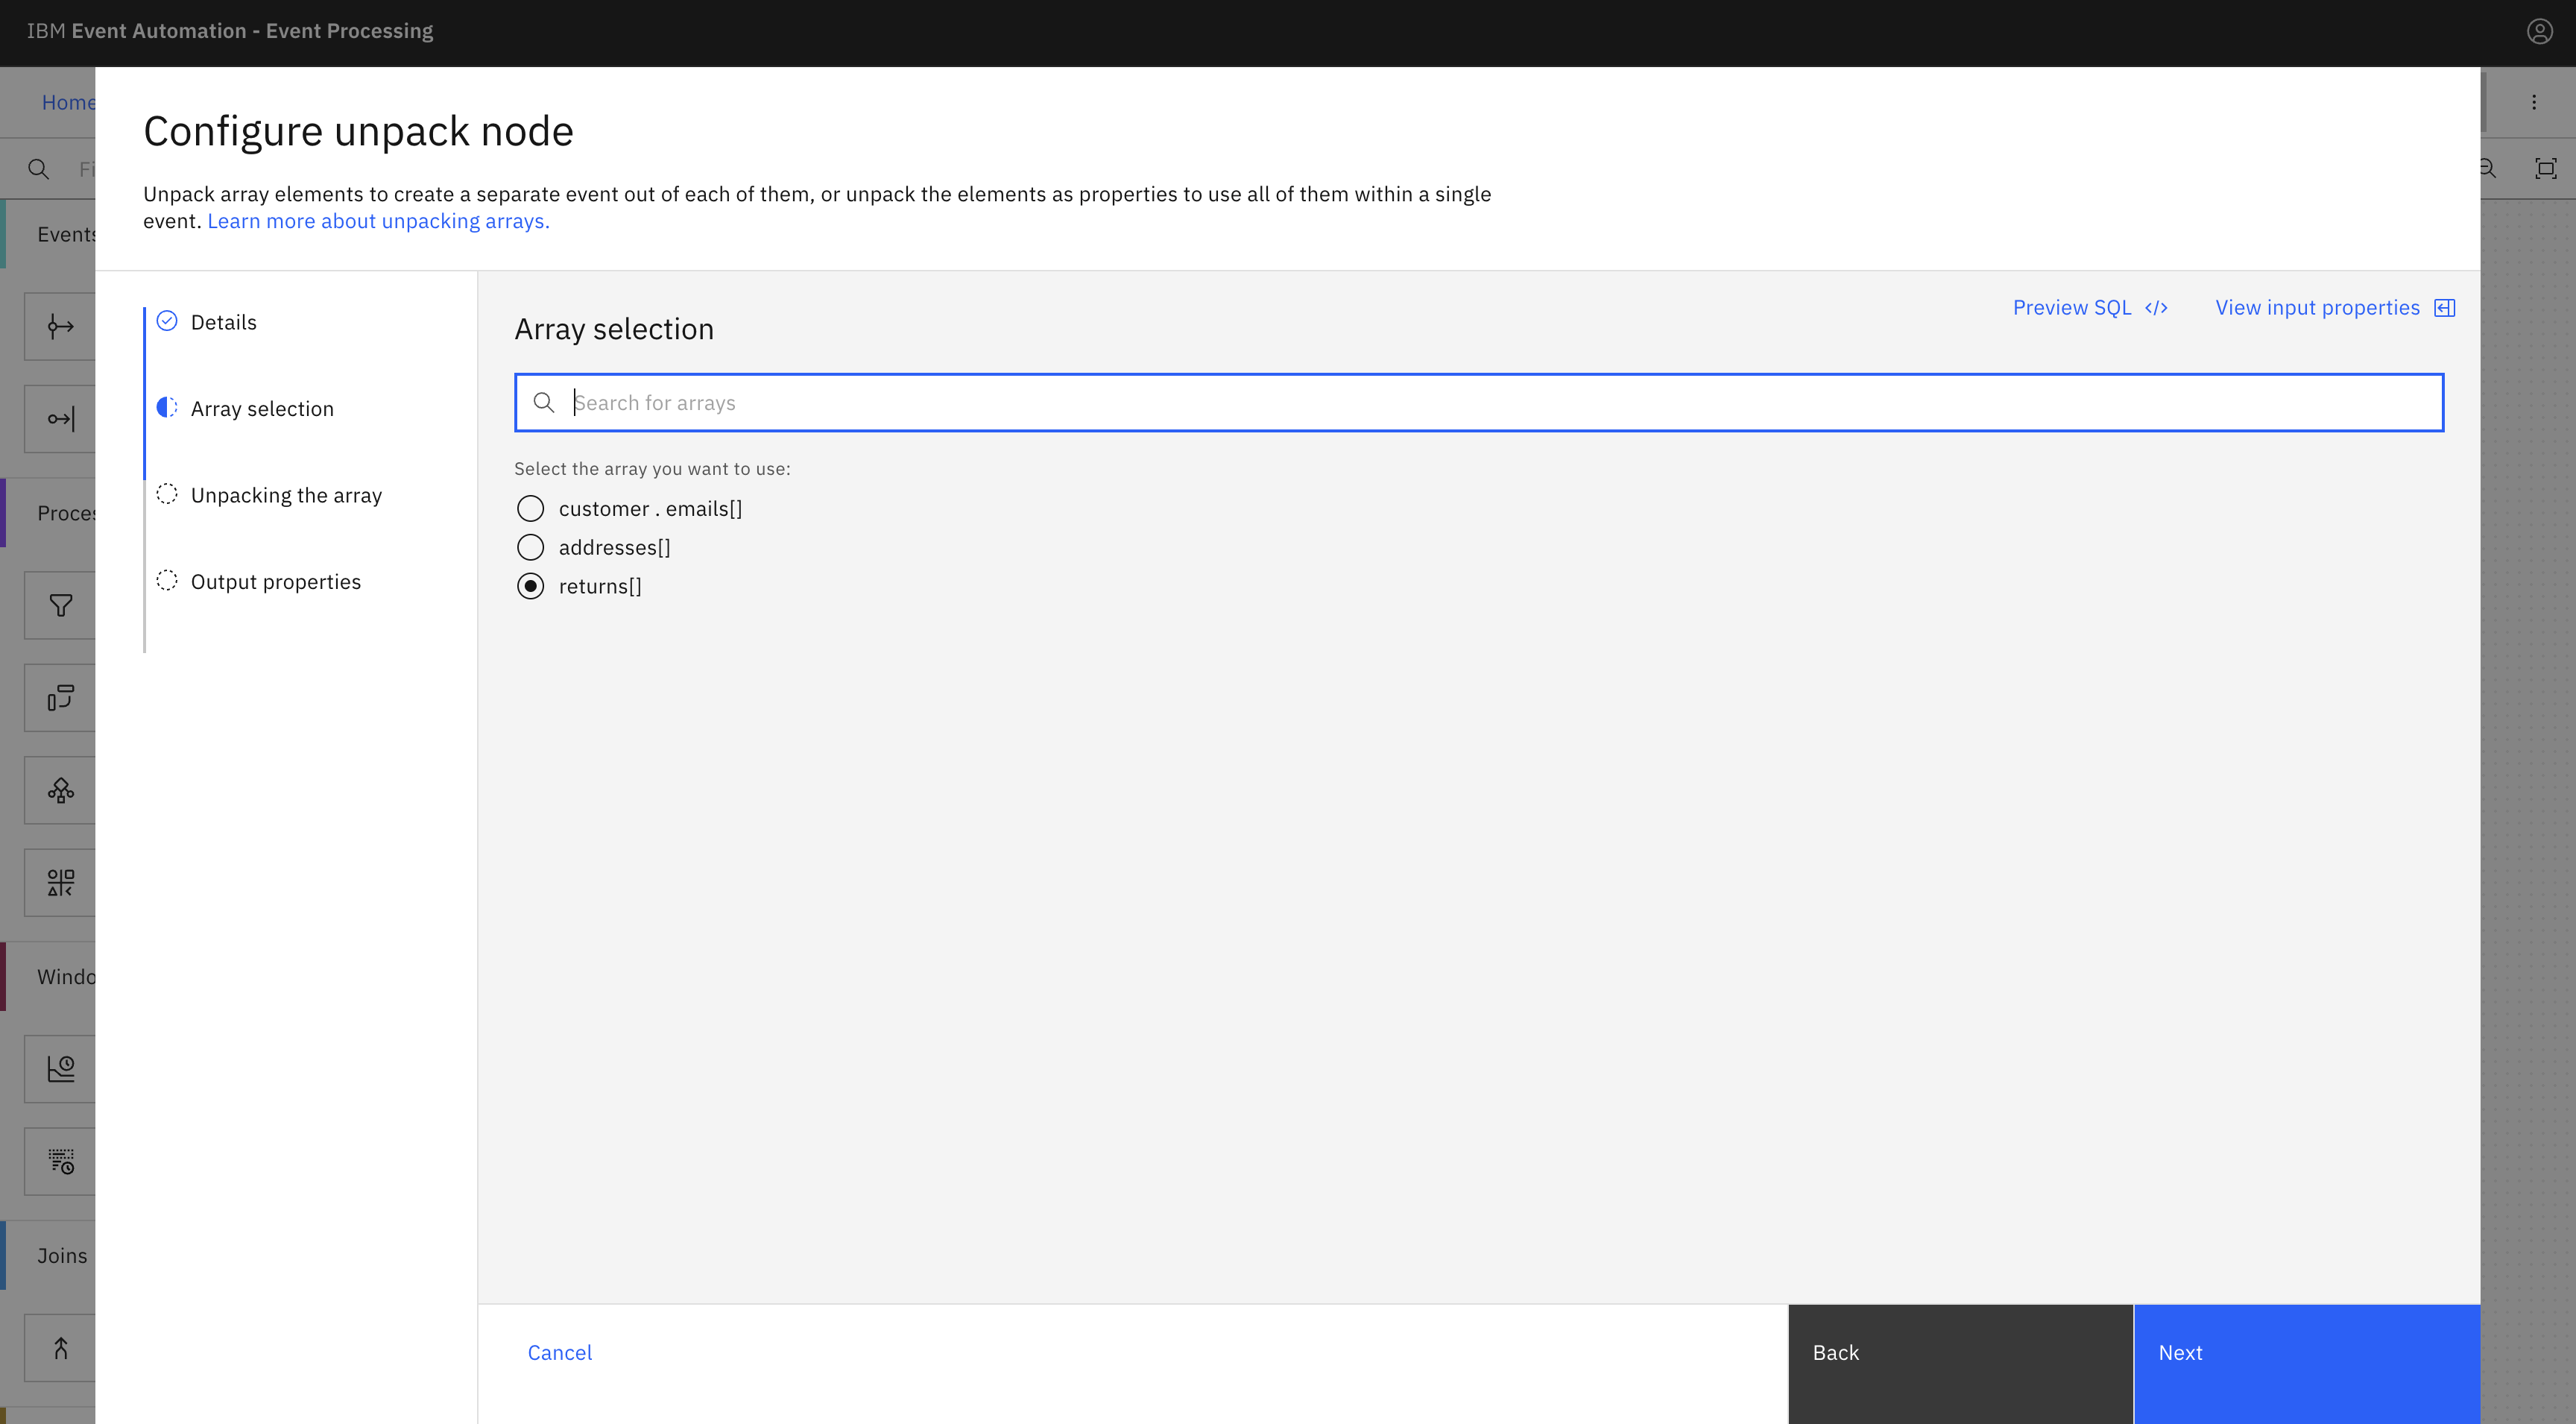
In the Array selection pane, select the returns array, and then click Next.
-
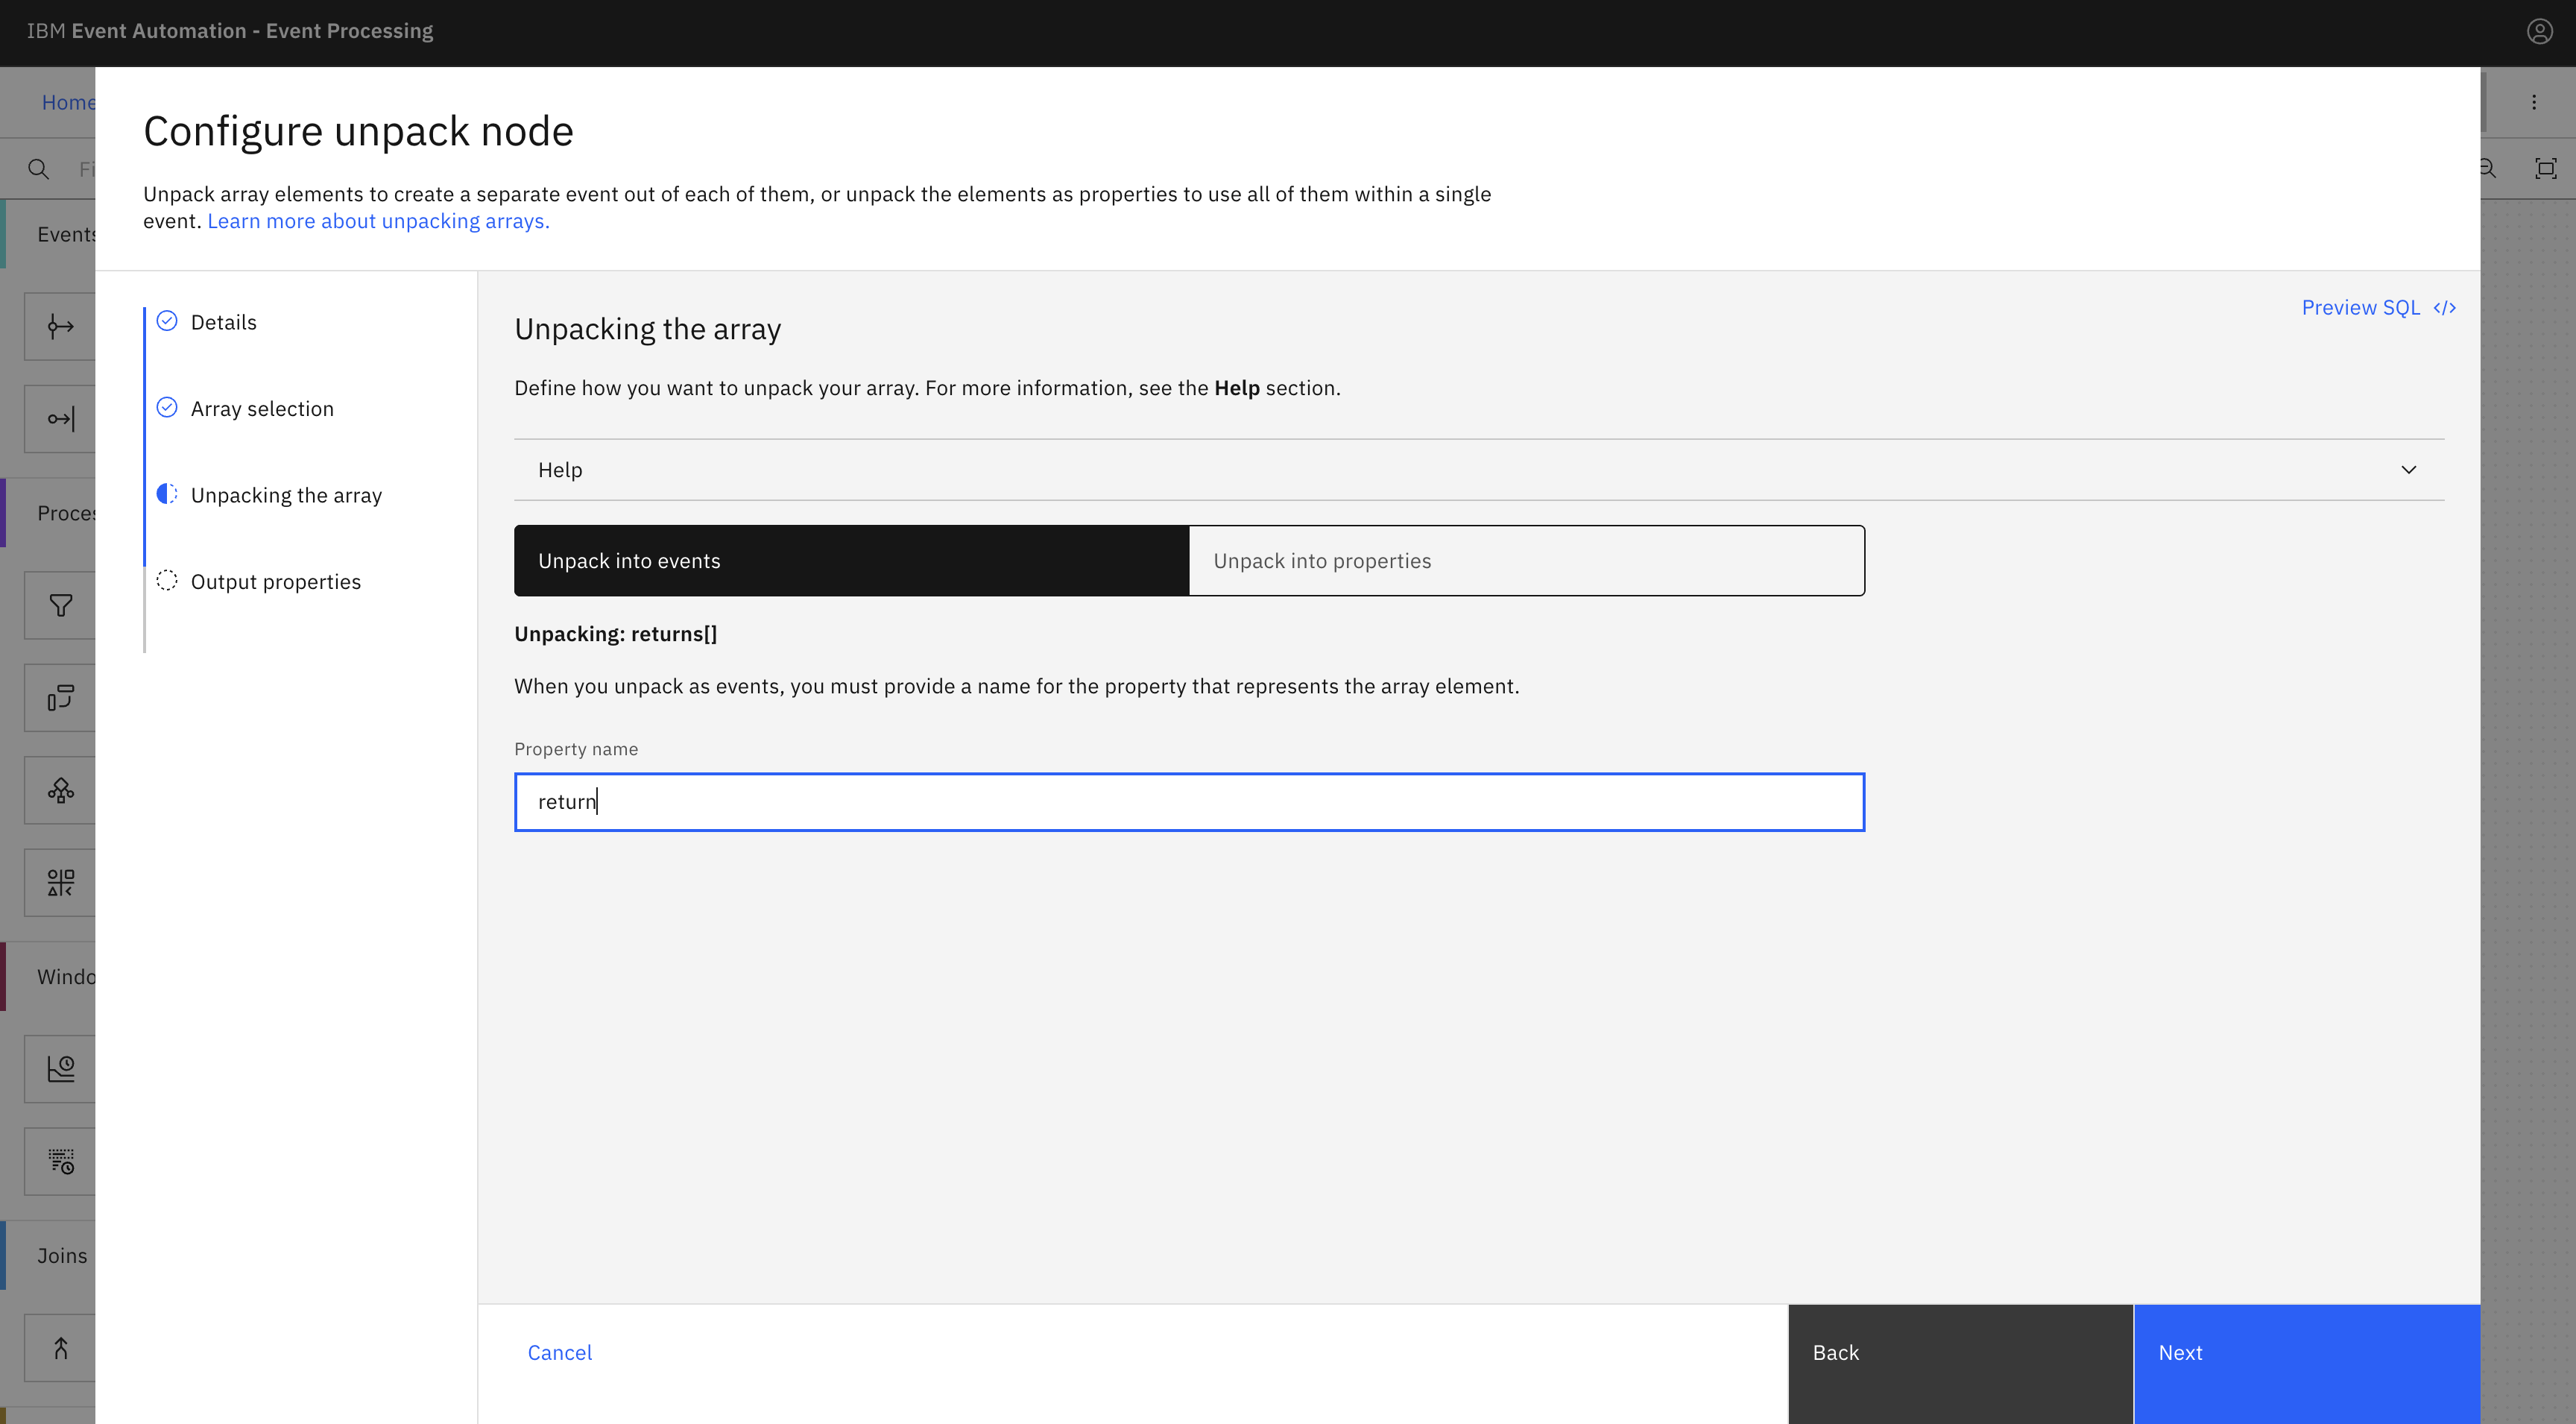
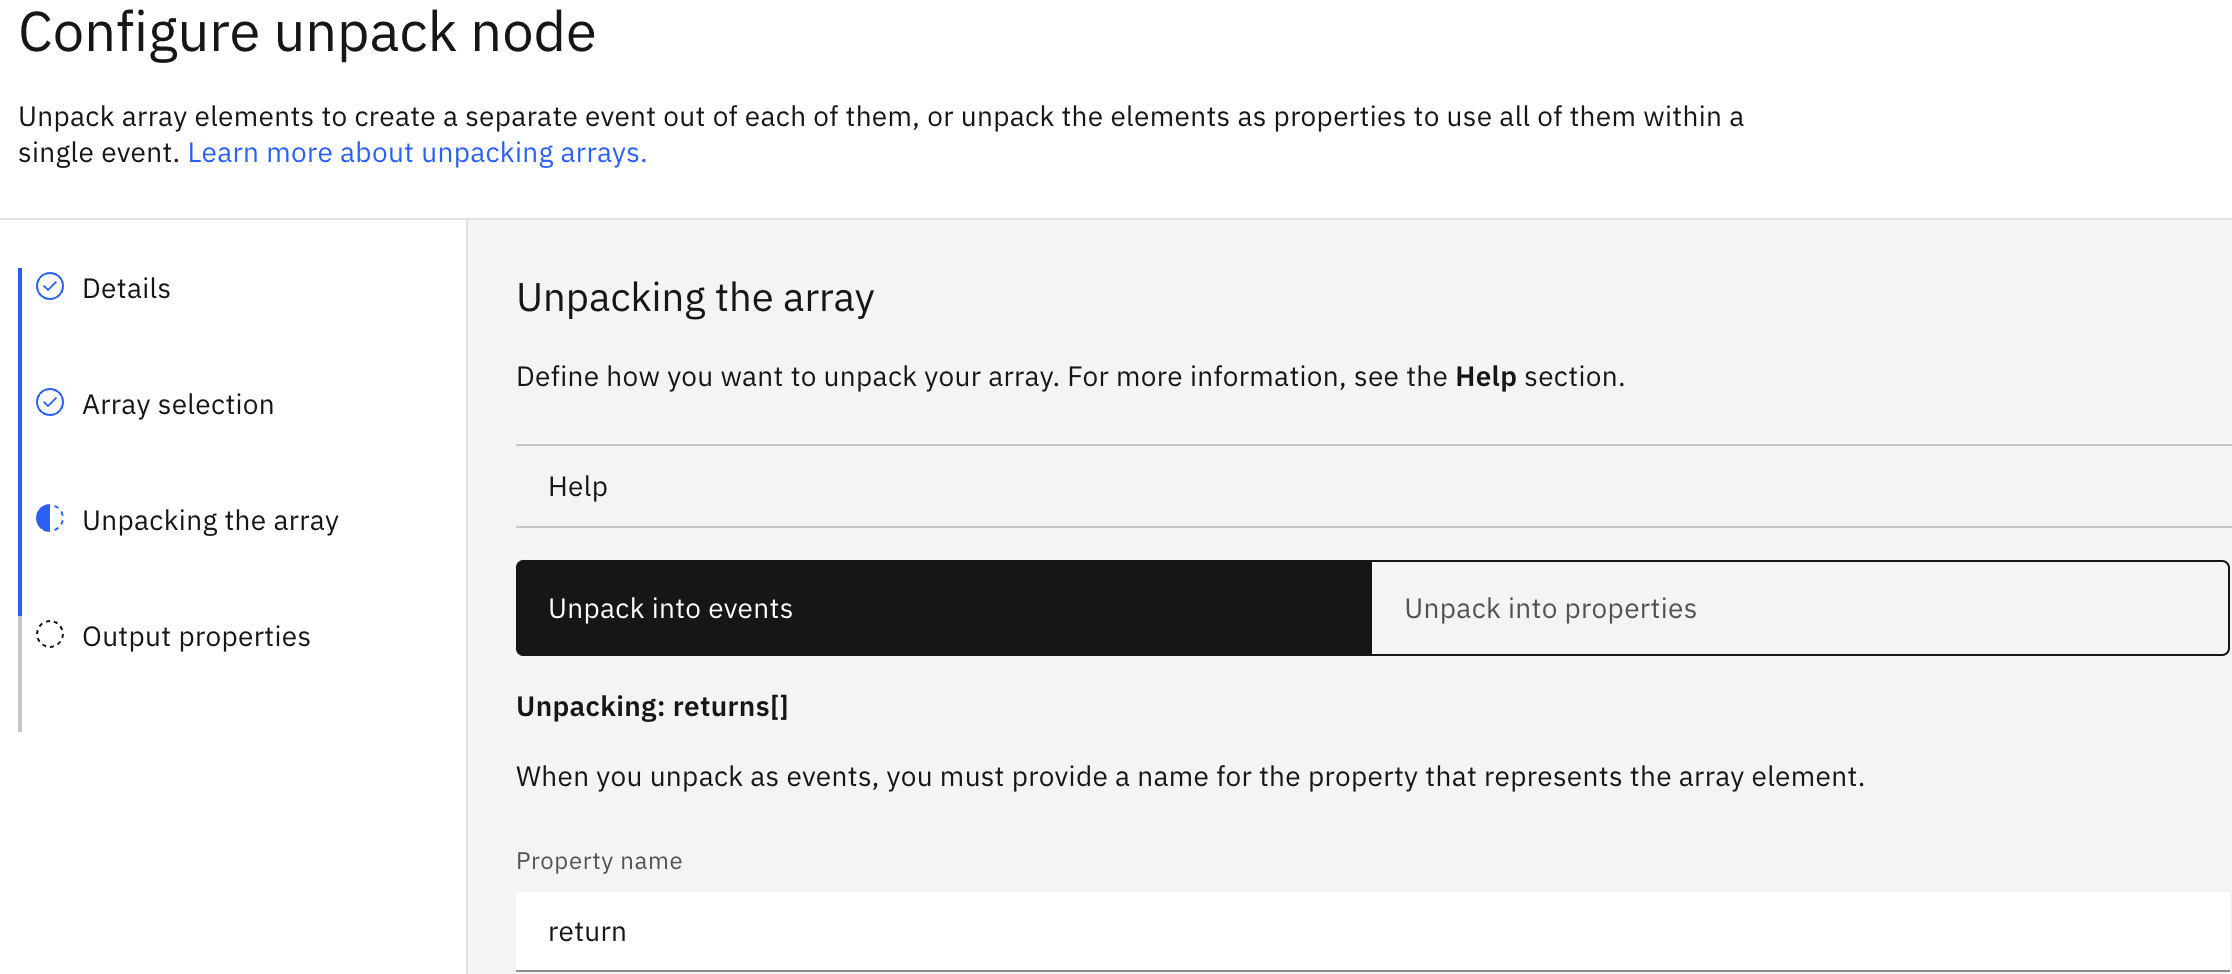
In the Unpack into events tab, enter
returnin the Property name field, and then click Next.Note: By default, the Unpack the array pane displays the Unpack into events tab.
In the Output properties pane, you can see that each event has only one single return object, and there is no returns array anymore.
-
Click Configure to finalize the unpack array node configuration.
Step 5: Test the flow
The next step is to run your Event Processing flow and view the results.
Use the Run flow menu, and select Include historical to run the current flow on the history of Return requests events.
Verify that each returned product for a given return request is now displayed in a separate event.
Note: You can also notice in the Output events table that Unable to display data is displayed for the addresses array. Complex data types cannot be displayed in this table. To view the complete result including complex data types, pause new events and download the results as a .csv file.
Click Stop flow.
Step 6: Identify trends for return reasons per product
In this step you need to add an aggregate node to identify the trends of the product returns.
To add an aggregate node, complete the following steps:
For more information about how to create an aggregate node, see Adding an aggregate node.
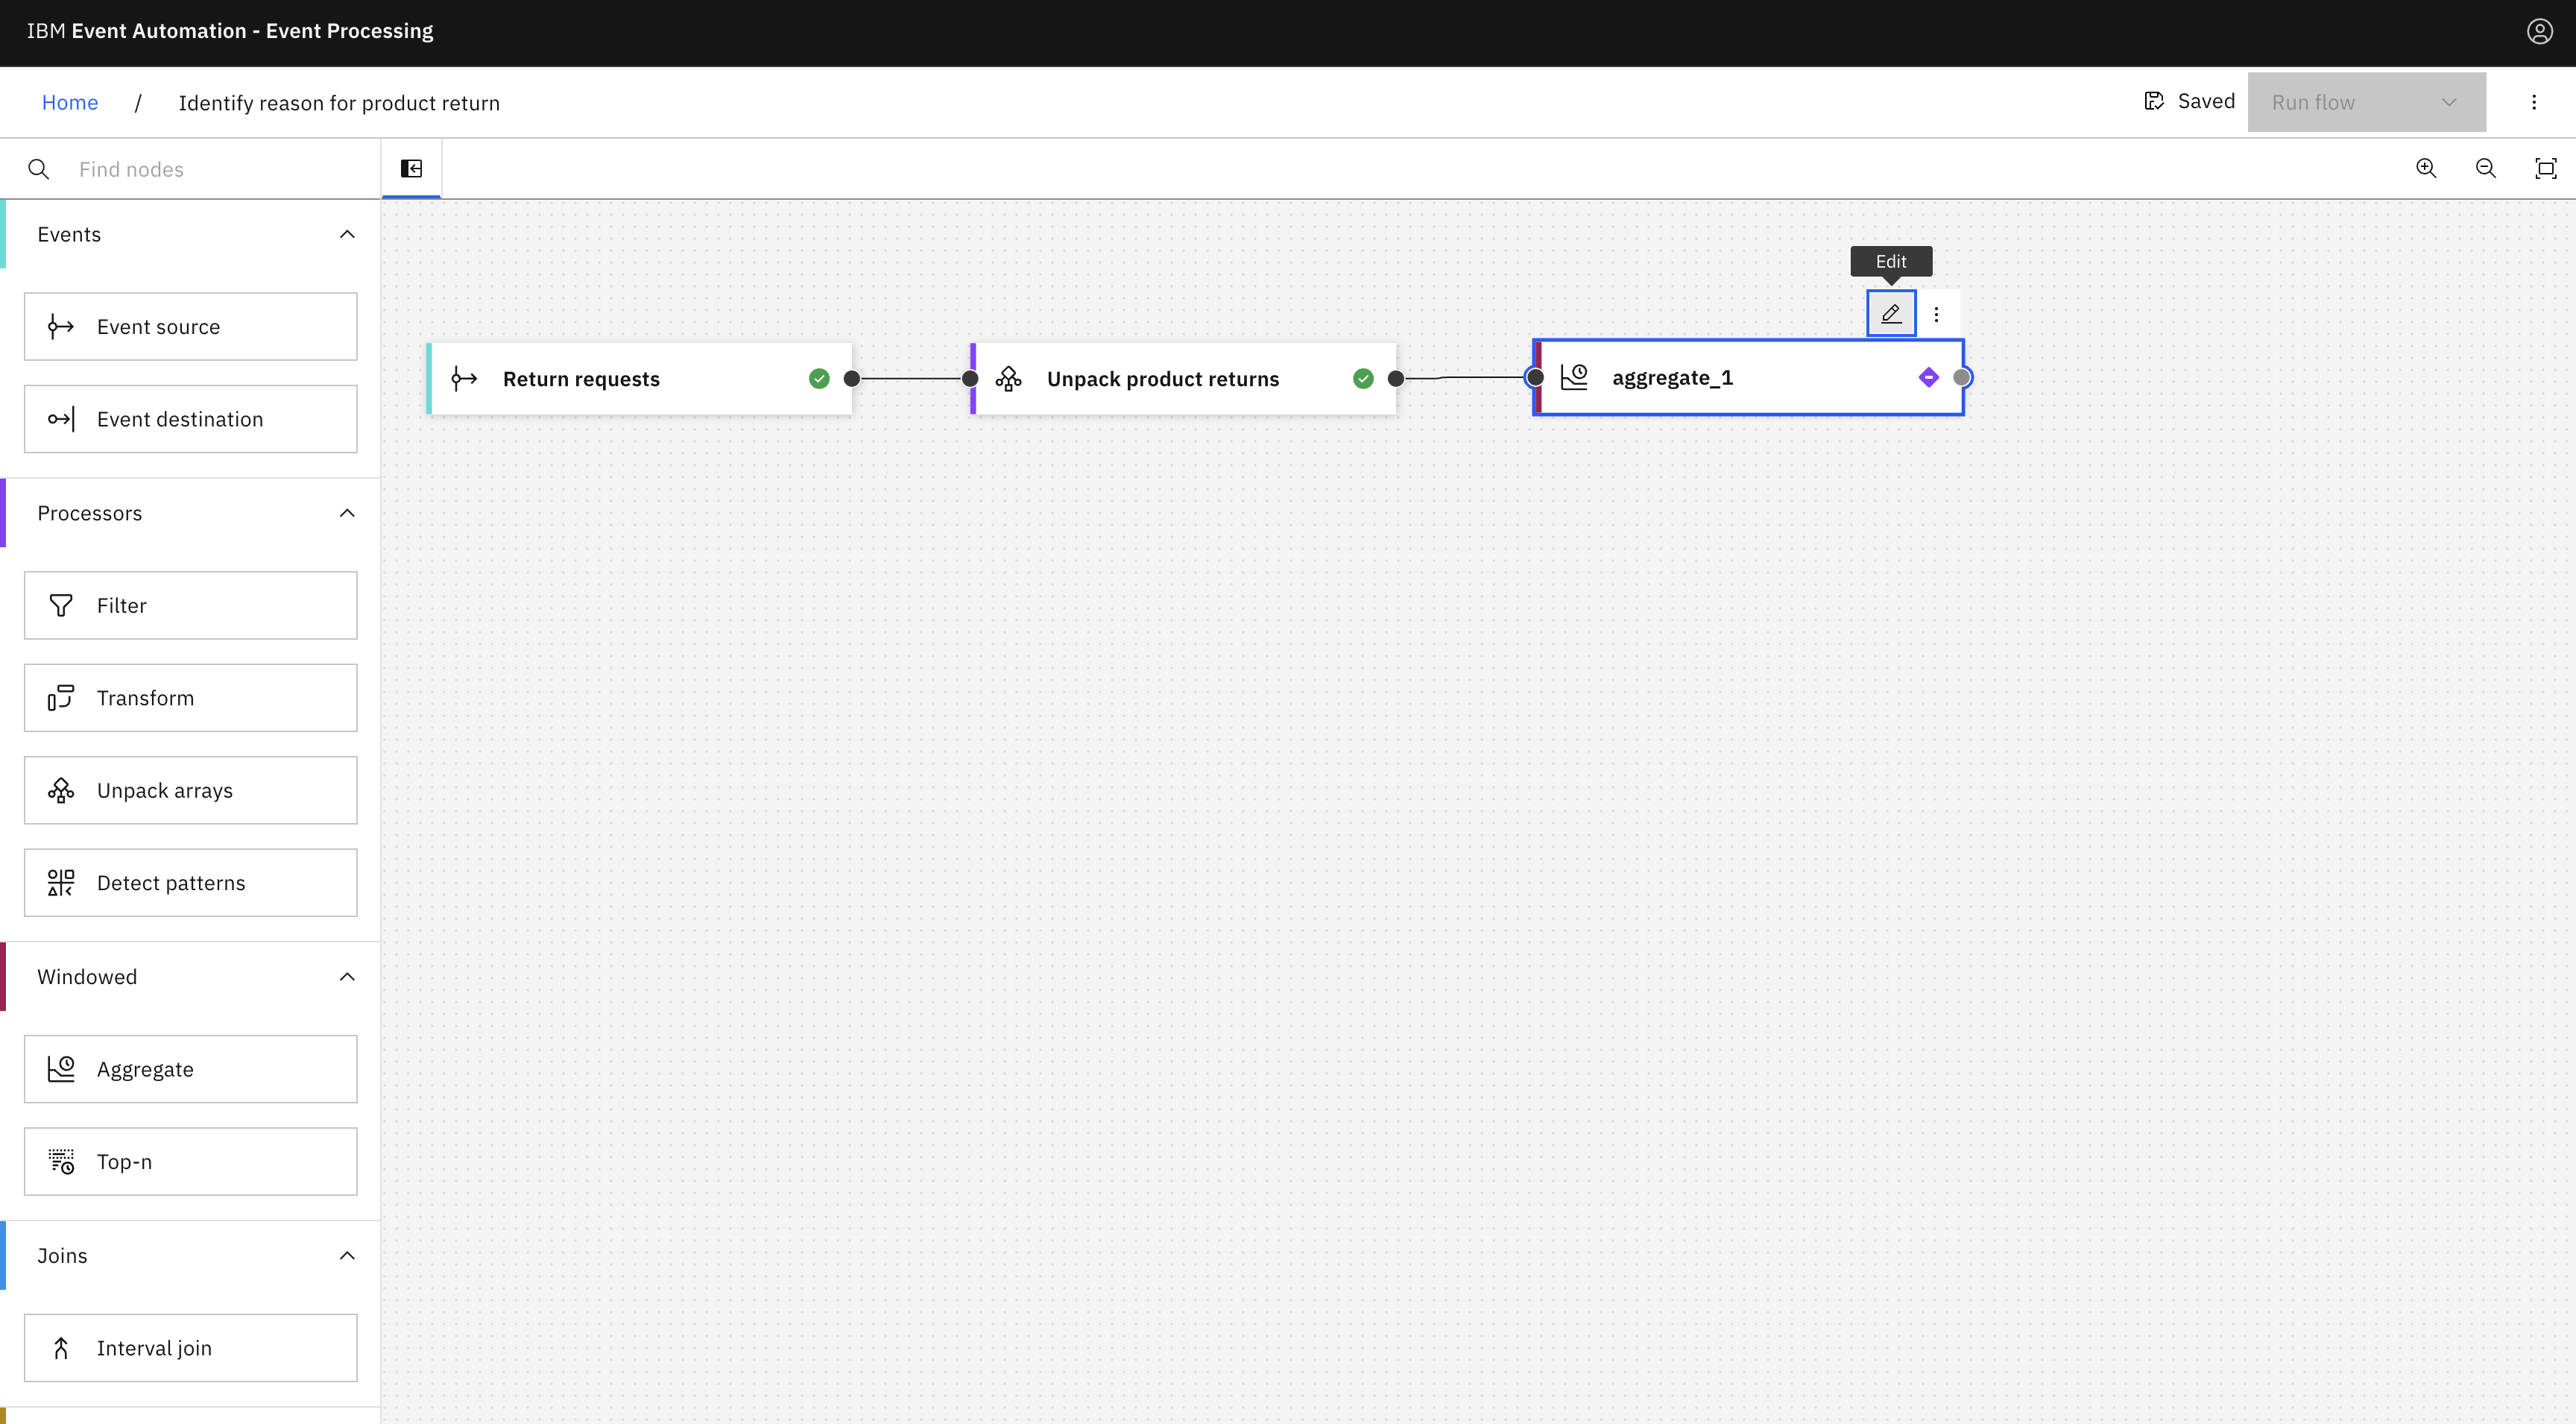
- Add an aggregate node and link the
Unpack product returnsnode (the unpack array node that you created in step 4) to the aggregate node. -
Hover over the aggregate node, and click
Edit to configure the node.
-
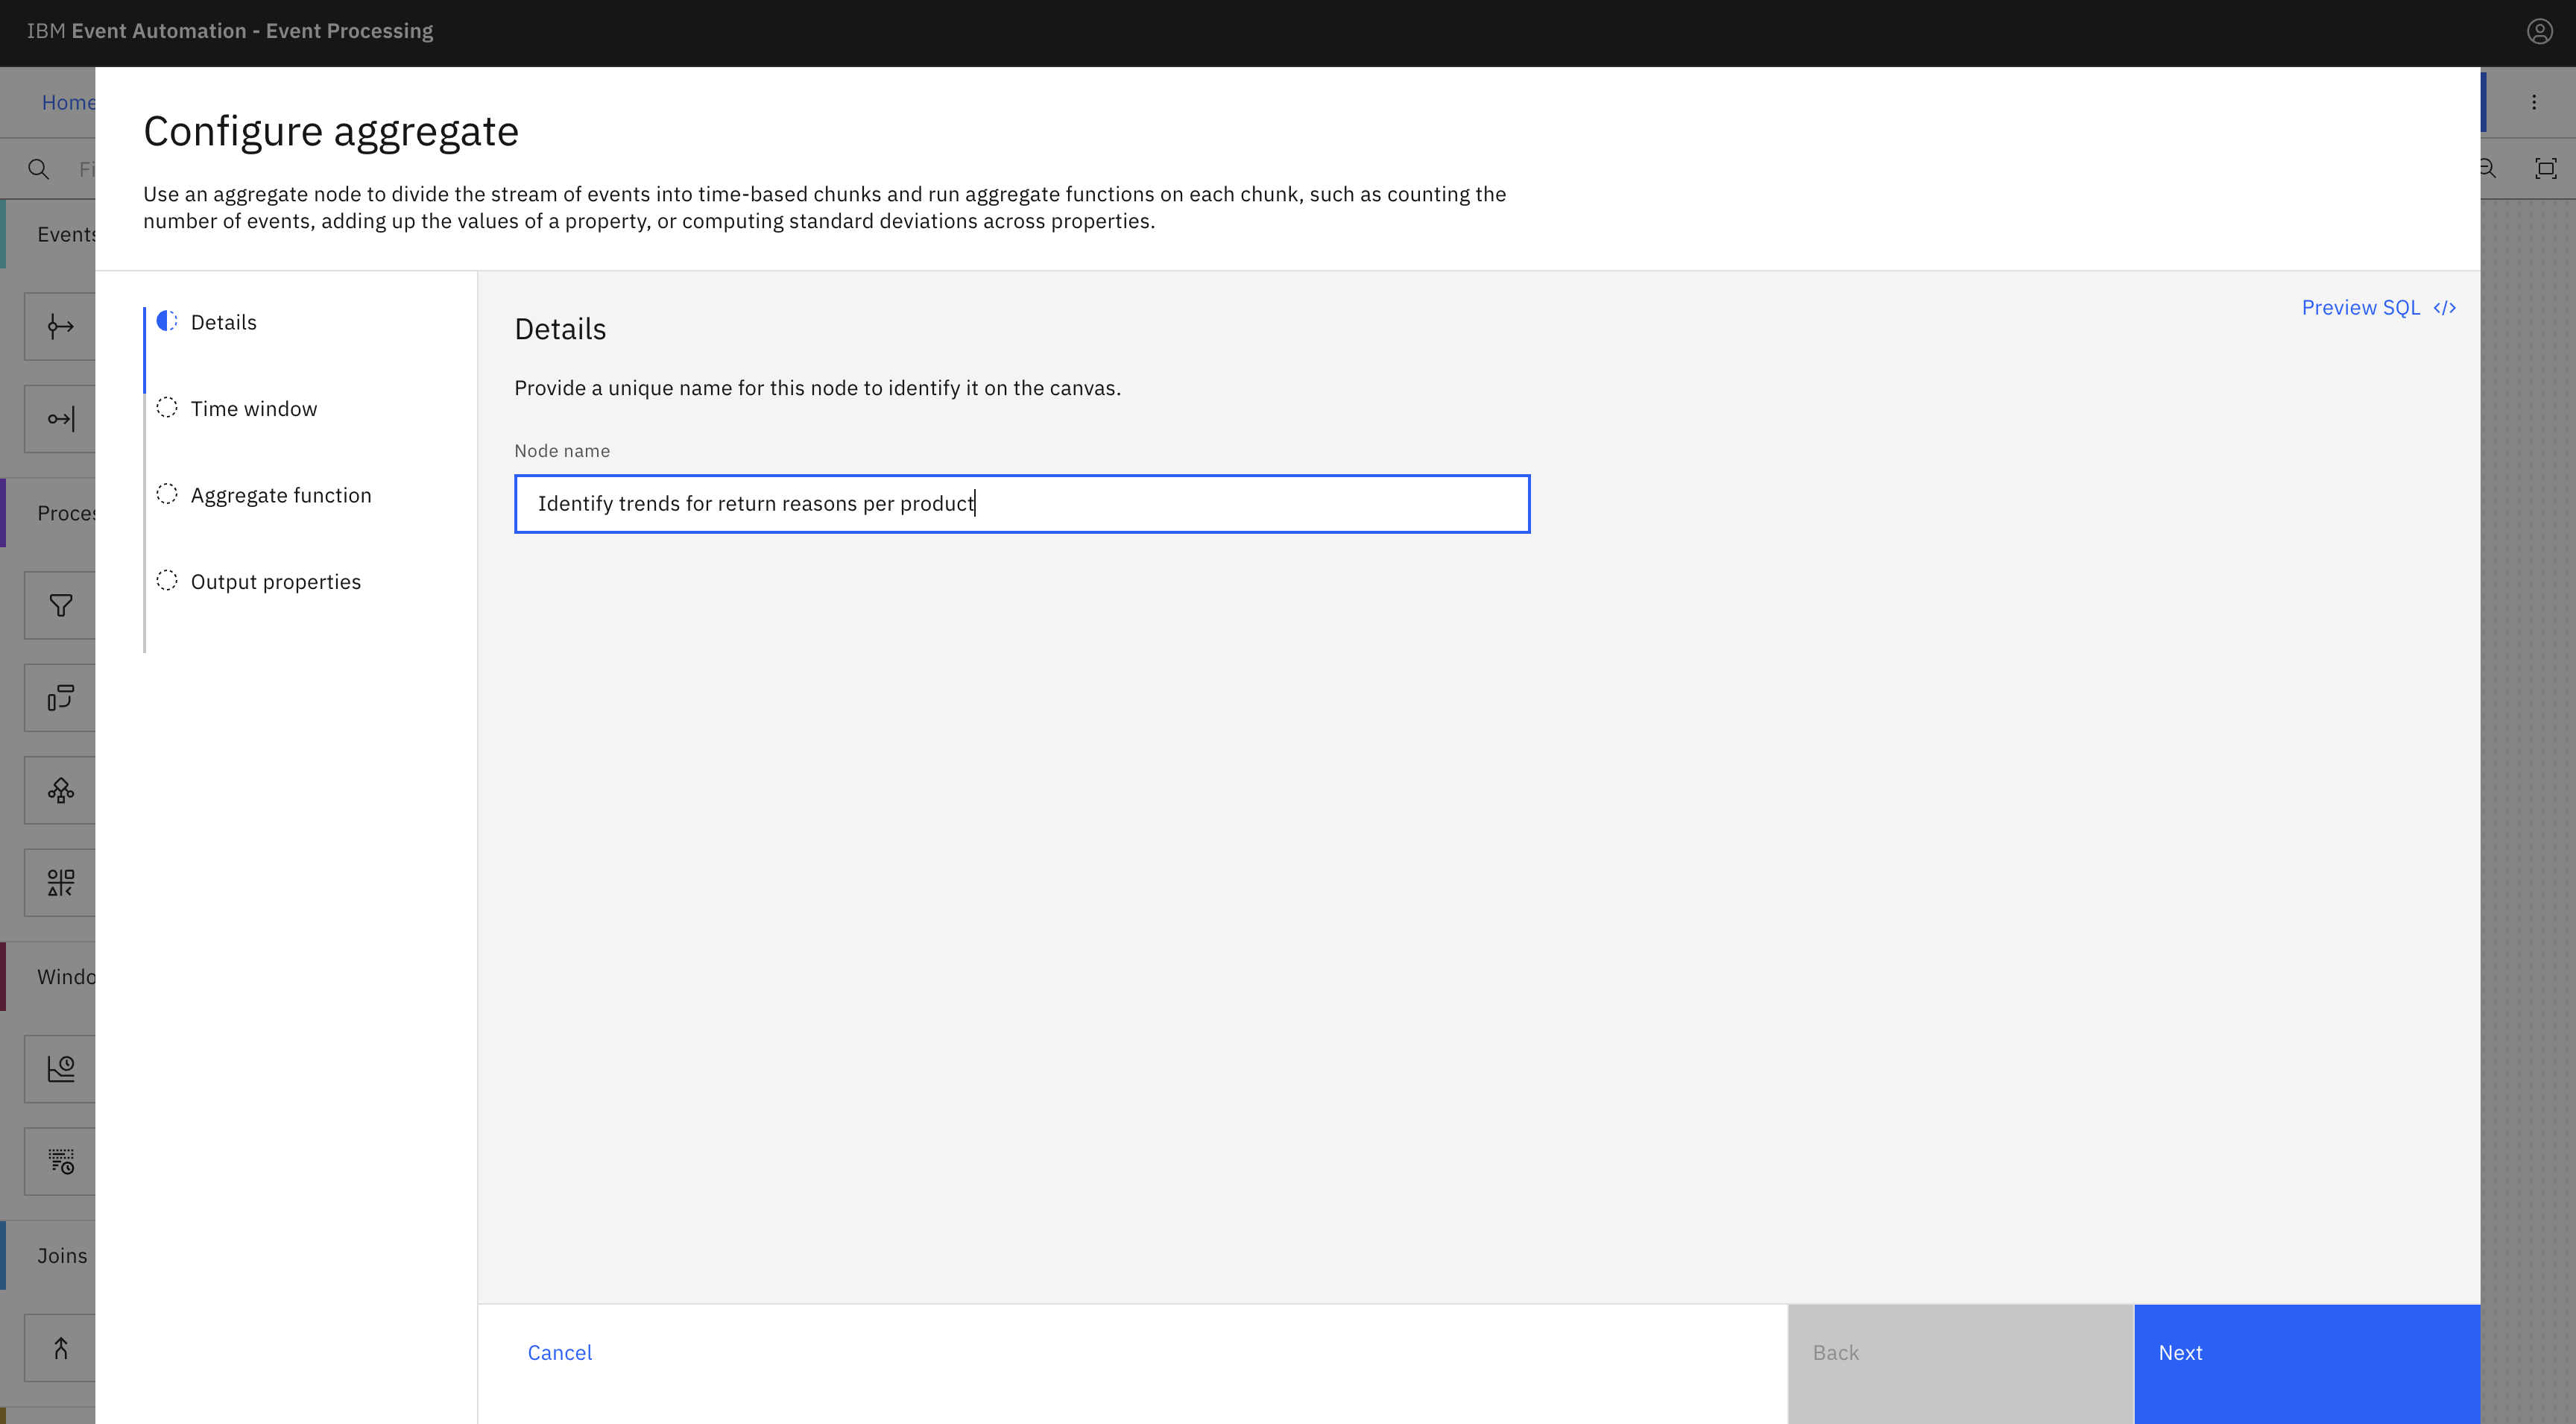
In the Node name field, enter the name of the aggregate node as
Identify trends for return reasons per product, and then click Next. -
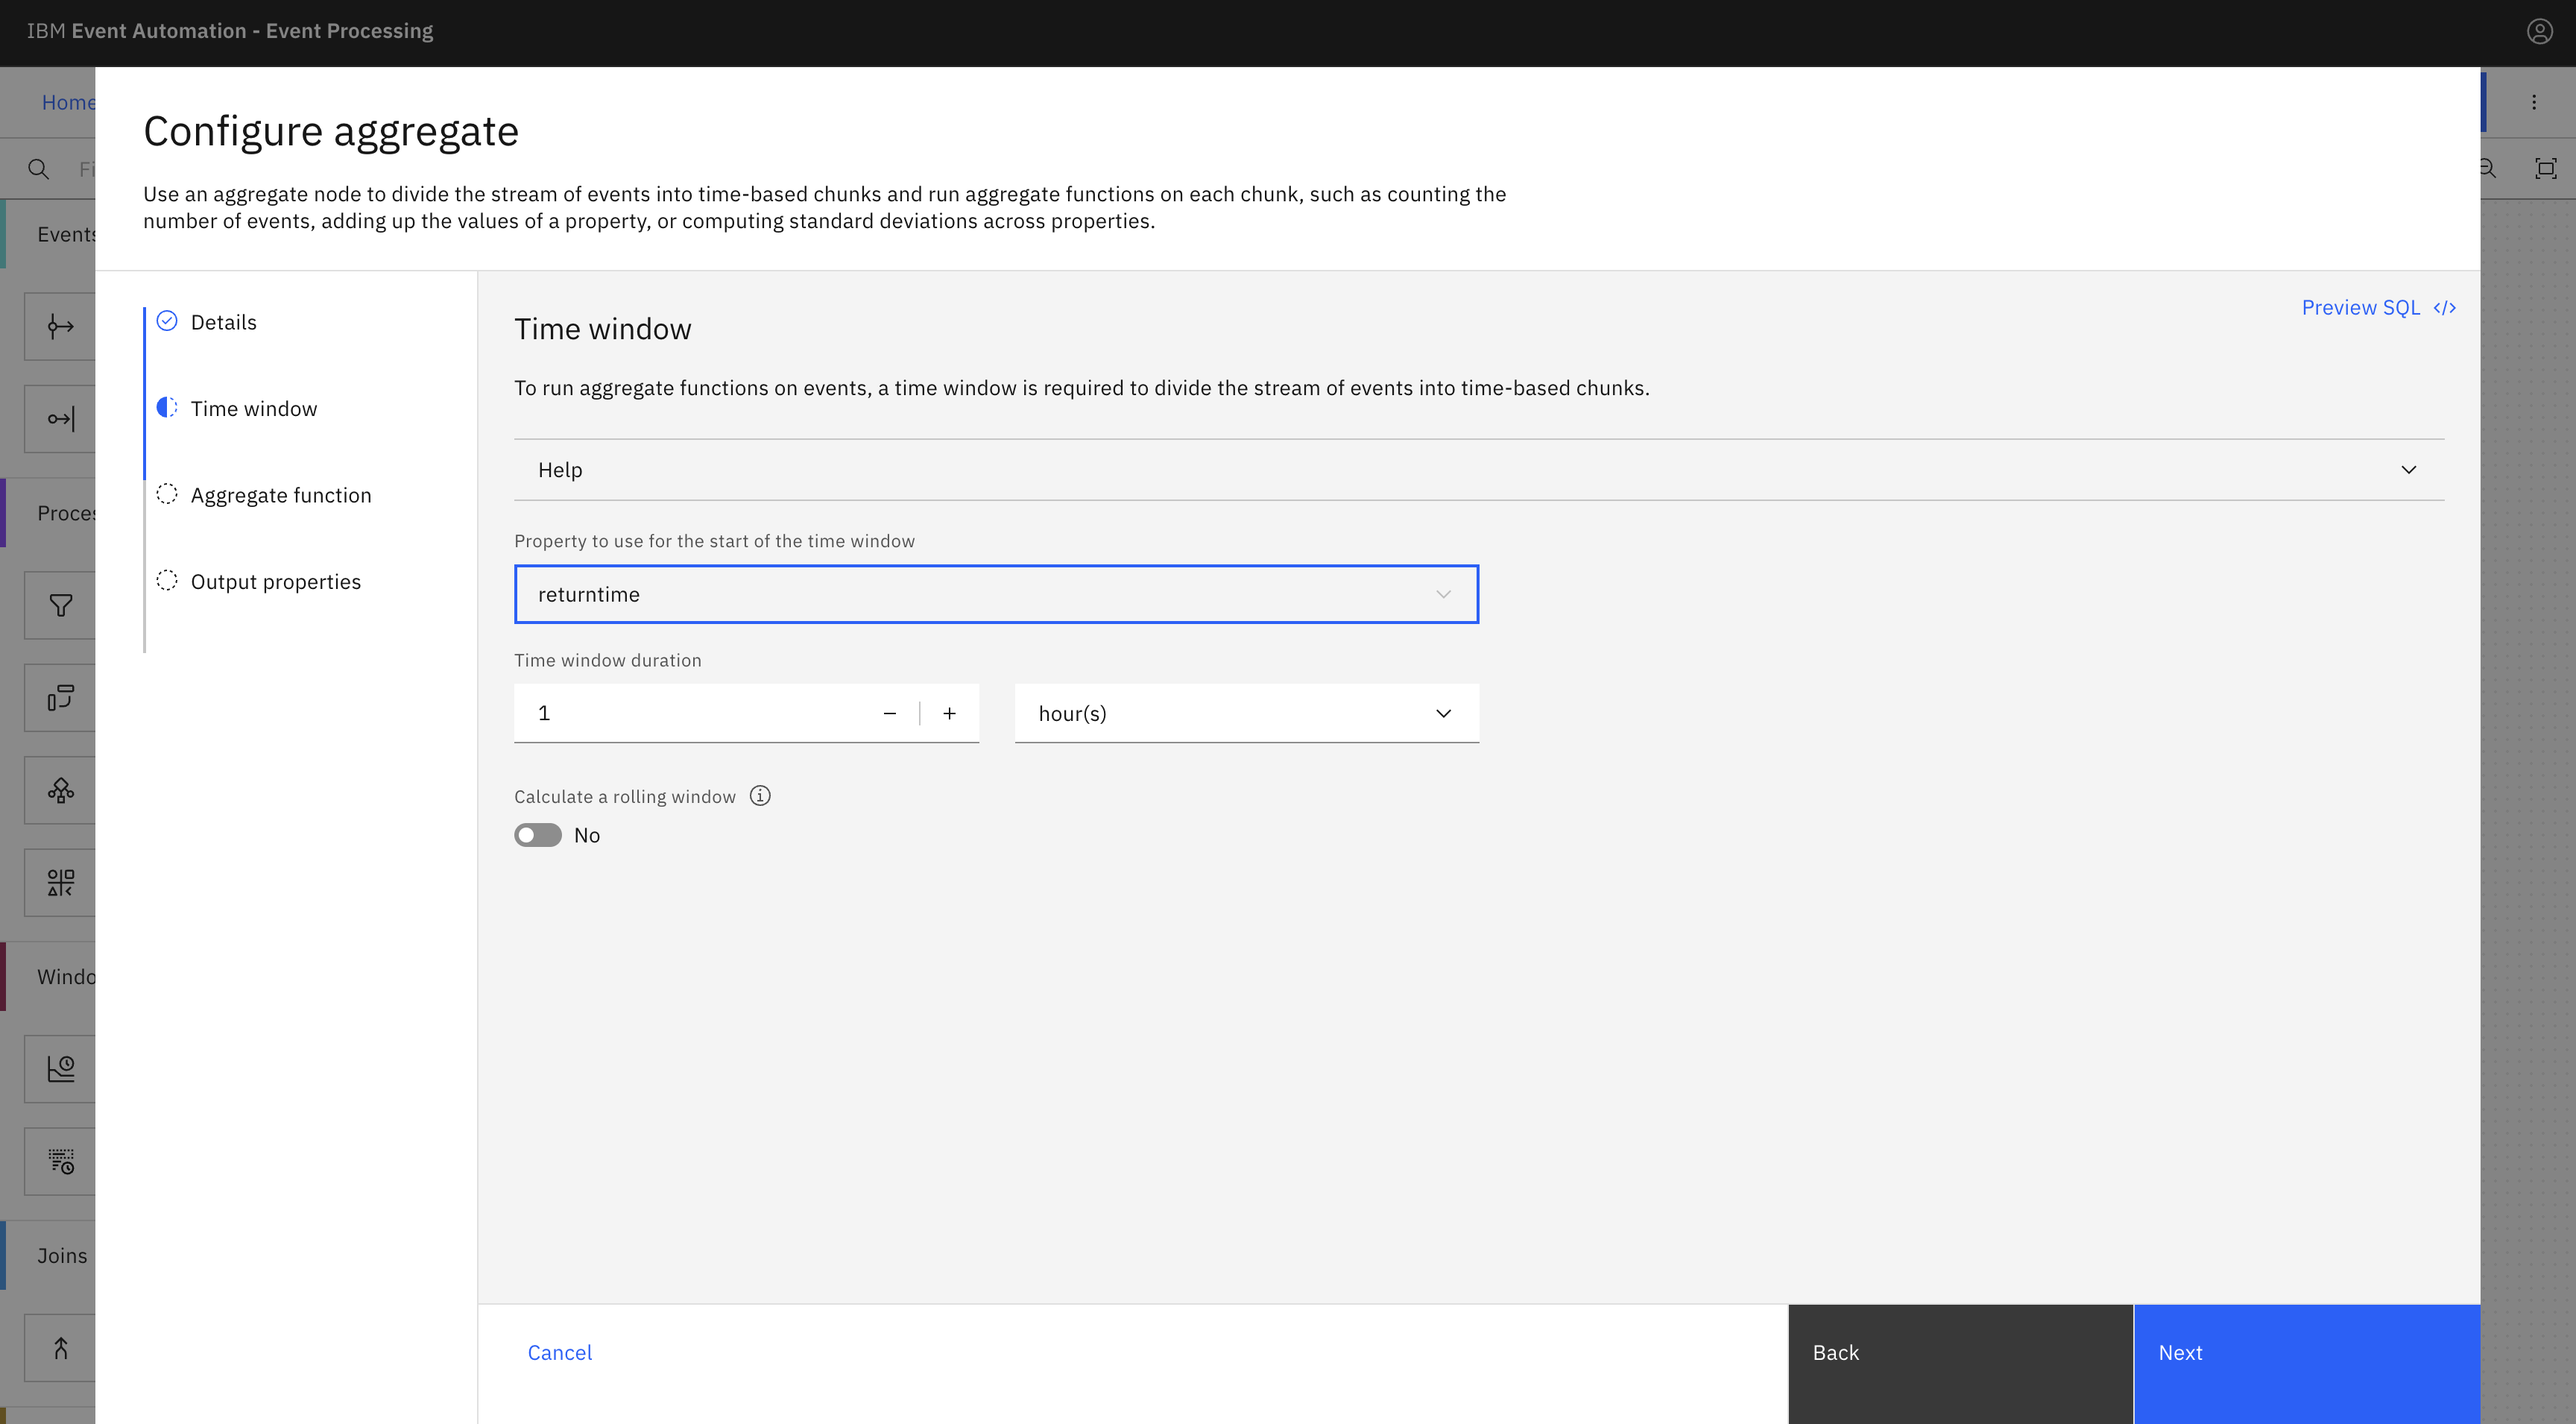
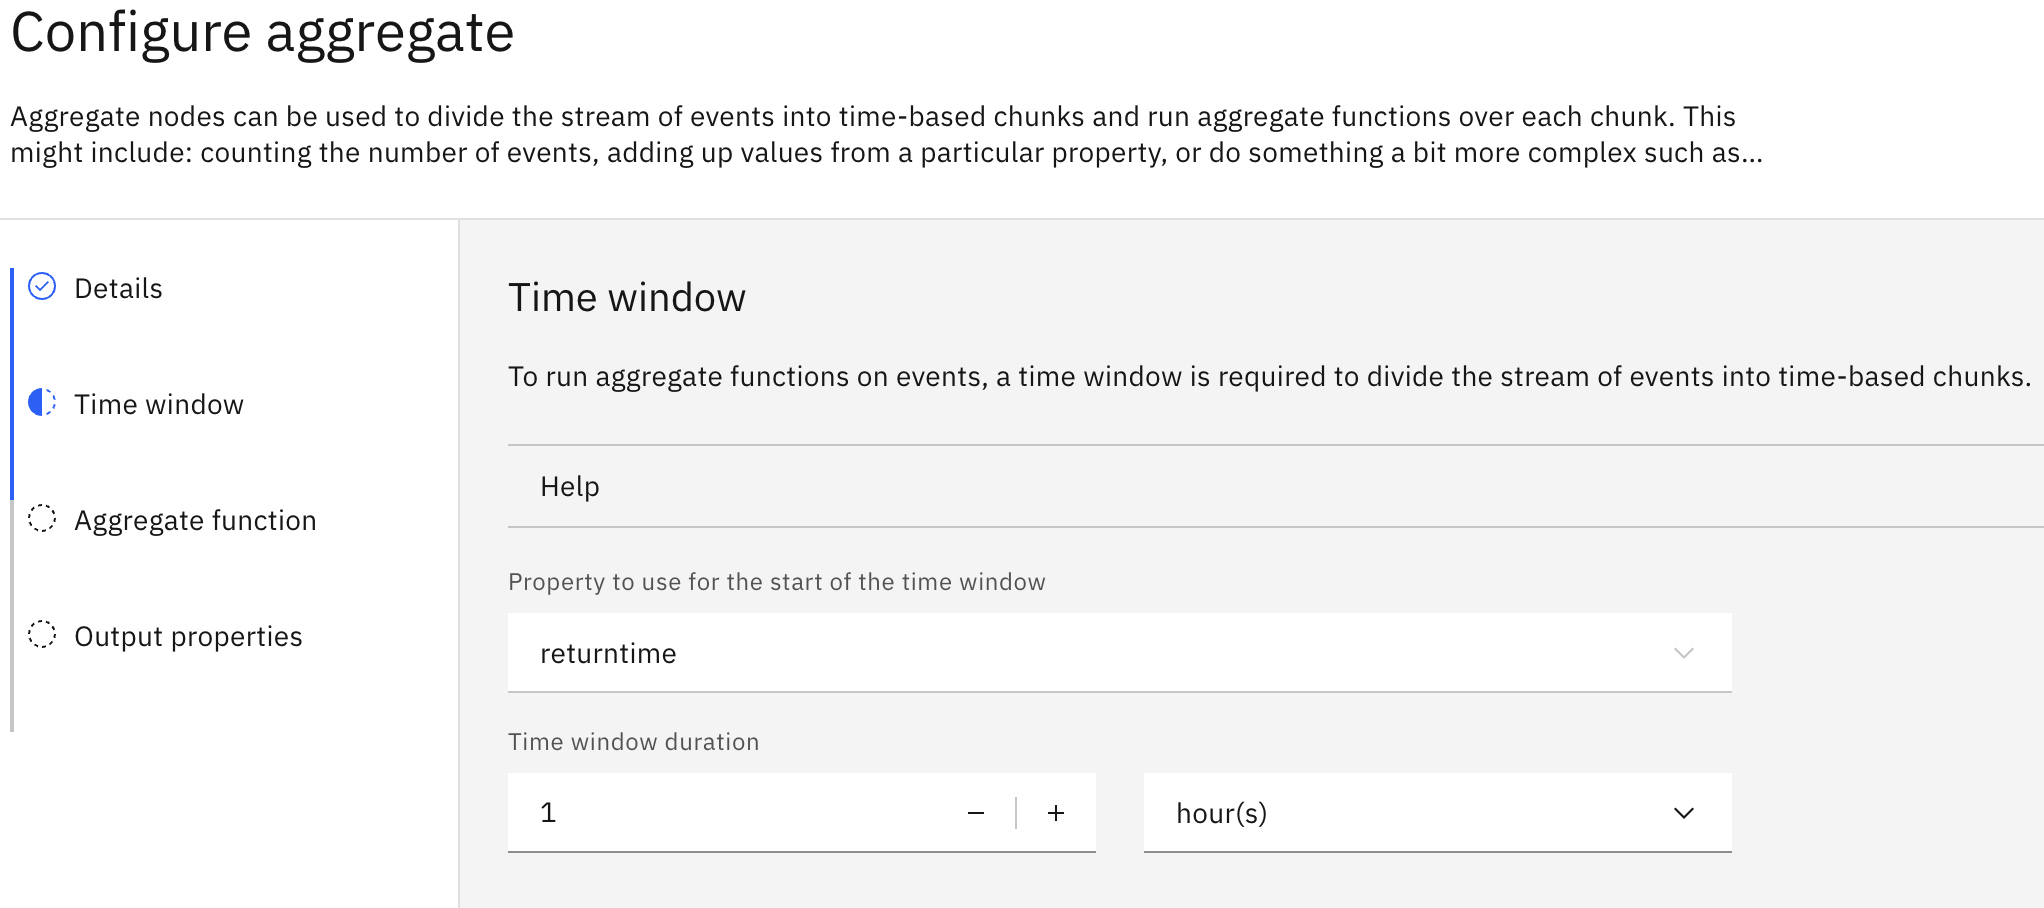
Use the Time window pane to define the time window duration, and click Next: 1 hour(s).
Note: If you have set up the tutorial environment more than 1 hour ago, you can increase the size of the time window. It allows you to have more events that are used to run the aggregate functions. Ensure to use the same time window for the
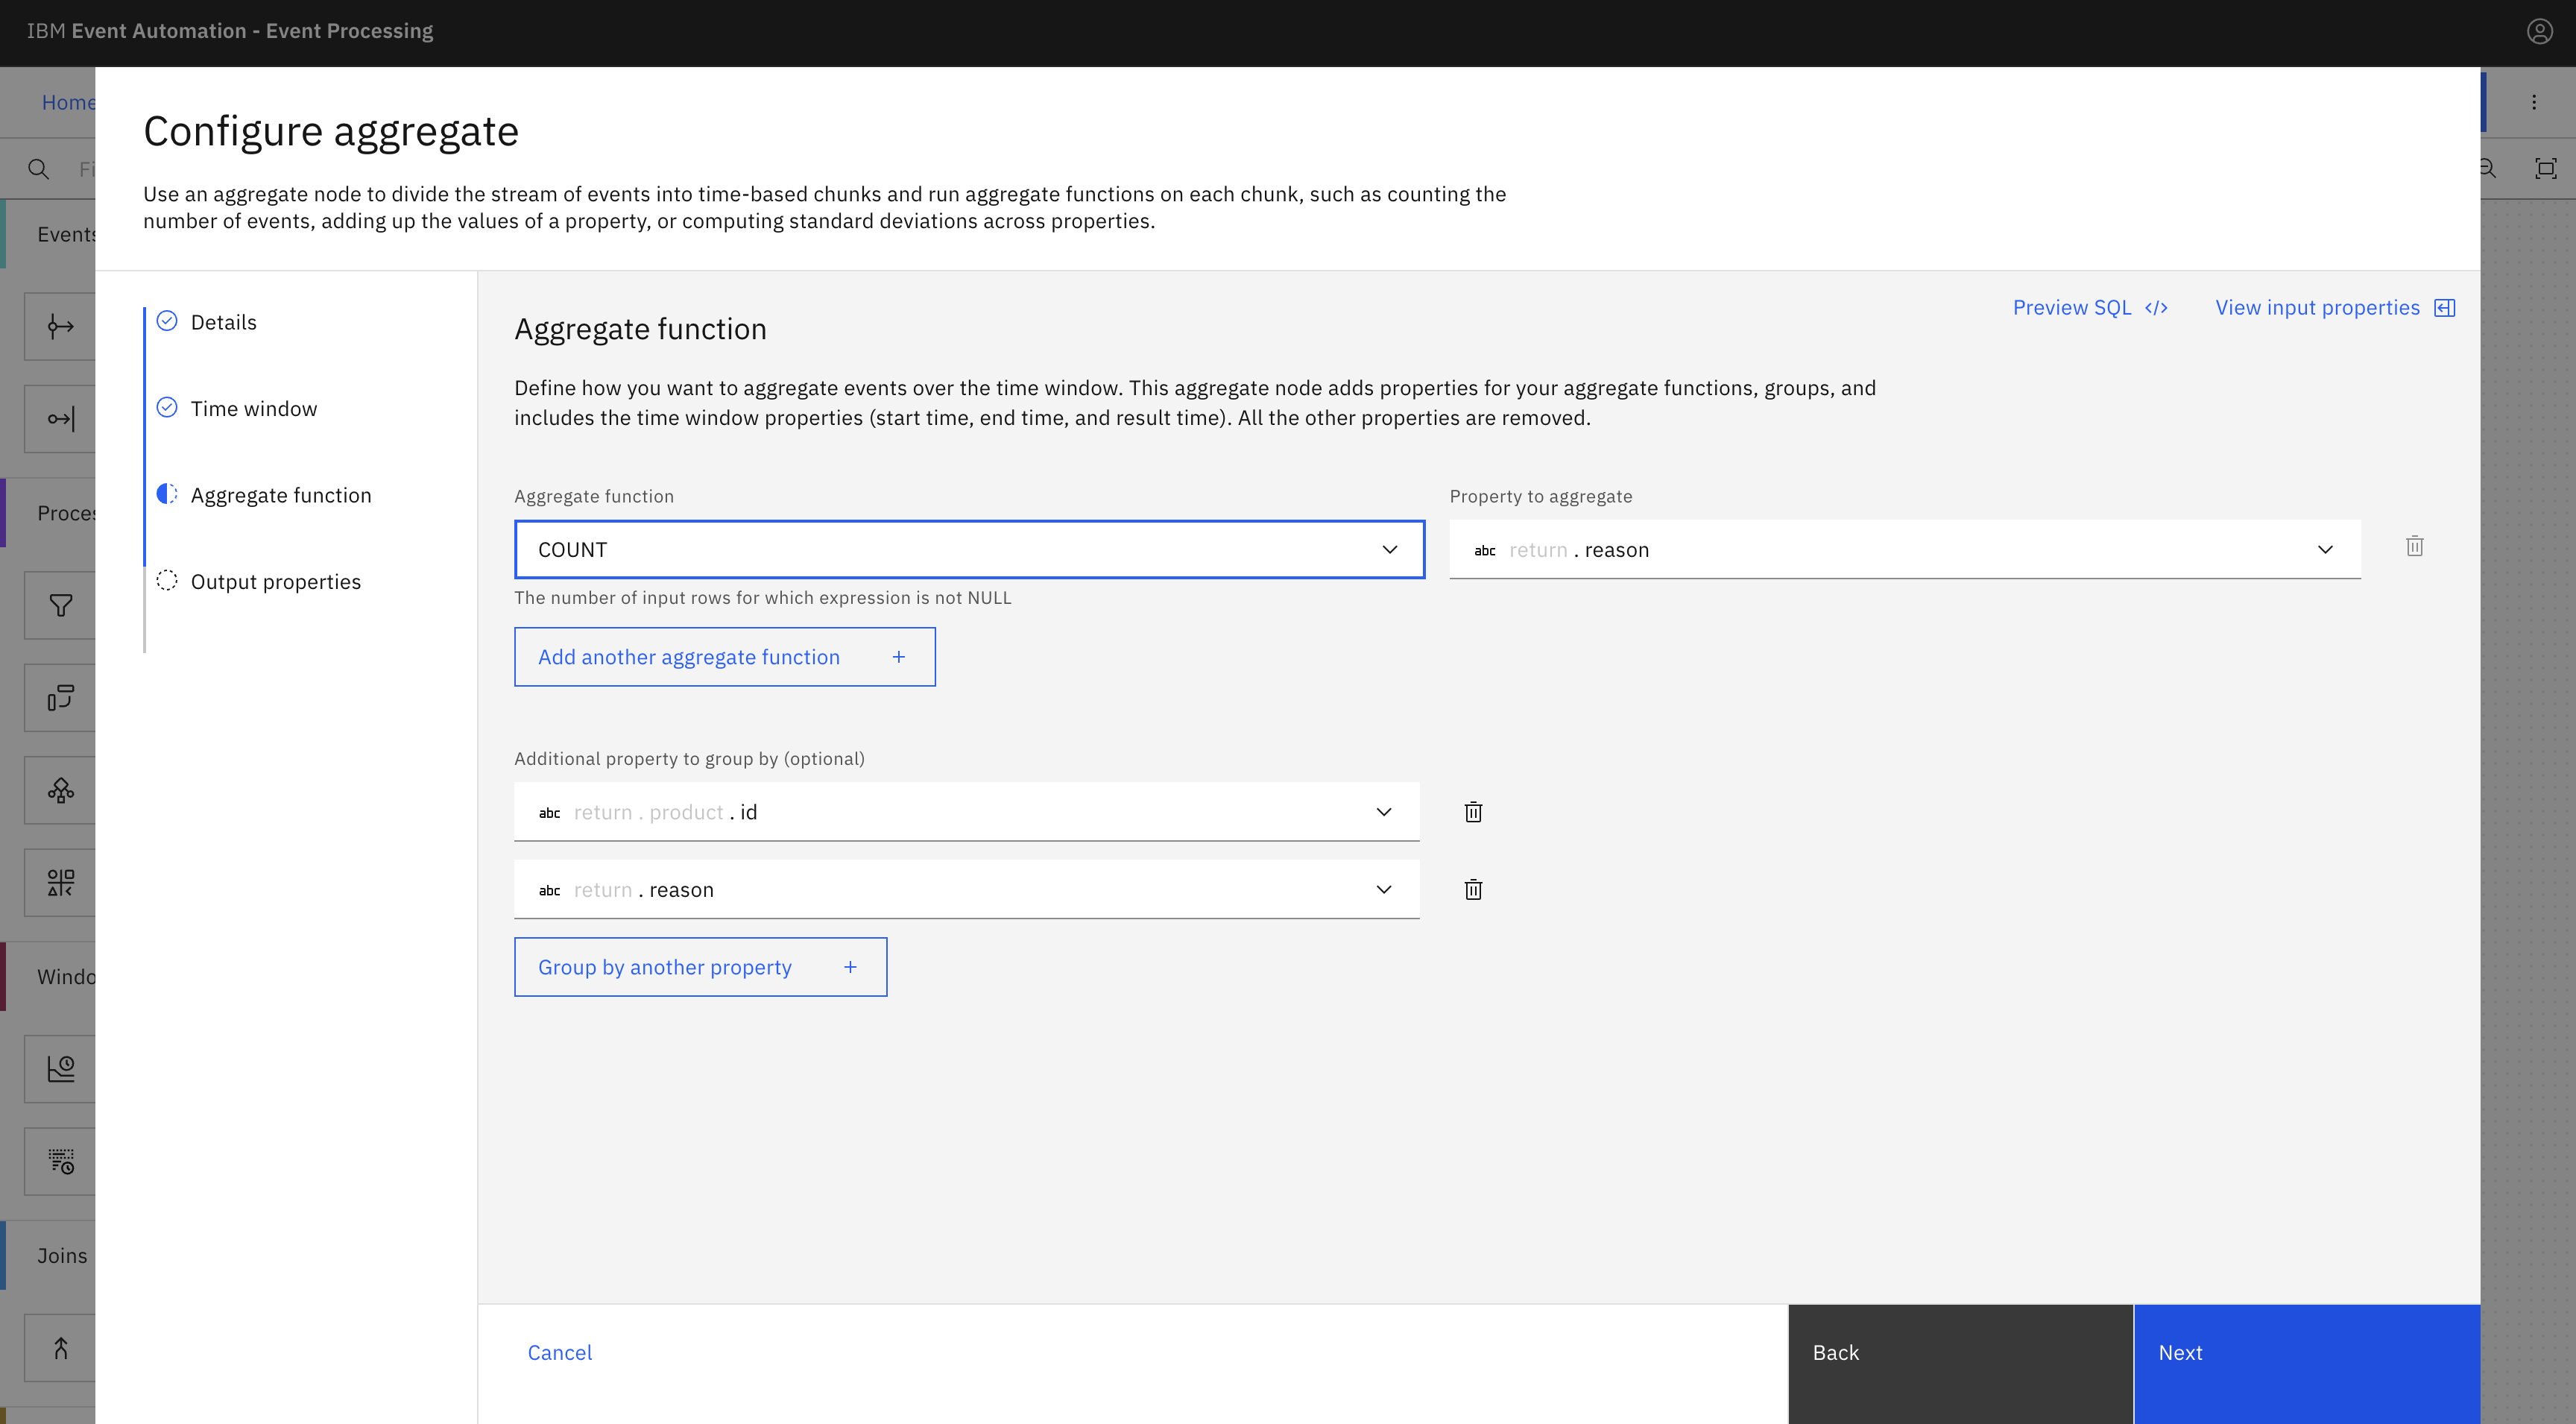
Identify review trends per productaggregate node that will be created later. - In the Aggregate function pane, select the options from the following fields:
- From the Aggregate function drop-down, select COUNT.
- From the Property to aggregate drop-down, select return/reason.
- From the Additional property to group by drop-down, select return/product/id, and then click Group by another property +, and select return/reason as additional property to group by.
- Click Next, and then click Configure to finalize the aggregate node configuration.
Step 7: Test the flow
The next step is to run your Event Processing flow and view the results.
Use the Run flow menu, and select Include historical to run the current flow on the history of Return requests events.
Verify that for a given time period, there is only one event per product ID and return reason.
Click Stop flow.
Step 8: Identify top return reason per product
In this step, add a top-n node to identify top reason for return of products.
To add a top-n node, complete the following steps:
For more information about how to create a top-n node, see Adding a top-n node.
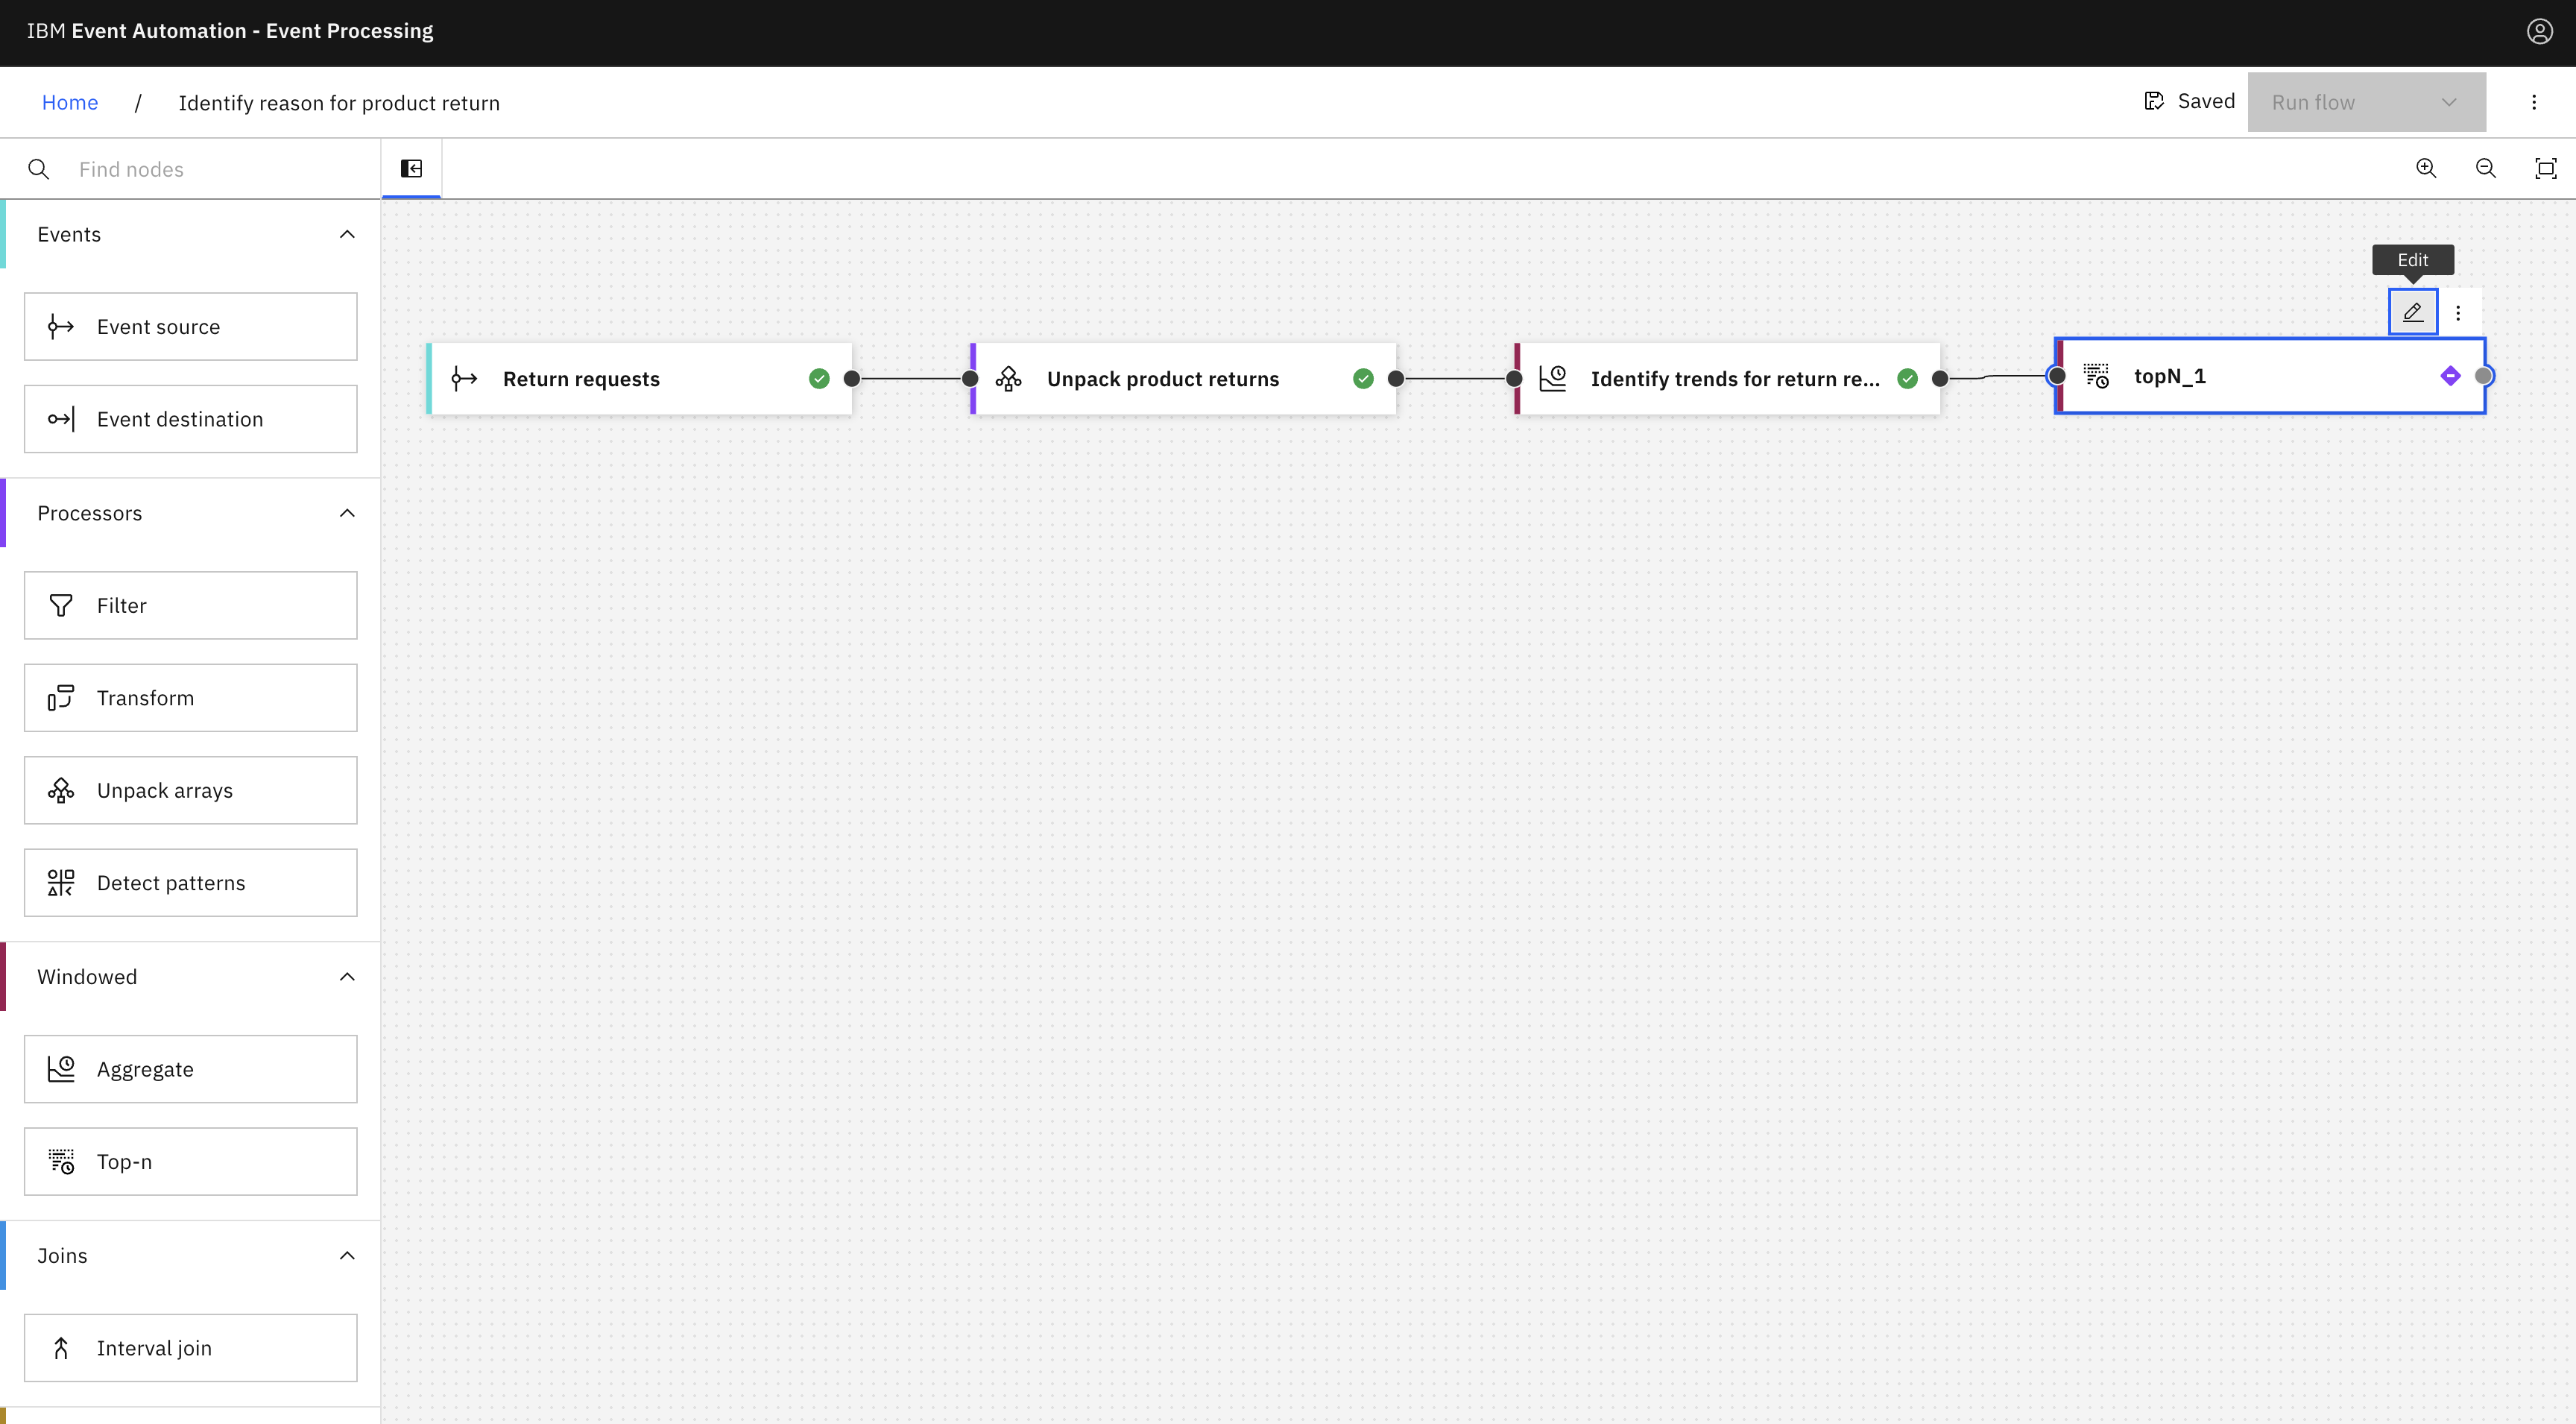
- Add a Top-n node and link the
Identify trends for return reasons per productaggregate node (the aggregate node that you created in step 6) to the top-n node. -
Hover over the top-n node, and click
Edit to configure the node.
-
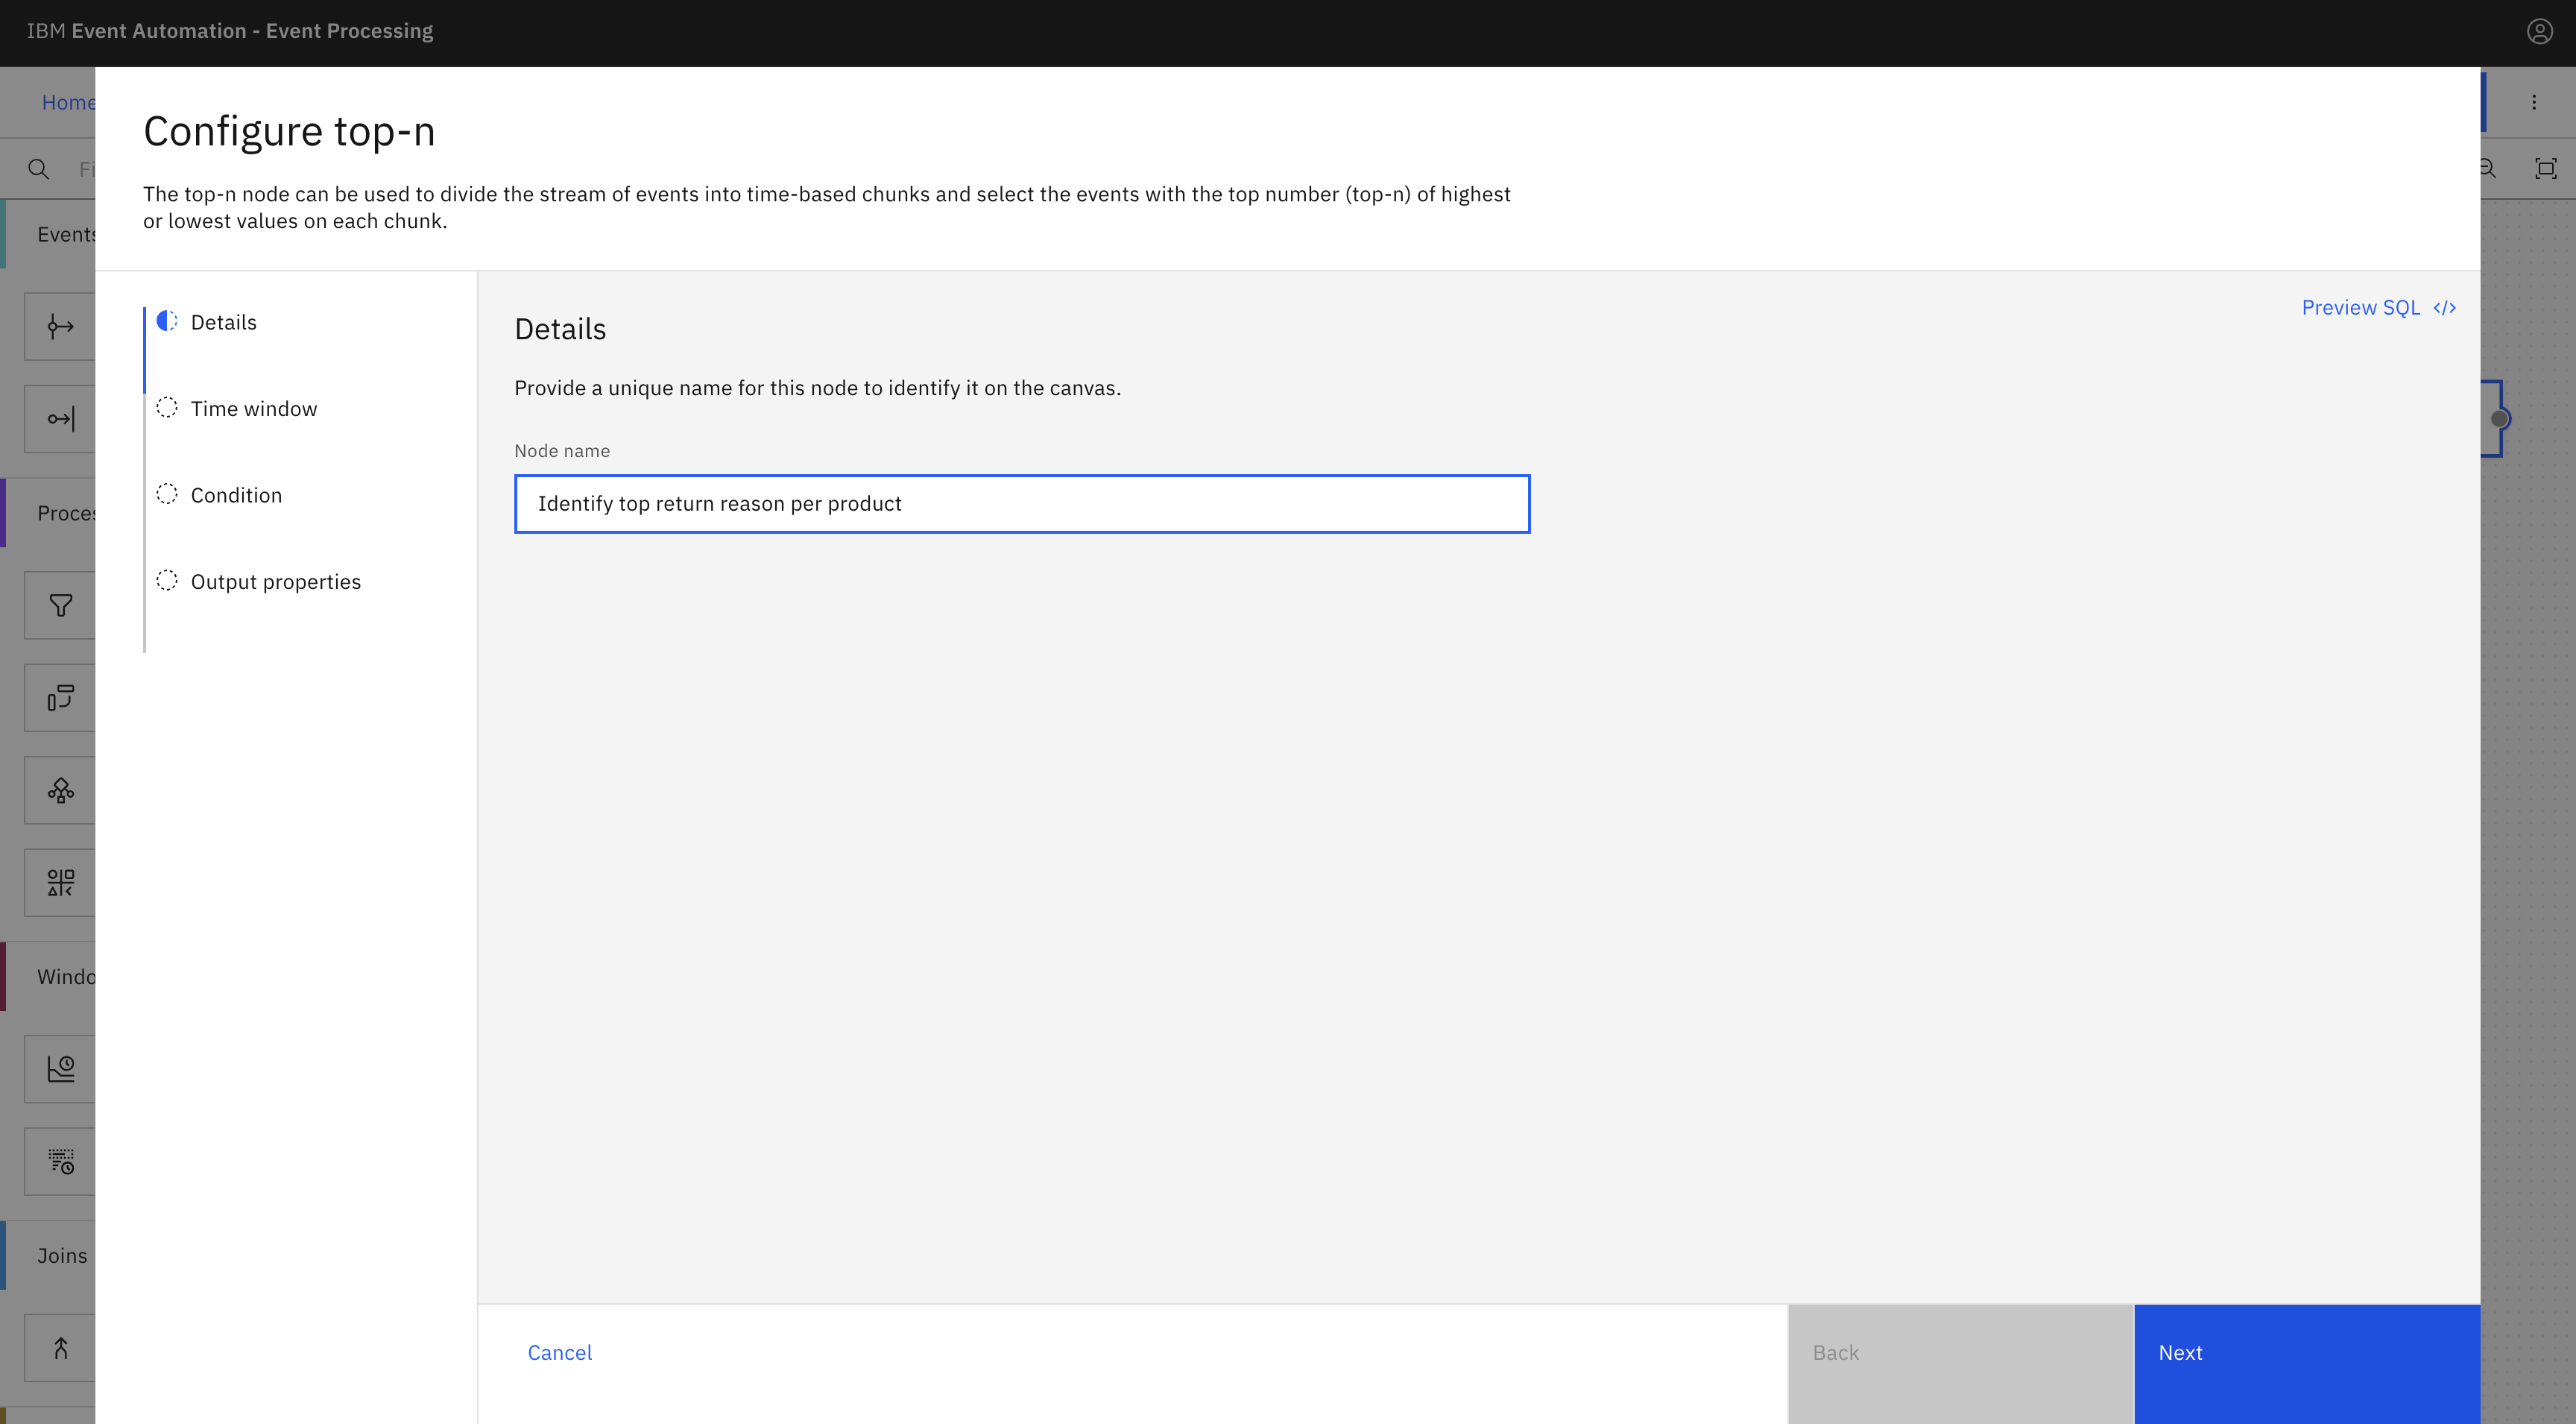
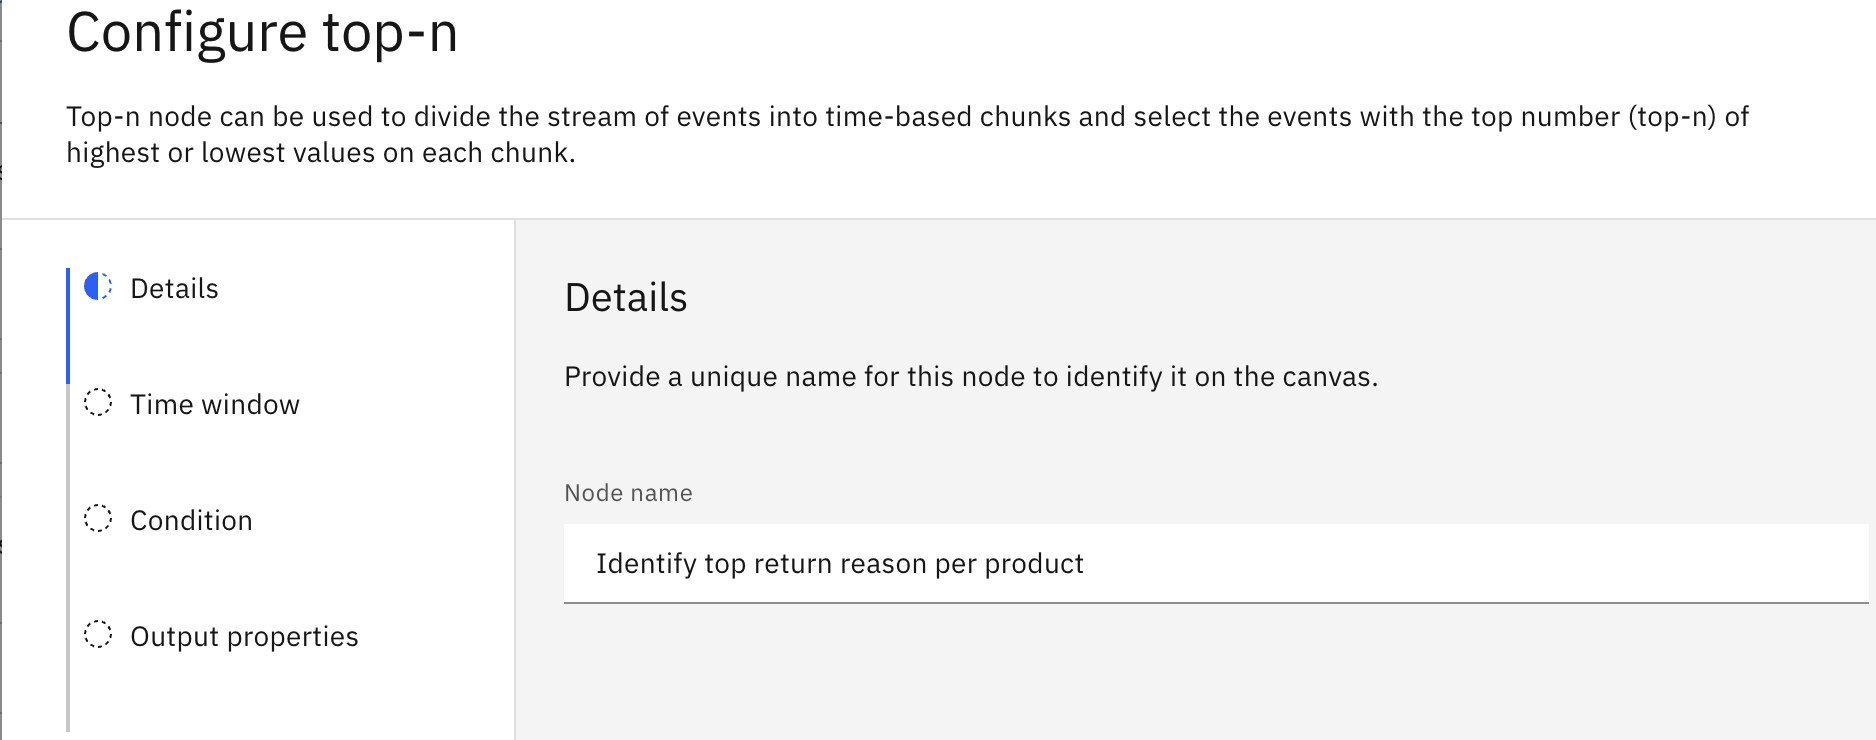
In the Node name field, enter the name of the top-n node as
Identify top return reason per product, and then click Next. -
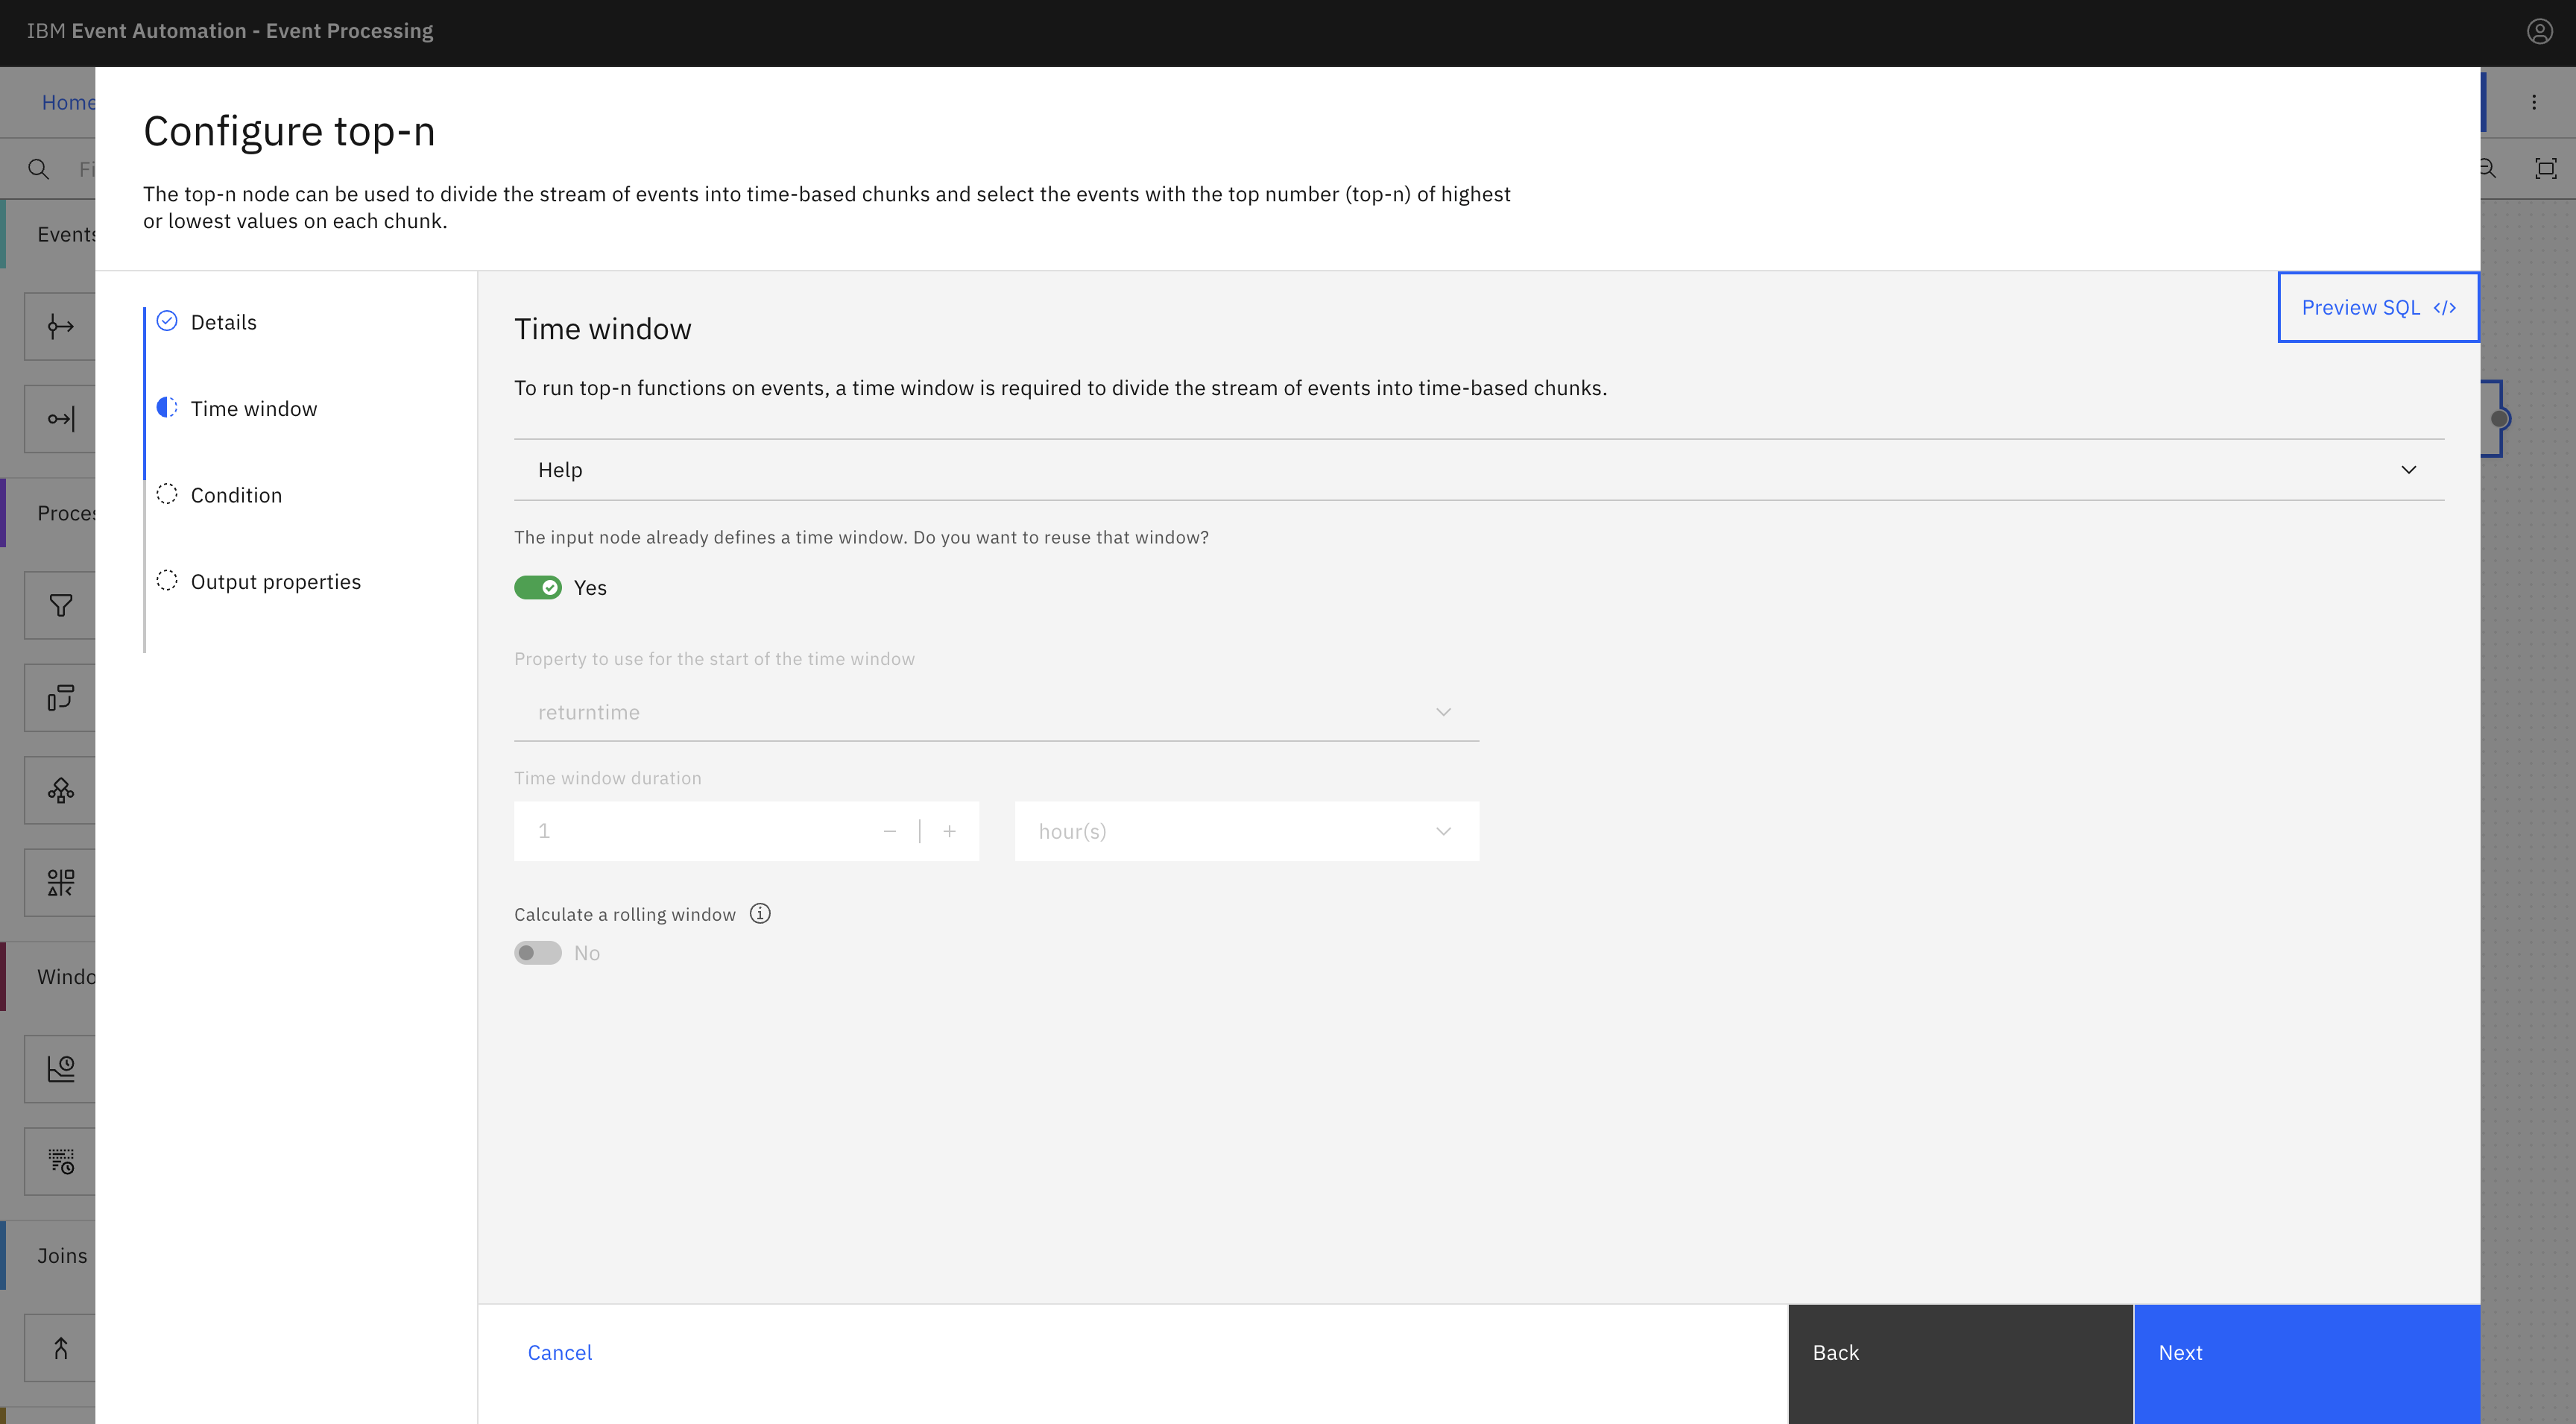
In the Time window pane, ensure that the reuse time window switch is set to Yes, and click Next.
Note: The duration for
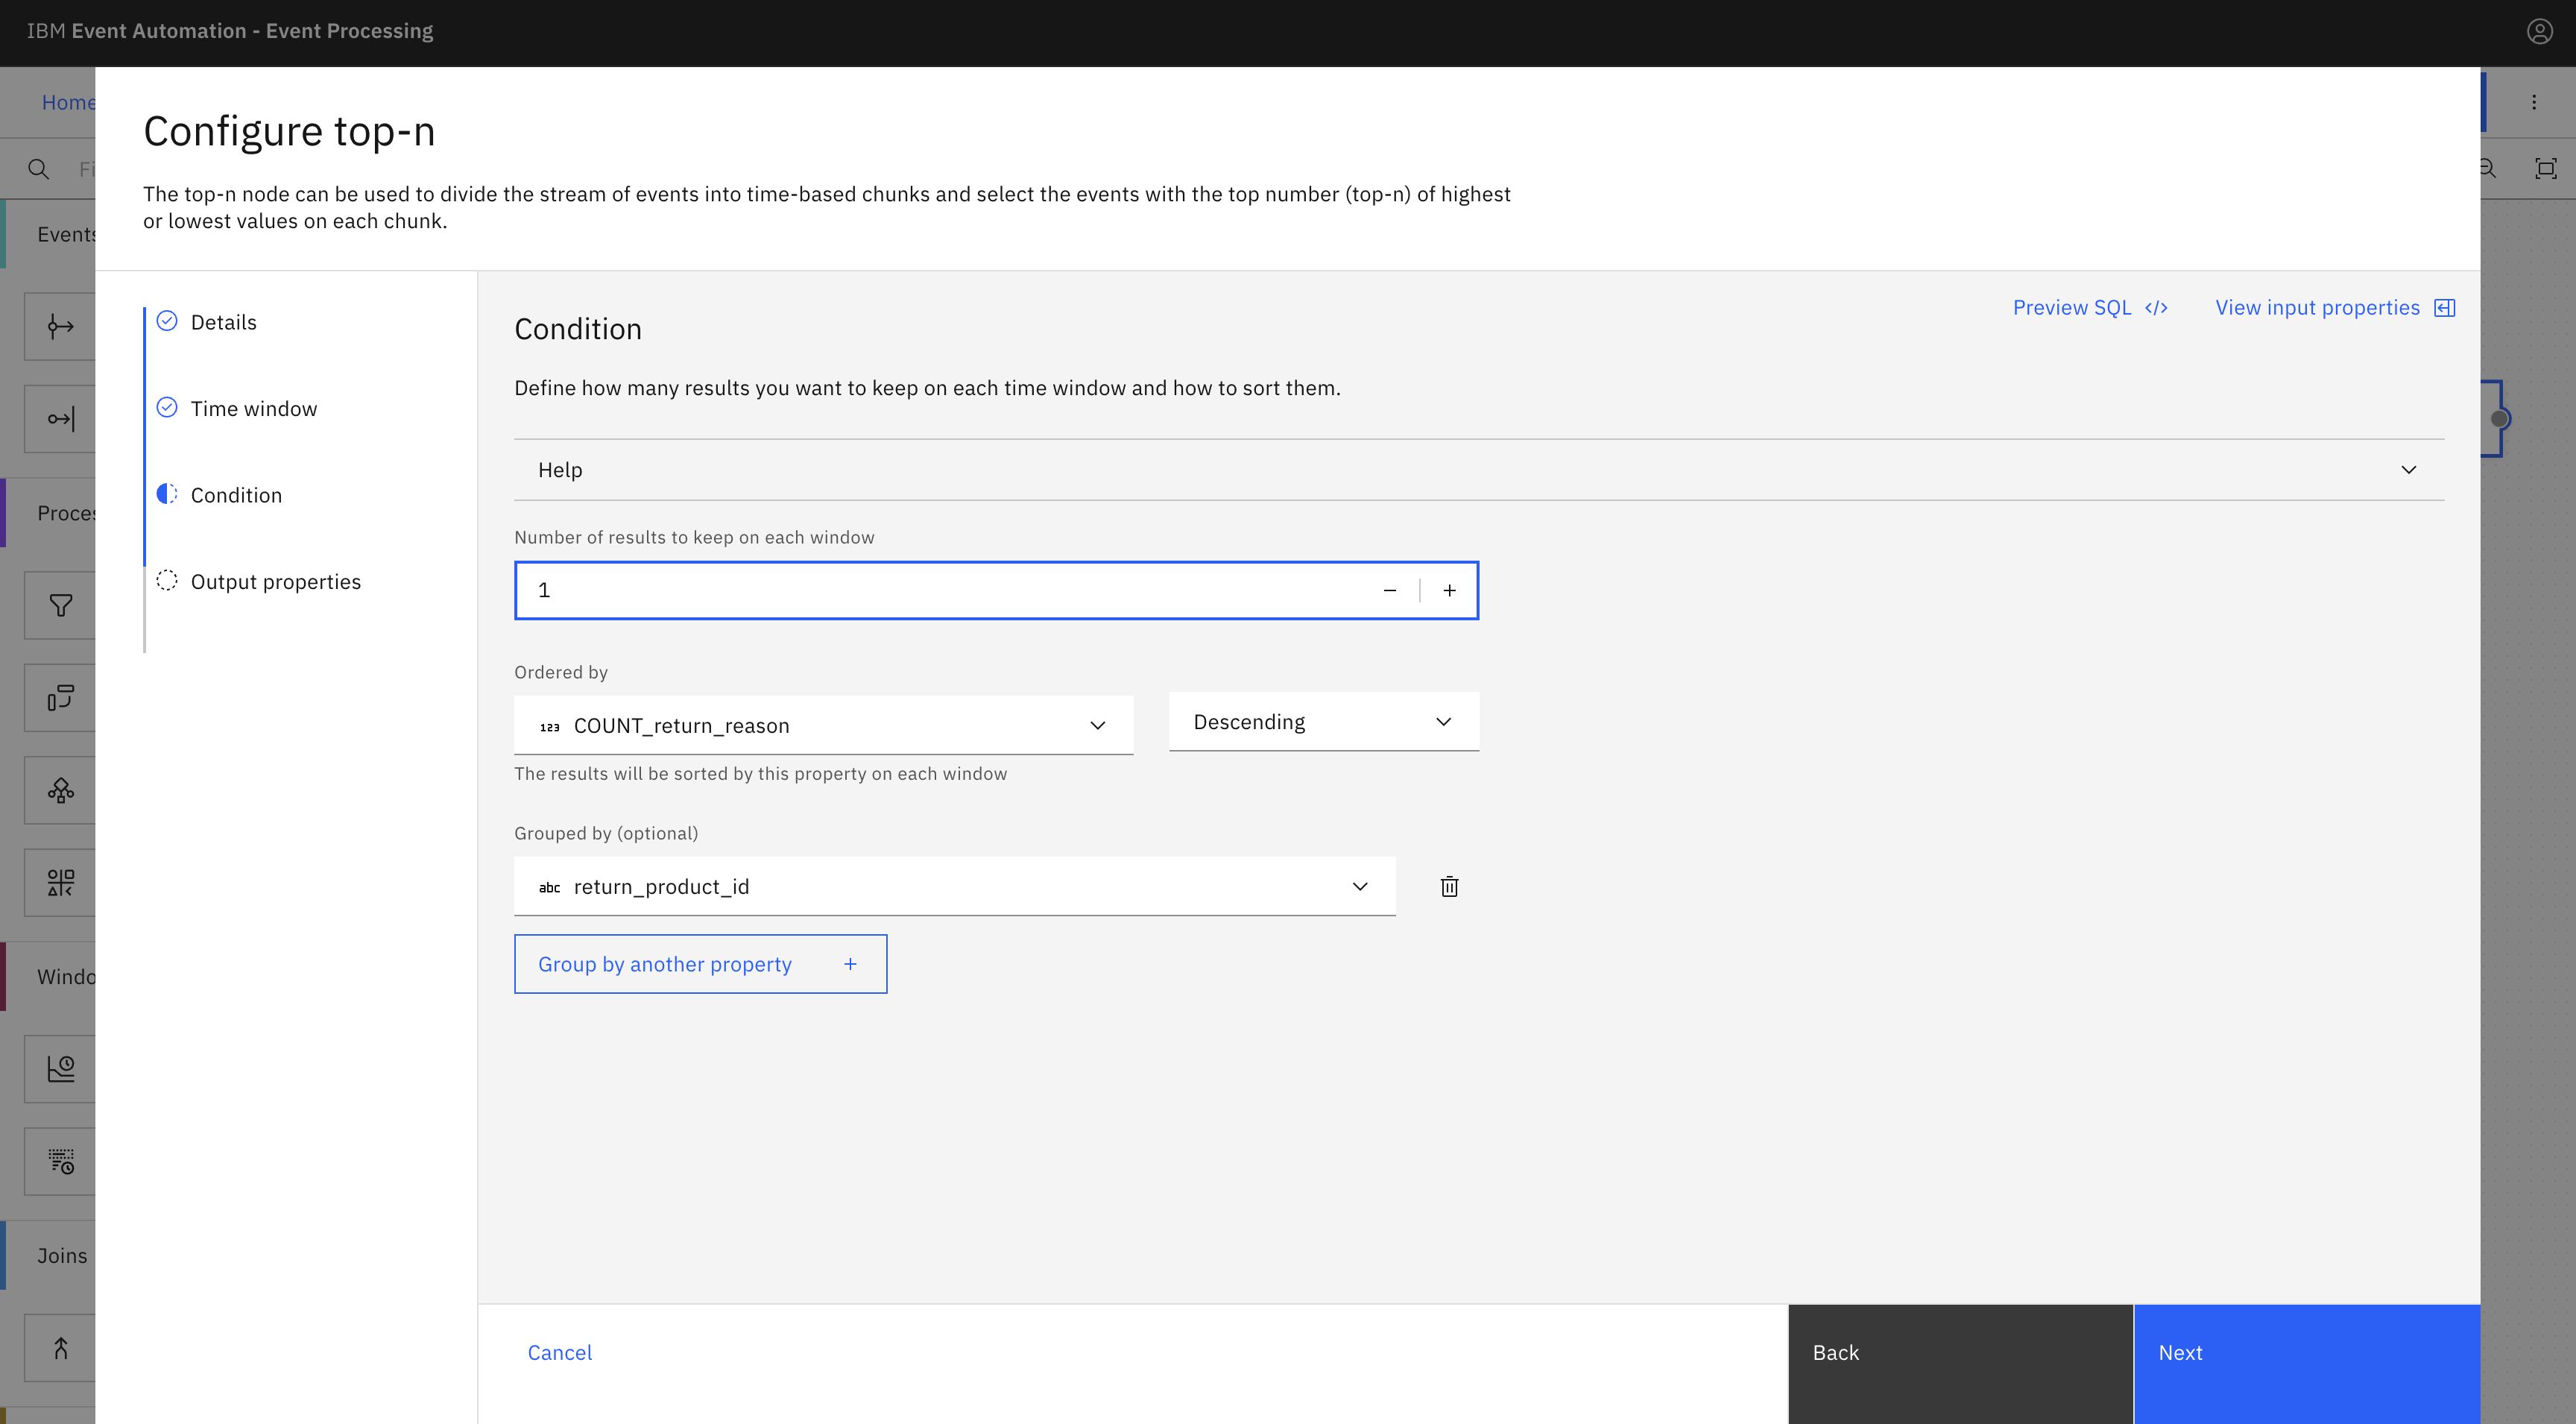
Identify top return reason per productnode is already defined under step 6 as 1 hour(s). - In the Condition pane, enter the values in the following fields, and then click Next:
- Number of results to keep on each window: 1
- Ordered by:
COUNT_return_reason, Descending - Grouped by:
return_product_id
- In the Output properties pane, you can choose the output properties that will be useful to return.
- Click Configure to finalize the top-n node configuration.
Step 9: Test the flow
The next step is to run your Event Processing flow and view the results.
Use the Run flow menu, and select Include historical to run the current flow on the history of Return requests events.
For a given time period, there is now only one event by product ID that contains the return reason that appears most often.
Click Stop flow.
Step 10: Add another source of events to the flow
The next step is to bring this additional stream of events that you discovered in the catalog into Event Processing.
To create an event source node, complete the following steps:
-
Create an event source node for the
Product reviews. -
Repeat steps 1-6 under step 3.
Note:
- Give the node a name that describes this stream of events:
Product reviews. - Generate different credentials for
Product reviewsnode because credentials are specific to a topic.
- Give the node a name that describes this stream of events:
-
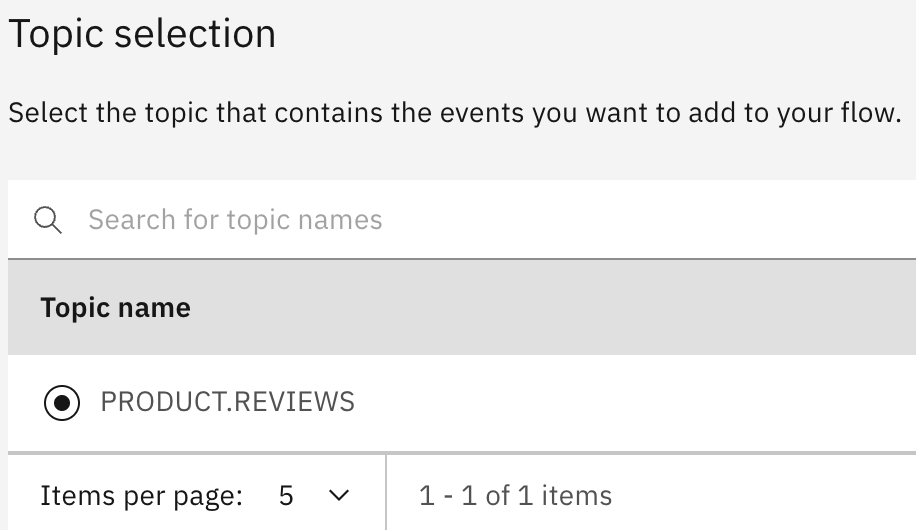
Select the
PRODUCT.REVIEWStopic to process events from, and click Next. -
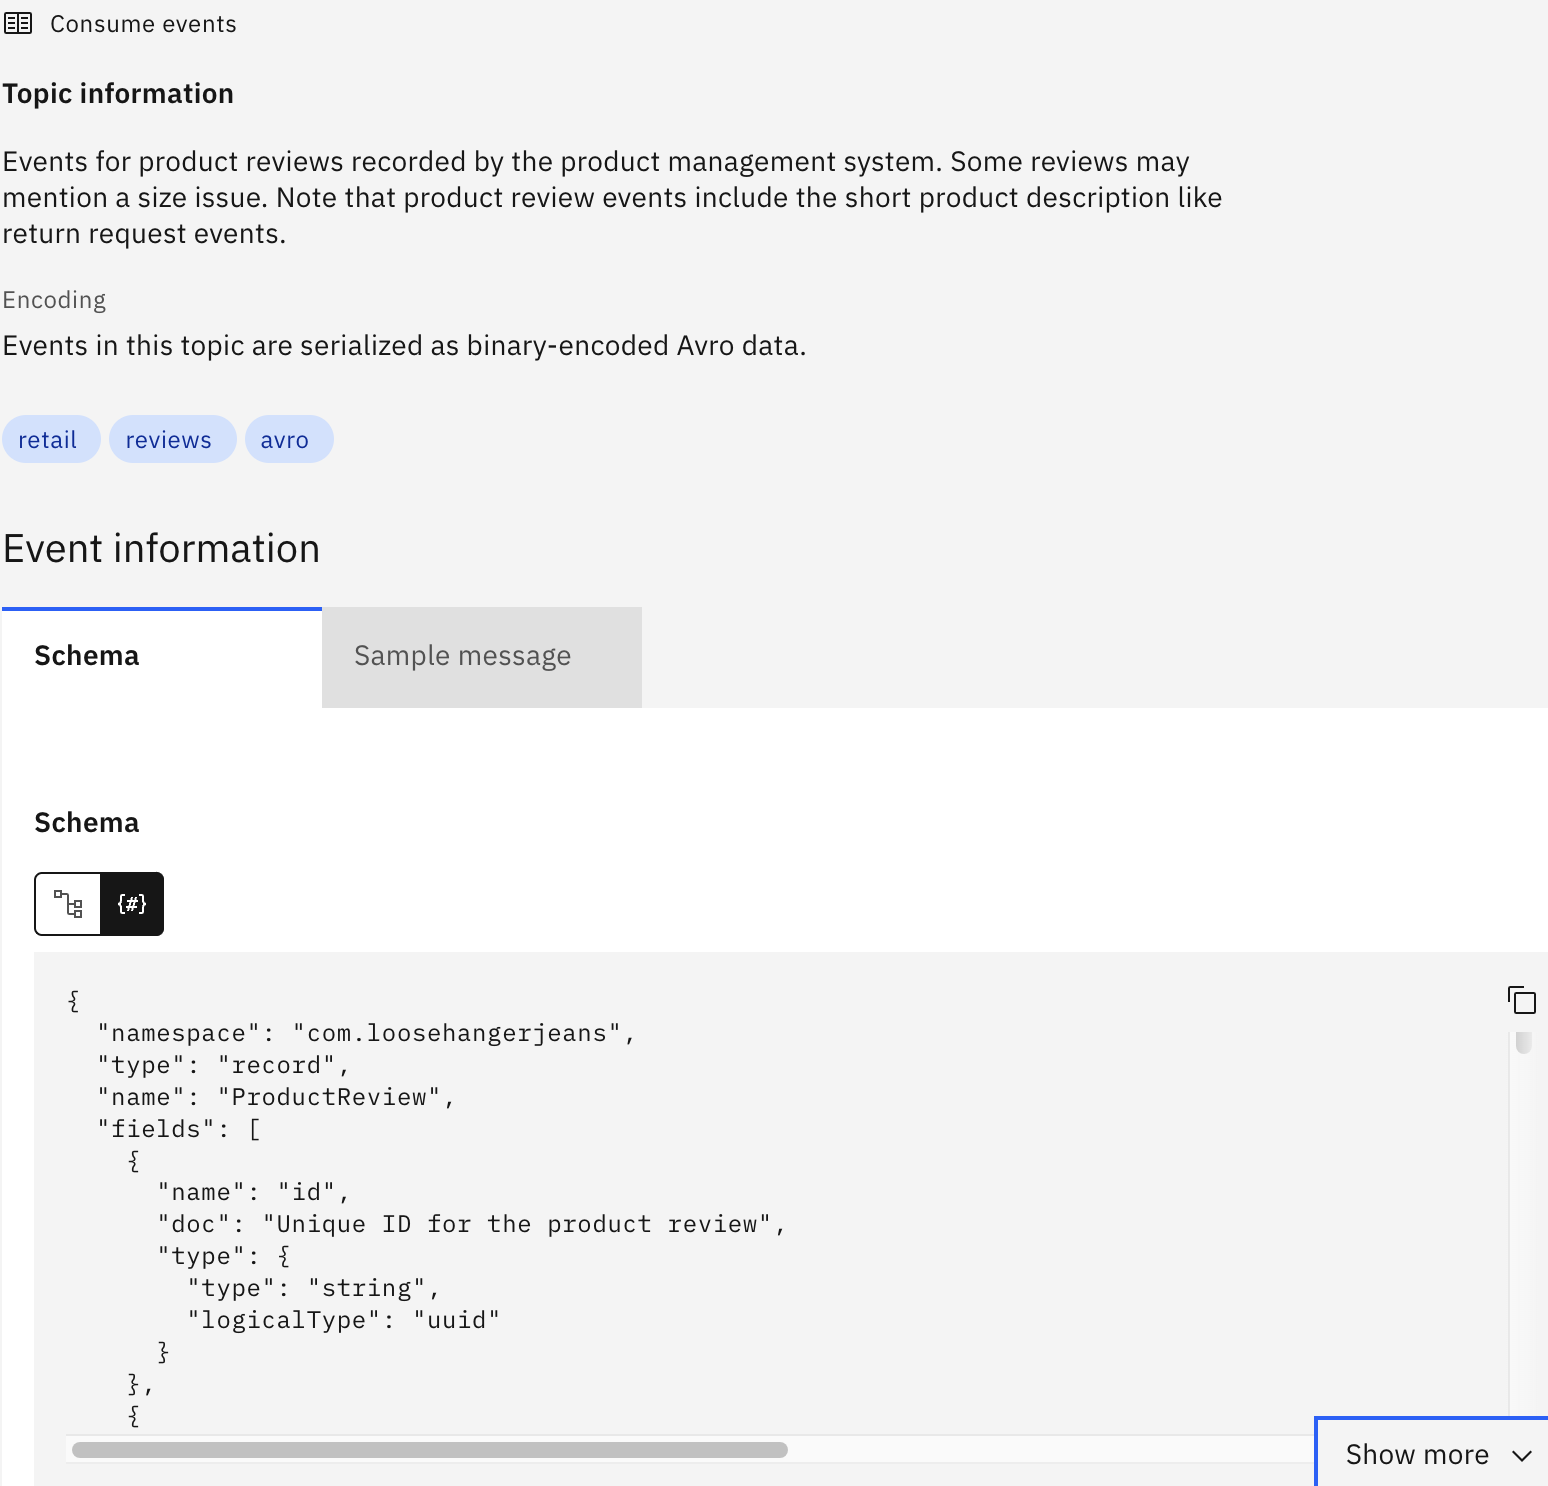
Get the schema for product reviews from Event Endpoint Management.
Click the Copy icon in the schema section to copy the schema to the clipboard.
You need to give Event Processing a description of the events available from the topic. The information in the schema enables Event Processing to give guidance for creating Event Processing nodes.
-
Repeat steps 9-12 under step 3.
Note:
- Change the type of the
reviewtimeproperty toTimestamp (with time zone). - The
reviewtimestring is converted to a timestamp to usereviewtimeas event time. Only properties with a timestamp type can be used as event time to perform time-based processing. - Configure the event source to use the
reviewtimeproperty as the source of the event time, and to tolerate lateness of up to 1 minute(s).
- Change the type of the
Step 11: Unpack the review characteristics into properties
In this step, add another unpack array node to unpack the product review characteristics such as size and length into properties.
To add another unpack array node, complete the following steps:
For more information about how to create an unpack array node, see unpack array node.
- Add an Unpack array node and link the
Product reviewsnode (the event source that you created in step 10) to the unpack array node. - Hover over the unpack array node, and click
Edit to configure the node.
-
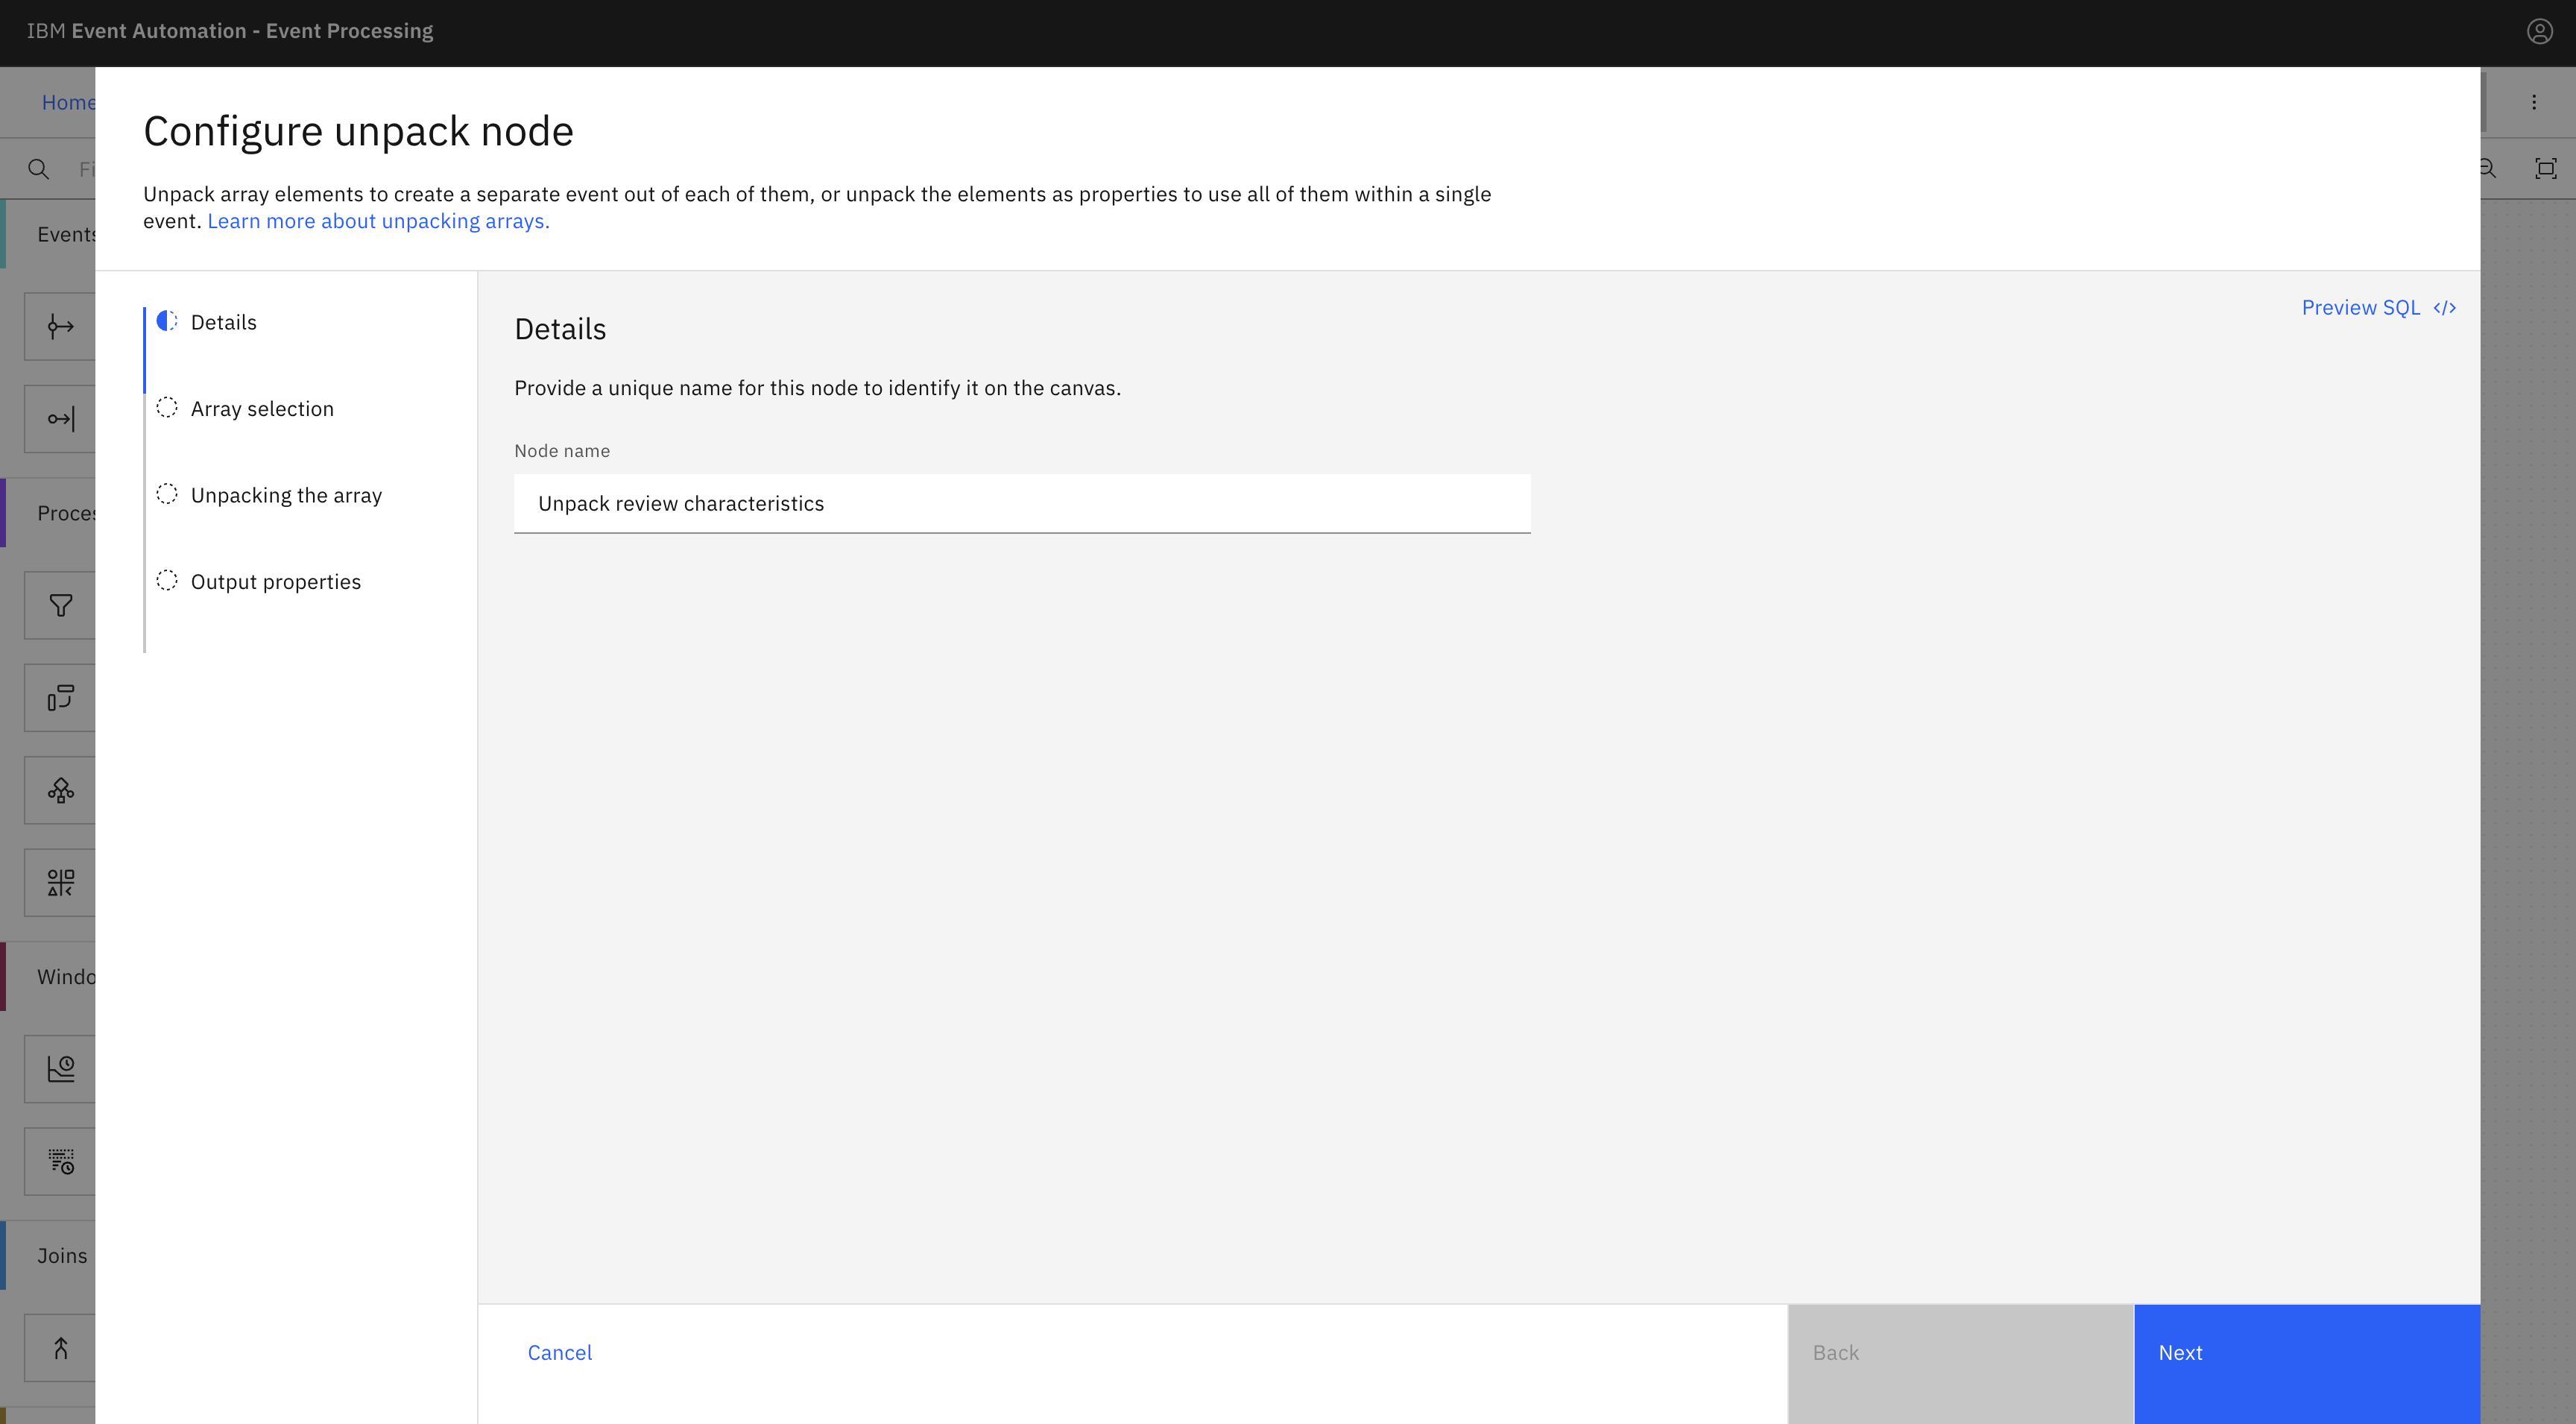
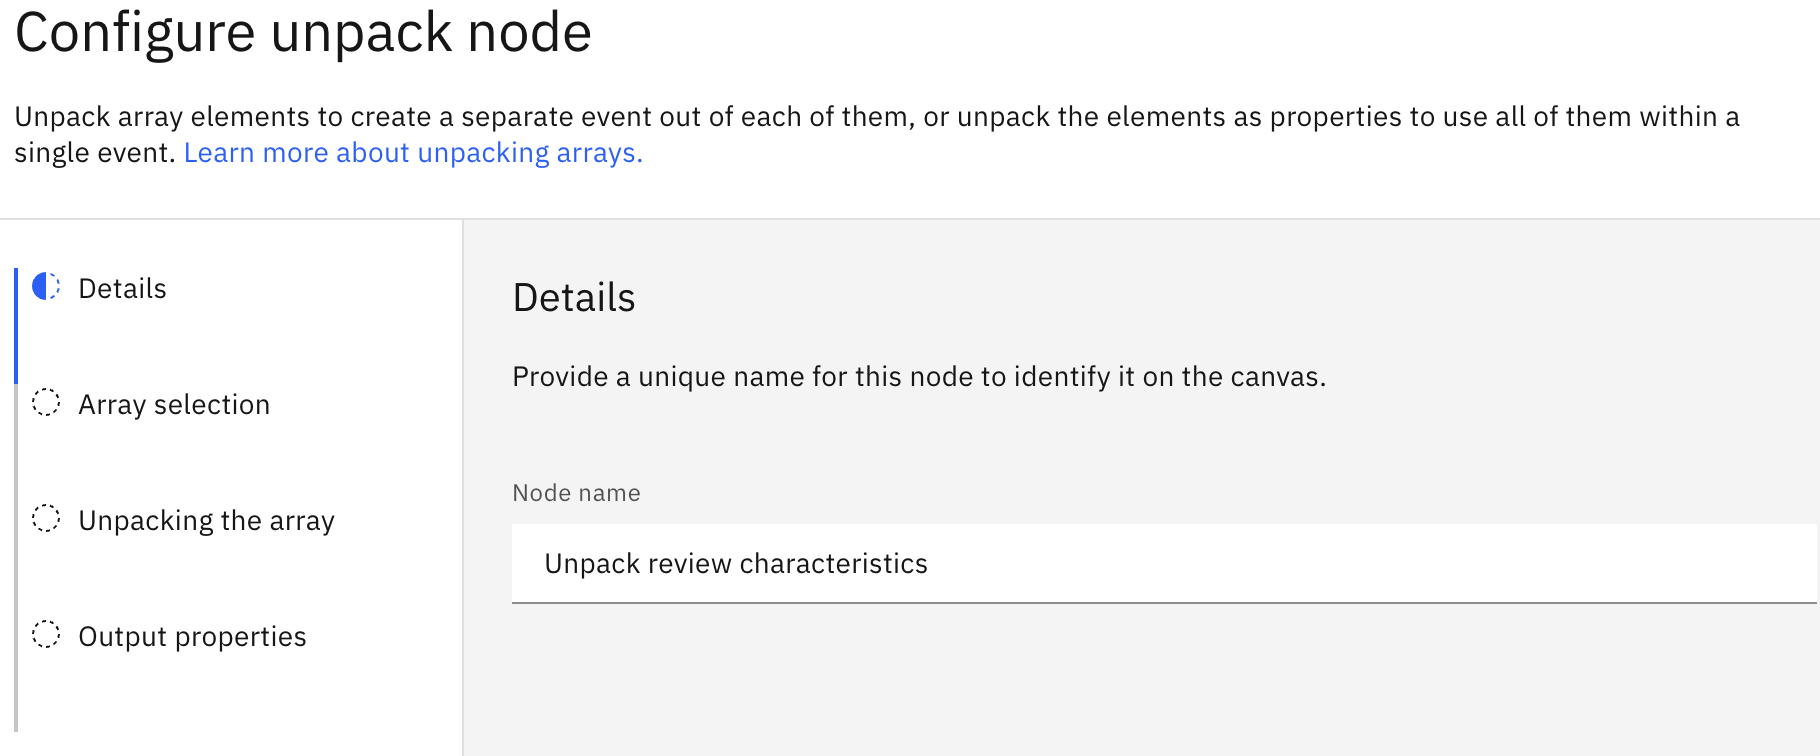
In the Node name field, enter the name of the unpack array node as
Unpack review characteristics, and then click Next. -
In the Array selection pane, select the review.characteristics[] array, and then click Next.
- In the Unpack into properties tab, click Add next element to add a second element.
-
Enter size and length as property names, and click Next.
Note: In the Output properties pane, you can see that each event has a size object and length object in the review object. There is no longer a characteristics array.
- Click Configure to finalize the unpack array node configuration.
Step 12: Identify review trends per product
In this step you need to add an aggregate node to identify the trends of the review of products.
To add another aggregate node, complete the following steps:
For more information about how to create an aggregate node, see step 6.
- Add an aggregate node and link the
Unpack review characteristicsunpack array node (the unpack array node that you created in step 11) to the aggregate node. -
Hover over the aggregate node, and click
Edit to configure the node.
-
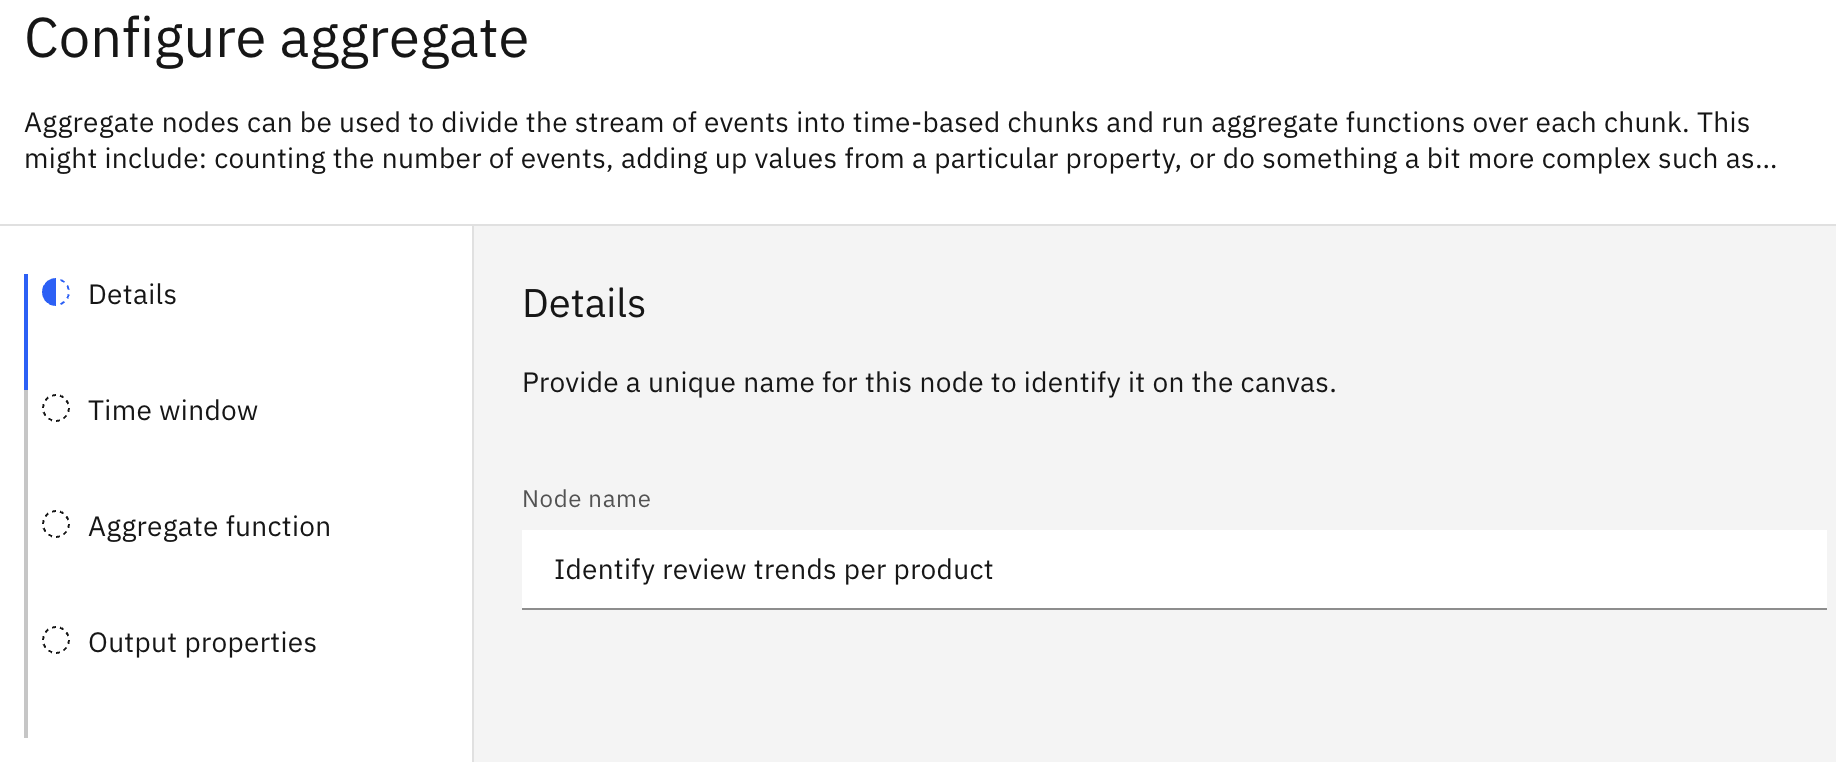
In the Node name field, enter the name of the aggregate node as
Identify review trends per product, and then click Next. -
Enter the same time window as defined under step 6, and then click Next: 1 hour(s).
Note: If you have set up the tutorial environment more than 1 hour ago, you can increase the size of the time window. It allows you to have more events that are used to run the aggregate functions. But ensure that you enter the same time window in the two aggregate nodes (the one for product returns and the one for product reviews).
- From the Aggregate function drop-down, select AVG, and then from the Property to aggregate drop-down, select the review/rating options.
- Click Add another aggregate function +.
- From the Aggregate function drop-down, select AVG, and then from the Property to aggregate drop-down, select the review/size/ranking options.
- Again click Add another aggregate function +.
- From the Aggregate function drop-down, select AVG, and then from the Property to aggregate drop-down, select the review/length/ranking options.
-
From the Additional property to group by drop-down, select product.
- Click Next, and then click Configure to finalize the node configuration.
Step 13: Consolidate information per product
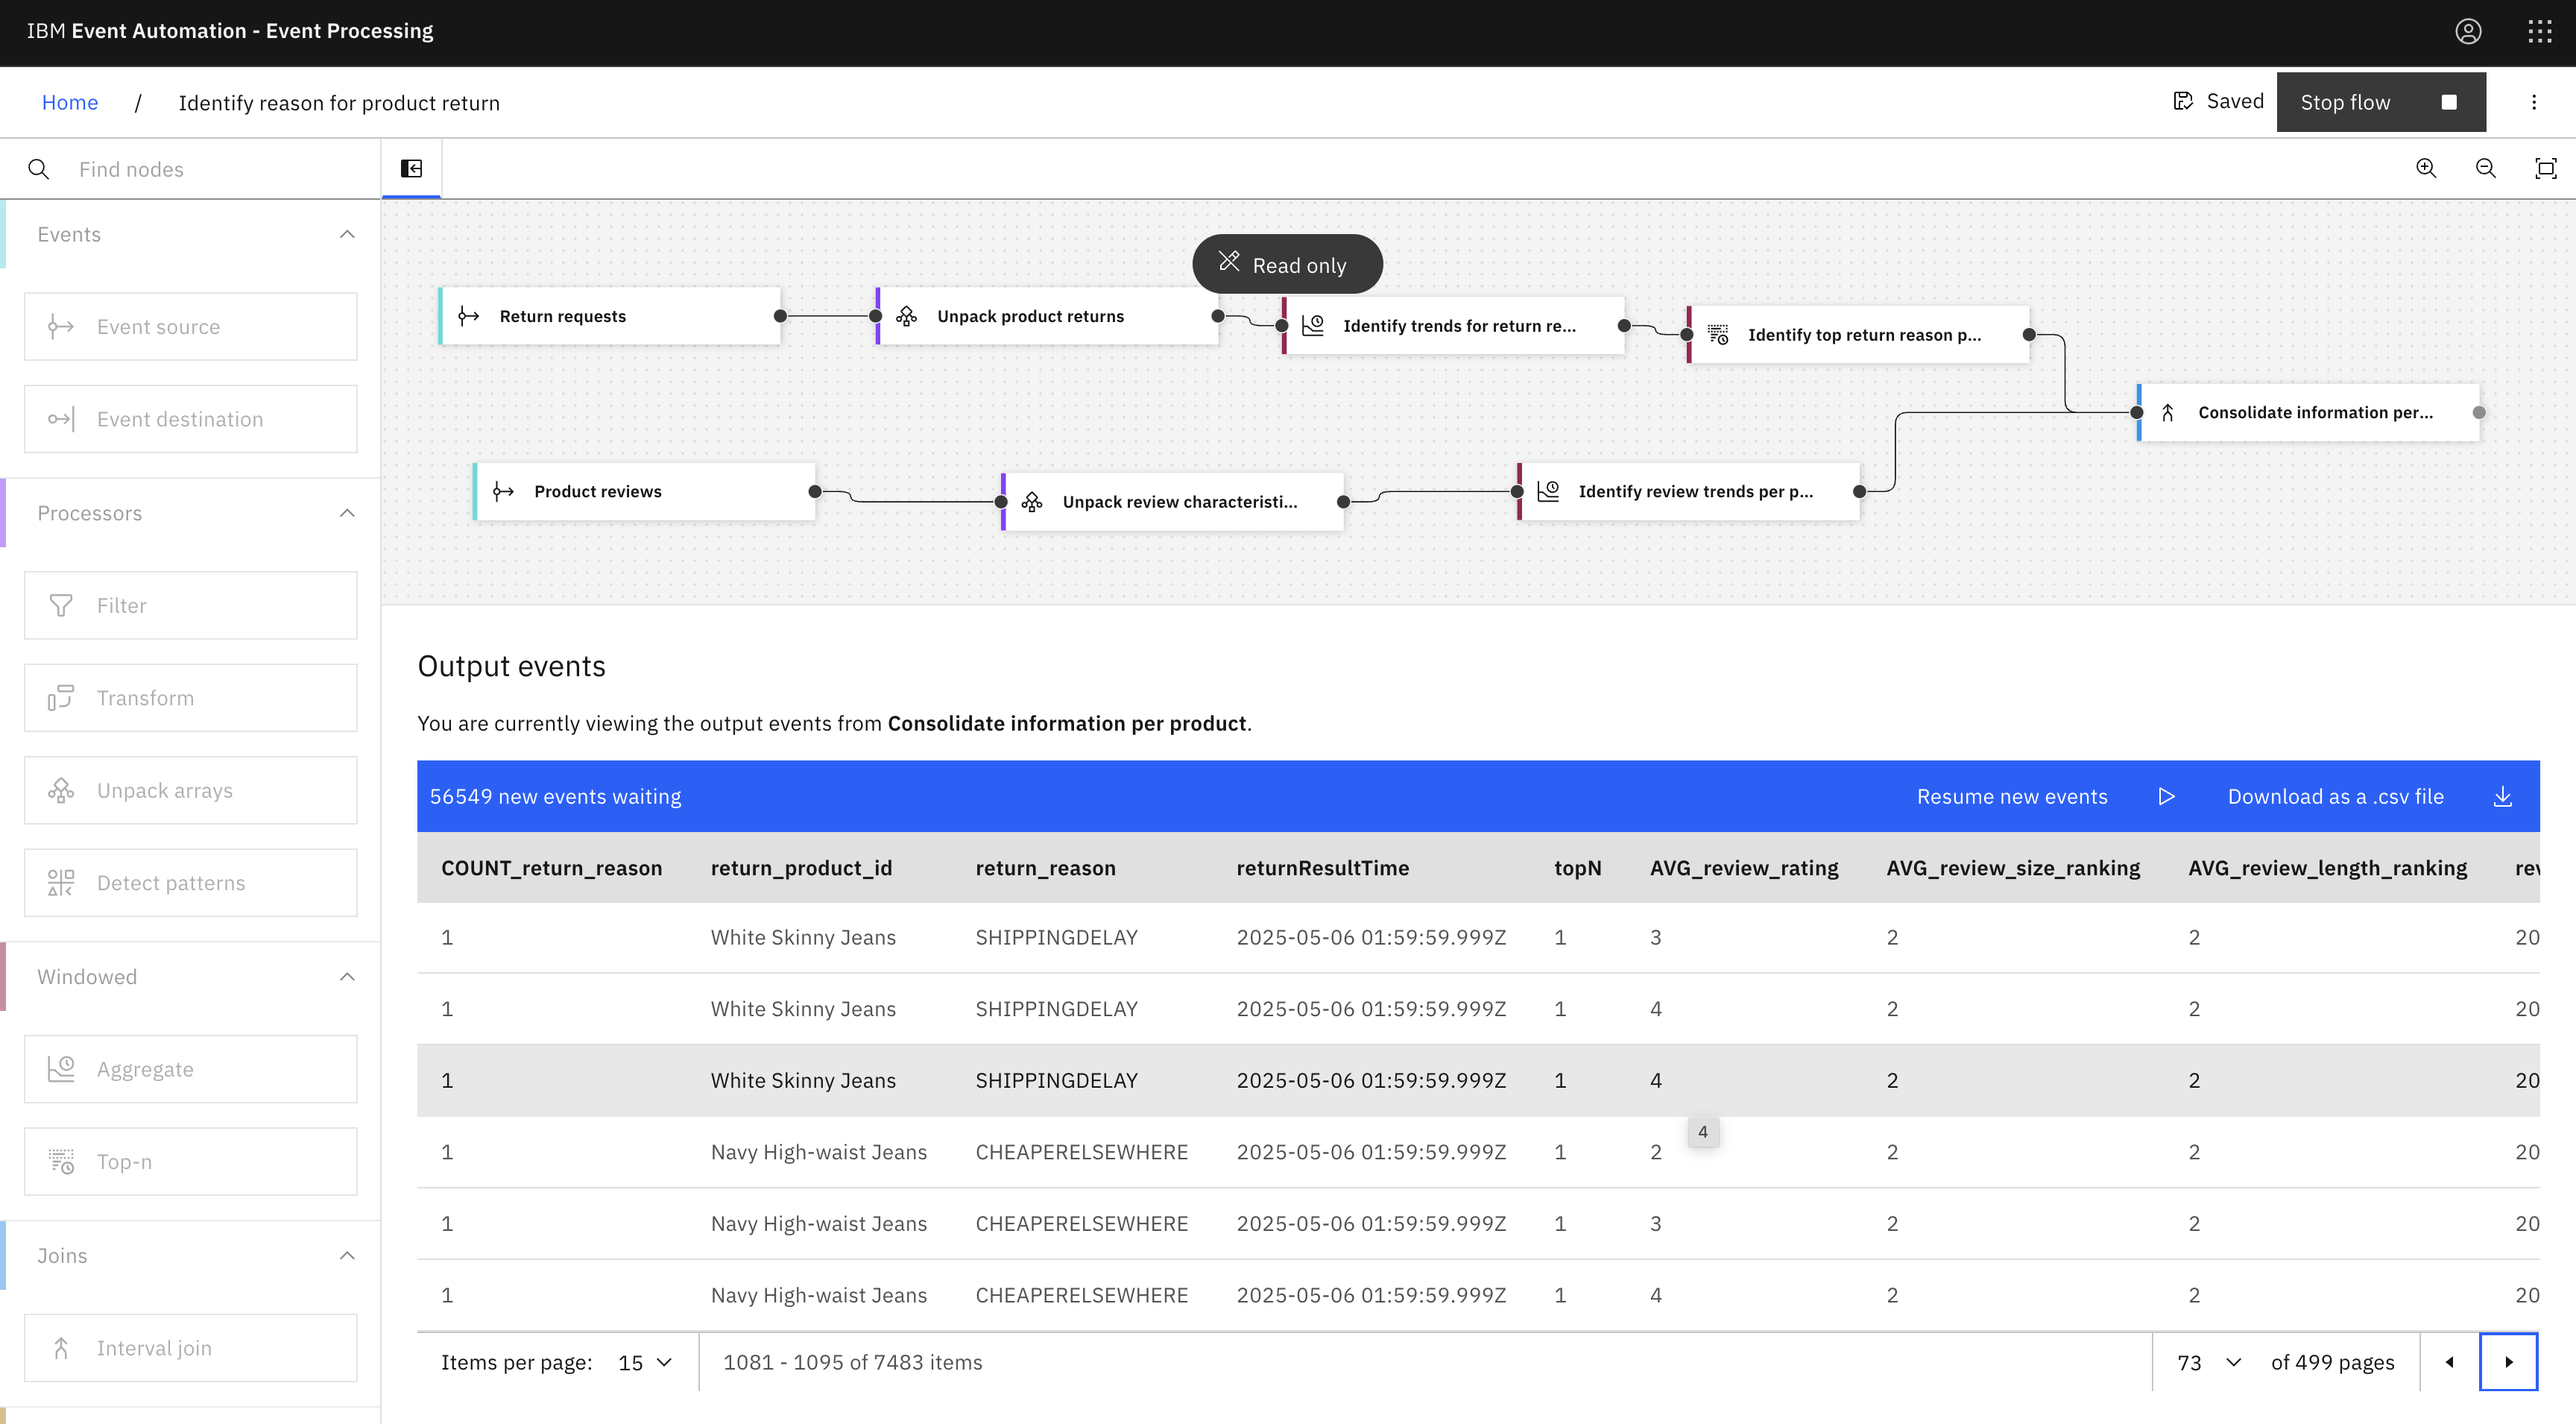
The next step is to define an interval join node to merge the two event streams to identify review trends (that is average rating, average size ranking, and average length ranking), if any, that might be related to a given top return reason for a product within a given time period.
To add an interval join node, complete the following steps:
For more information about how to add an interval join node, see Adding an interval join node.
- Add an Interval join node and link the
Identify top return reason per productandIdentify review trends per productnodes to the interval join node. -
Hover over the interval join node, and click
Edit to configure the node.
-
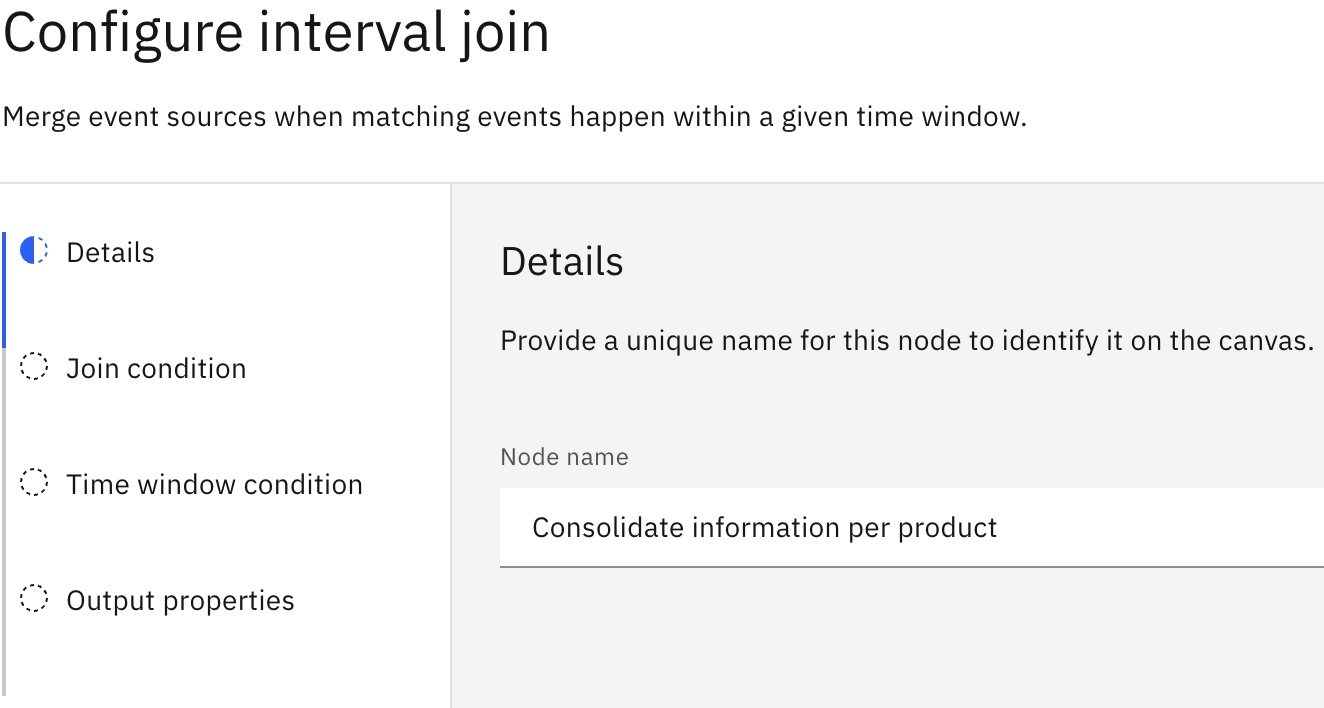
In the Node name field, enter the name of the interval join node as
Consolidate information per product, and then click Next. -
In the Join condition pane, enter the following join condition in the Define events field:
`Identify top return reason per product`.`return_product_id` = `Identify review trends per product`.`product`Then click Next to go to the Time window condition section.
- To identify review trends that might be related to a given top return reason for a product, in the Event to detect drop-down, select
Identify review trends per product (aggregateResultTime). - Provide inputs in the following fields, and click Next:
- From the Event to set the time window drop-down, select Identify top return reason per product (aggregateResultTime).
- In the Offset from event to start the time window field, enter -7 and days(s) options.
- In the Offset from event to end the time window field, enter 1.
Note: These settings allows to detect the review trend events that occur within 7 days before and 1 day after a top return reason event for a given product.
-
In the Matching criteria section, keep the default selection to use an inner join to merge the review trend events and the top return reason events for a given product that match the join condition, and then click Next.
-
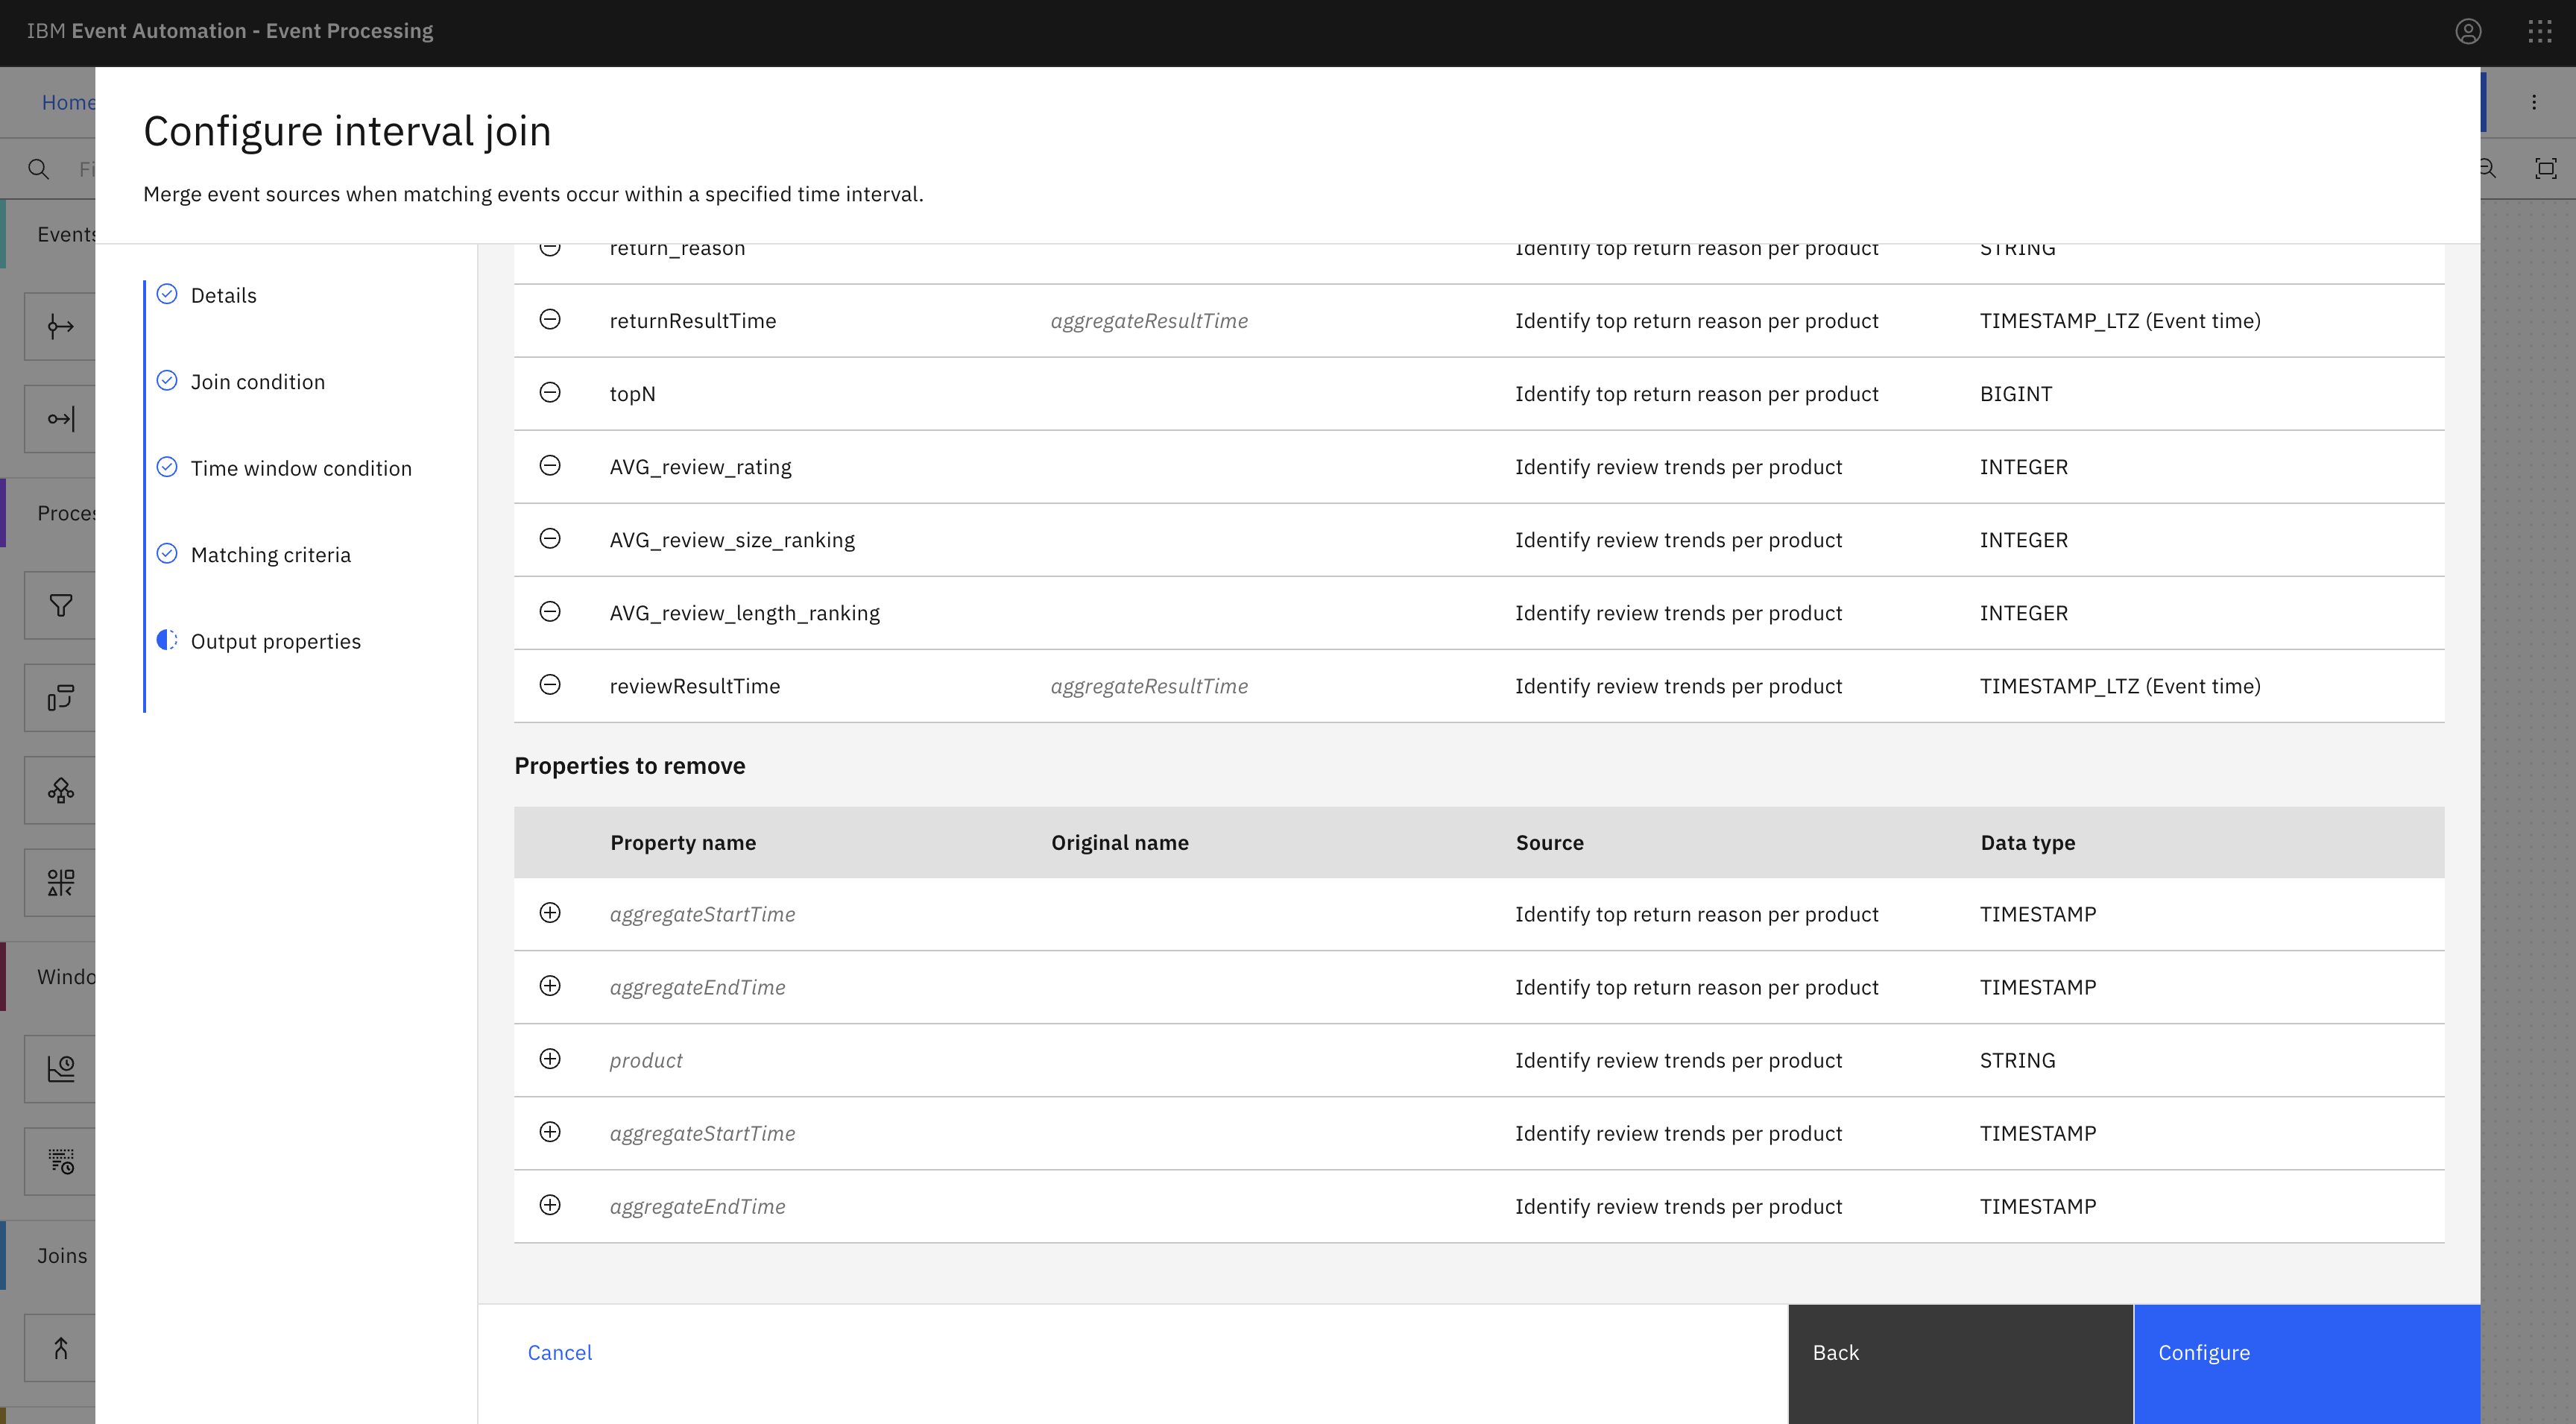
Rename the
aggregateResultTime propertyofIdentify top return reason per productandIdentify review trends per product propertiestoreturnResultTimeandreviewResultTimerespectively. - Remove the following properties to exclude them from the merged events:
- Identify top return reason per product:
aggregateStartTime - Identify top return reason per product:
aggregateEndTime - Identify review trends per product:
aggregateStartTime - Identify review trends per product:
aggregateEndTime - Identify review trends per product:
product
- Identify top return reason per product:
-
Click Configure to finalize the interval join node configuration.
Step 14: Test the flow
The next step is to run your Event Processing flow and view the results.
Use the Run flow menu, and select Include historical to run the current flow on the history of Return requests and Product reviews events.
Verify that the output events now contain both a return reason and a review trend (average rating, average size ranking, and average length ranking) for a given returned product.
Click Stop flow.
Conclusion
The following are the insights gained from this tutorial for your product return:
- Return reasons: By analyzing return requests, you have gained insights into the reasons why customers are returning products. This includes the top return reason, which indicates a common issue or problem with the product.
- Size and length rankings: In addition to the top return reason, you have also obtained average size and length rankings from product reviews. These rankings can help identify potential issues with product sizing or length, which can be contributing to returns.
- Ranking scale: The following are the descriptions of the size and length rankings that use a scale of 1-3:
- 1: Small, short (indicating that the product is too small or too short for the customer’s needs).
- 2: Spot on (indicating that the product is the correct size and length for the customer’s needs).
- 3: Large, long (indicating that the product is too large or too long for the customer’s needs).
By analyzing these rankings, you can identify potential issues with product sizing or length and make adjustments to improve the fit and satisfaction of your products.
Recap
For the return requests event stream:
- You used an array unpack node to unpack each product in return requests into separate events.
- You used an aggregate node to count the number of occurrences of each return reason per returned product within a time period.
- Then you used a top-n node to identify the top return reason per product (that is the return reason with the greatest count) within a same time period.
For the Product reviews event stream:
- You used an unpack array node to unpack each characteristic review (size and length) in new properties included in the same event.
- Then you used an aggregate node to compute the average review rating and average ranking for the size and length per product within a same time period.
Finally, you used a join node to merge the two event streams to identify review trends (average rating, average size ranking, and average length ranking), if any, that can be related to a given top return reason for a product within a given time period.
