Lab 1. Deploy with Helm
Let's investigate how Helm can help us focus on other things by letting a chart do the work for us. We'll first deploy an application to a Kubernetes cluster by using kubectl and then show how we can offload the work to a chart by deploying the same app with Helm.
The application is the Guestbook App, which is a sample multi-tier web application.
Scenario 1: Deploy the application using kubectl
In this part of the lab, we will deploy the application using the Kubernetes client kubectl. We will use Version 1 of the app for deploying here.
If you already have a copy of the guestbook application installed from the kube101 lab, skip this section and go the helm example in Scenario 2.
Clone the Guestbook App repo to get the files:
git clone https://github.com/IBM/guestbook.git
- Use the configuration files in the cloned Git repository to deploy the containers and create services for them by using the following commands:
$ cd guestbook/v1

$ kubectl create -f redis-master-deployment.yaml
deployment.apps/redis-master created

$ kubectl create -f redis-master-service.yaml
service/redis-master created

$ kubectl create -f redis-slave-deployment.yaml
deployment.apps/redis-slave created

$ kubectl create -f redis-slave-service.yaml
service/redis-slave created

$ kubectl create -f guestbook-deployment.yaml
deployment.apps/guestbook-v1 created

$ kubectl create -f guestbook-service.yaml
service/guestbook created
Refer to the guestbook README for more details.
- View the guestbook:
You can now play with the guestbook that you just created by opening it in a browser (it might take a few moments for the guestbook to come up).
* **Local Host:**
If you are running Kubernetes locally, view the guestbook by navigating to `http://localhost:3000` in your browser.
* **Remote Host:**
1. To view the guestbook on a remote host, locate the external IP and port of the load balancer in the **EXTERNAL-IP** and **PORTS** columns of the `$ kubectl get services` output.
```console
$ kubectl get services
NAME TYPE CLUSTER-IP EXTERNAL-IP PORT(S) AGE
guestbook LoadBalancer 172.21.252.107 50.23.5.136 3000:31838/TCP 14m
redis-master ClusterIP 172.21.97.222 <none> 6379/TCP 14m
redis-slave ClusterIP 172.21.43.70 <none> 6379/TCP 14m
.........
```
In this scenario the URL is `http://50.23.5.136:31838`.
Note: If no external IP is assigned, then you can get the external IP with the following command:
```console
$ kubectl get nodes -o wide
NAME STATUS ROLES AGE VERSION EXTERNAL-IP OS-IMAGE KERNEL-VERSION CONTAINER-RUNTIME
10.47.122.98 Ready <none> 1h v1.10.11+IKS 173.193.92.112 Ubuntu 16.04.5 LTS 4.4.0-141-generic docker://18.6.1
```
In this scenario the URL is `http://173.193.92.112:31838`.
2. Navigate to the output given (for example `http://50.23.5.136:31838`) in your browser. You should see the guestbook now displaying in your browser:
Scenario 2: Deploy the application using Helm
In this part of the lab, we will deploy the application by using Helm. We will set a release name of guestbook-demo to distinguish it from the previous deployment. The Helm chart is available here. Clone the Helm 101 repo to get the files:
git clone https://github.com/IBM/helm101
A chart is defined as a collection of files that describe a related set of Kubernetes resources. We probably then should take a look at the the files before we go and install the chart. The files for the guestbook chart are as follows:
.
├── Chart.yaml    \\ A YAML file containing information about the chart
├── LICENSE       \\ A plain text file containing the license for the chart
├── README.md     \\ A README providing information about the chart usage, configuration, installation etc.
├── templates     \\ A directory of templates that will generate valid Kubernetes manifest files when combined with values.yaml
│   ├── _helpers.tpl               \\ Template helpers/definitions that are re-used throughout the chart
│   ├── guestbook-deployment.yaml  \\ Guestbook app container resource
│   ├── guestbook-service.yaml     \\ Guestbook app service resource
│   ├── NOTES.txt                  \\ A plain text file containing short usage notes about how to access the app post install
│   ├── redis-master-deployment.yaml  \\ Redis master container resource
│   ├── redis-master-service.yaml     \\ Redis master service resource
│   ├── redis-slave-deployment.yaml   \\ Redis slave container resource
│   └── redis-slave-service.yaml      \\ Redis slave service resource
└── values.yaml   \\ The default configuration values for the chart
Note: The template files shown above will be rendered into Kubernetes manifest files before being passed to the Kubernetes API server. Therefore, they map to the manifest files that we deployed when we used kubectl (minus the helper and notes files).
Let's go ahead and install the chart now. If the helm-demo namespace does not exist, you will need to create it using:
kubectl create namespace helm-demo
- Install the app as a Helm chart:
$ cd helm101/charts

$ helm install guestbook-demo ./guestbook/ --namespace helm-demo
NAME: guestbook-demo
...
You should see output similar to the following:
NAME: guestbook-demo
LAST DEPLOYED: Mon Feb 24 18:08:02 2020
NAMESPACE: helm-demo
STATUS: deployed
REVISION: 1
TEST SUITE: None
NOTES:
1. Get the application URL by running these commands:
  NOTE: It may take a few minutes for the LoadBalancer IP to be available.
      You can watch the status of by running 'kubectl get svc -w guestbook-demo --namespace helm-demo'
  export SERVICE_IP=$(kubectl get svc --namespace helm-demo guestbook-demo -o jsonpath='{.status.loadBalancer.ingress[0].ip}')
  echo http://$SERVICE_IP:3000
The chart install performs the Kubernetes deployments and service creations of the redis master and slaves, and the guestbook app, as one. This is because the chart is a collection of files that describe a related set of Kubernetes resources and Helm manages the creation of these resources via the Kubernetes API.
Check the deployment:
kubectl get deployment guestbook-demo --namespace helm-demo
You should see output similar to the following:
$ kubectl get deployment guestbook-demo --namespace helm-dem
NAME             READY   UP-TO-DATE   AVAILABLE   AGE
guestbook-demo   2/2     2            2           51m
To check the status of the running application pods, use:
kubectl get pods --namespace helm-demo
You should see output similar to the following:
$ kubectl get pods --namespace helm-demo
NAME                            READY     STATUS    RESTARTS   AGE
guestbook-demo-6c9cf8b9-jwbs9   1/1       Running   0          52m
guestbook-demo-6c9cf8b9-qk4fb   1/1       Running   0          52m
redis-master-5d8b66464f-j72jf   1/1       Running   0          52m
redis-slave-586b4c847c-2xt99    1/1       Running   0          52m
redis-slave-586b4c847c-q7rq5    1/1       Running   0          52m
To check the services, use:
kubectl get services --namespace helm-demo
$ kubectl get services --namespace helm-demo
NAME             TYPE           CLUSTER-IP       EXTERNAL-IP   PORT(S)          AGE
guestbook-demo   LoadBalancer   172.21.43.244    <pending>     3000:31367/TCP   52m
redis-master     ClusterIP      172.21.12.43     <none>        6379/TCP         52m
redis-slave      ClusterIP      172.21.176.148   <none>        6379/TCP         52m
- View the guestbook:
You can now play with the guestbook that you just created by opening it in a browser (it might take a few moments for the guestbook to come up).
* **Local Host:**
If you are running Kubernetes locally, view the guestbook by navigating to `http://localhost:3000` in your browser.
* **Remote Host:**
1. To view the guestbook on a remote host, locate the external IP and the port of the load balancer by following the "NOTES" section in the install output. The commands will be similar to the following:
```console
$ export SERVICE_IP=$(kubectl get svc --namespace helm-demo guestbook-demo -o jsonpath='{.status.loadBalancer.ingress[0].ip}')
$ echo http://$SERVICE_IP
http://50.23.5.136
```
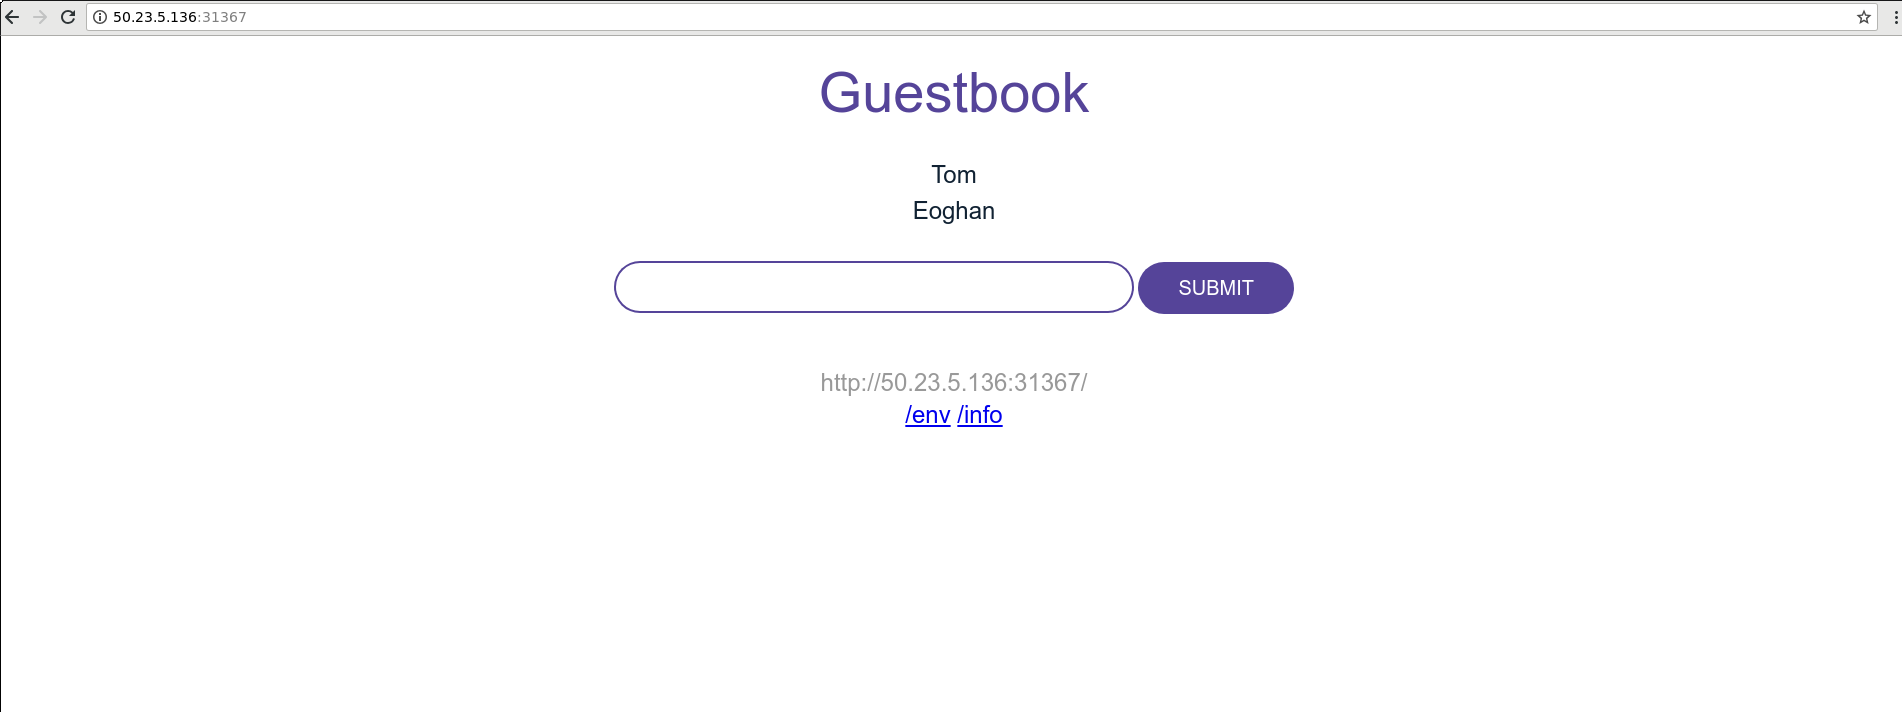
Combine the service IP with the port of the service printed earlier. In this scenario the URL is `http://50.23.5.136:31367`.
Note: If no external IP is assigned, then you can get the external IP with the following command:
```console
$ kubectl get nodes -o wide
NAME STATUS ROLES AGE VERSION EXTERNAL-IP OS-IMAGE KERNEL-VERSION CONTAINER-RUNTIME
10.47.122.98 Ready <none> 1h v1.10.11+IKS 173.193.92.112 Ubuntu 16.04.5 LTS 4.4.0-141-generic docker://18.6.1
```
In this scenario the URL is `http://173.193.92.112:31367`.
2. Navigate to the output given (for example `http://50.23.5.136:31367`) in your browser. You should see the guestbook now displaying in your browser:

Conclusion
Congratulations, you have now deployed an application by using two different methods to Kubernetes! From this lab, you can see that using Helm required less commands and less to think about (by giving it the chart path and not the individual files) versus using kubectl. Helm's application management provides the user with this simplicity.
Move on to the next lab, Lab2, to learn how to update our running app when the chart has been changed.