
| DEMO OVERVIEW | |
|---|---|
| Scenario overview | In this demo, we will see how watsonx Orchestrate can leverage Operational Decision Manager’s deployed services to create new skills. To illustrate this, we will use a company’s customer service application. |
| Demo products | IBM Operational Decision Manager (included in Cloud Pak for Business Automation V23.0.2), watsonx Orchestrate |
| Demo capabilities | Decision management; Digital assistant |
| Sales guidance | wxO_ODM demo sales guidance .pdf |
| Demo intro slides | wxO_ODM Platinum Demo - Intro deck.pptx |
| Sales enablement video | View the enablement video here. This video is for enablement purposes only (IBMers and Business Partners) and is not customer-ready. |
| Demo script | A complete demo script is on the second tab above. You can download a printer-ready PDF of the demo script here. This demo script has multiple tasks that each have multiple steps. In each step, you have the details about what you need to do (Actions), what you can say while delivering this demo step (Narration), and what diagrams and screenshots you will see. This demo script is a suggestion, and you are welcome to customize based on your sales opportunity. Most importantly, practice this demo in advance. If the demo seems easy for you to execute, the customer will focus on the content. If it seems difficult for you to execute, the customer will focus on your delivery. |
| Demo downloads | Operational Decision Manager (Decision Center projects) • Customer Service.zip • Get Request Details.zip watsonx Orchestrate (For ODM on prem) • XXX FocusCorp Customer Service.json • XXX FocusCorp Get data from database.json OR watsonx Orchestrate (For ODM on SaaS) • XXX FocusCorp Customer Service SaaS.json • XXX FocusCorp Get data from database SaaS.json Optional (For ODM experts looking to customize the decision service) • RuleDesignerFiles.zip |
| Required versions | - watsonx Orchestrate SaaS (Standard or Enterprise edition) SaaS with the builder profile (mandatory) - IBM Operational Decision Manager 8.12 (on prem or SaaS) |
| How to get support | • Open a support case at IBM Technology Zone Help regarding issues with reserving and provisioning Tech Zone environments. • Contact #platinumdemos-automation-support regarding issues with setting up and running this demo. |
STEP 1: PROVISION YOUR ENVIRONMENTS
1 - Request a watsonx Orchestrate environment
This 300 demonstration requires an IBM watsonx Orchestrate (standard or enterprise) environment with the ‘builder profile’ access rights. The procedure to request a watsonx Orchestrate environment access is documented on the watsonx Orchestrate environment access on TechZone.
Make sure you are granted the ‘builder profile’ role in your 300 environment request.
2 - Request a Cloud Pak for Business Automation environment
To run this demonstration, you will need an OpenShift environment with Cloud Pak
for Business Automation 23.0.2 installed. We will use IBM Operational Decision
Manager on prem version contained in this installation.
-
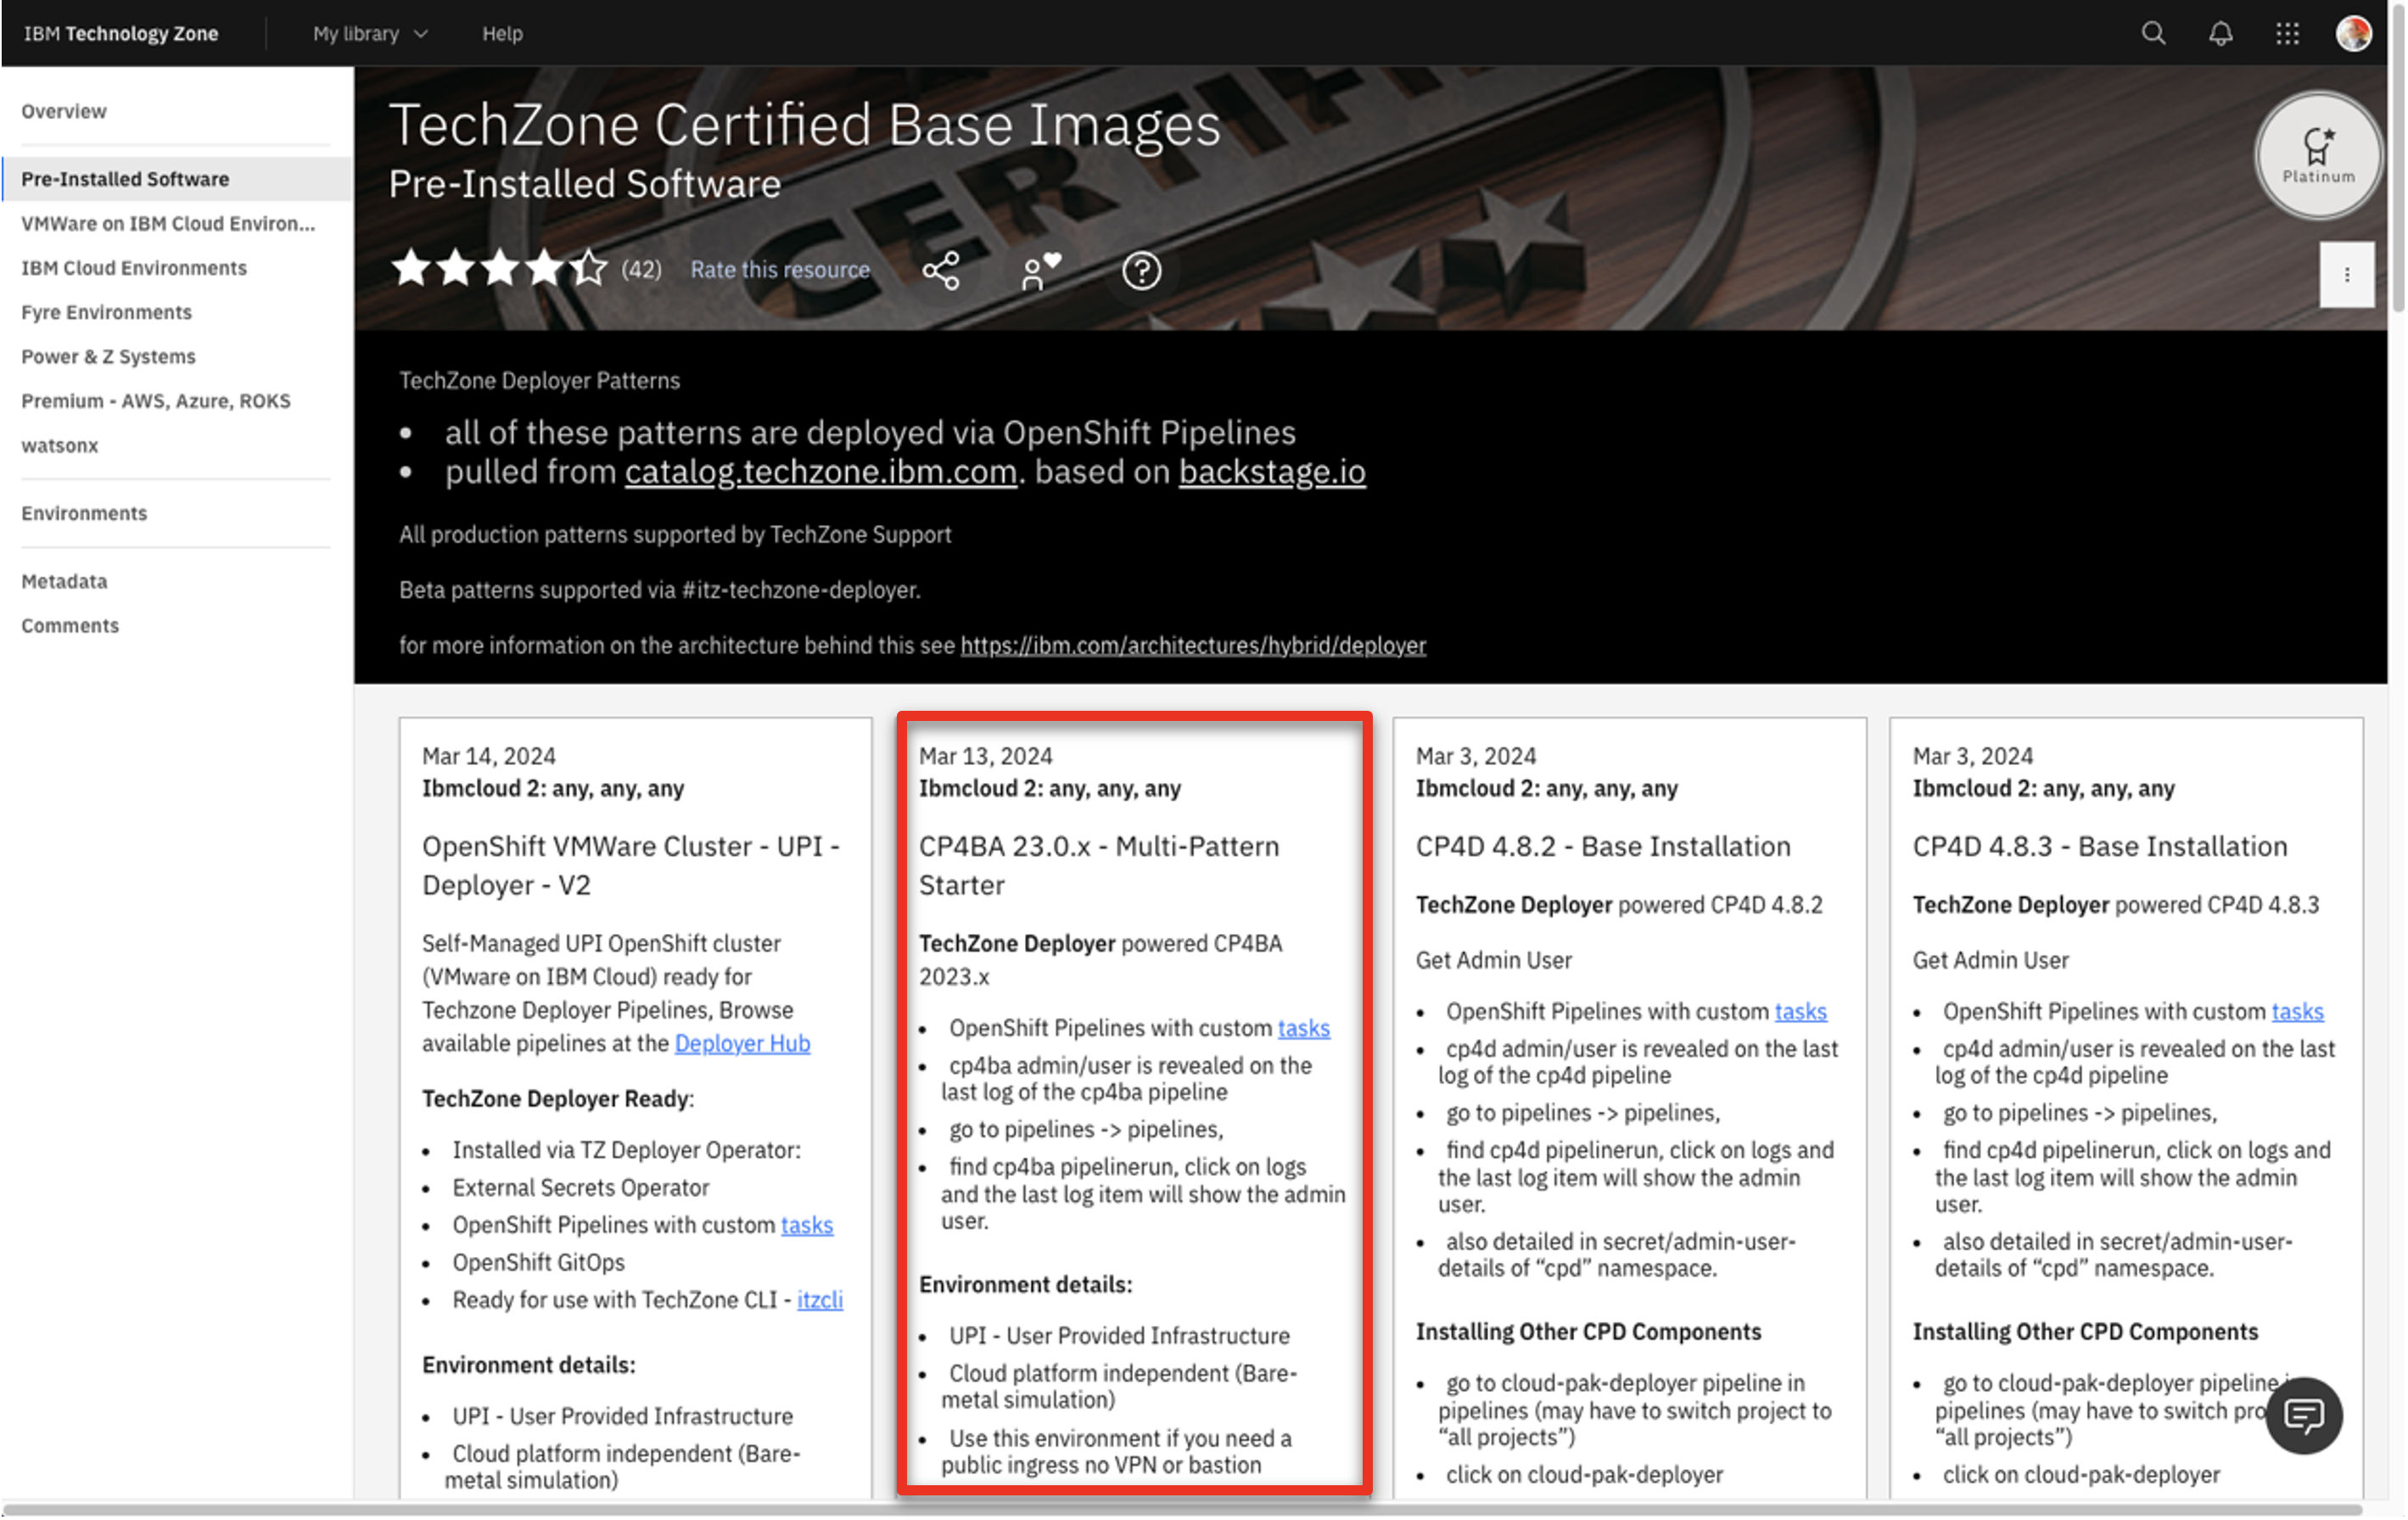
Visit the TechZone environment provisioning page.
-
Click the CP4BA 23.0.x - Multi-Pattern Starter tile.
-
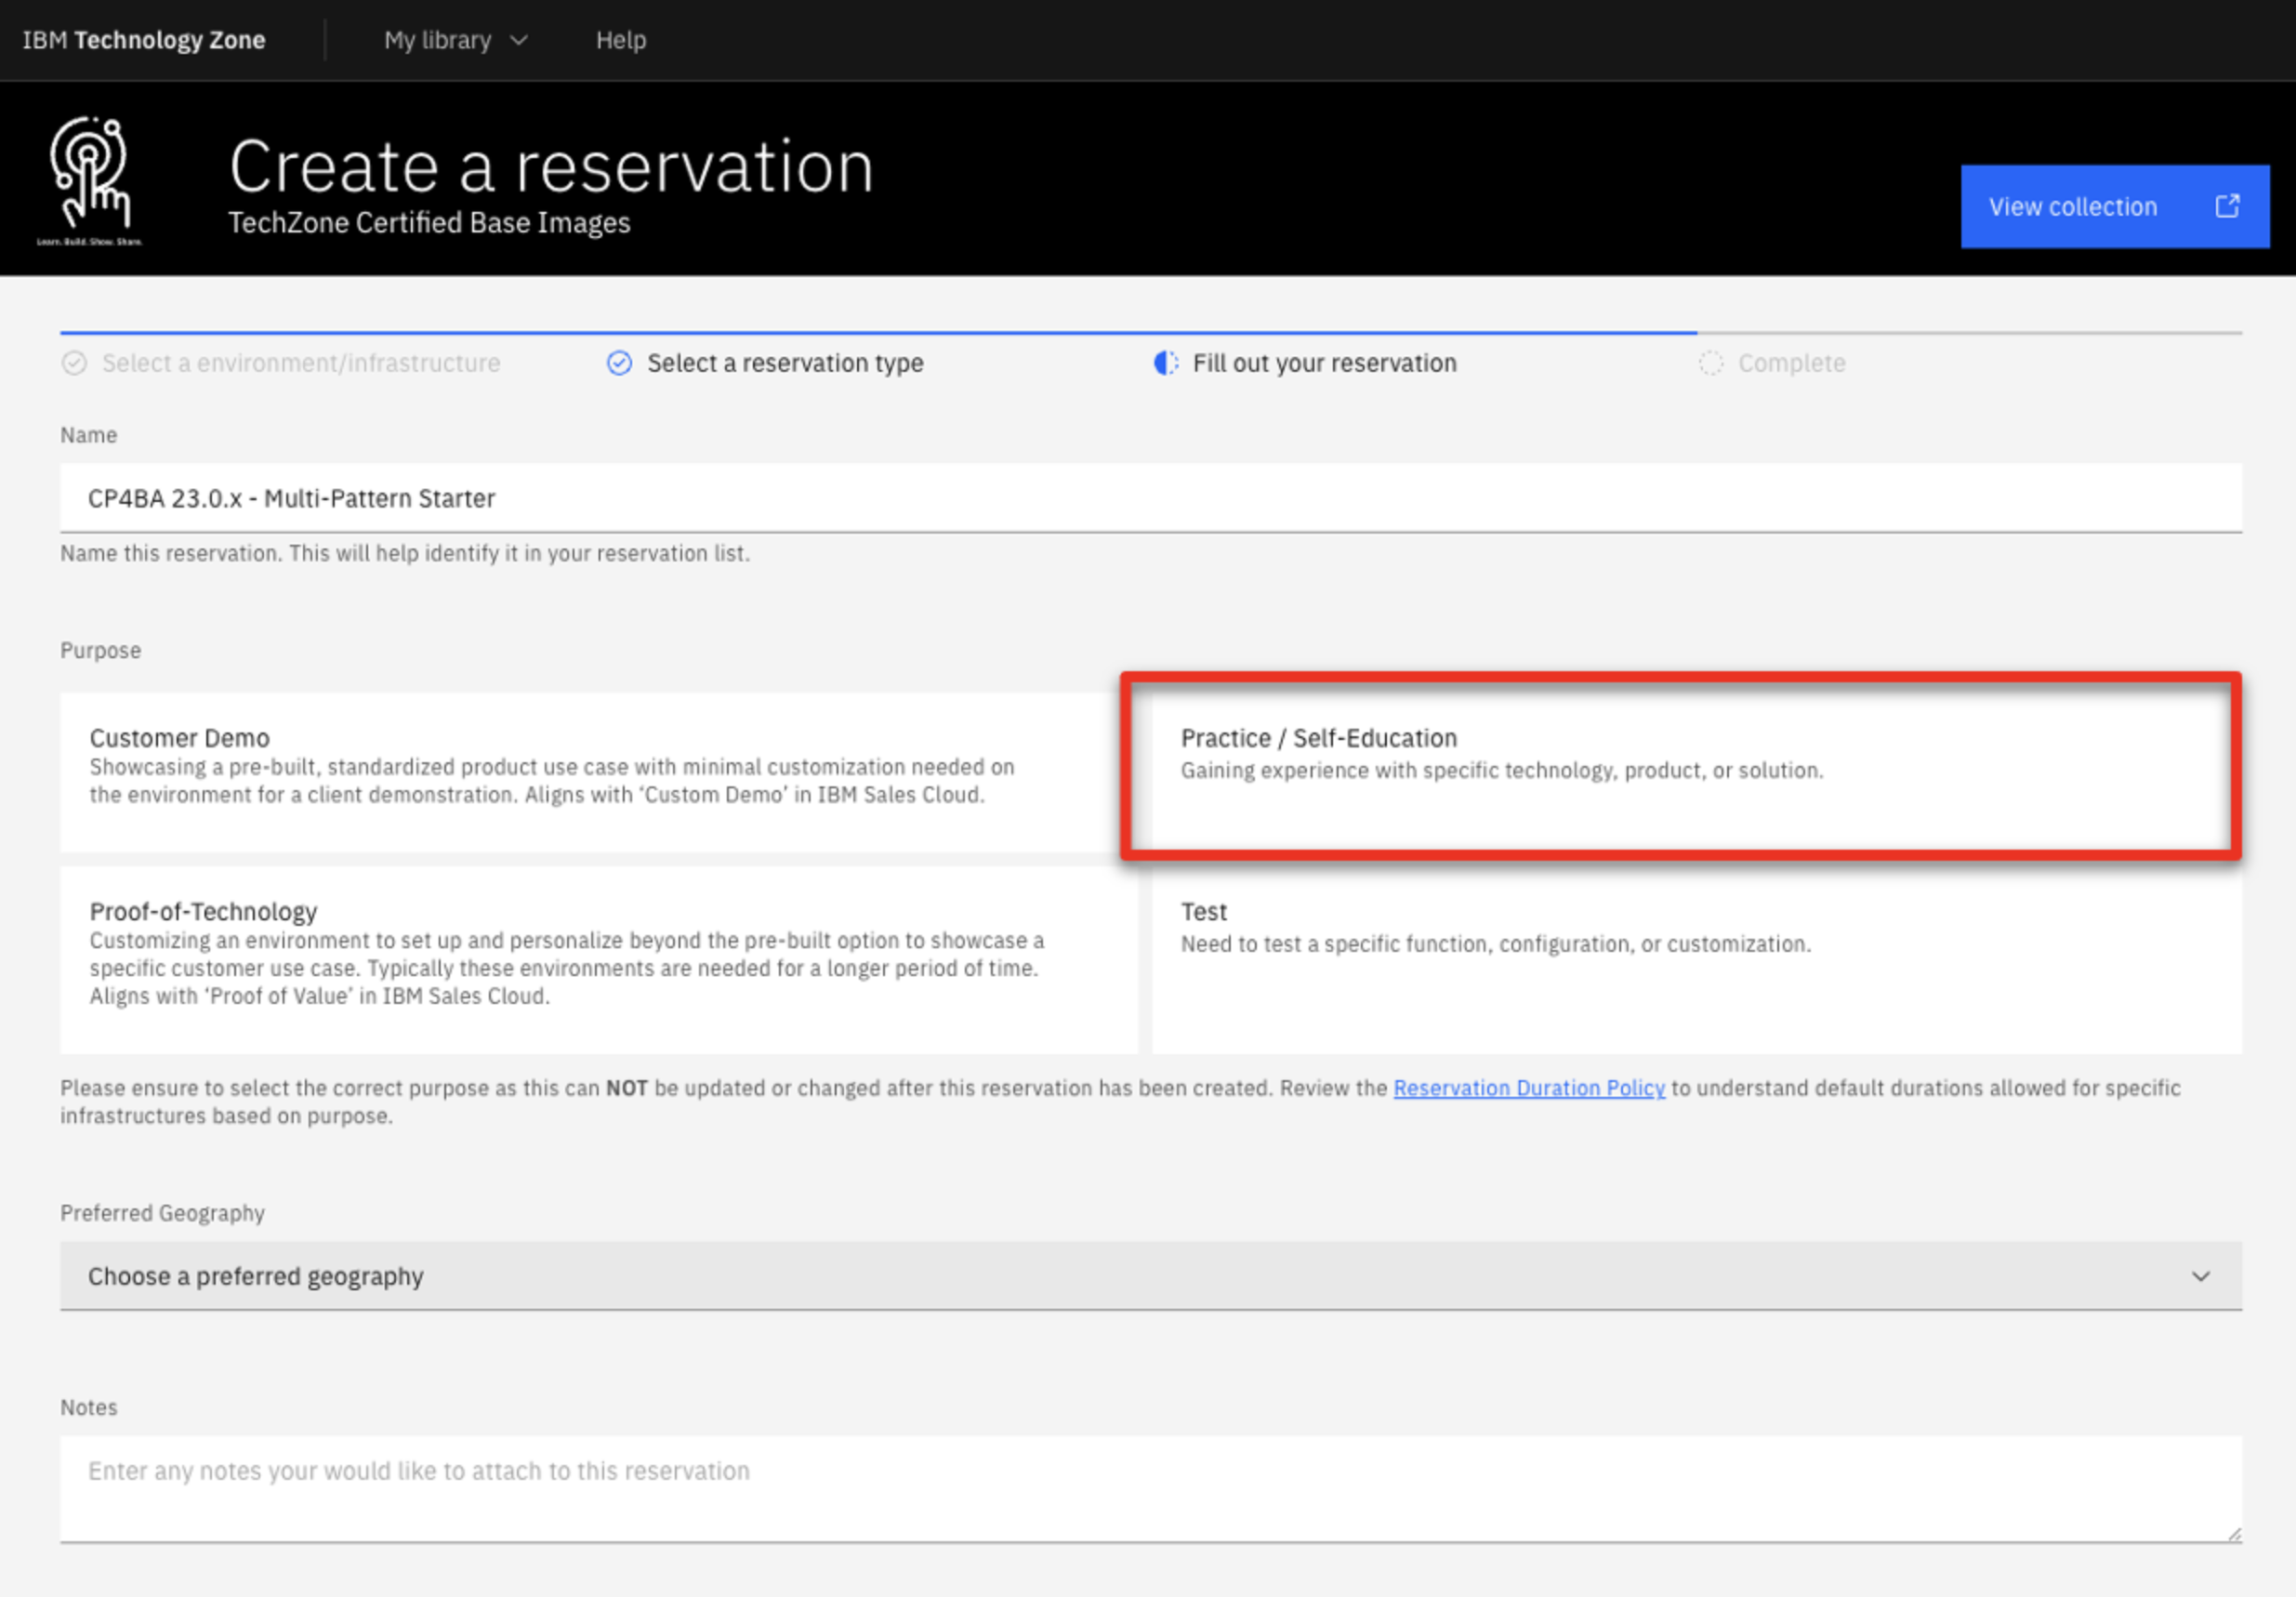
Select Reserve now tile.

-
Select Practice / Self-Education
-
Enter a Purpose description
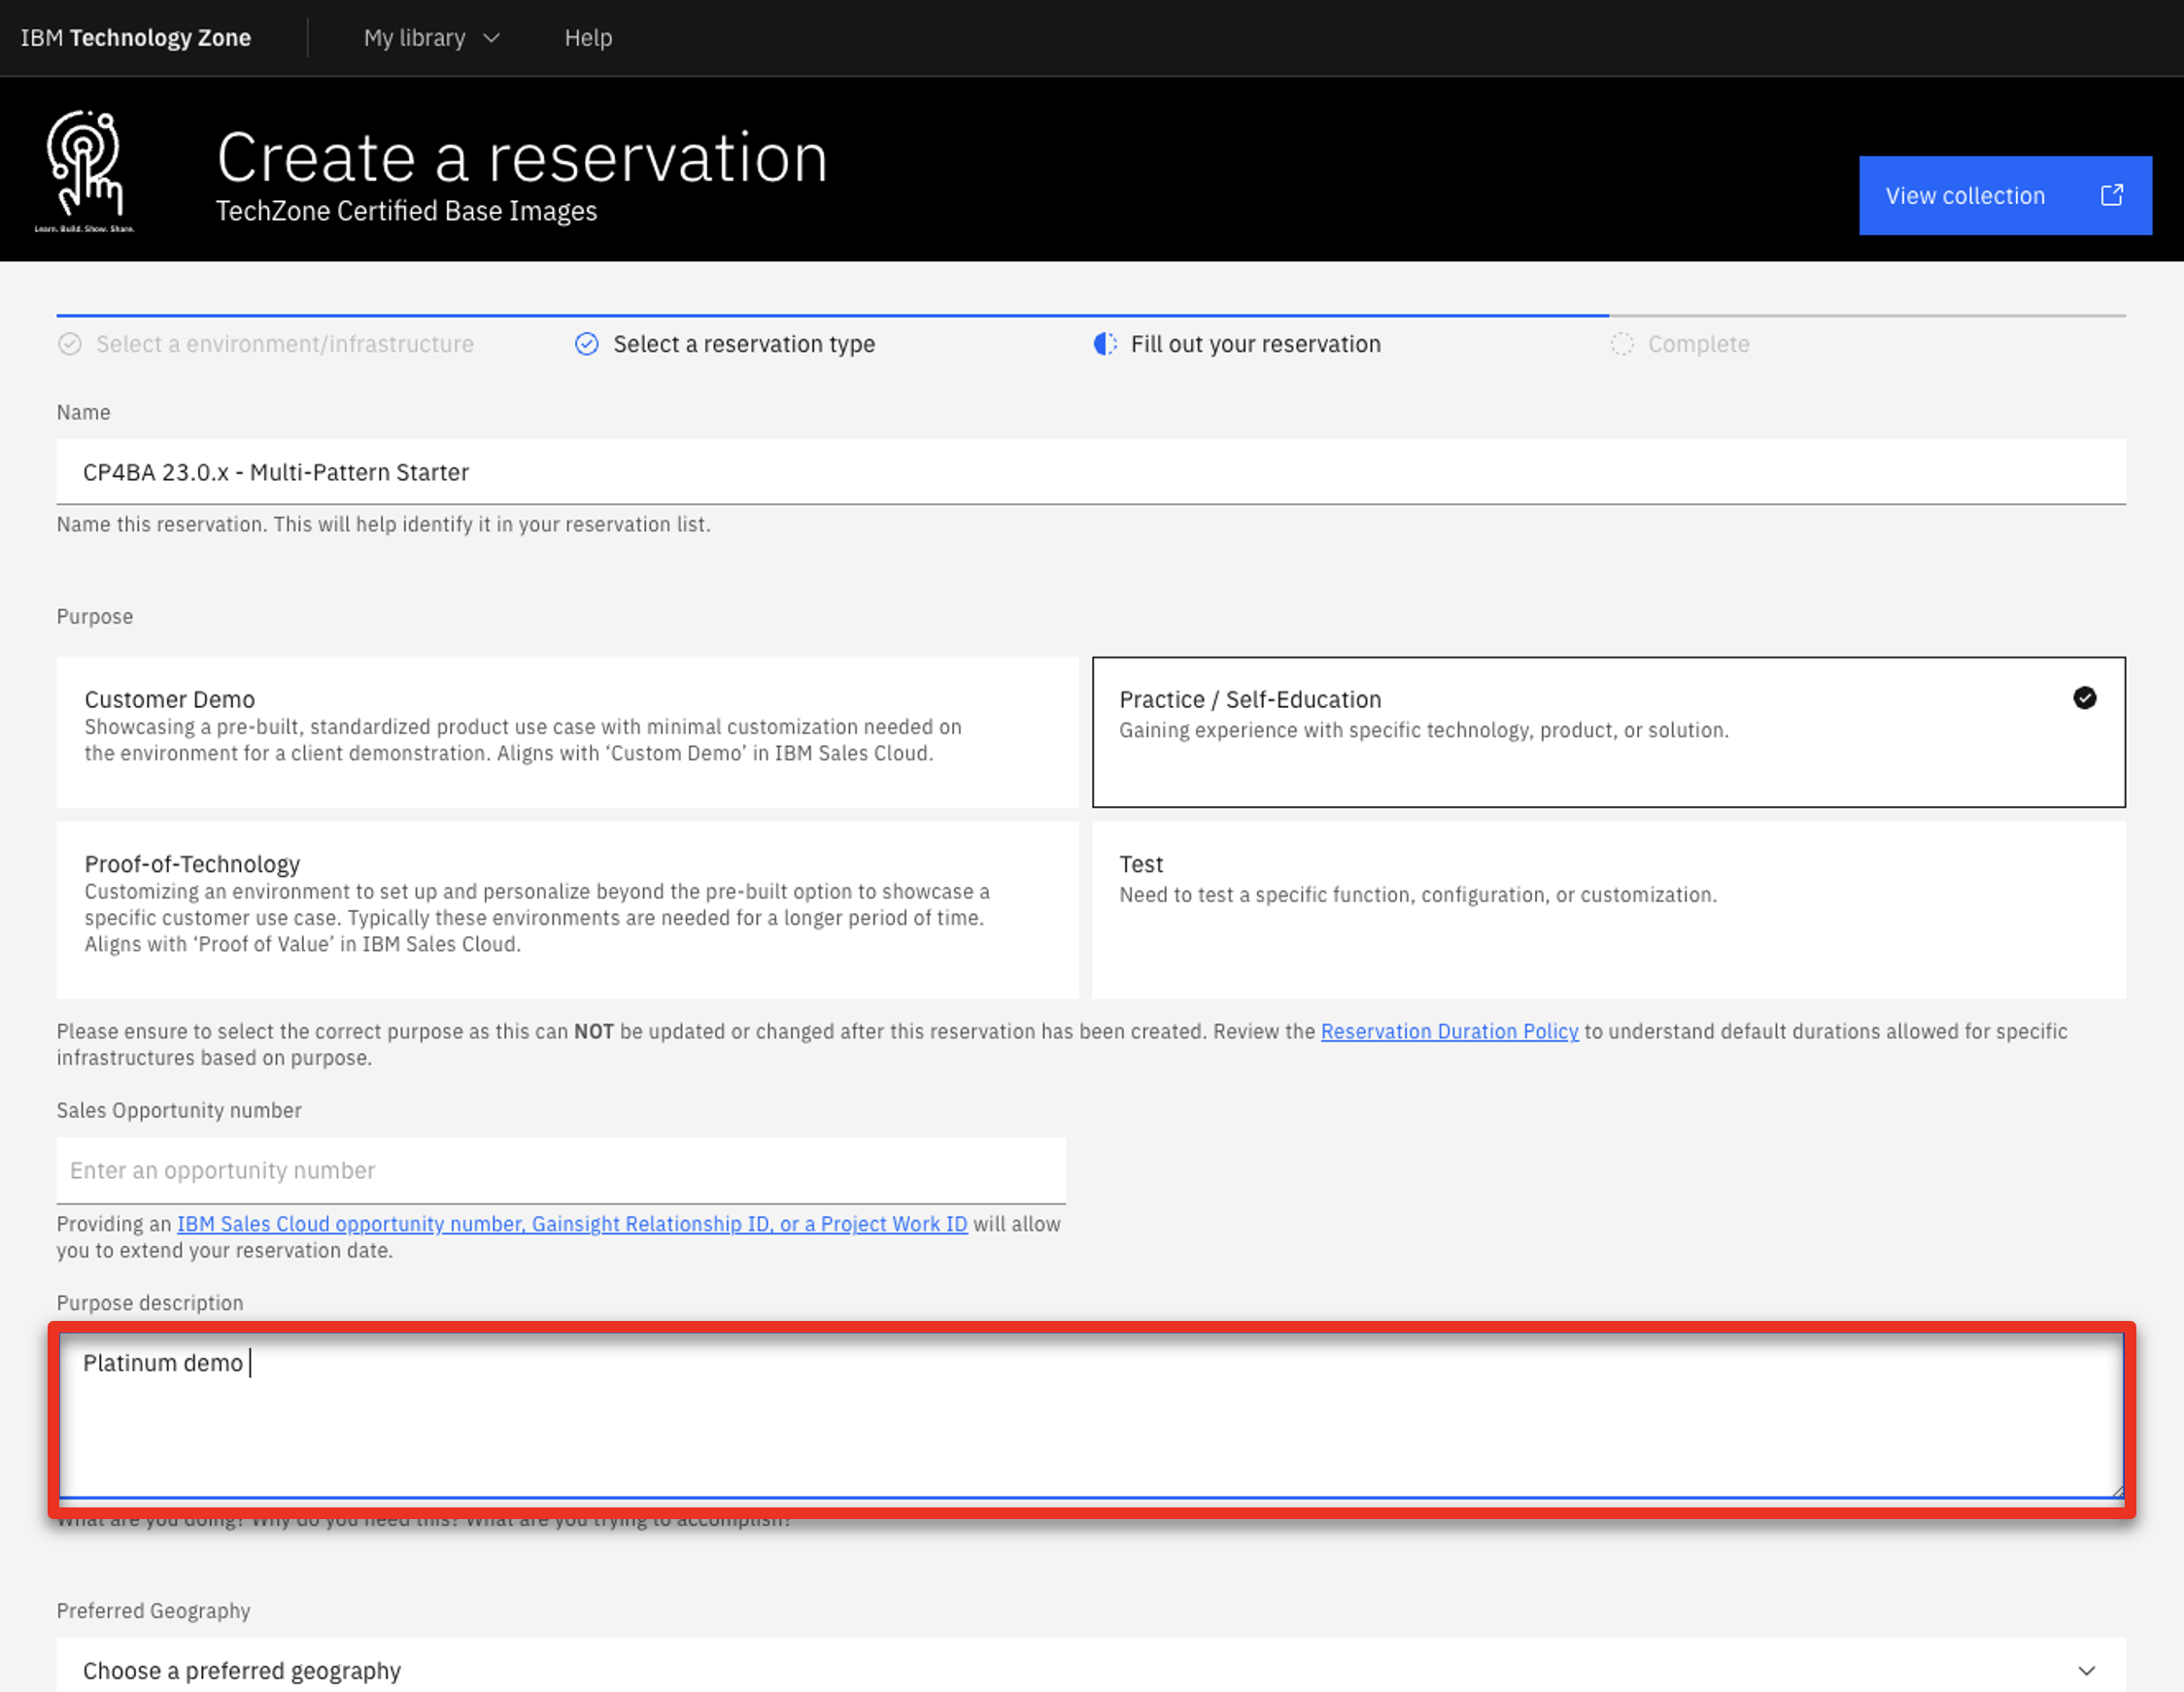
-
Select your Preferred Geography
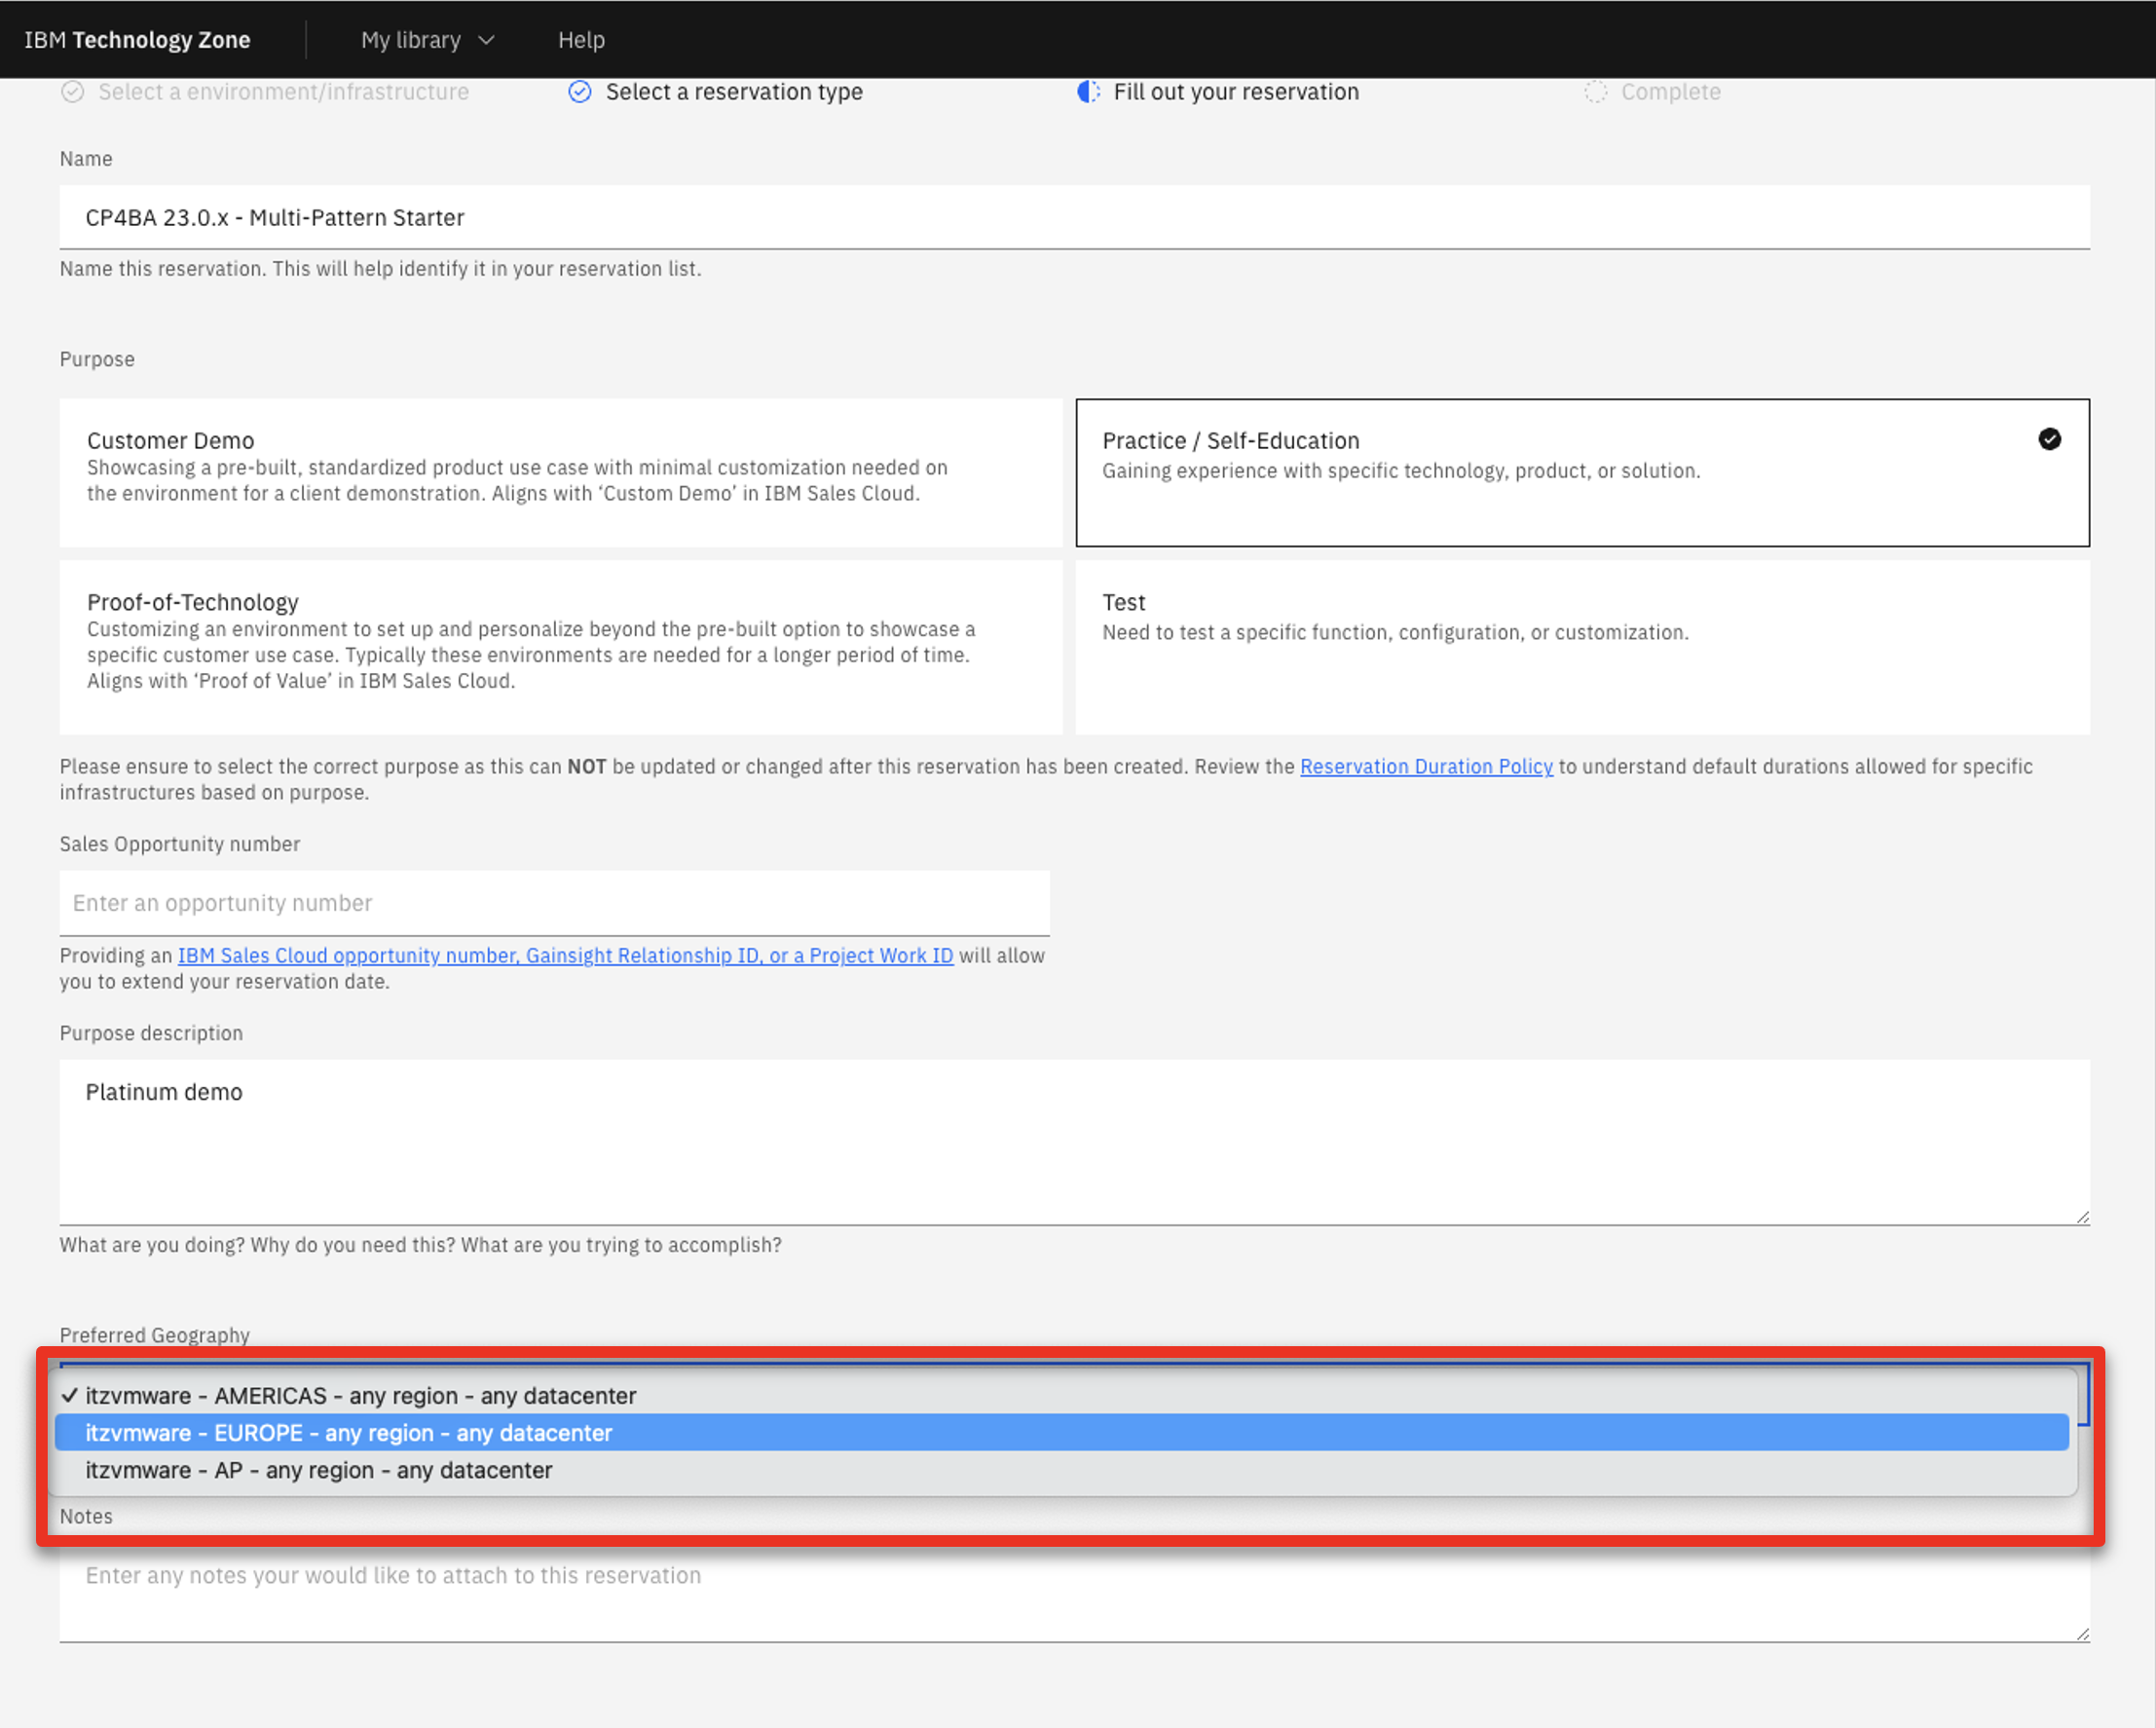
-
Select ‘5’‘ as ‘Worker Node Couunt’
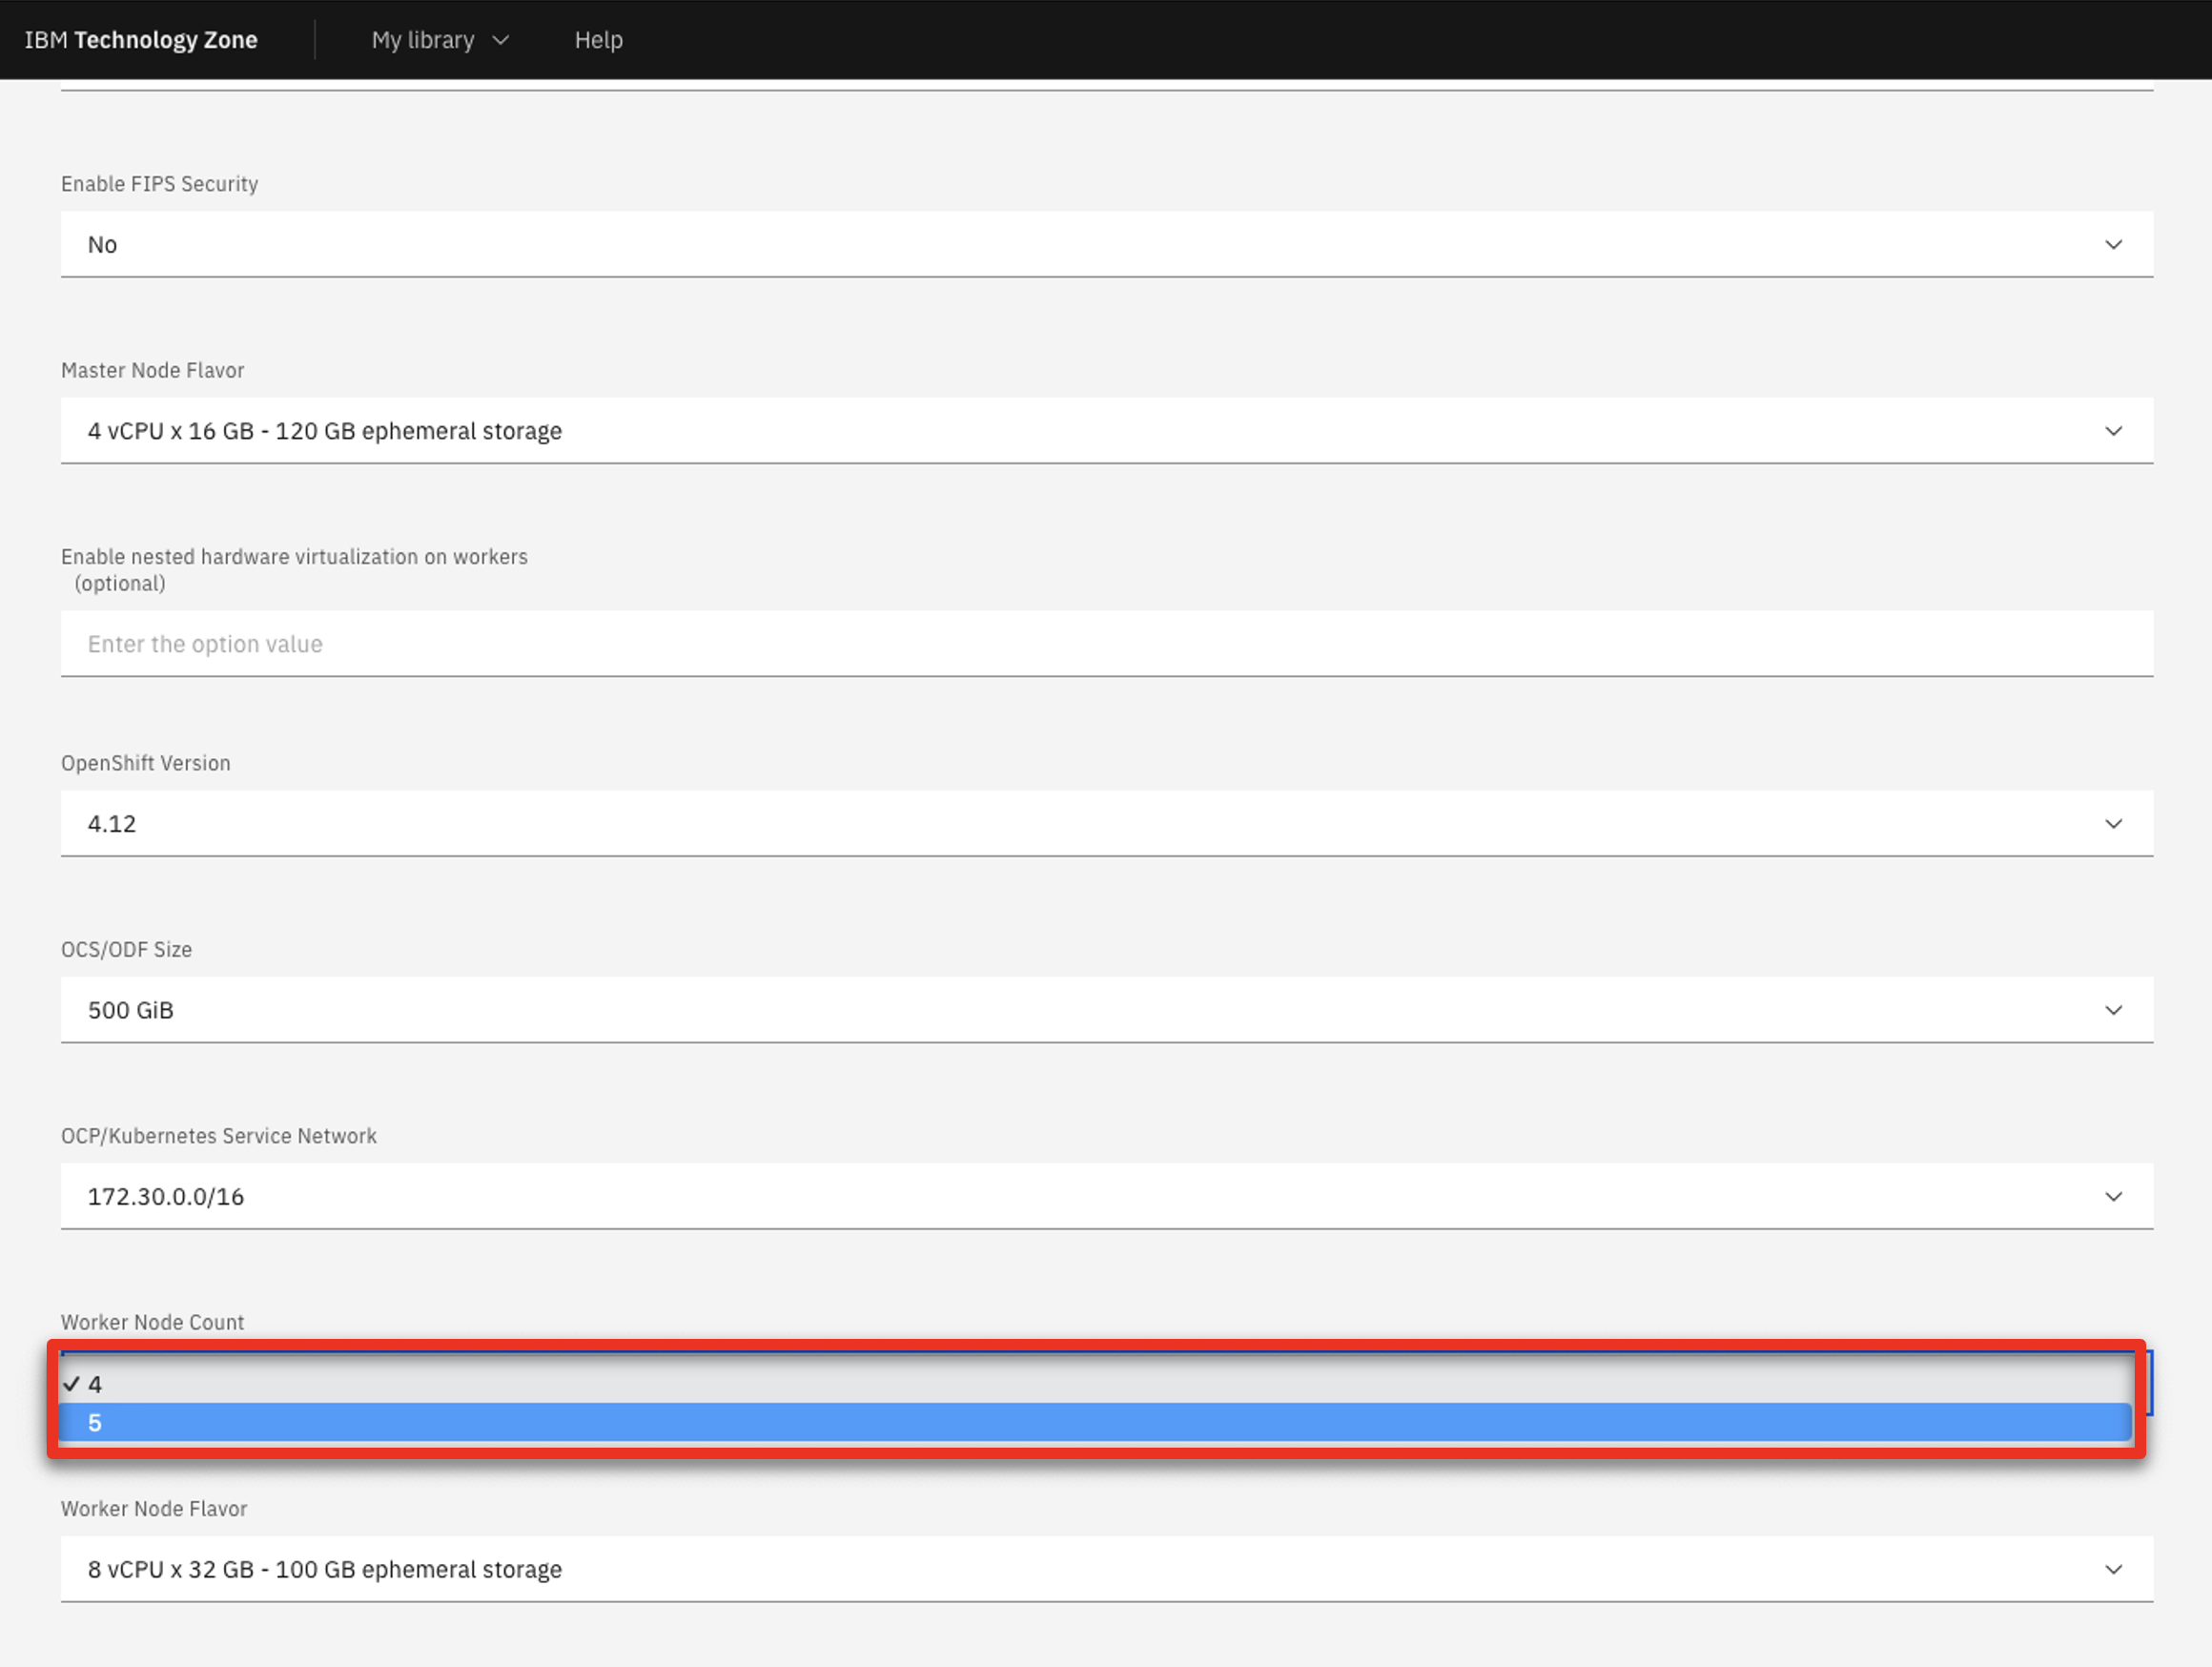
-
Select ’16 vCPU x 64GB – 100GB ephemeral storage’ as the Starter service (1) in the Worker Node Flavor
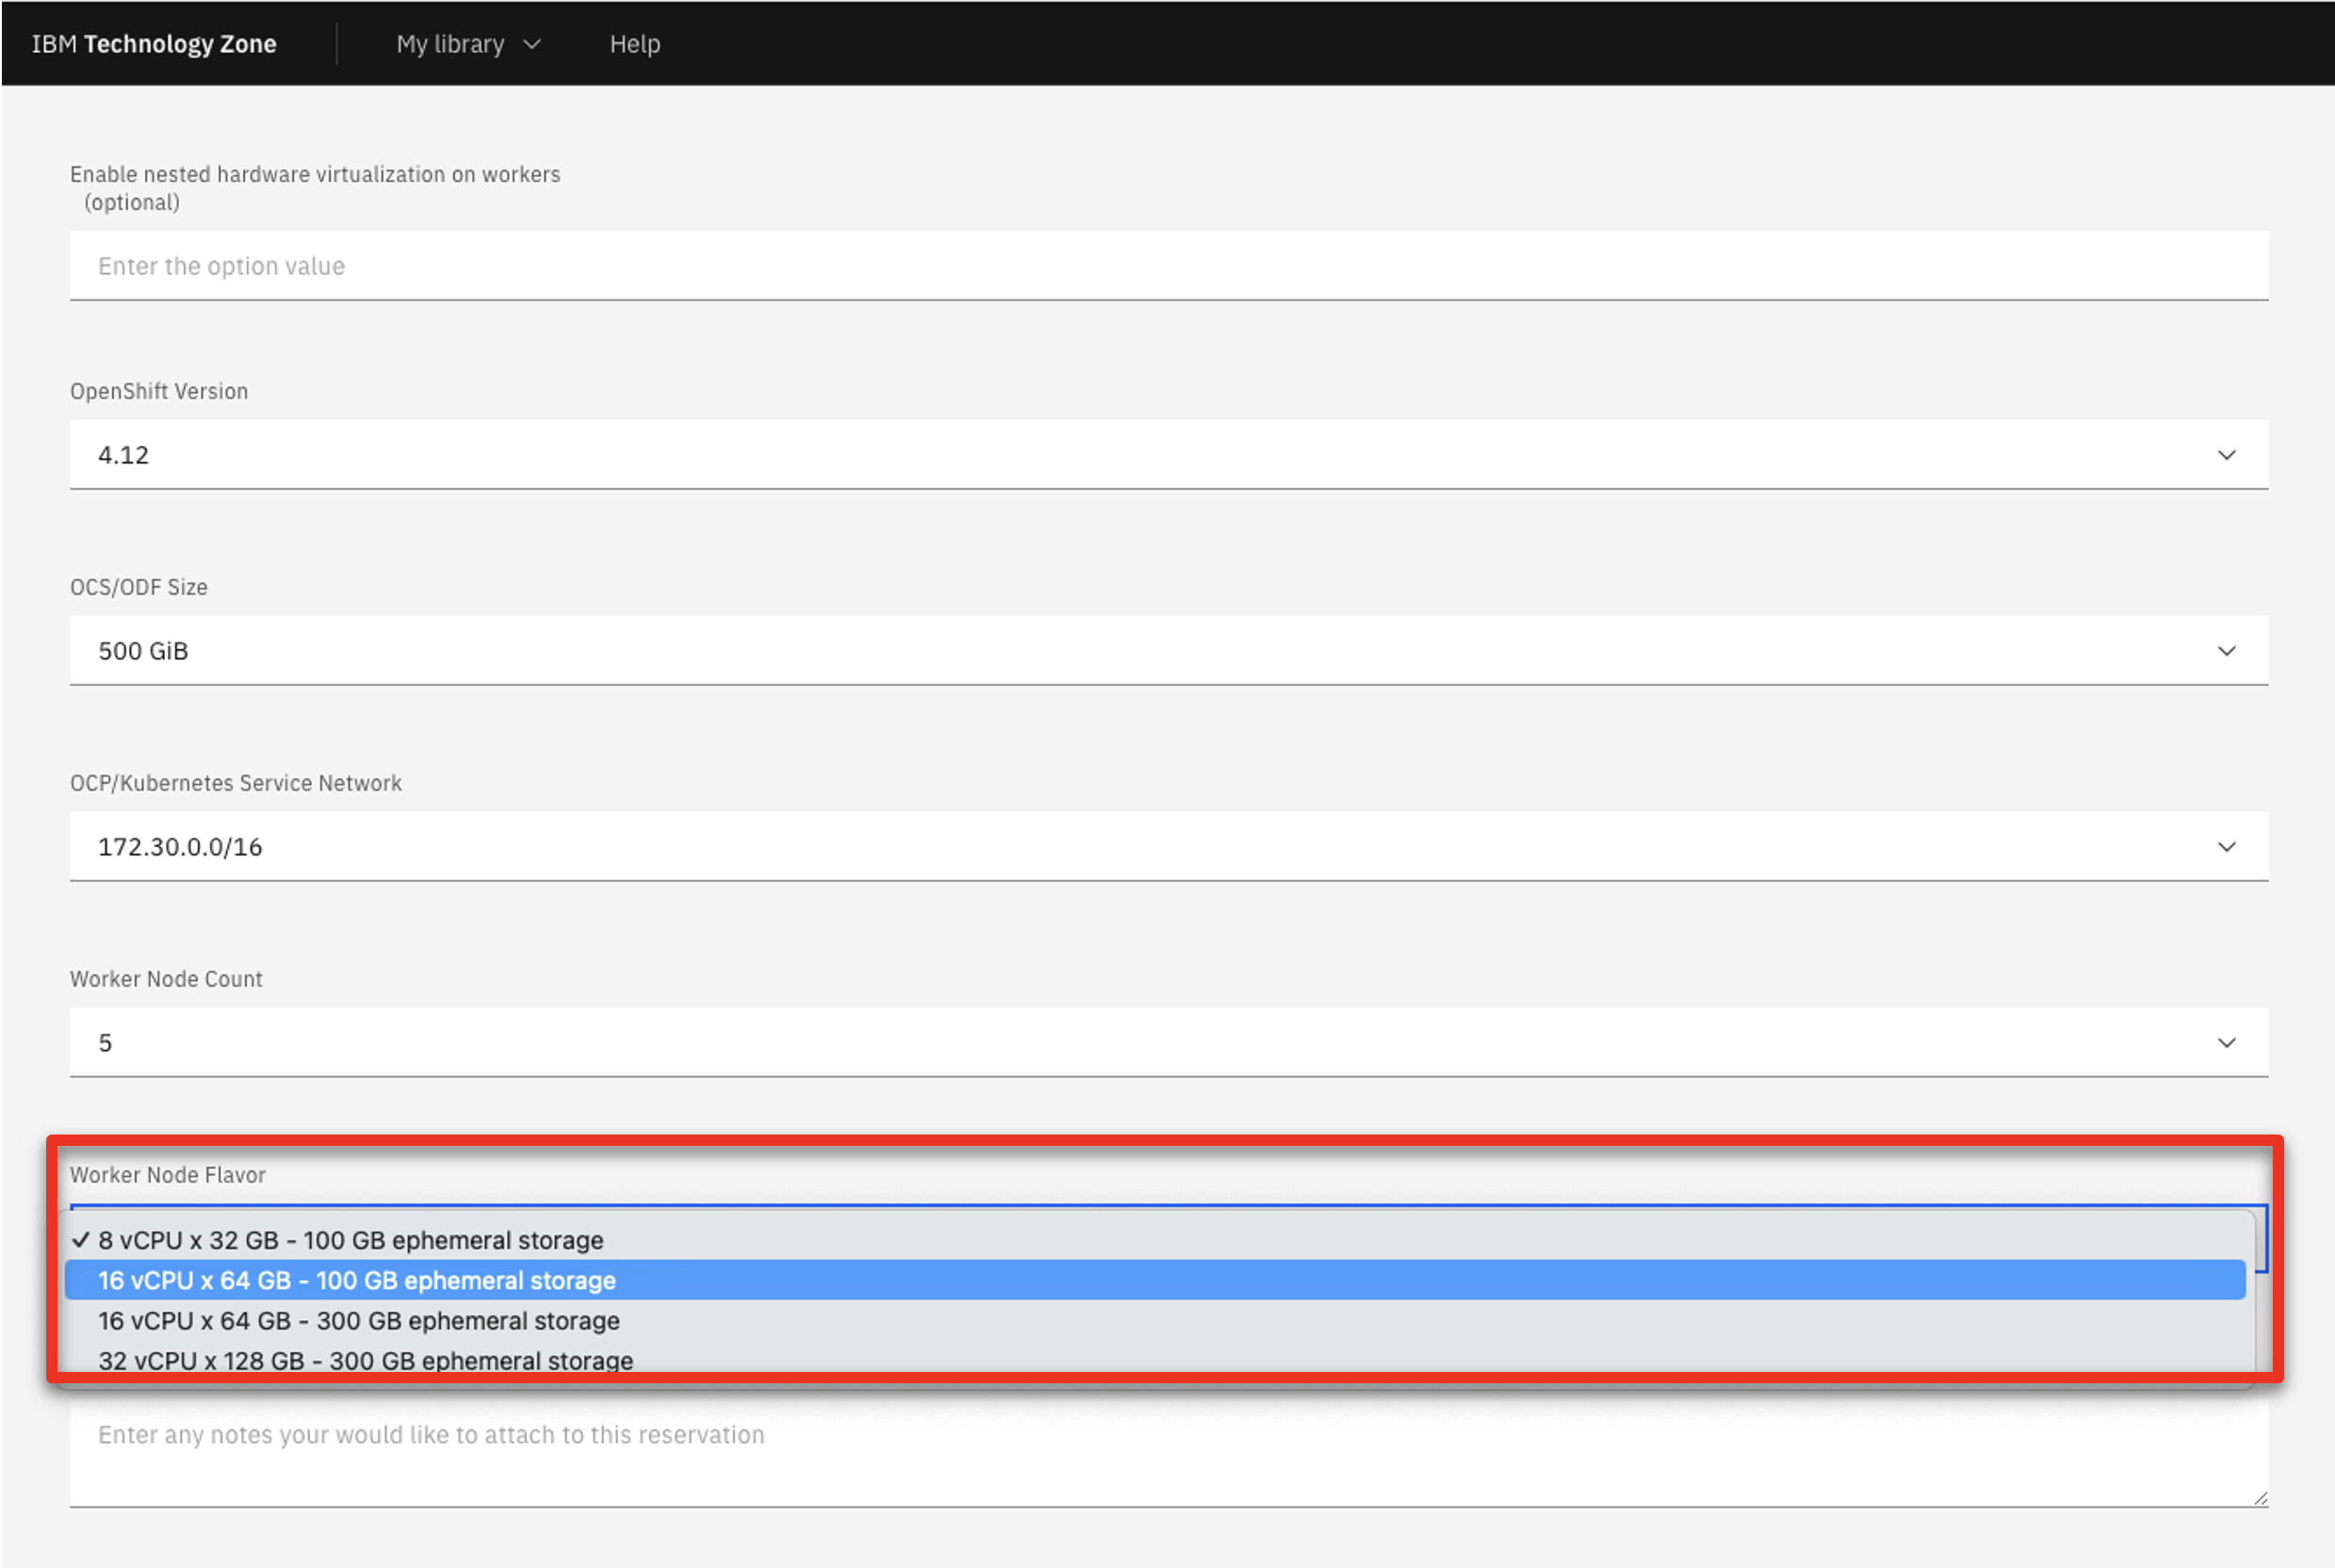
-
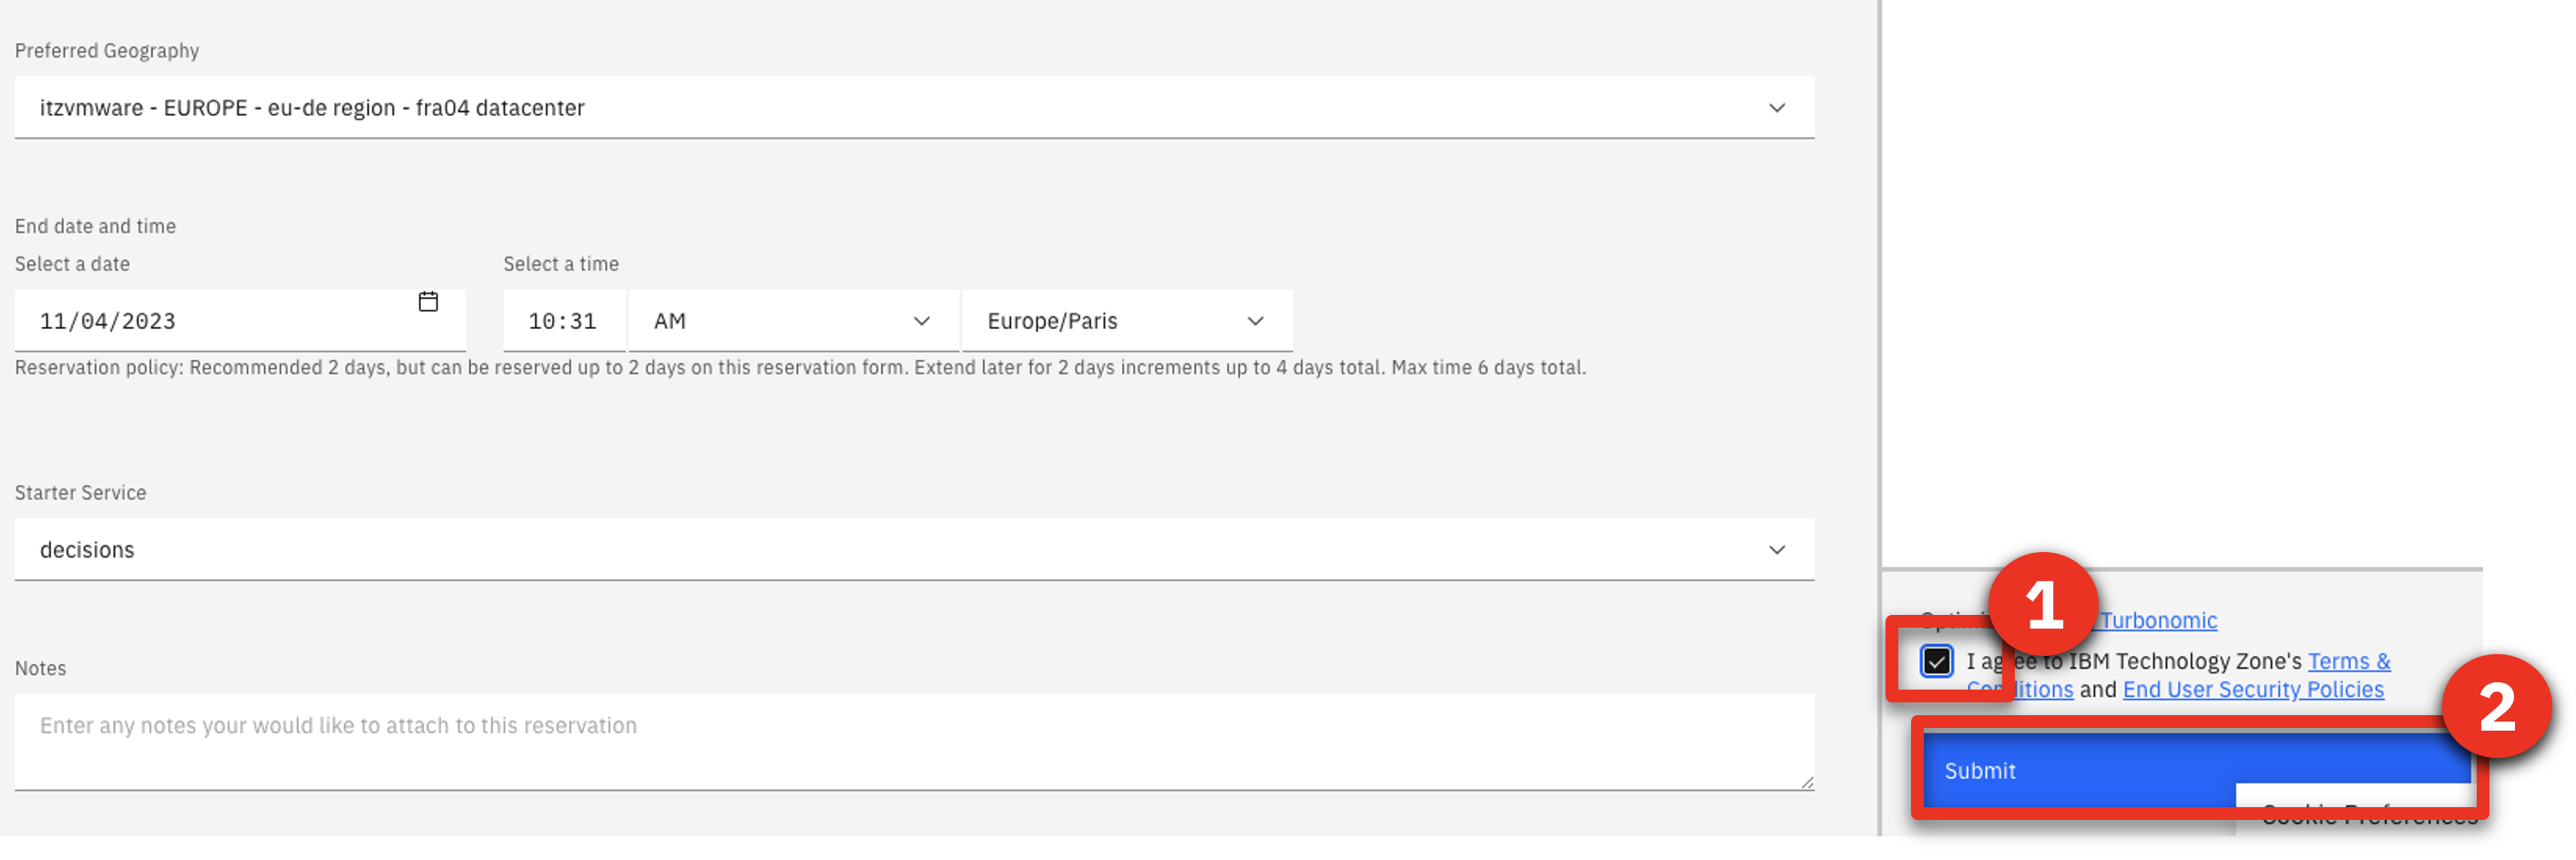
Read and agree to IBM Technology Zone’s Terms and Conditions and End User Security Policies (1). Click Submit (2).
-
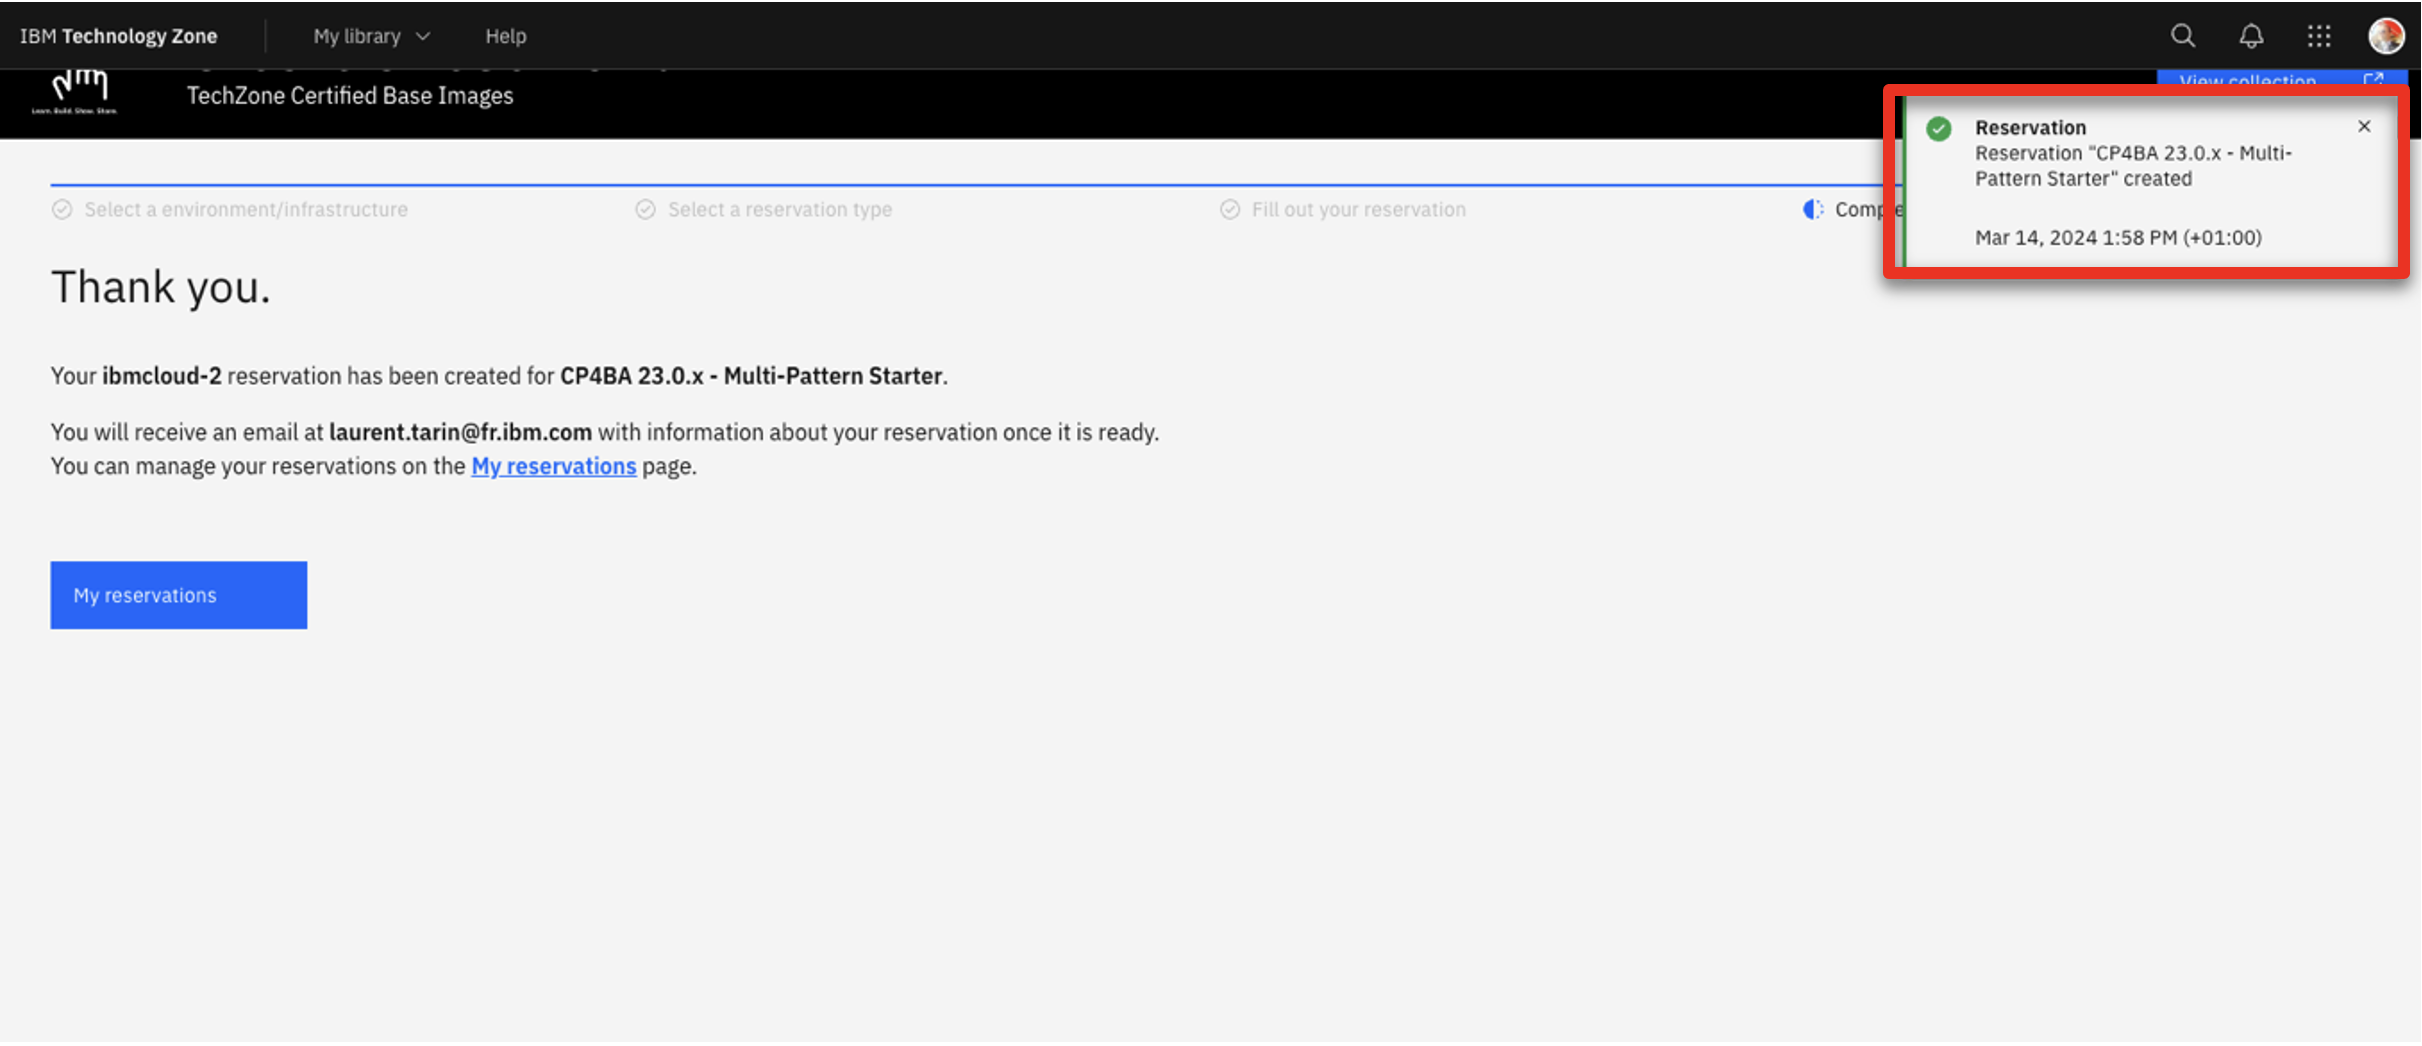
Check that the request was correctly submitted, and wait for the confirmation emails.
STEP 2: VALIDATE YOUR ENVIRONMENT AND BOOKMARK YOUR IDS / URLS
1 - Check your CP4BA install
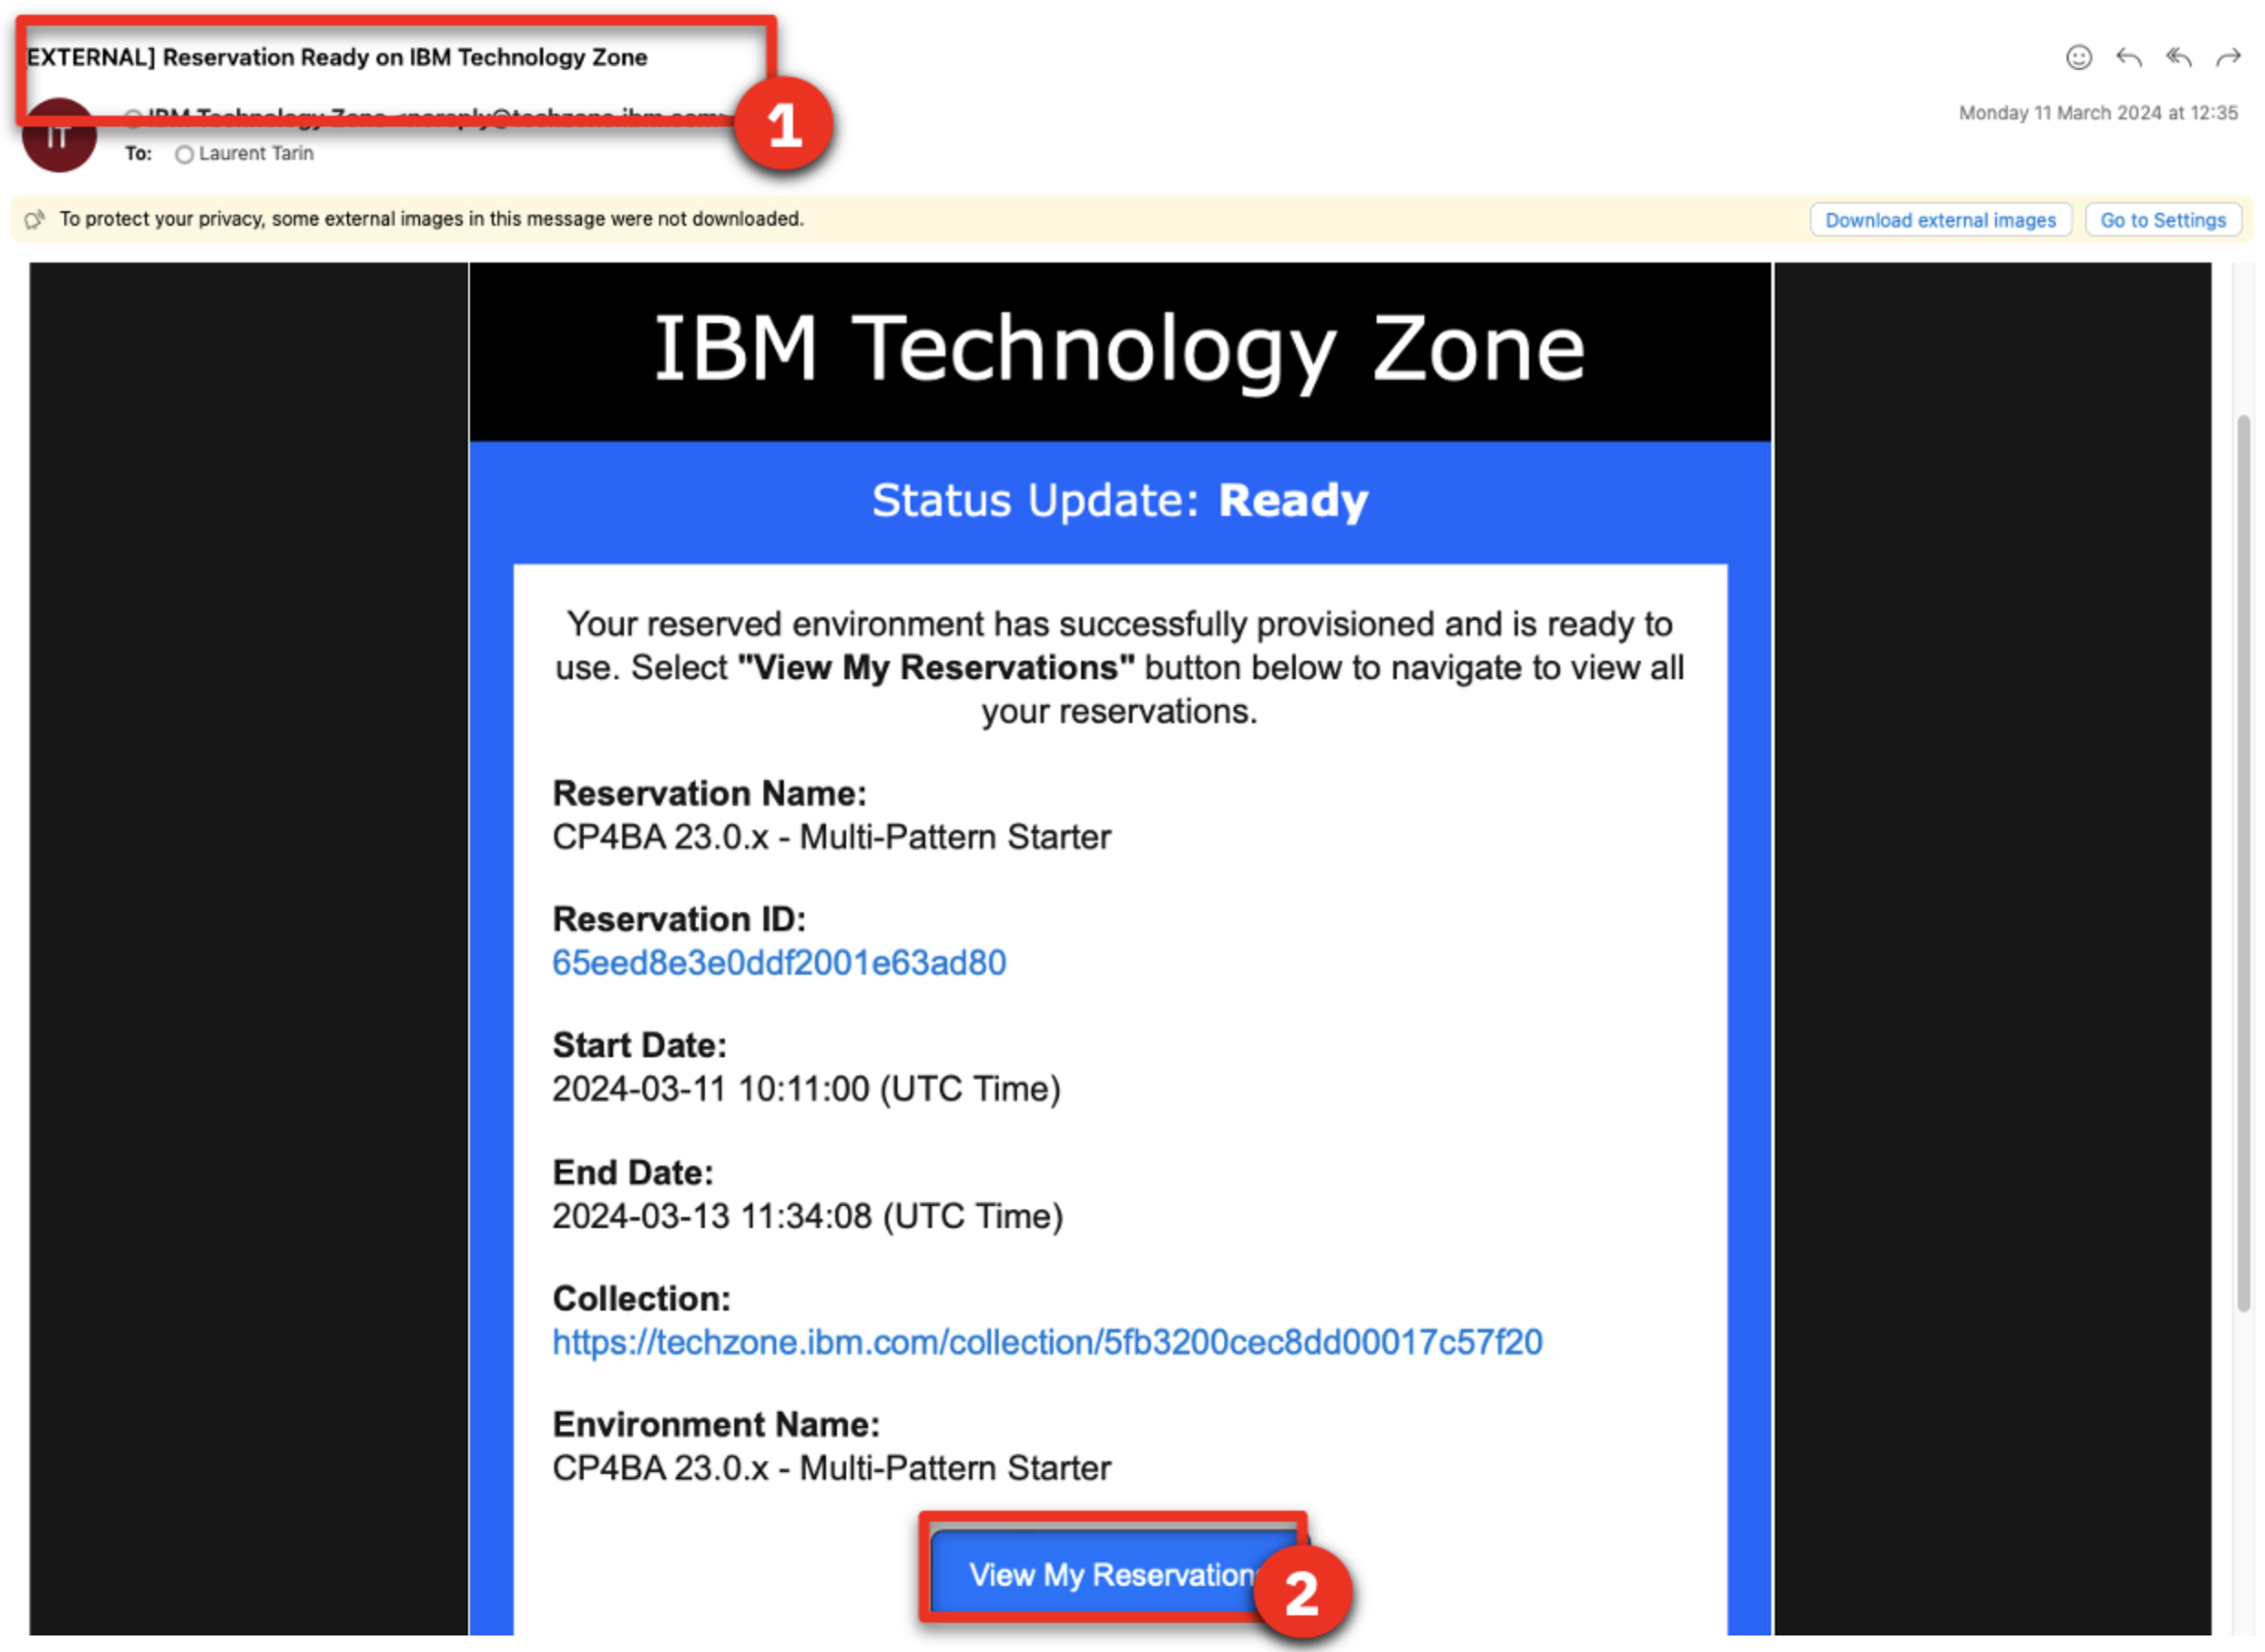
After 4-5 hours, your Cloud Pak for Business Automation (CP4BA) should be ready. After requesting your CP4BA, you will receive a series of emails from IBM Technology Zone regarding the progress of your request.
-
Check for an email with the subject Reservation Ready on IBM Technology Zone (1). Click View My Reservations (2)
-
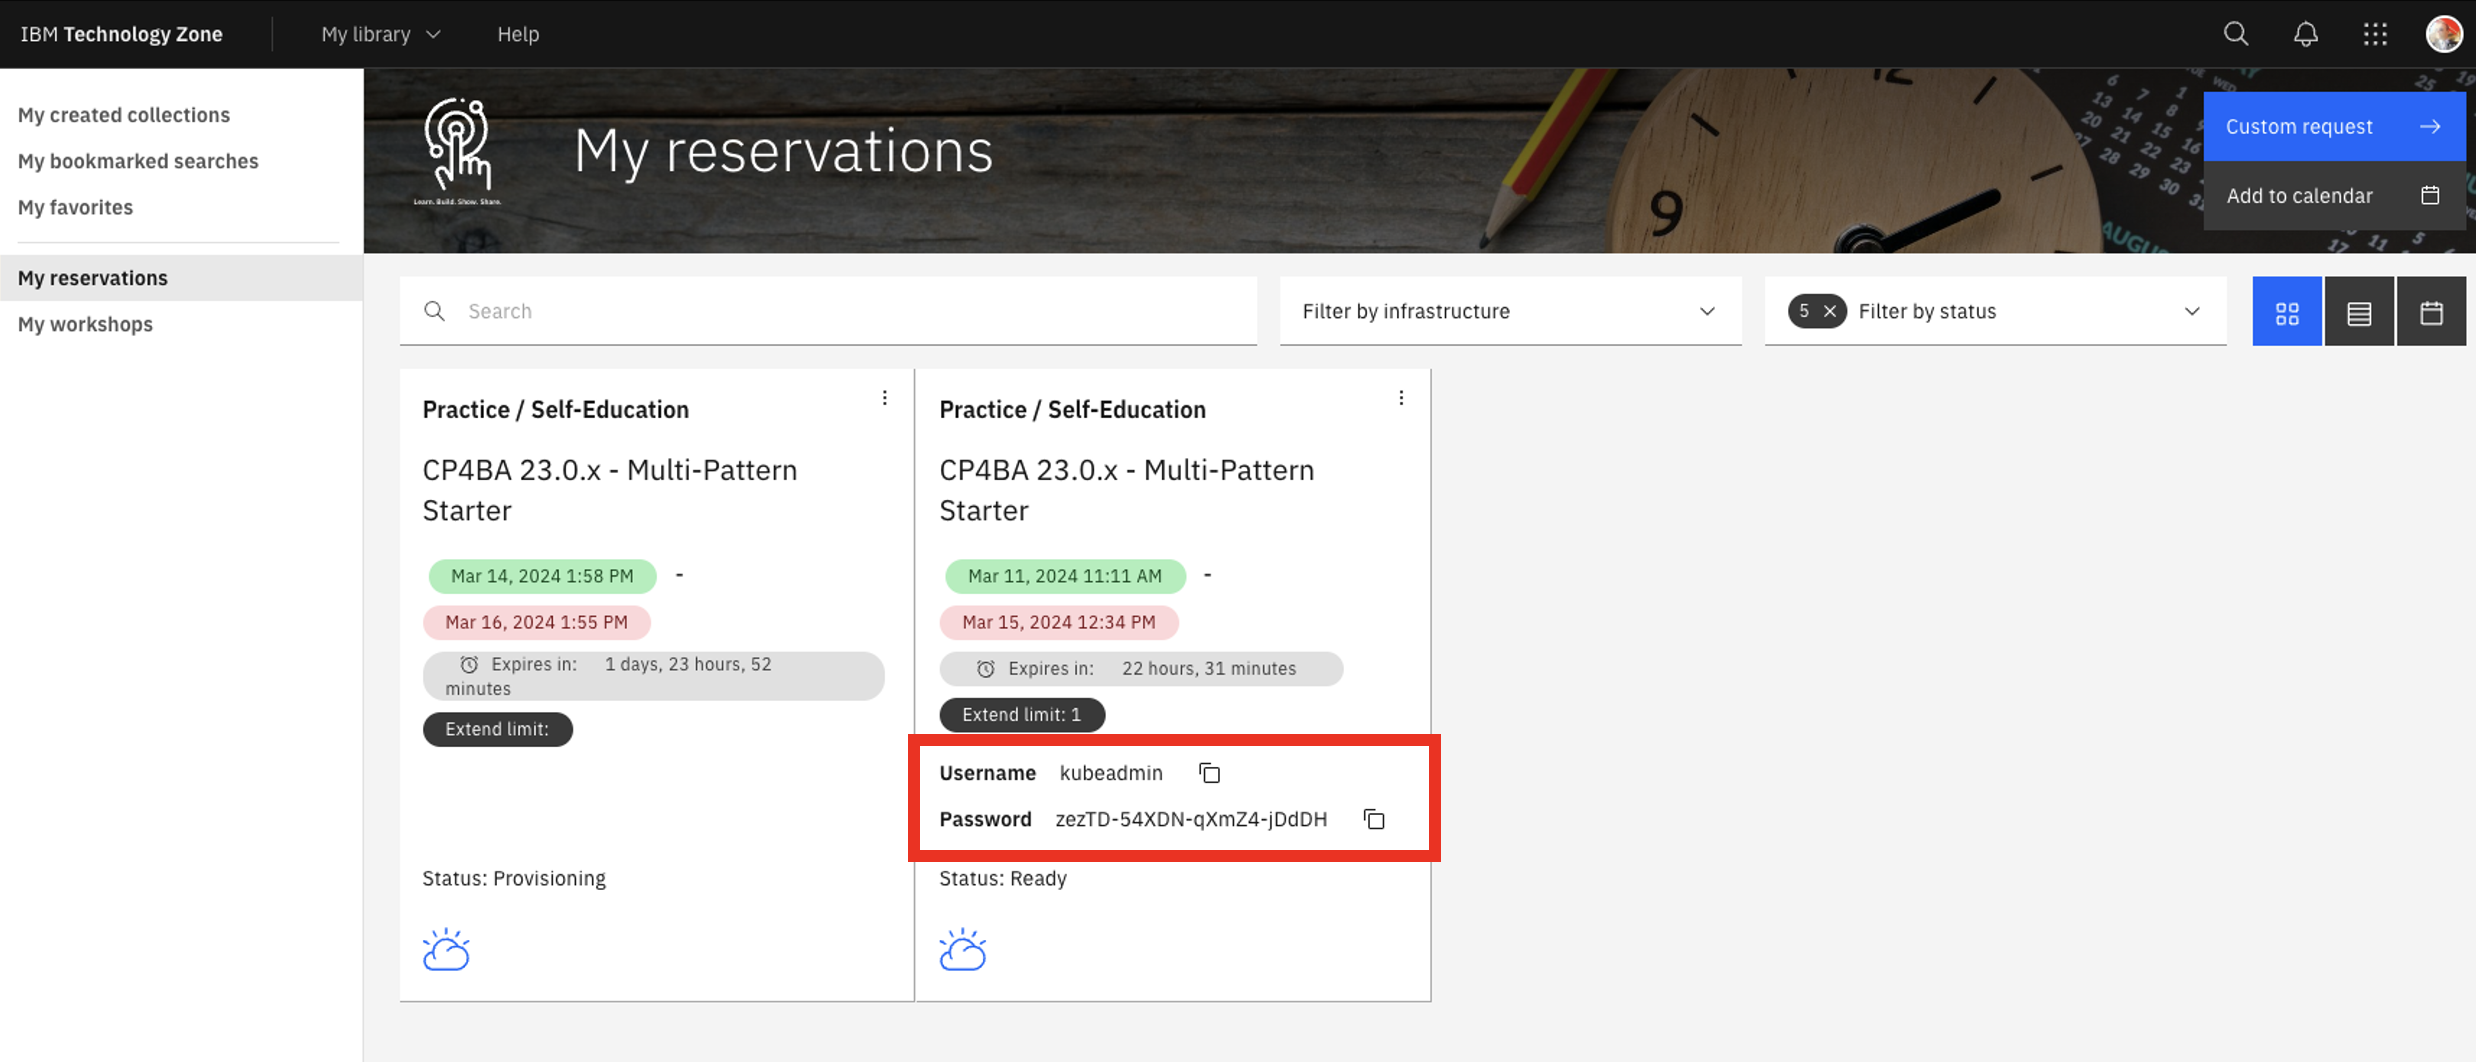
Copy paste your Kubeadmin / Passwords in your notebook
-
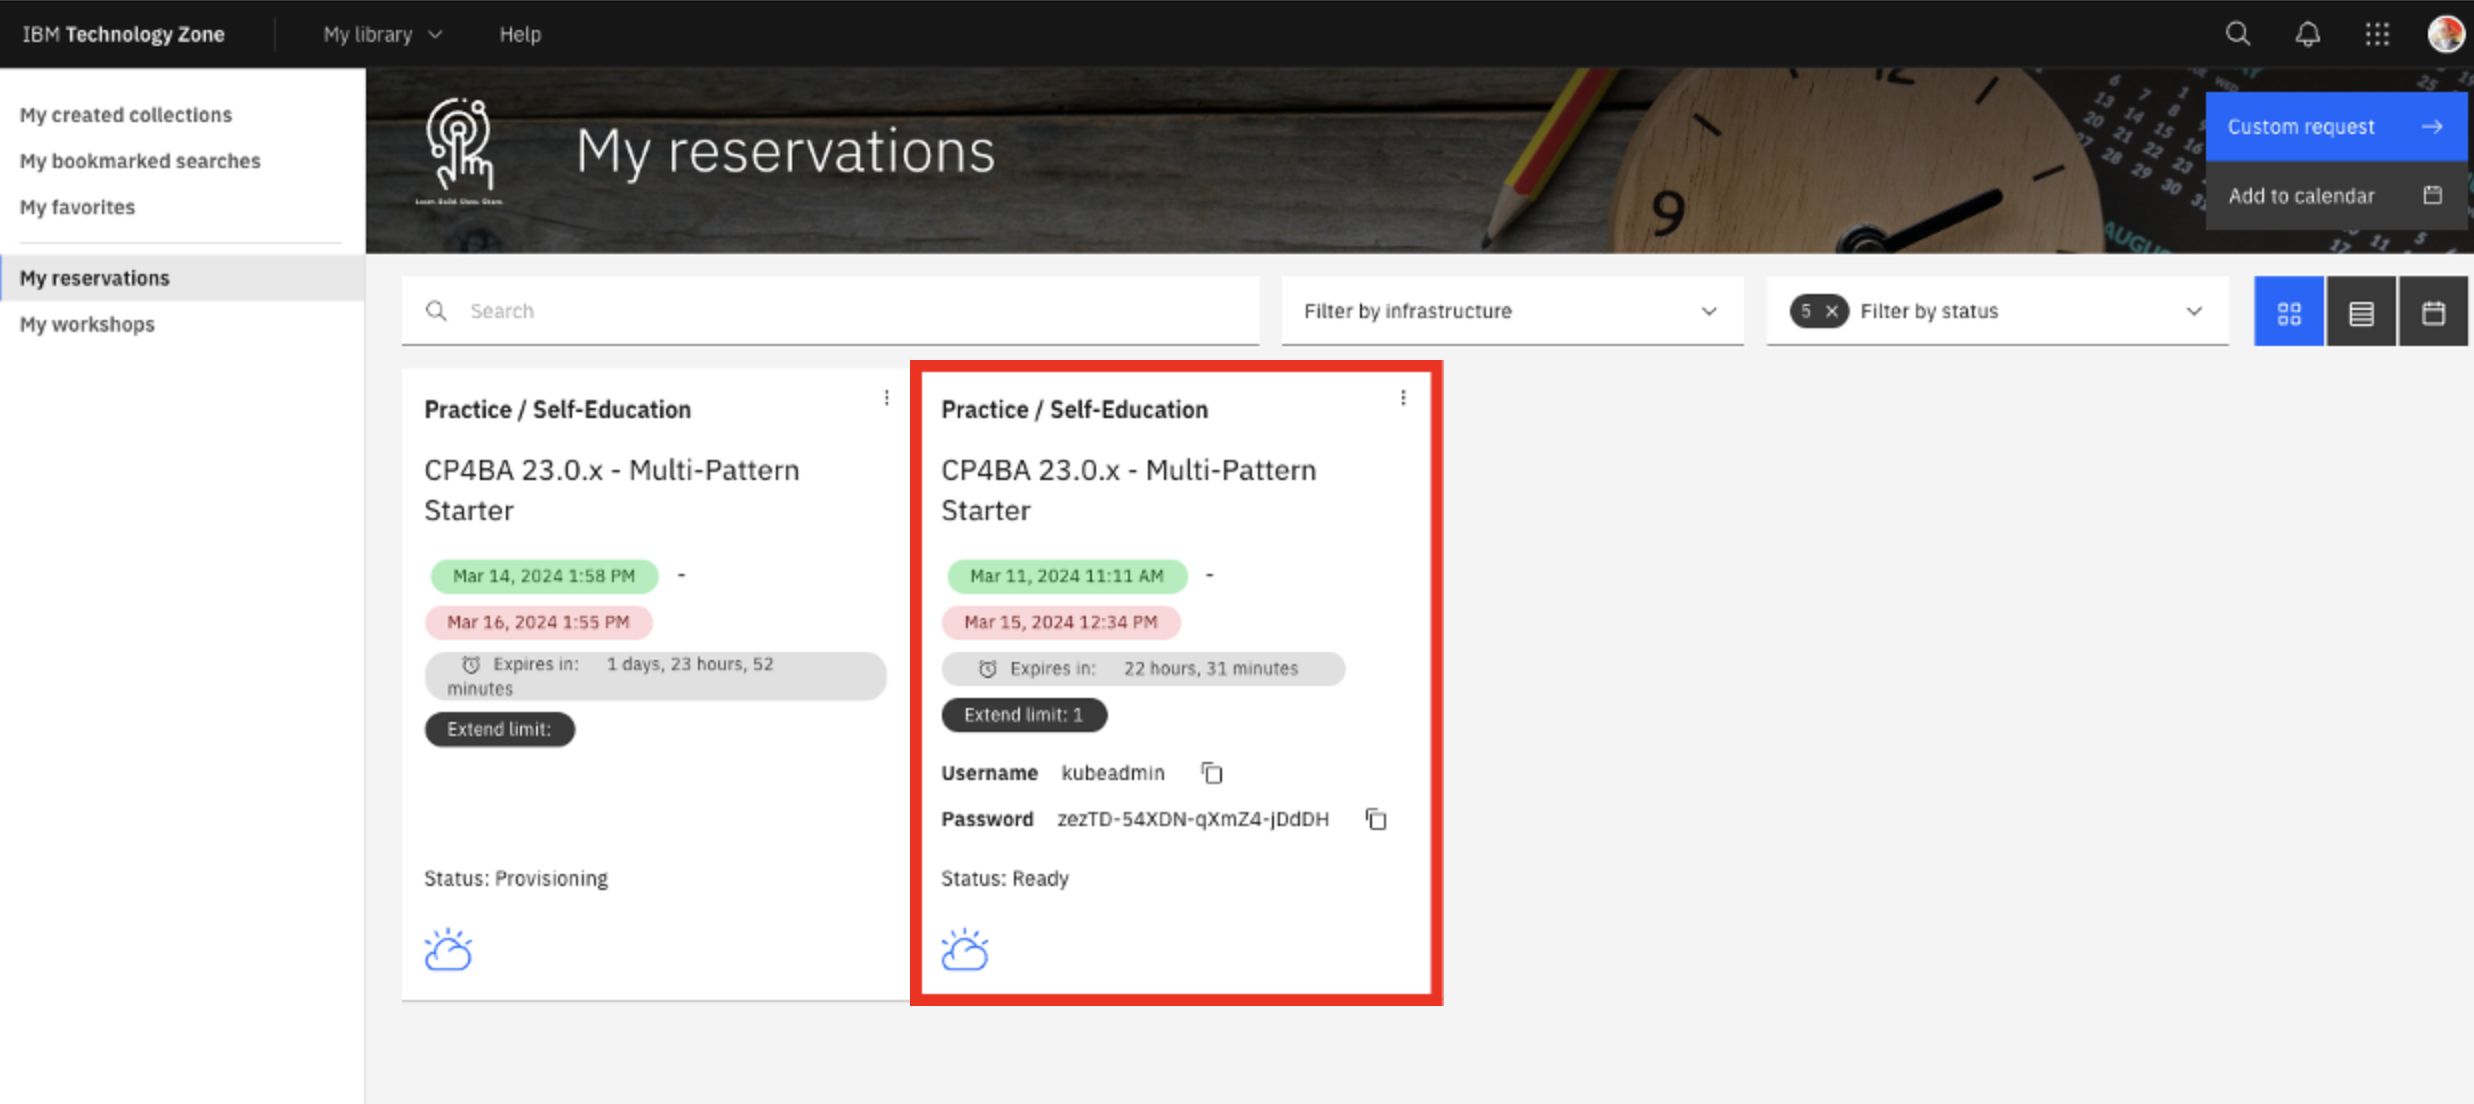
Click your reservation tile.
-
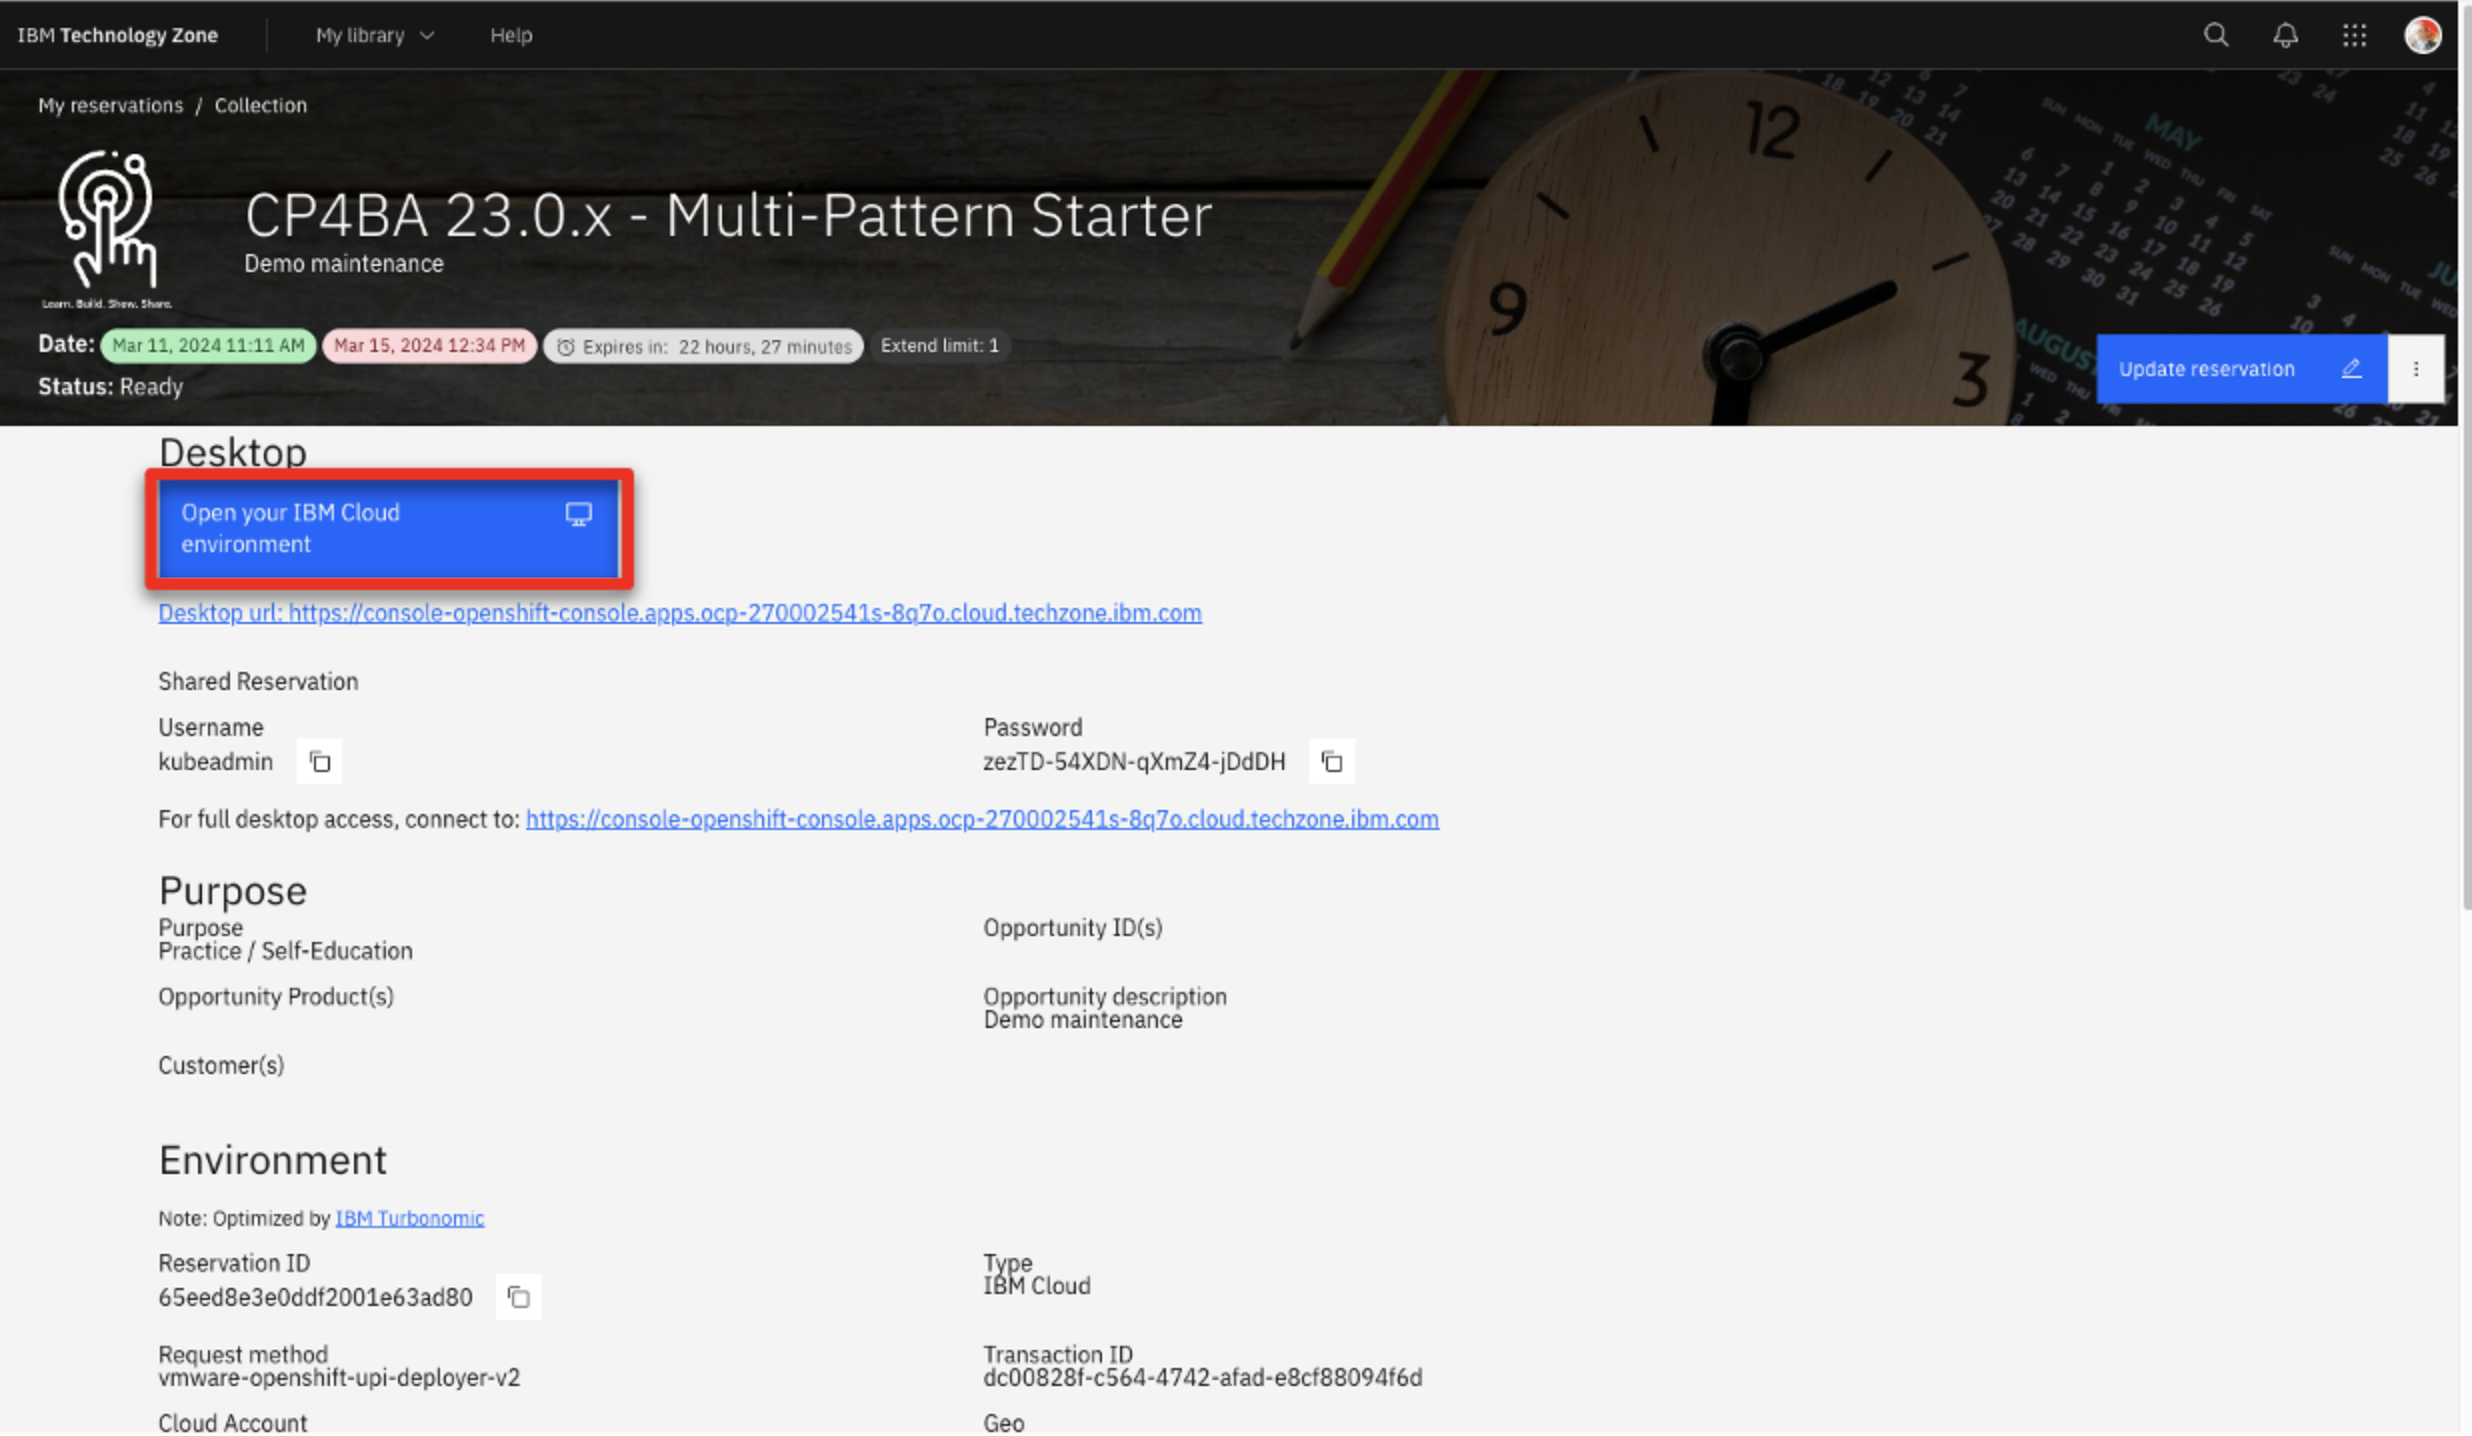
Click the Open your IBM Cloud environment.
-
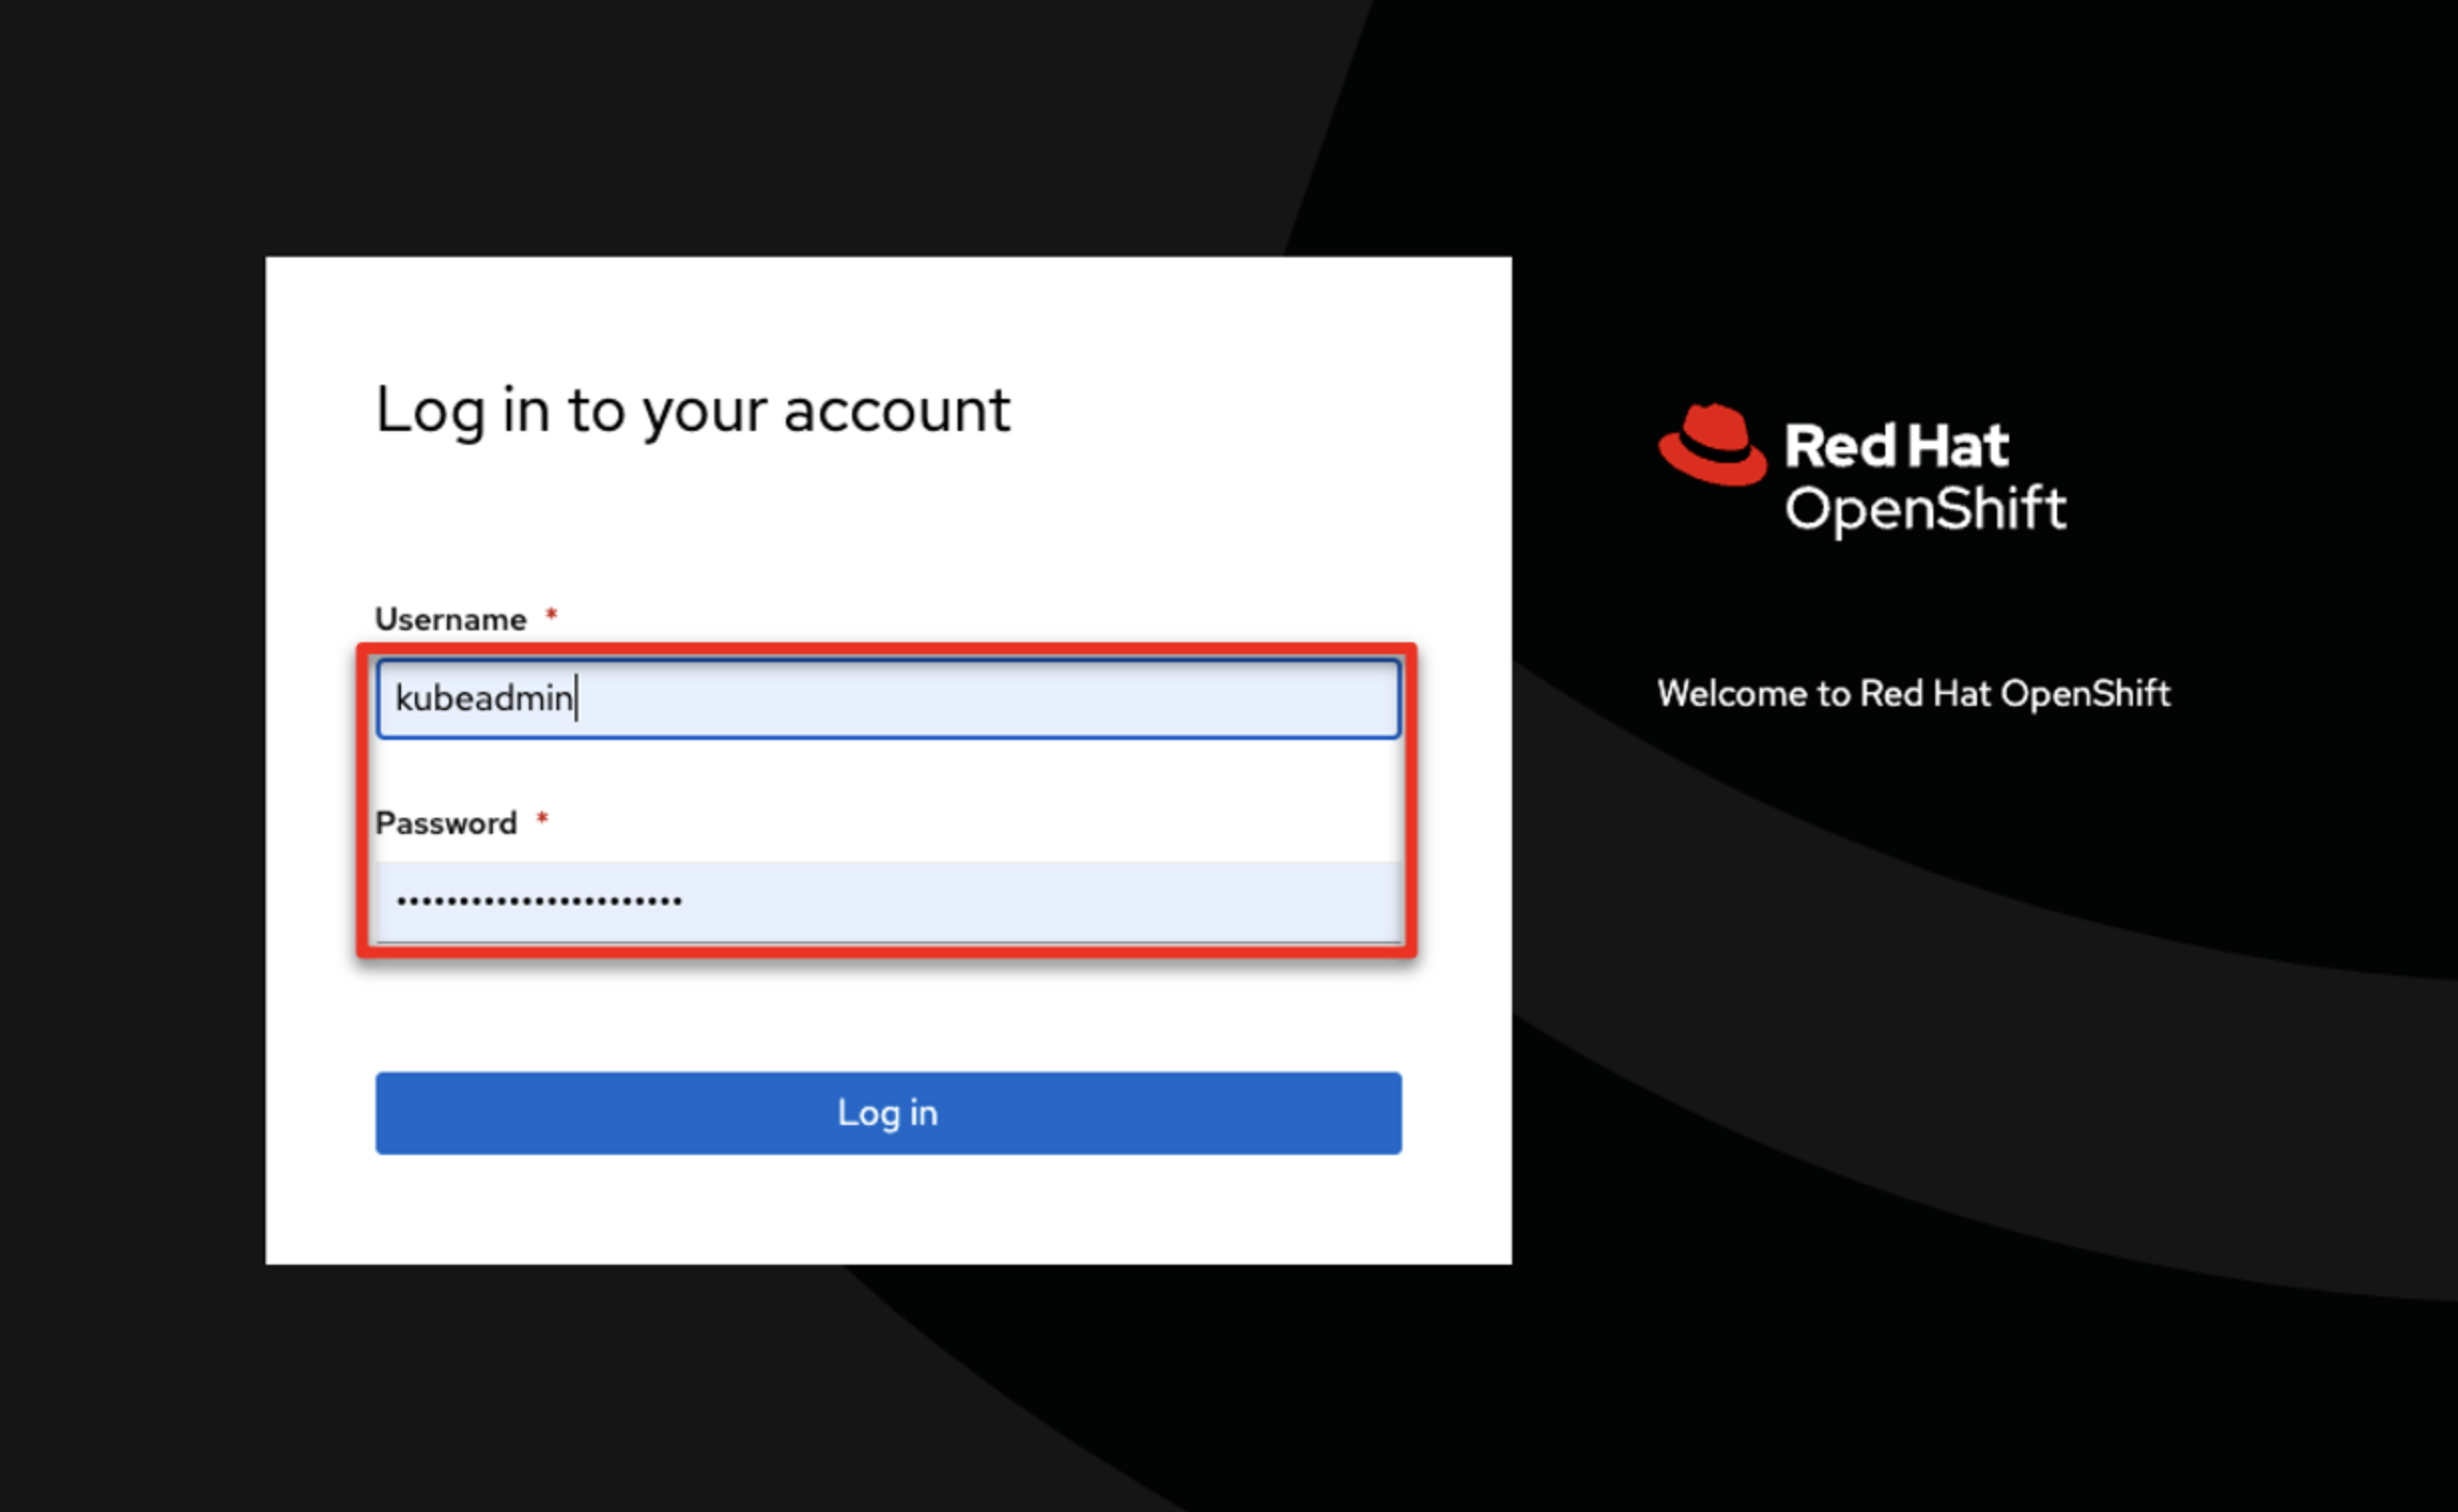
Log in using your kubeadmin login and password.
-
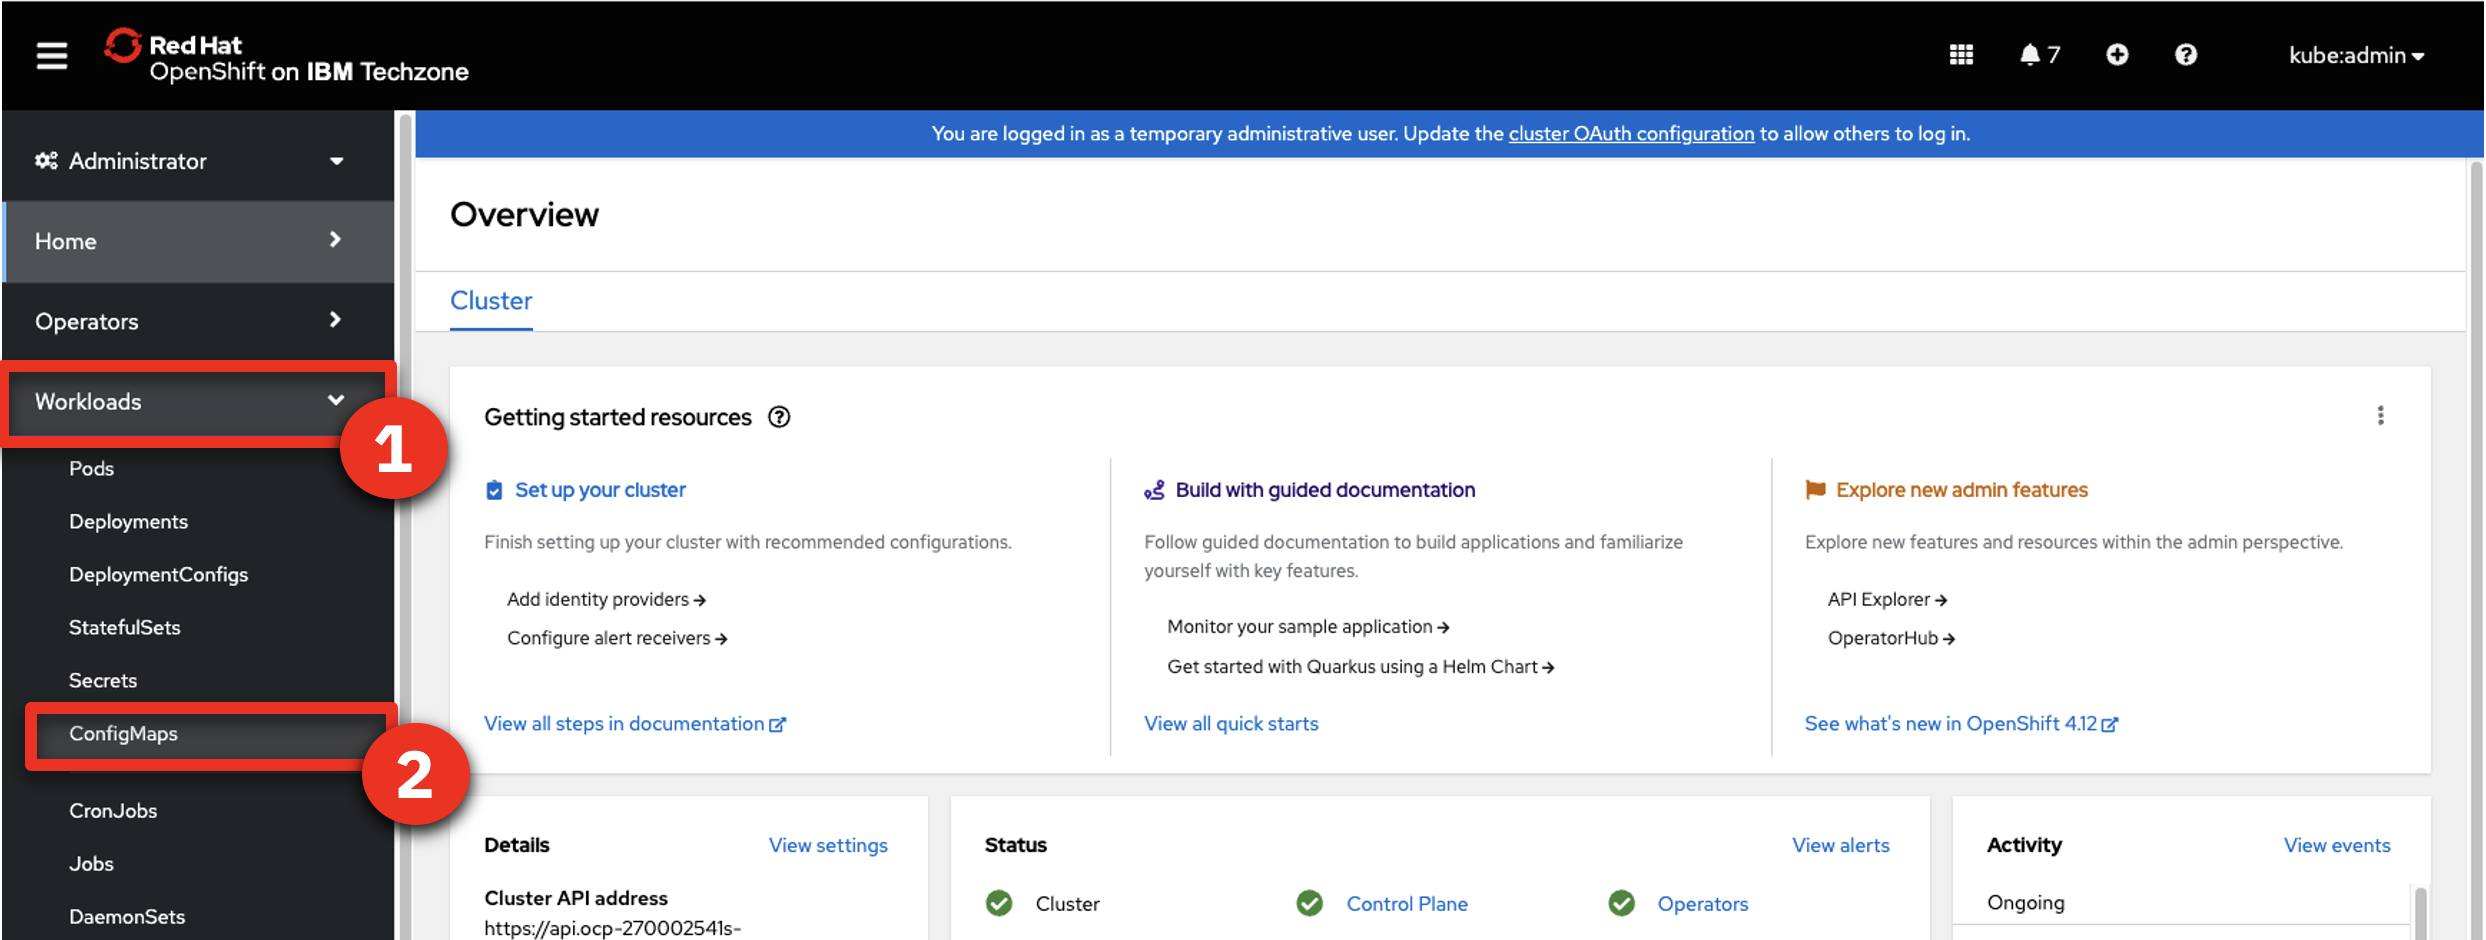
Expend Workloads (1) – Click ConfigMaps (2)
-
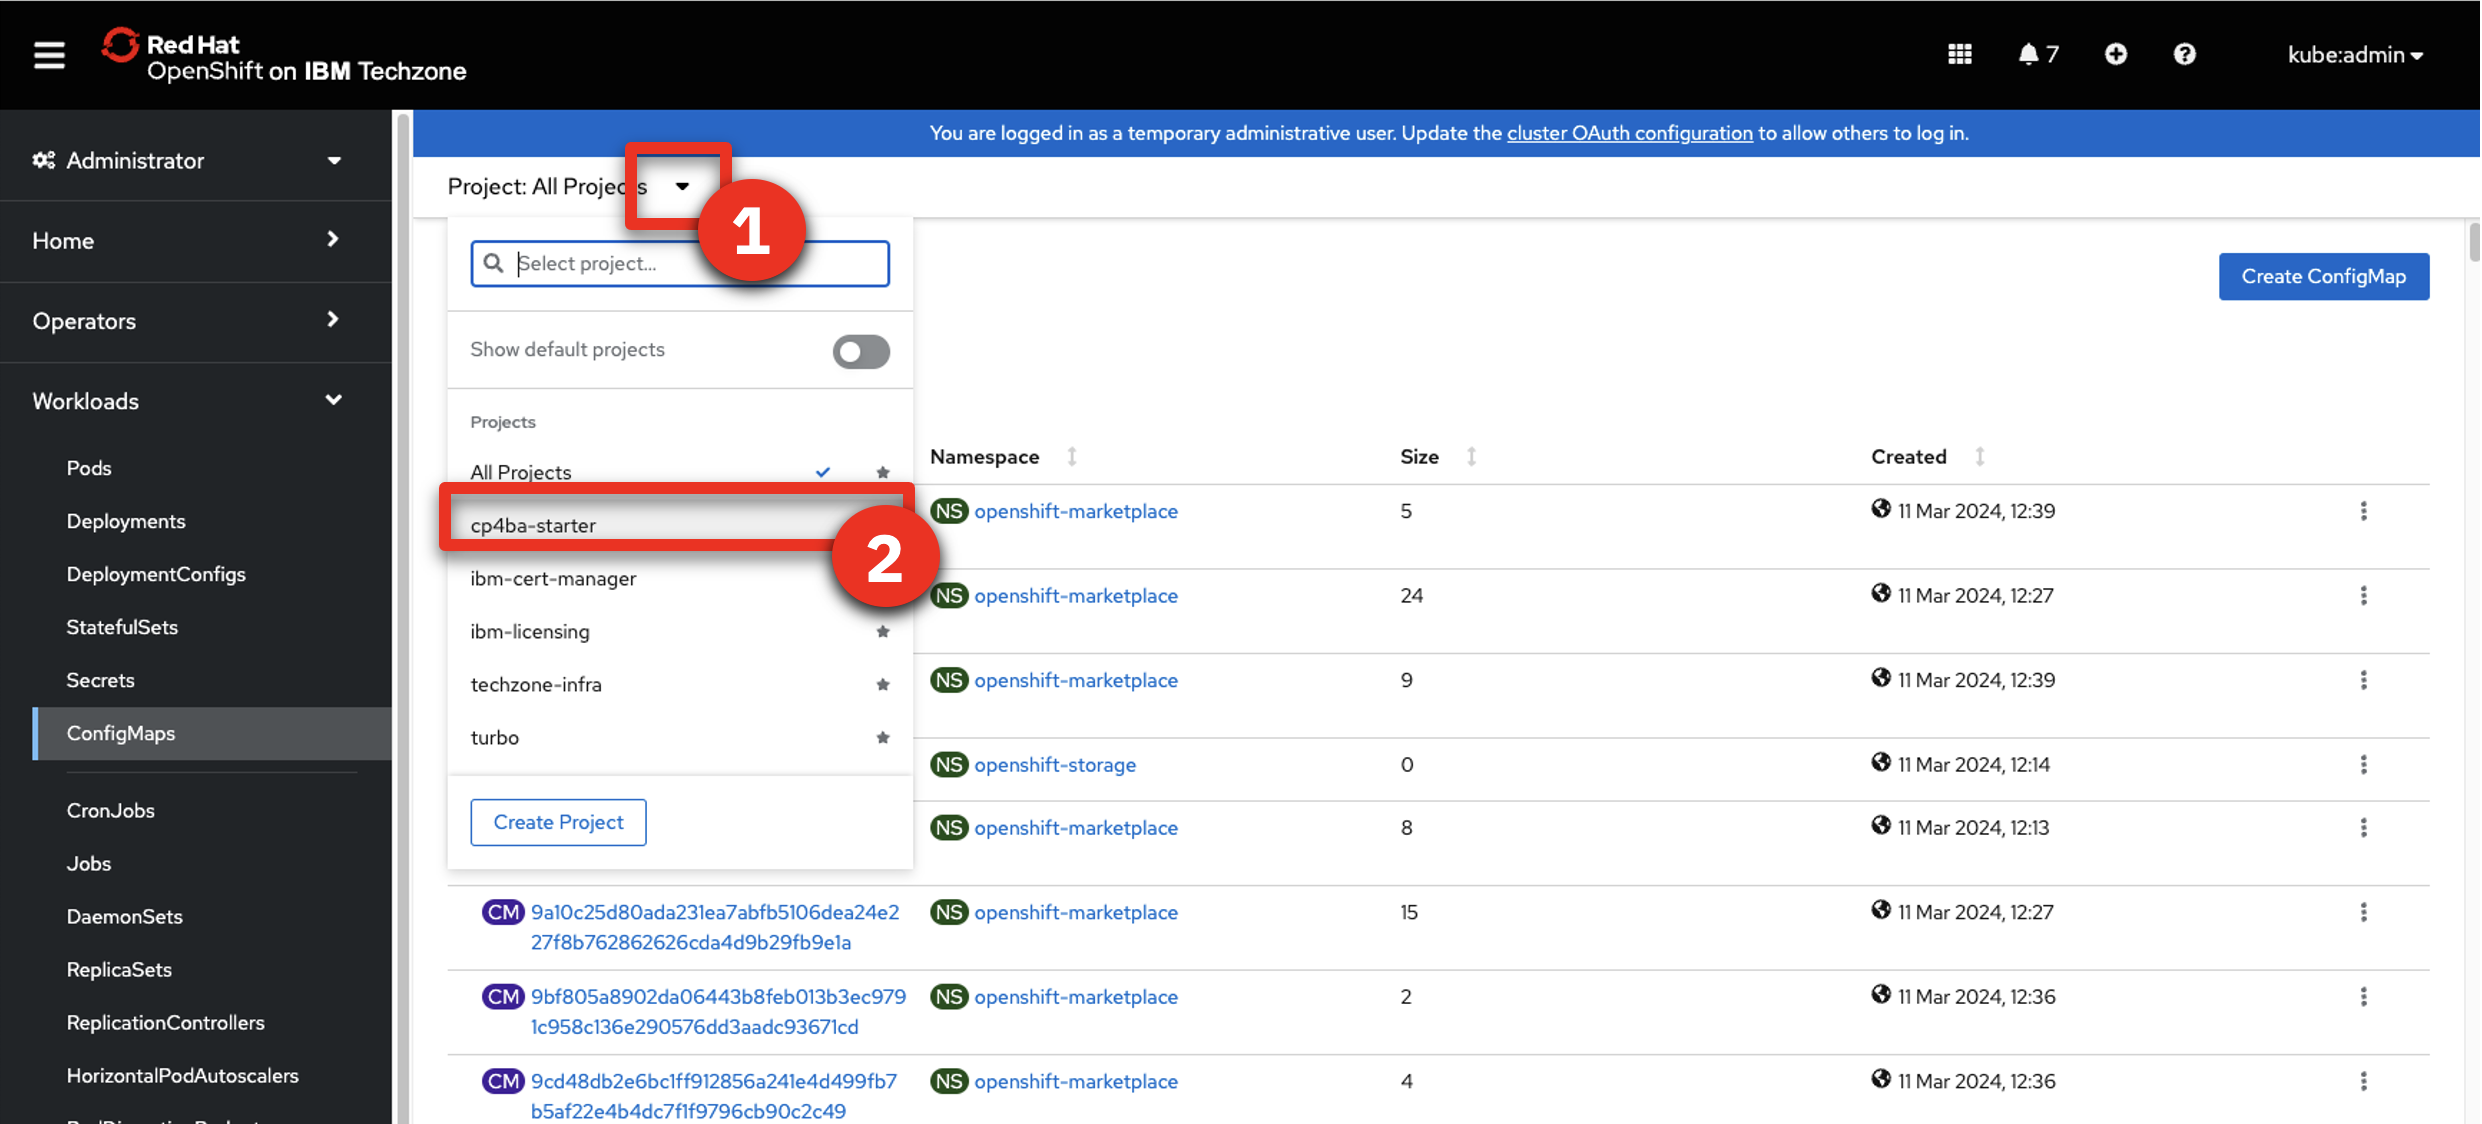
Expend the Project menu (1) – Select cp4a-Starter (2).
-
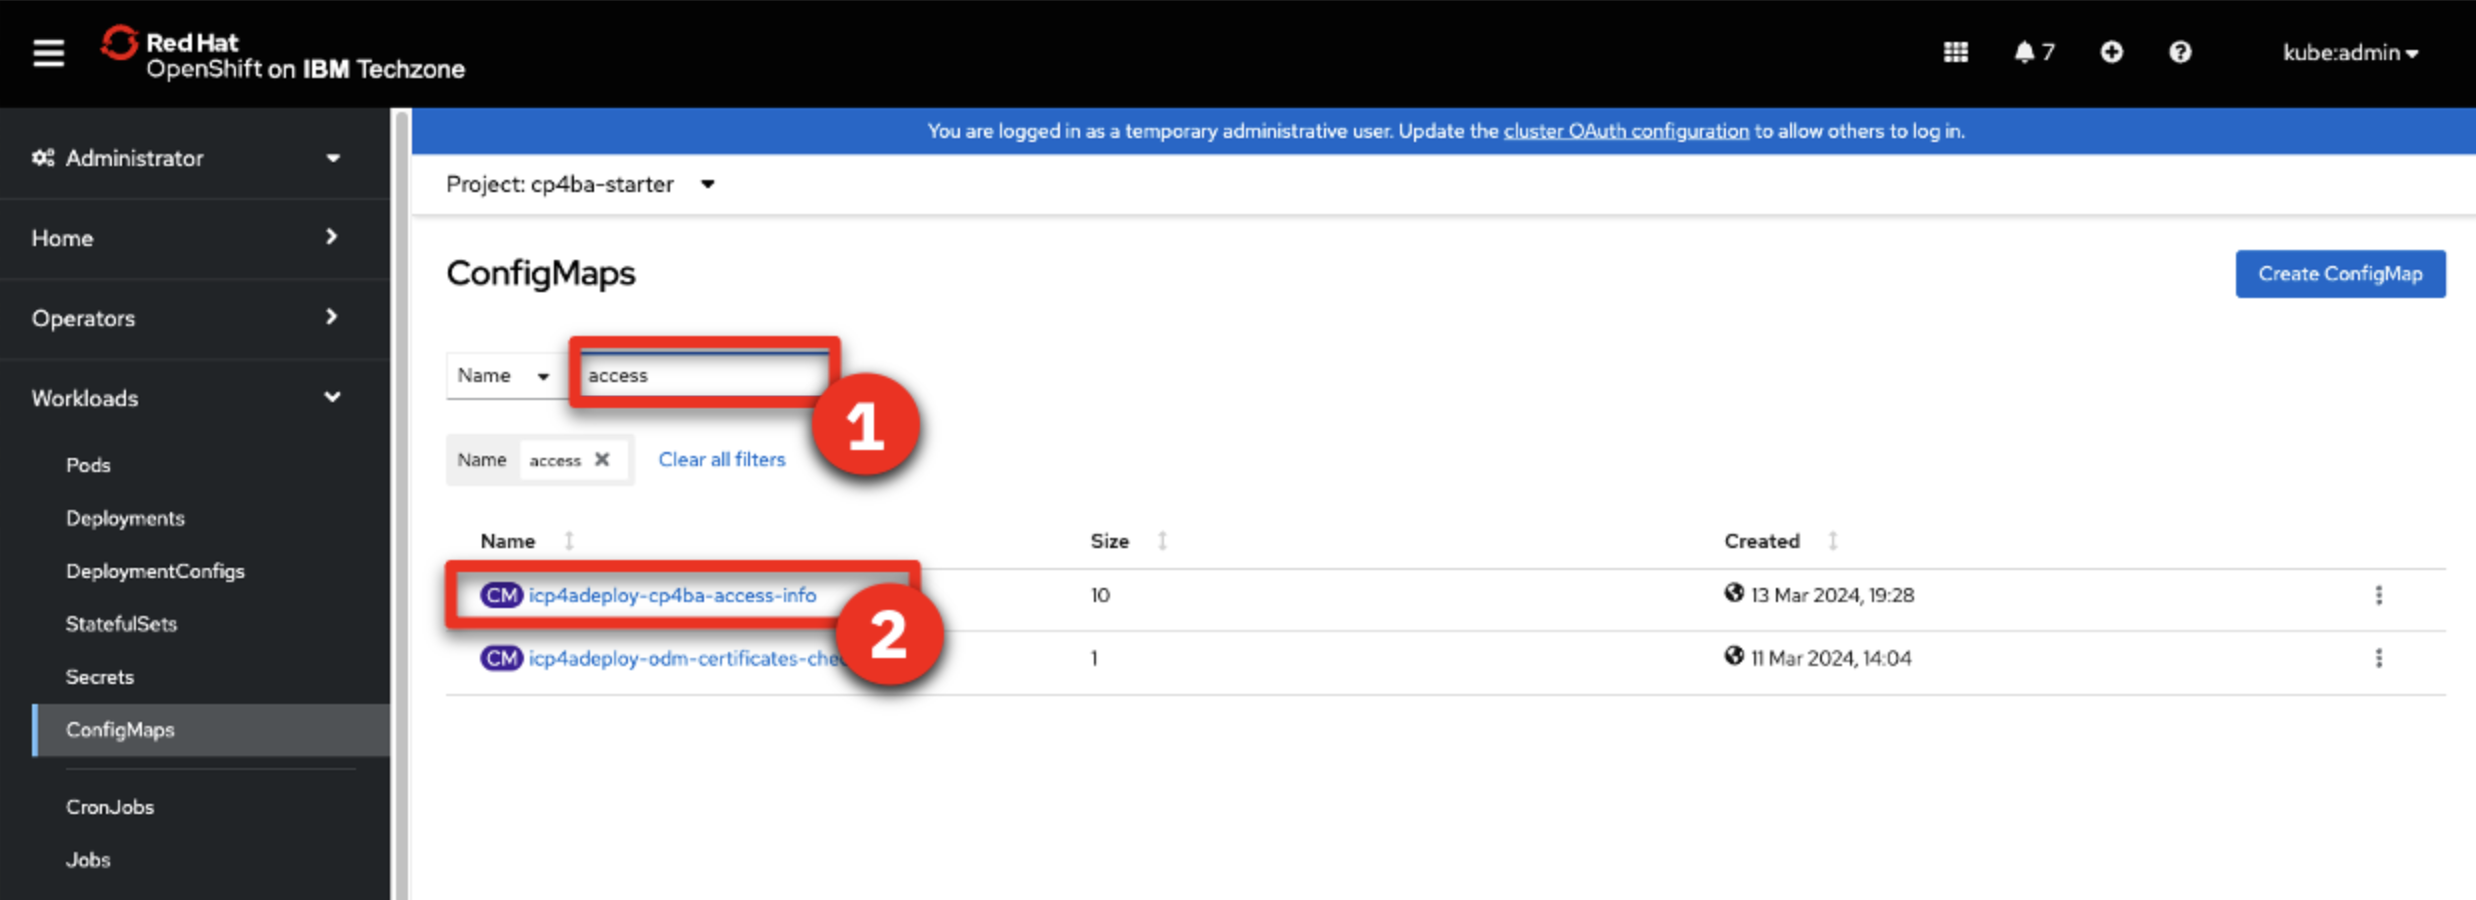
Type access in the search field (1) – Click icpdeploy-cp4ba-access-info (2).
-
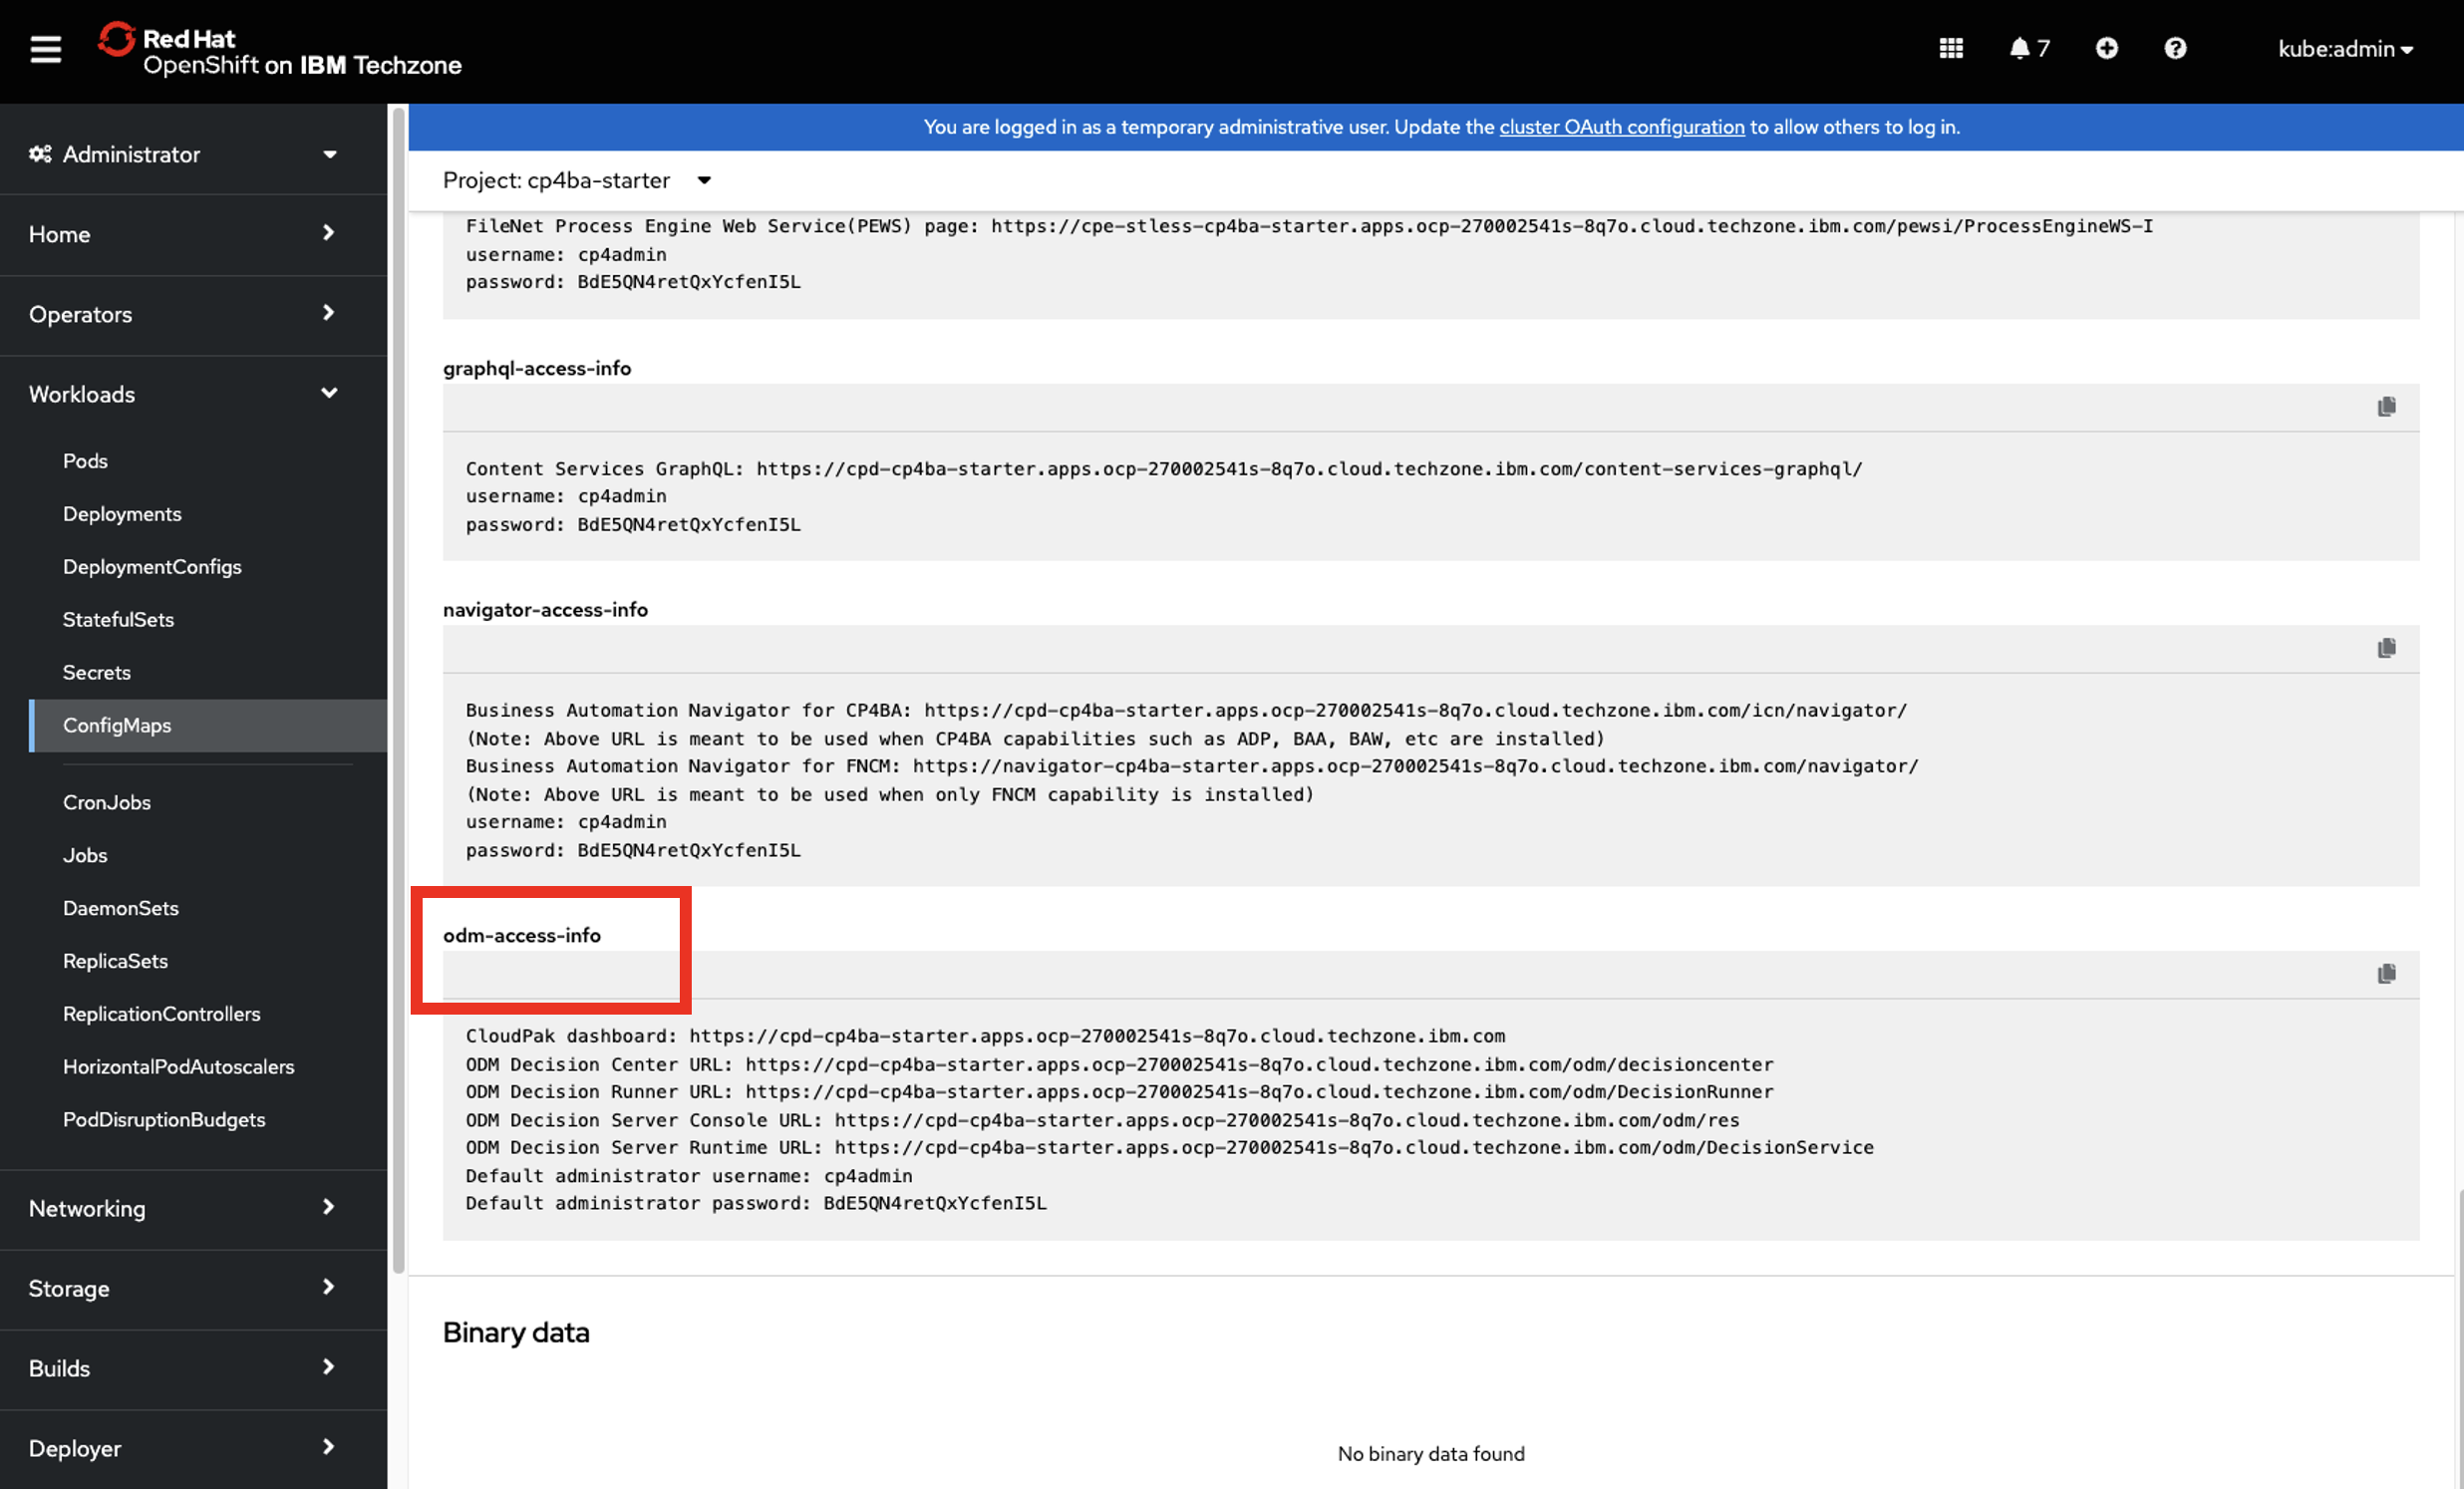
Scroll-down to the ODM-access-info section.
-
Add to your notebook the following information: Admin username / password (1) - Decision Center URL (2) - Decision Server Console URL (3) - CloudPak dashboard URL (4)

-
Add to your notebook the CPD URL of your CP4BA install.

2 - Generate your API key
-
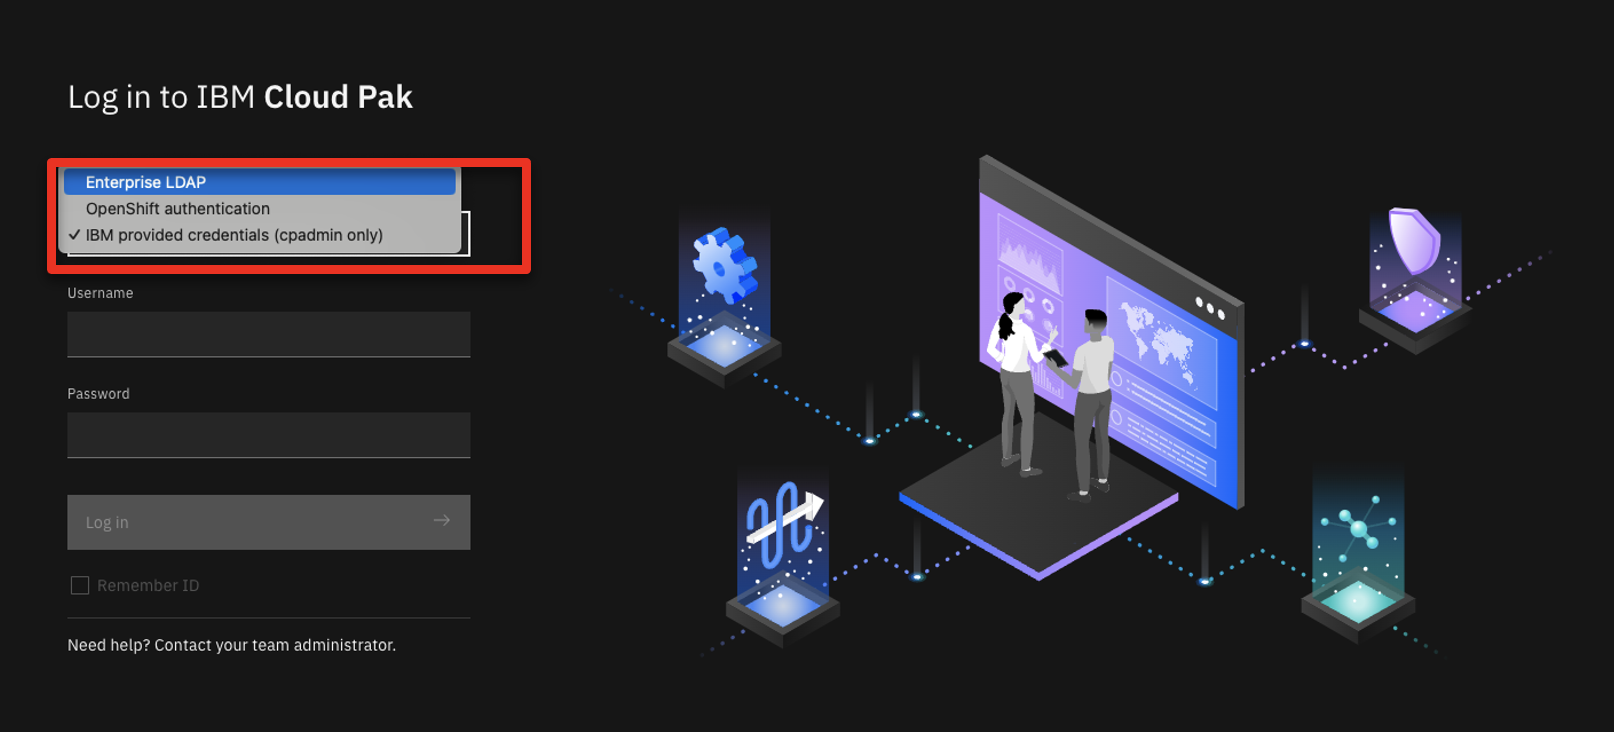
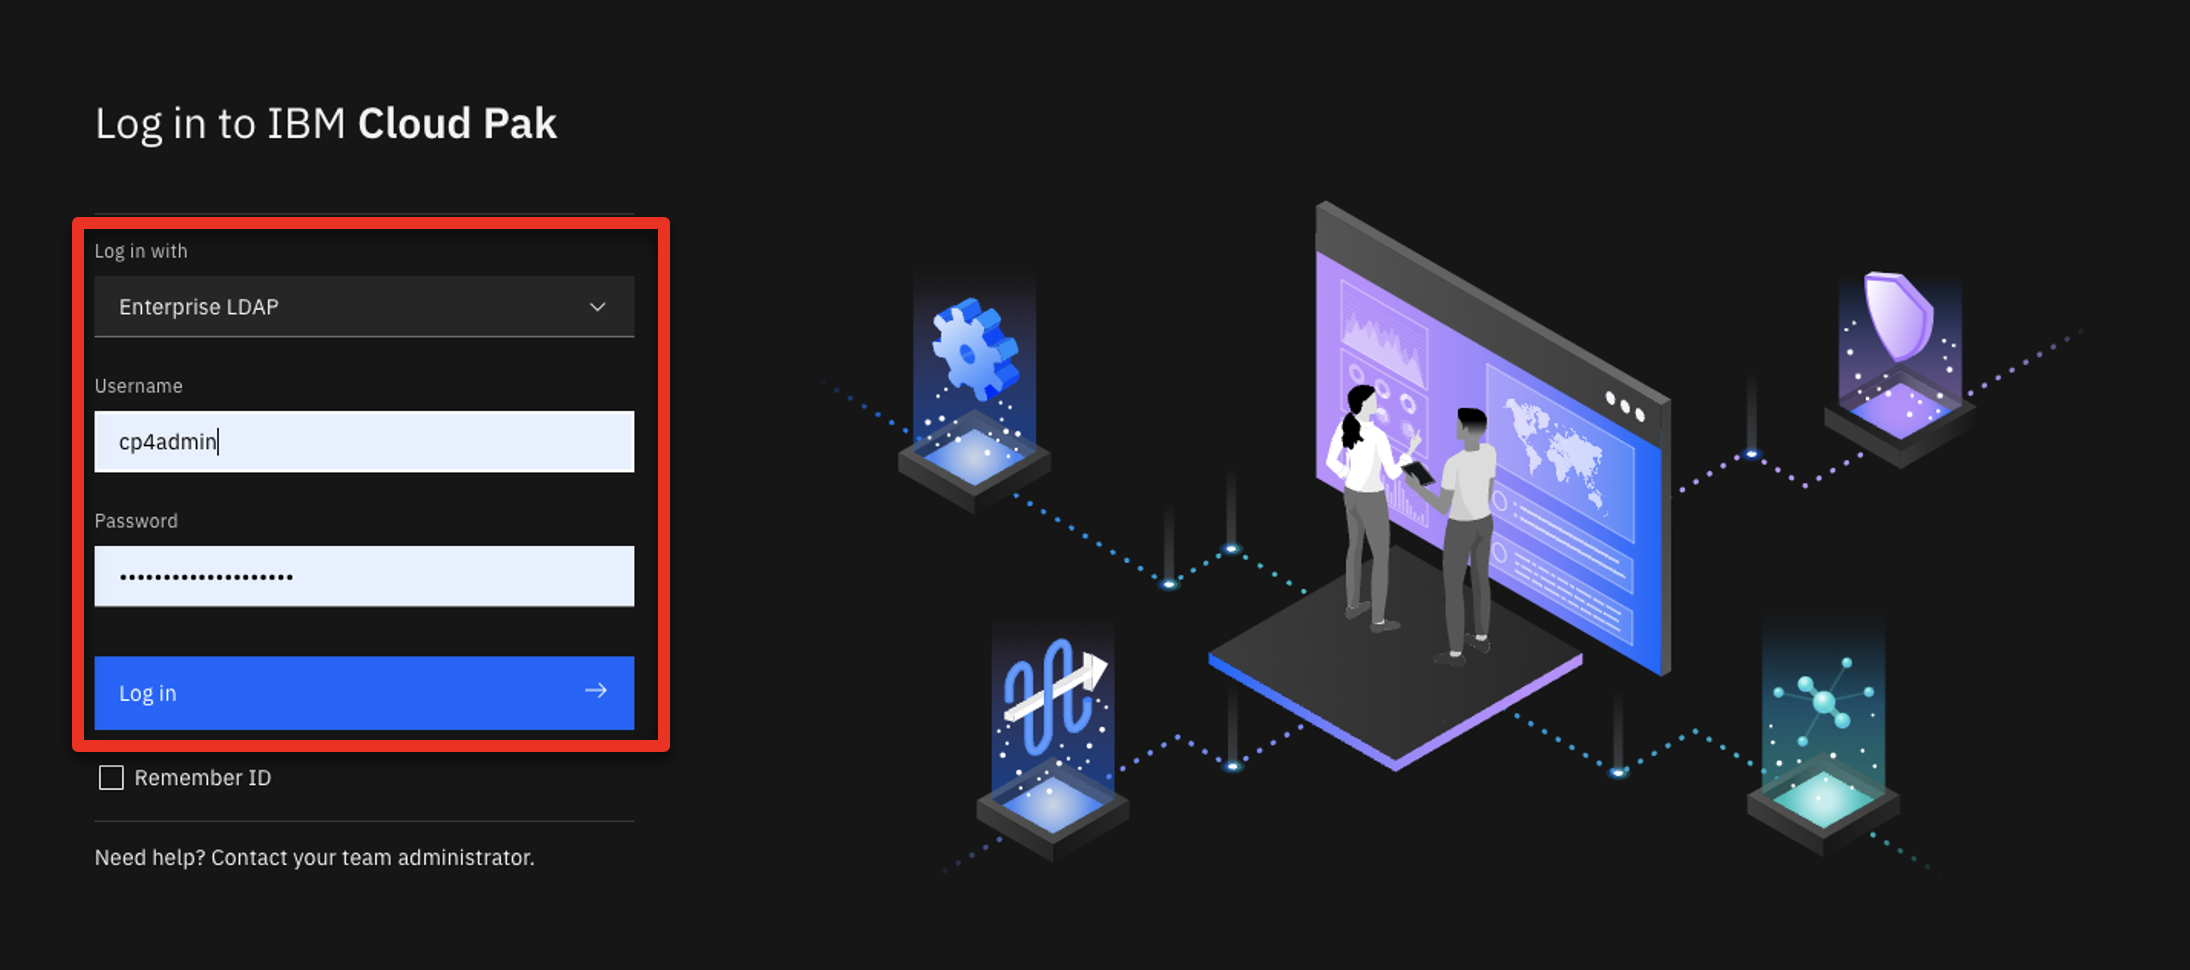
Log into the CP4BA Dashboard interface interface using the Dashboard URL from your notebook using Enterprise LDAP.
-
Use the Admin Username (cp4admin) credentials (1) from your notebook. Click Log in (2).

-
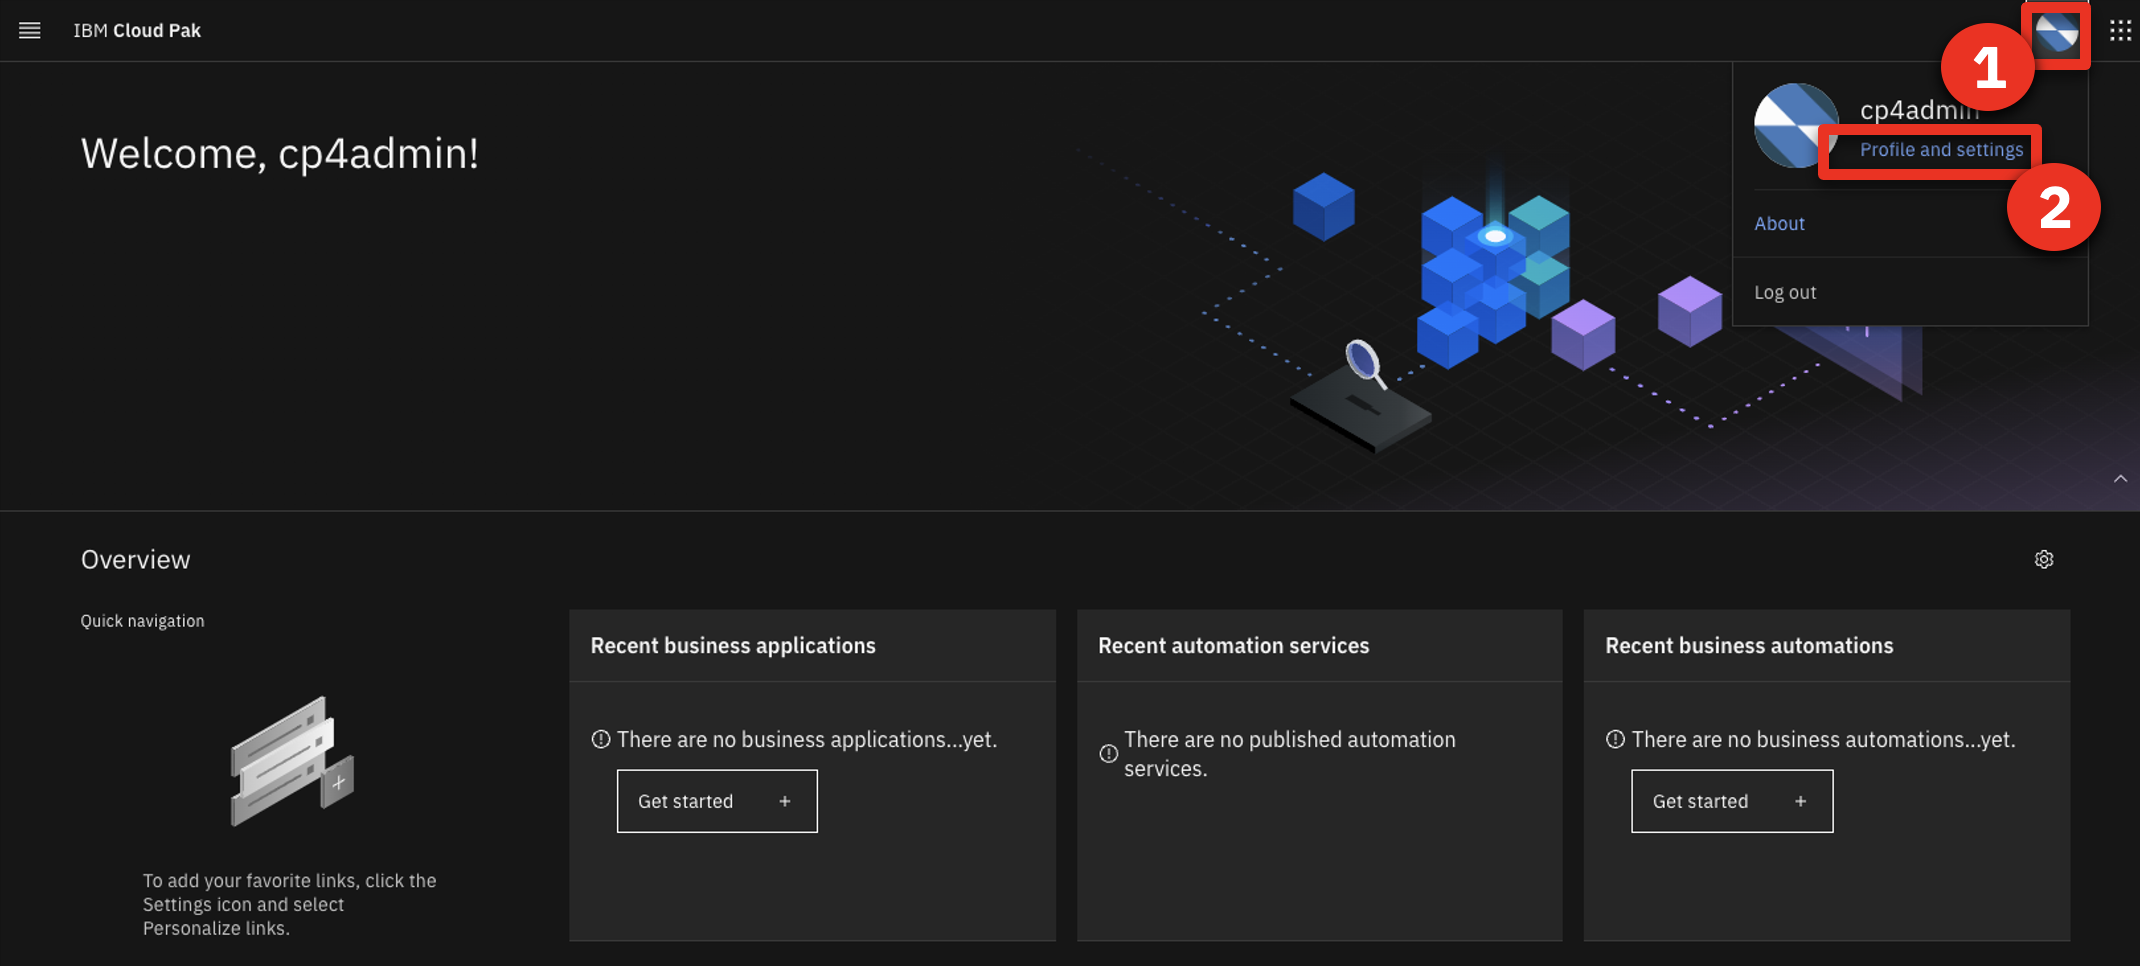
Right-click on your avatar icon (1). Click Profile and settings (2).
-
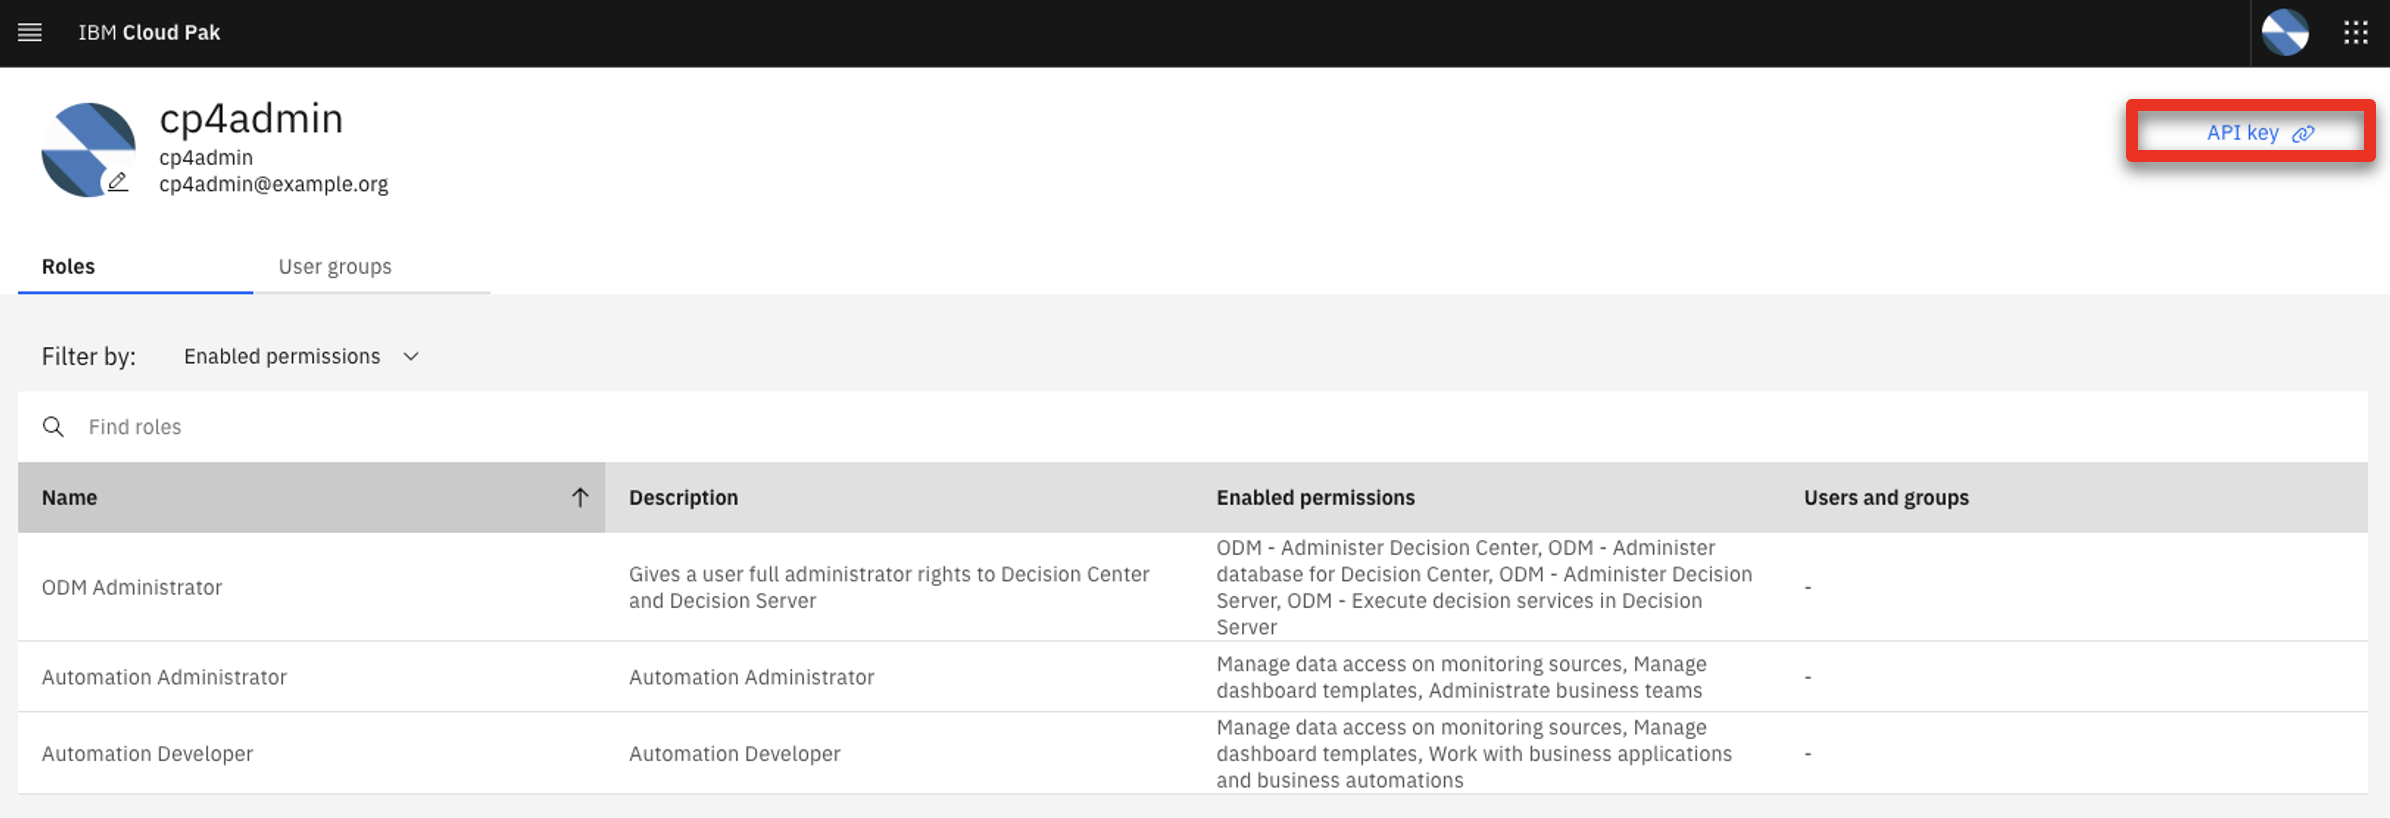
Click API key.
-
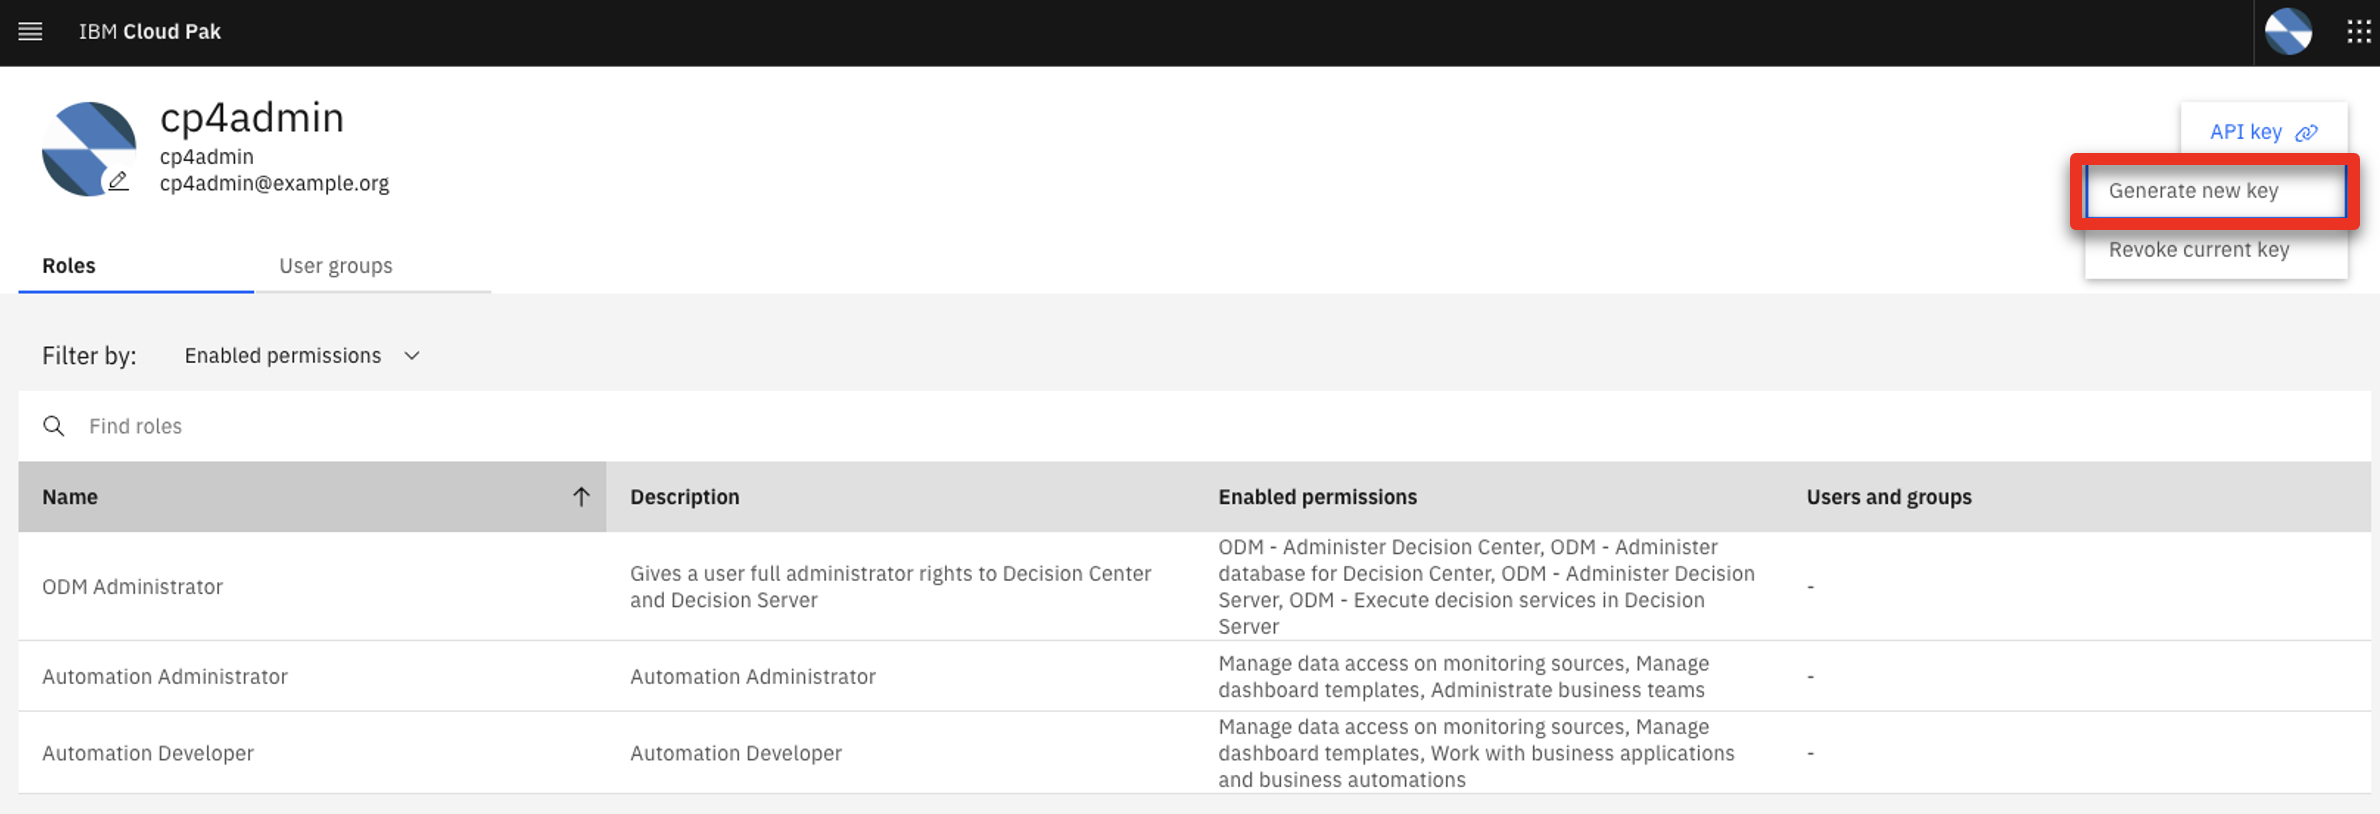
Click Generate new key.
-
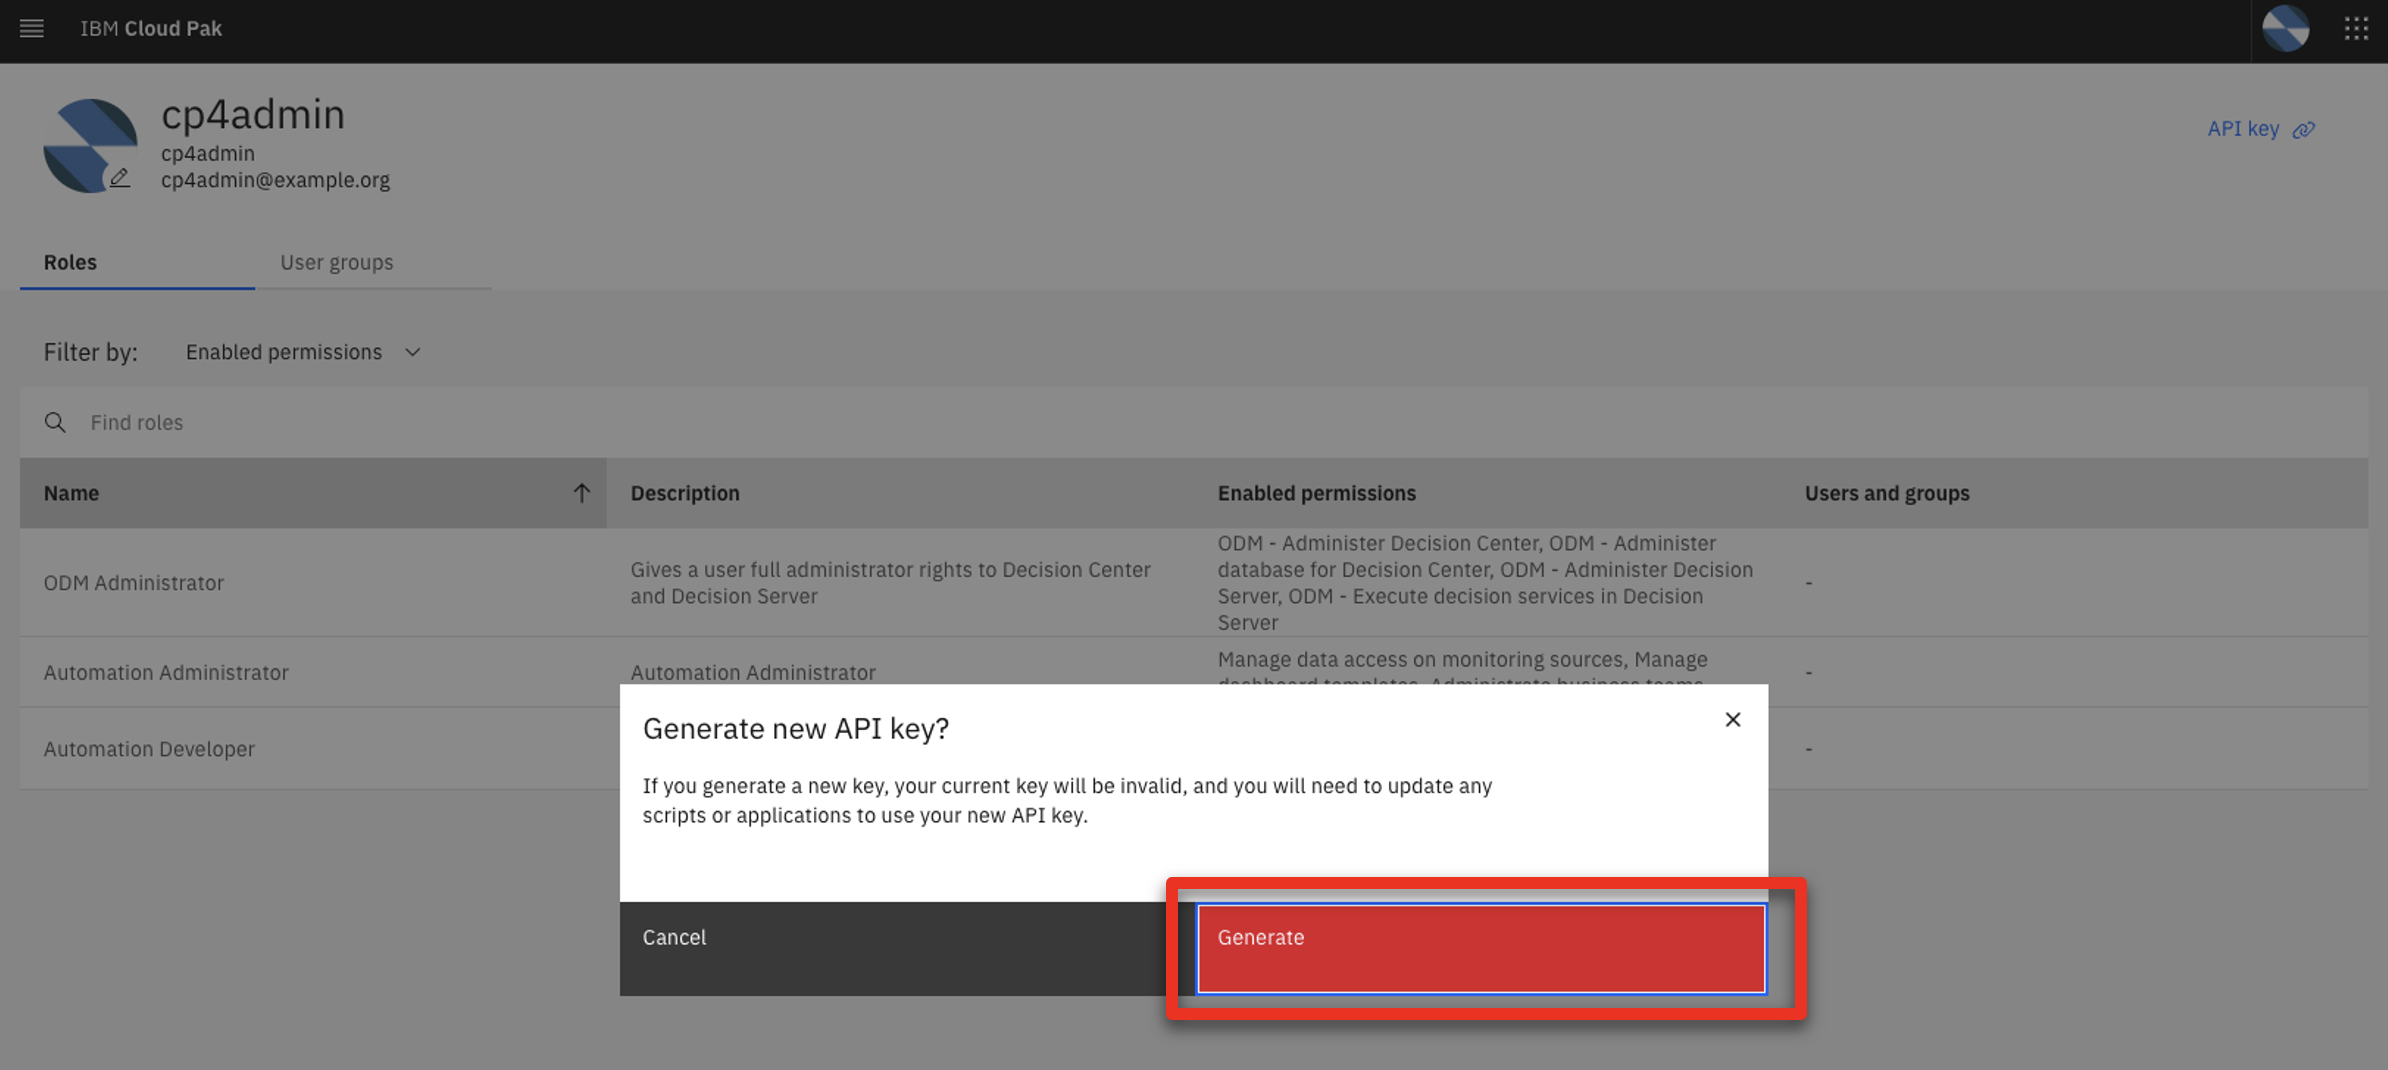
Click Generate.
-
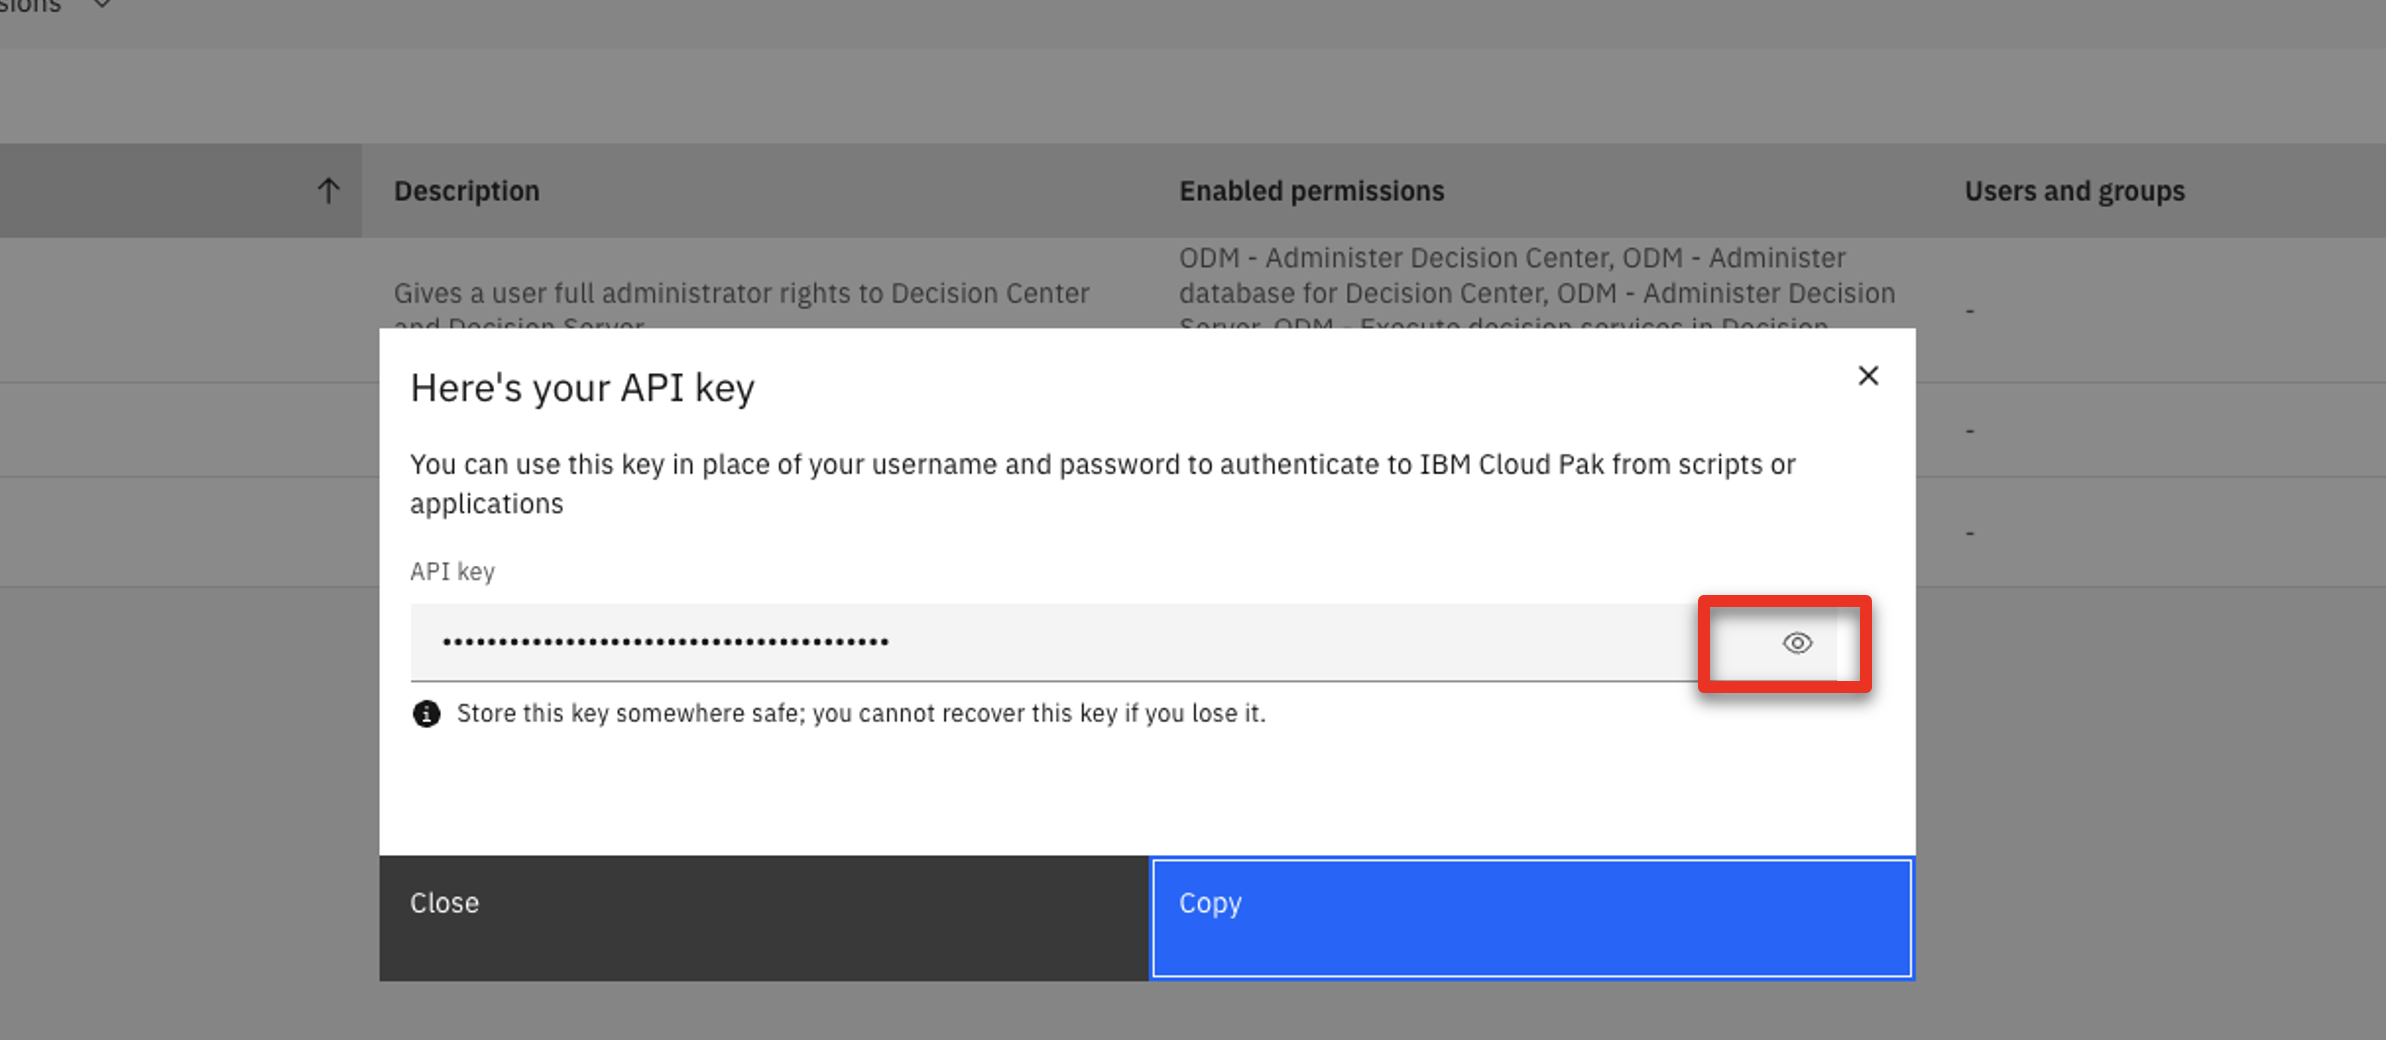
Click the show
-
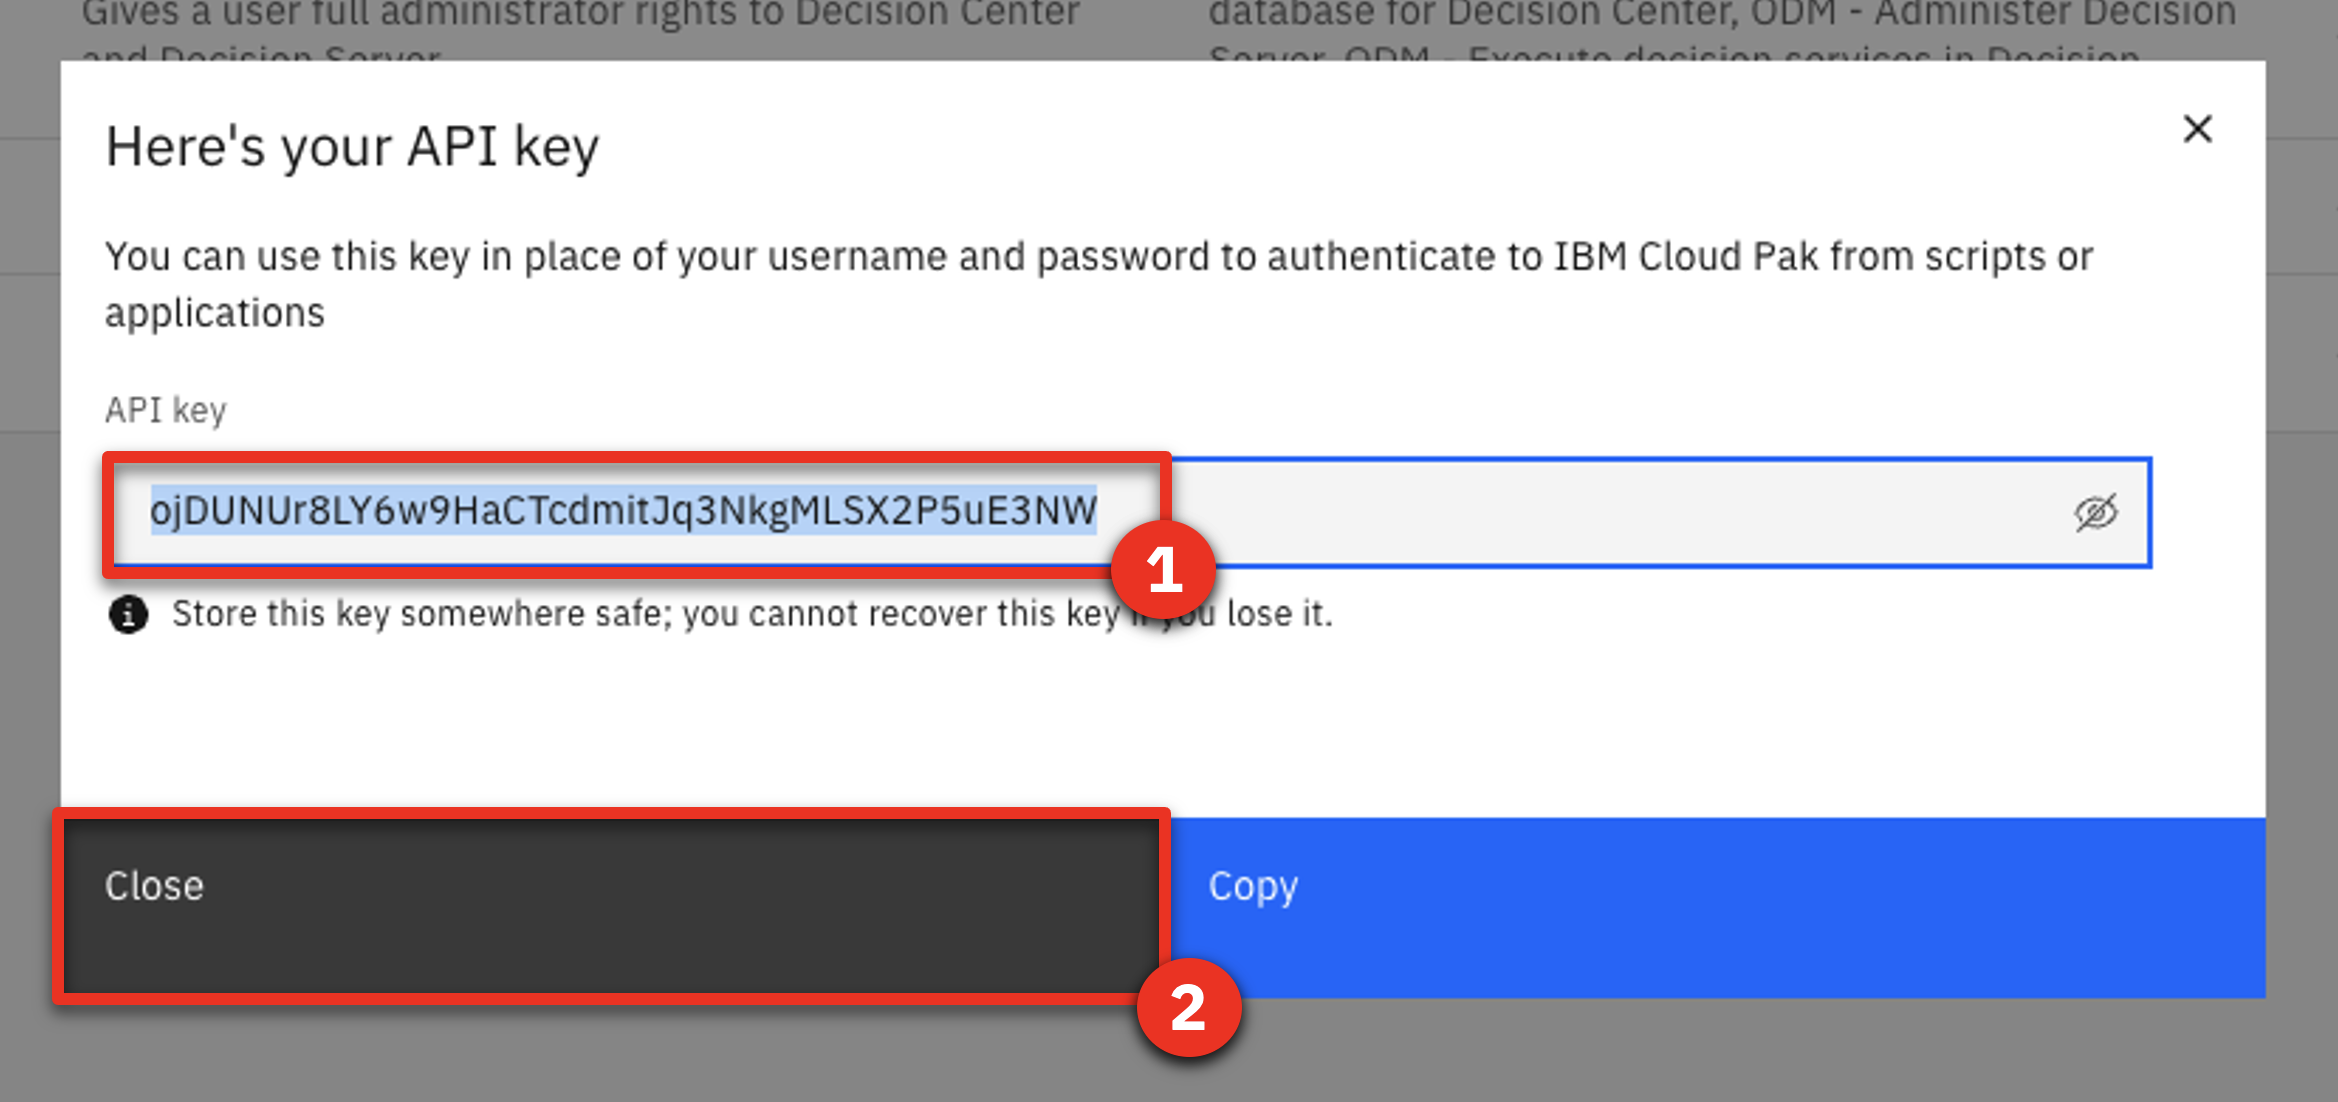
Copy and paste the API key into your notebook (1). Click Close (2).
3 - Generate your ZEN API key
-
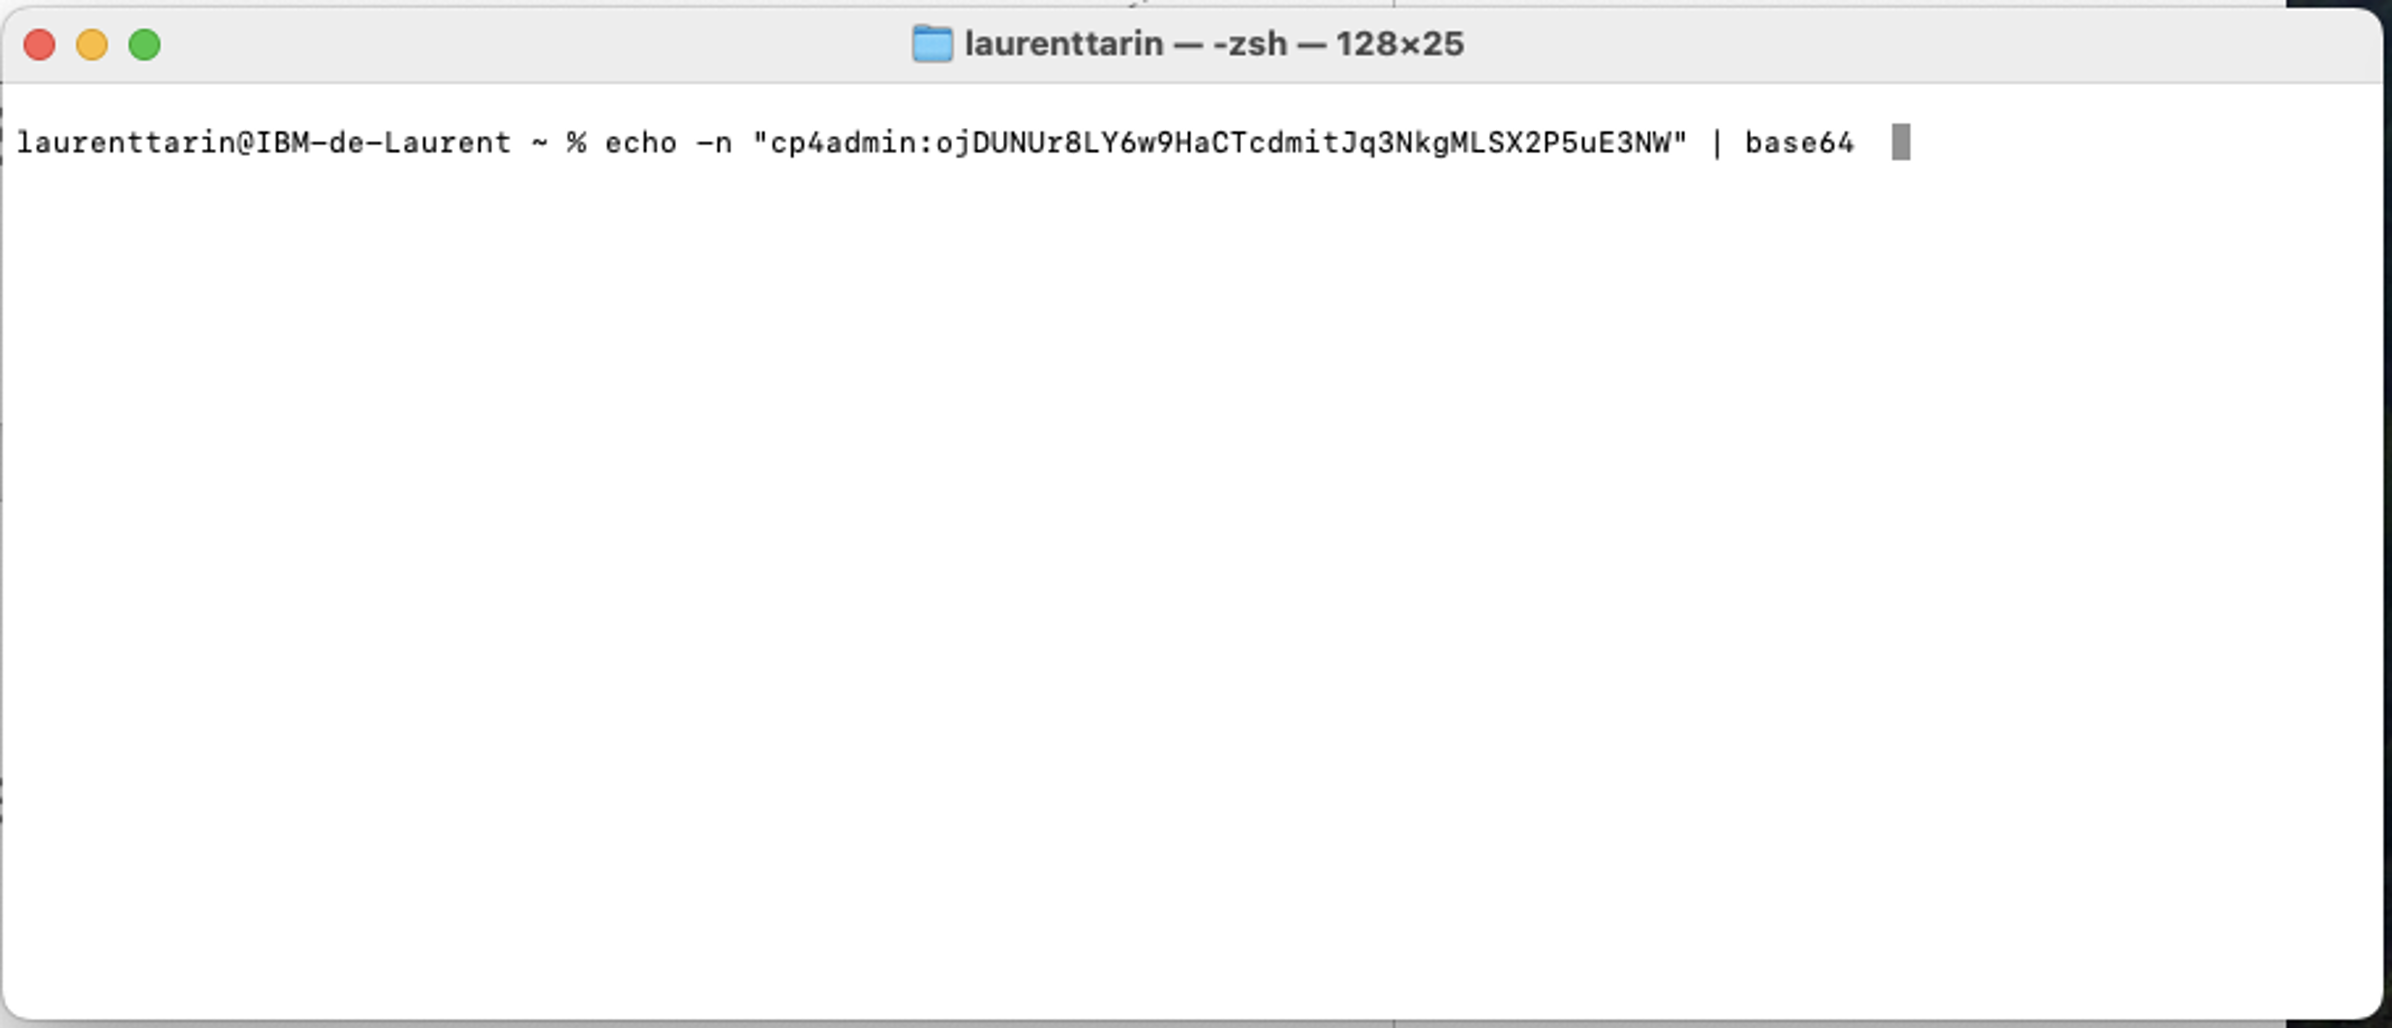
Open a terminal window.
-
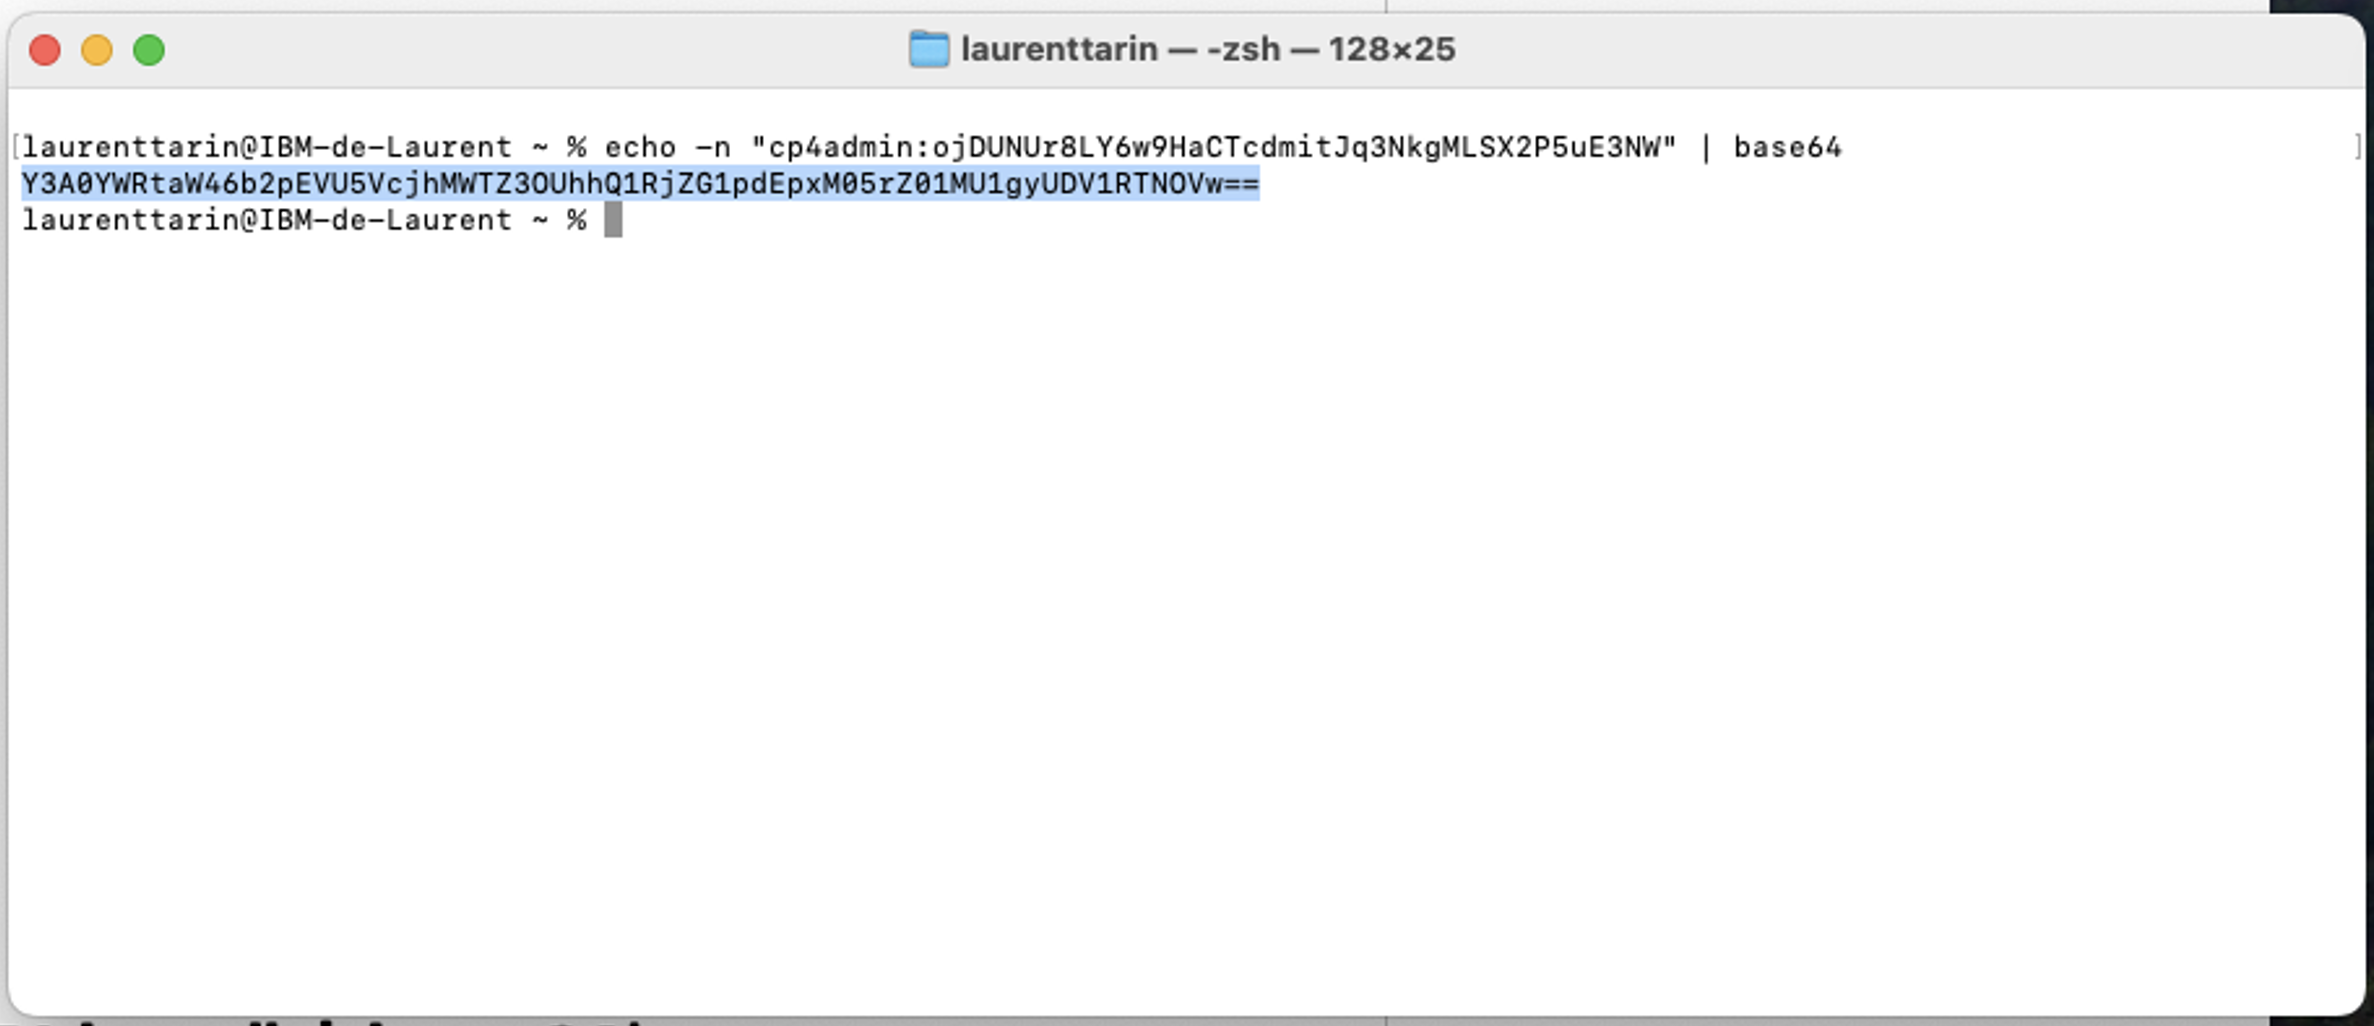
Type the command:
echo -n "cp4admin:<your API key>" | base64
-
Copy and paste your ZEN API key (in blue) in your notebook using the format ‘ZenApiKey + [your generated ZEN API key]’
4 - Check your notebook
At this stage your notbook should contain the following information: 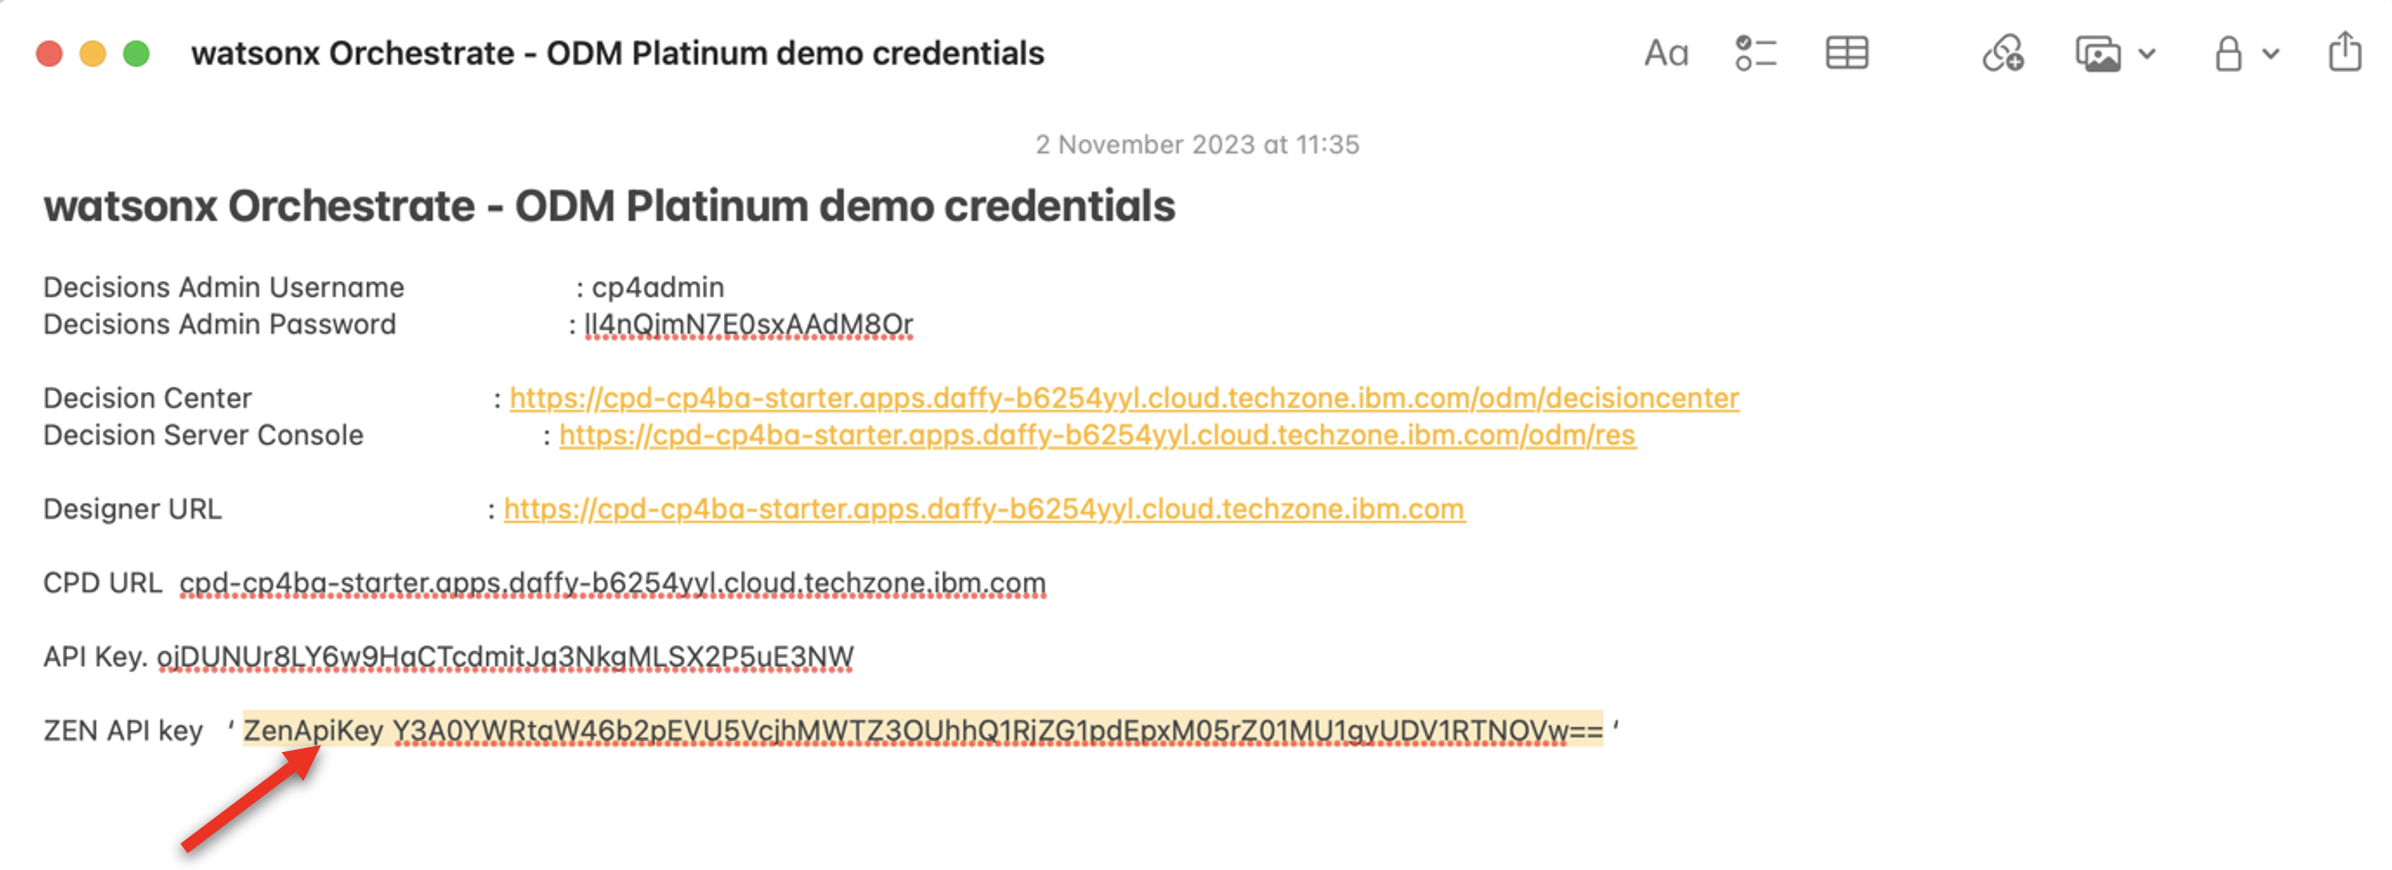
STEP 3: DOWNLOAD THE INSTALLATION FILES
Get the required files
Four installation files are required for the setup of this demonstration.
To set up IBM Operational Decision Manager (ODM):
• Customer Service.zip
• Get Request Details.zip
To set up watsonx Orchestrate (ODM on prem):
• XXX FocusCorp Customer Service.json
• XXX FocusCorp Get data from database.json
OR
To set up watsonx Orchestrate (ODM on SaaS):
• XXX FocusCorp Customer Service.json
• XXX FocusCorp Get data from database.json
Customer Service.zip contains the business rule decision service driving the customer service decisions.
Get Request Details.zip contains some rules that are used to simulate access to the FocusCorp database. These rules are providing the customer and purchase details based on a customer and purchase ID. This service is used to create the ‘FocusCorp get data from database’ skill.
The two JSON files are the skills configuration files that are used to make the skill creation faster in watsonx Orchestrate.
Download the four files corresponding to your configuration on your computer to have them ready to setup ODM and watsonx Orchestrate.
STEP 4: CONFIGURE ODM
1 - Import the ‘Get Request Details’ decision service
-
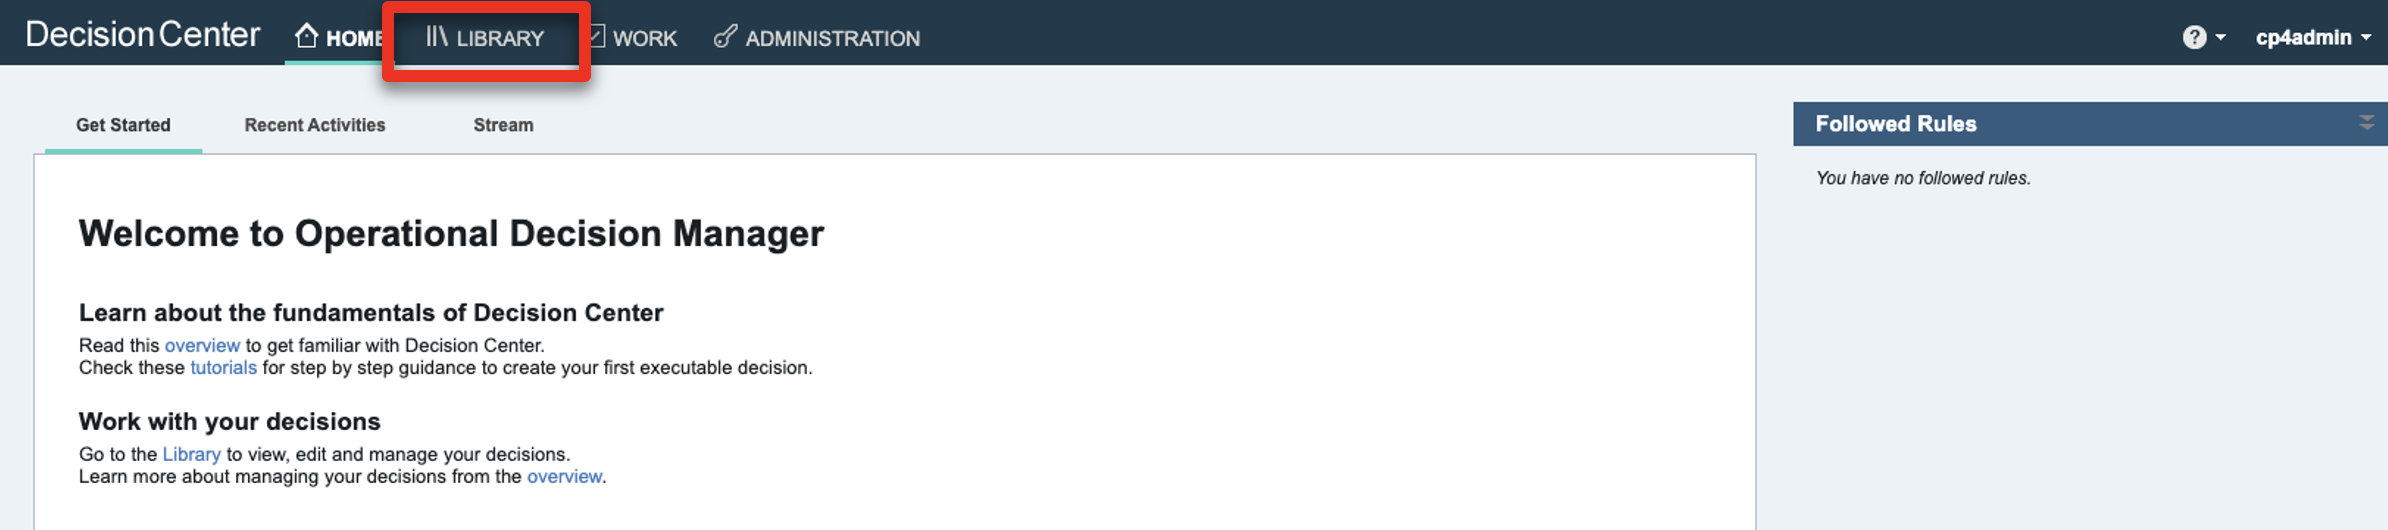
Log in to the Decision Center using the URL and credentials from your notebook.
-
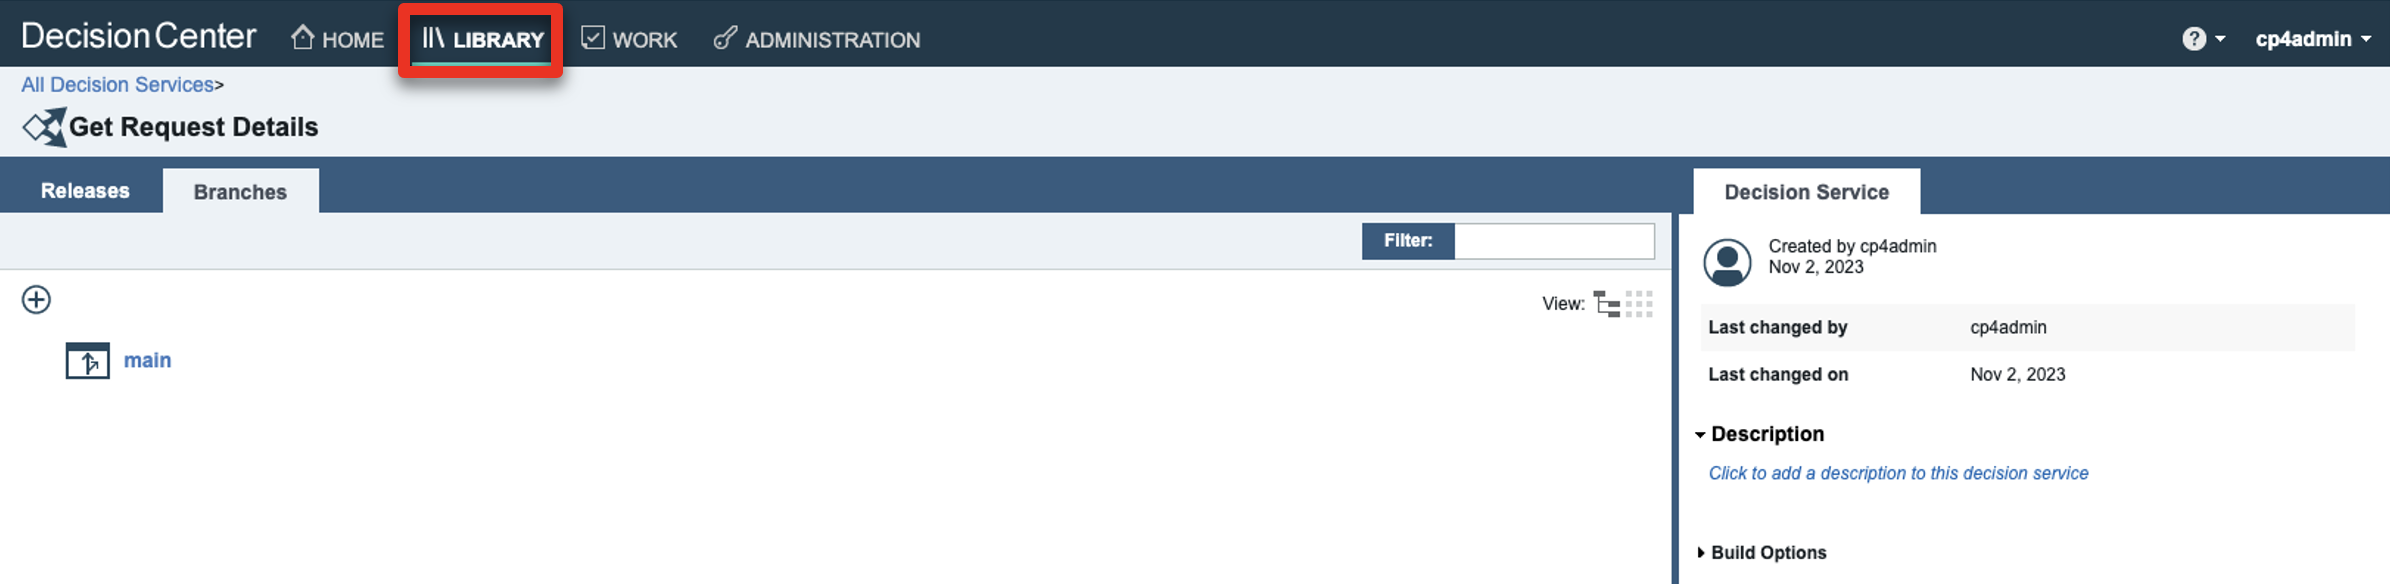
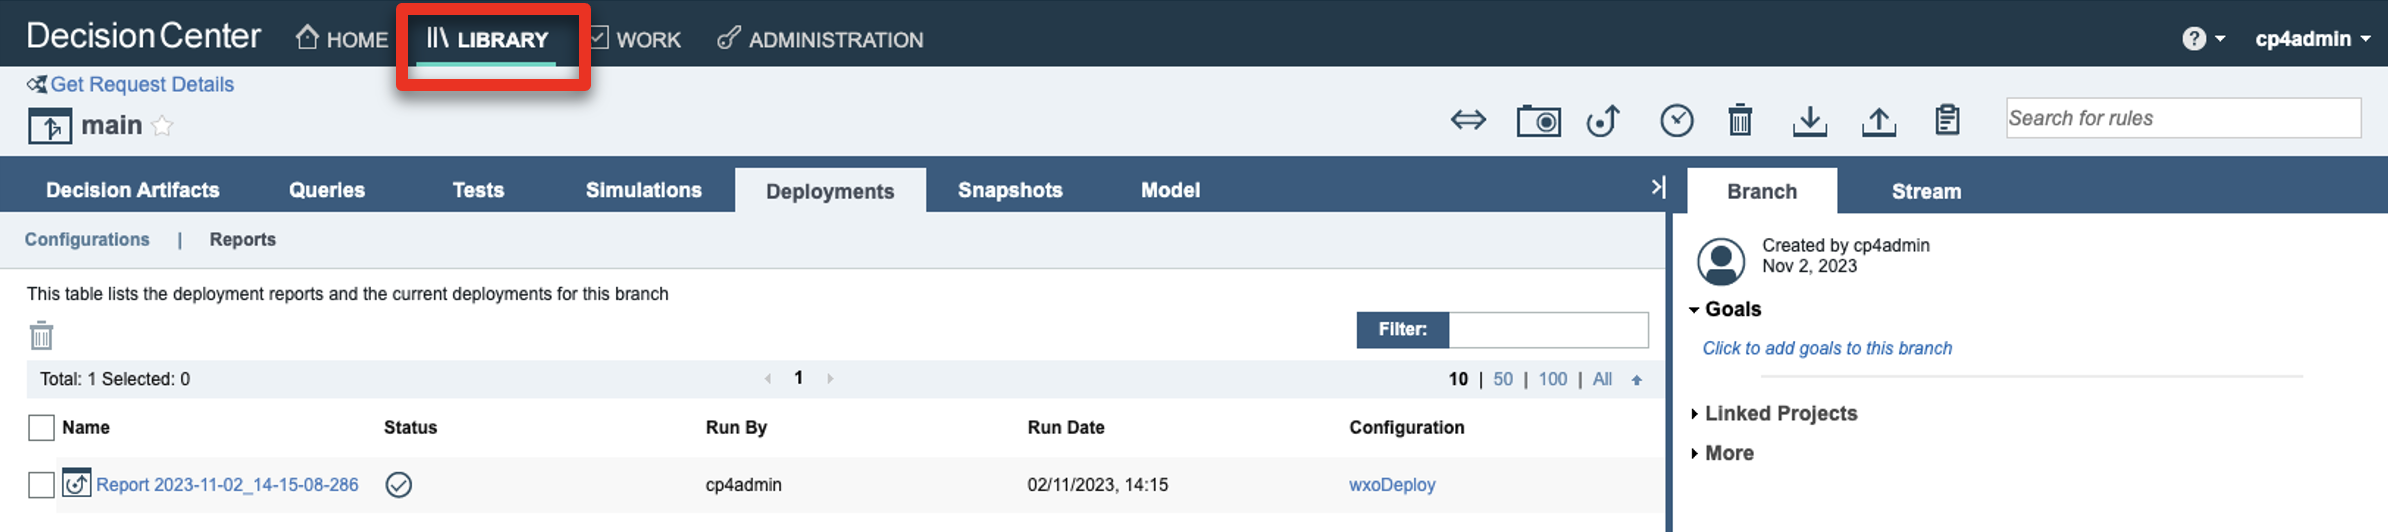
Click the LIBRARY tab.
-
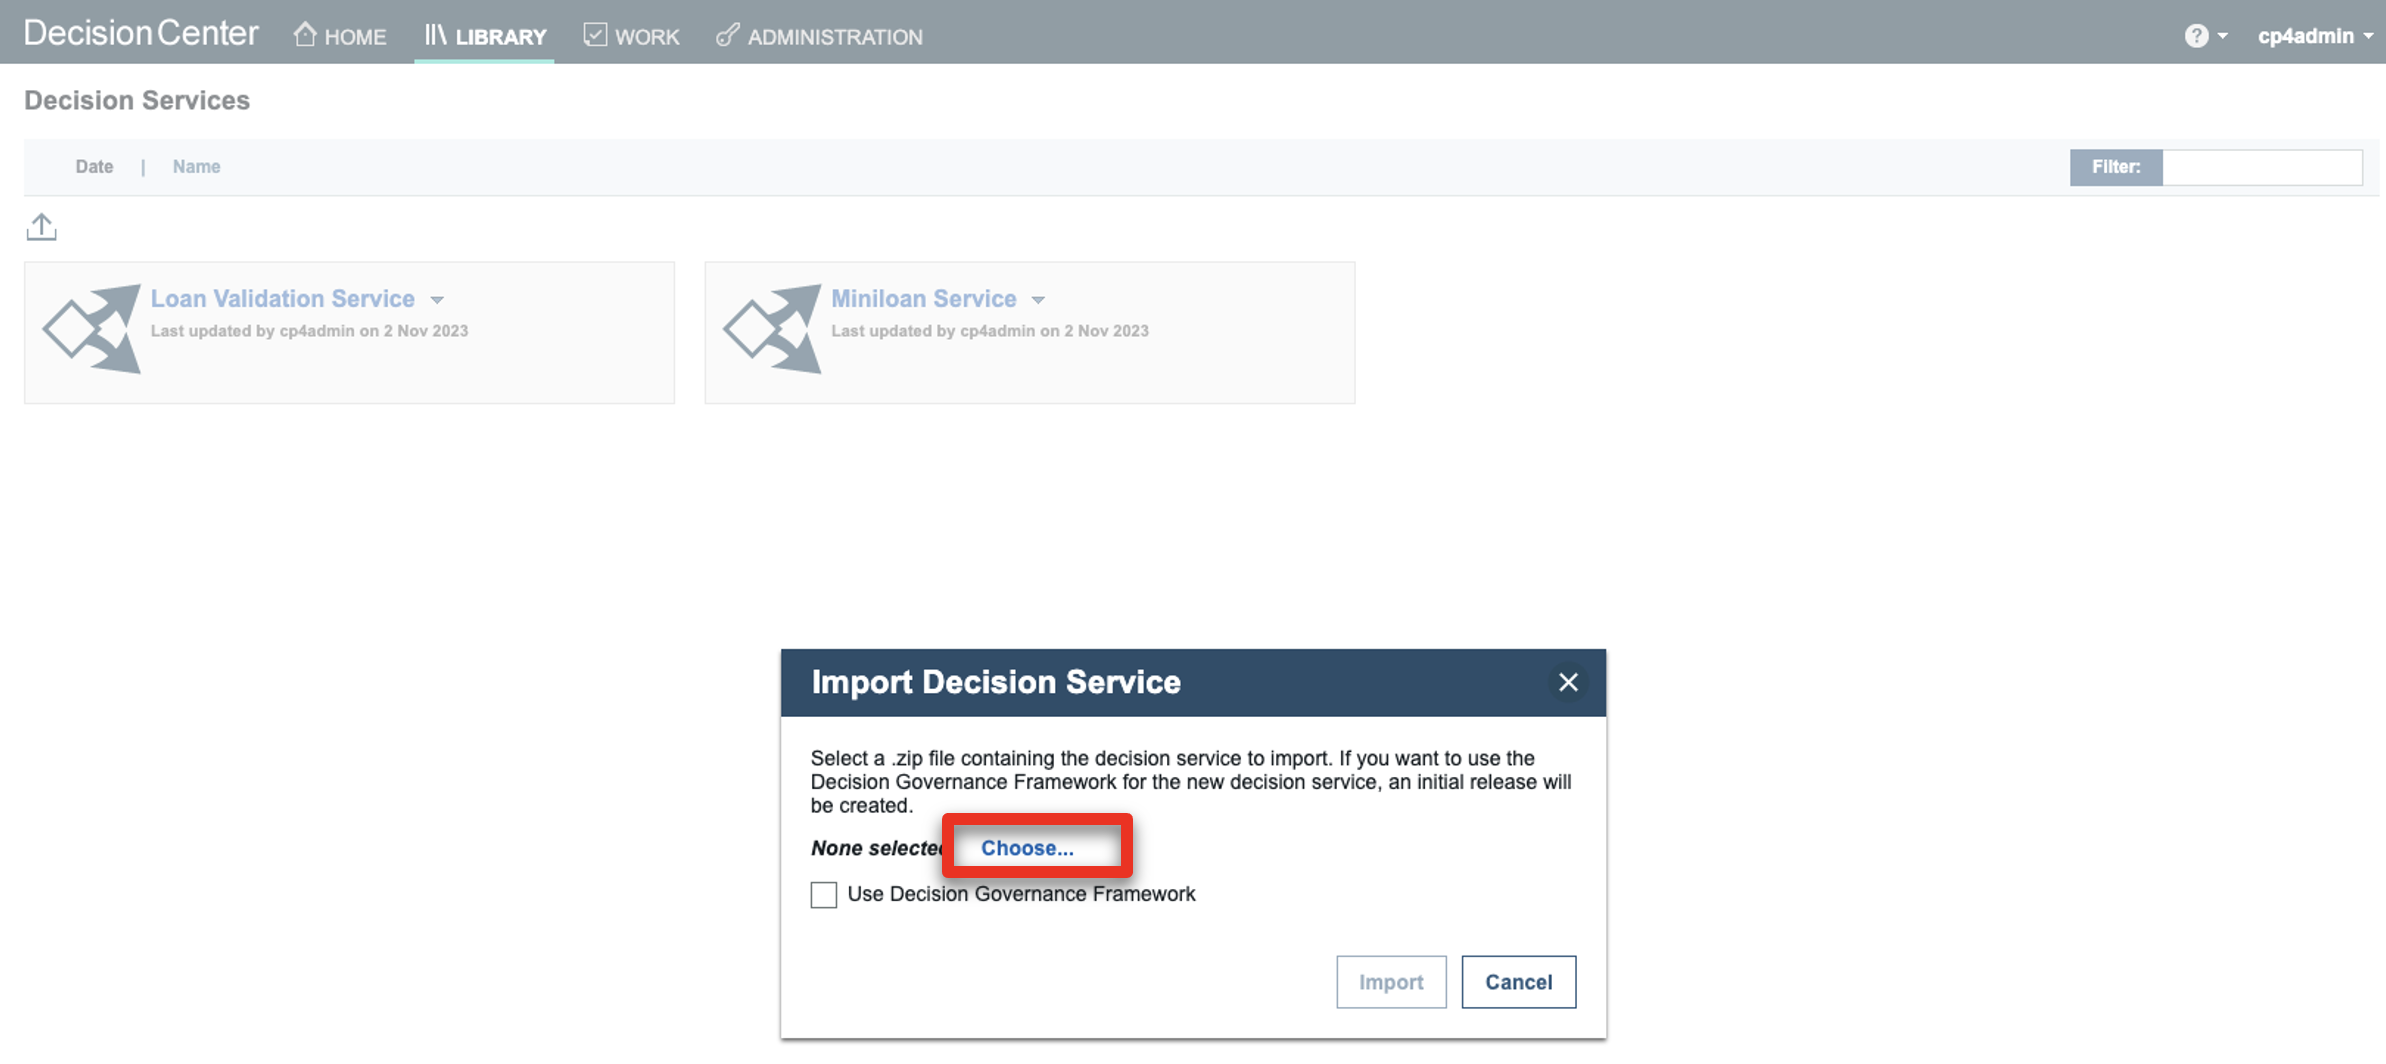
Click the import icon.

-
Click Choose.
-
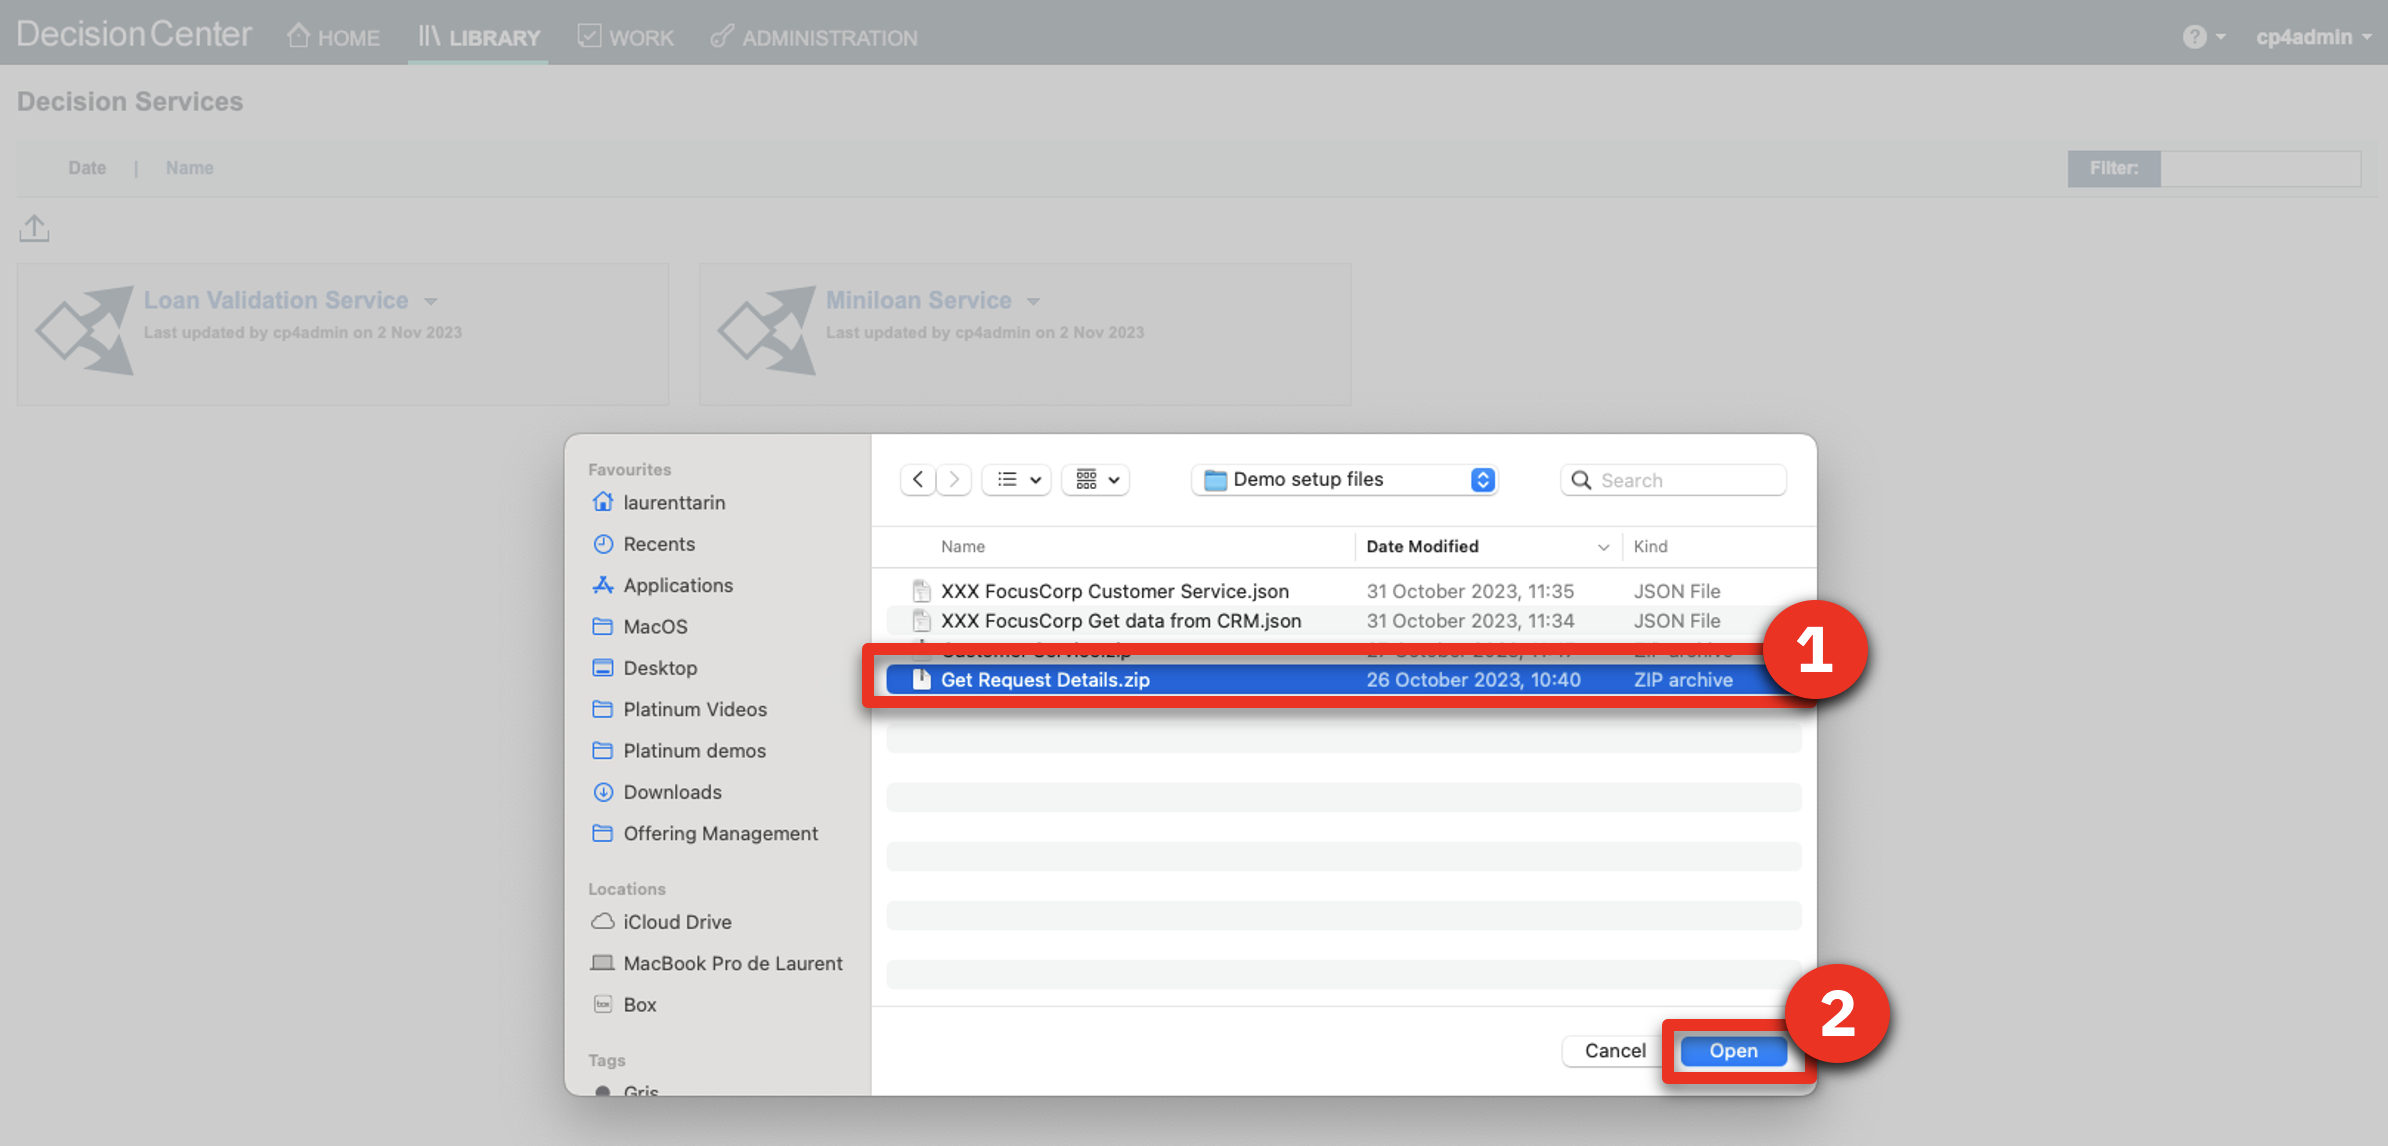
Navigate to your local folder and select Get Request Details.zip (1). Click Open (2).
-
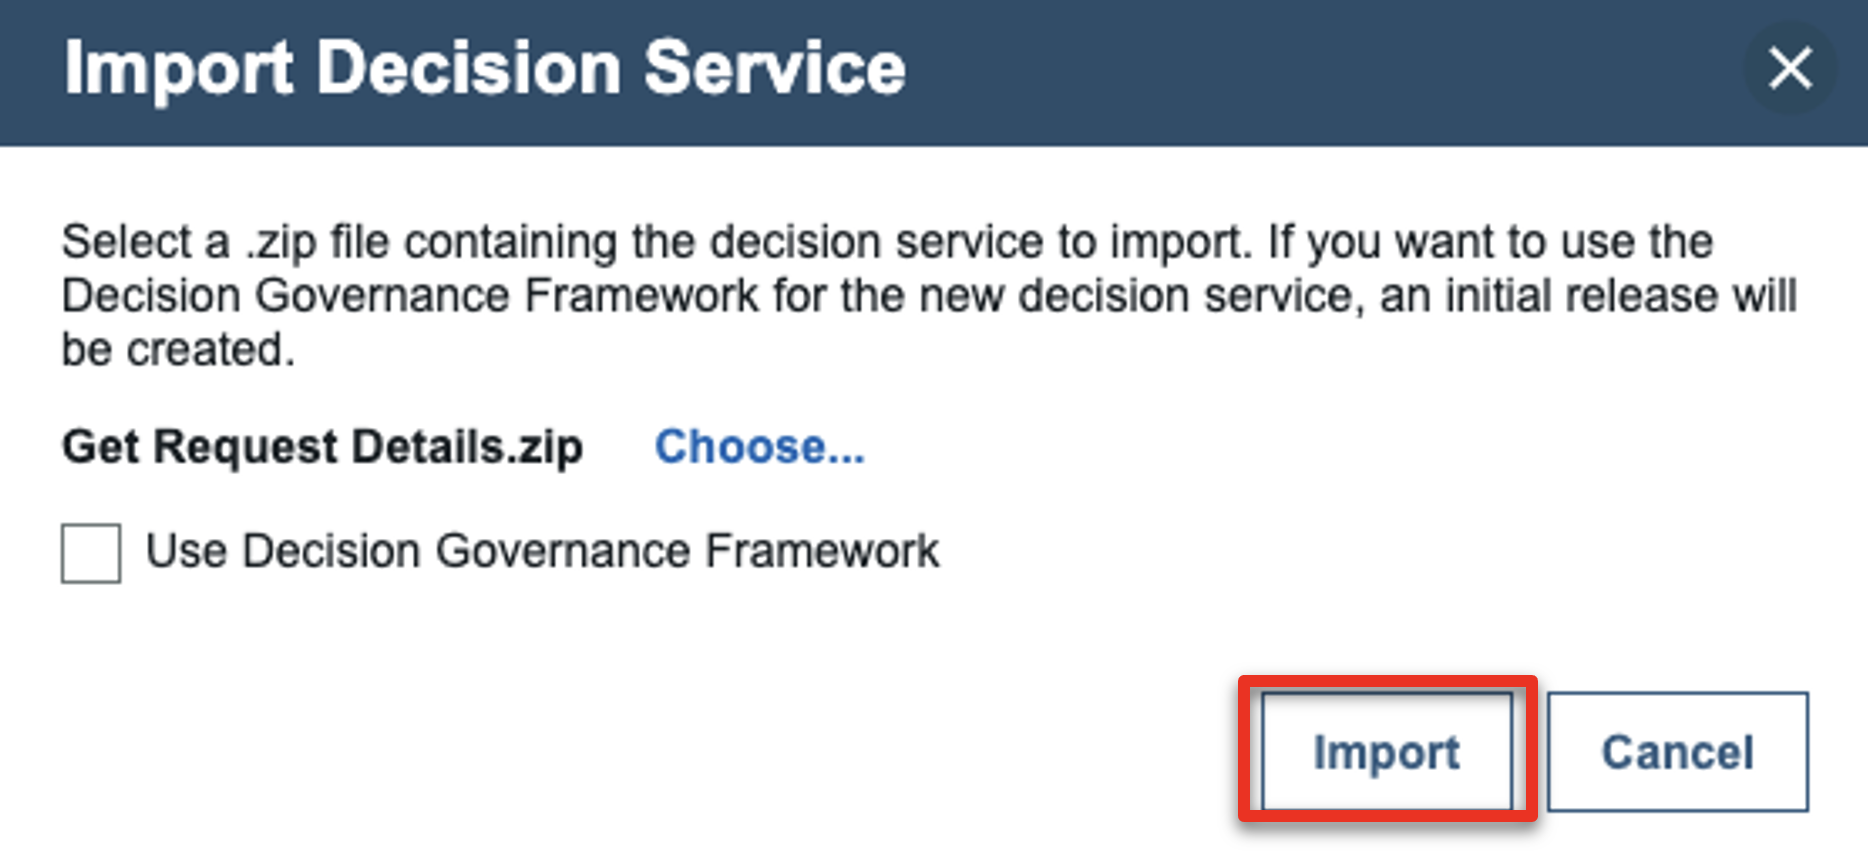
Click Import.
-
Click the LIBRARY tab.
-
Repeat from Step 3 and import the Customer Service.zip file.
-
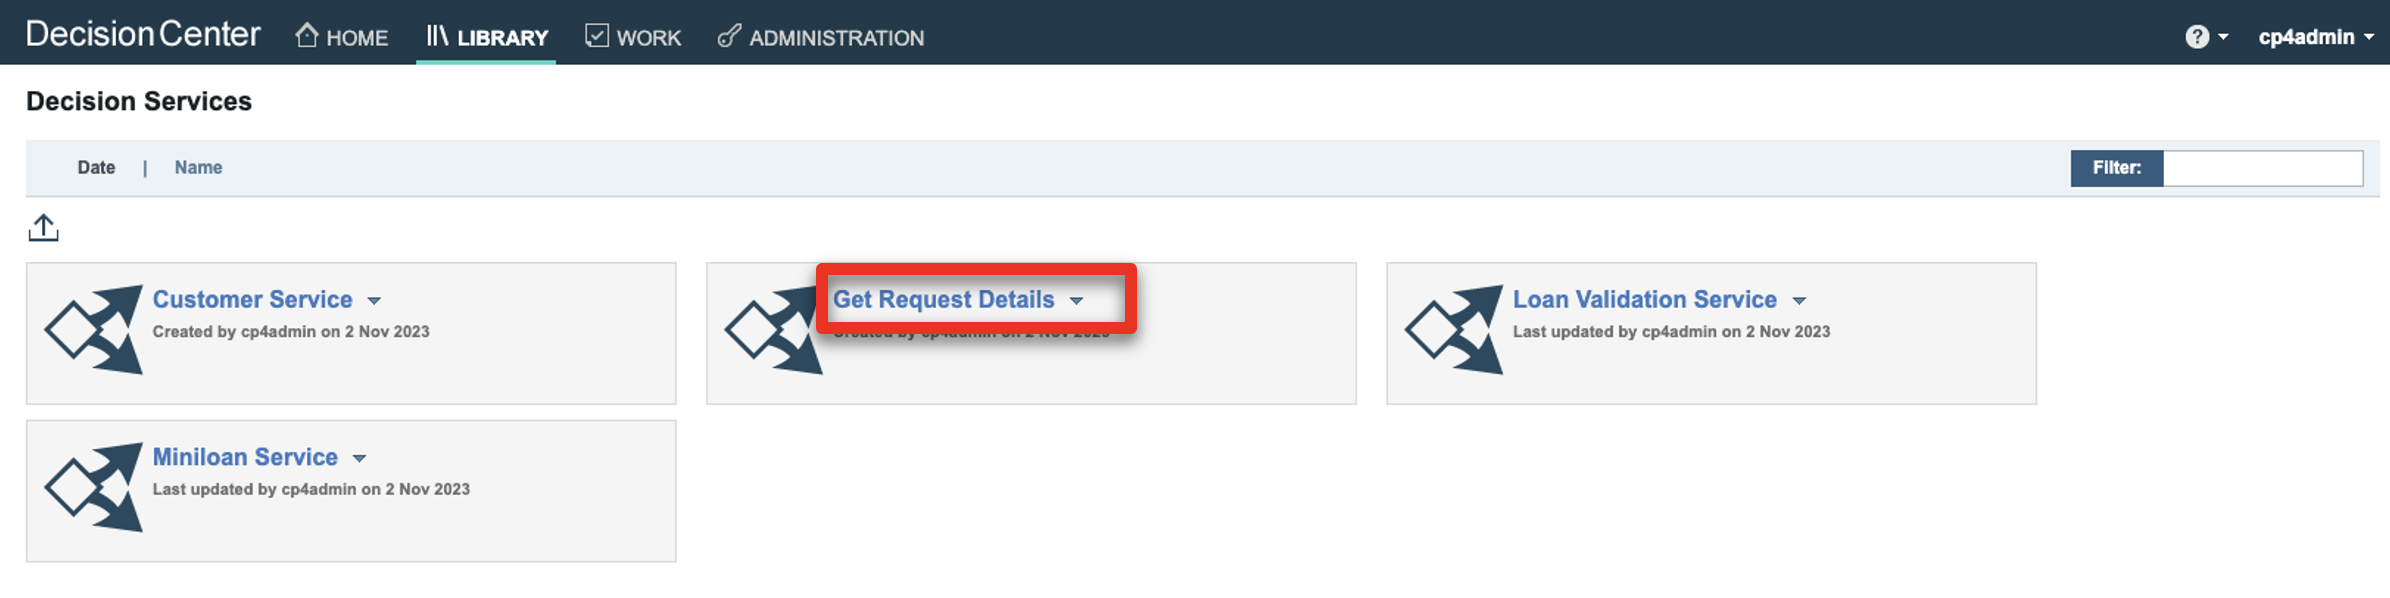
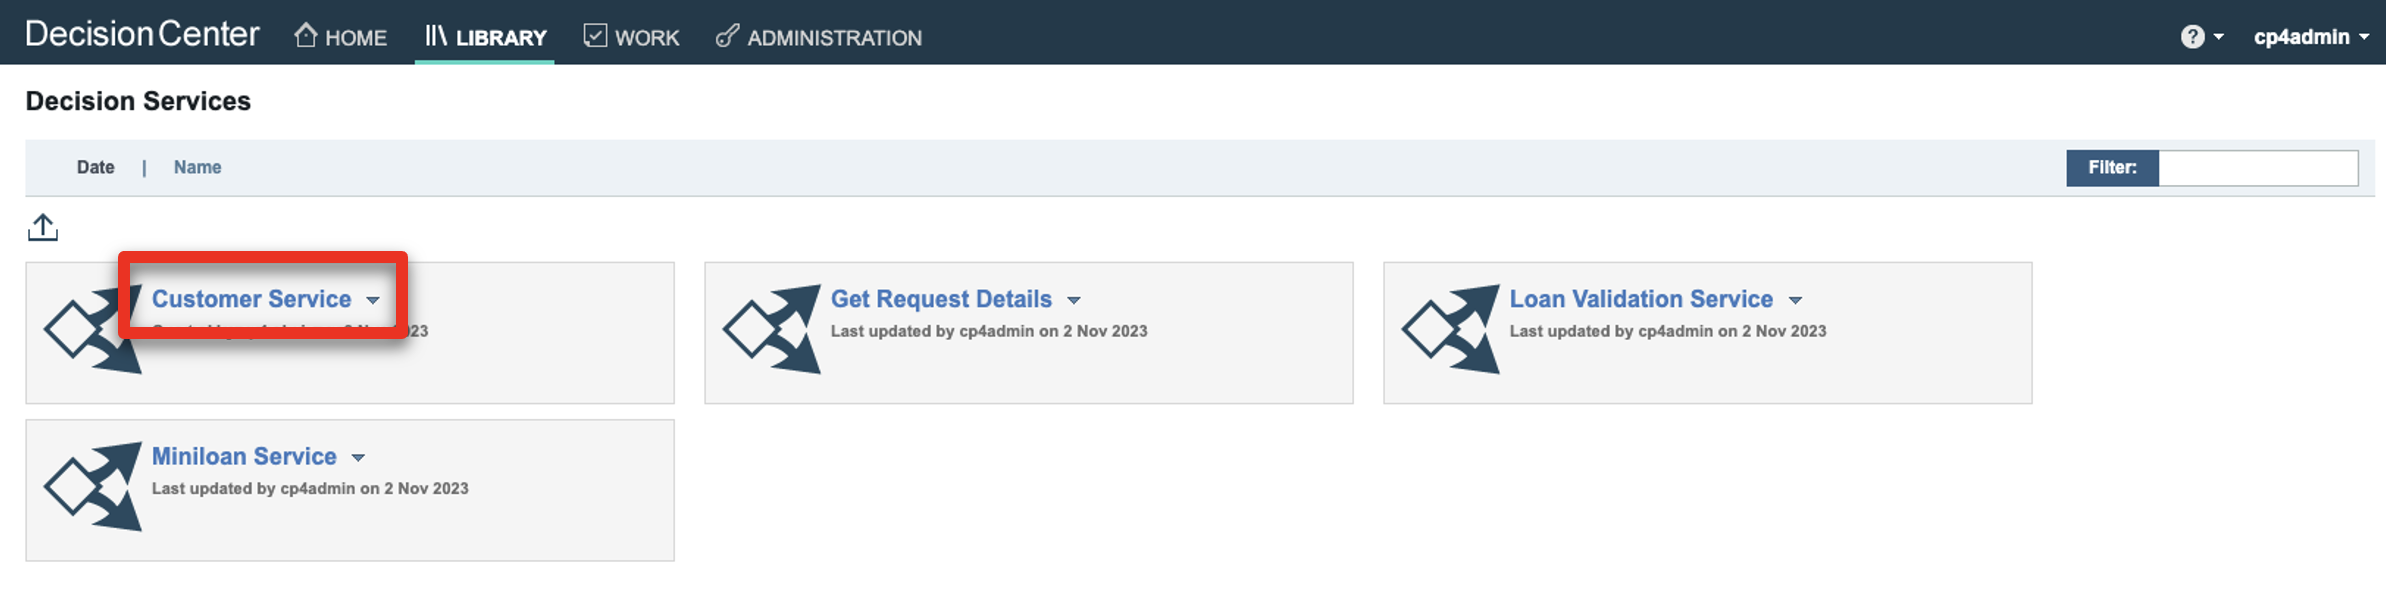
Click Get Request Details.
-
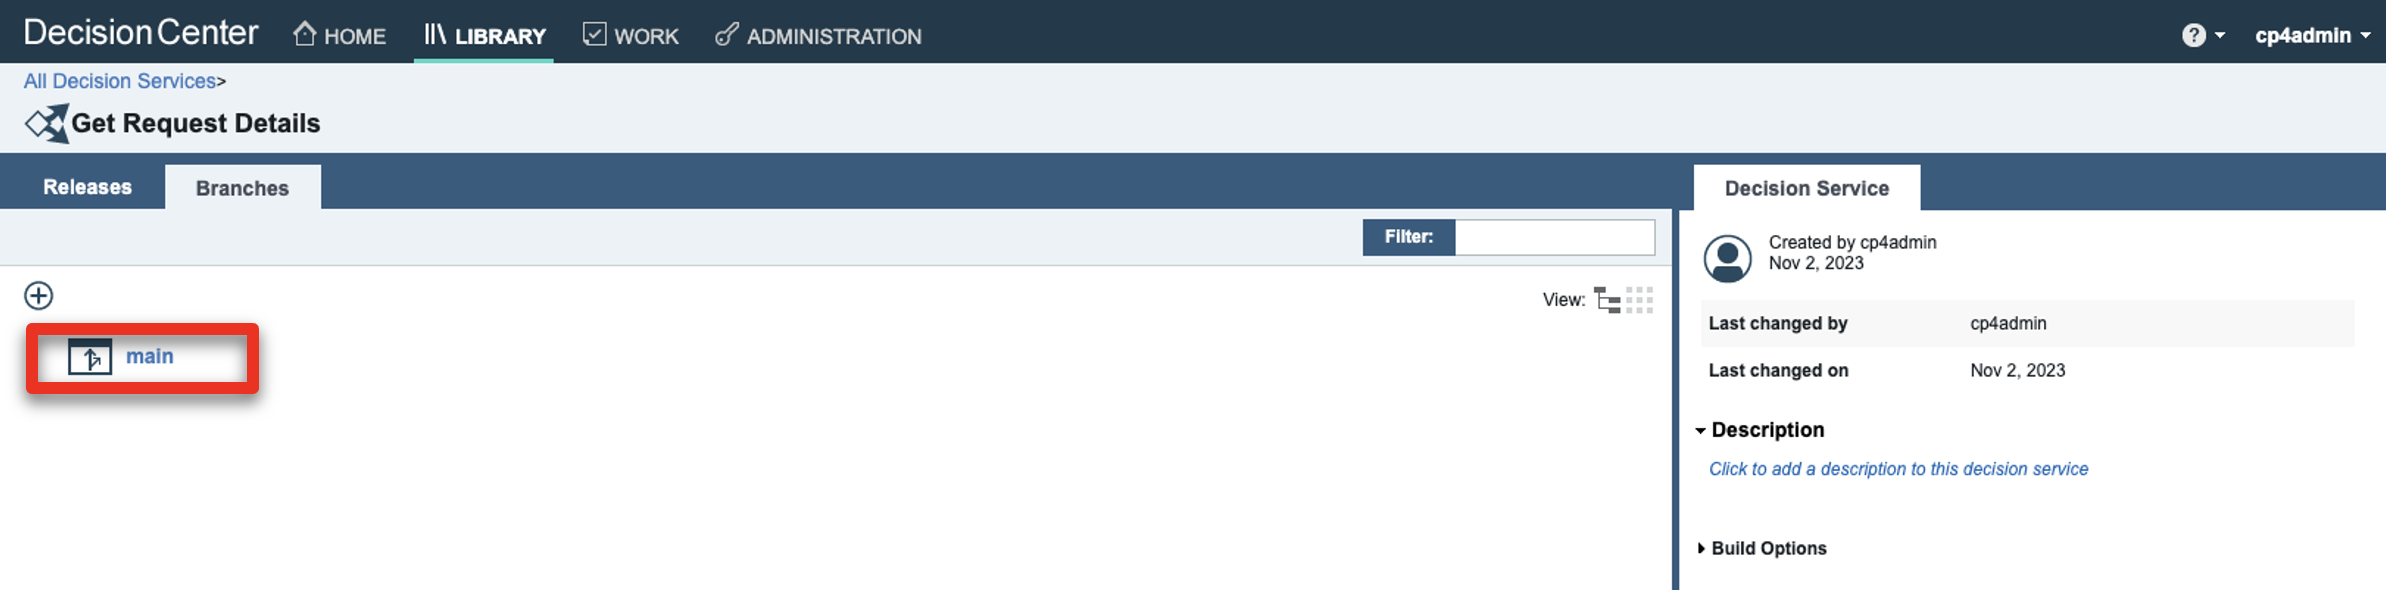
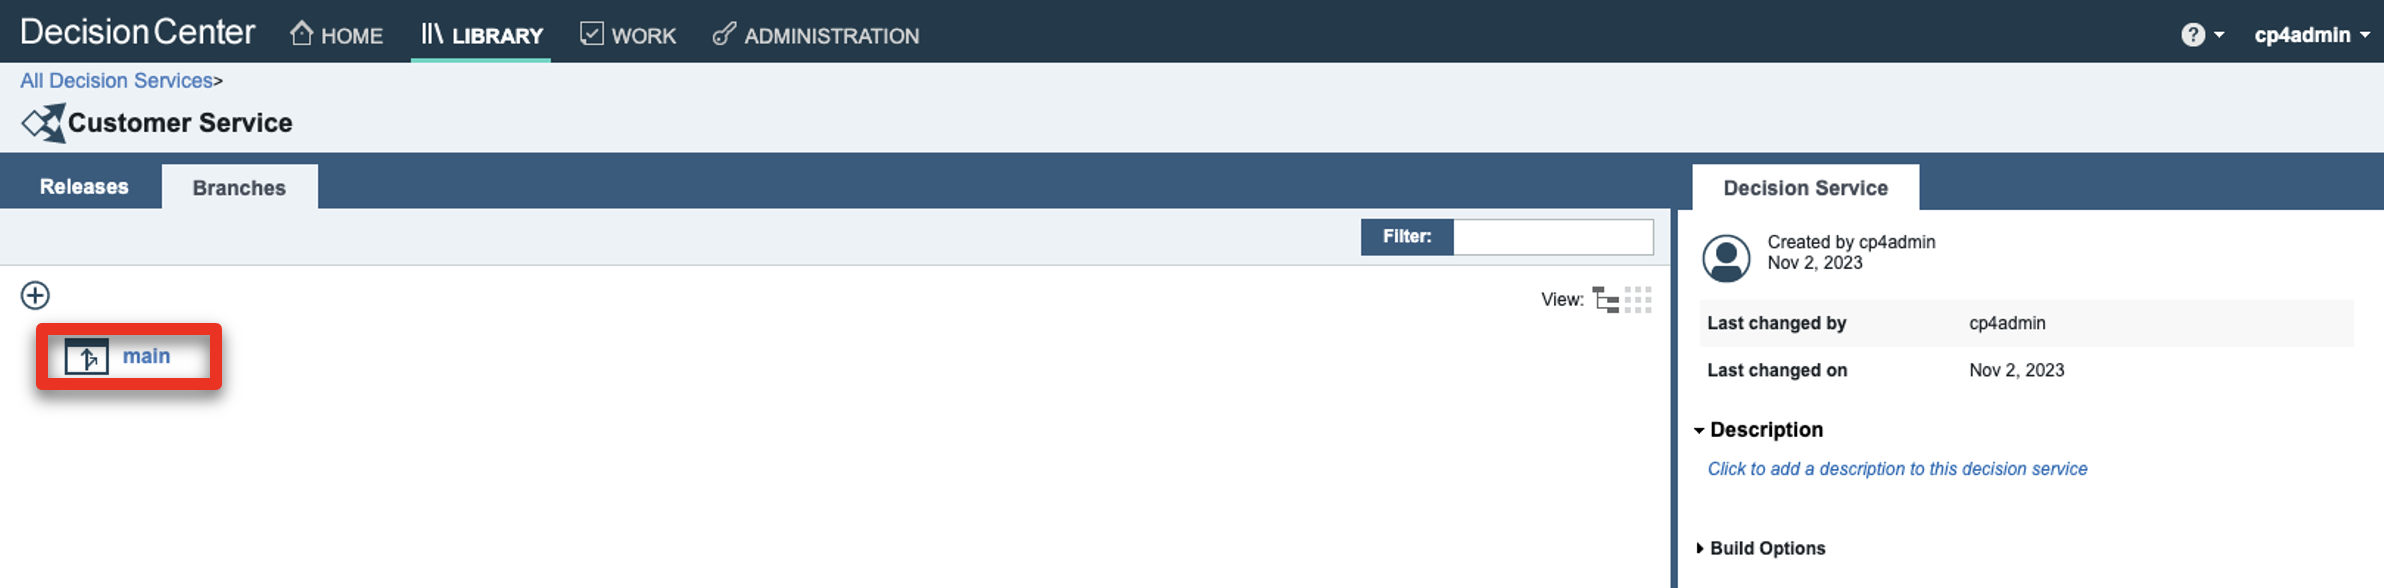
Click main.
-
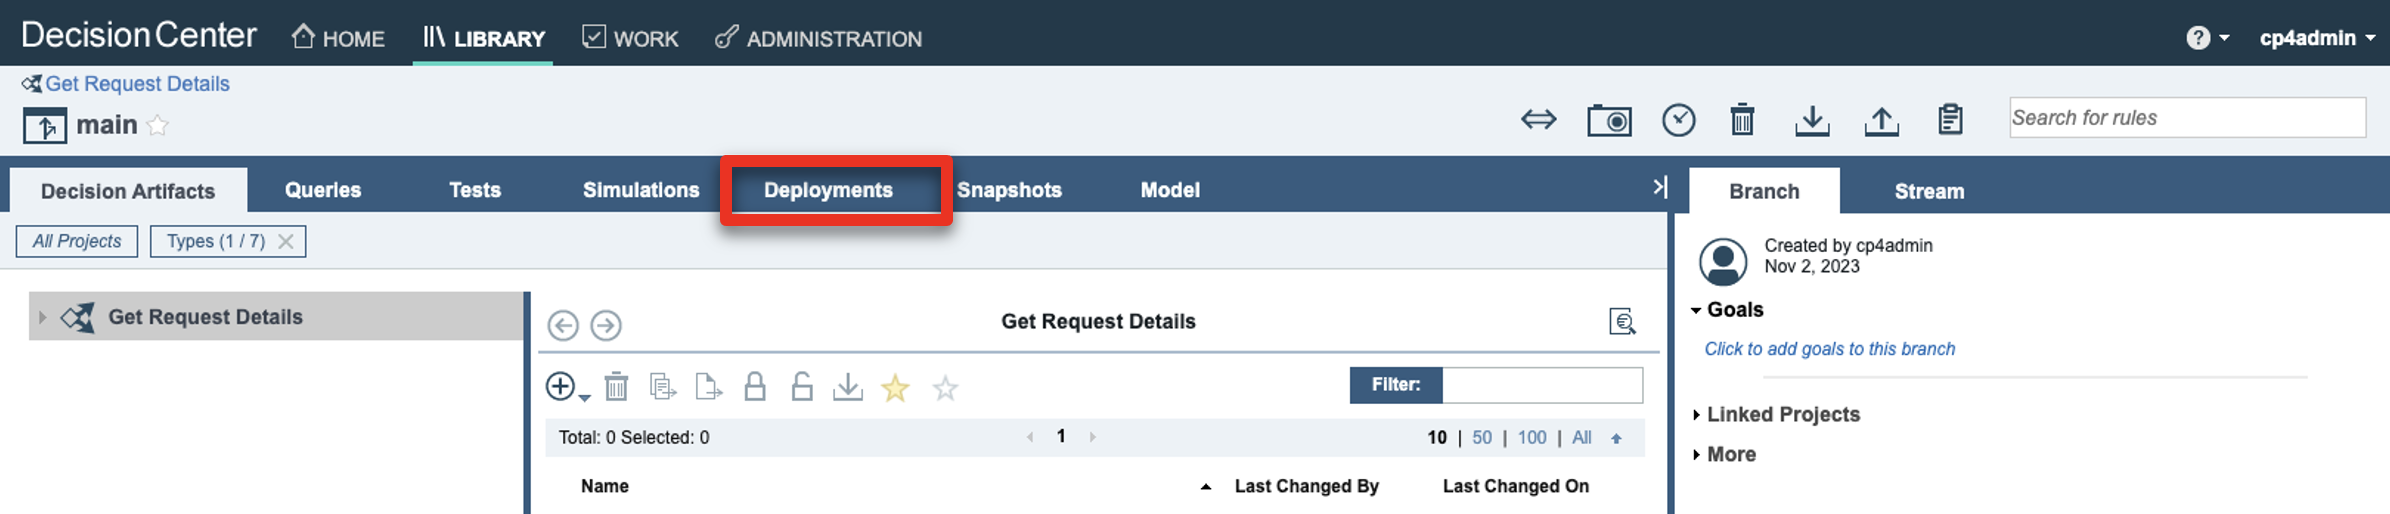
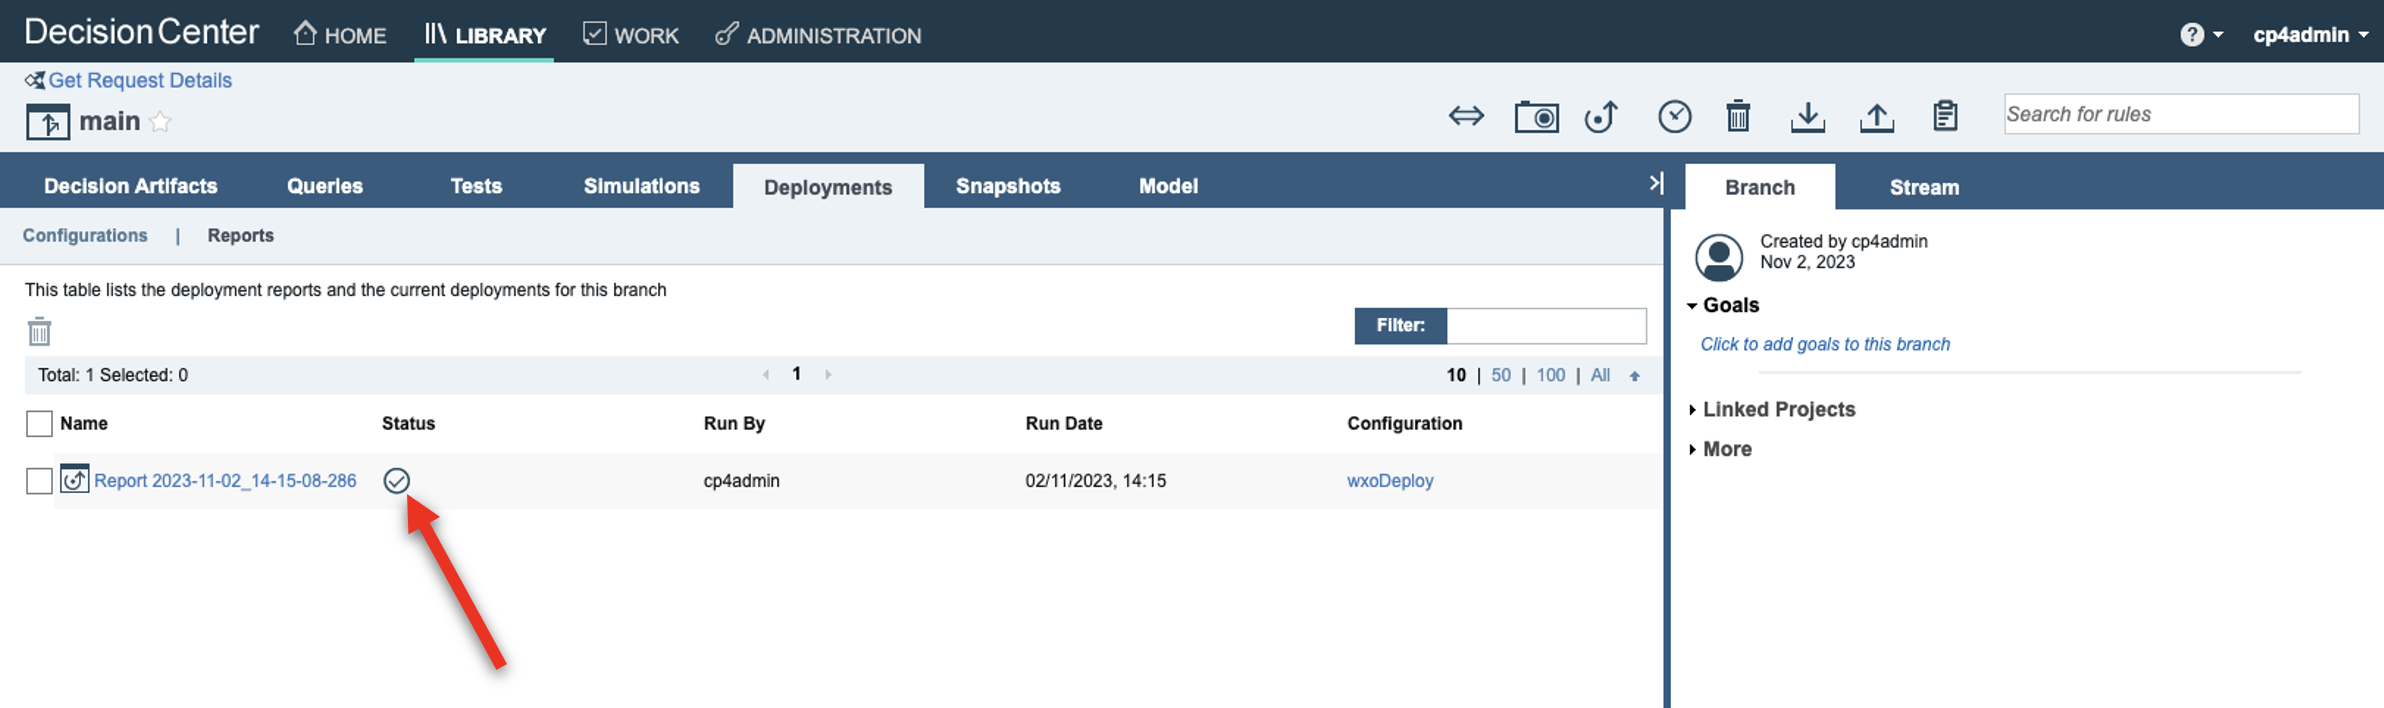
Click the Deployments tab.
-
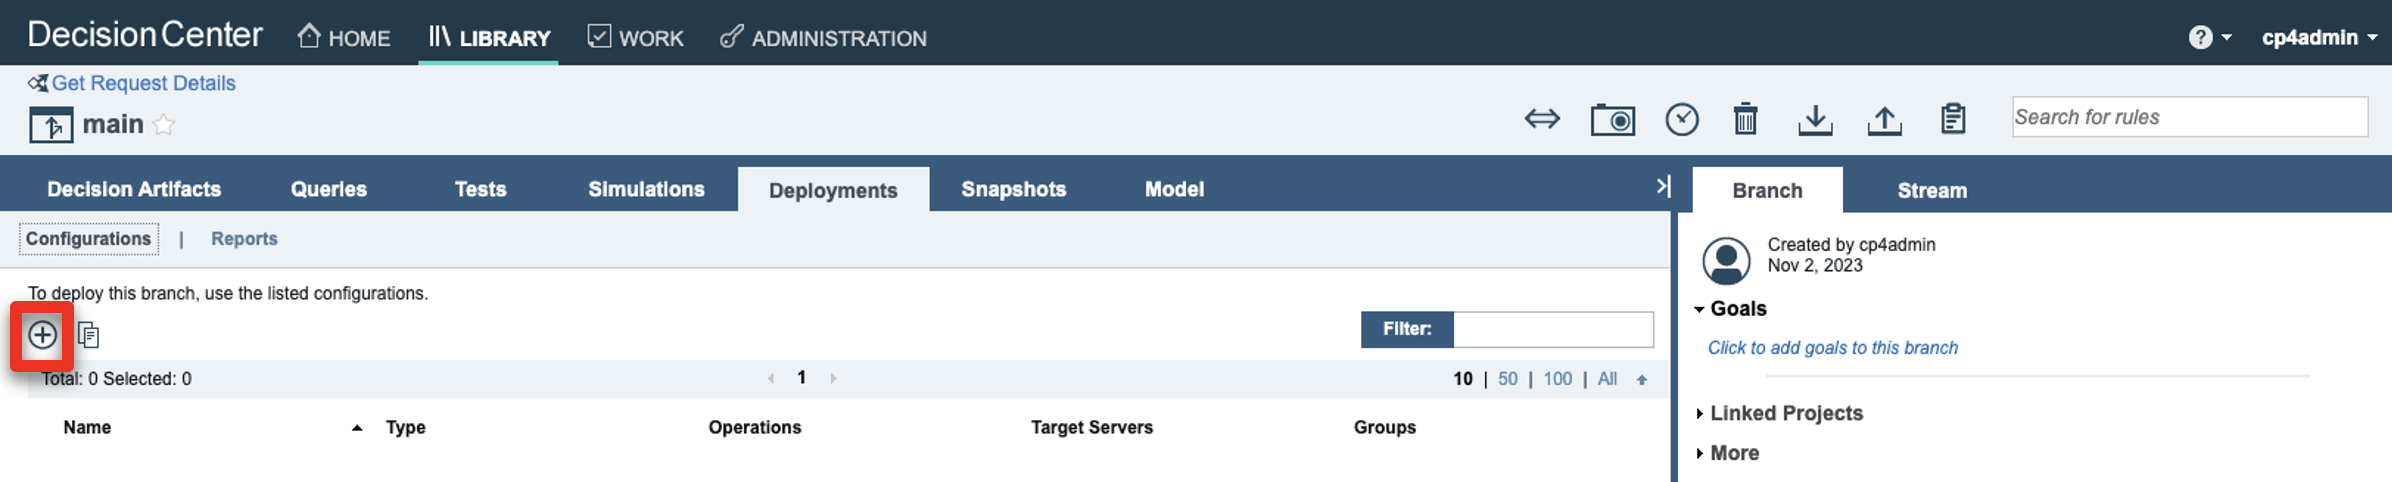
Click the Configurations tab.

-
Click the + icon.
-
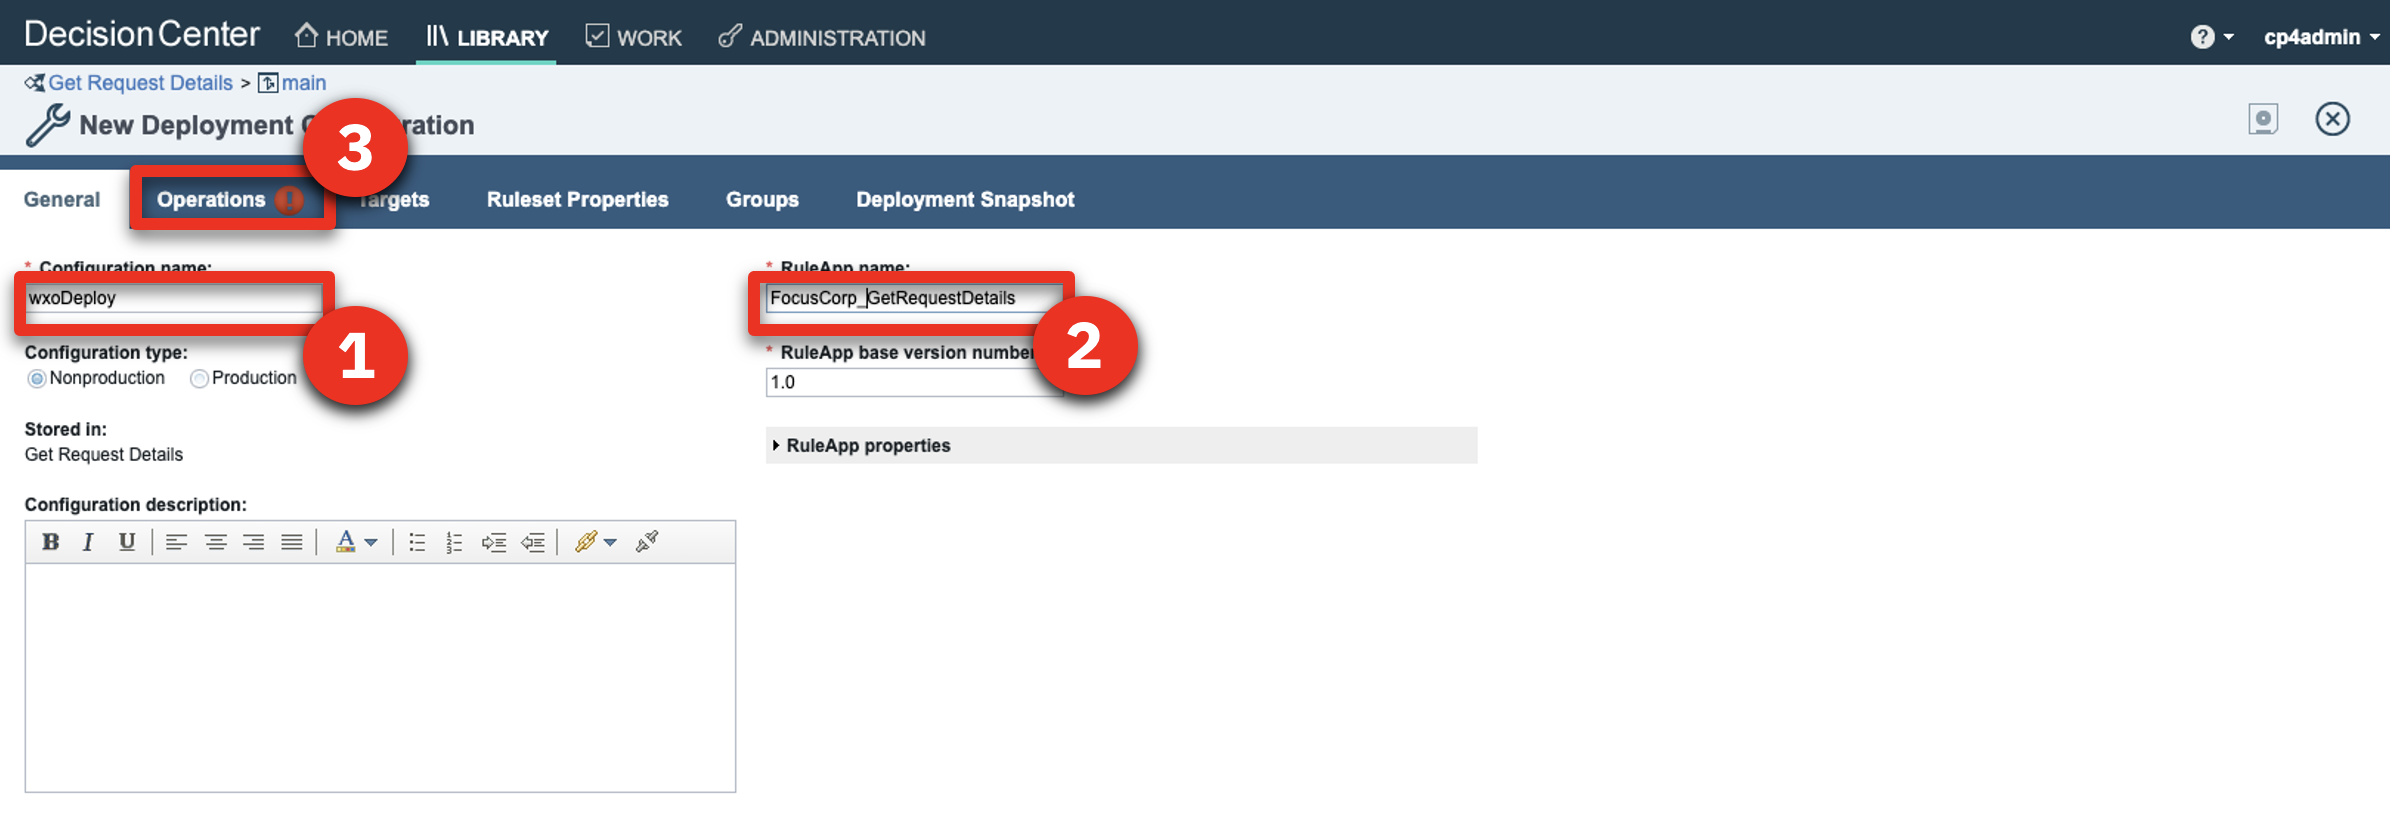
For the Configuration name, enter ‘wxoDeploy’ (1). For the RuleApp name, enter ‘FocusCorp_GetRequestDetails’ (2). Click the Operations tab (3).
-
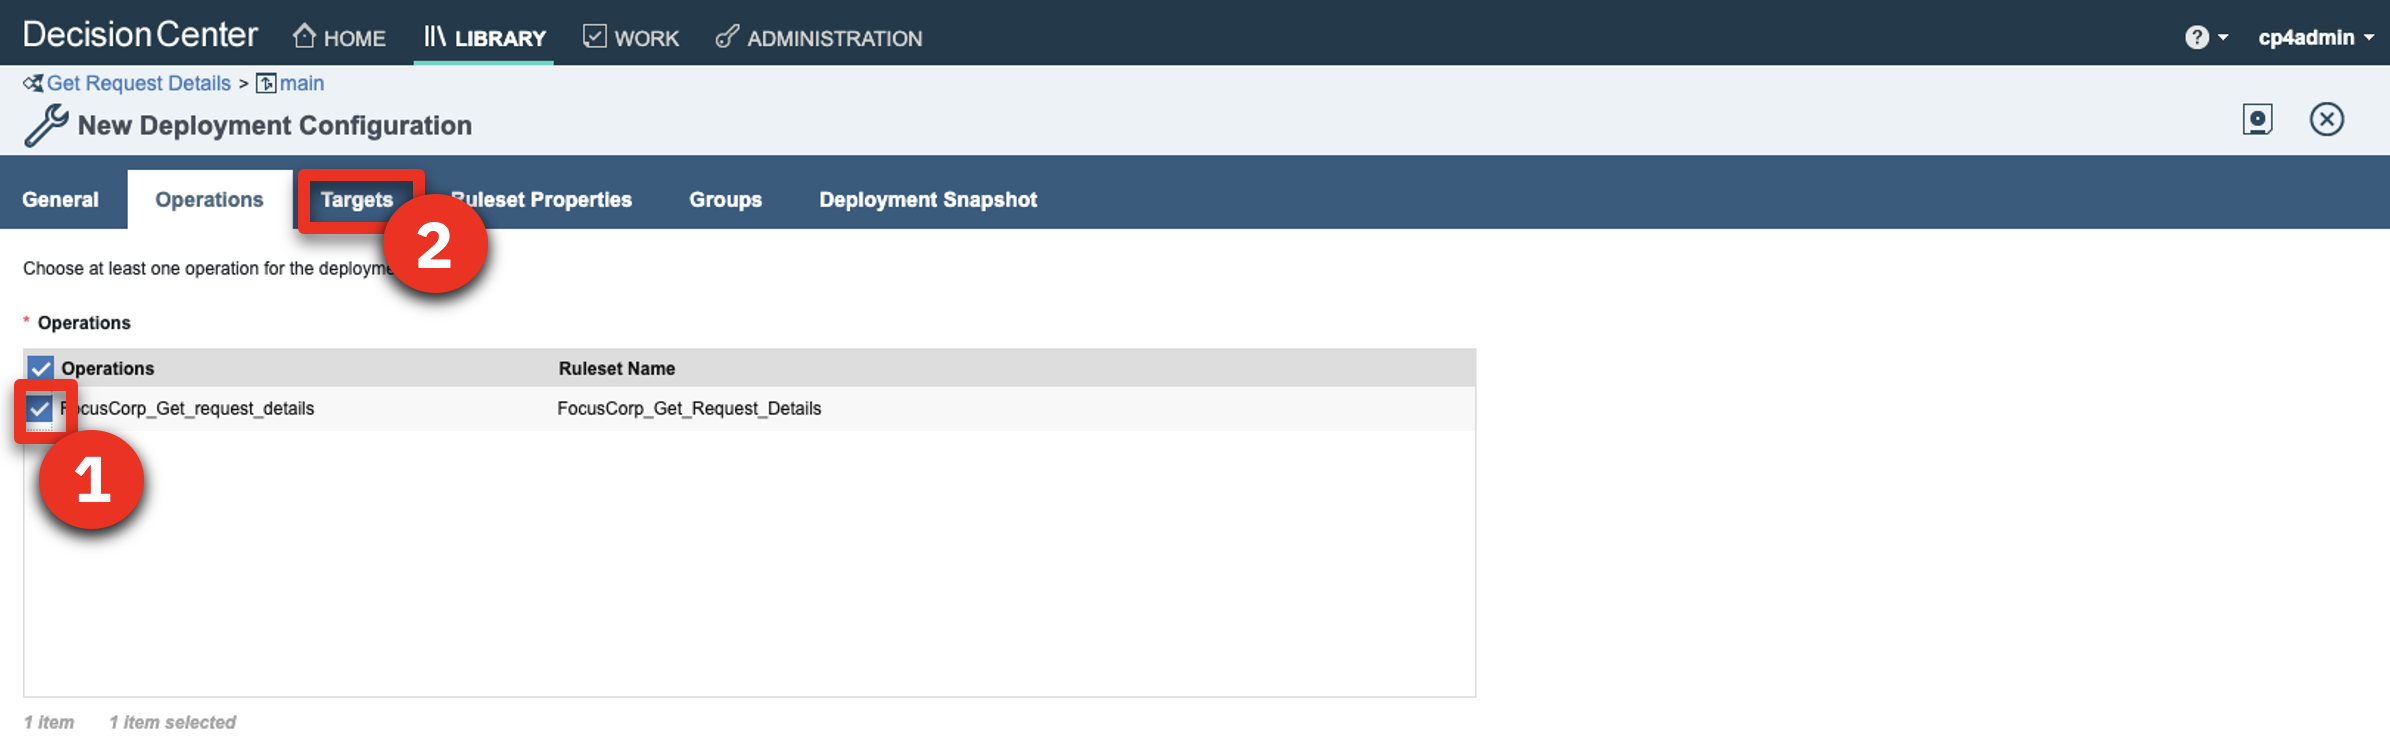
Select the FocusCorp_Get_request_details operation (1). Click the Targets tab (2).
-
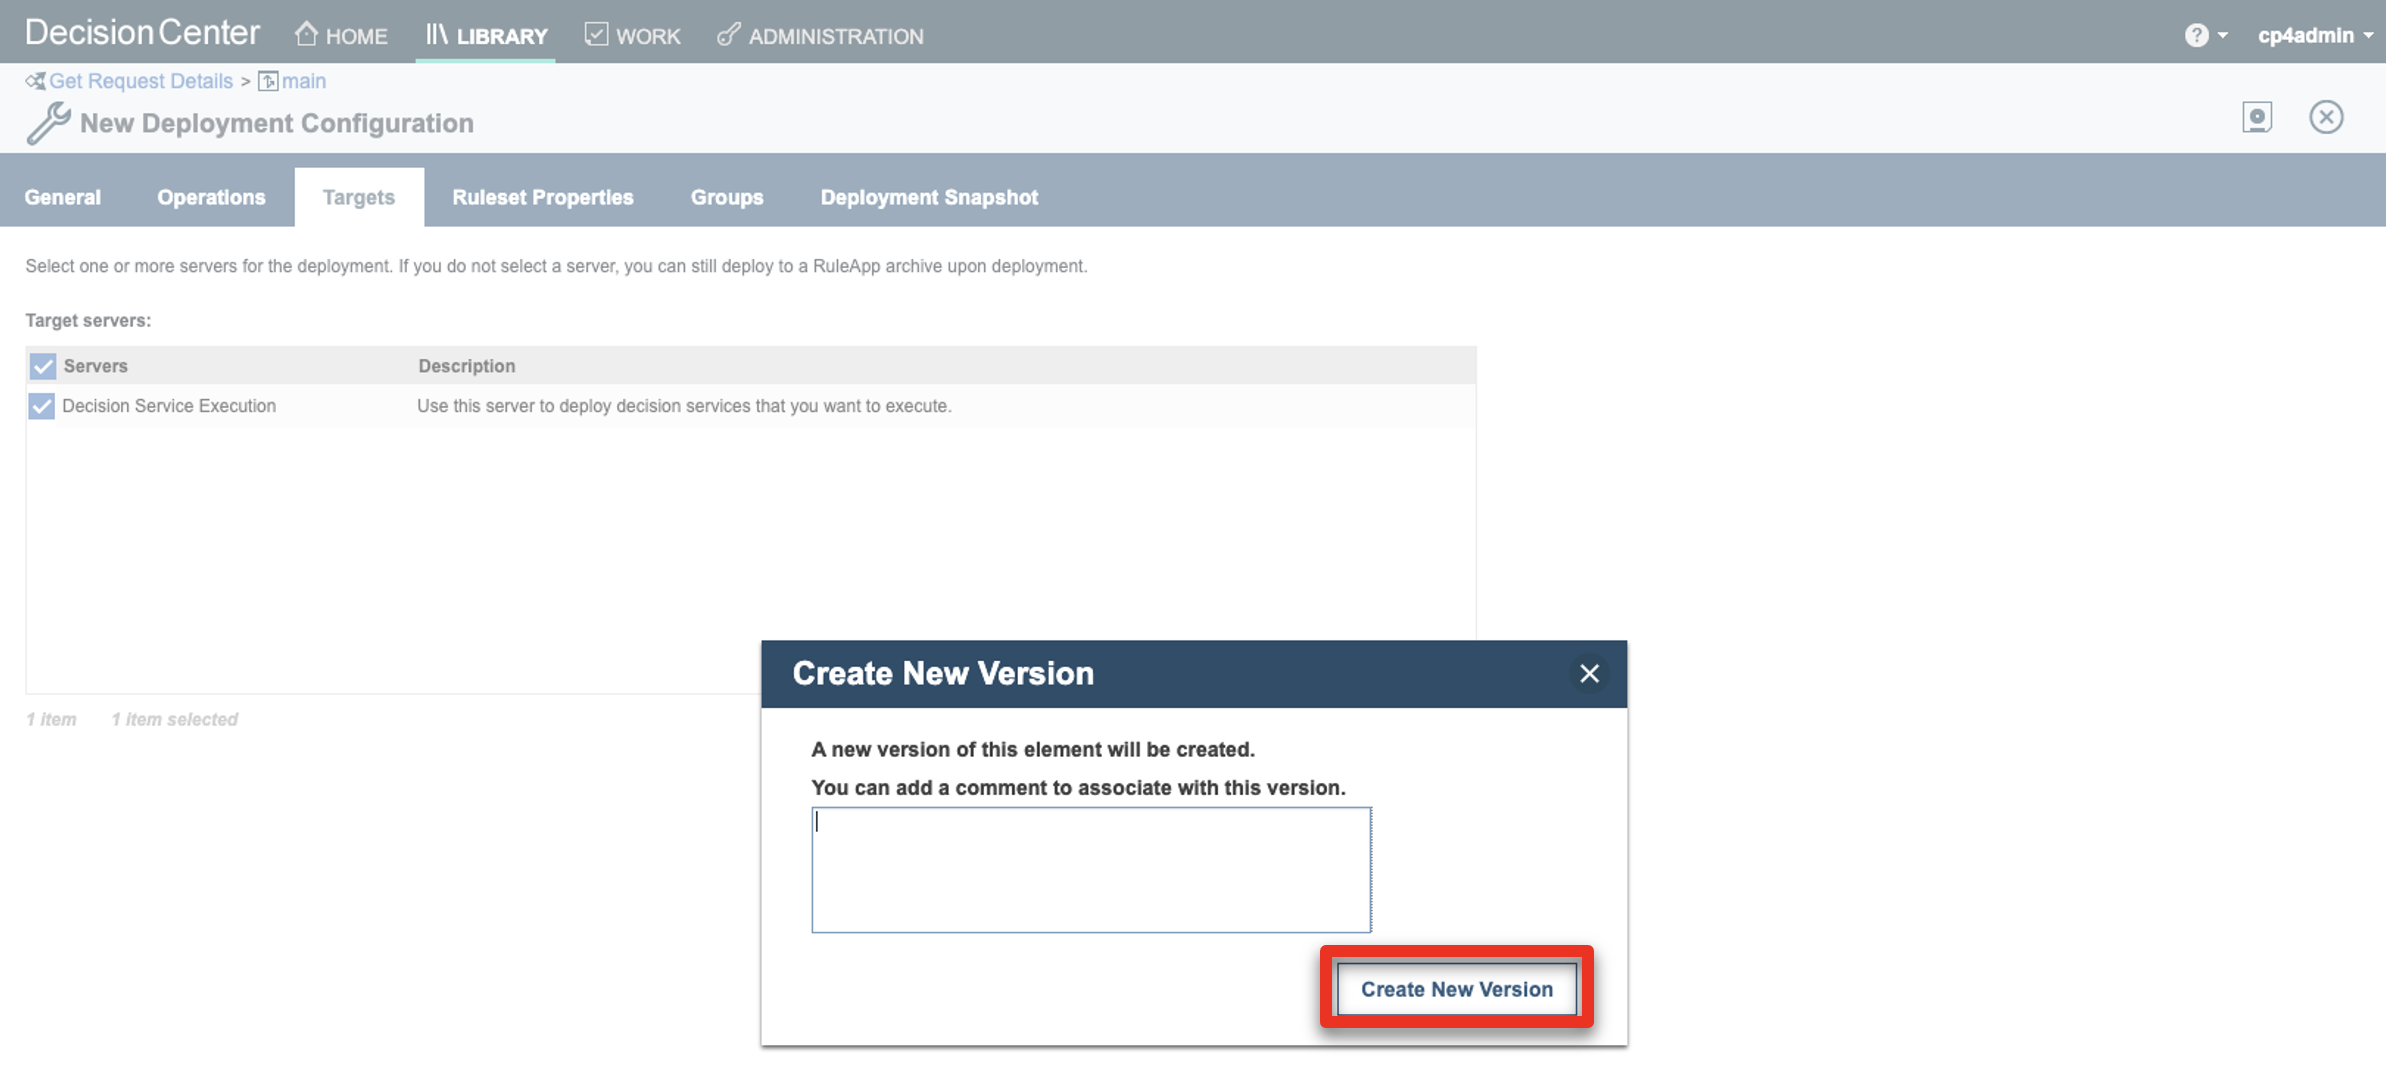
Check the Decision Service Execution target server (1). Click the save icon (2).
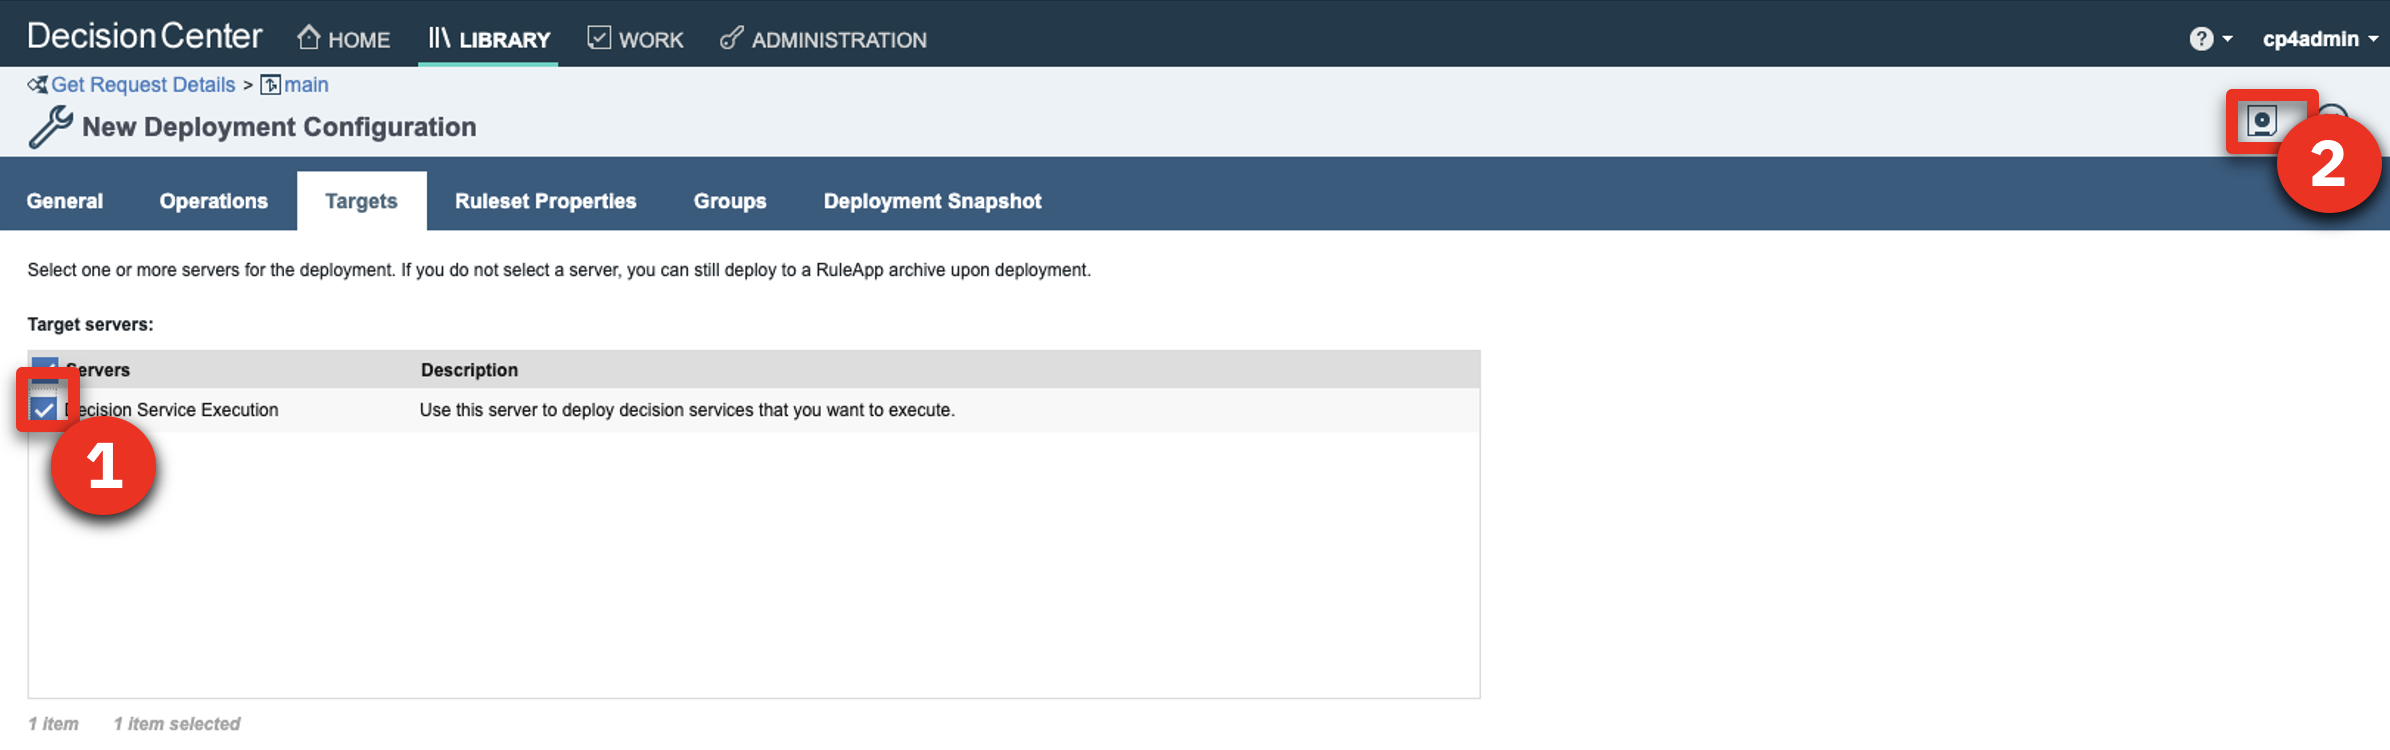
-
Click Create new version.
-
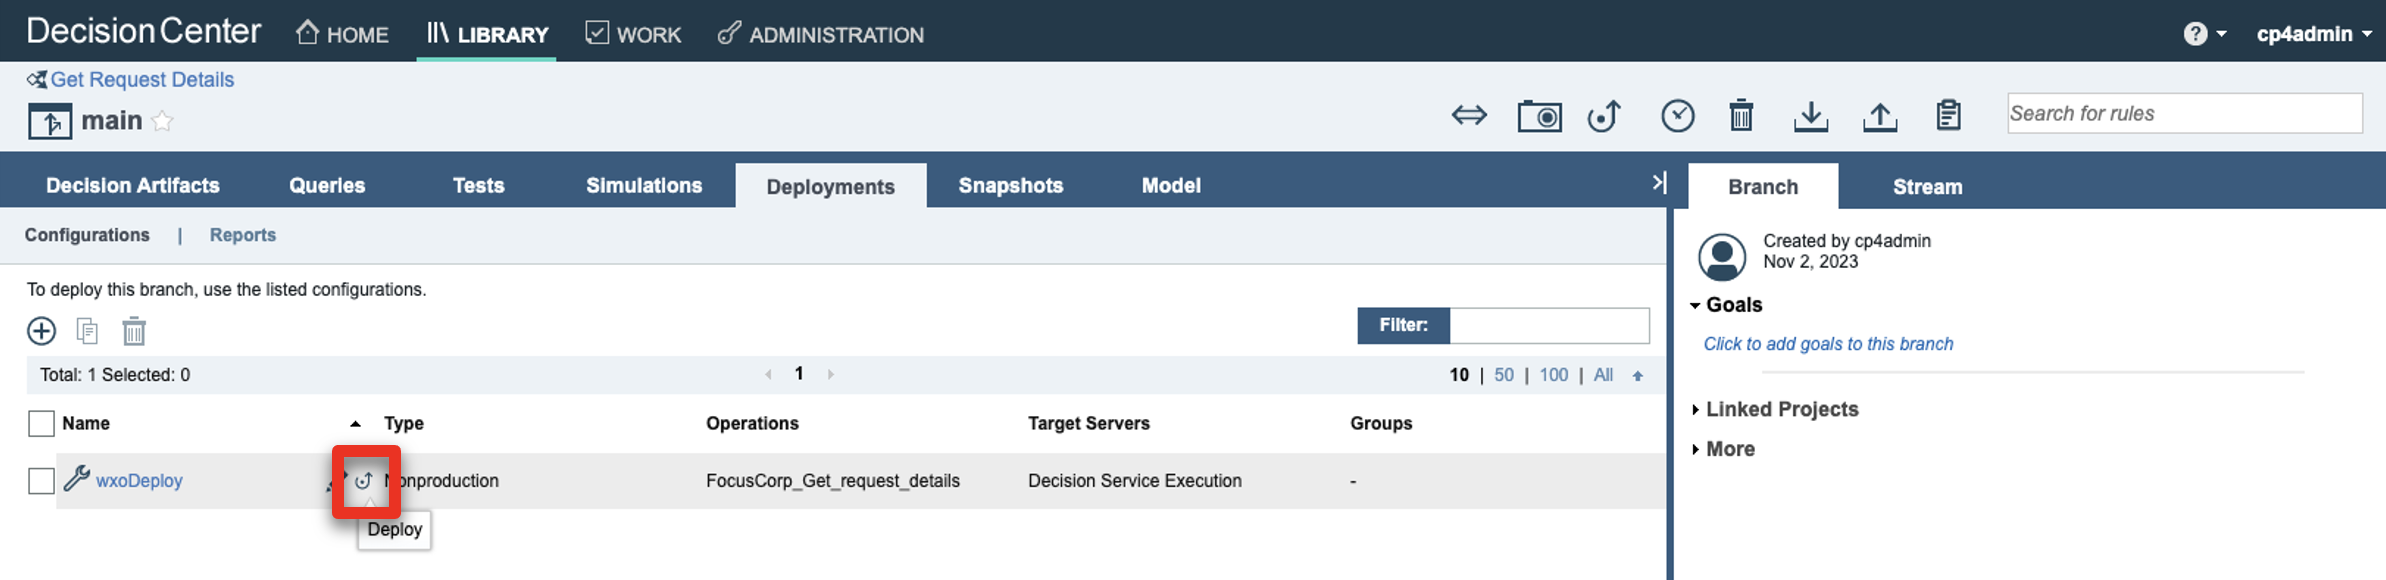
Hover your cursor over the wxoDeploy row and click the deploy icon.
-
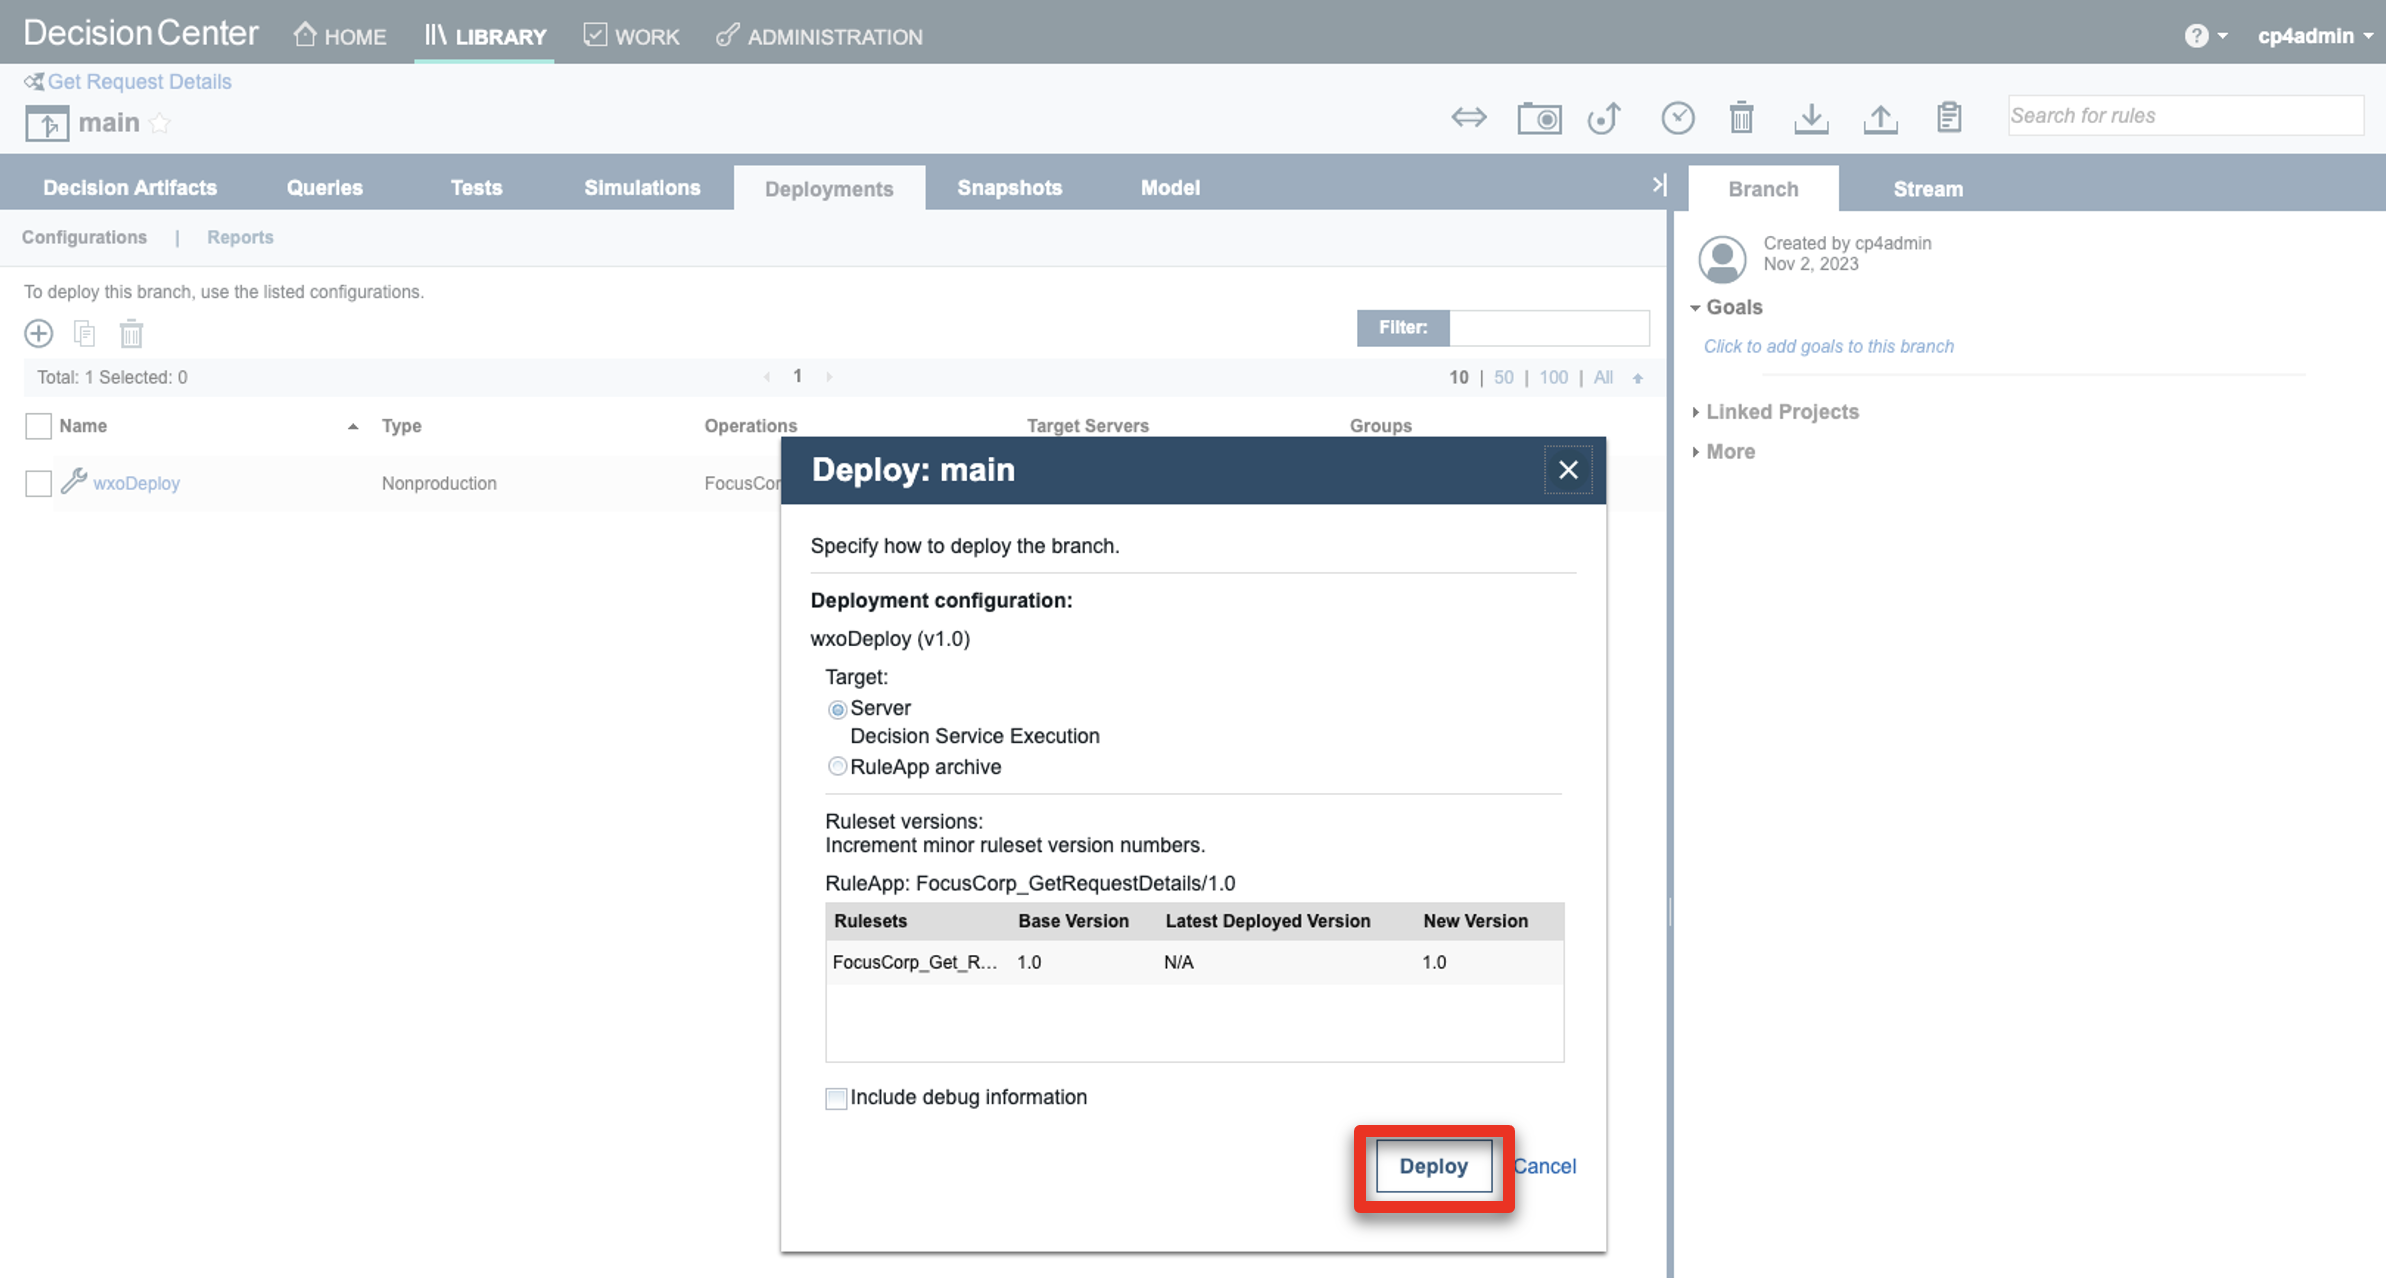
Click Deploy.
-
Click OK.

-
Wait for the service to be deployed.
-
Click the LIBRARY tab.
2 - Import the ‘Customer Service’ decision service
Let’s deploy the decision service driving the ‘Customer Service’ decision of the demo.
For this service, we are going to deploy two different instances with two different operations. One will be used by the finalized ‘Customer Service’ skill; the other one will be used to show how to create a skill step by step in watsonx Orchestrate. For this second one, you will have to update the RuleApp name with your own ‘XXX’ initials in order to not conflict with some skills that may have already been published by other users of your watsonx Orchestrate tenant.
-
Click the Customer Service decision service.
-
Click the main.
-
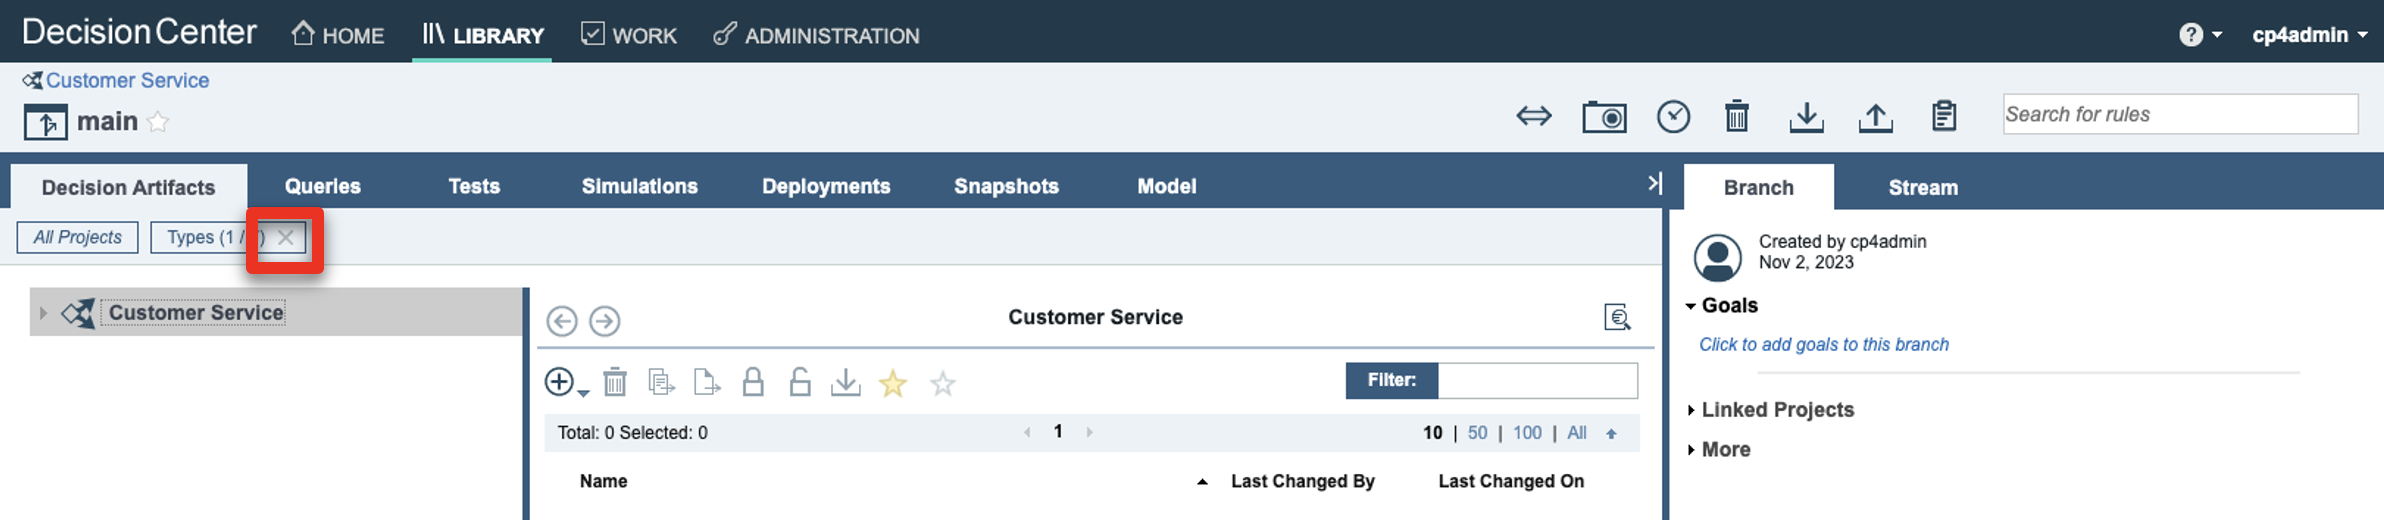
Click the X to remove the filter on the decision artifacts.
-
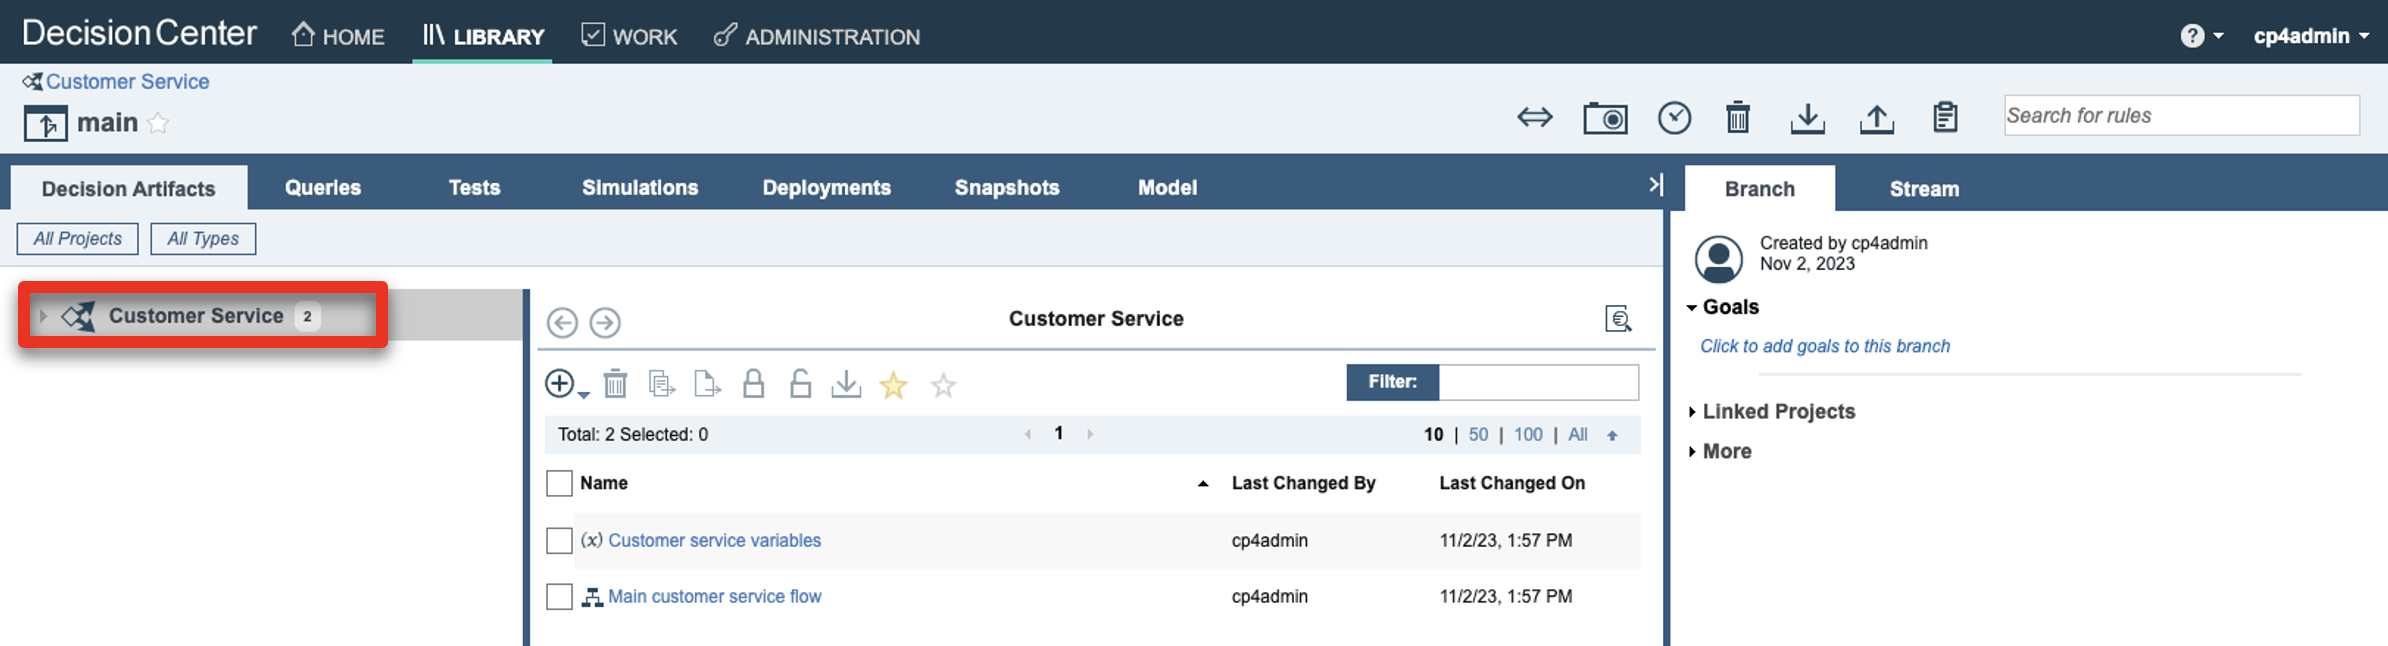
Expand the Customer Service folder.
-
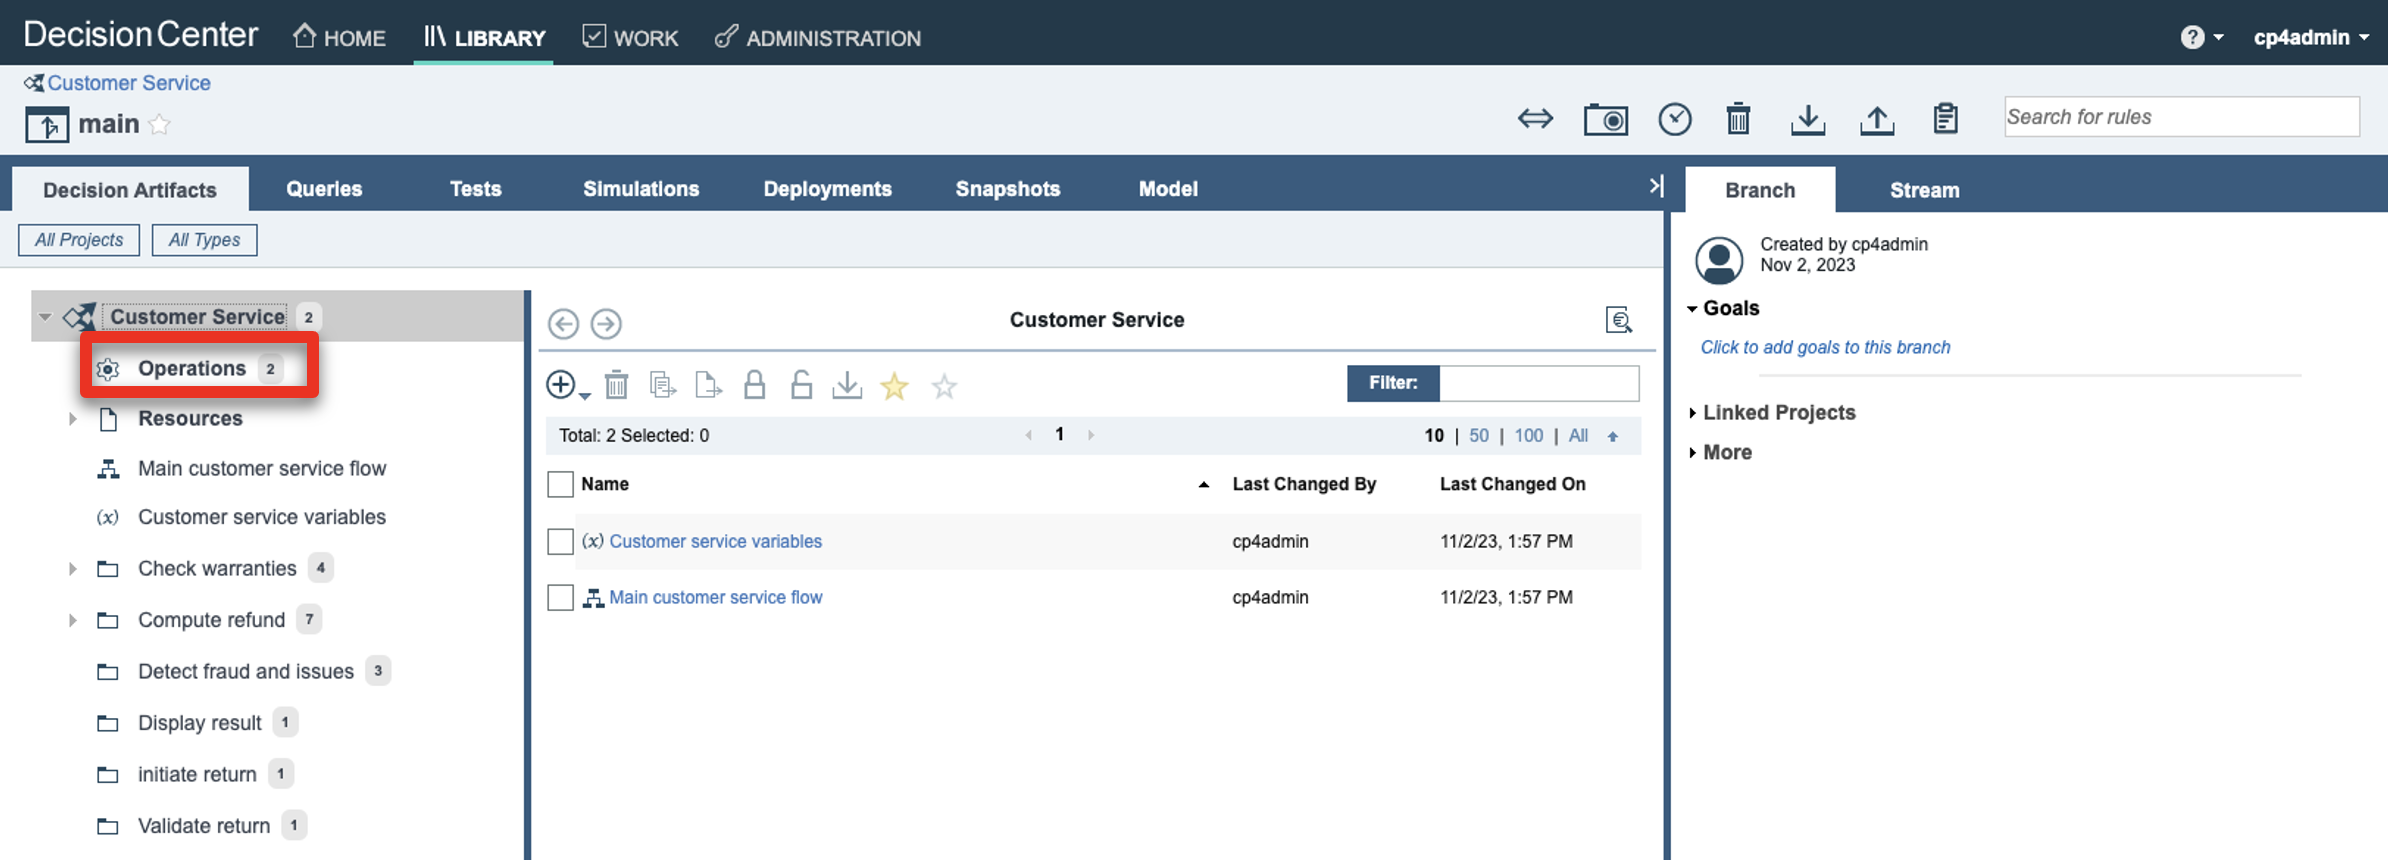
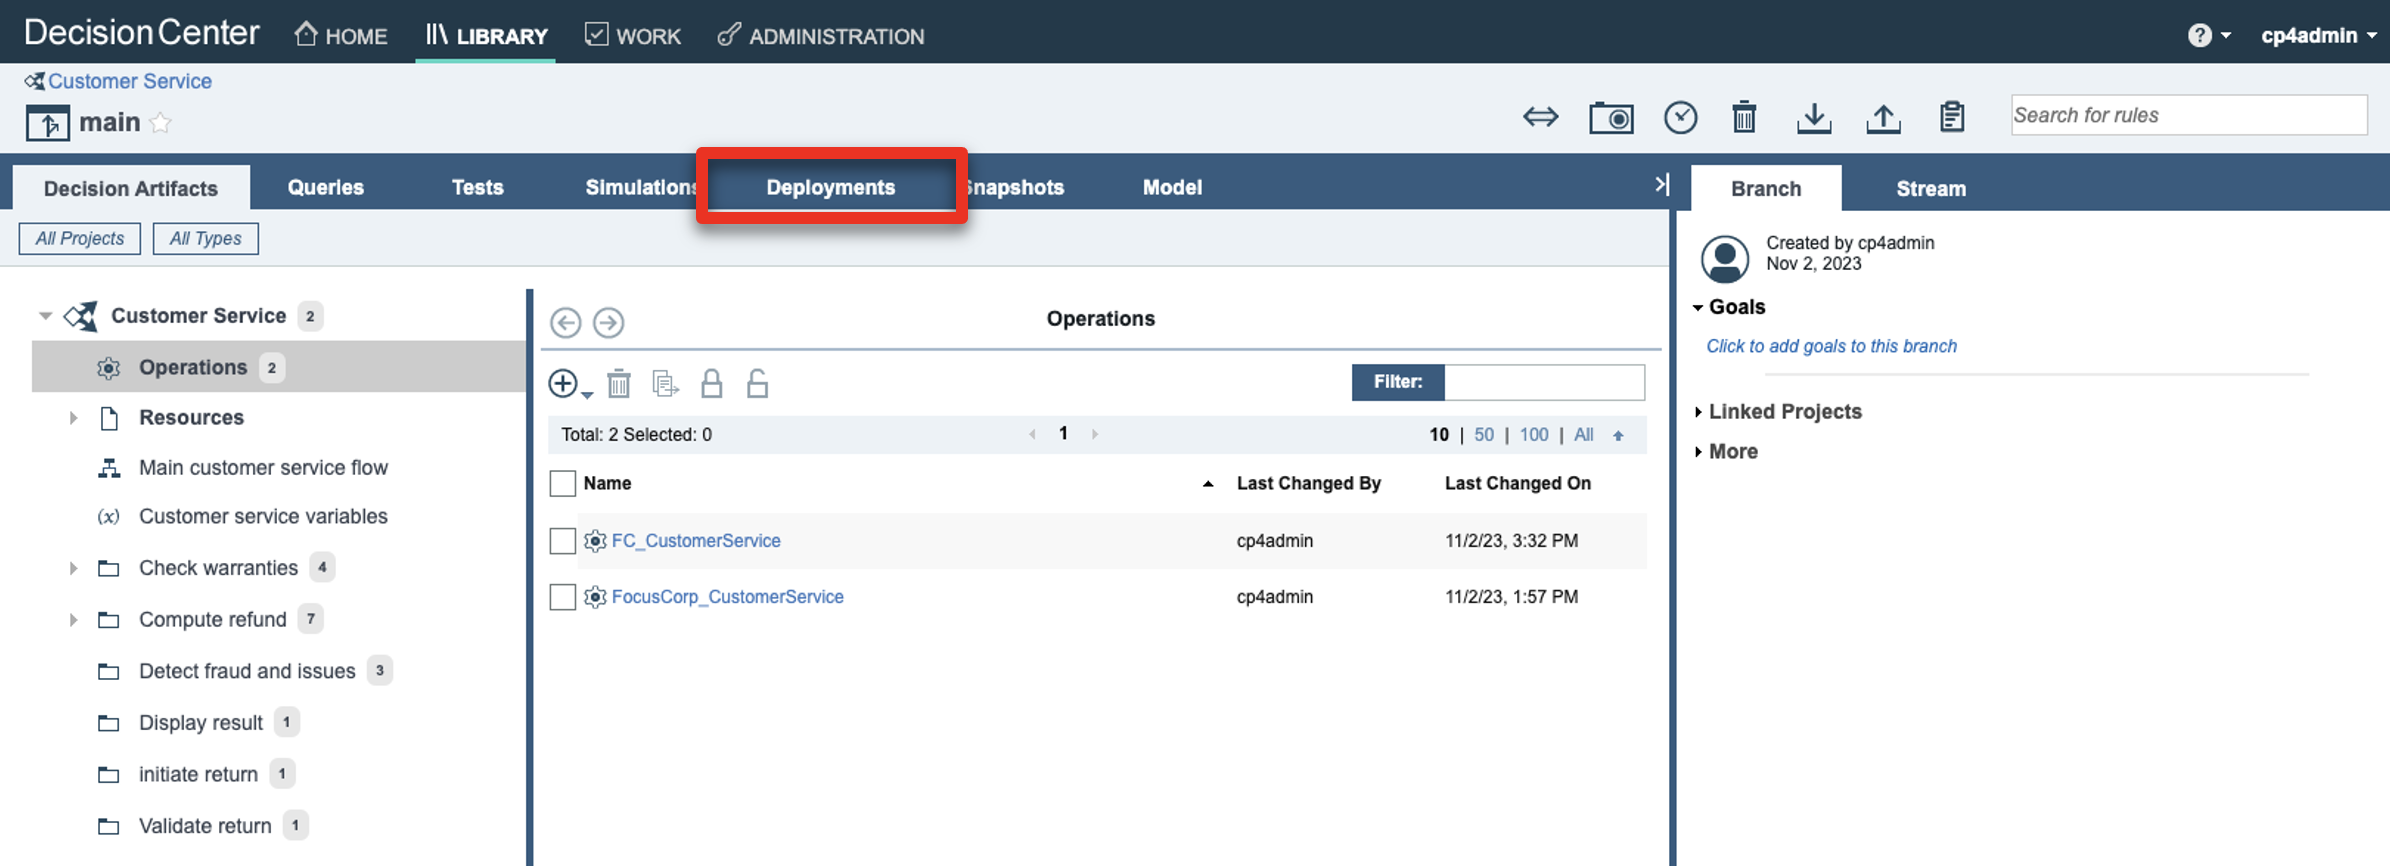
Click Operations.
-
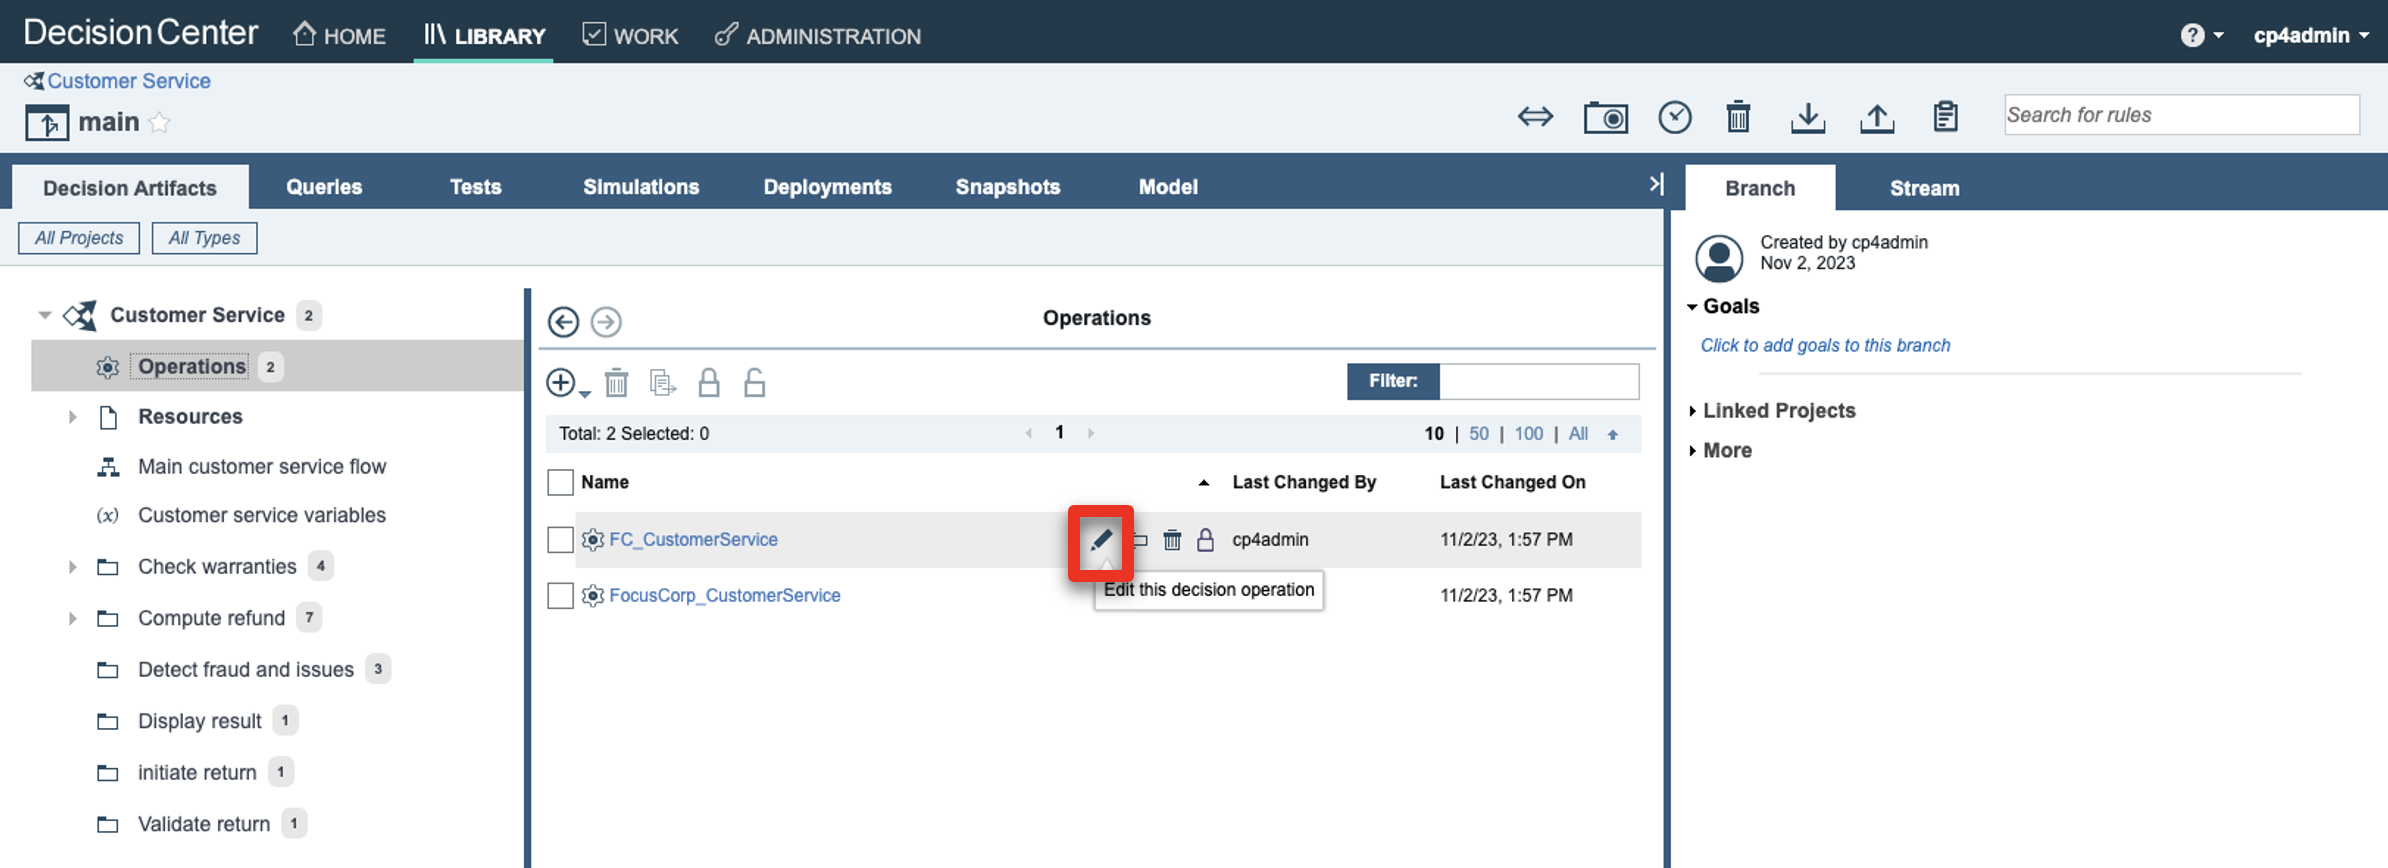
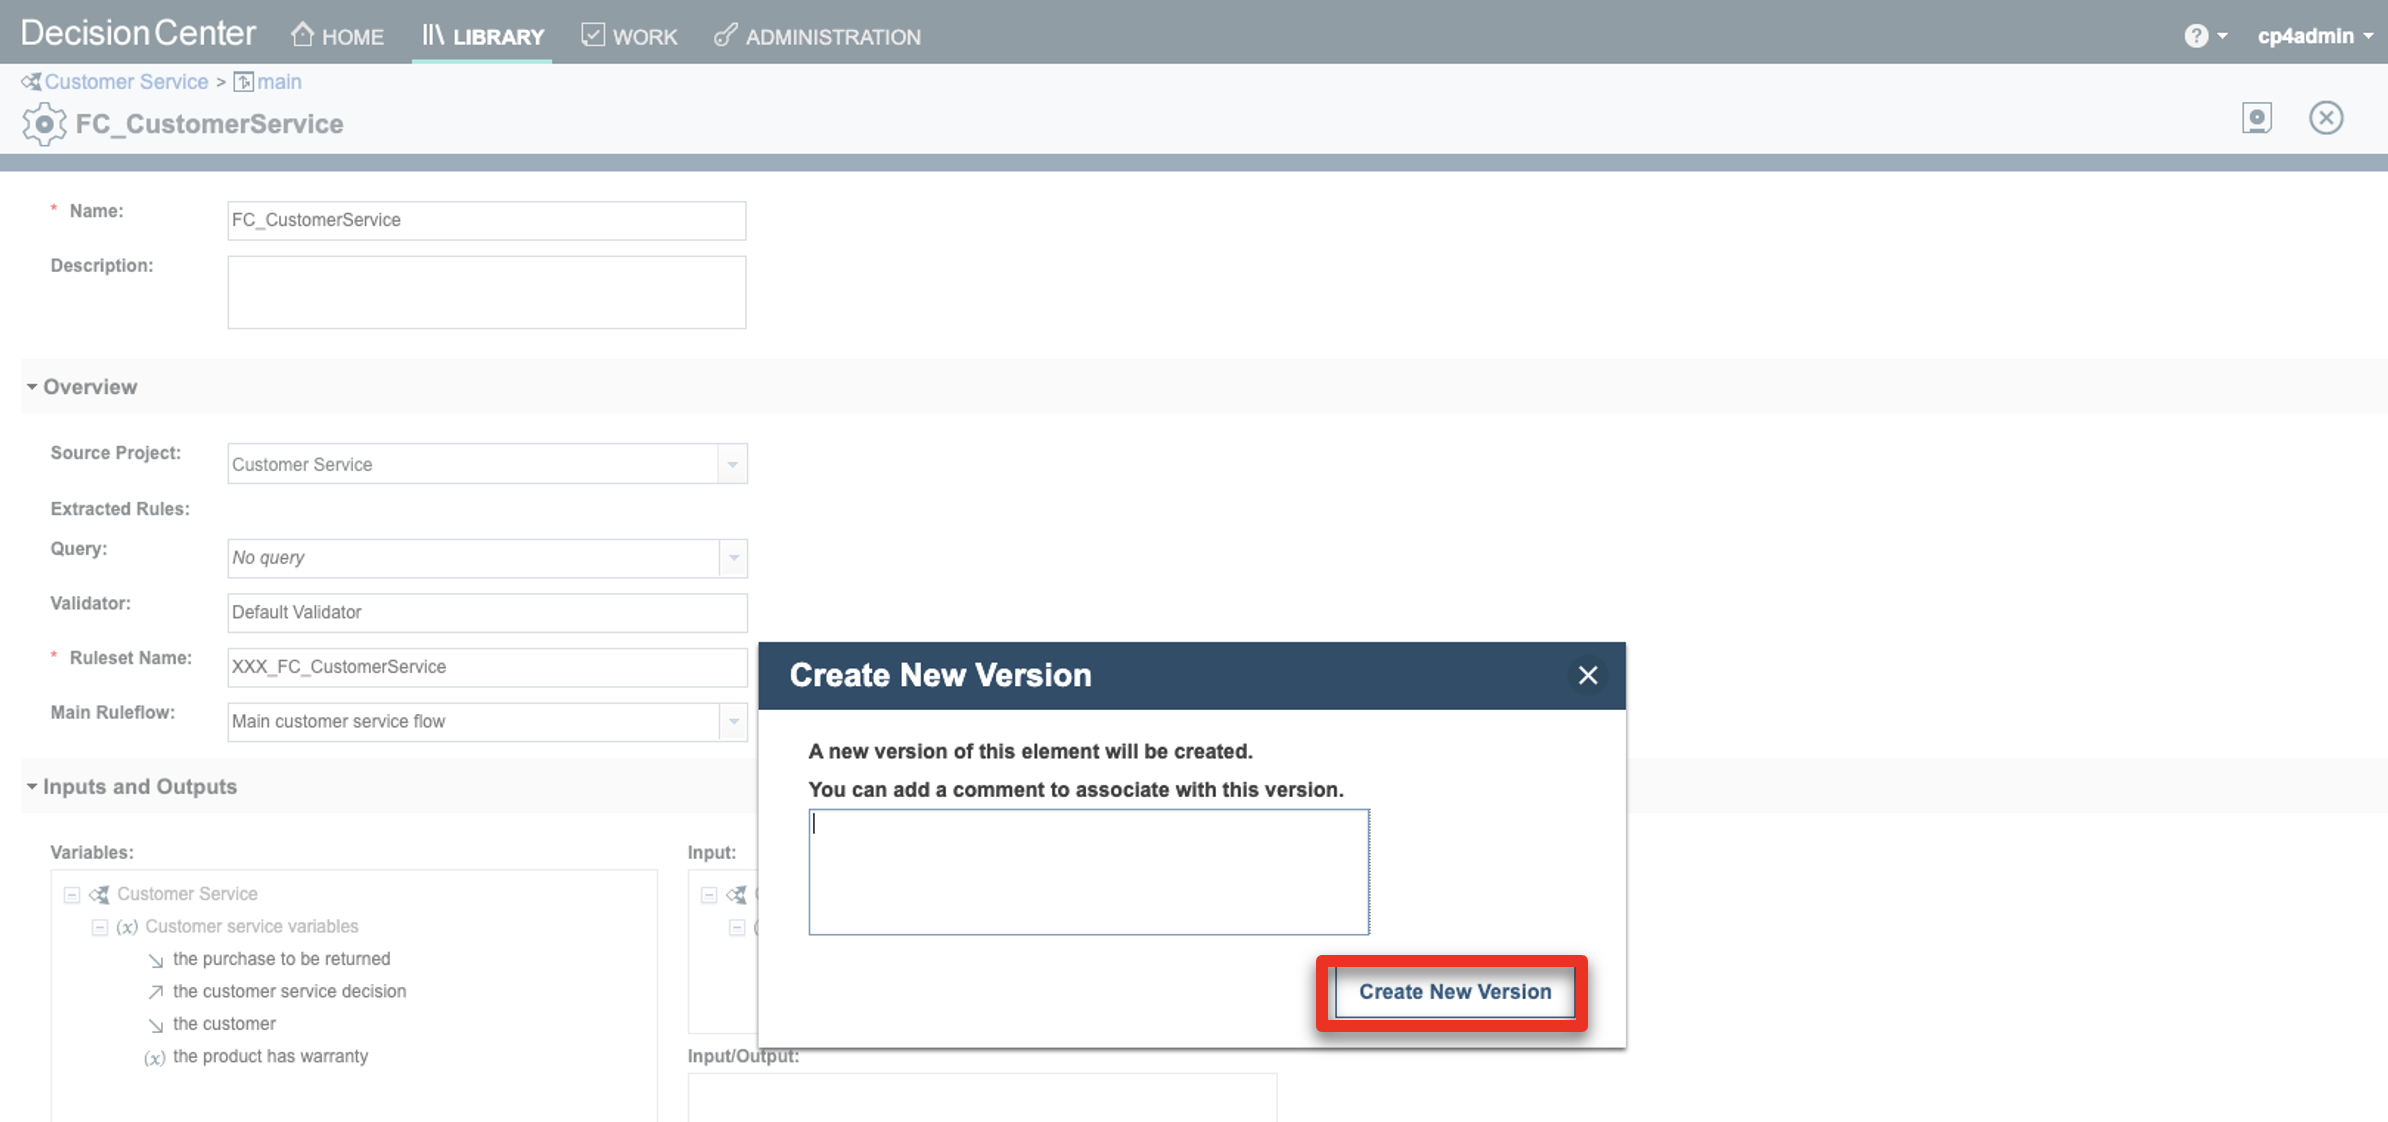
Hover your cursor over the FC_CustomerService row and click the edit icon.
-
Replace the ‘XXX’ in the Ruleset Name with your own three-letter initials (1). Click the save icon (2).

-
Click Create New Version.
-
Click Deployments.
-
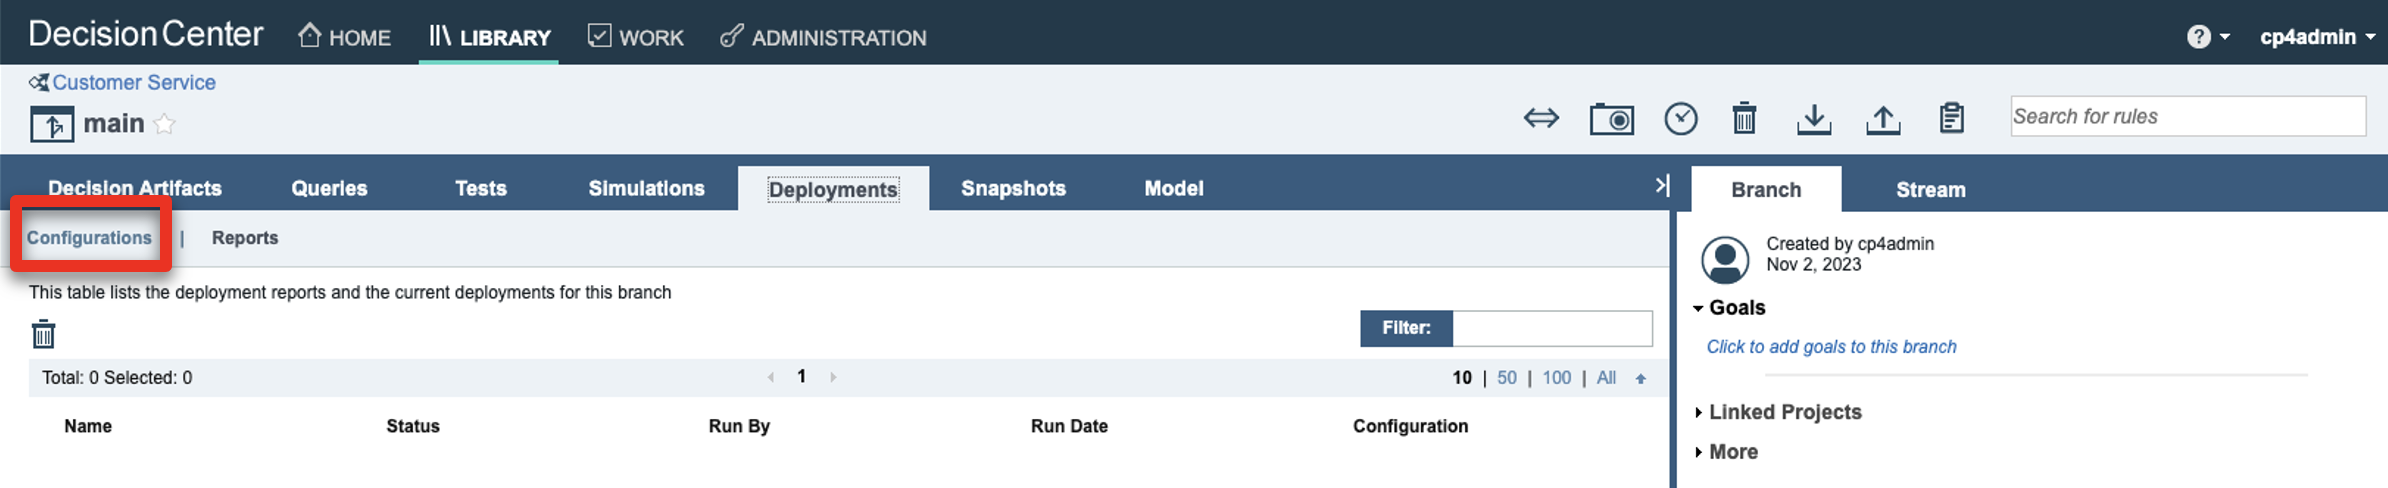
Click Configurations.
-
Click the + button.

-
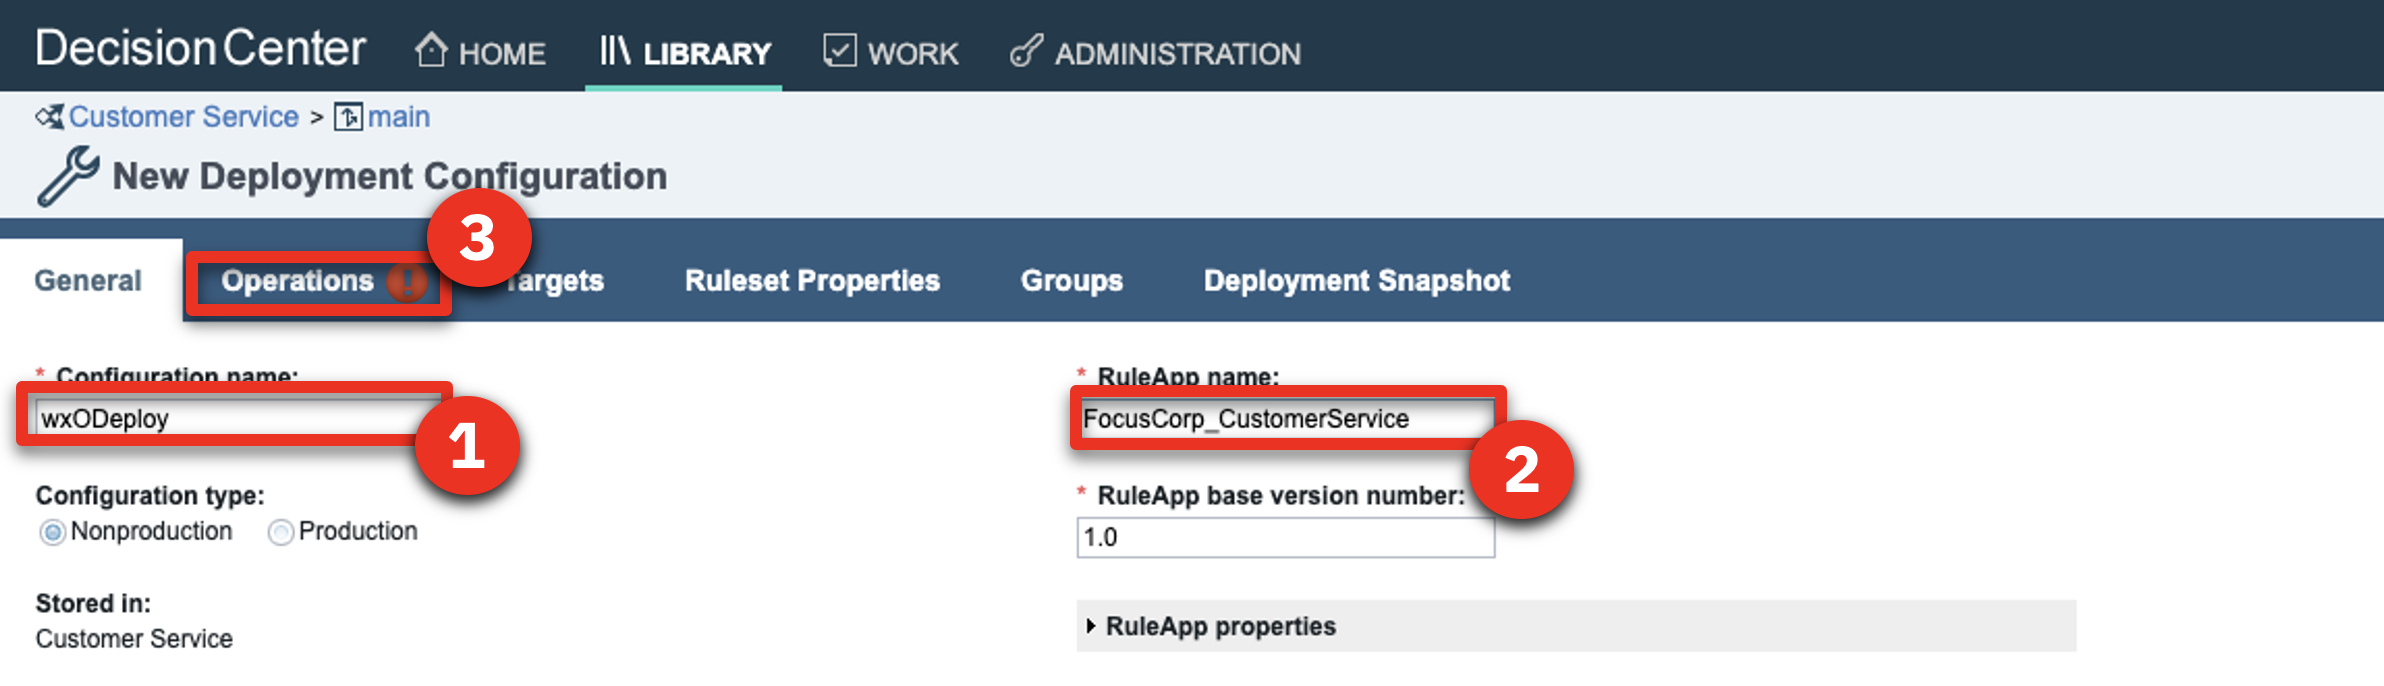
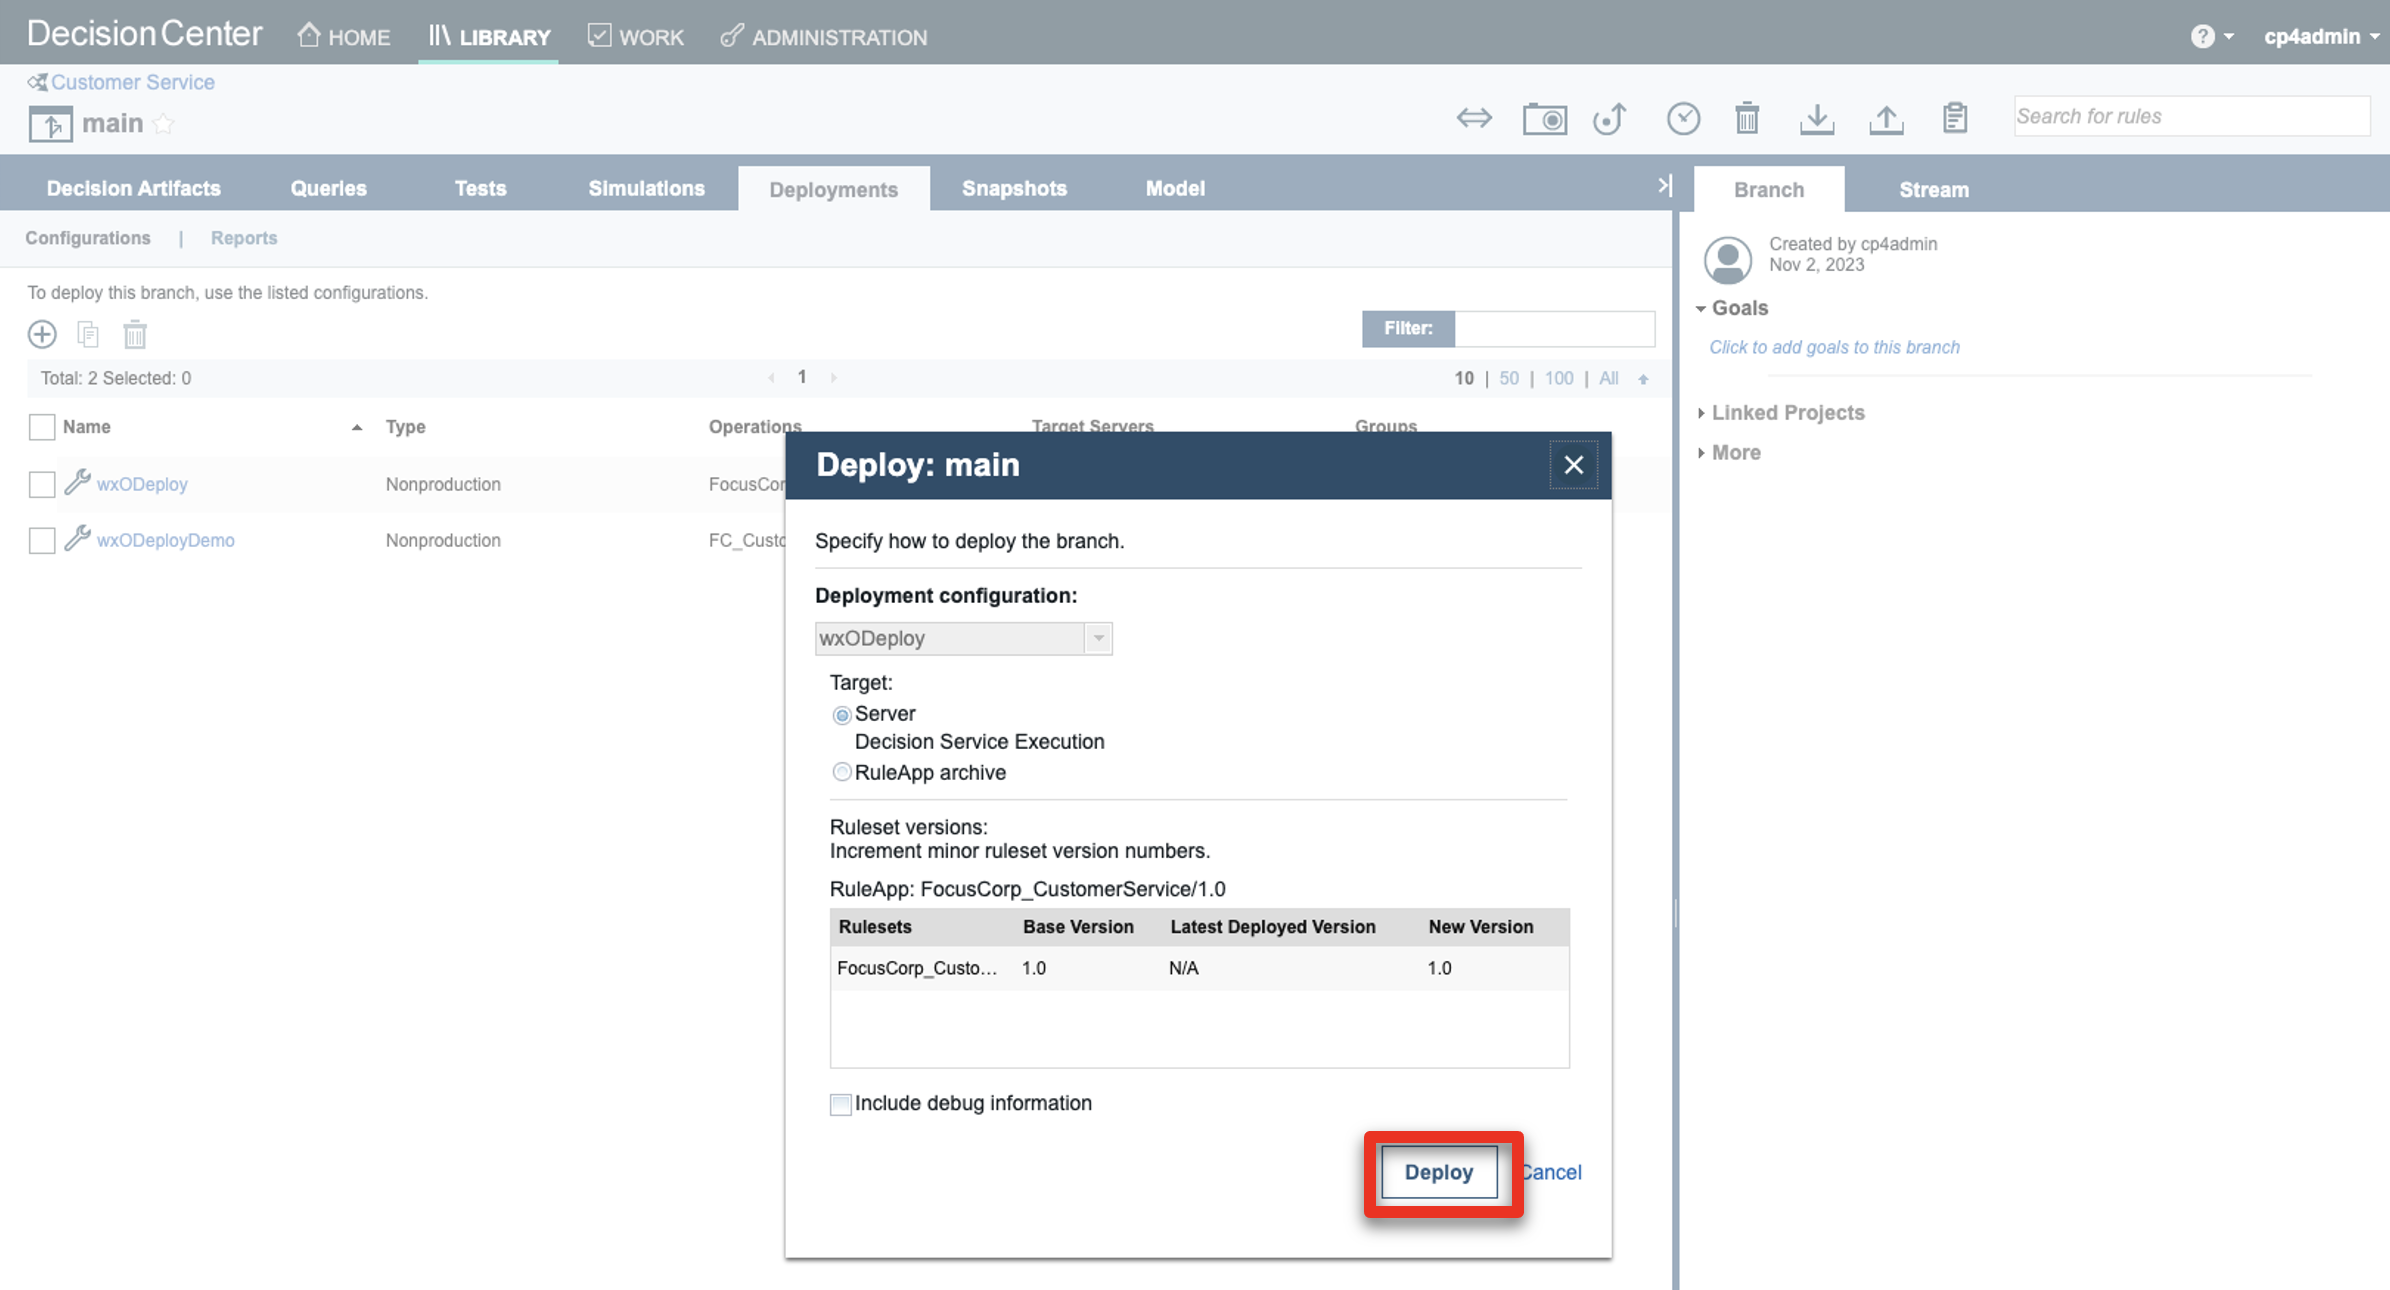
For the Configuration name, enter ‘wxODeploy’ (1). For the RuleApp name, enter ‘FocusCorp_CustomerService’ (2). Click the Operations tab (3).
-
Select the FocusCorp_CustomerService operation (1). Click the Targets tab (2).
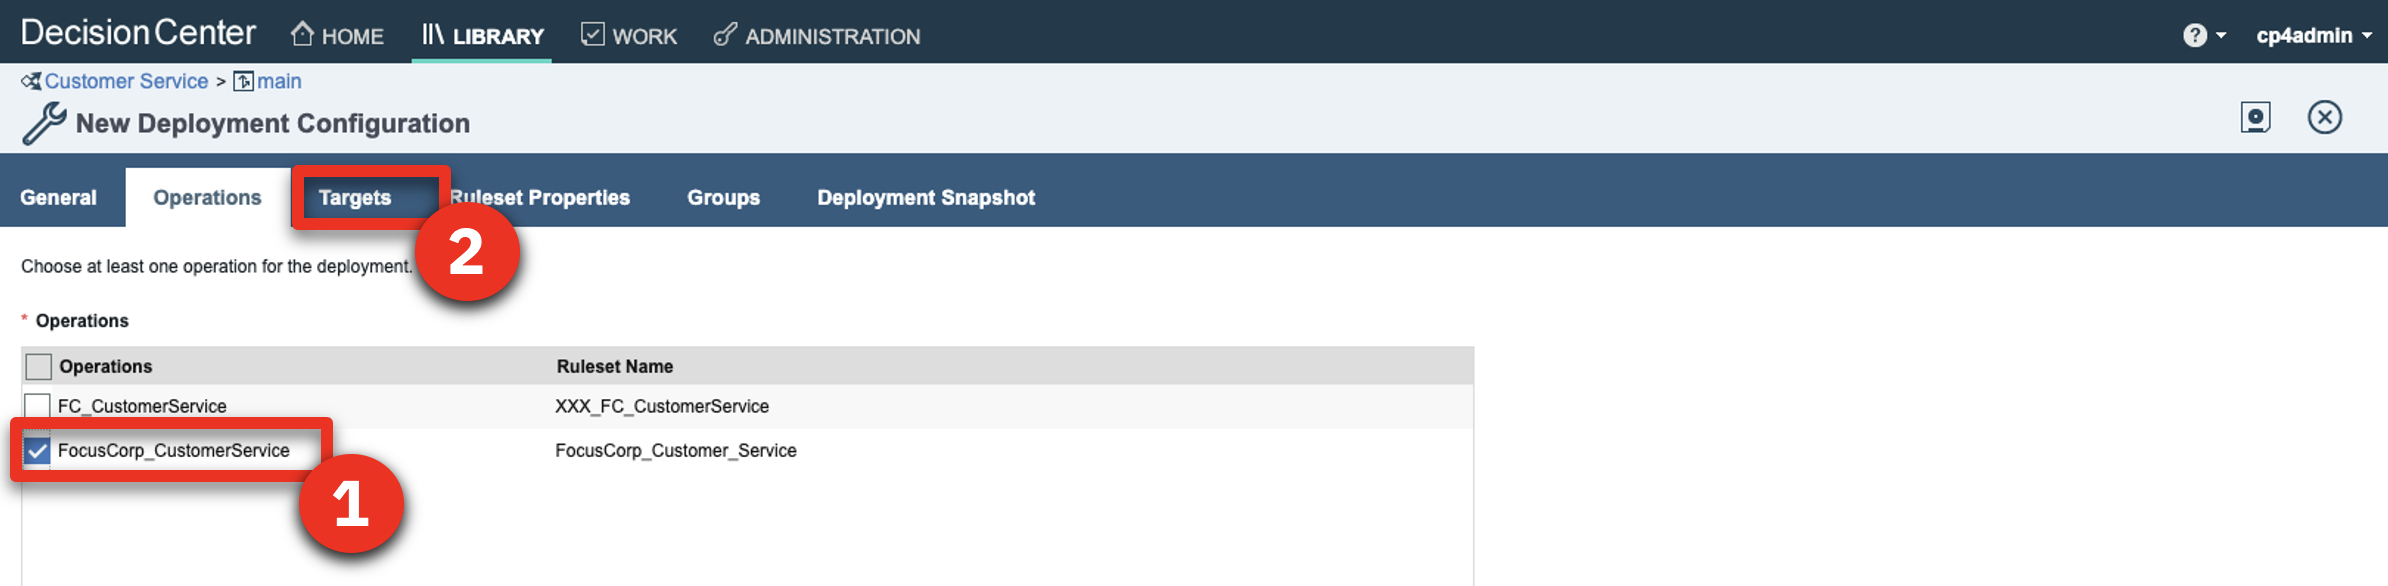
-
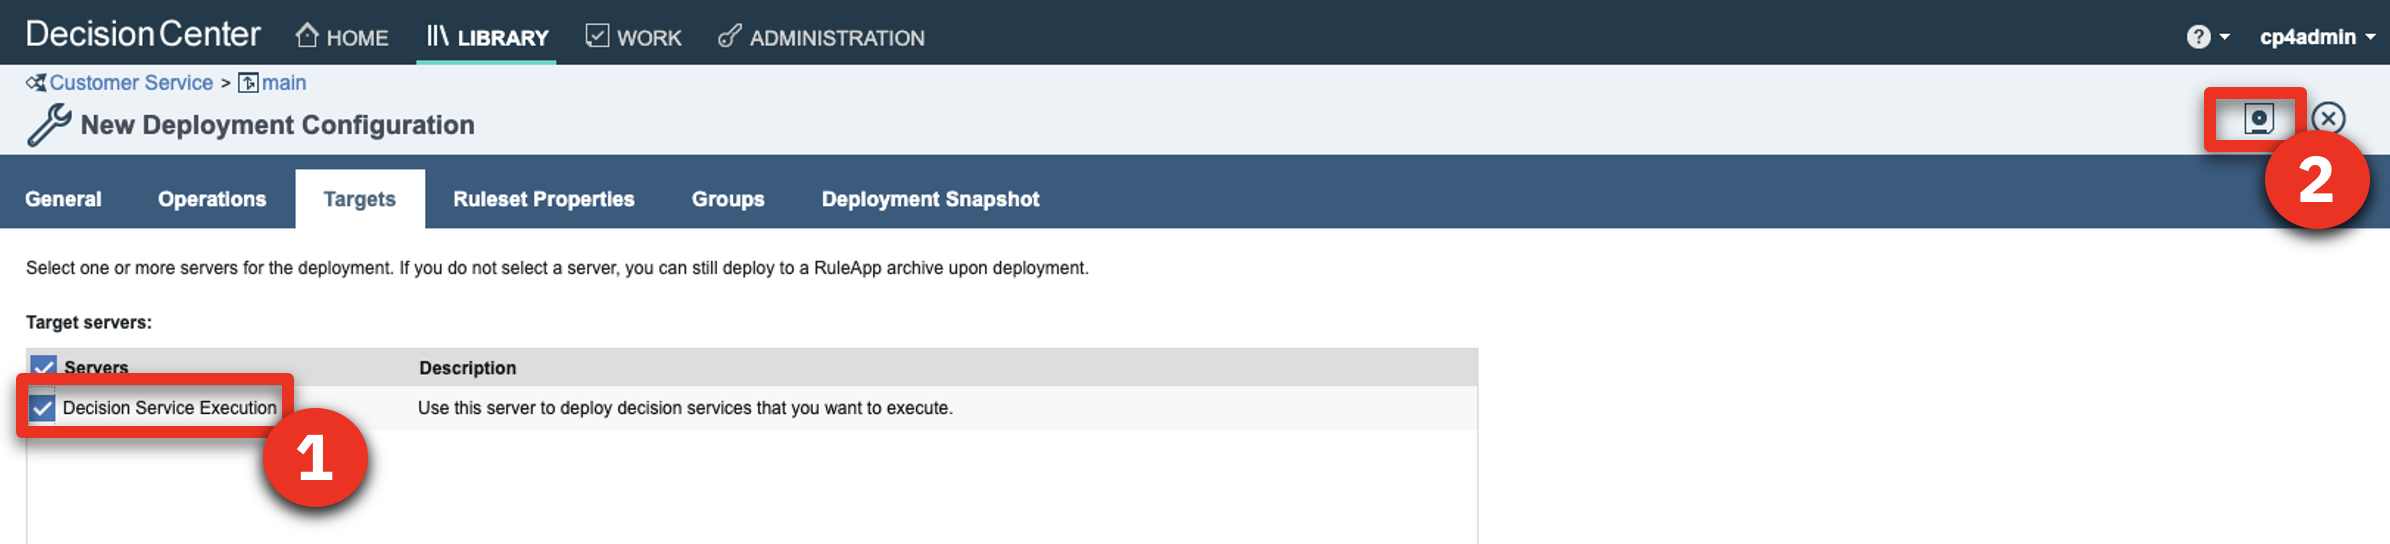
Select the Decision Service Execution target server (1). Click the save icon (2).
-
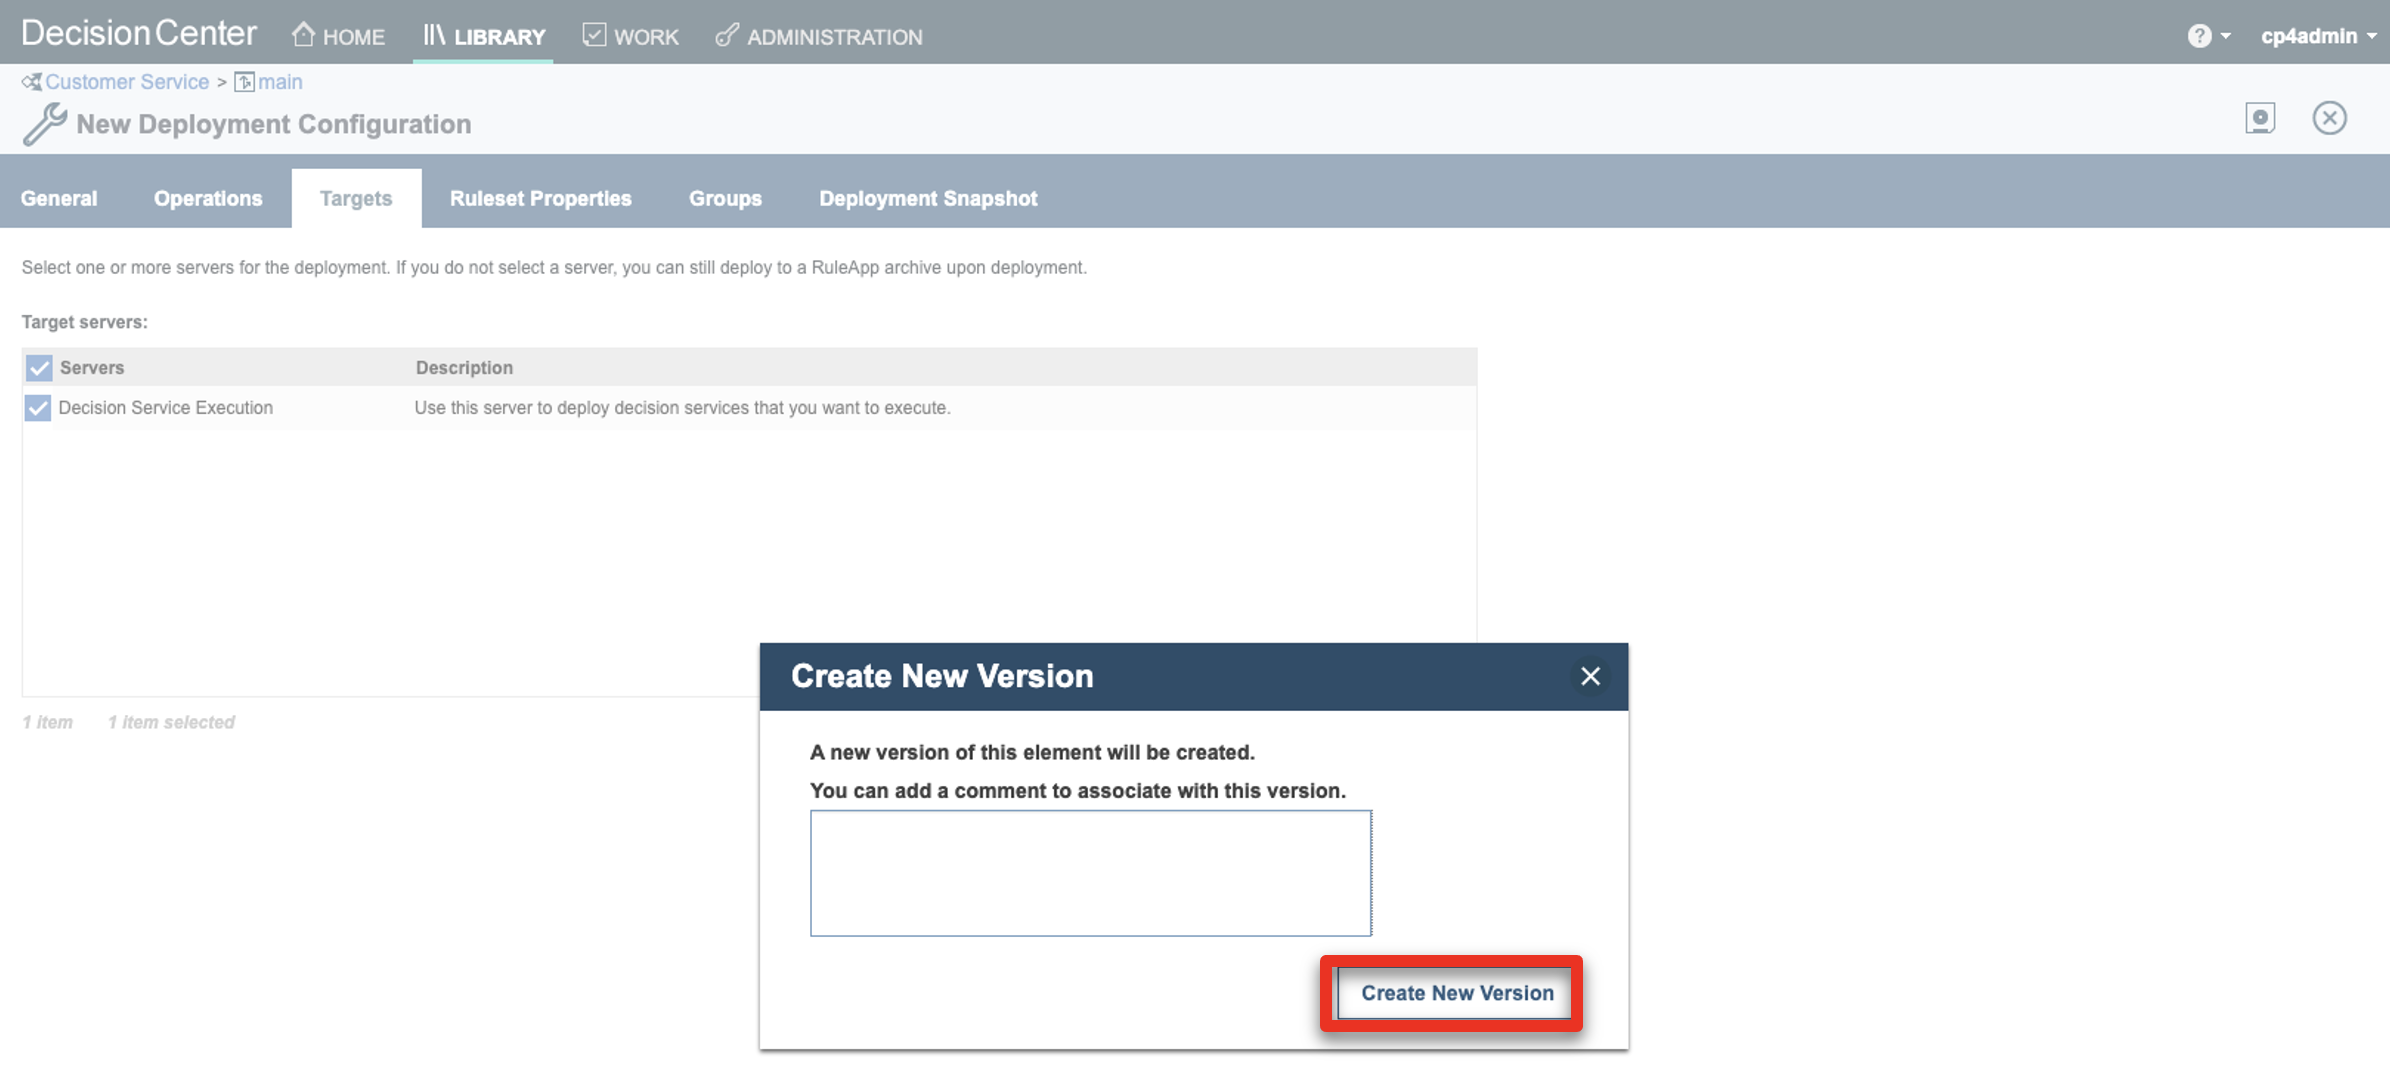
Click Create New Version.
-
Repeat from Step 11 using the following information:
• Configuration name: wxoDeployDemo
• RuleApp name: FC_CustomerService
• Select the FC_CustomerService operation -
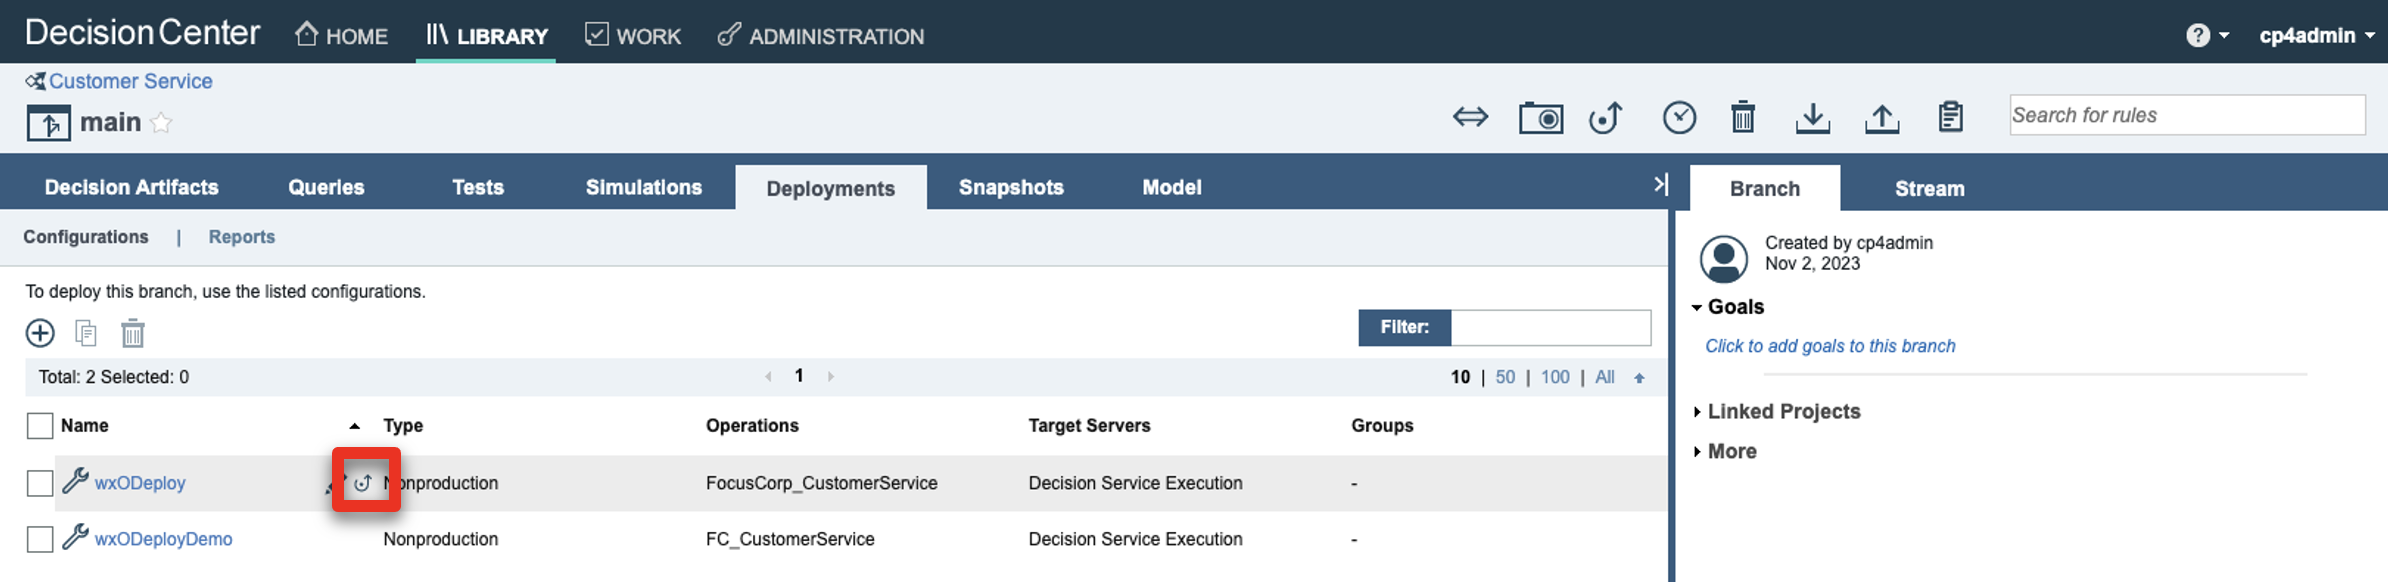
Hover your cursor over the wxODeploy row and click the deploy icon.
-
Click Deploy.
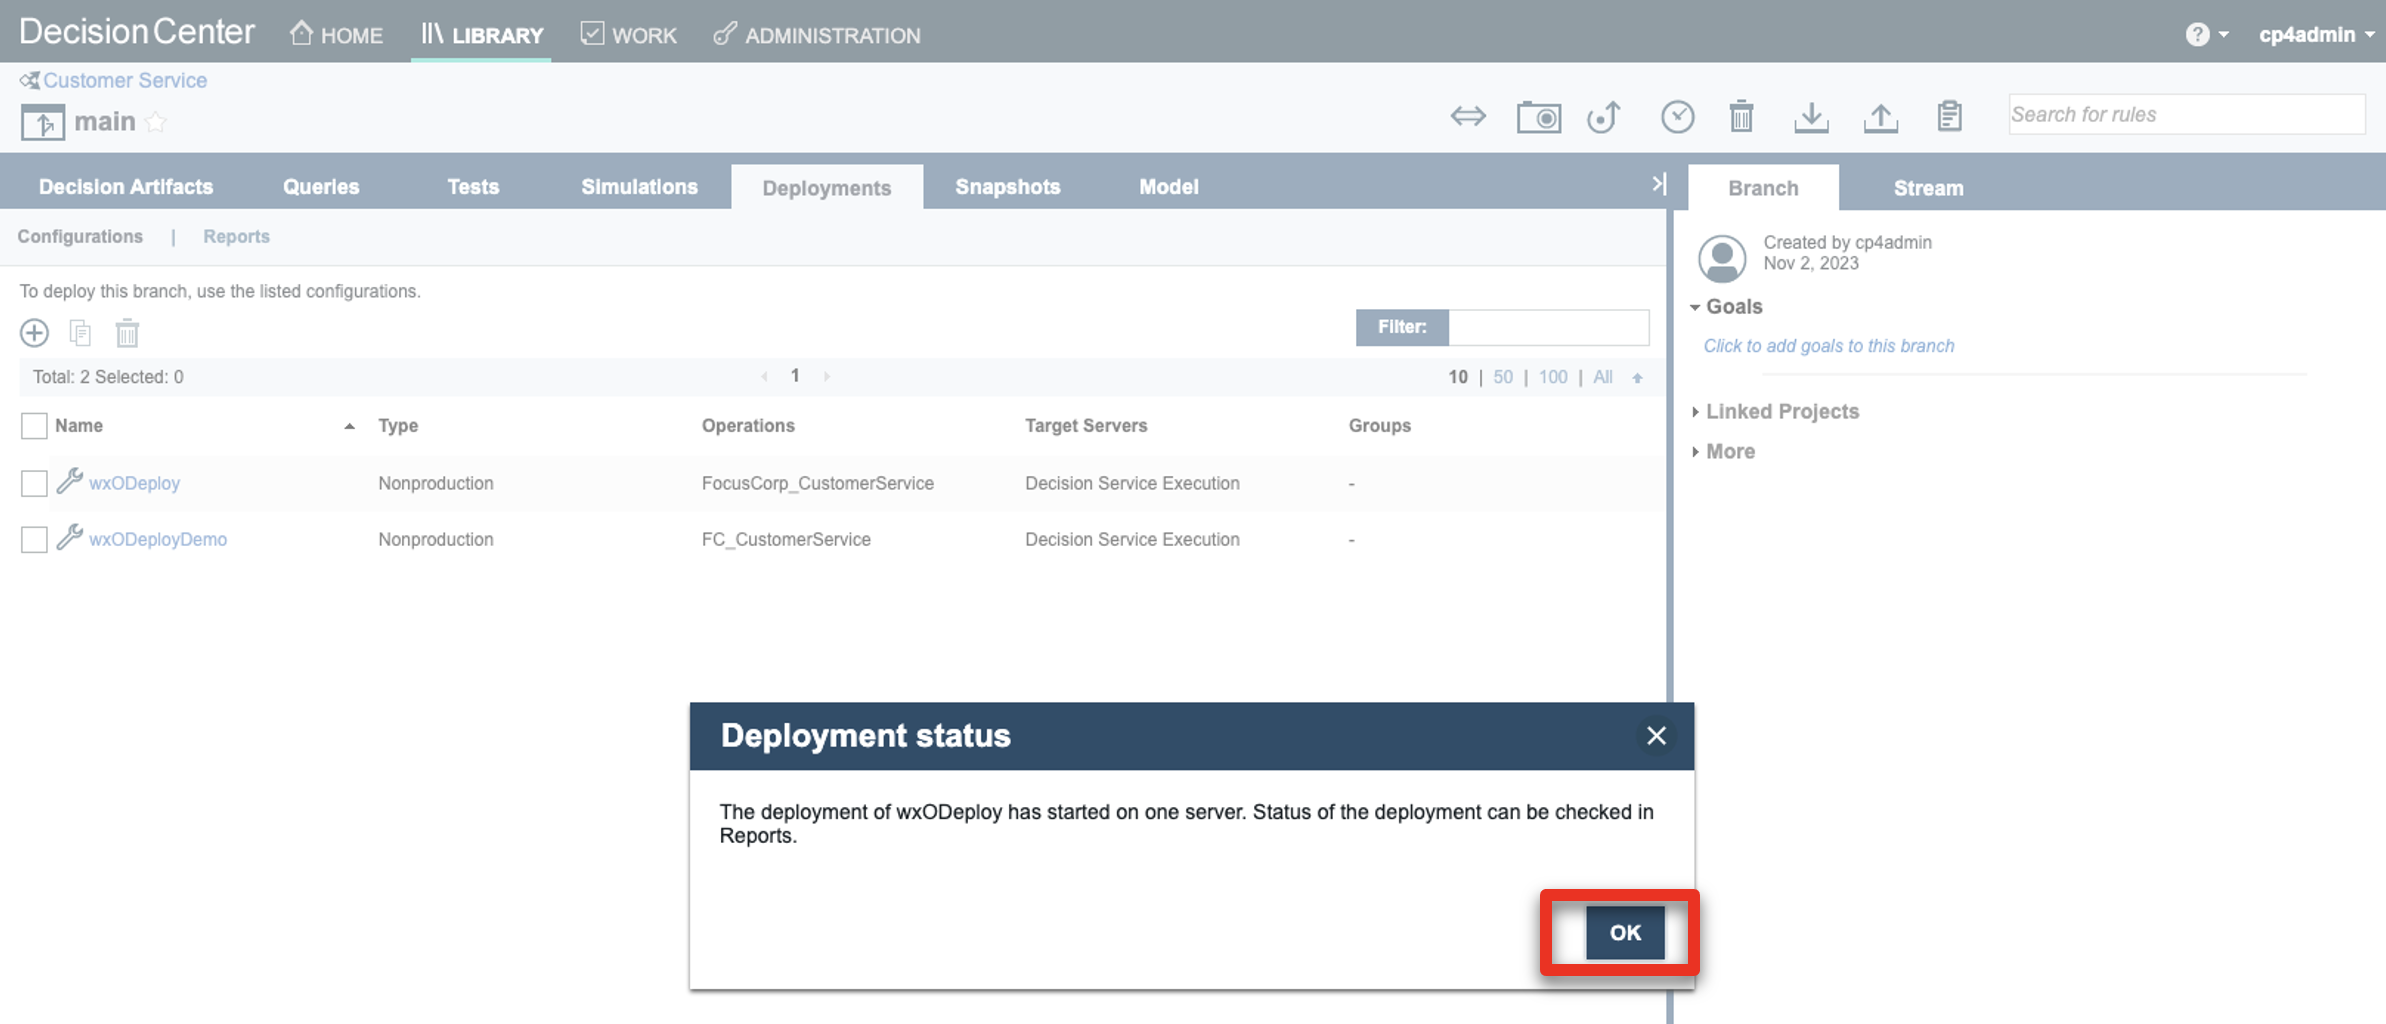
-
Click OK.
-
After the deployment is completed, click Configurations.
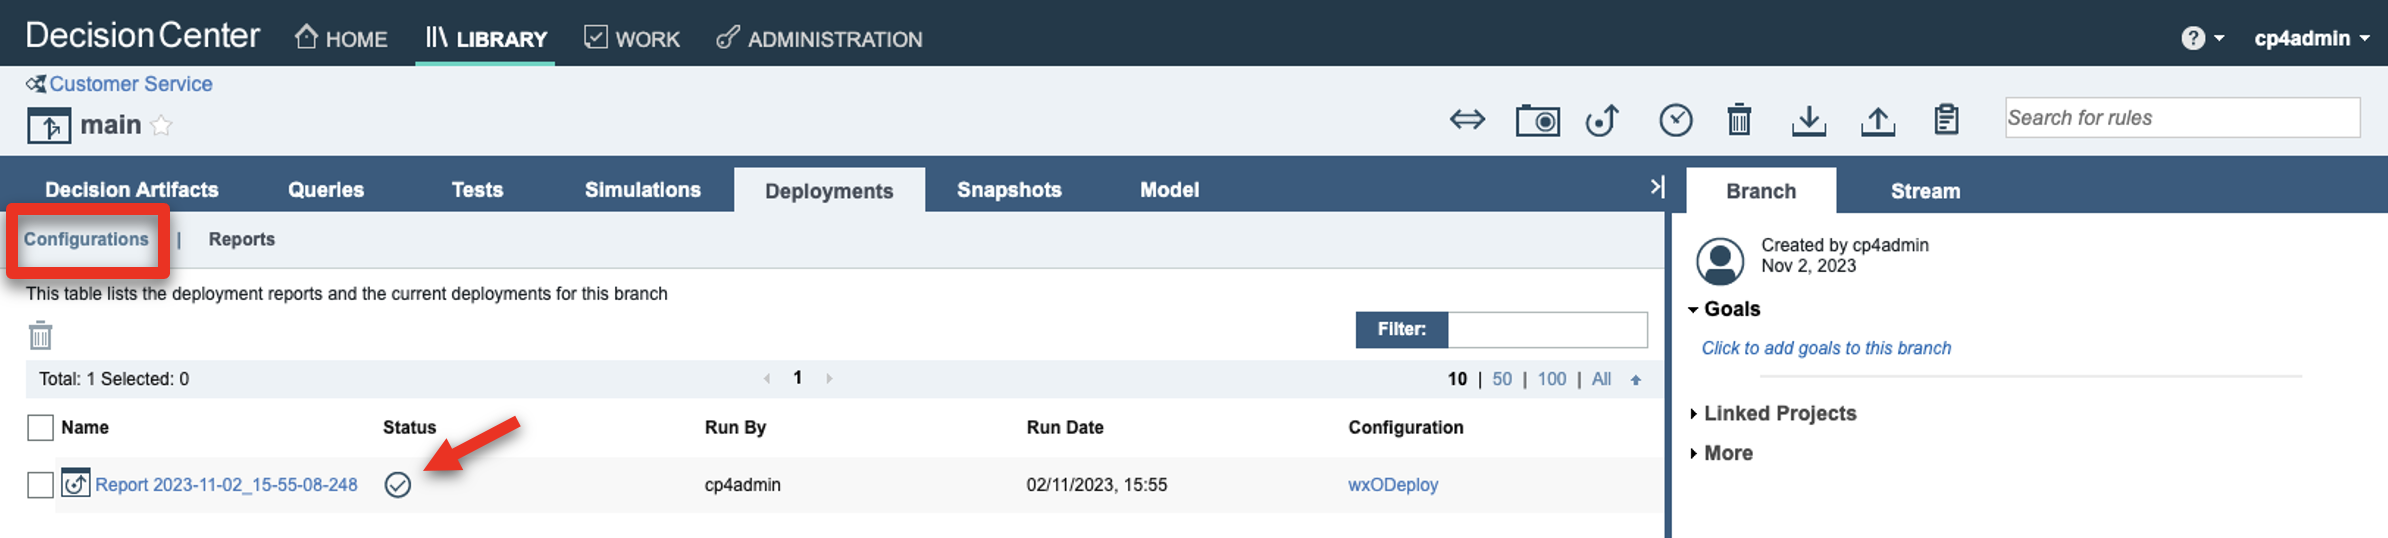
-
Repeat from Step 17 and deploy the wxODeployDemo configuration.

We are done with the Decision Center configuration, let’s now make sure the two decision services are correctly deployed on the Rule Execution Server.
3 - Check the deployments on the Decision Server
Let’s now make sure the two decision services are correctly deployed on the Rule Execution Server.
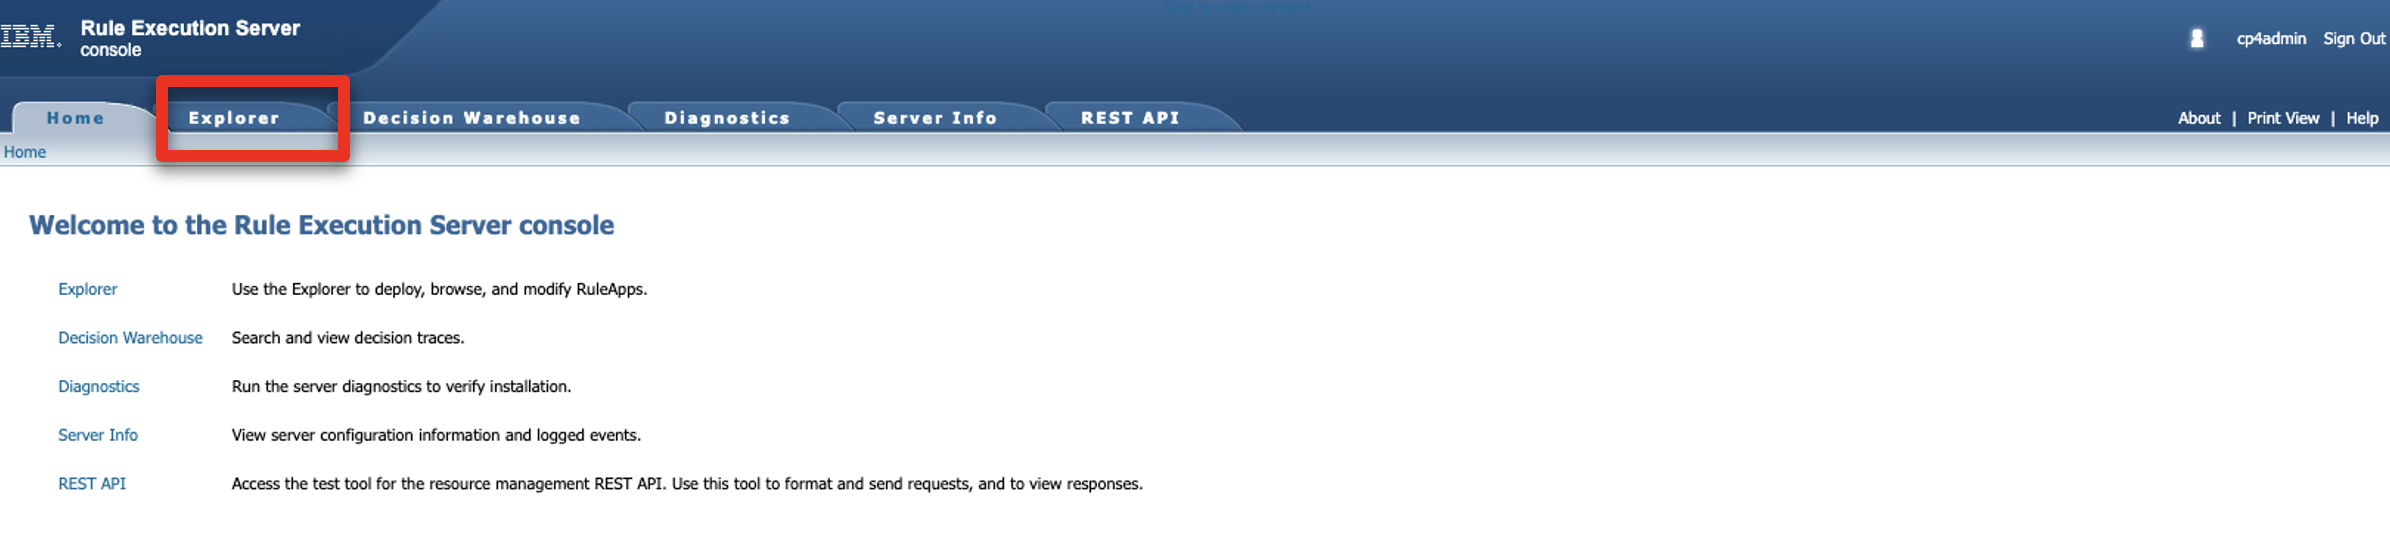
- Open the Decision Server Console using the URL from your notebook.
-
Click the Explorer tab.
-
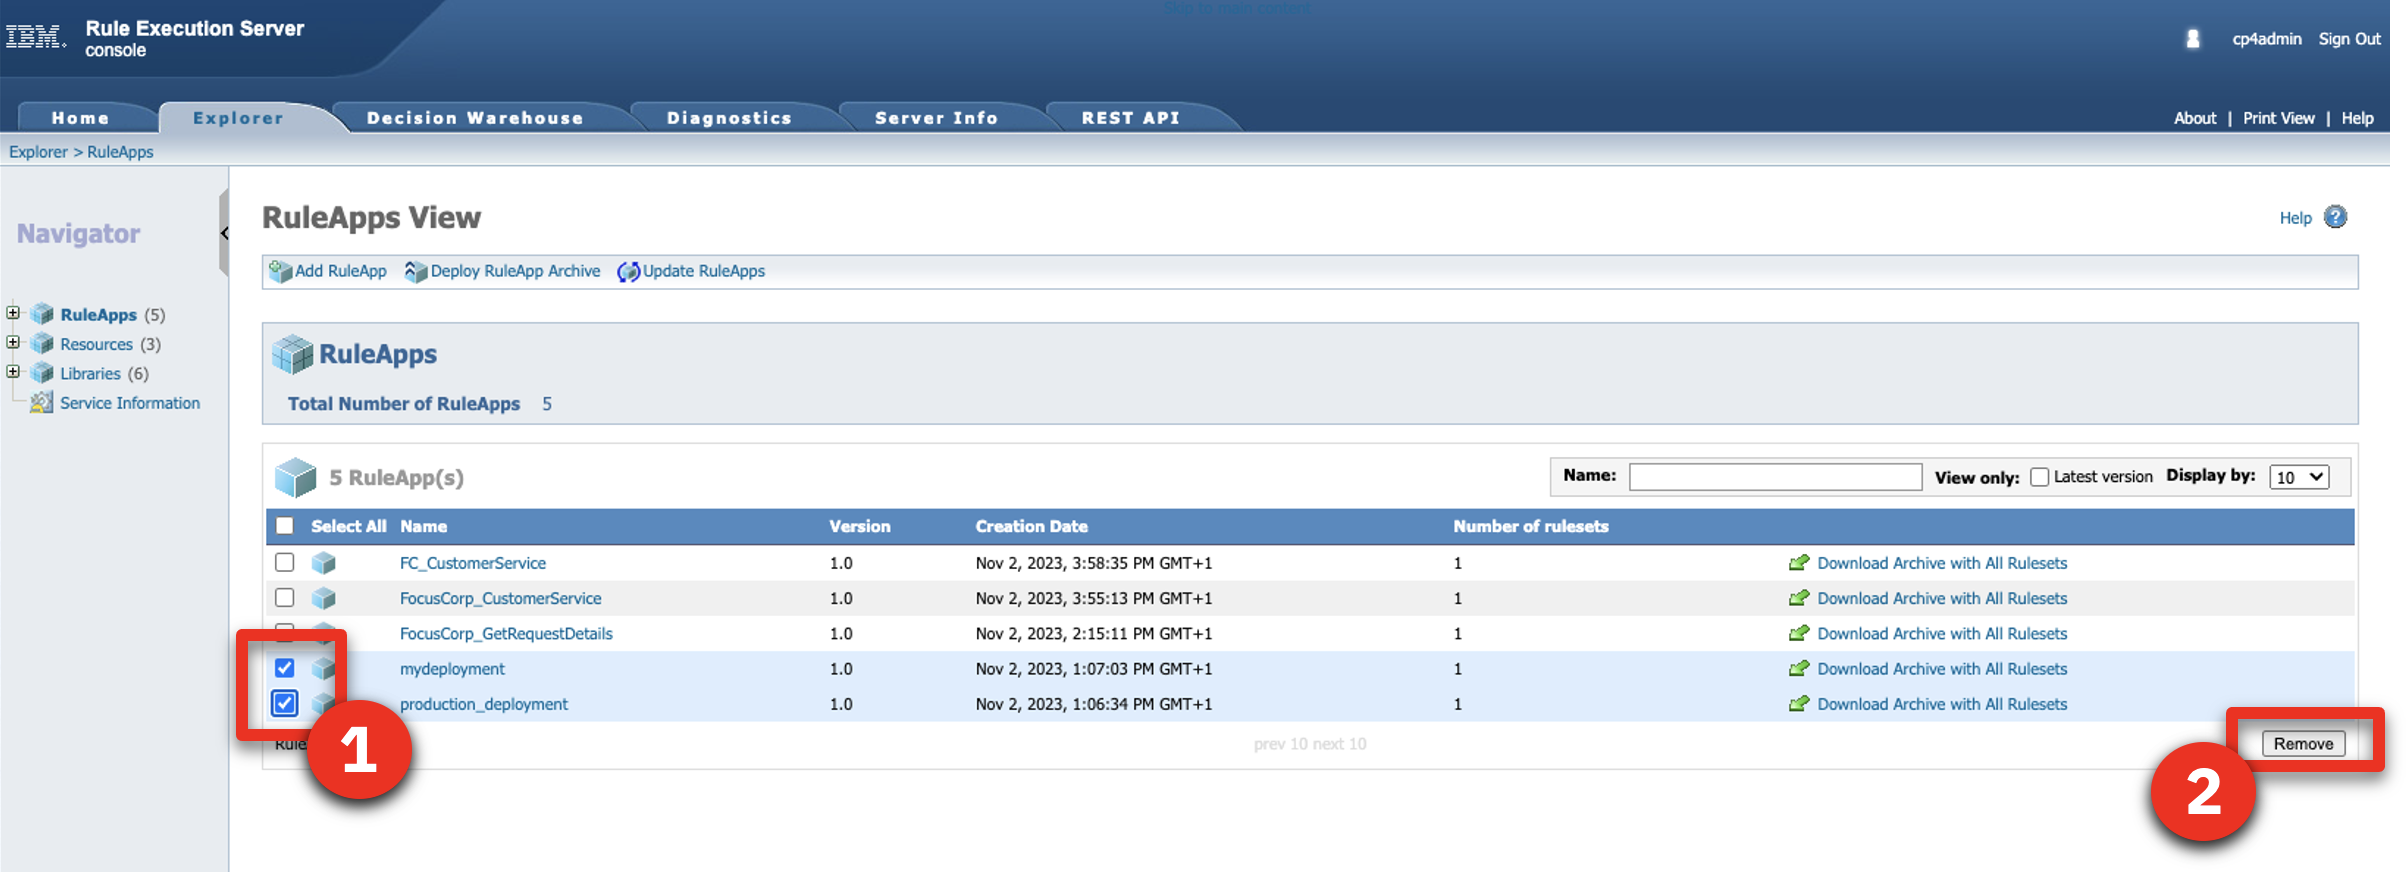
[Optional] Select the two RuleApps that are not part of the demo (1). Click Remove (2).
-
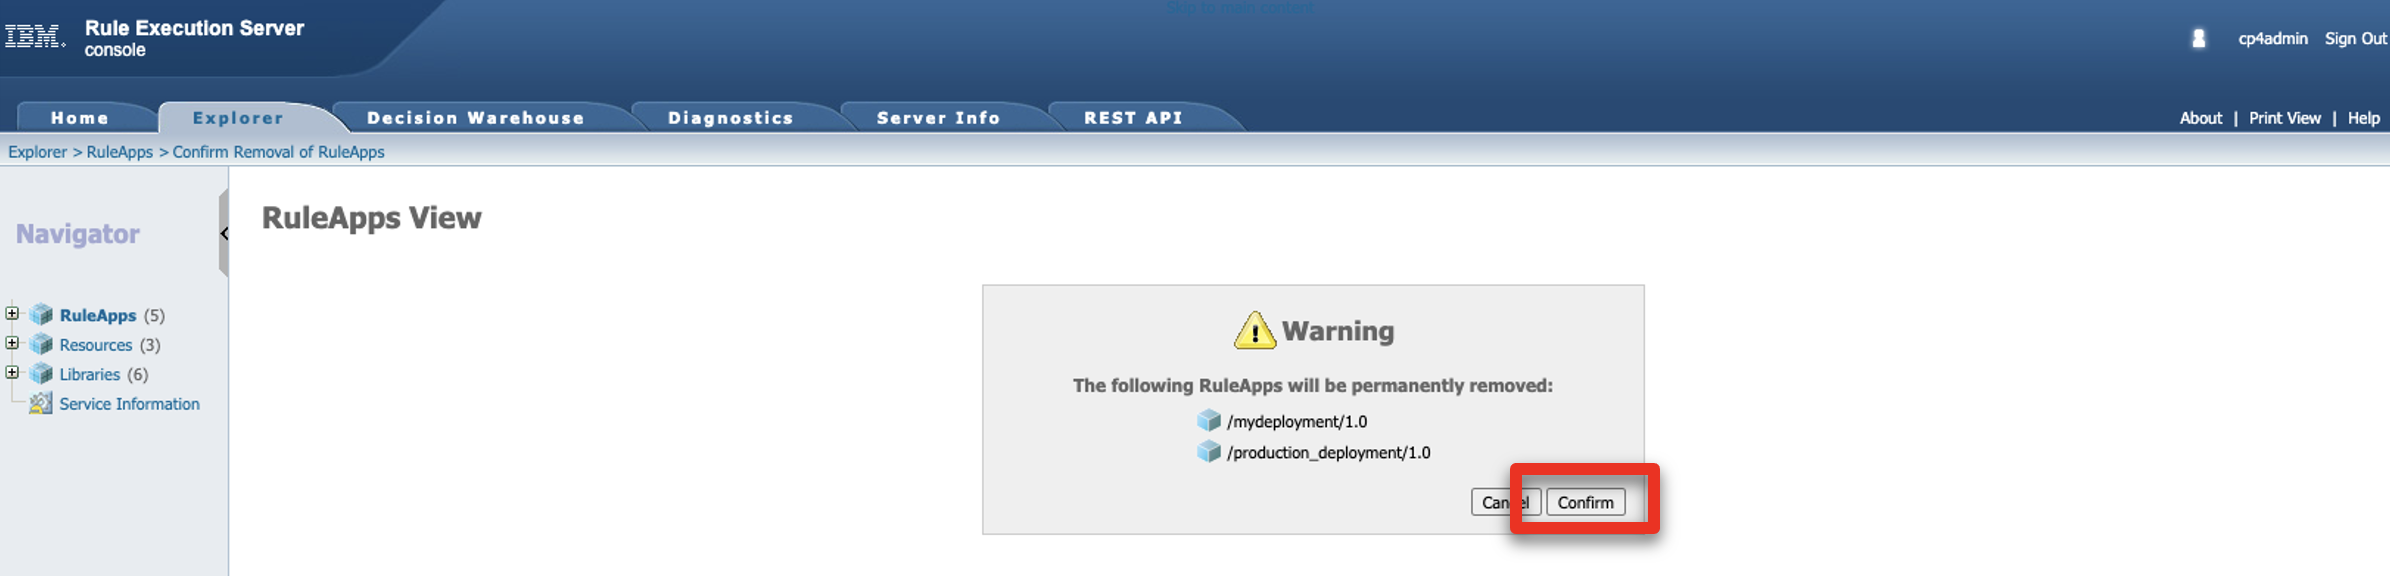
Click Confirm.
-
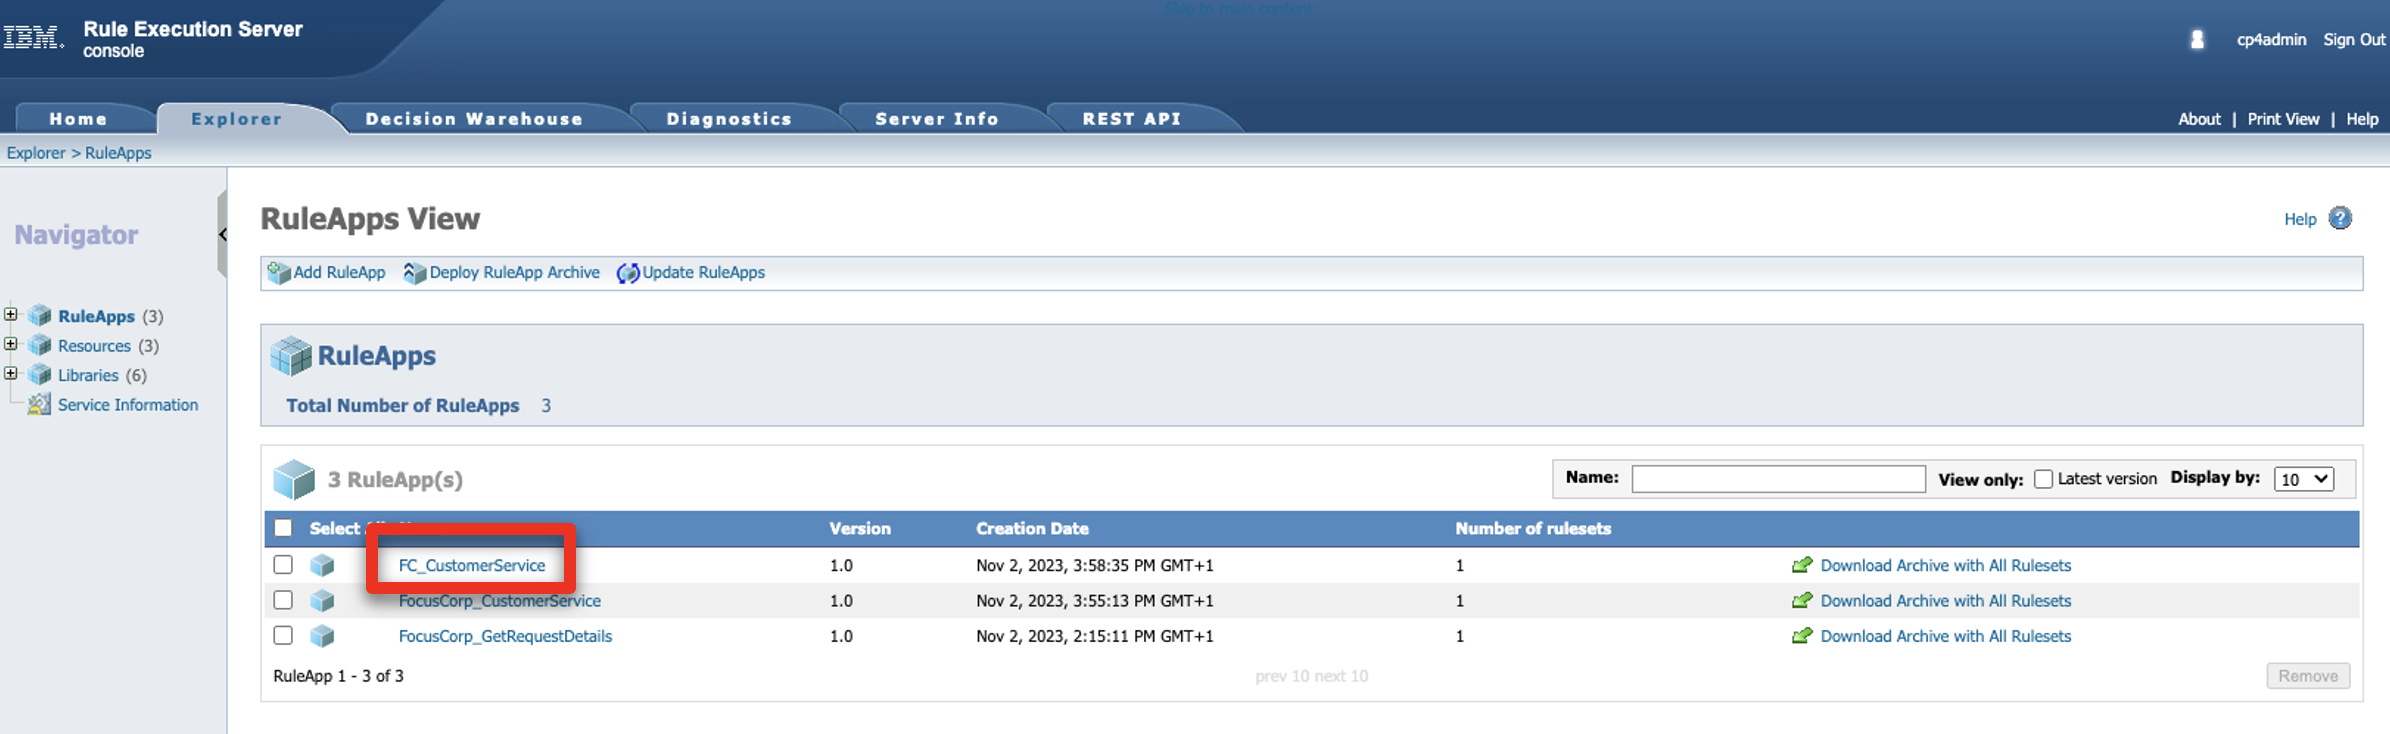
Click FC_CustomerService.
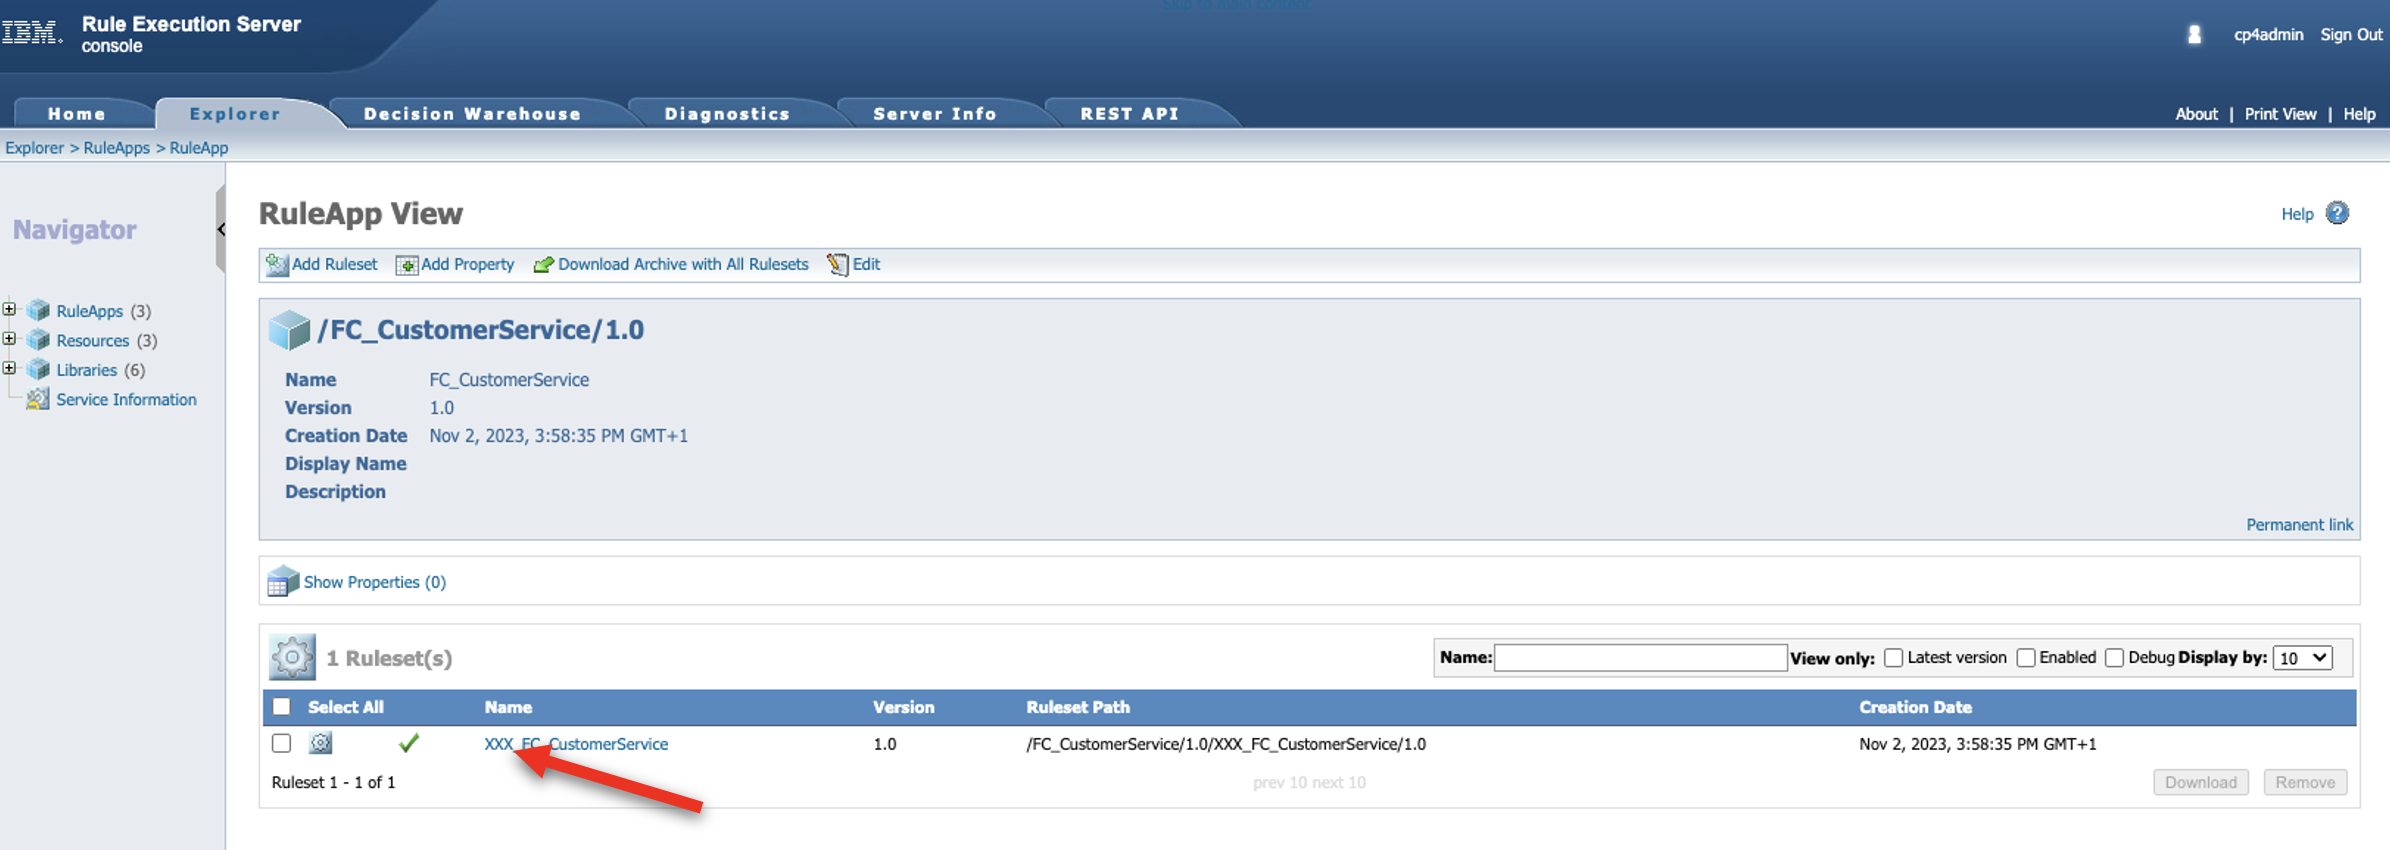
- Make sure the ruleset name has your updated initials (it is ‘XXX’ in the screenshot by default).
STEP 5: CONFIGURE WATSONX ORCHESTRATE
1 - Update the JSON skill files
To quicken the demo setup, we are providing two skill configuration files. In order to avoid conflicts with other watsonx Orchestrate users, we are going to customize these skills with your own three-letter initials.
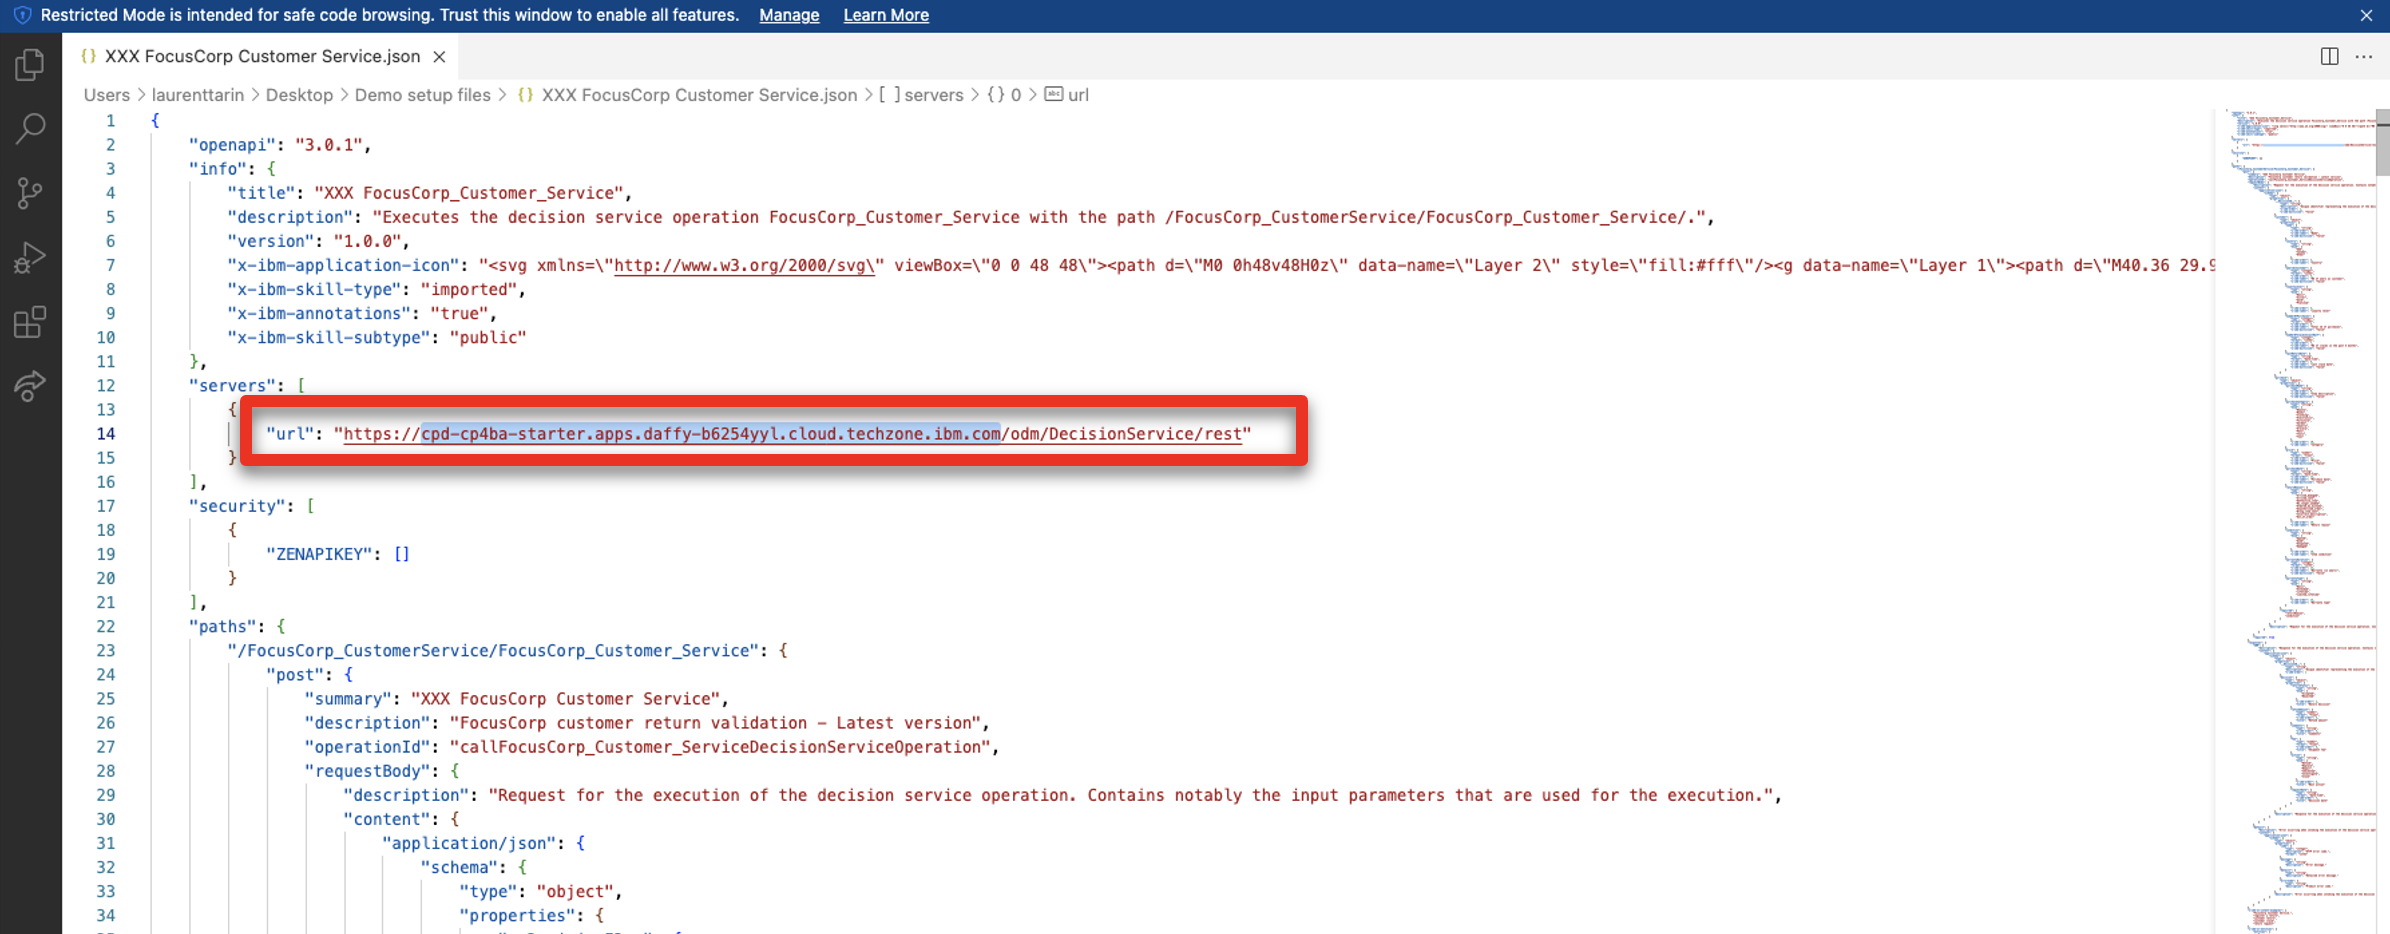
We are also going to update the server URL with the URL of your own ODM Rule Execution Server.
-
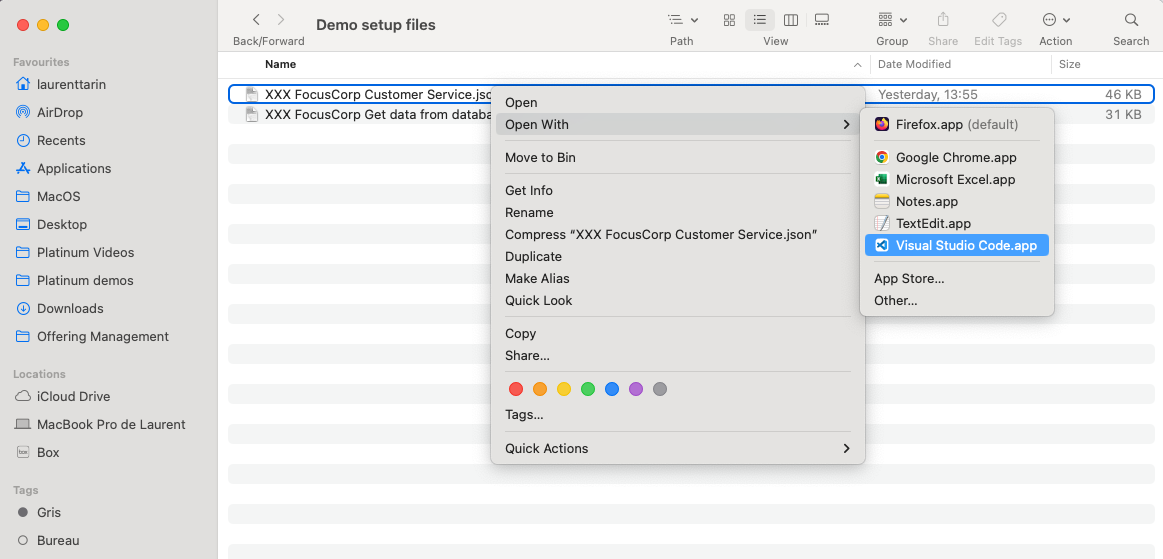
Open the XXX FocusCorp Customer Service.json file with a compatible text editor of your choice.
-
Replace the server URL with the CMD URL from your notebook.
-
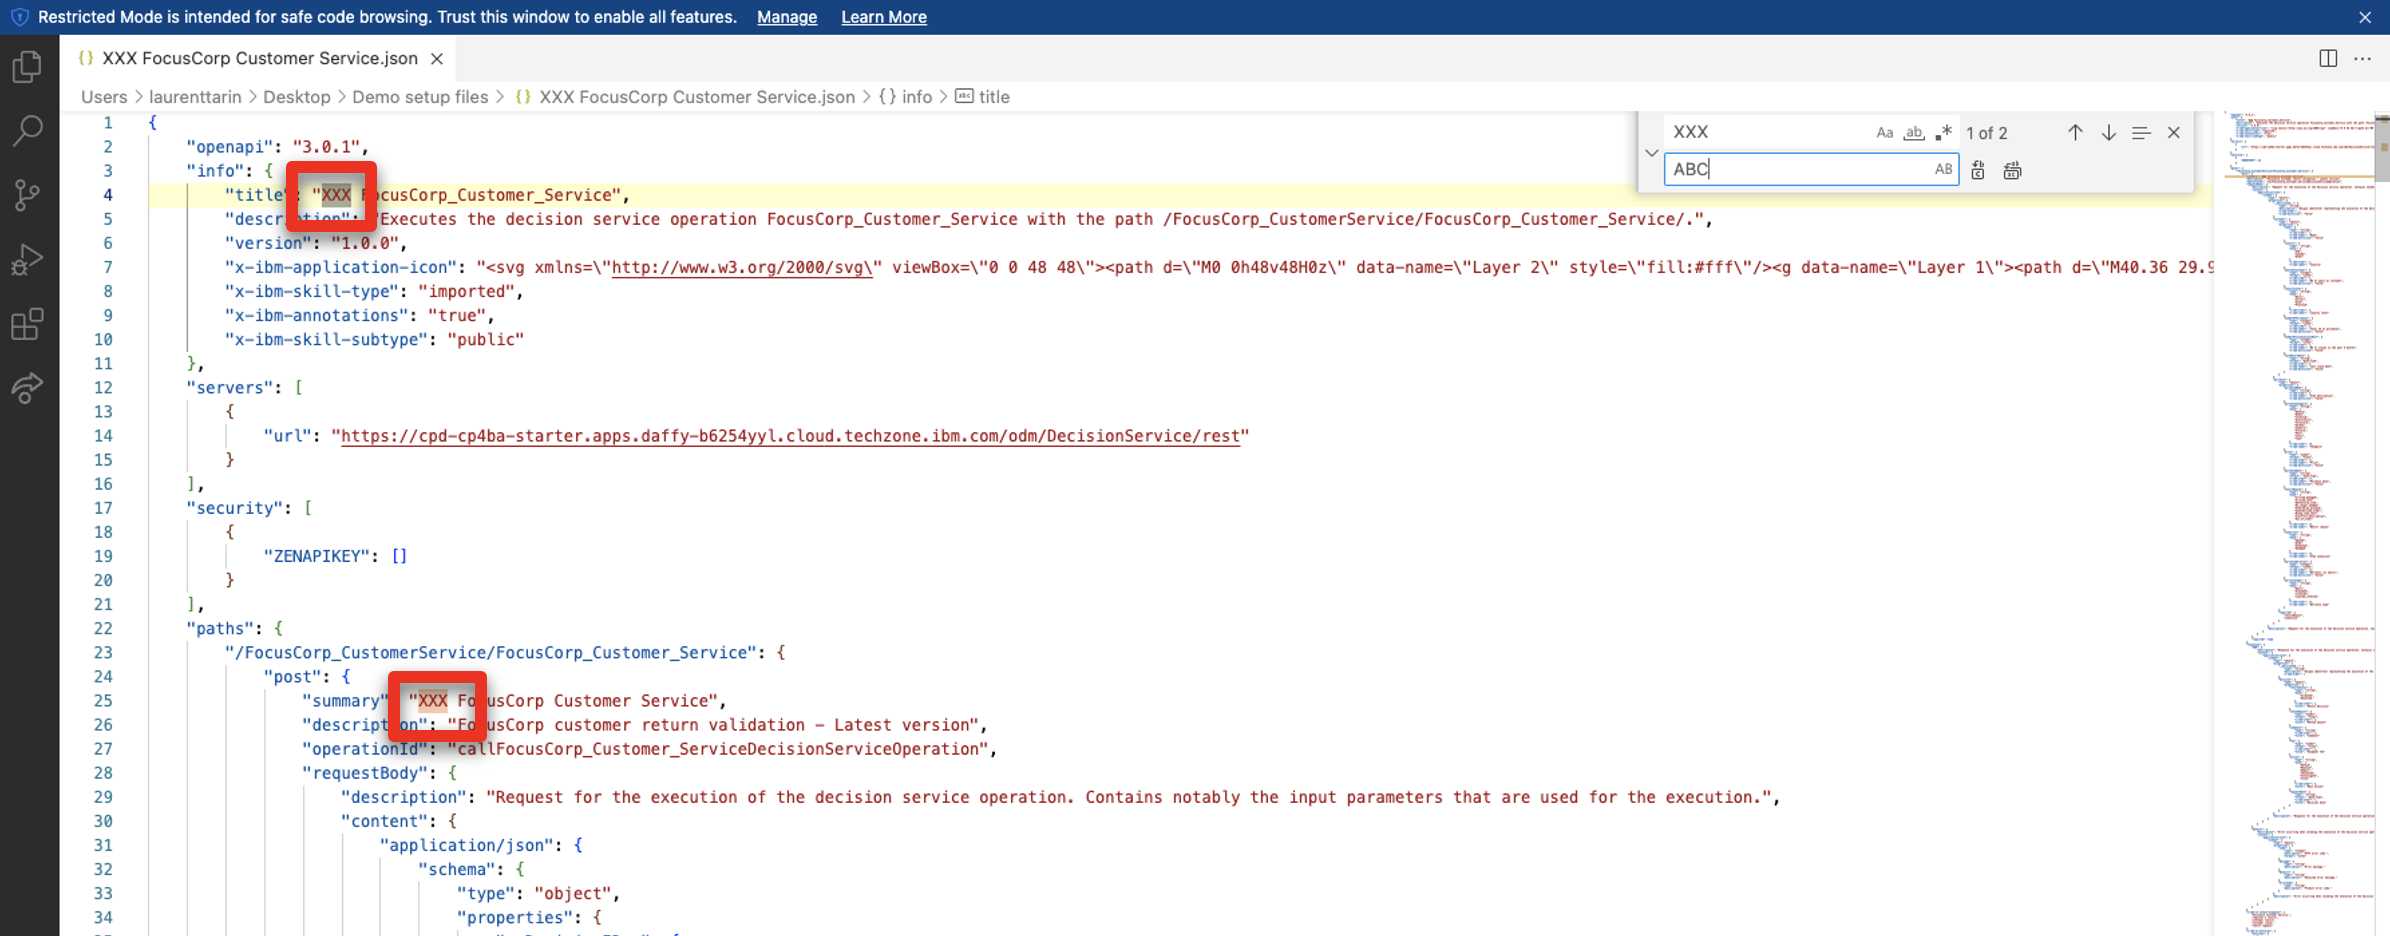
Replace the two occurrences of ‘XXX’ occurrences with your own three-letter initials.
-
Save the file under a new name containing your own initials.
-
Repeat from Step 1 to update the second JSON file (XXX Focus Corp Get data from database.json).
2 - Import the two skills
-
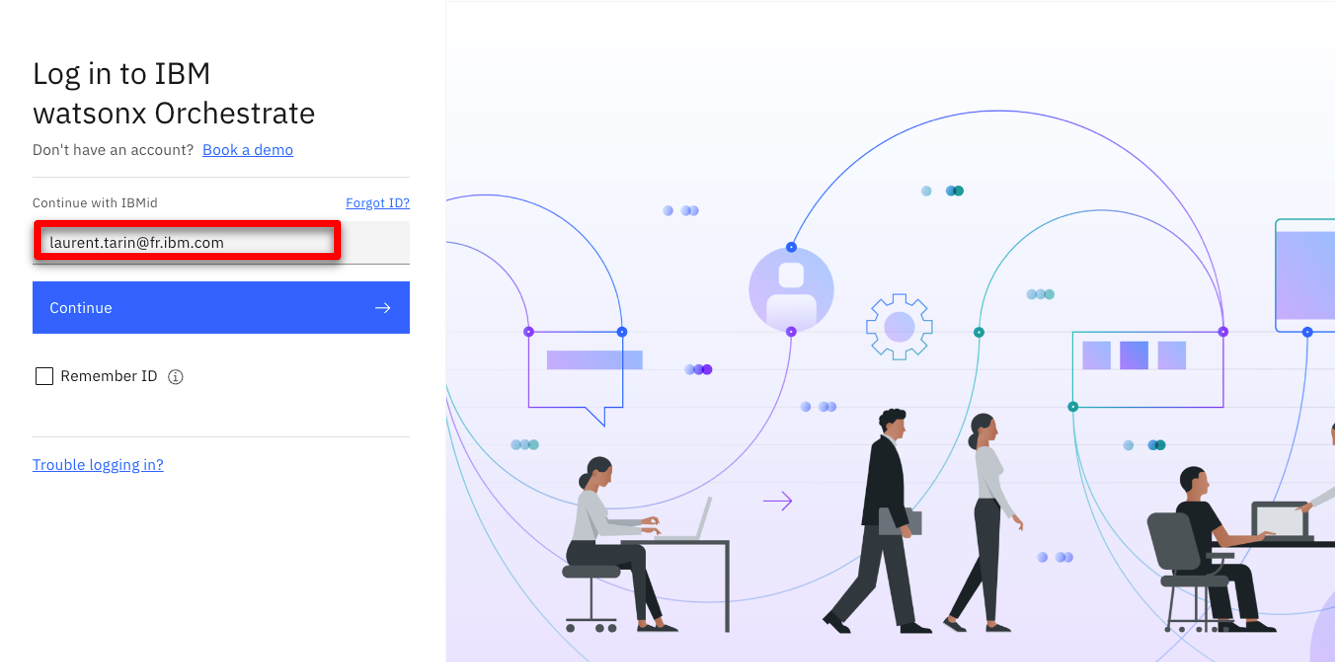
Log in to your watsonx Orchestrate instance using your IBM ID credentials.
-
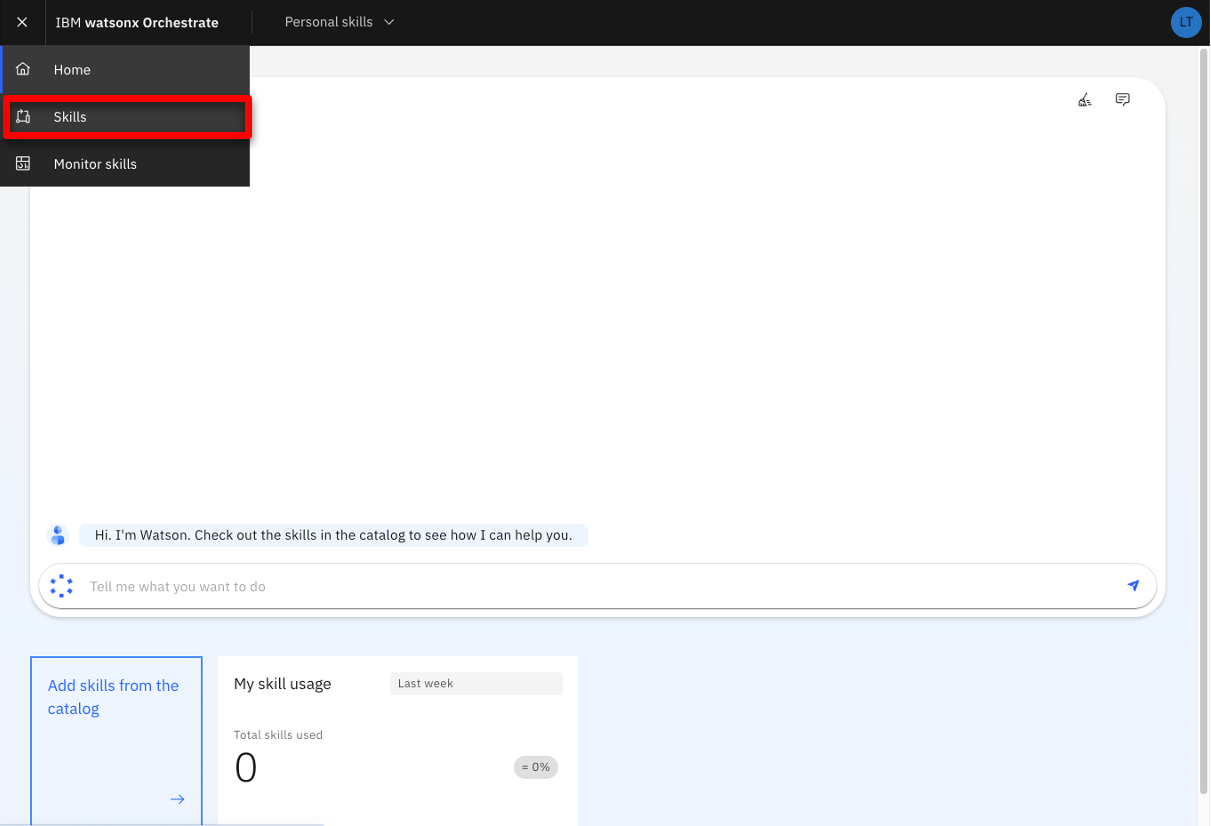
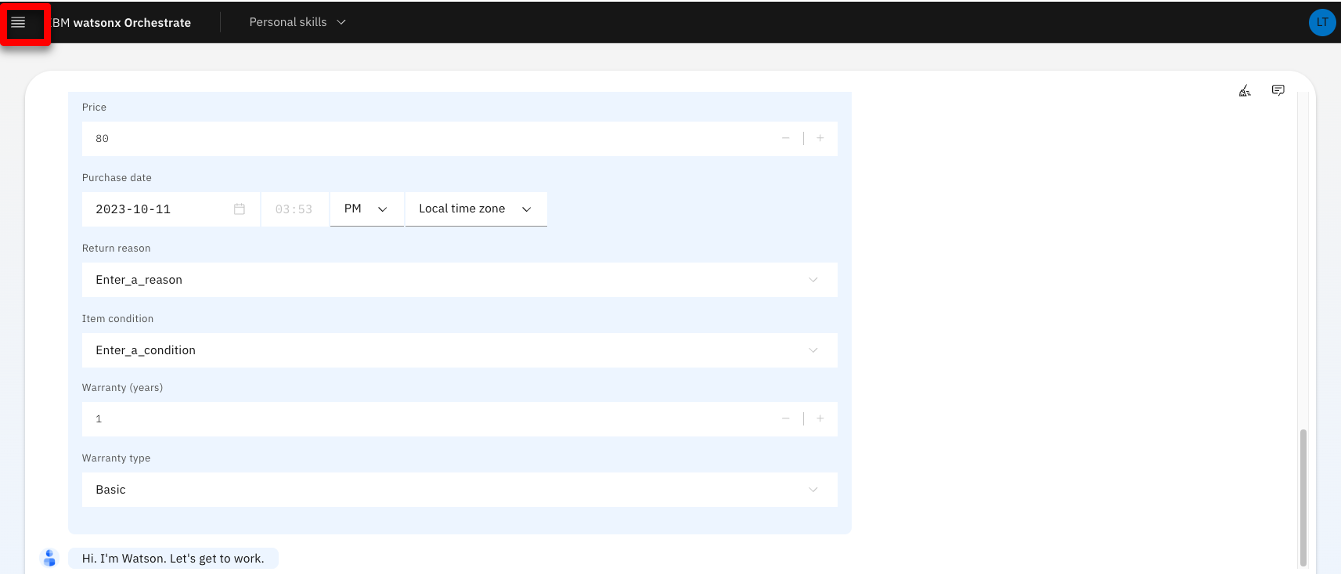
Click the menu slider icon.
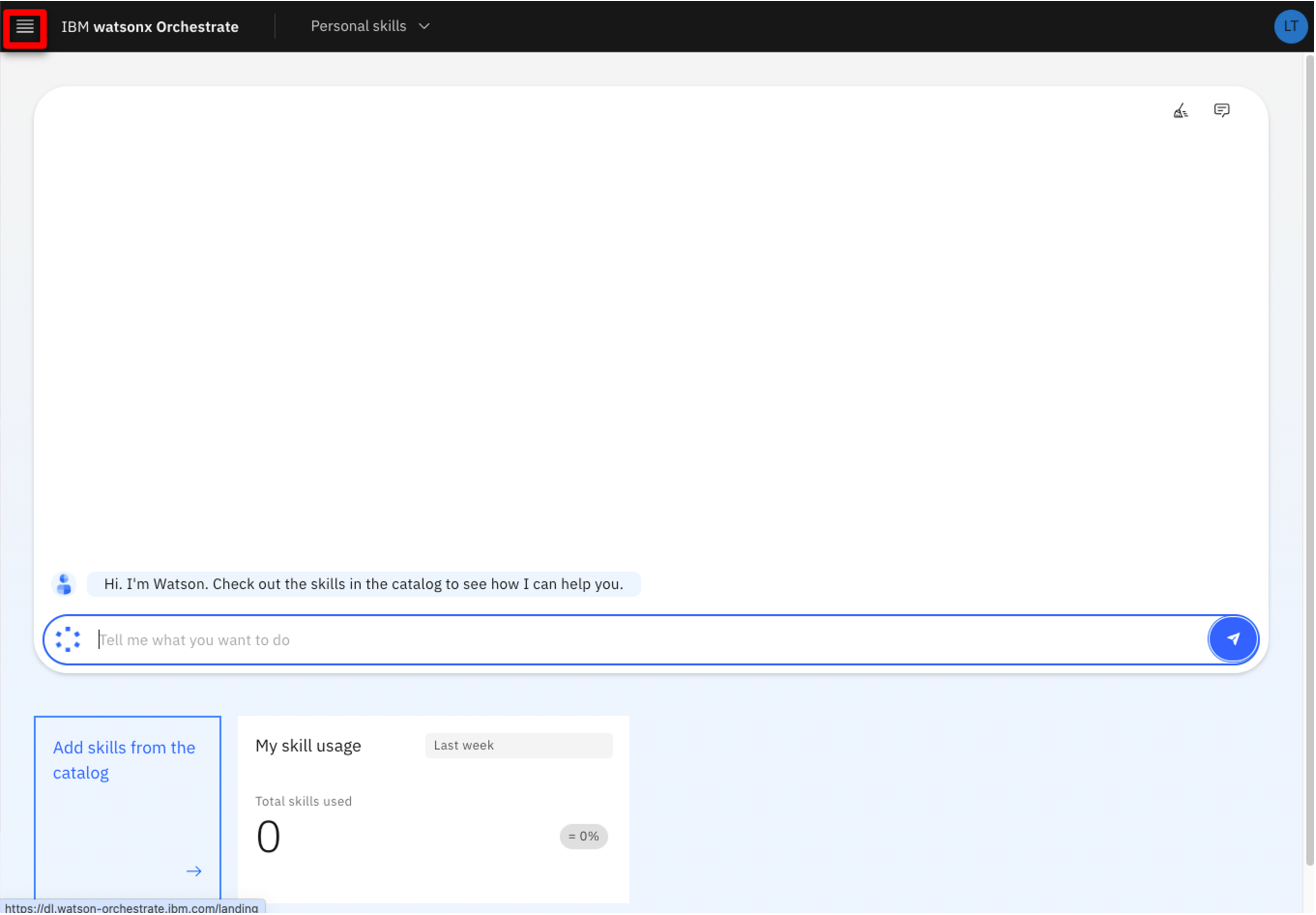
-
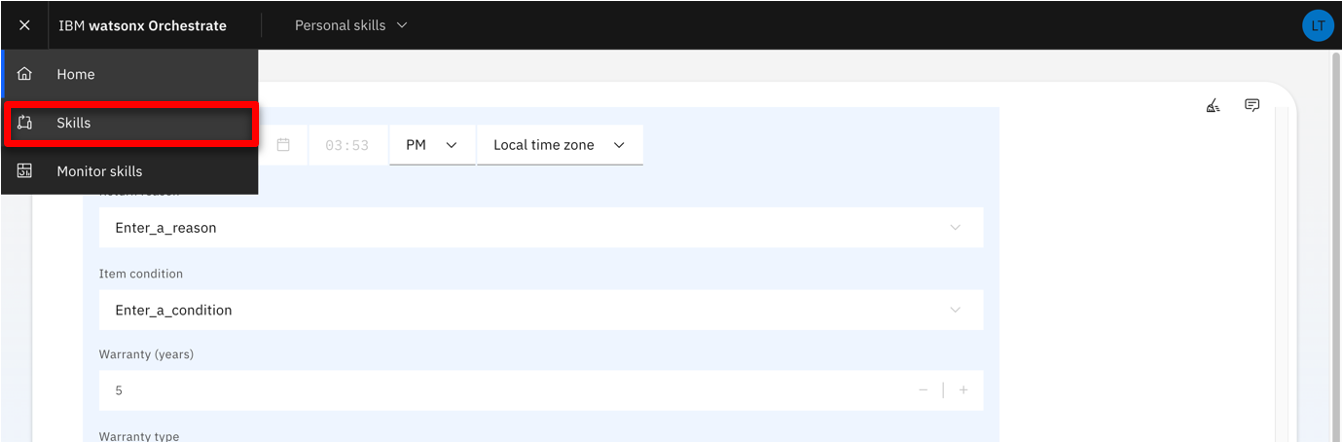
Click Skills.
-
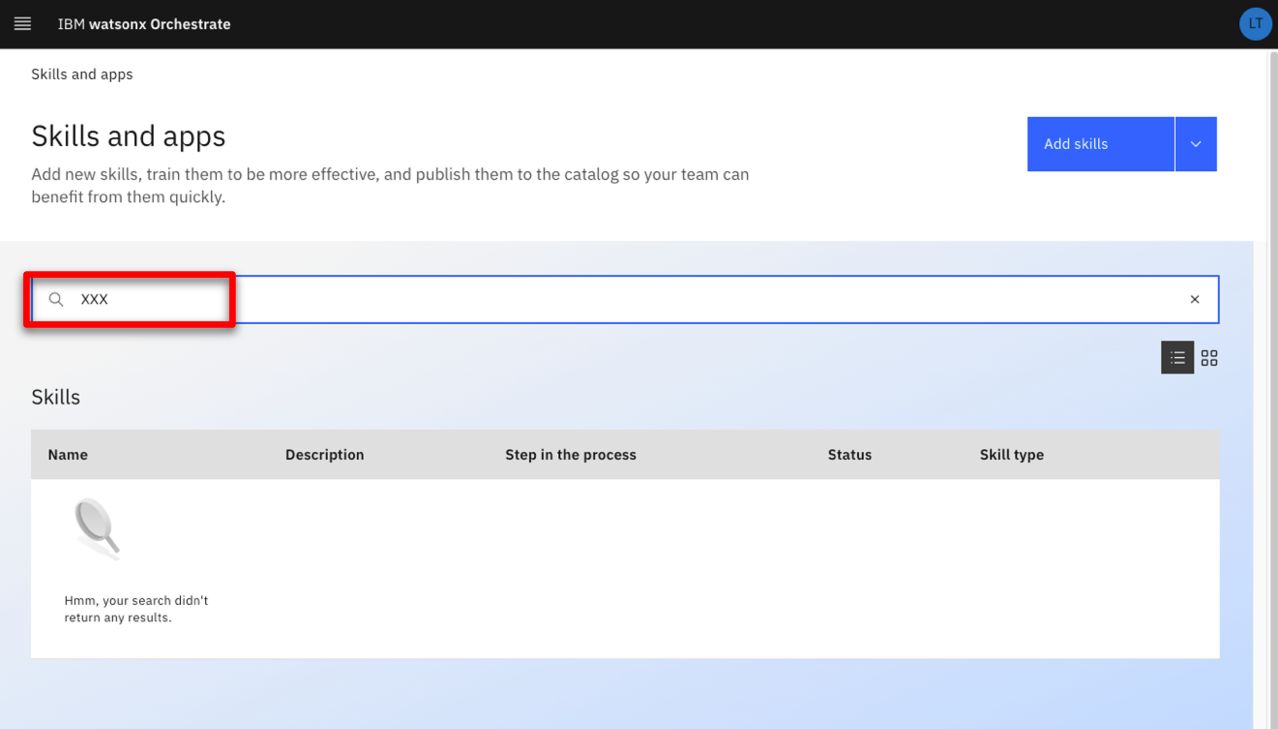
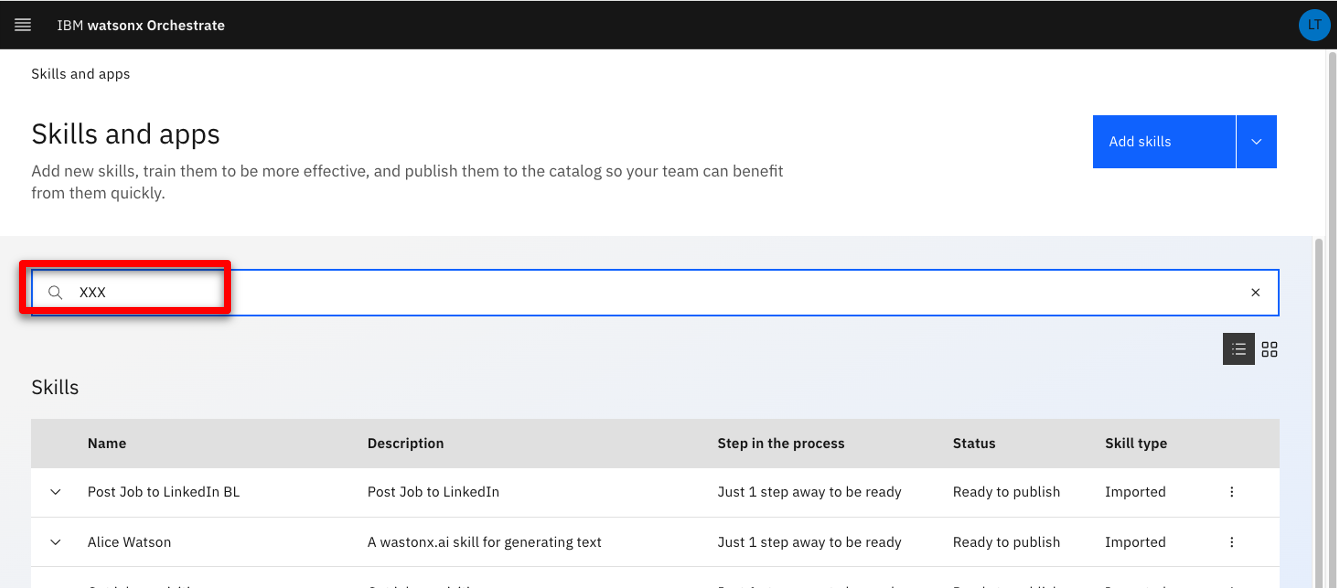
Enter your ‘XXX’ initials to see the skills that may have been deployed with these same initials.
-
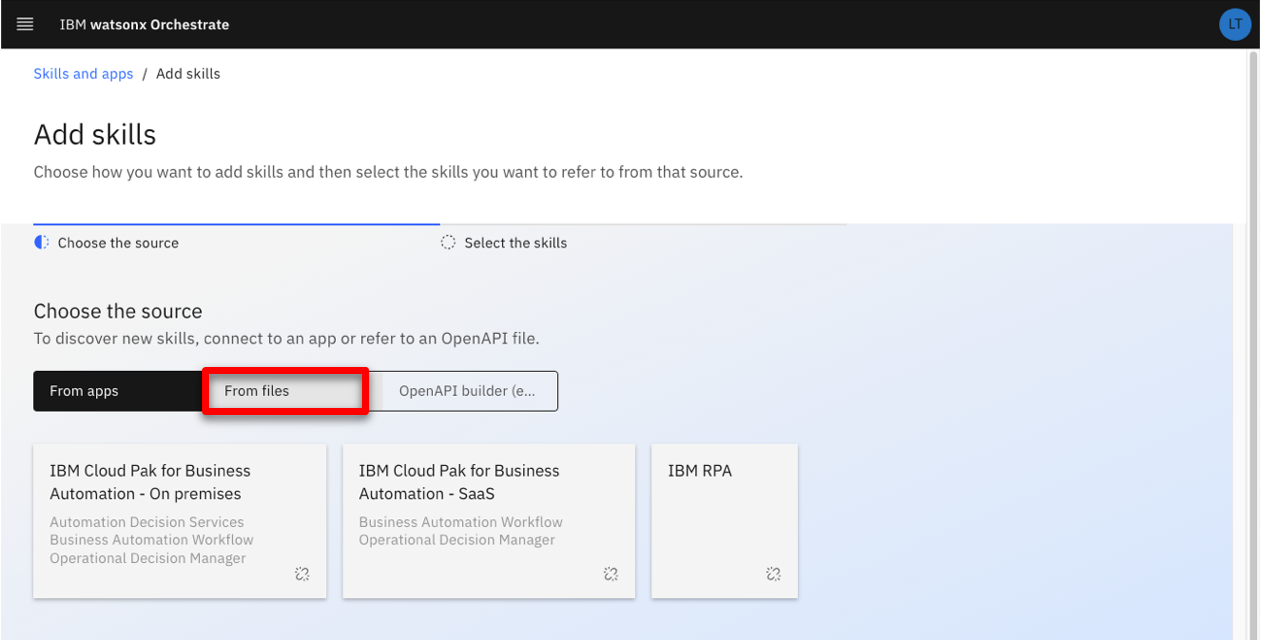
Click Add skills.

-
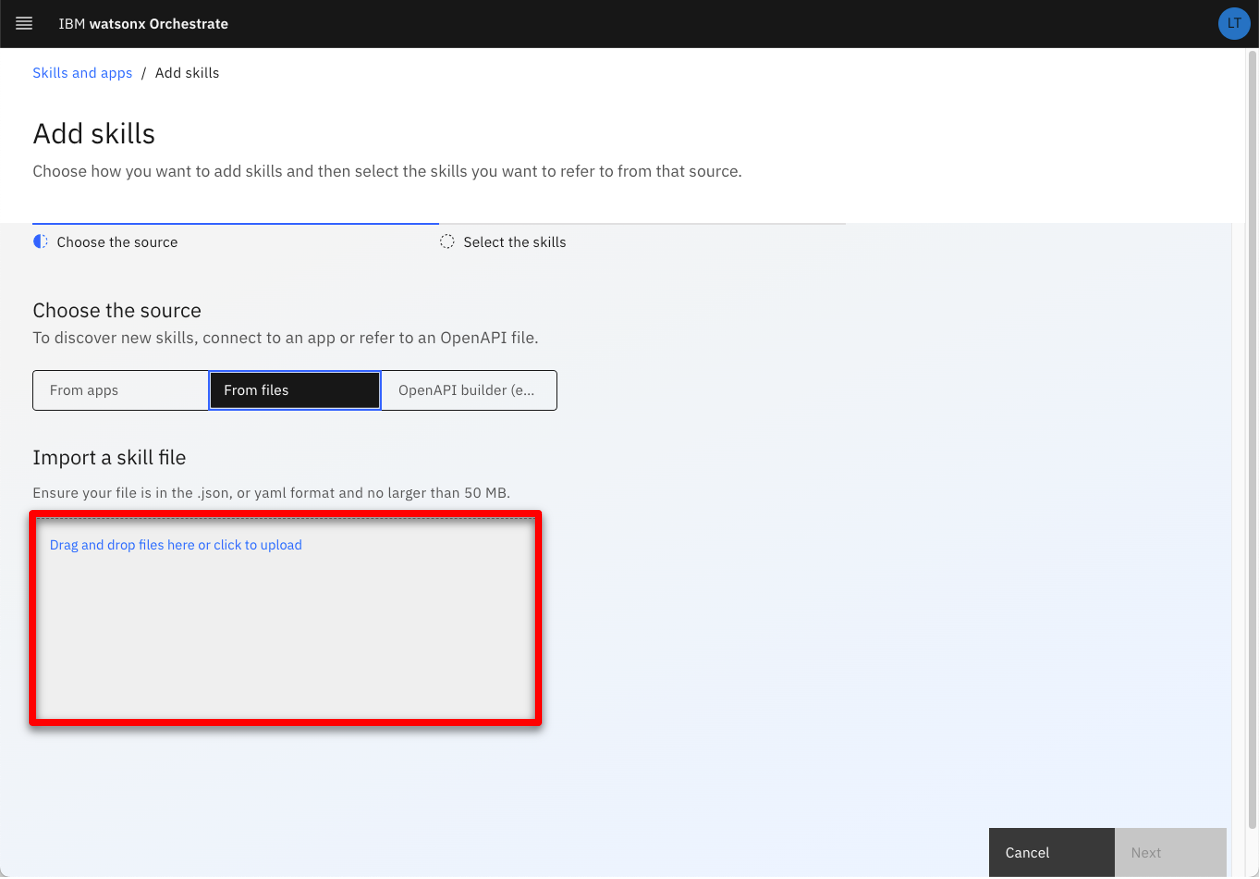
Click From files.
-
Click Drag and drop files here or click to upload.
-
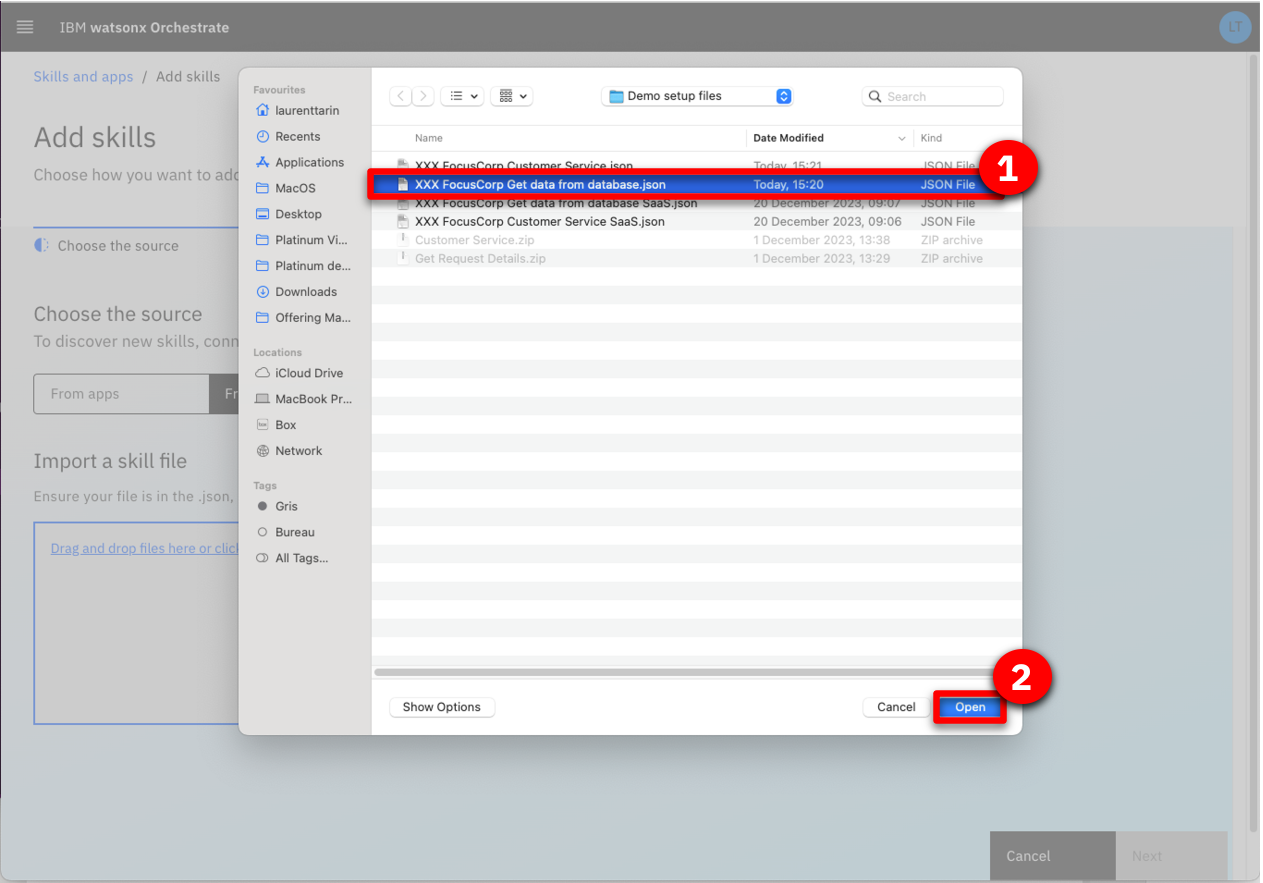
Select the XXX FocusCorp Get data from database.json file you previously customized (1). Click Open (2).
-
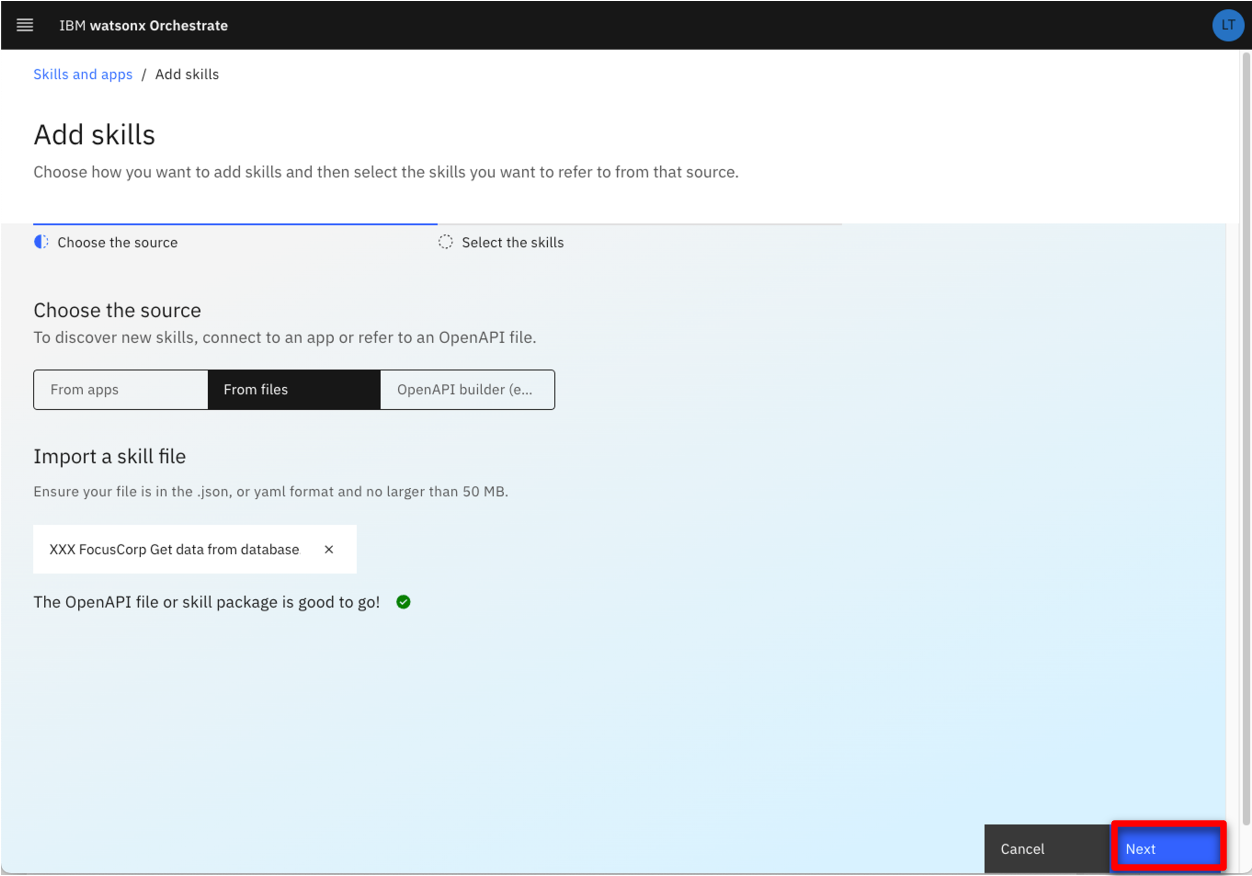
Click Next.
-
Select the XXX FocusCorp Get data from database skill (1). Click Add (2).

-
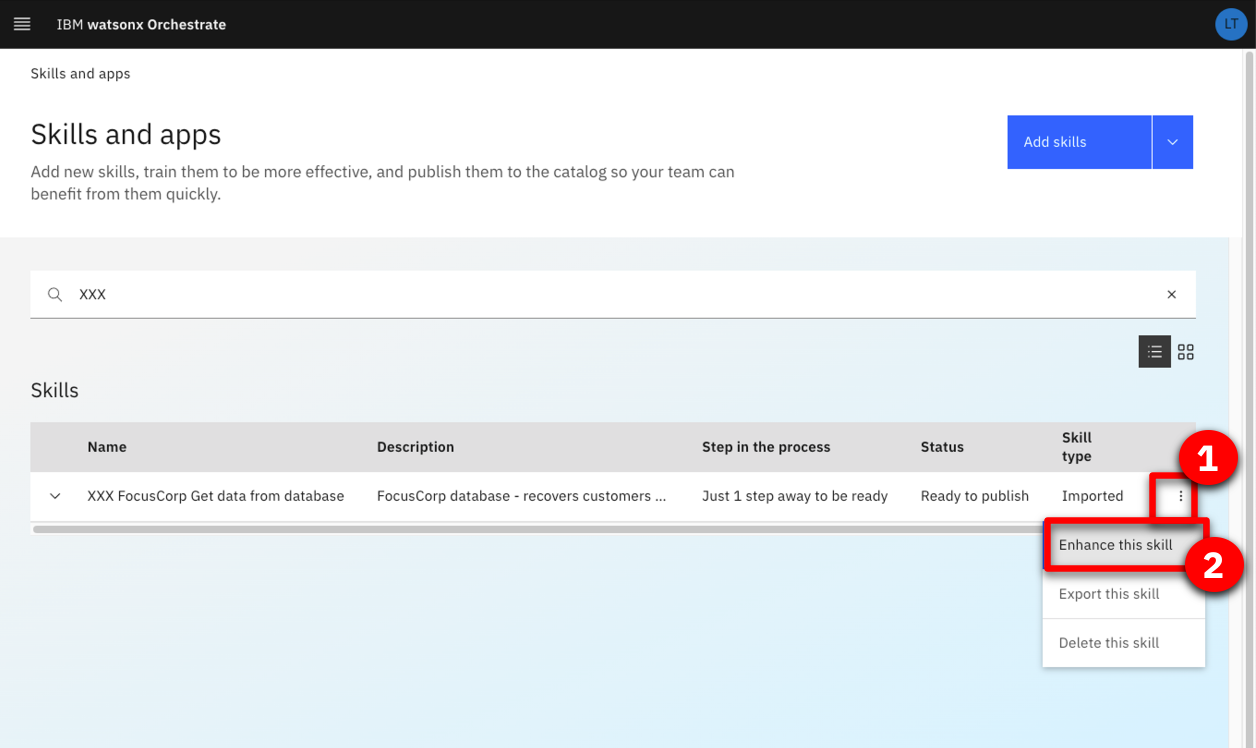
Enter your ‘XXX’ initials to search for your skill.

-
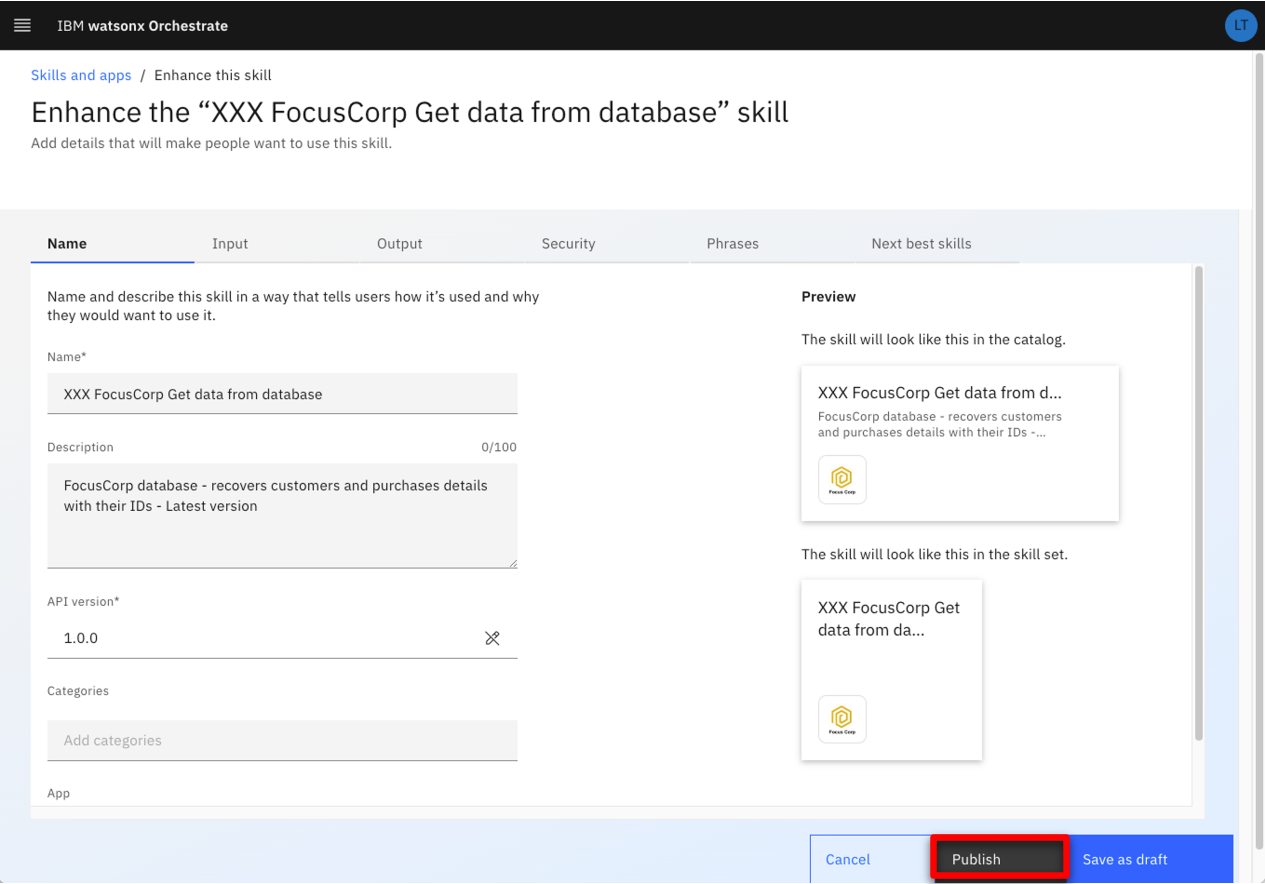
Click the ellipsis icon (1). Click Enhance this skill (2).
-
Click Publish.
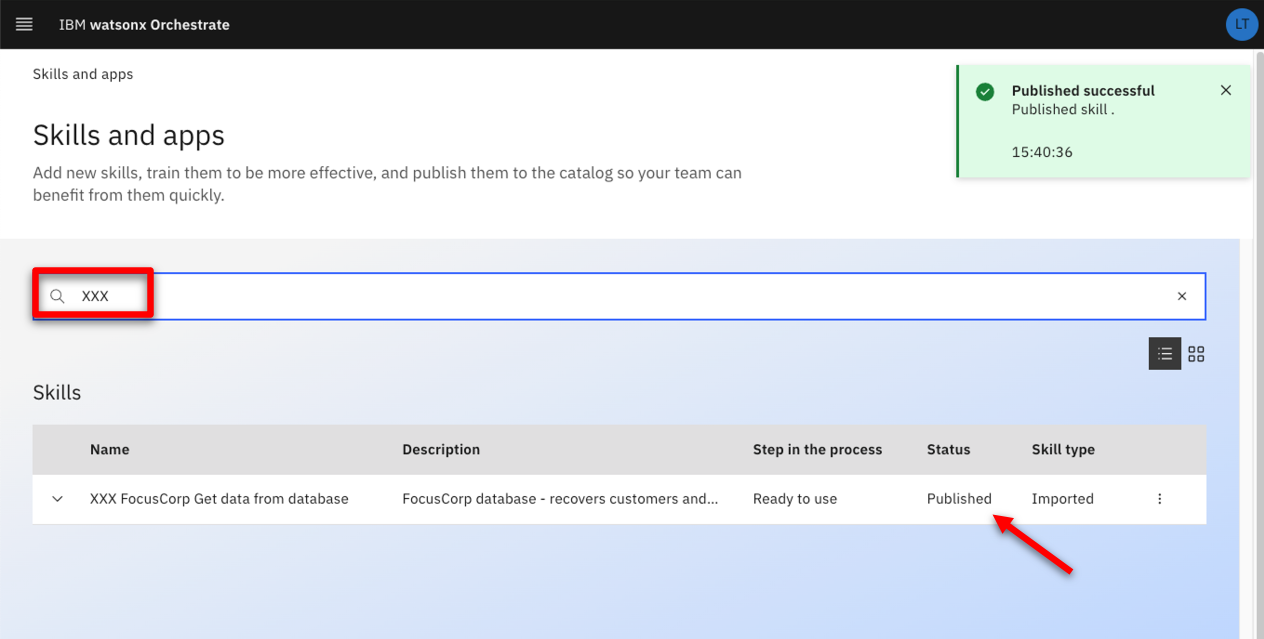
-
Enter your ‘XXX’ initials and check that your skill is correctly published.
-
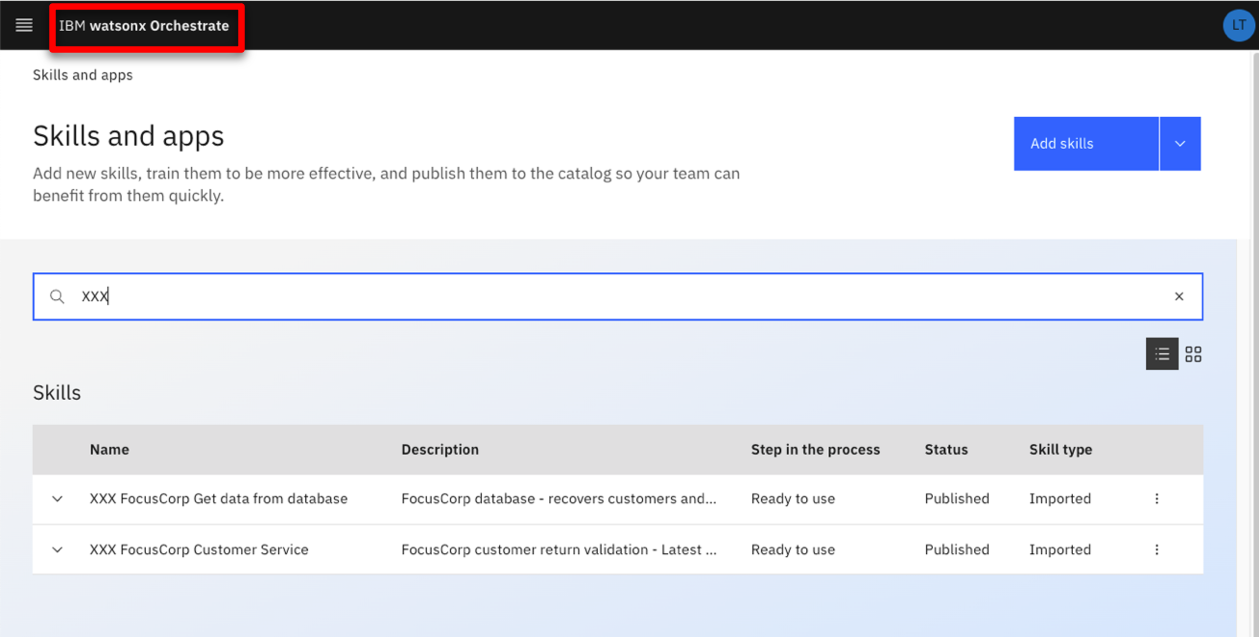
Repeat from Step 5 and import the XXX FocusCorp Customer Service.json file.
-
Click IBM watsonx Orchestrate.
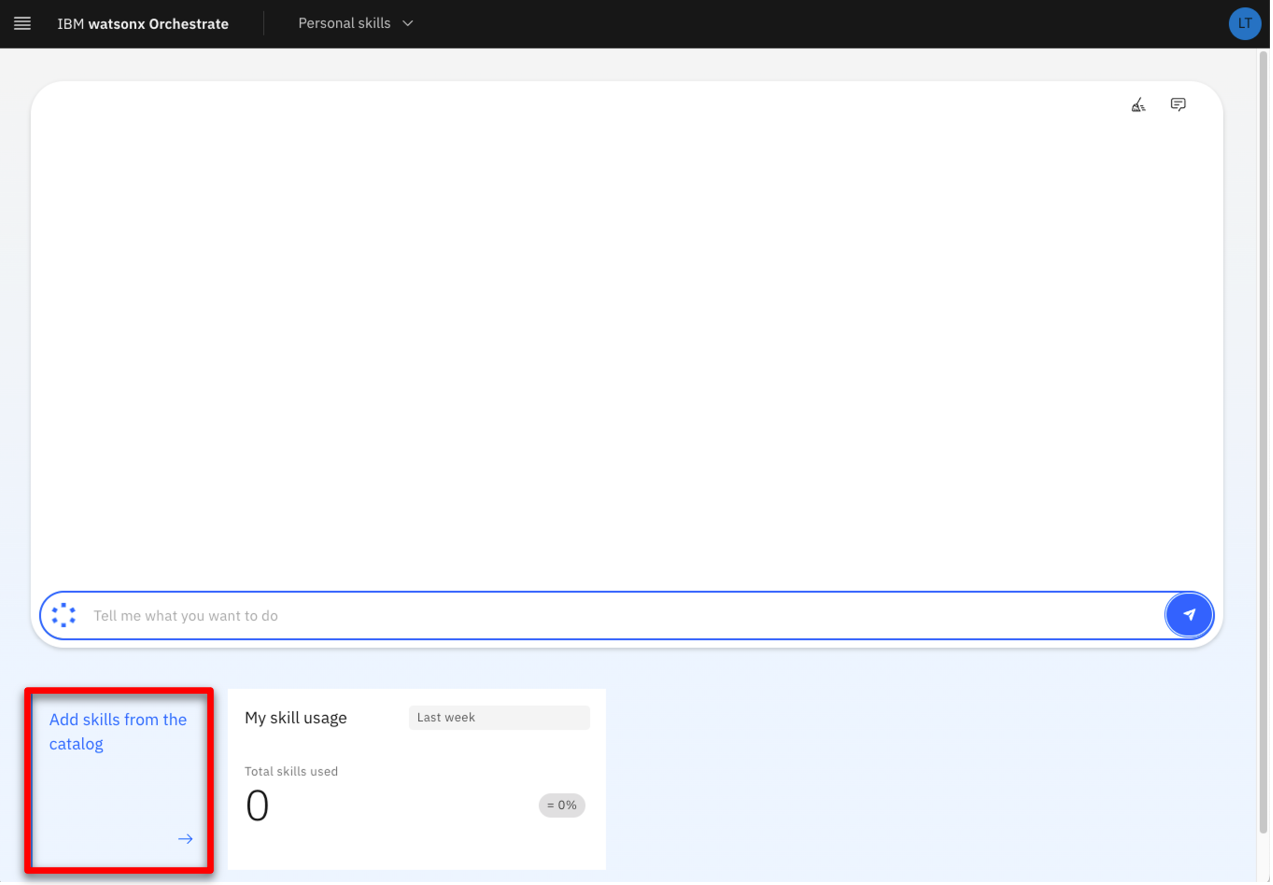
3 - Add skills to your personal skills
-
Click Add skills from the catalog.
-
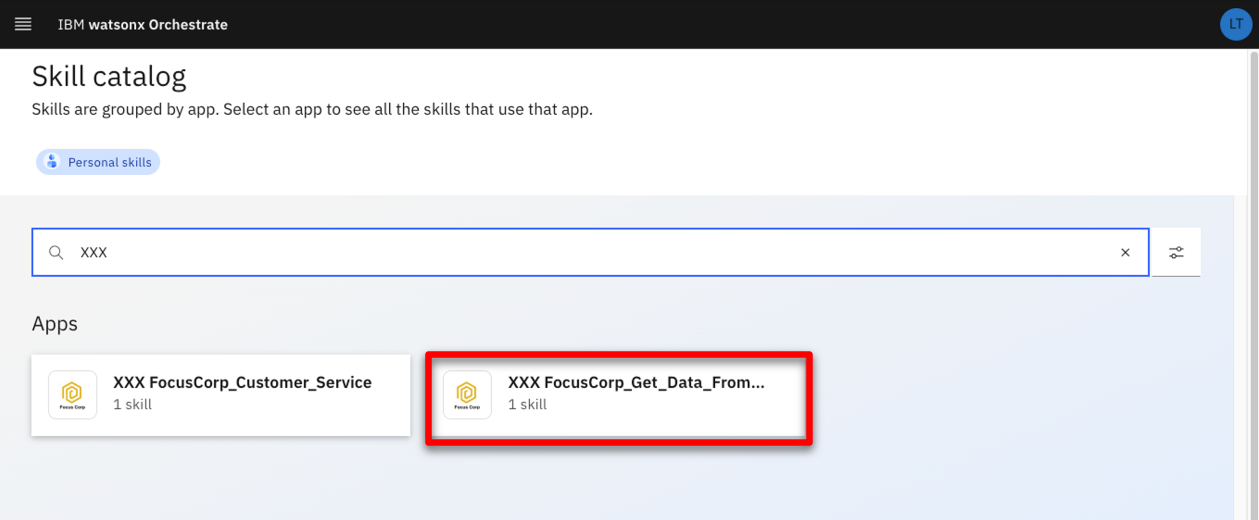
Enter your ‘XXX’ initials to search for the imported skills in the catalog.
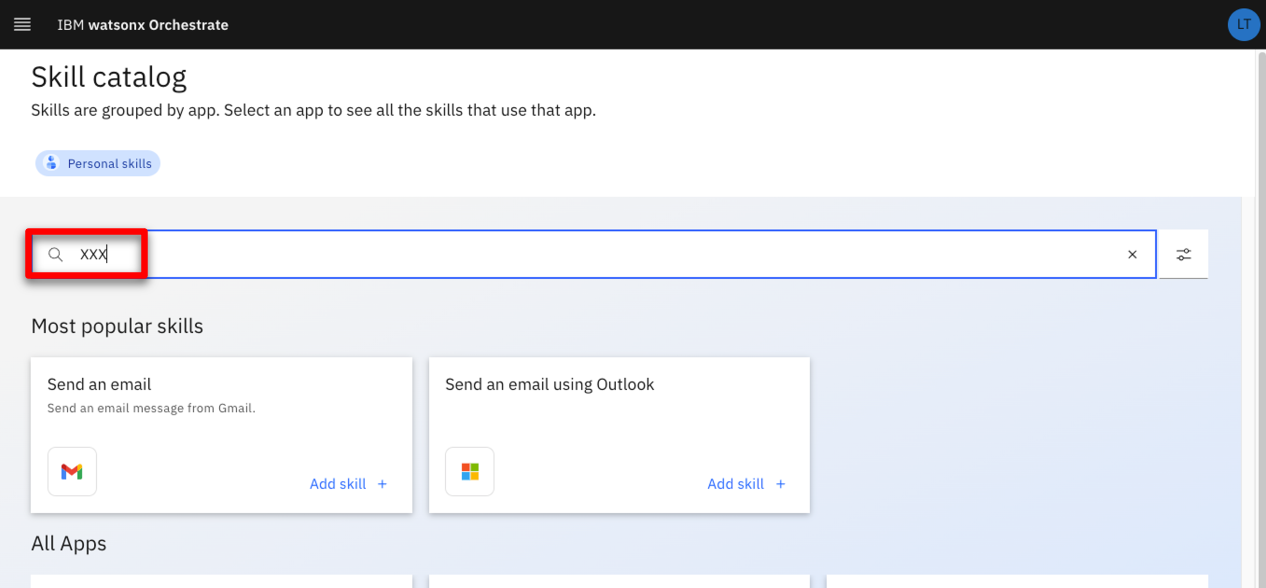
-
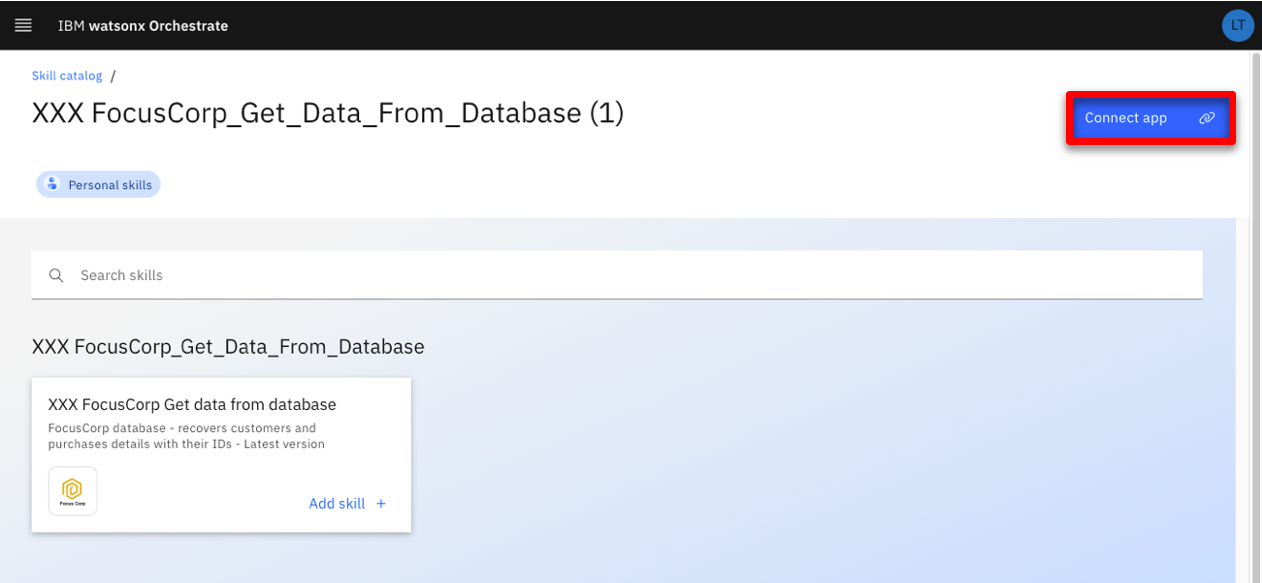
Click the XXX FocusCorp_Get_Data_From_database skill.
-
Click Connect app.
-
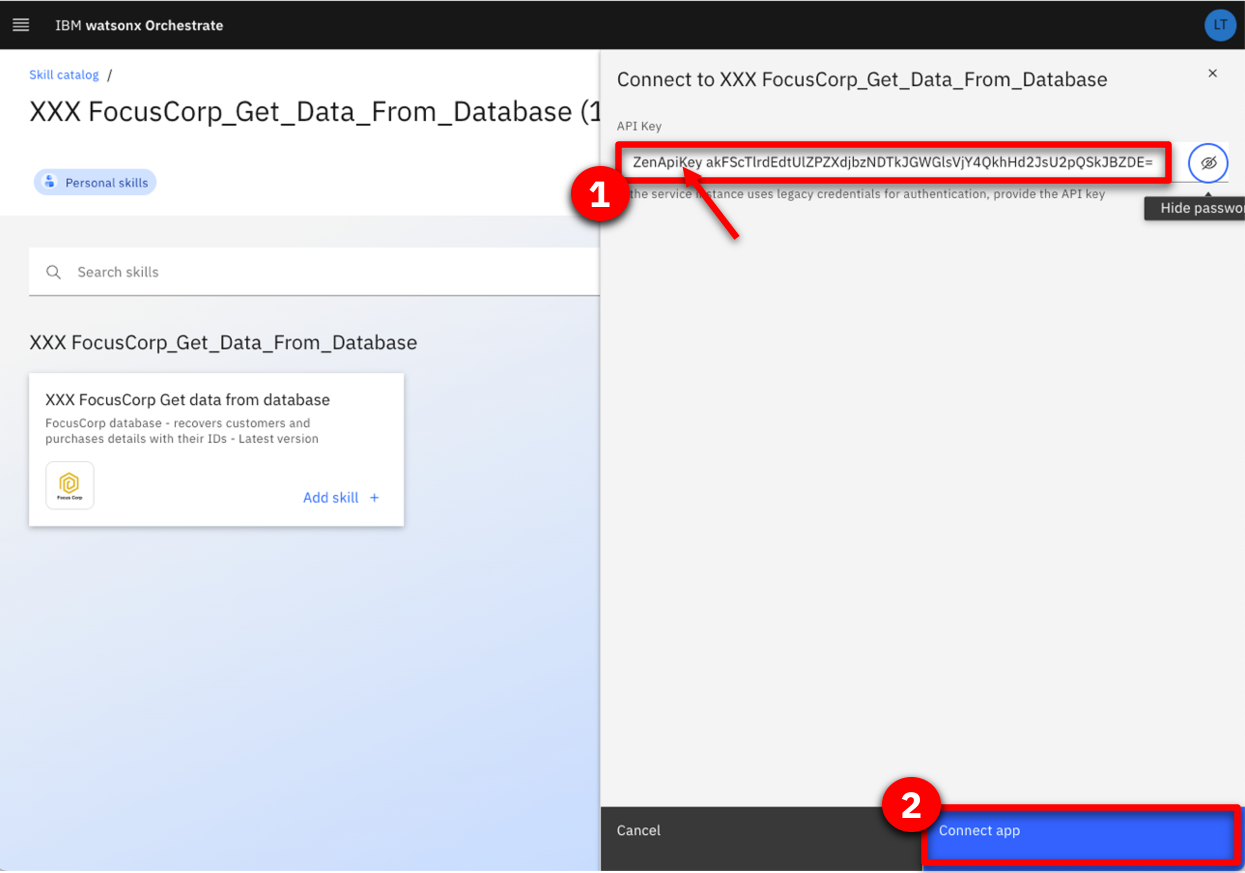
Enter your ZEN API key from your notebook (1). Click Connect app (2)
-
Click Add skill +.
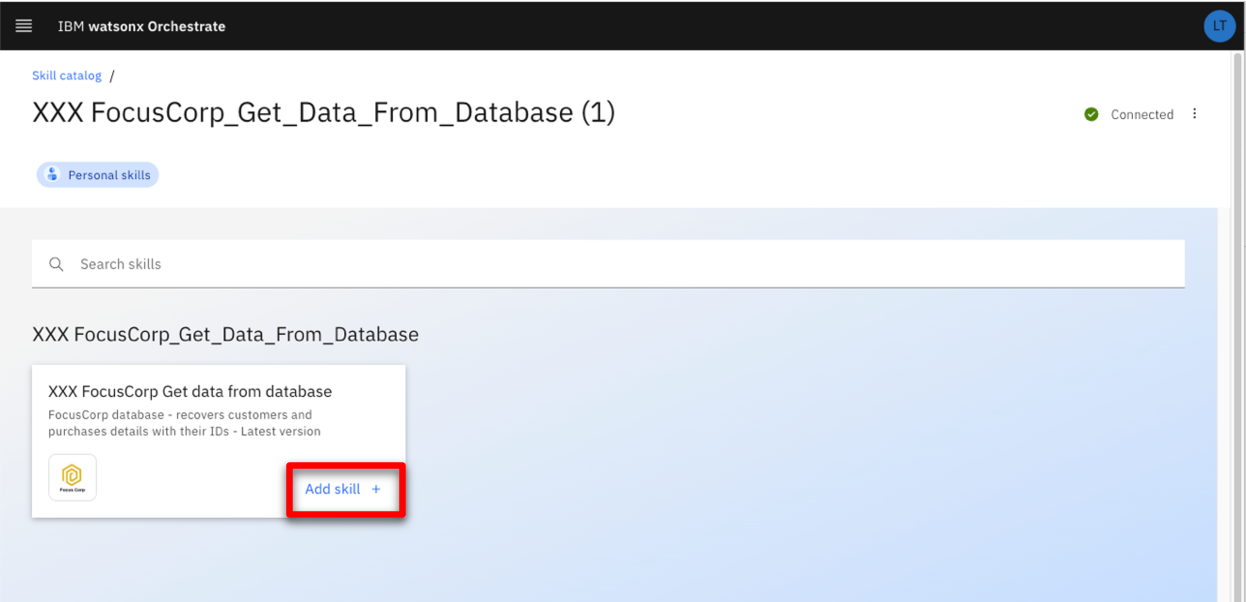
-
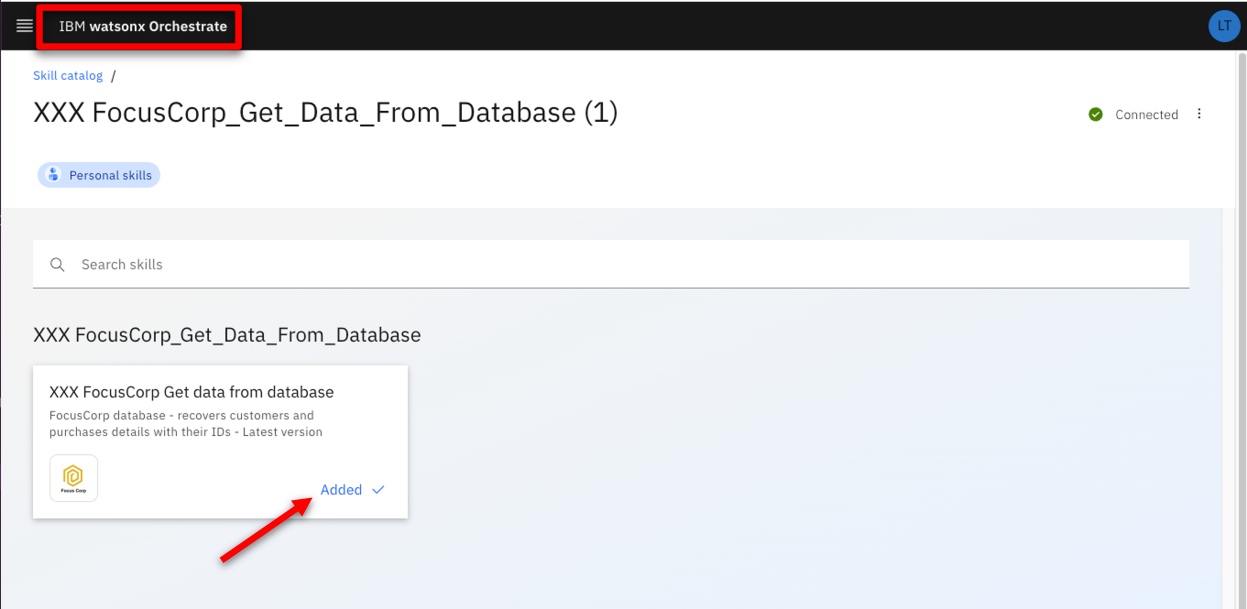
Check that your skill is added. Click IBM watsonx Orchestrate.
-
Repeat from Step 1 and add the XXX FocusCorp Customer Service skill.
-
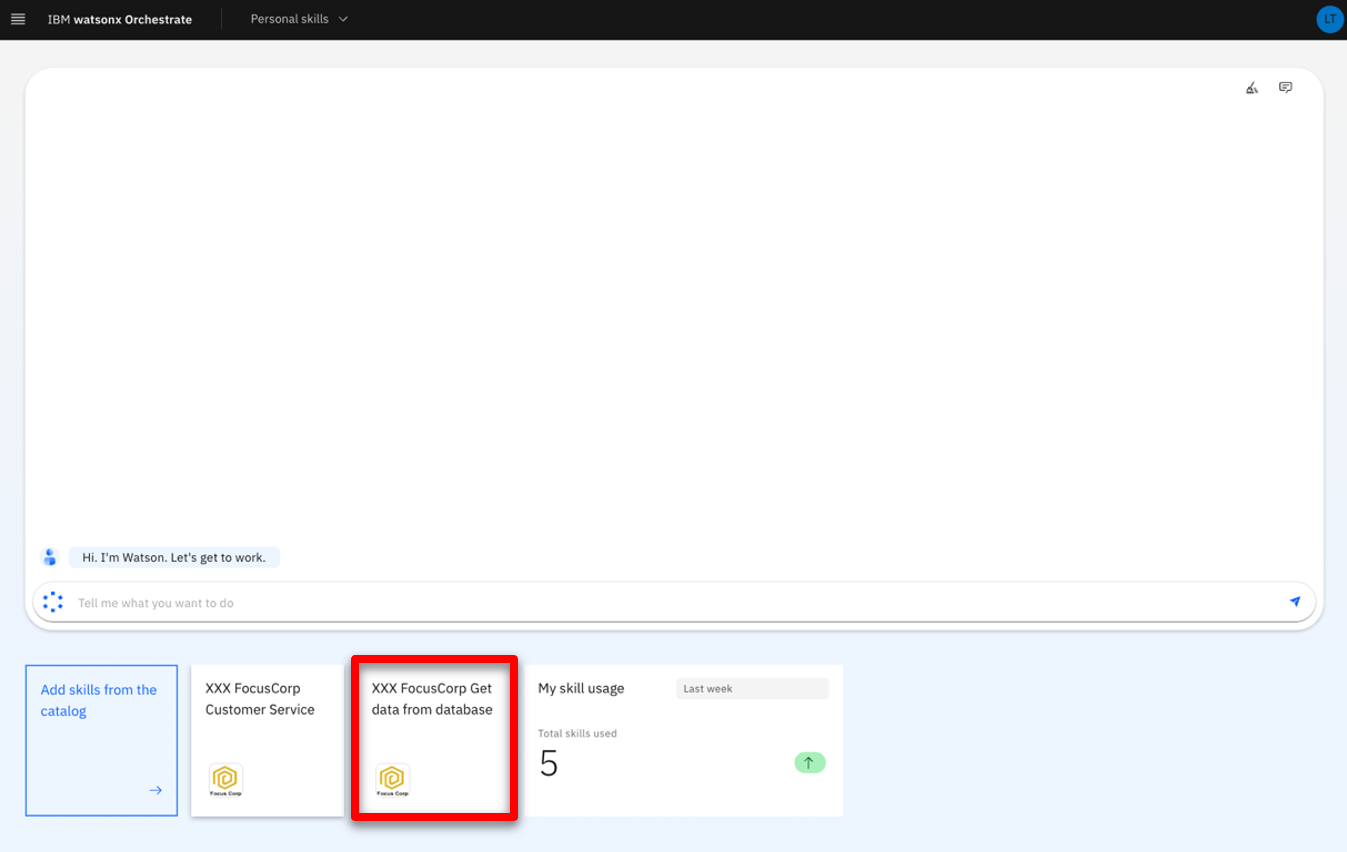
Click the XXX Focus Corp Get data from database skill to test it.
-
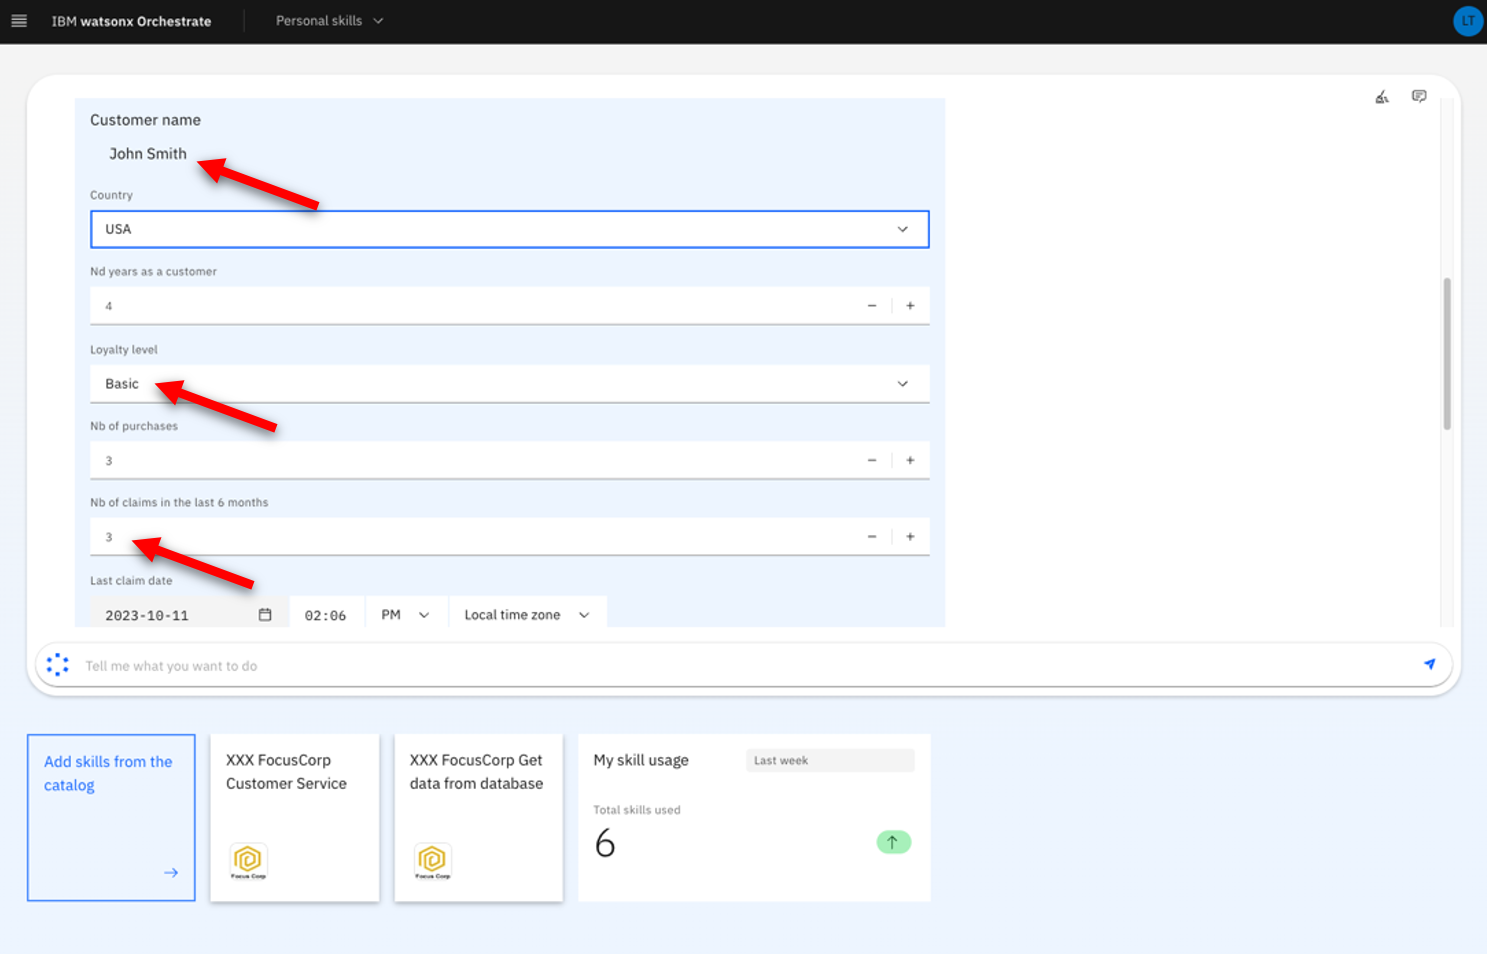
Enter ‘johnsmith@acme.com’ as the Customer email (1). Enter ‘001’ as Product identification number (2). Click Apply (3).

-
Check that the service returns some values.
You are now ready to demo!
ADVANCED DEMO SCENARIO
Update business rules [Optional]
The provided skills (jason files) are configured to use the latest deployed ruleapp. You can use that following additional actions to illustrate this capability:
- Update a business rule in the Decision Center with any policy update of your choice.
- Deploy a new version of the RuleApp in the Rule Execution Server using your exiting deployment configuration.
- Re-run the exact same skill flow and show that the new rules have been applied.
AFTER EACH DEMO
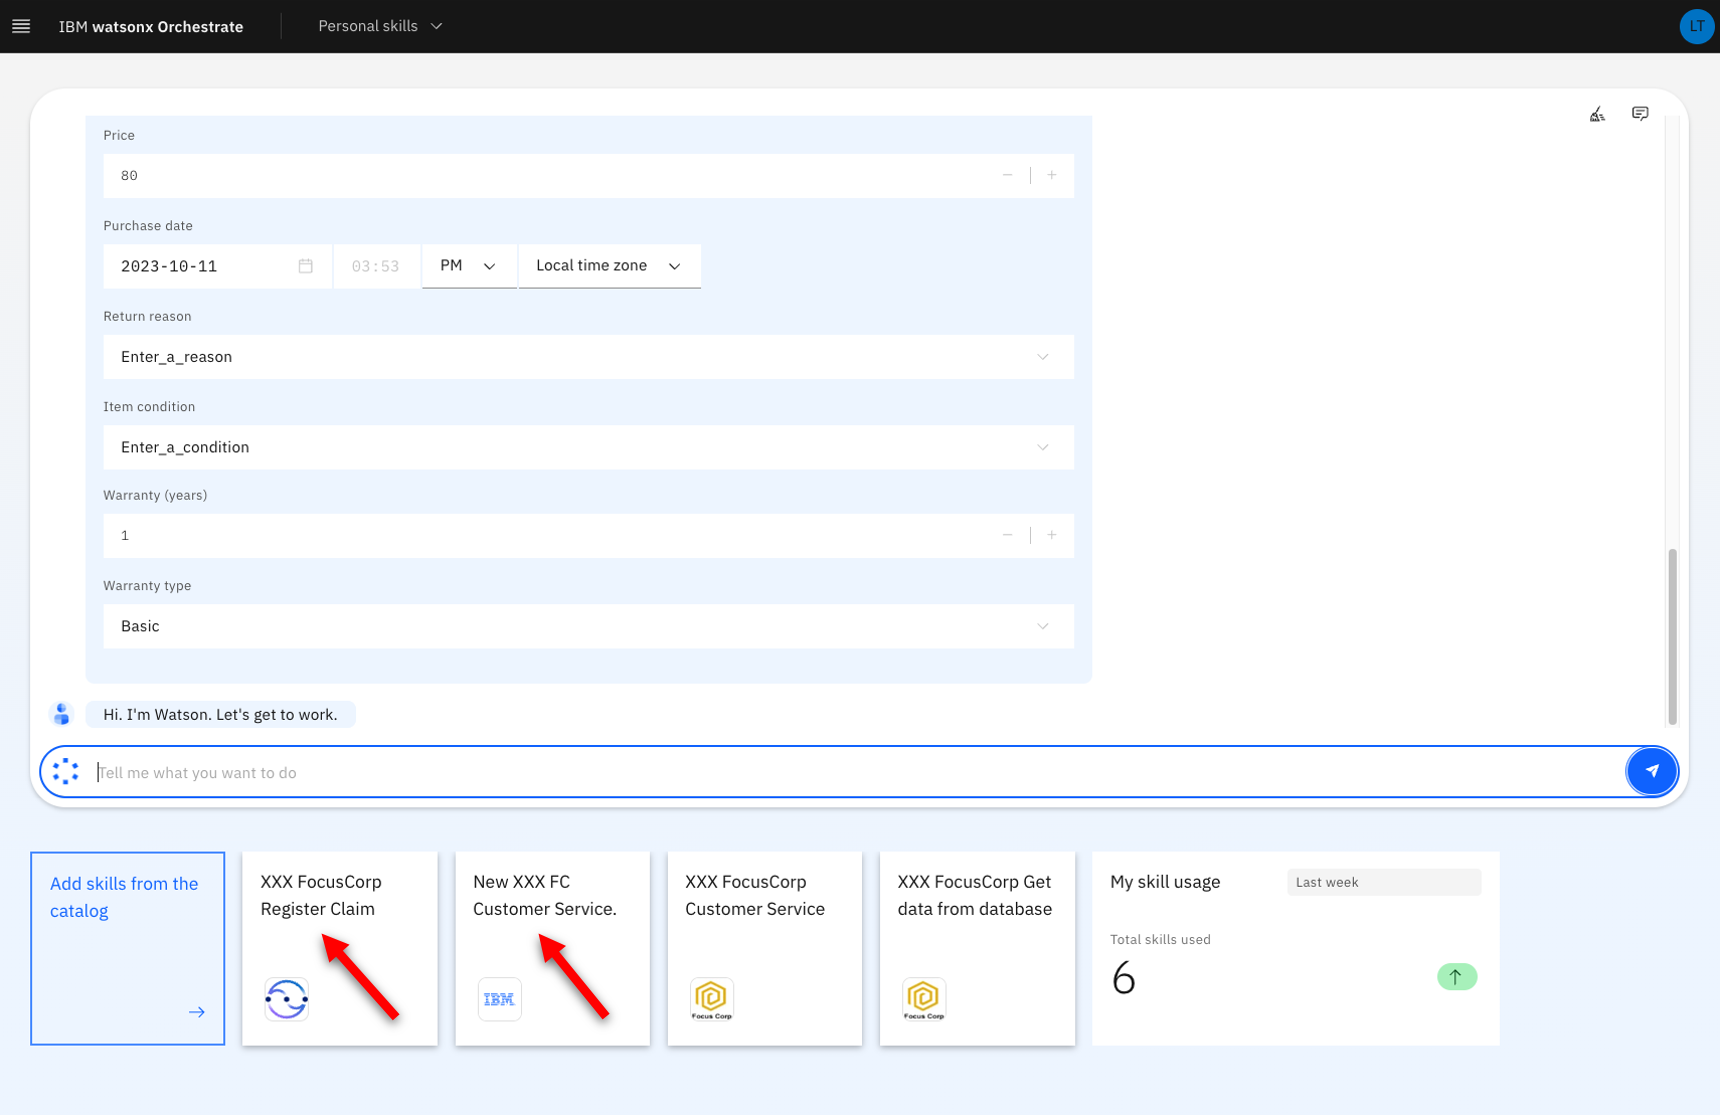
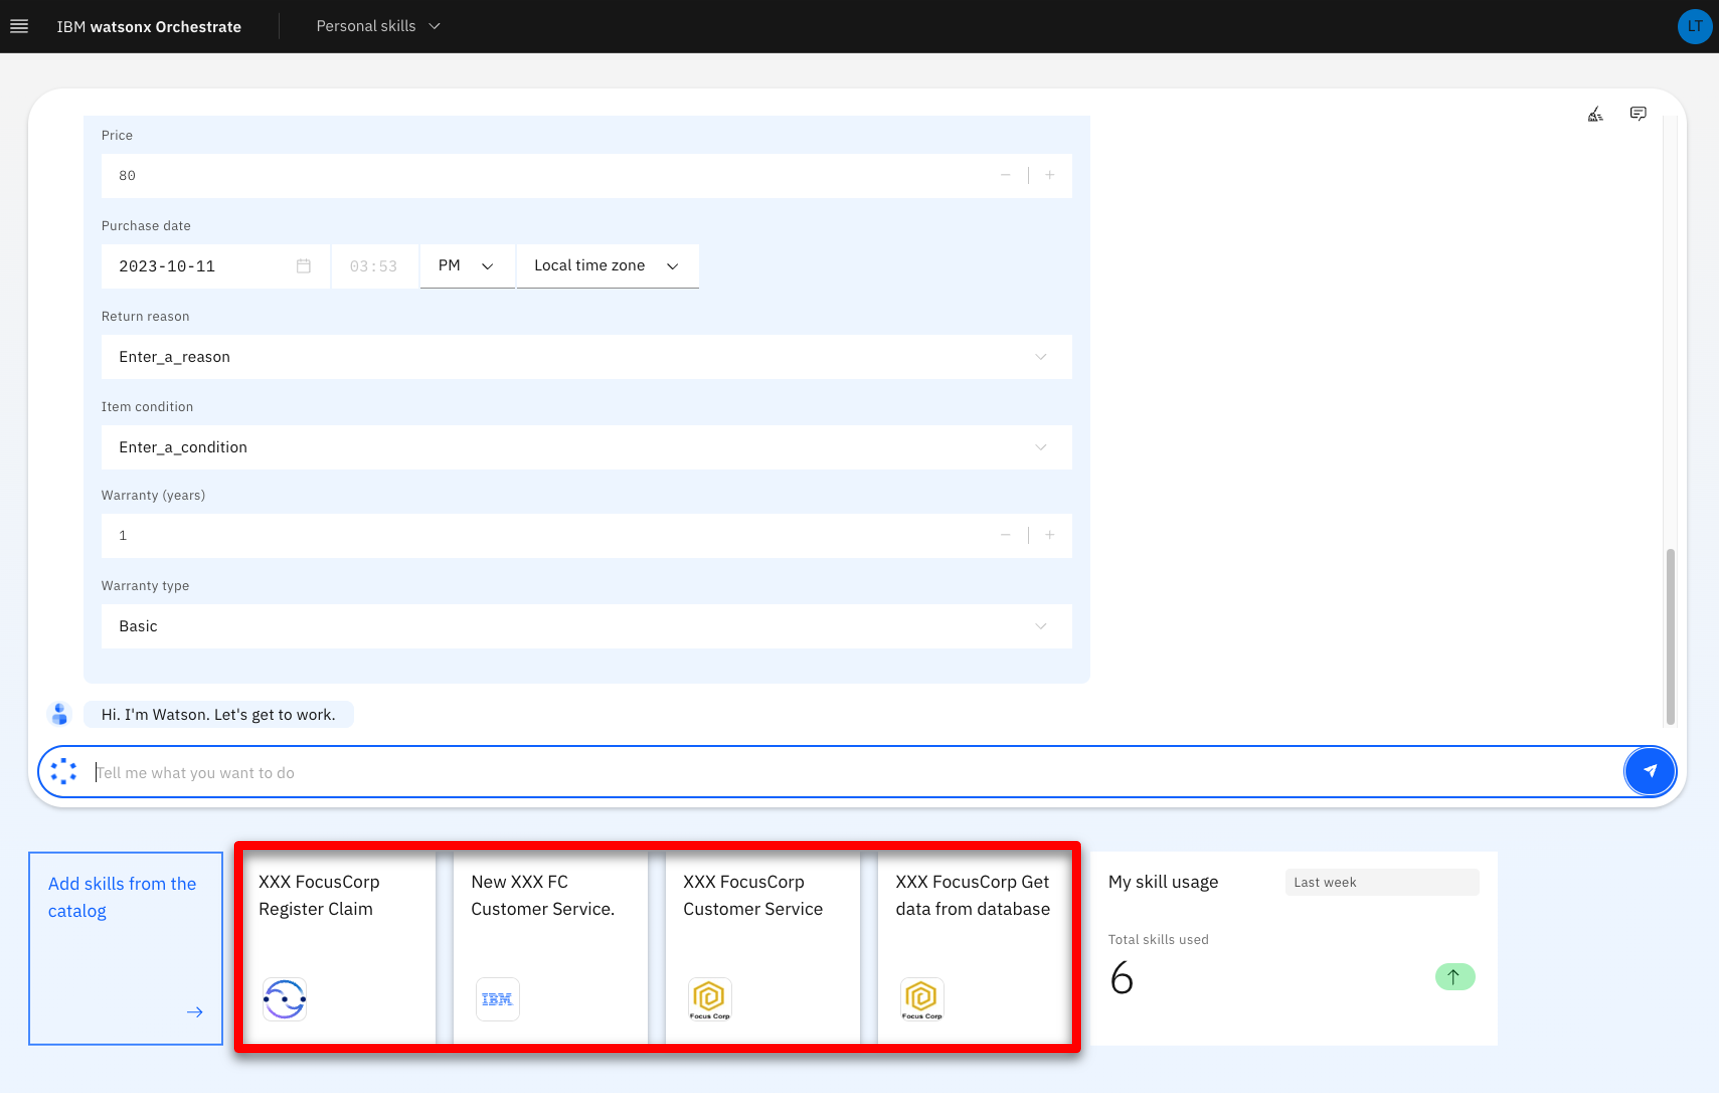
Remove the two skills created during the demo
After each demo, you must remove the New XXX FC FocusCorp Customer Service skill you imported using the discovery service, as well as the skill flow created during the demo.
-
Click the menu slider icon.
-
Click Skills.
-
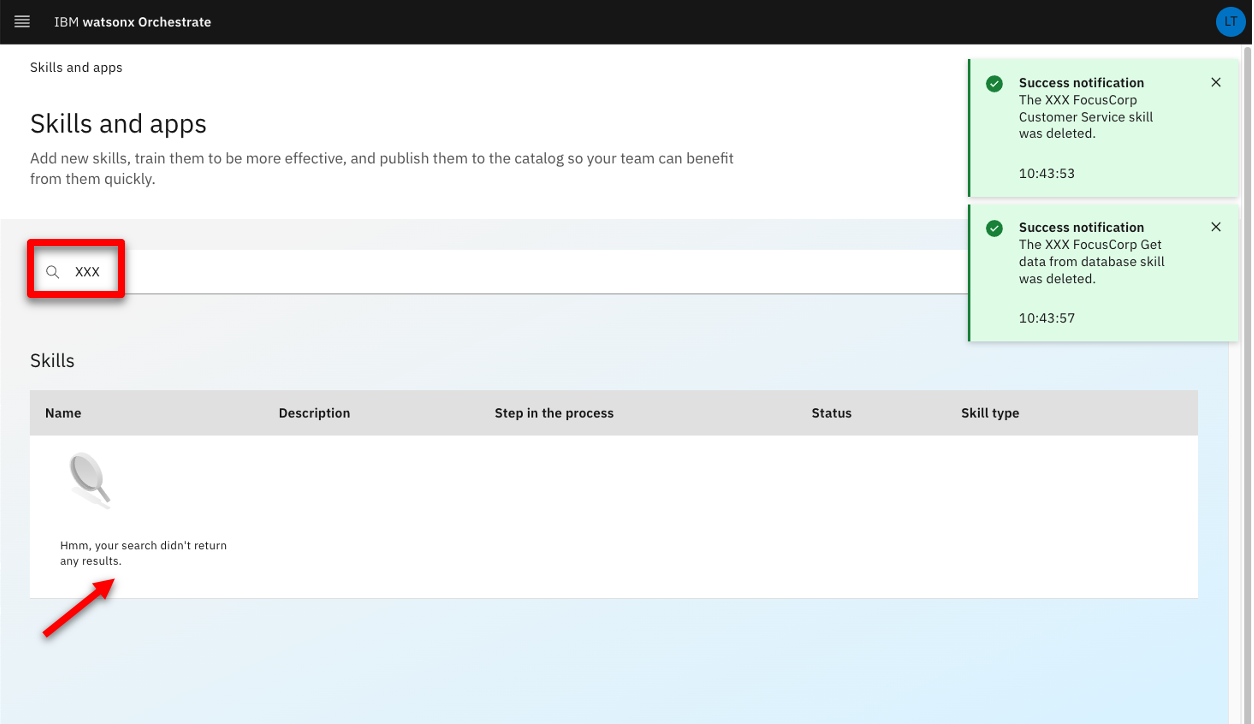
Enter your ‘XXX’ initials to access your skills.
-
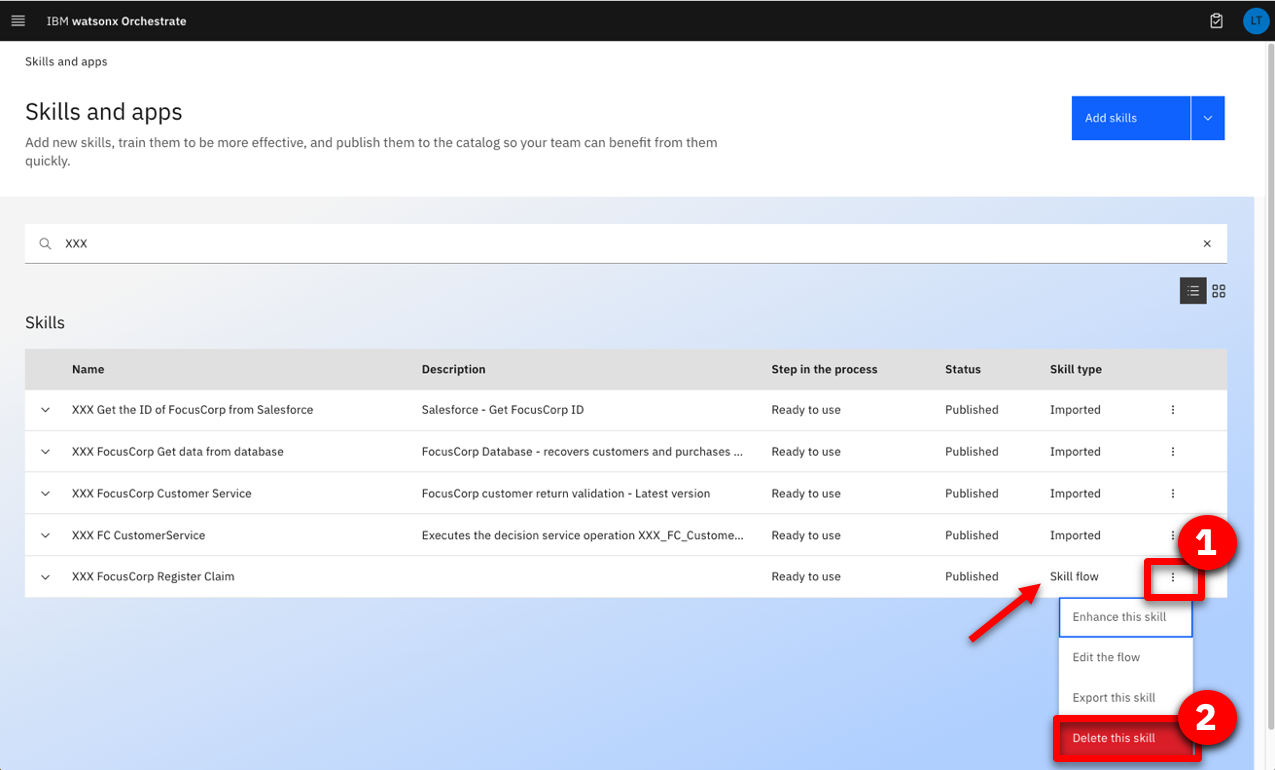
Look for the skill with the Skill flow skill type. Click its corresponding ellipsis icon (1). Click Delete this skill (2).
-
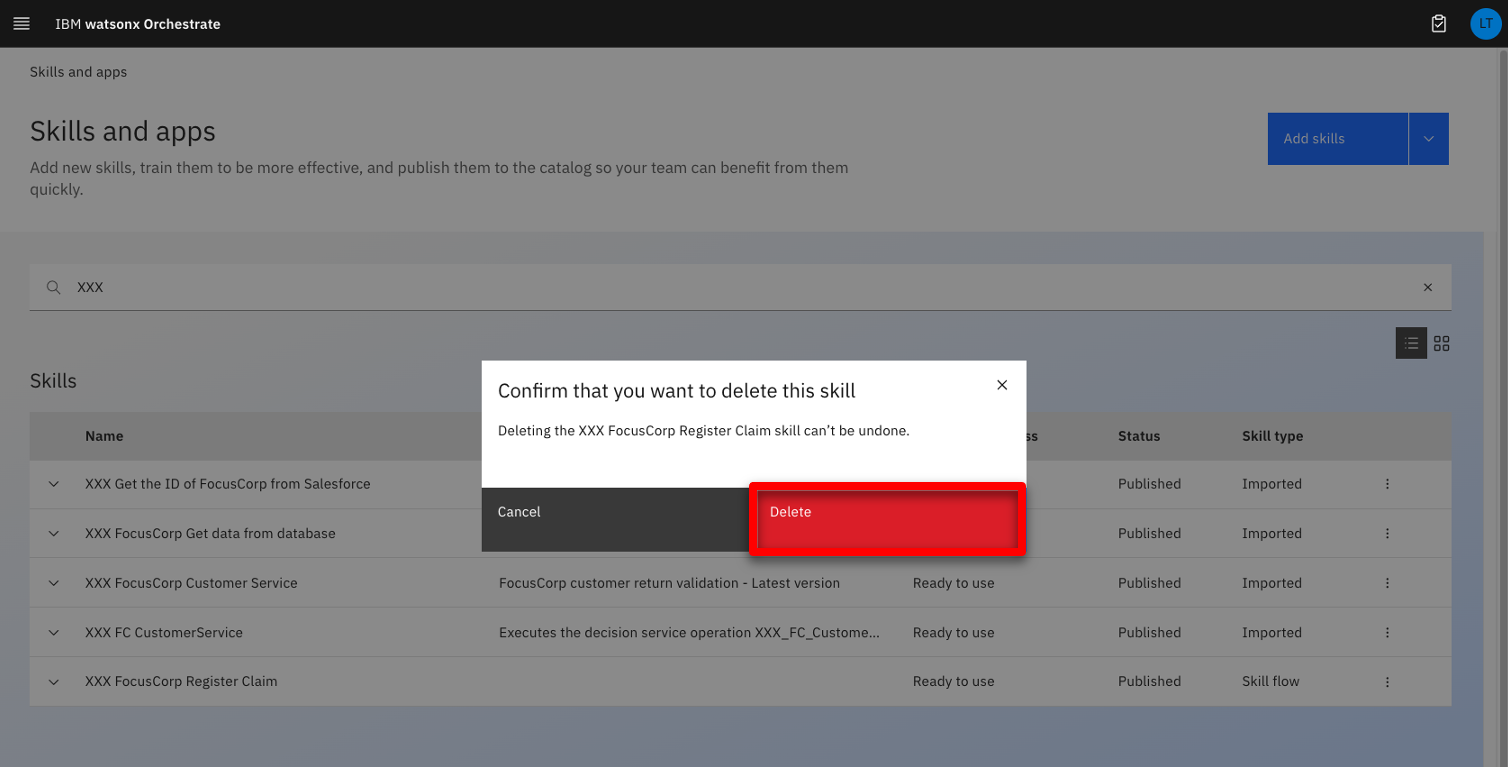
Click Delete.
-
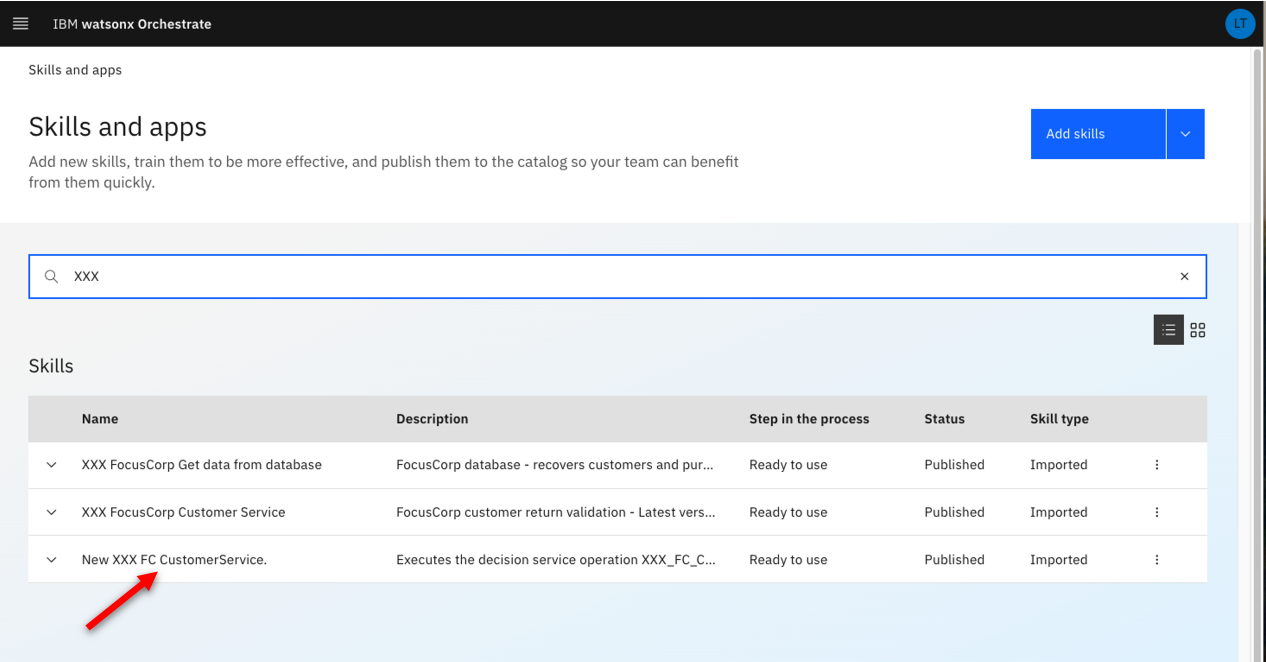
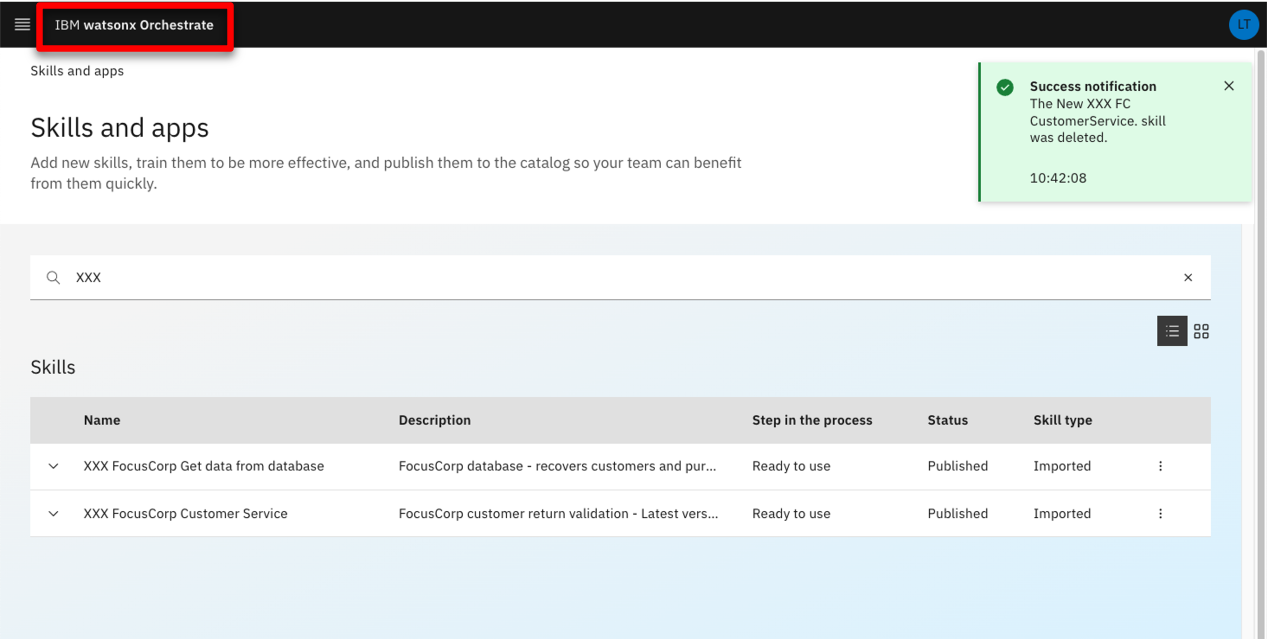
Repeat from Step 4 and delete the New XXX FC Customer Service skill.
-
Click IBM watsonx Orchestrate.
-
You are now ready to demo again.

UNINSTALL THE DEMO
Remove the four skills created during the demo
-
Repeat the AFTER EACH DEMO steps and remove the four ‘XXX’ skills (XXX being your own initials).
-
Enter your ‘XXX’ initials and make sure no skills remain.
Click here to go to the Demo script on the next tab.