Natural Language Understanding
Natural-language understanding (NLU) is a subtopic of natural-language processing in artificial intelligence that deals with machine reading comprehension.1 In this lab, we'll use Watson Natural Language Understanding to extract keywords from a data set and analyze them for the sentiment that is expressed. We'll do this in a Jupyter notebook using Python APIs and then we'll utilize Pandas, Matplotlib, and Seaborn to visualize this information to aid in extracting insights.
In this workshop, we will learn how to:
- Create and use and instance of Watson Natural Language Understanding
- Connect to Watson Natural Language Understanding using Python APIs
- Perform analysis on text to derive Keywords, Sentiment, and Emotion
- Depict our information graphicaly to better understand the data
If you have not already done so, make sure that you do the work for your project setup
Create a Watson NLU instance
- Click on the Navigation Menu in the upper-left corner of your Cloud Pak for Data as a Service instance and then click
Services->Services catalog:
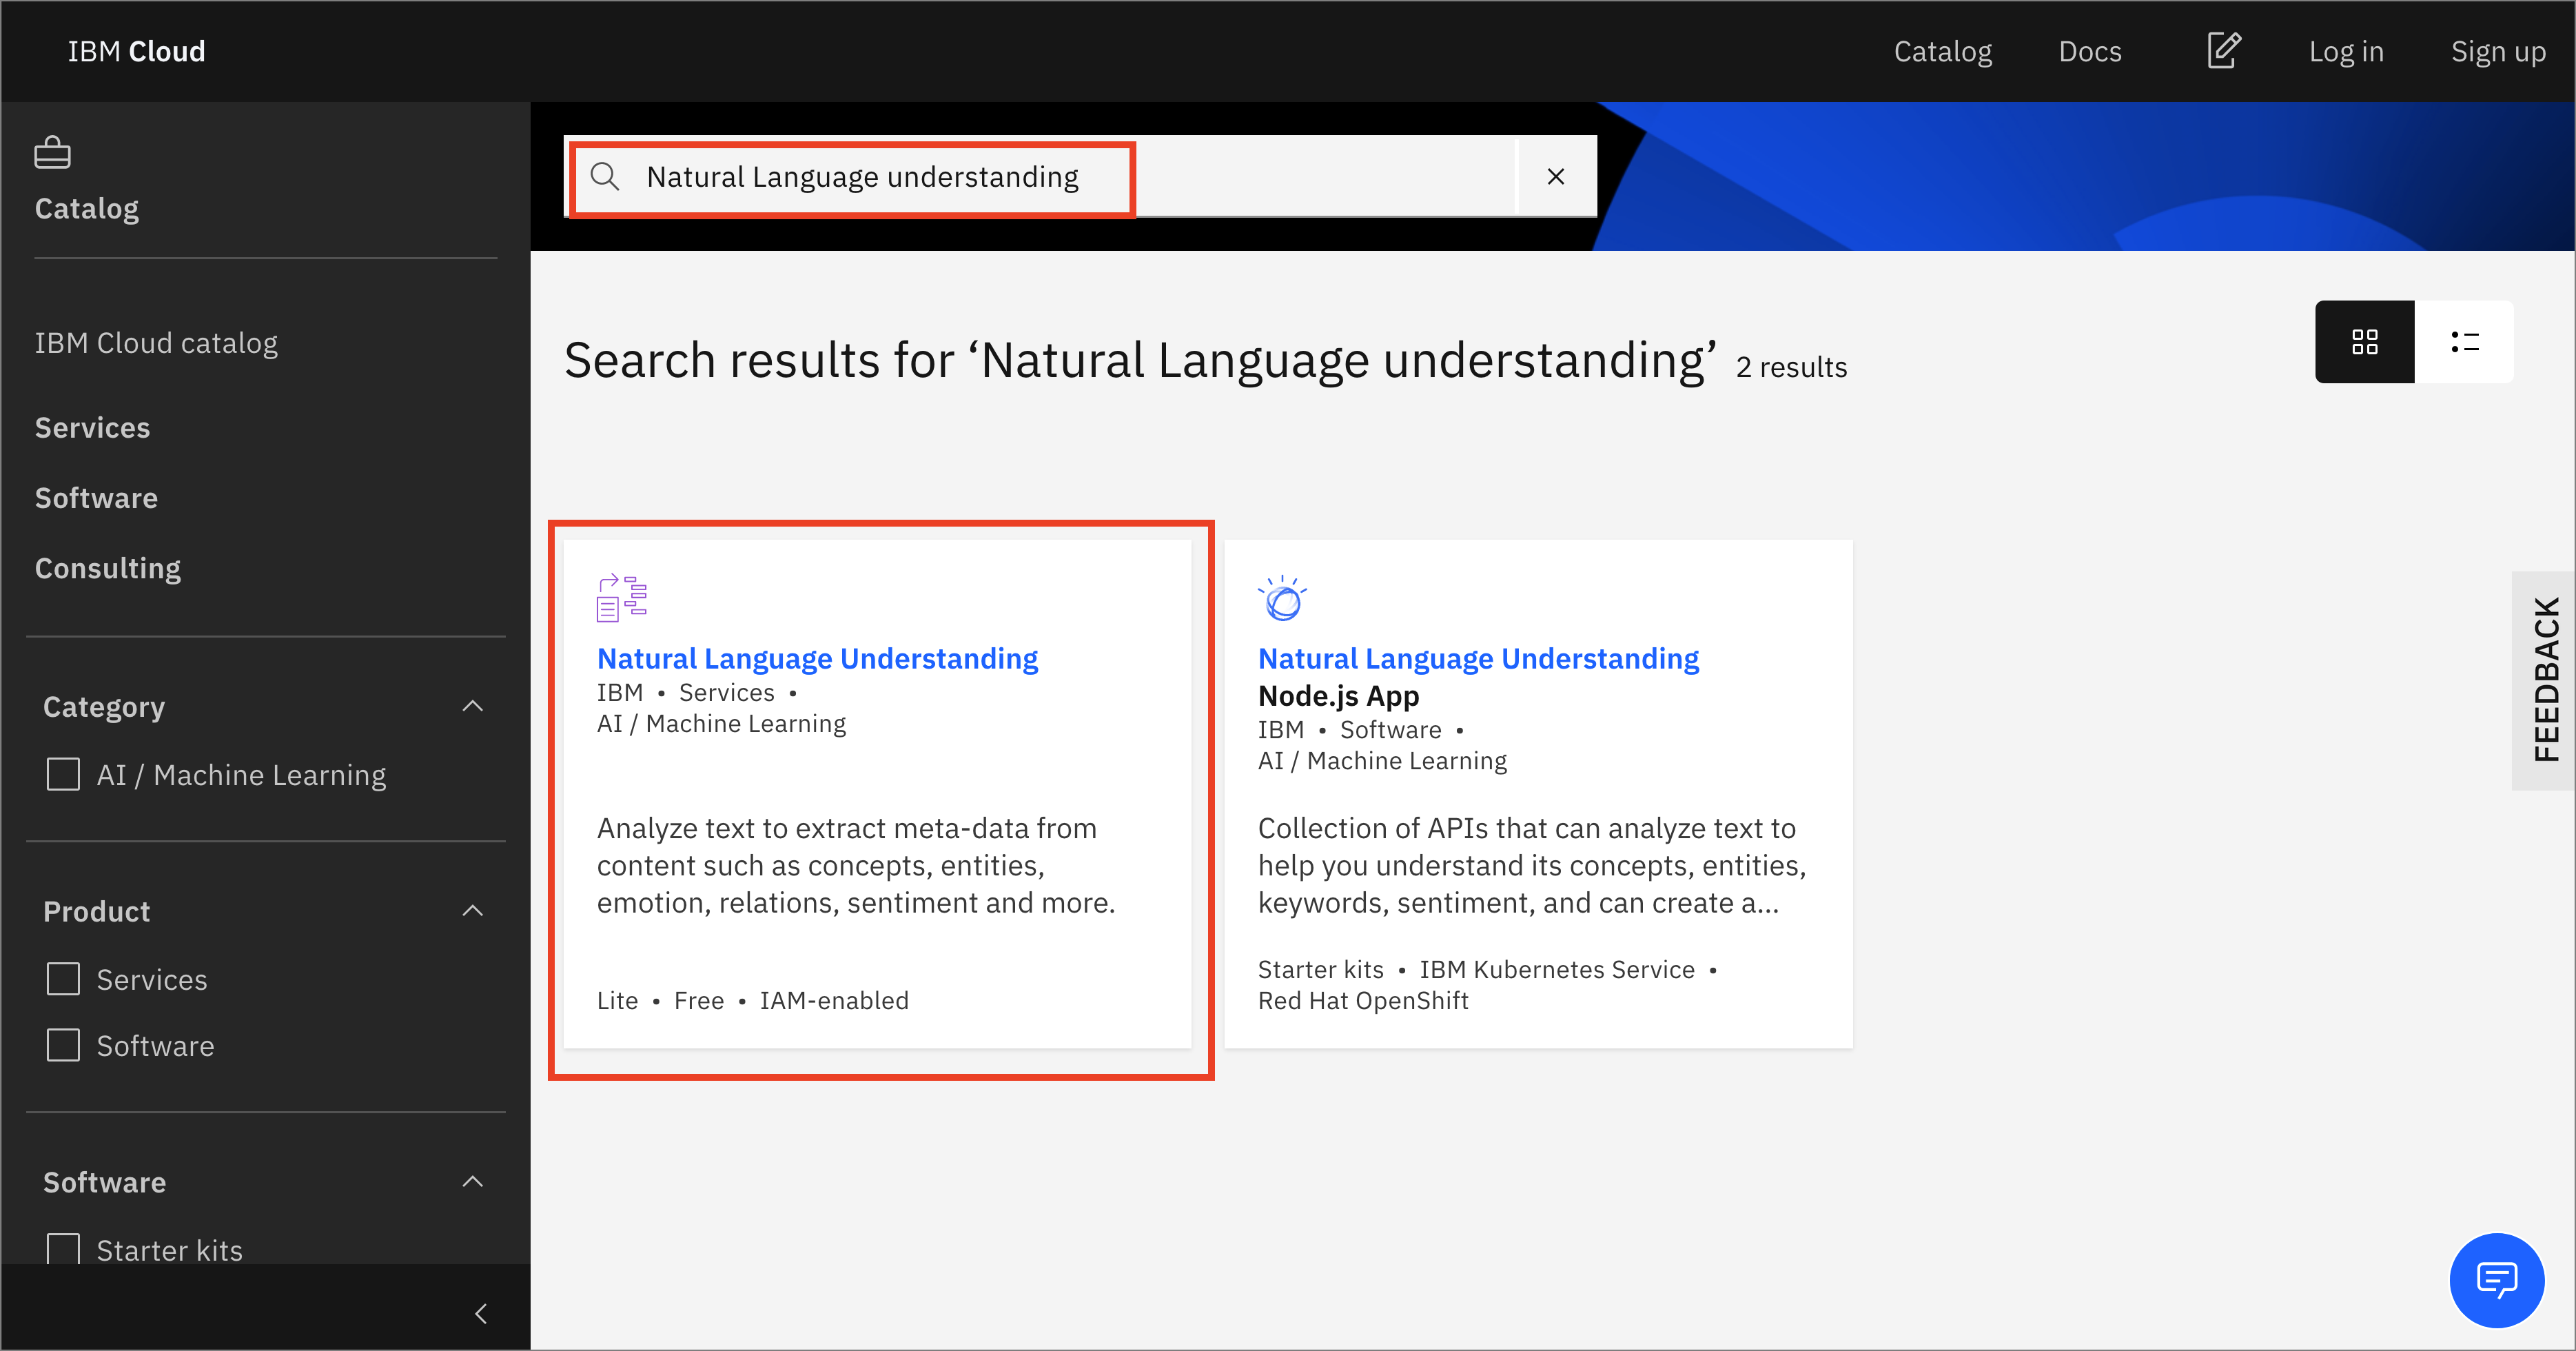
-
Choose the free
Liteplan (unless your organization has already provisioned 1 instance of theLiteplan, in which case your subsequent plans would need to be on a paid tier). Give the service a meaningful name and clickCreate. -
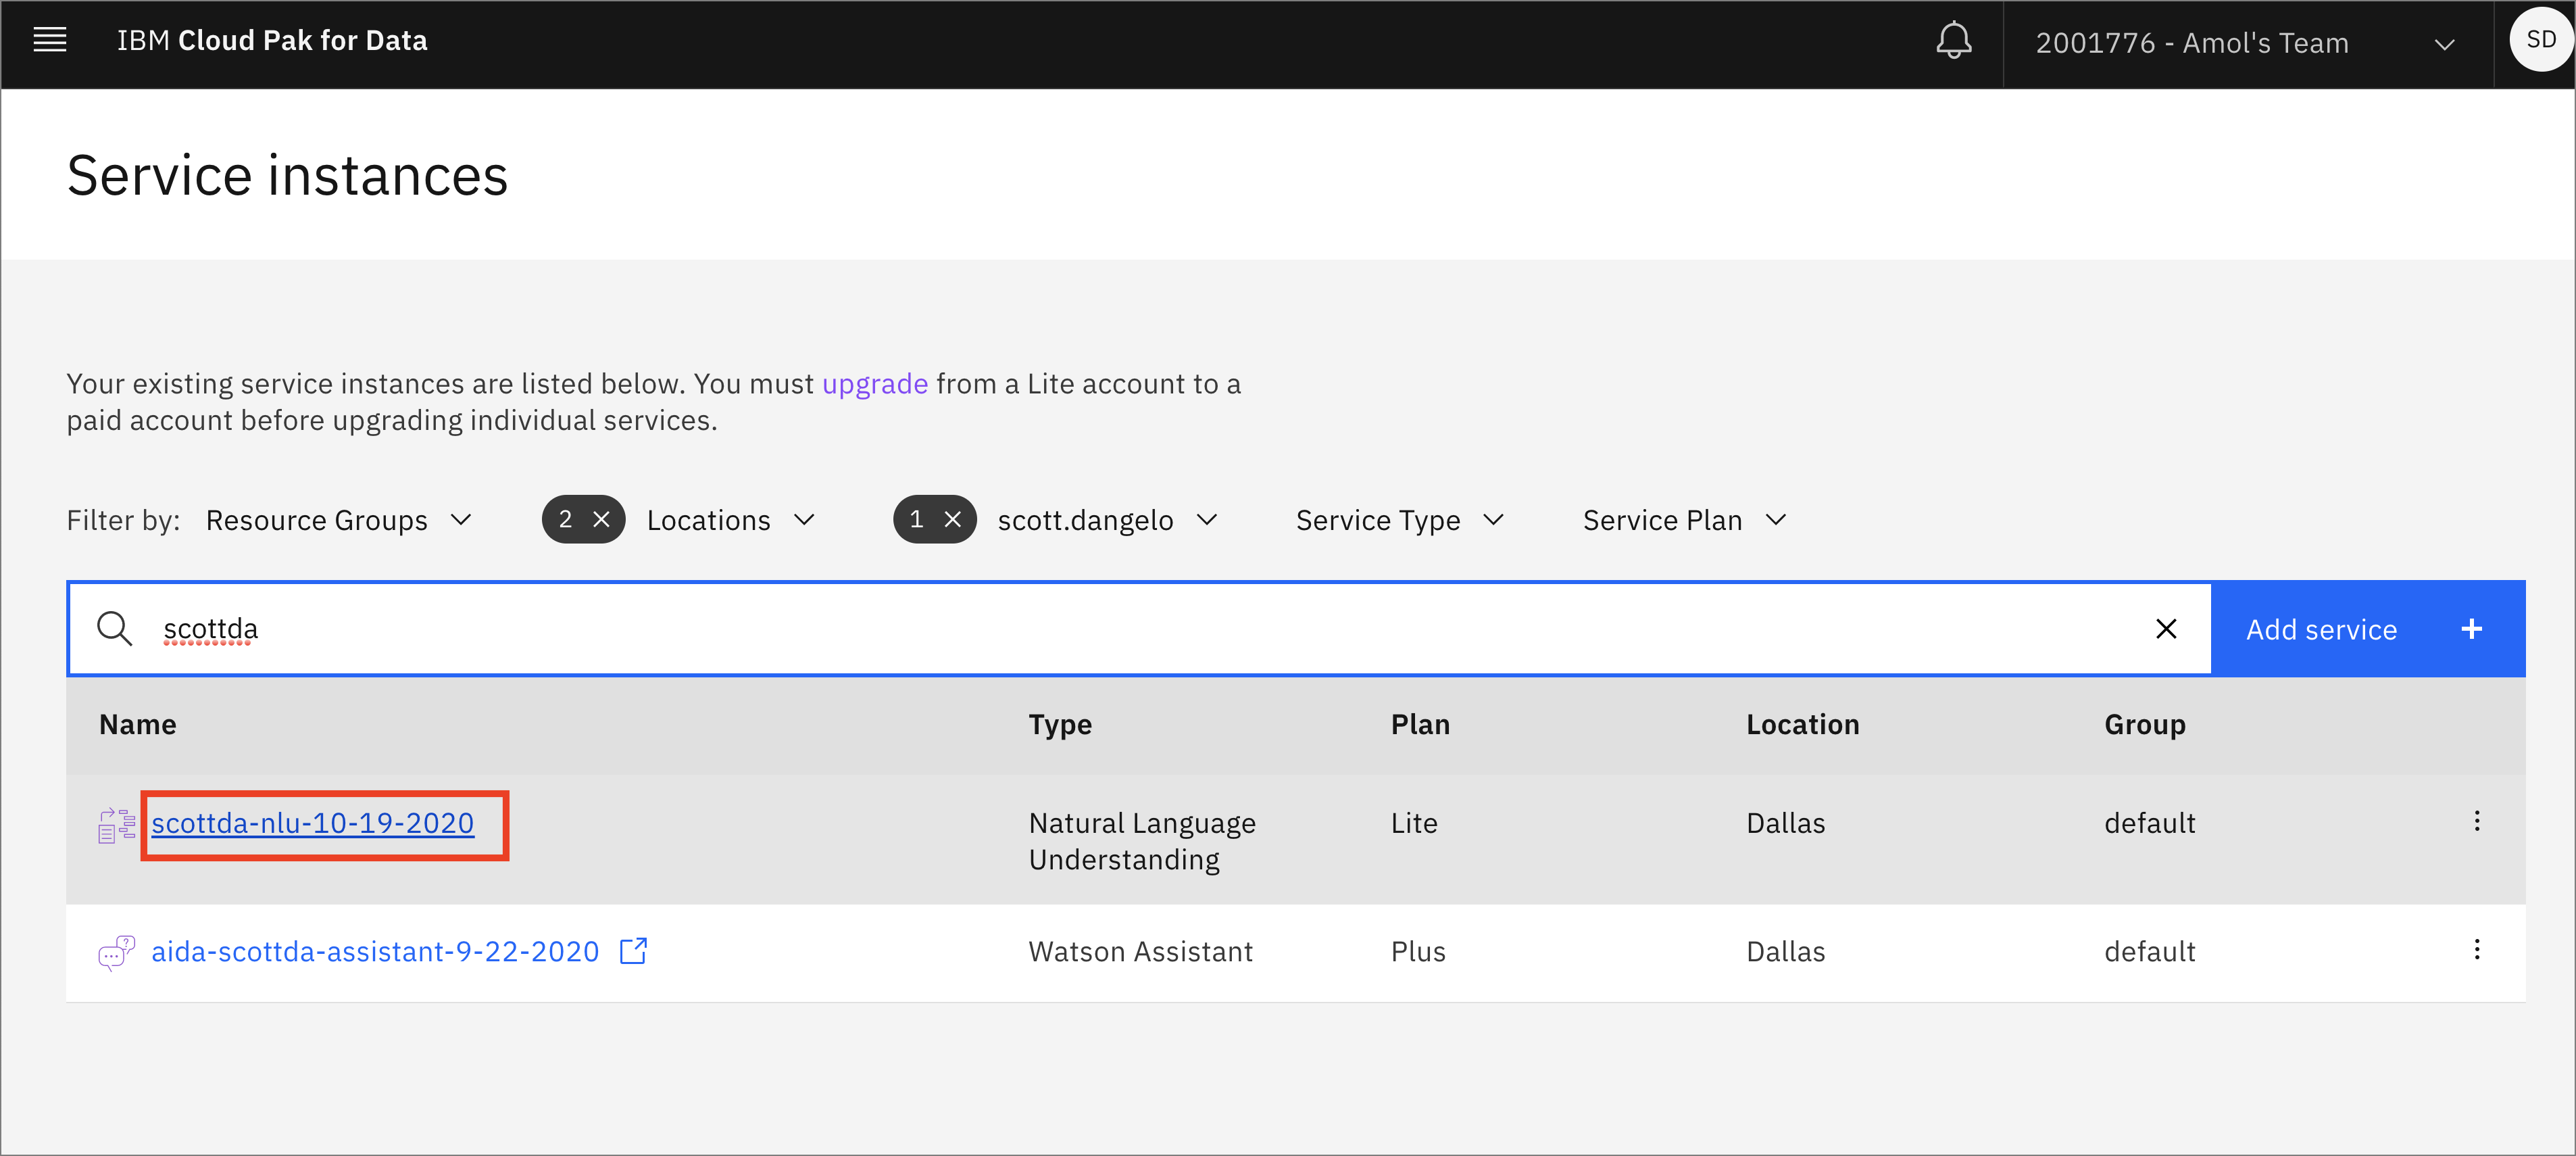
You will see your newly created NLU instance on the Services instances page. Click on the name to open the page for this NLU instance:
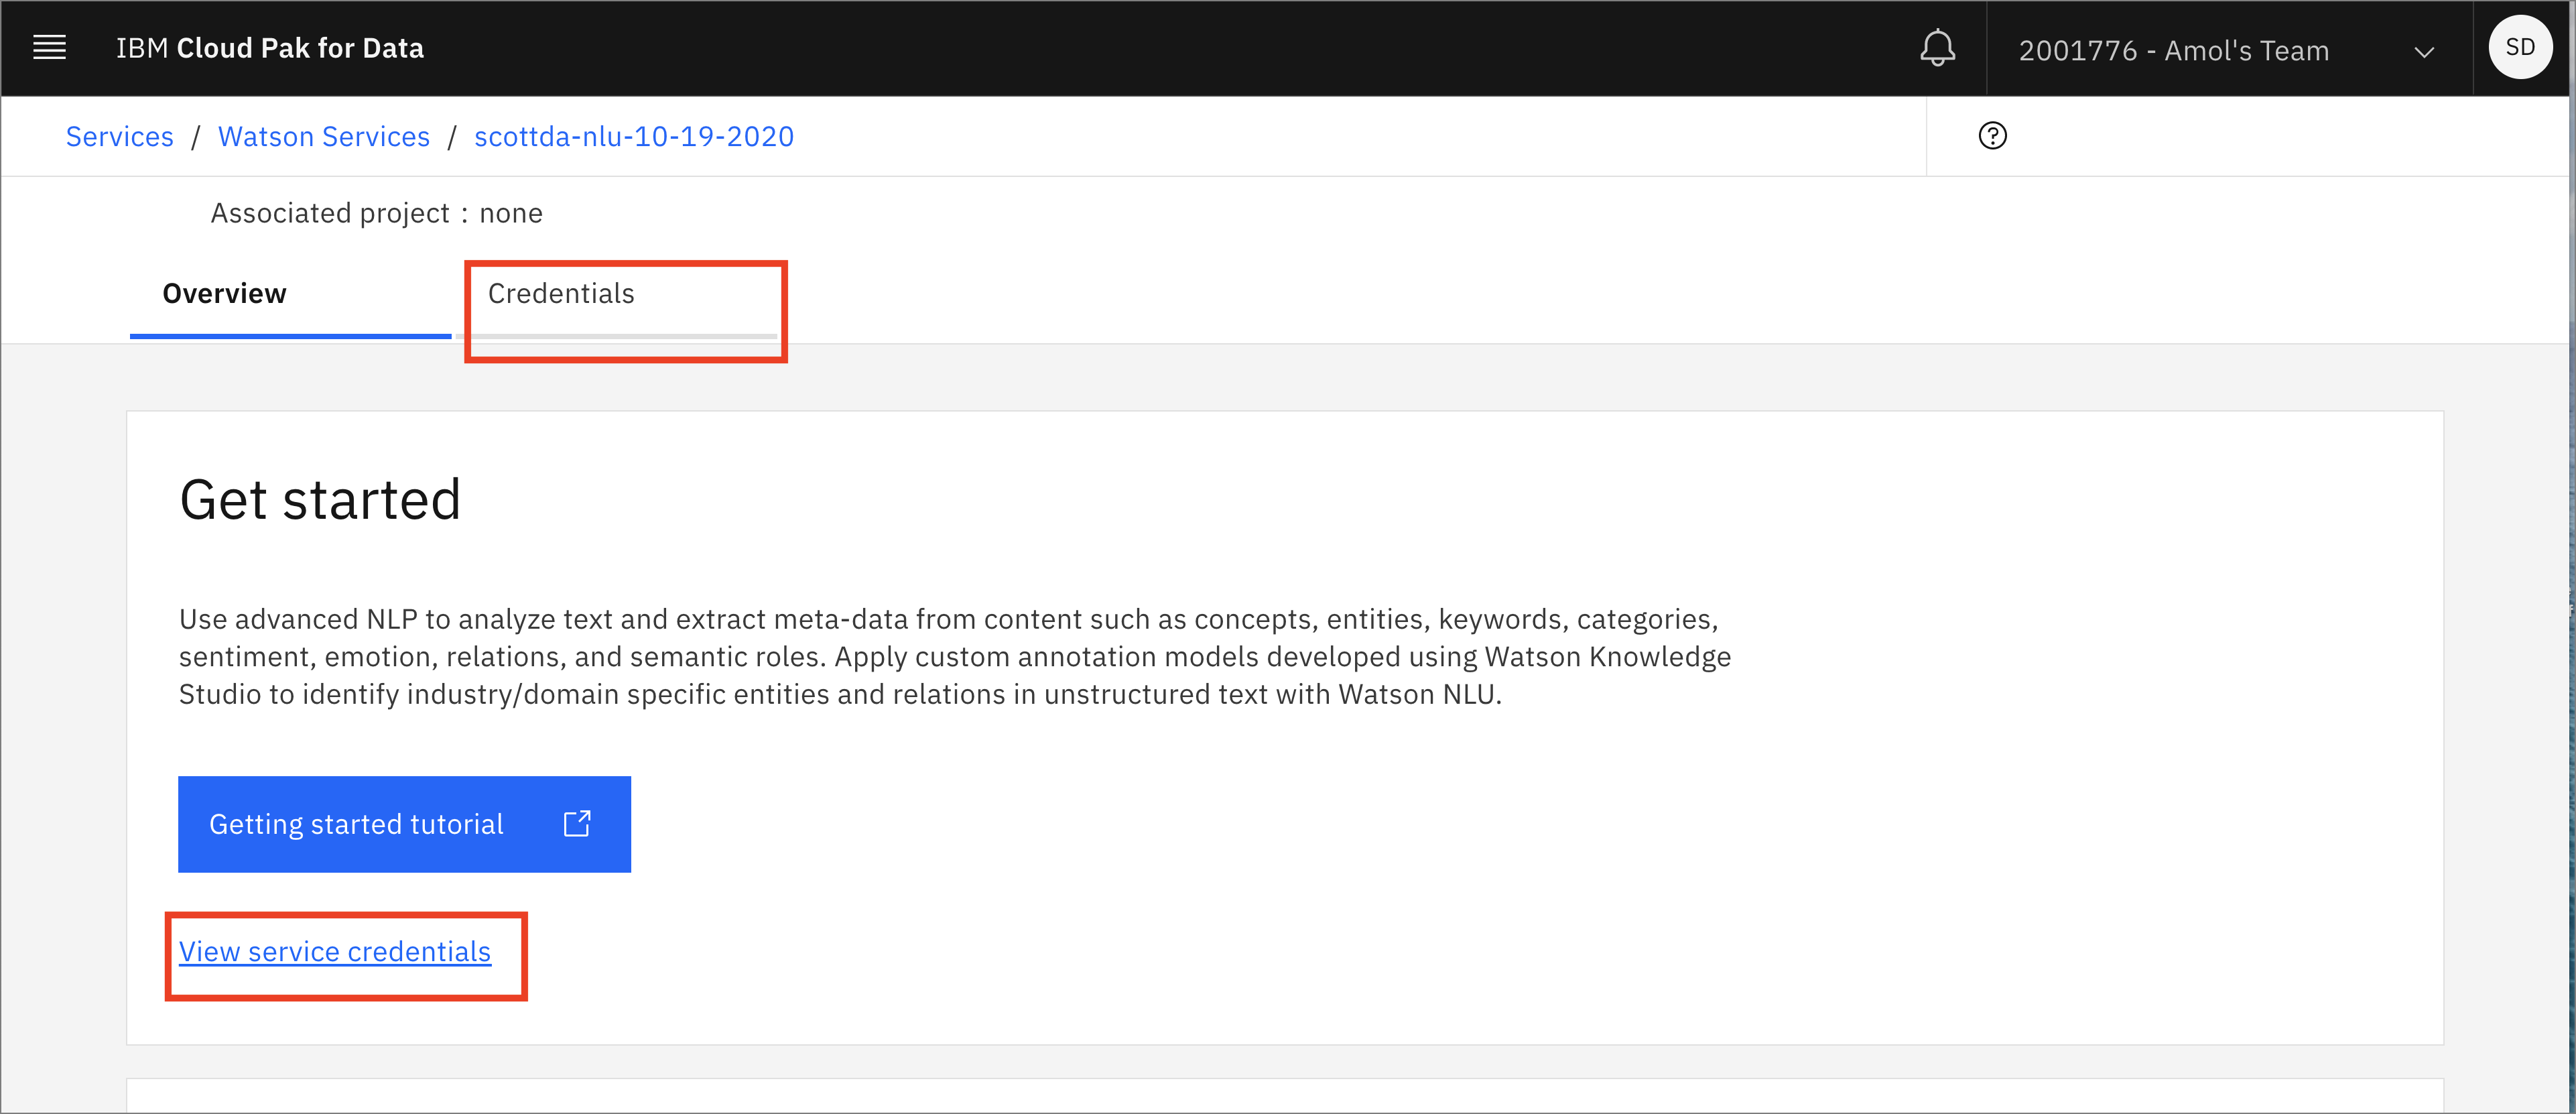
- Either click on the
Credentialstab of click onView service credentialsto navigate to the Credentials page:
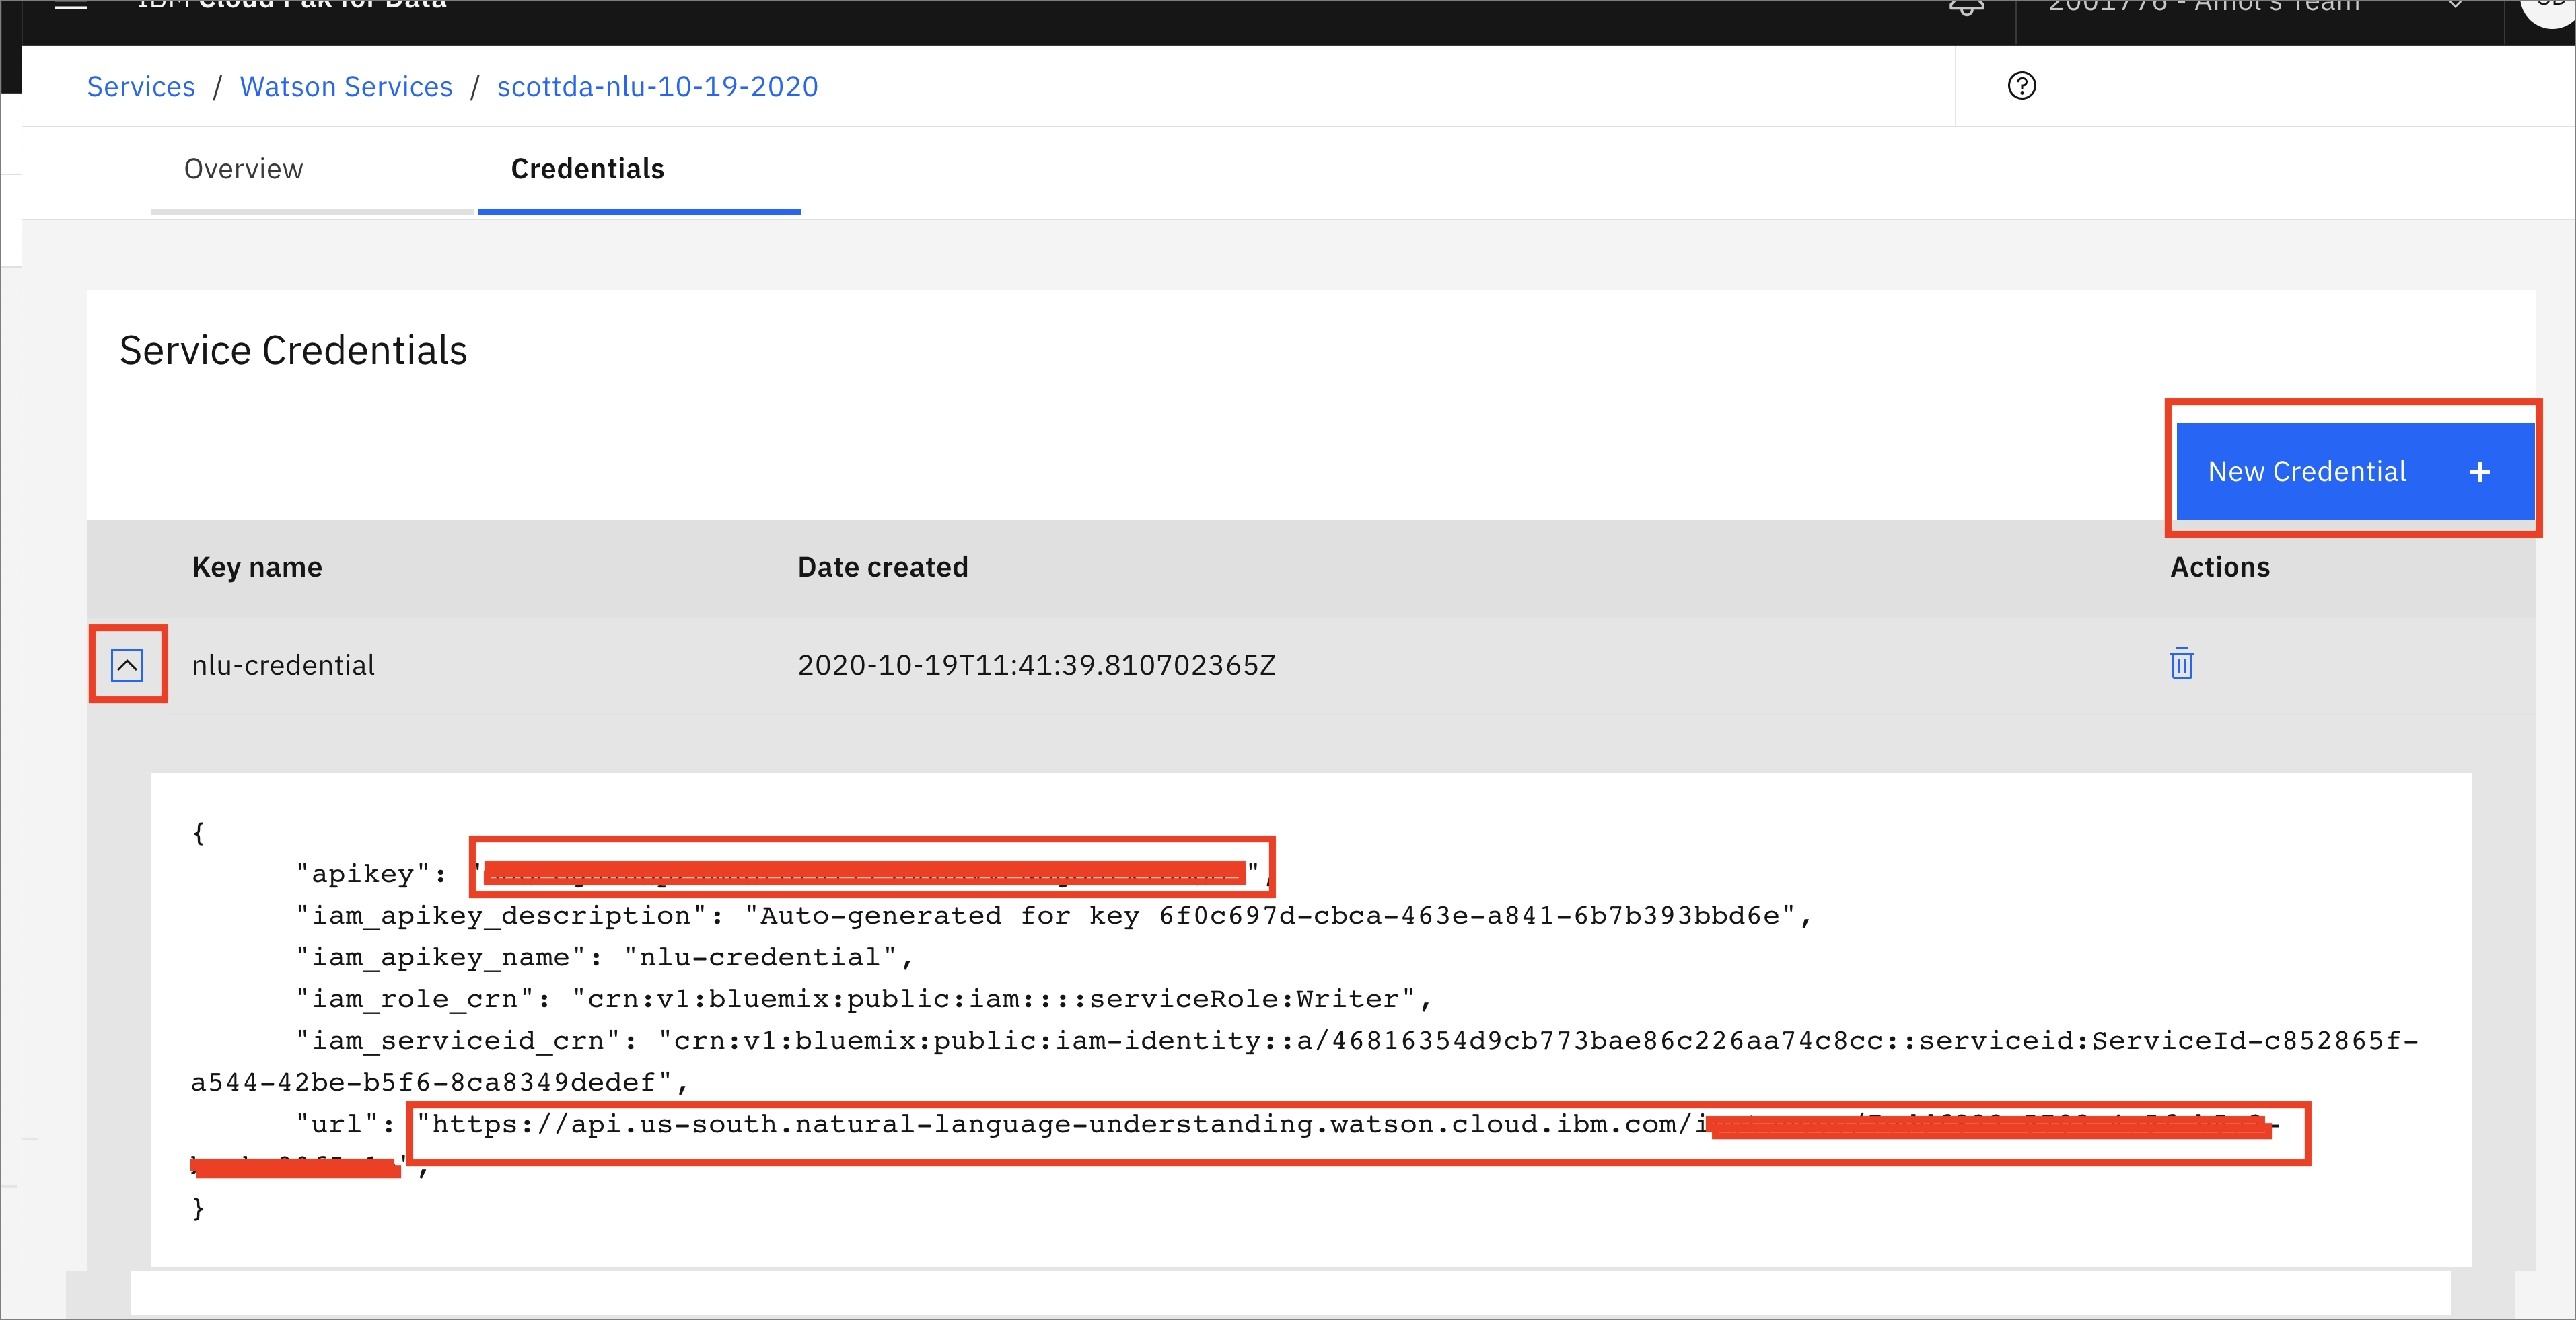
- Click on
Create Credentials. Next, click on the "down arrow" to view the newly created credentials. In the image below, you will see that I have obscured both the apikey and the url. You will need these later, so either copy them to a text document, or leave this tab open:
Note that you can access the Getting started tutorial and the API reference from the NLU Service instance Overview tab. You may wish to look at these for a more in-depth investigation of Watson Natural Language Understanding.
Demonstration of Watson NLU and Sentiment Analysis
- Visit the Live Demo of Watson Natural Language Understanding. Click the
Analyze textbutton.
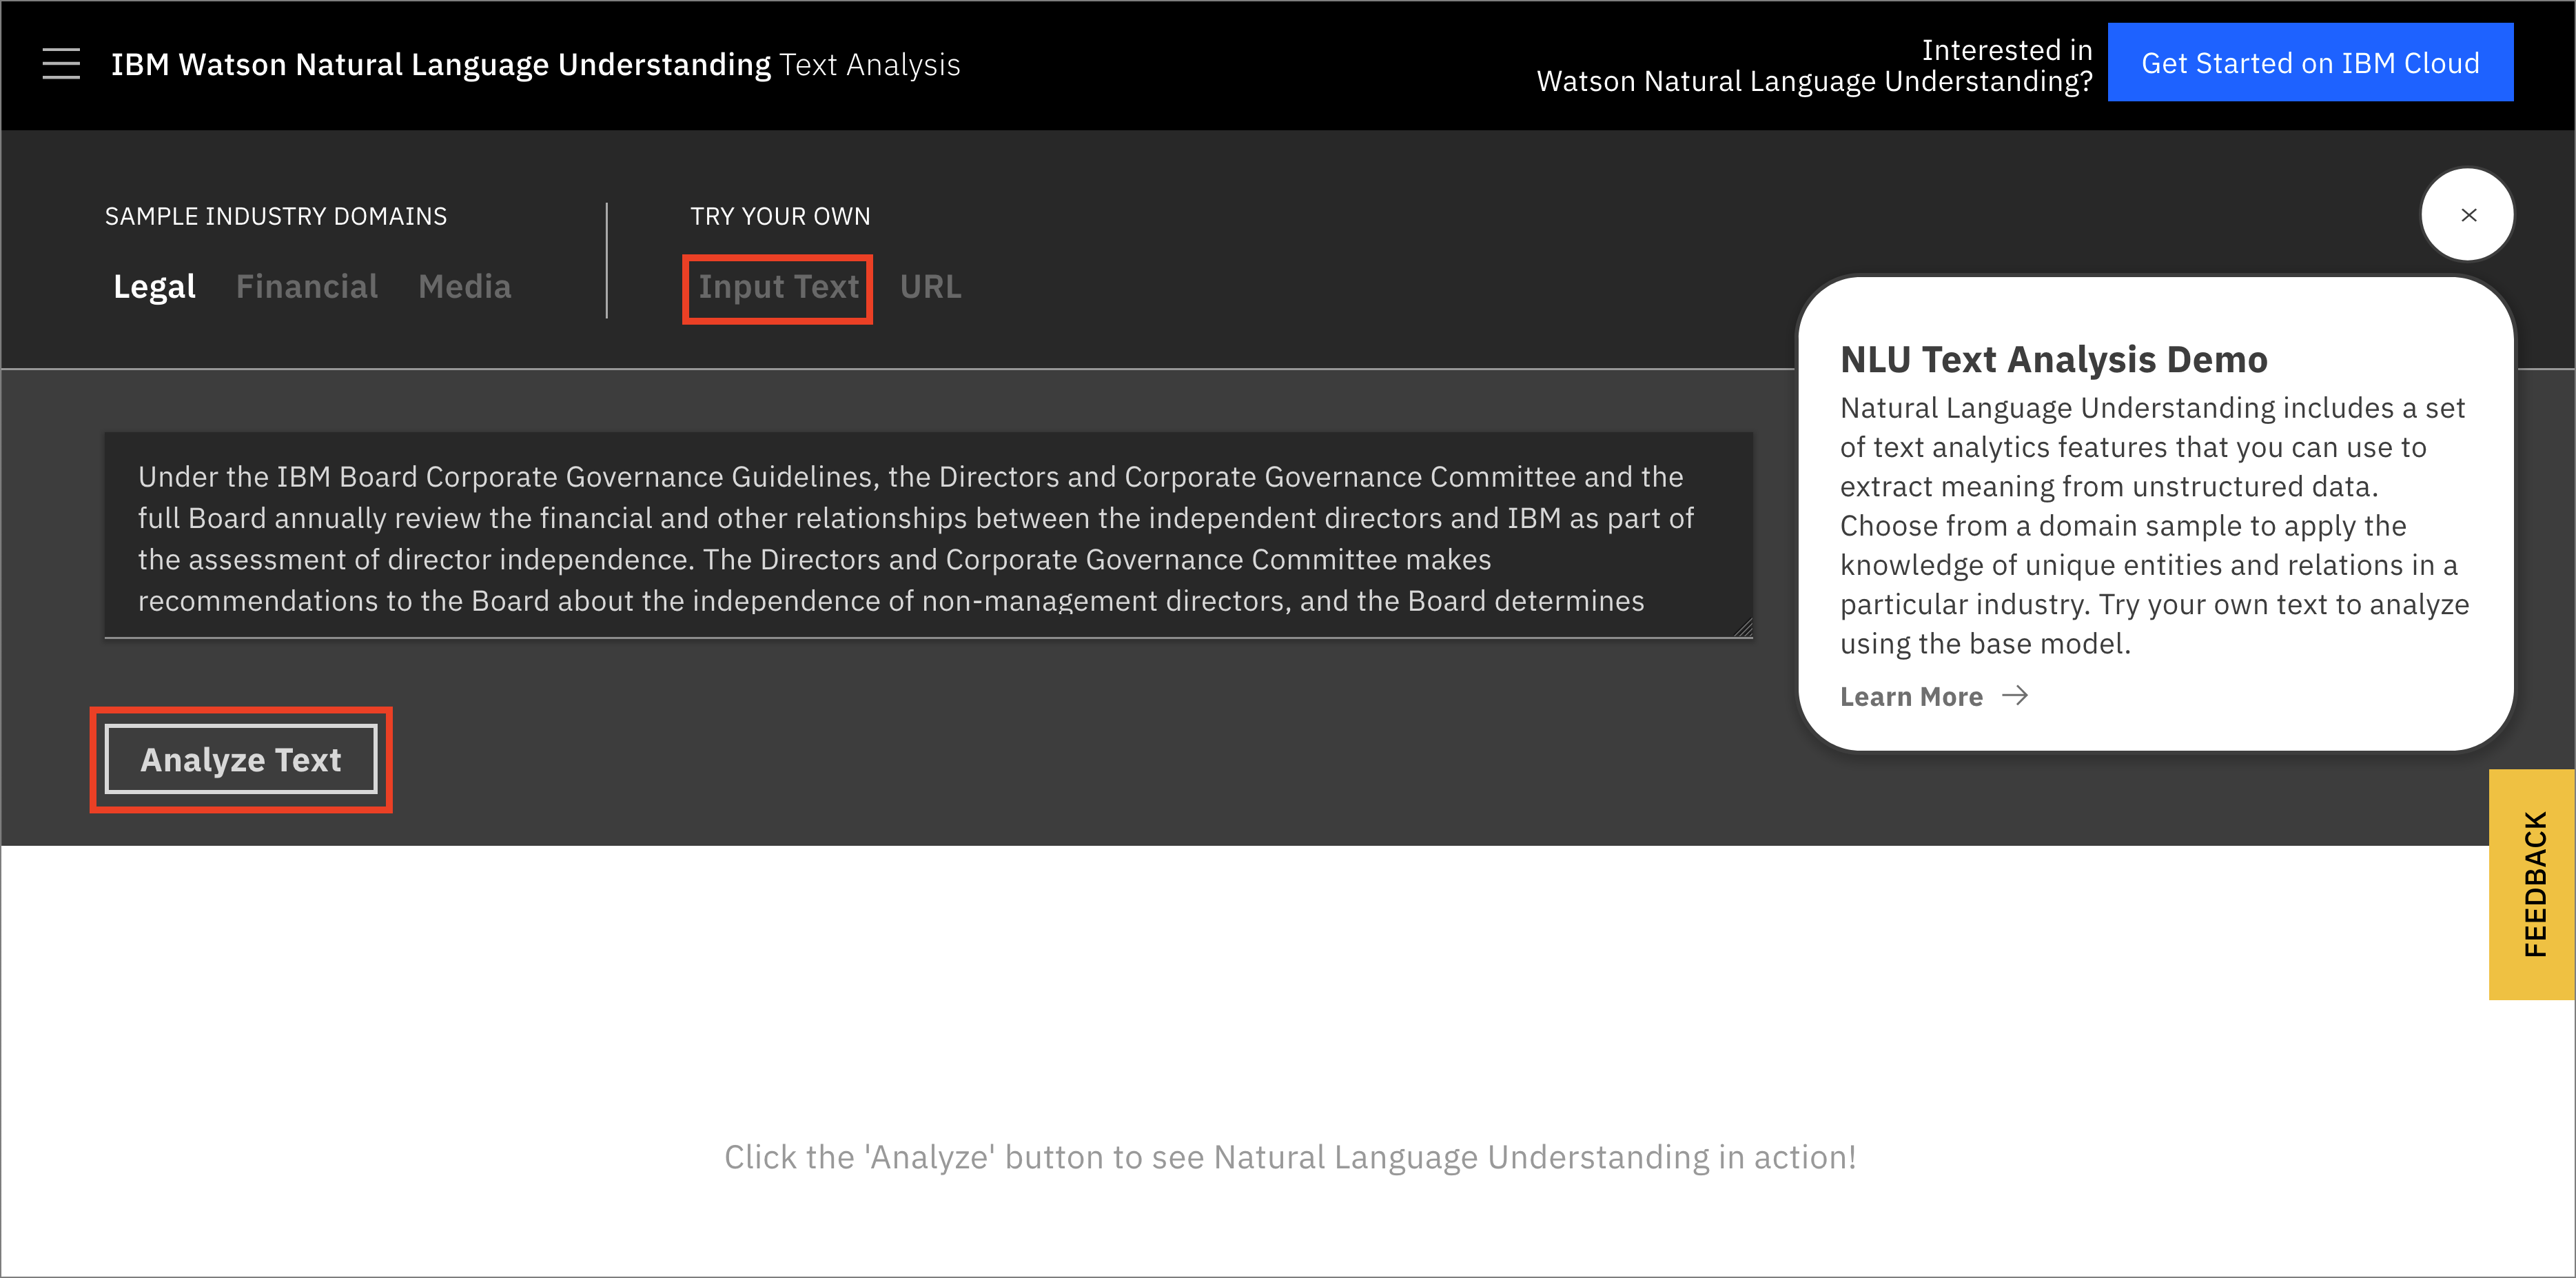
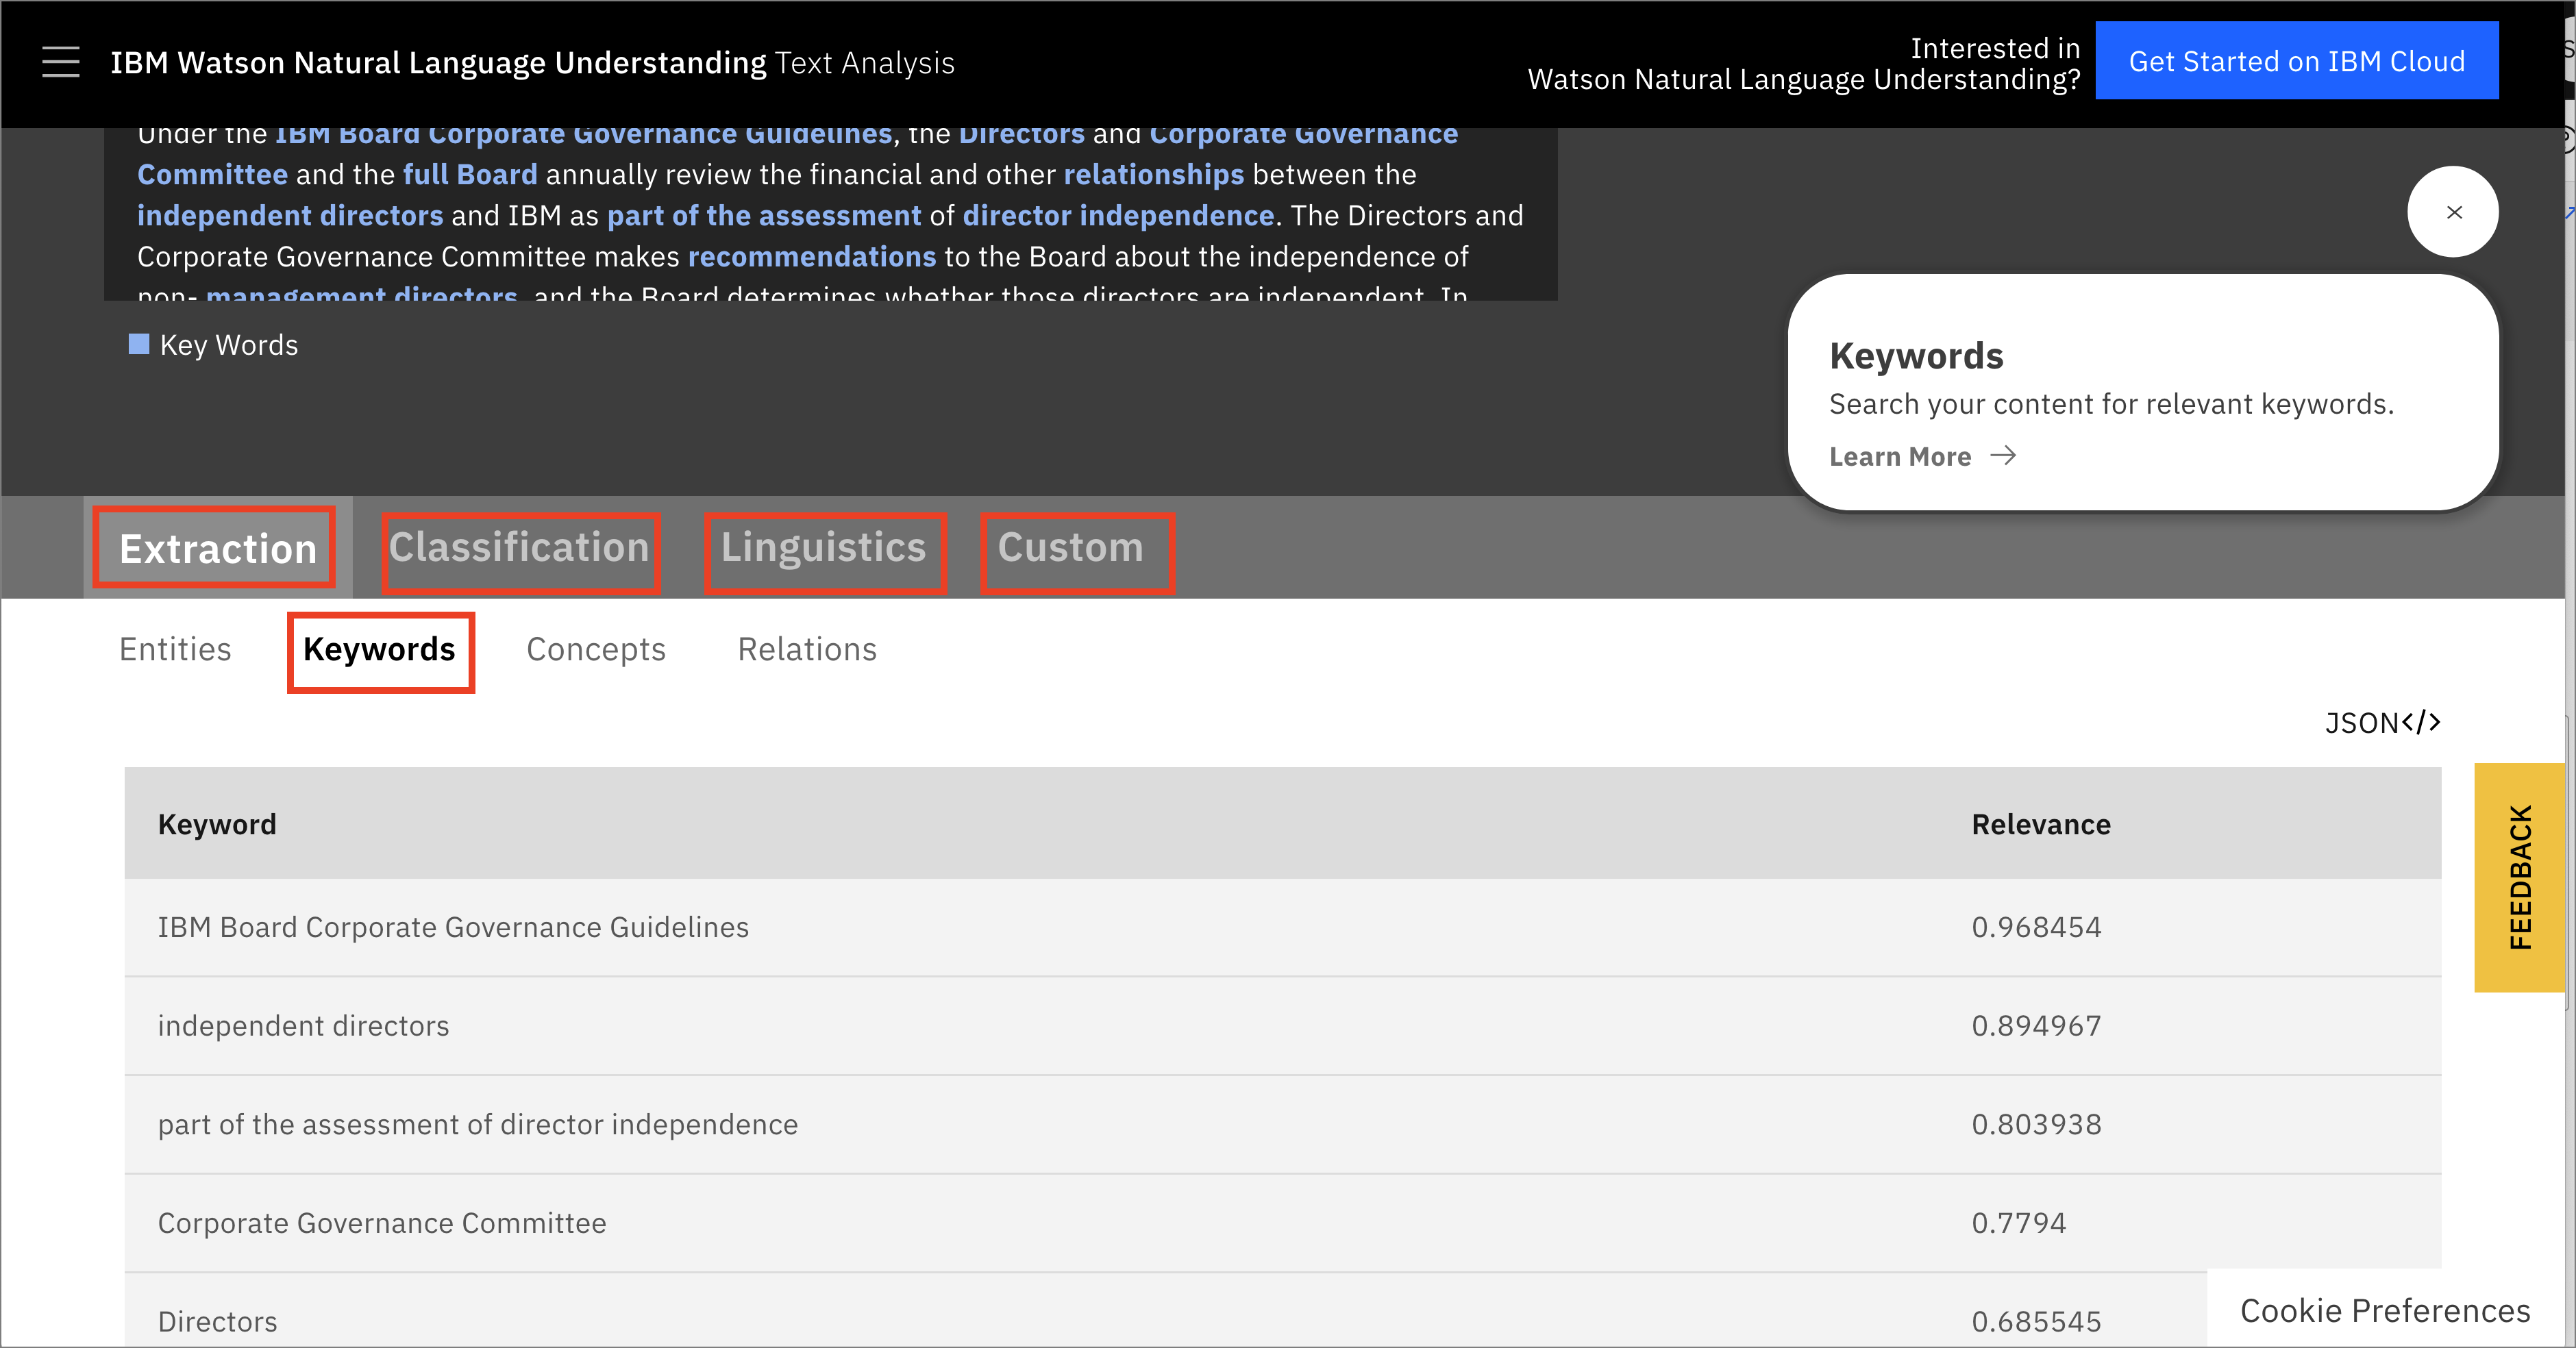
- Click on the tabs for
Extraction,Classification,Linguistics, and theCustomEntities. Notice that there are sub-tabs for each that you can investigate.
- Click on the tab for
Classificationand the sub-tabEmotion. You can see how NLU extracts information about the emotional content of the text.
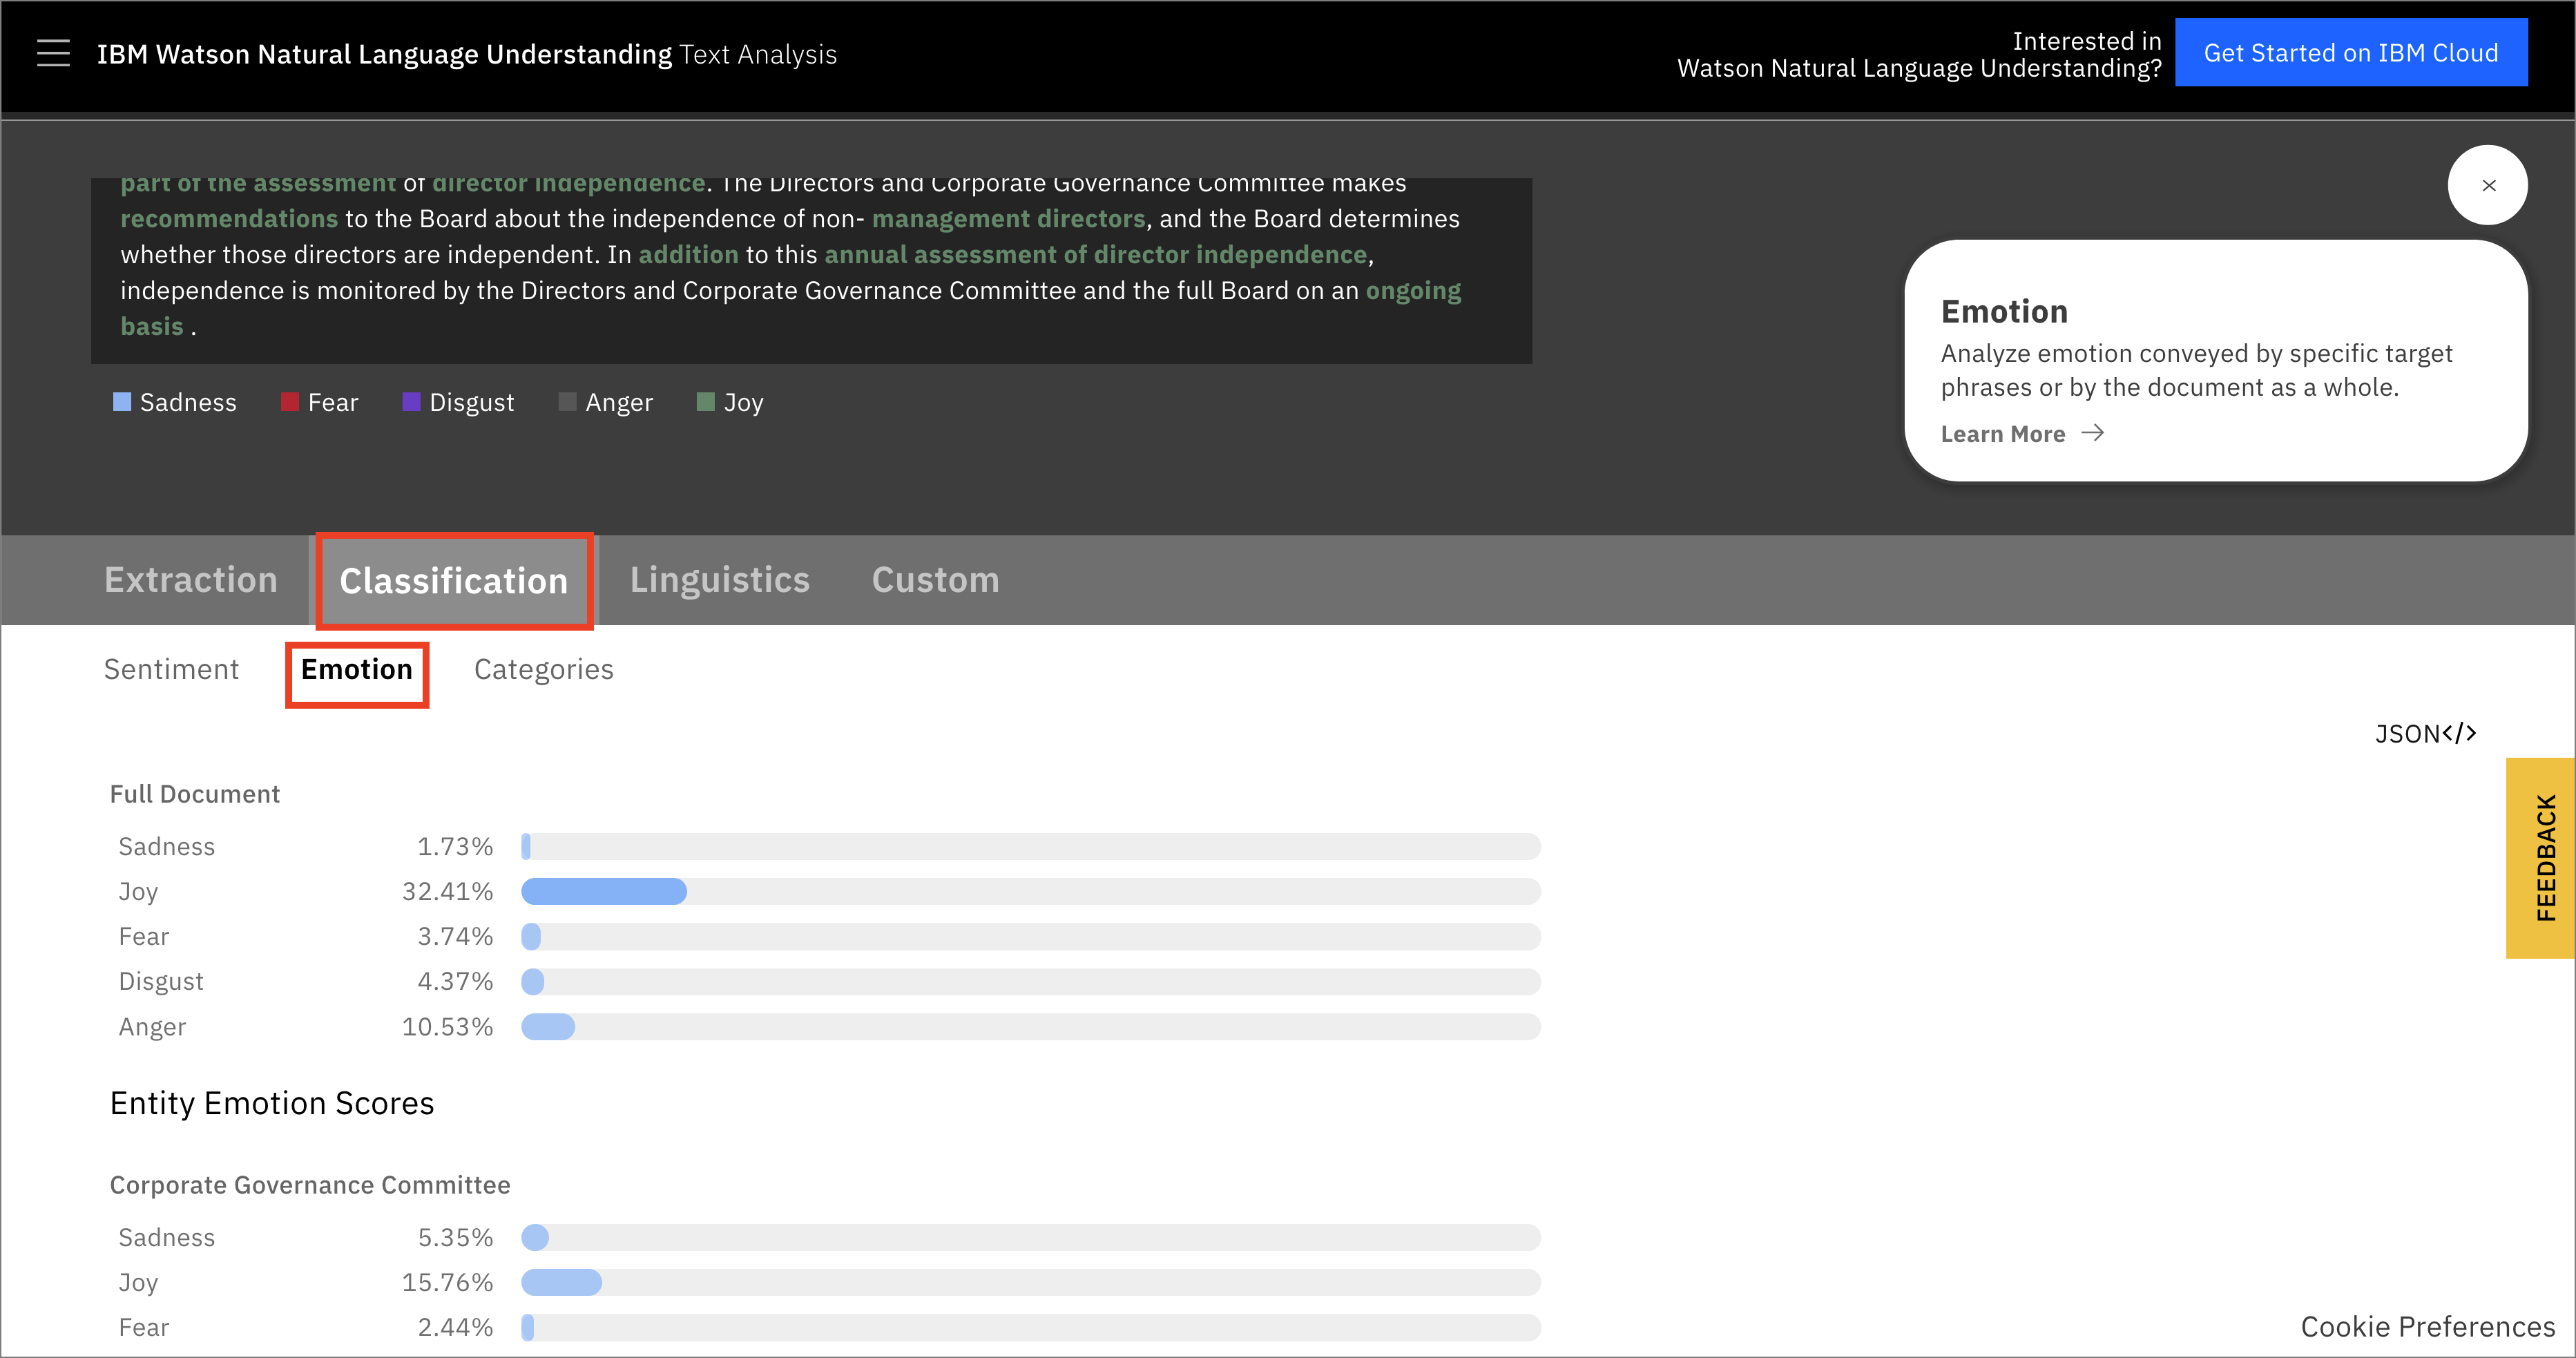
Here you can see the confidence scores for each of the various target phrases that were extracted, broken down into "Sadness", "Joy", "Fear", "Disgust", and "Anger".
Now that we've seen how Natural Language Understanding and Sentiment Analysis work, let's use the Python APIs in a Jupyter notebook along with our graphing and visualization tools.
Load and Run a Notebook
- Go to your project on Cloud Pak for Data as a Service

- In your project, click
Add to projectand chooseNotebook:
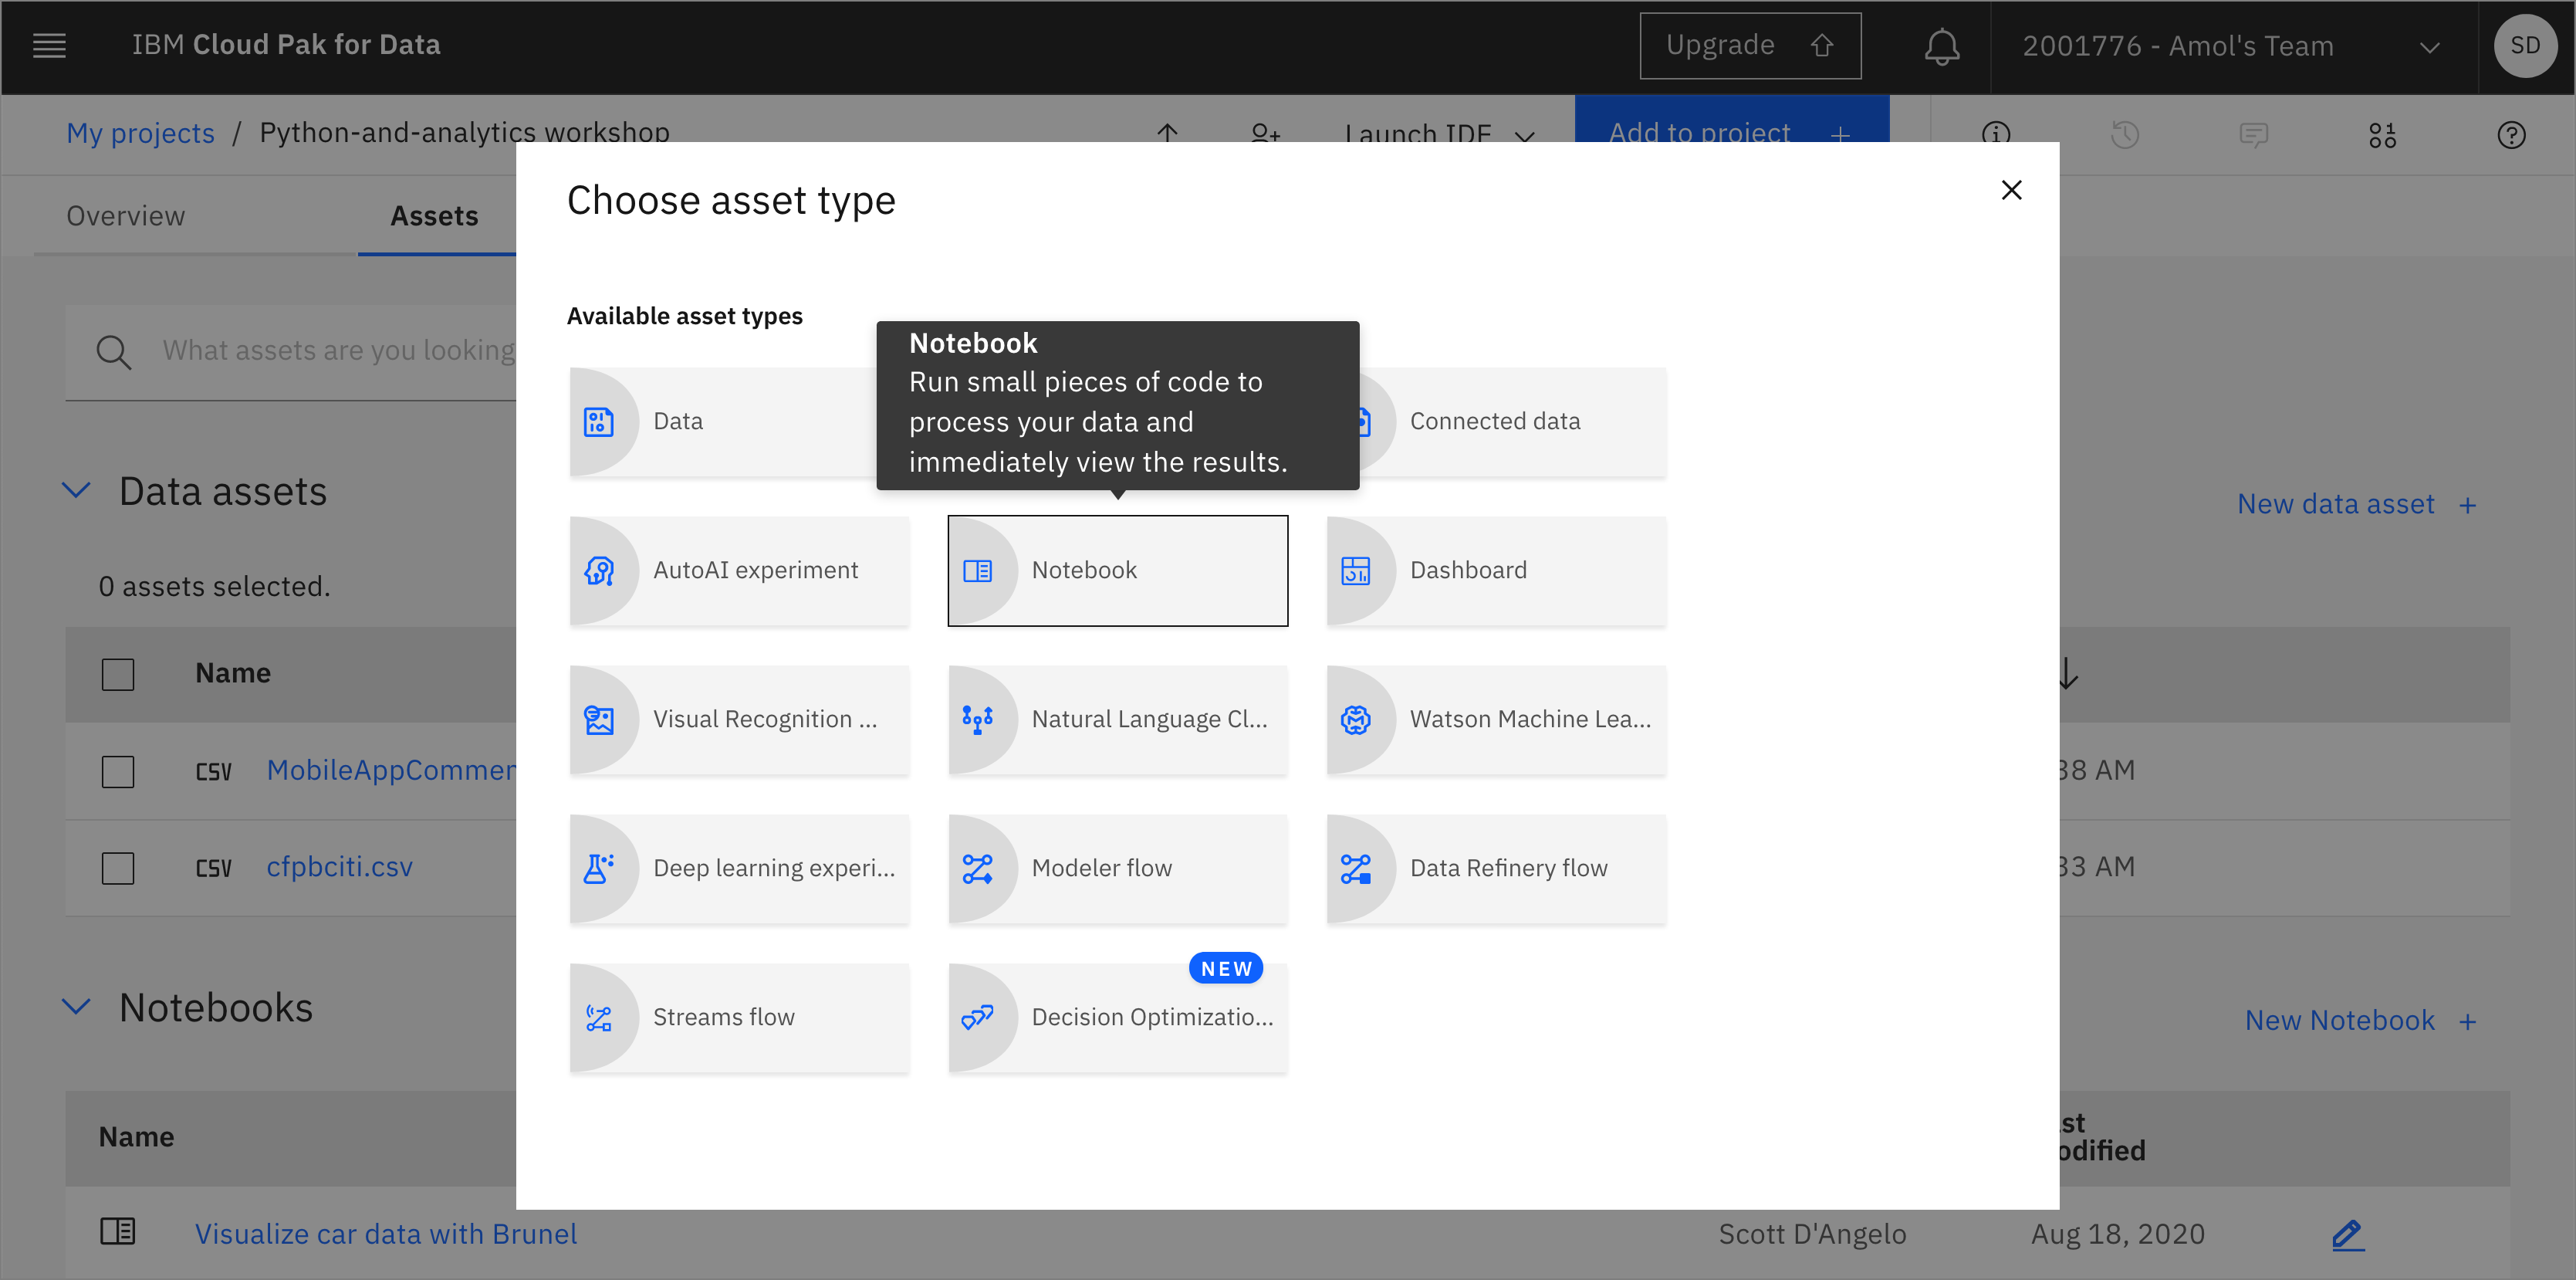
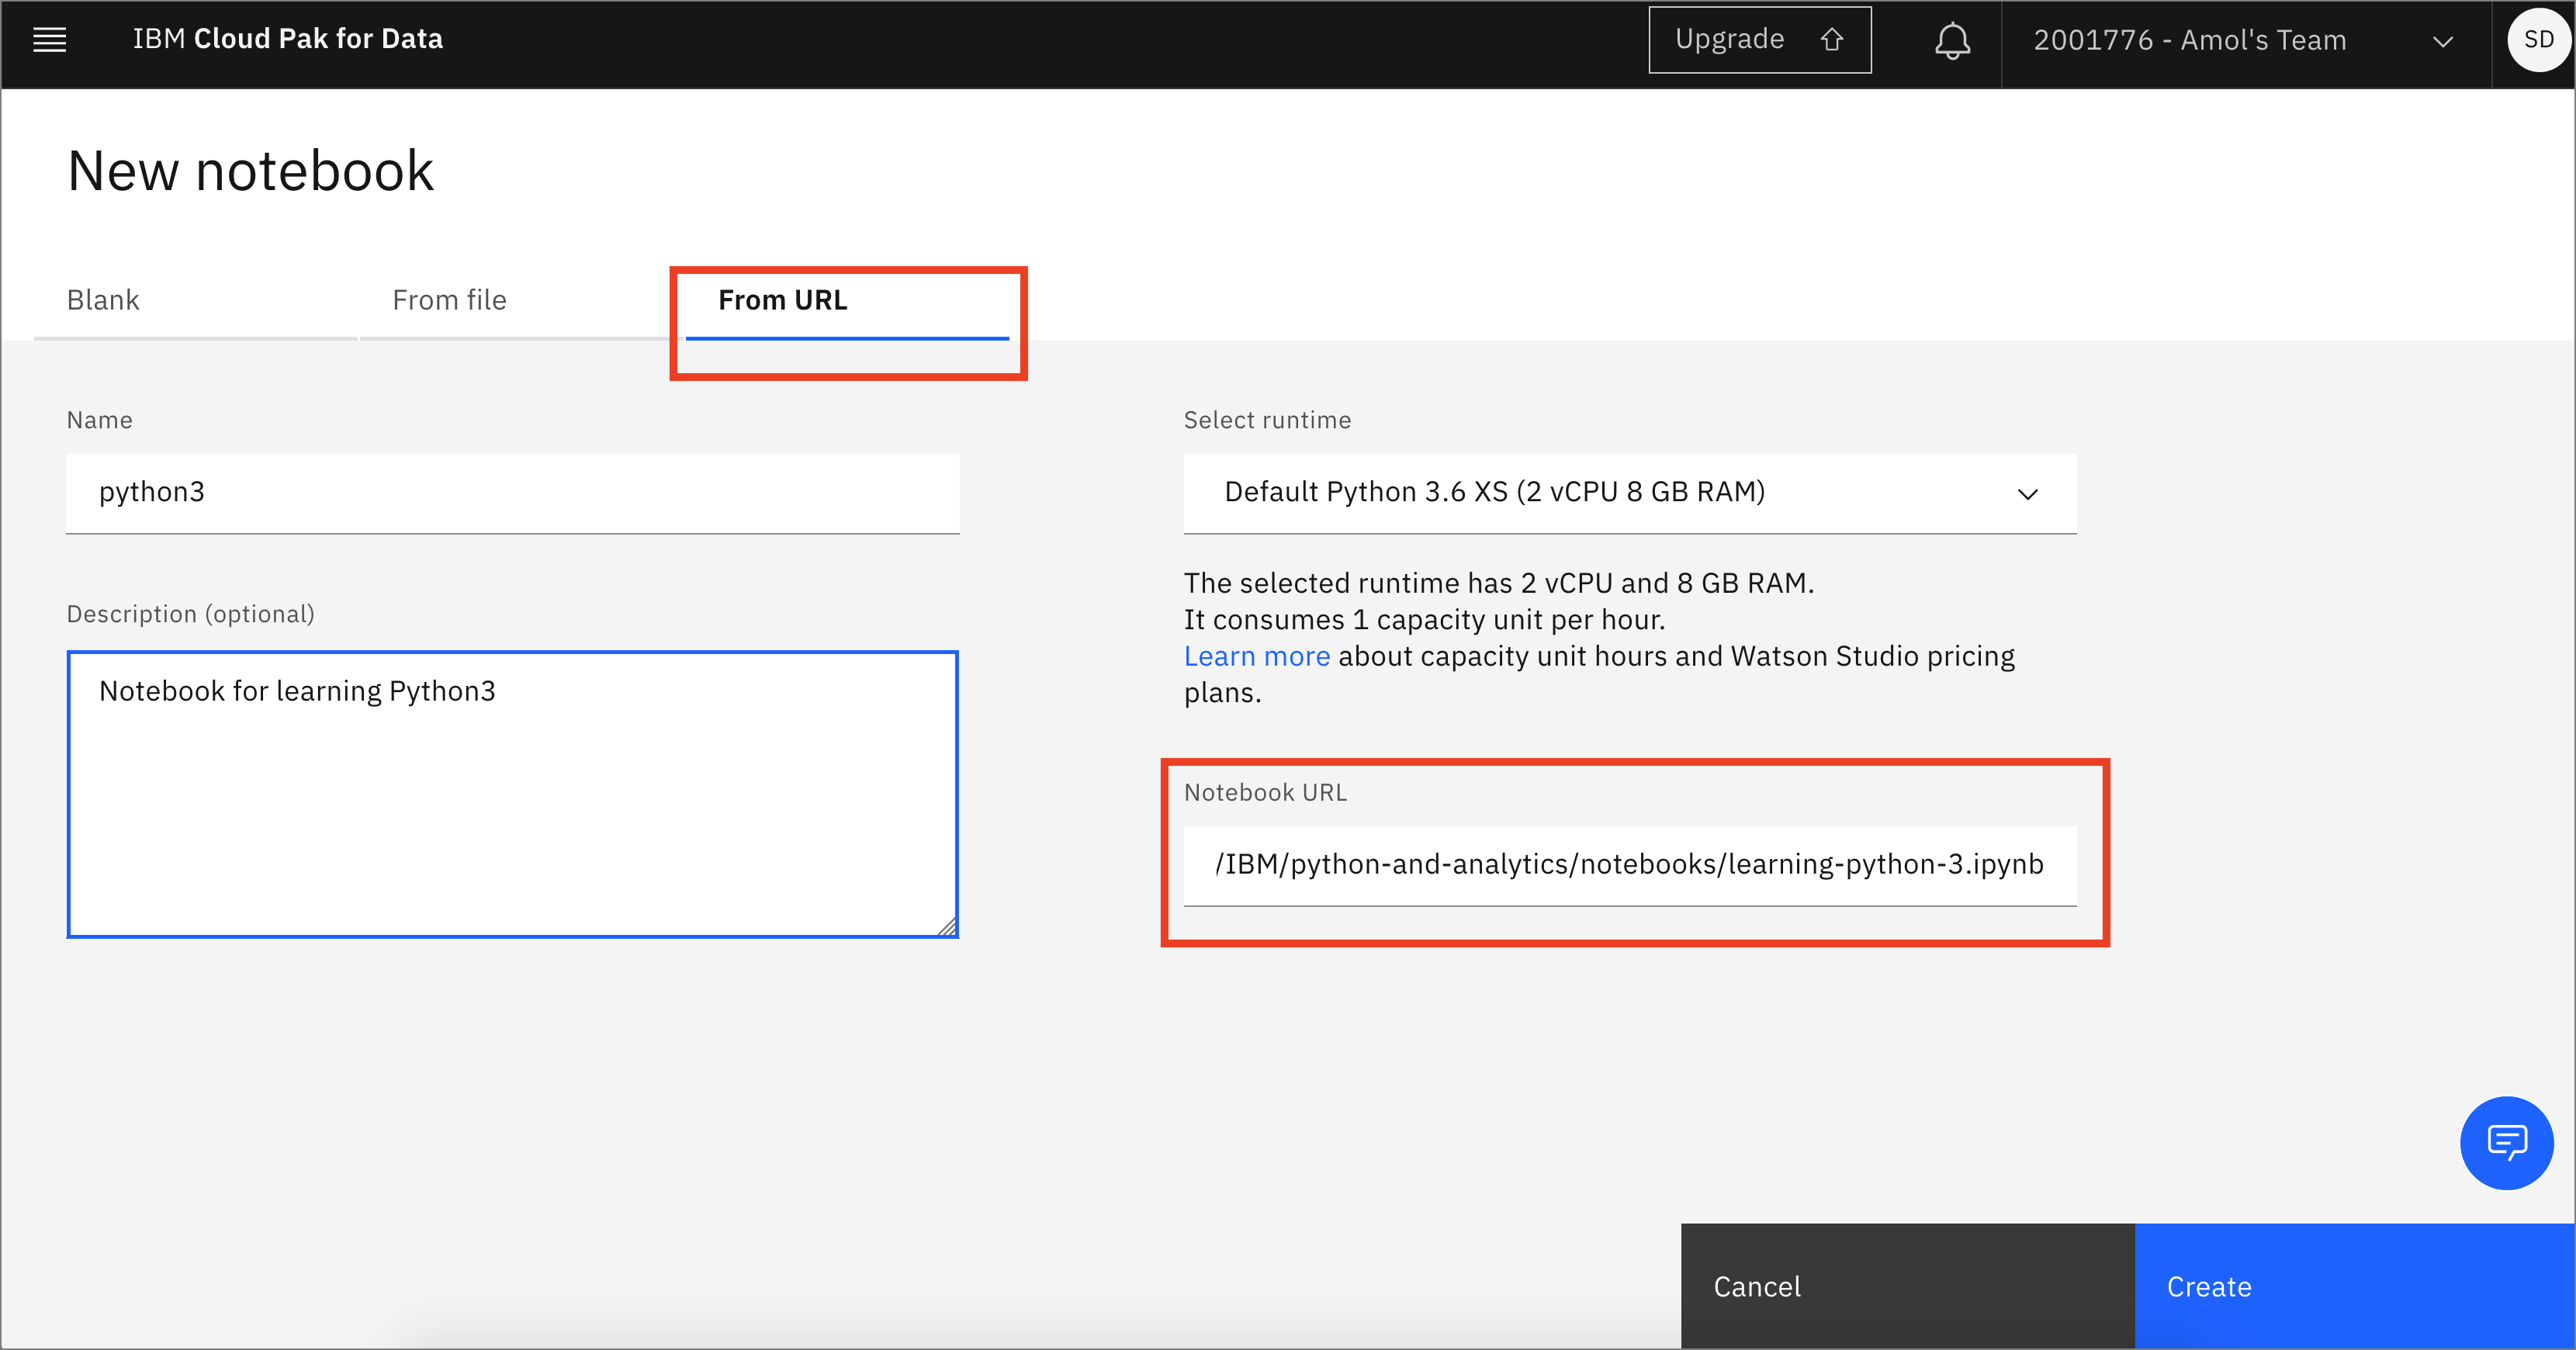
- Choose New notebook
From URL. Give your notebook a name and copy the URLhttps://github.com/IBM/python-and-analytics/blob/master/notebooks/nlu-sentiment-analysis.ipynb. ClickCreate:
Spend some time looking through the sections of the notebook to get an overview. A notebook is composed of text (markdown or heading) cells and code cells. The markdown cells provide comments on what the code is designed to do.
You will run cells individually by highlighting each cell, then either click the Run button at the top of the notebook or hitting the keyboard short cut to run the cell (Shift + Enter but can vary based on platform). While the cell is running, an asterisk ([*]) will show up to the left of the cell. When that cell has finished executing a sequential number will show up (i.e. [17]).