Configuring TRIRIGA Indoor Maps
Building and Floor fields to Esri ArcGIS values reference
| BO | Field | Comment |
|---|---|---|
| triBuilding | GIS Latitude (triGisLatitudeNU) | Existing field. Should be known otherwise easily obtained by Googling the address and looking in the URL. May have to tweak slightly to get to the preferred position. |
| triBuilding | GIS Longitude (triGisLongitudeNU) | Existing field. Should be known otherwise easily obtained by Googling the address and looking in the URL. May have to tweak slightly to get to the preferred position. |
| triBuilding | Esri Map ID (triEsriMapIdTX) | New field. See installation instructions for adding. See instructions below for configuring. (Ex. 403b6012276b4339af152e9c3319a4b1) |
| triBuilding | Esri Portal URL (triEsriPortalUrl) | New field. See installation instructions for adding. URL determined during Esri installation. (Ex. https://host.domain/portal) |
| triBuilding | Esri Network URL (triEsriNetworkUrl) | New field. See installation instructions for adding. See instructions below for configuring. |
| triBuilding | Esri Building ID (triEsriBuildingID) | New field. See installation instructions for adding. See instructions below for configuring. (Ex. NC_CHARLOTTE_ONE) |
| triFloor | Esri Floor ID (triEsriFloorID) | New field. See installation instructions for adding. See instructions below for configuring. (Ex. NC_CHARLOTTE_ONE.1) |
| triBuilding | Esri Building Default Zoom (triEsriZoomNU) | New field. See installation instructions for adding. Depends on the footprint of the building - 20 is probably ok for most buildings however needs to be experimented with. |
| triBuilding | Esri Building Default Rotation (triEsriRotationNU) | New field. See installation instructions for adding. Depends on the shape of the building and the most common screen format people will view it in. If the building is wider East to West it probably makes sense to rotate it 90 degrees. Experiment with it to find the best value for the most common medium. |
Obtaining Esri Map ID
- Open a web browser.
- Navigate to your Esri installation’s Portal e.g.
https://host.domain/portal - Click the
Sign Inon the top right of the landing page.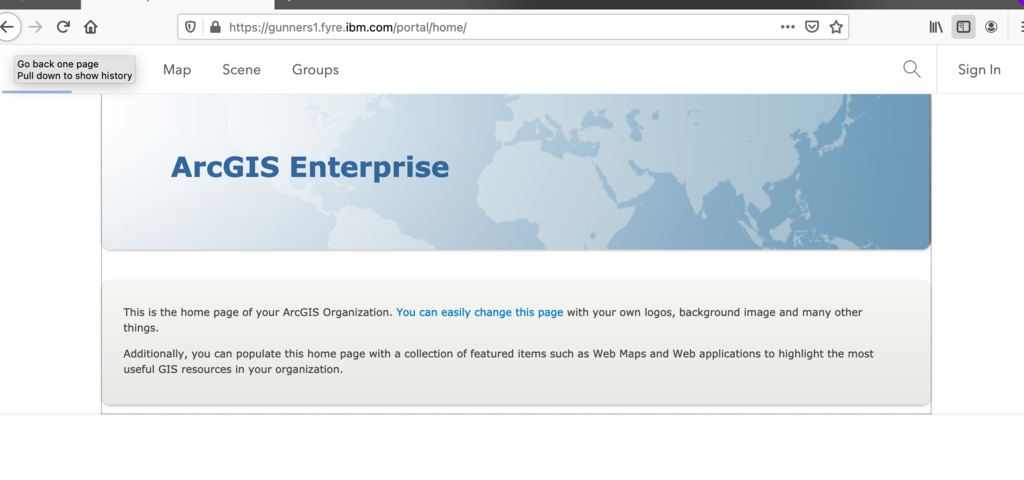
- Log in as
adminor any user that is able to see the organisation’s content.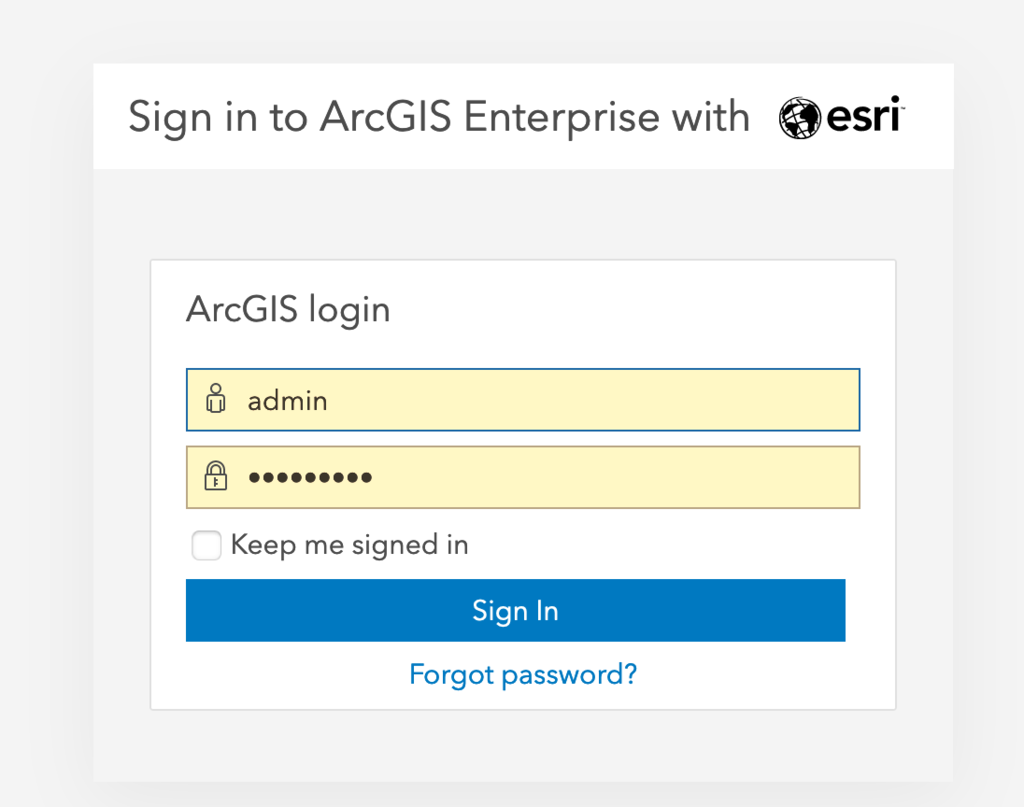
- Select
Contentfrom the navigation bar at the top of the page.
- Select
My Organisationon the navigation sub-bar.
- Filter the content by clicking
Maps -> Web Mapson the left hand side.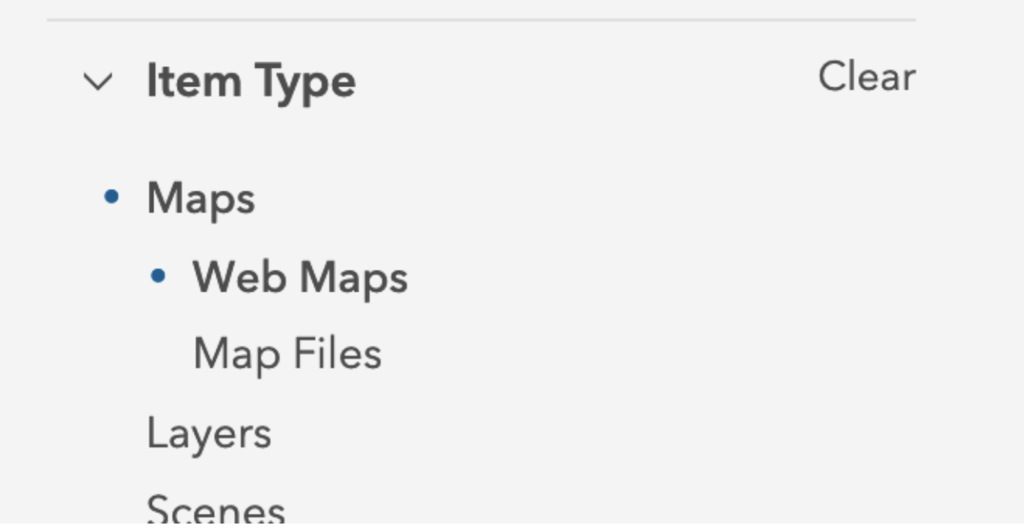
- Select the
Web Mapthat you wish to configure in TRIRIGA - click on the title under the thumbnail (do not click the thumbnail itself or the map viewer will open instead). Note assumes the content is displayed in Grid view below but the view can be toggled at the top of the screen (List, Grid, Table).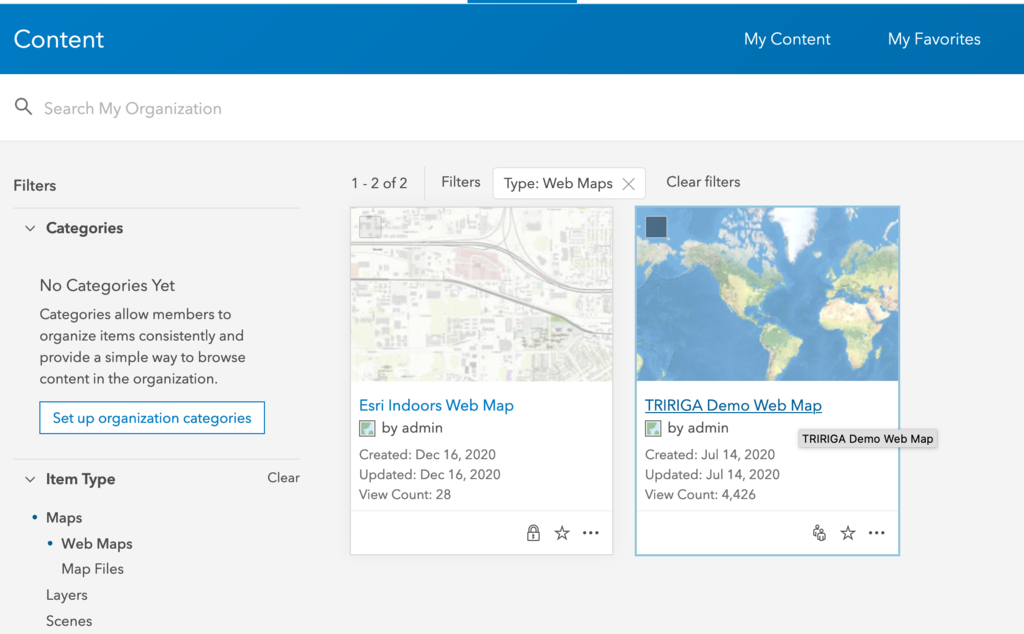
- Look in the URL field of the web browser and note the
idparameter value - this is the value that should be entered into the Esri Map ID in TRIRIGA. In the example below it is 9a8068284e614be3bdcb1cd26f05499a.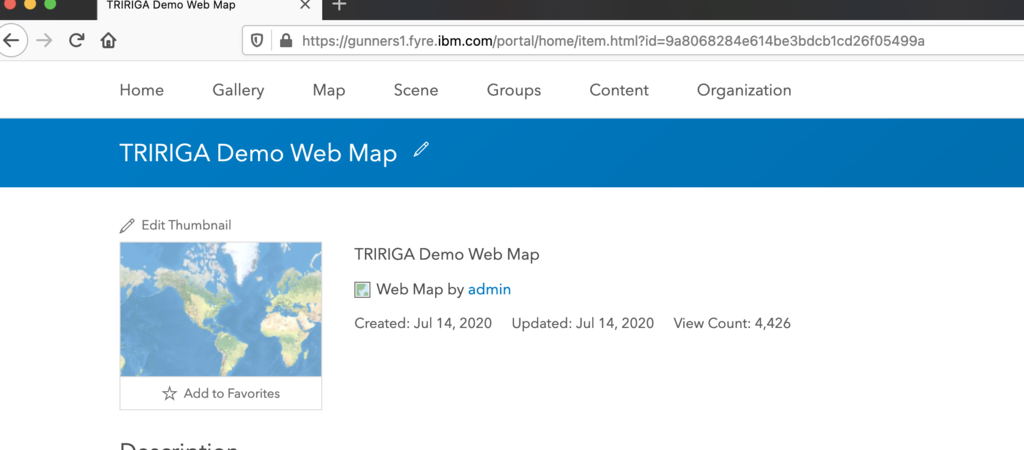
Obtaining Esri Building ID & Esri Floor ID
- Open a web browser.
- Navigate to your Esri installation’s Portal e.g.
https://host.domain/portal - Click the
Sign Inon the top right of the landing page. - Log in as
adminor any user that is able to see the organisation’s content. - Select
Contentfrom the navigation bar at the top of the page. - Select
My Organisationon the navigation sub-bar. - Filter the content by clicking
Maps -> Web Mapson the left hand side. - Select the
Web Mapthat you wish to configure in TRIRIGA - click on the title under the thumbnail (do not click the thumbnail itself or the map viewer will open instead). Note assumes the content is displayed in Grid view below but the view can be toggled at the top of the screen (List, Grid, Table). - On the Web Map details screen, click on the link to the main layer in the
Layerssection - in the example below the link is called TRIRIGA_Demo_Web_Map_MIL1.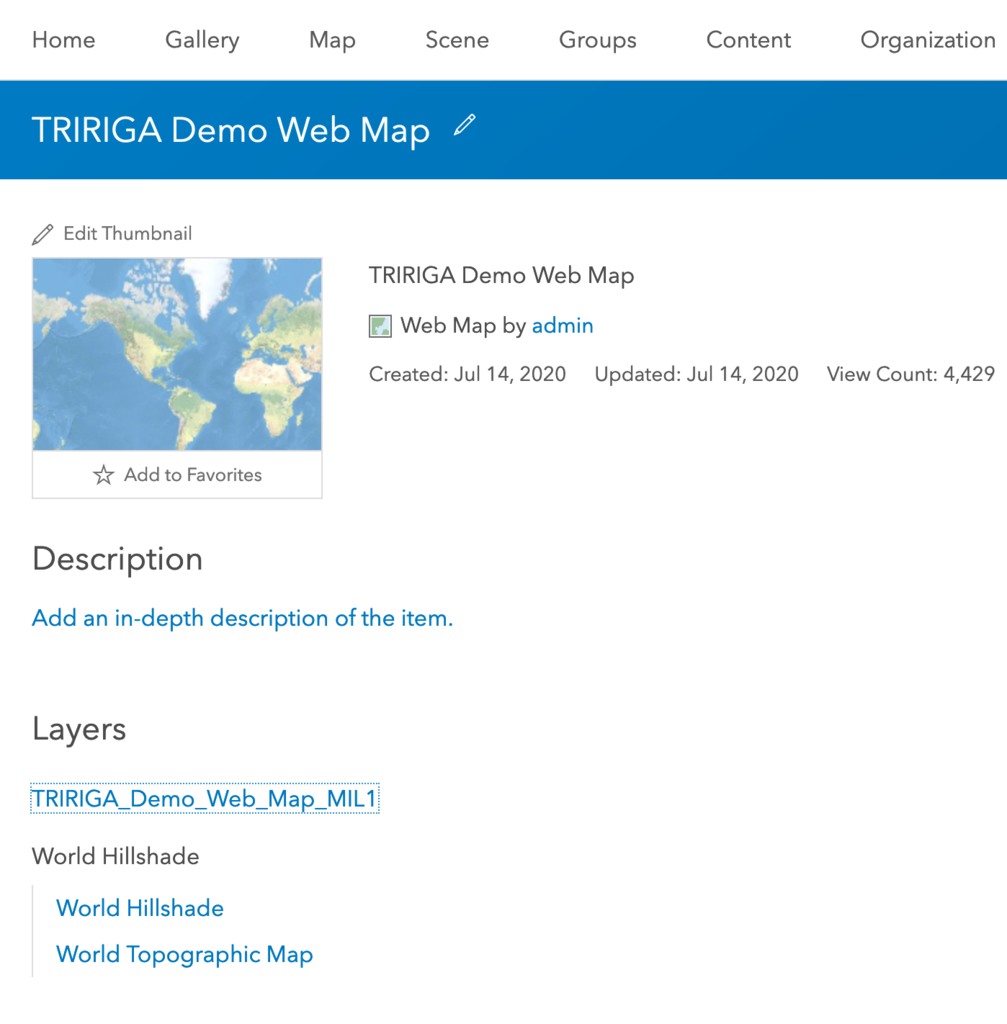
- A similar screen will open however note the change in title - this is the details screen for the Layer you clicked on above, not the Web Map. On this screen, click on the link to the main layer in the
Layerssection - in the example below the link is called TRIRIGA_Demo_Web_Map_MIL1.
- This opens the REST services descriptor which describes technical information about the service. Click on the
Levelslayer in theLayerssection. If this doesn’t exist then no building levels have been published for this web map - see the administrator.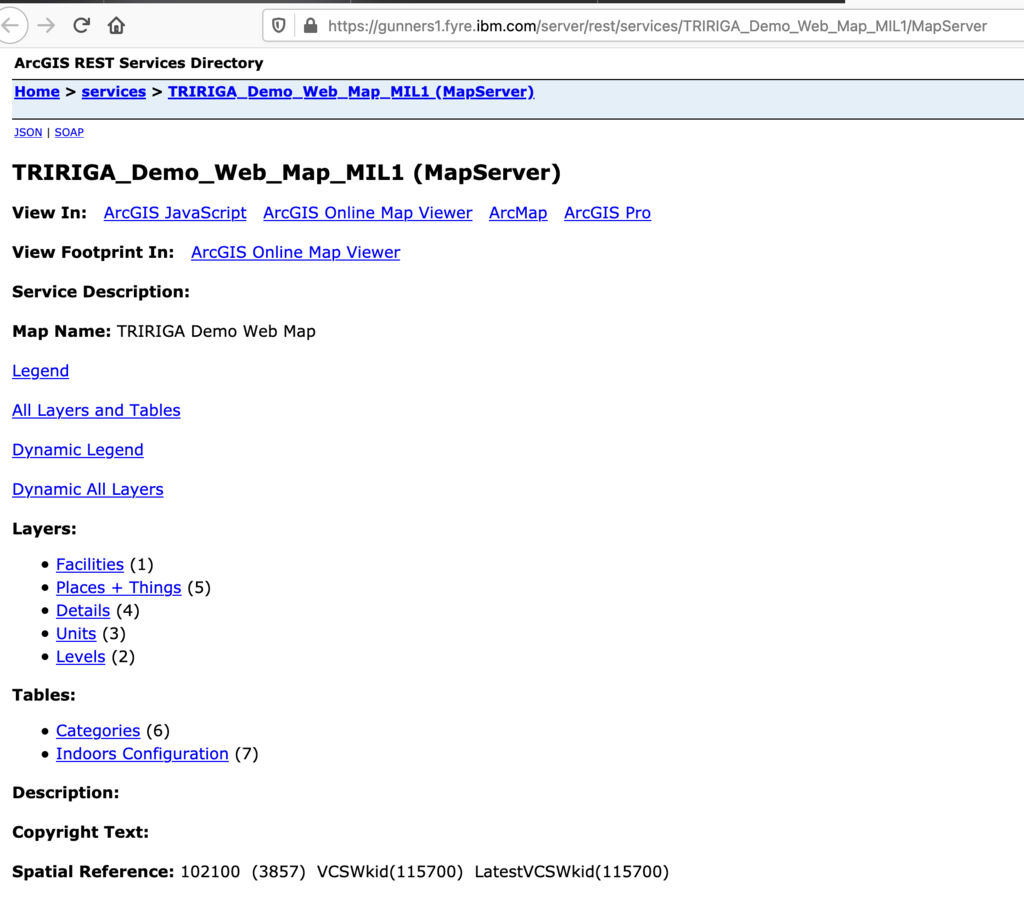
- This opens another REST services descriptor which describes technical information about the Levels layer. Scroll to the bottom of this screen.
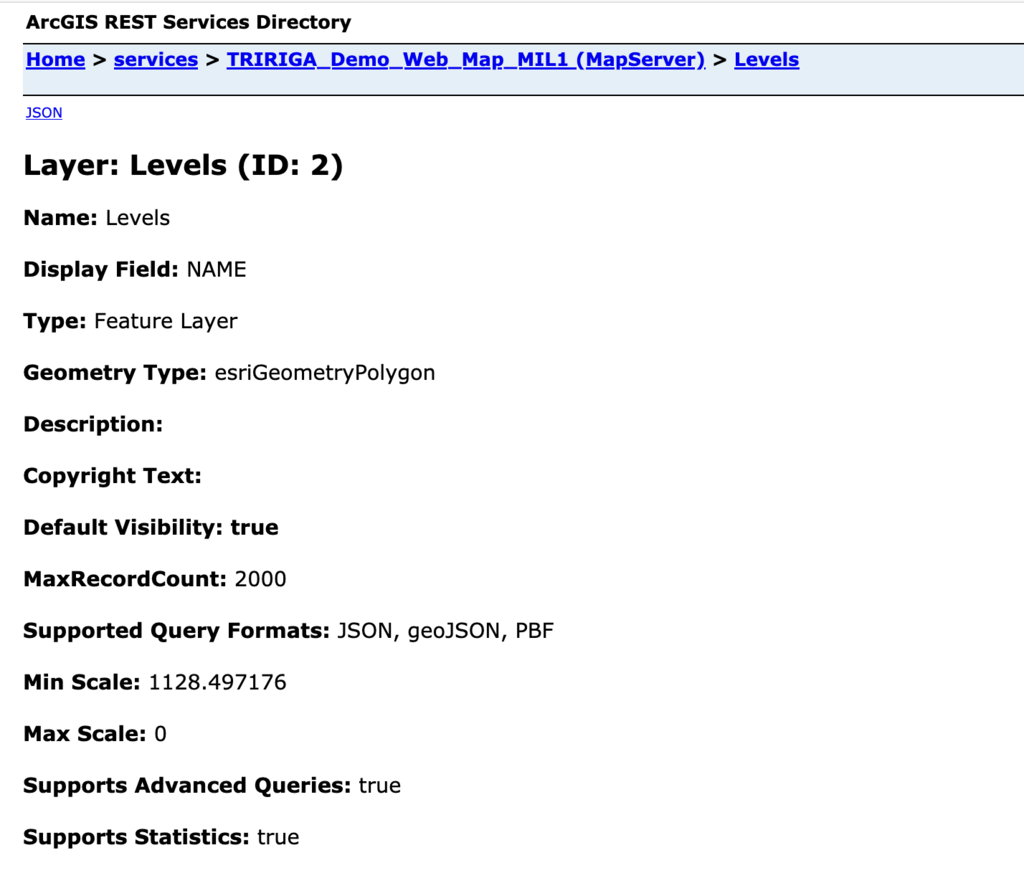
- In the Supported Operations section click the
Querylink.
- This opens a form that allows the layer to be queried.
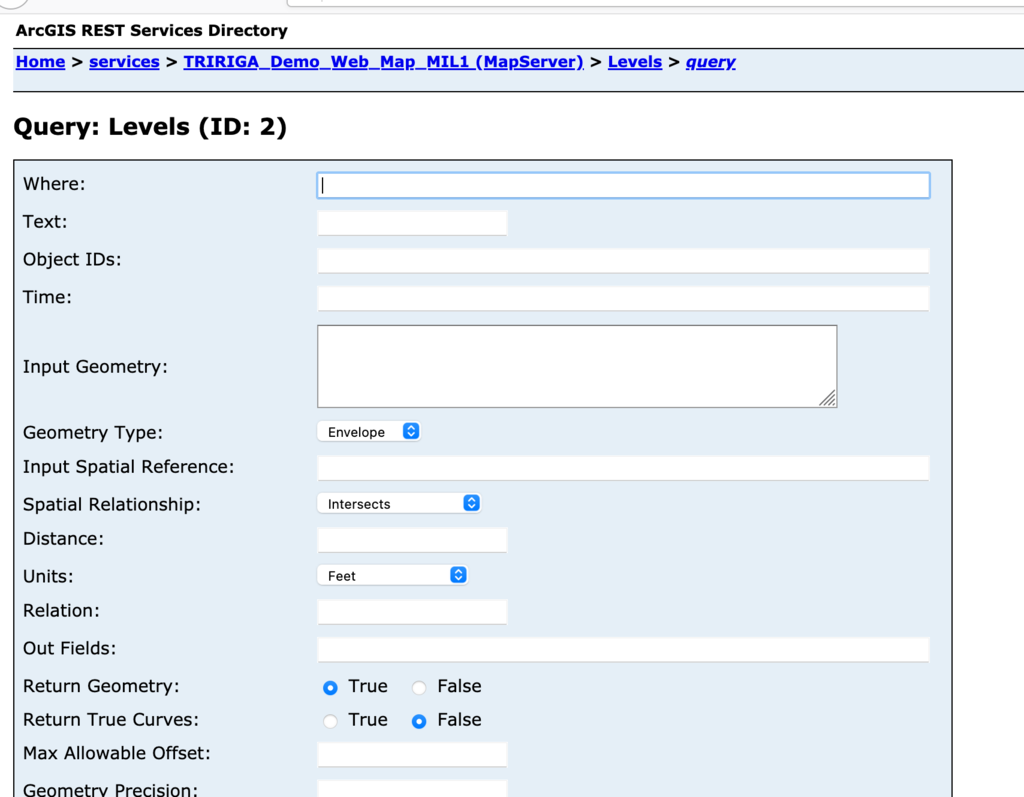
- In the
Wherefield add the value1=1as below.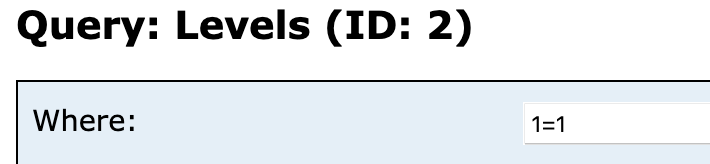
- In the
Out Fieldsfield add the following value (do not omit the comma)FACILITY_ID, LEVEL_ID.
- All other fields should remain as default values. Scroll to the bottom and click the
Query (GET)button.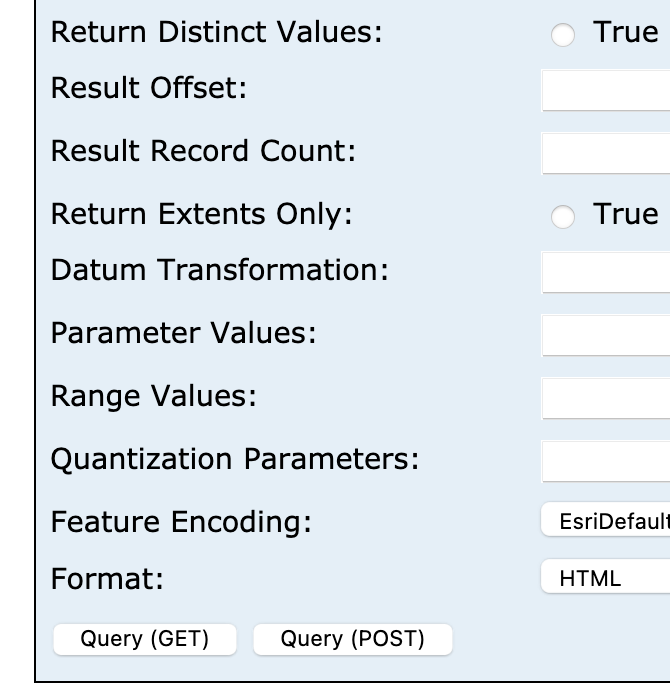
- The page will reload and scrolling to the bottom of the screen should show the records that matched - this is a list of each facility and each level.
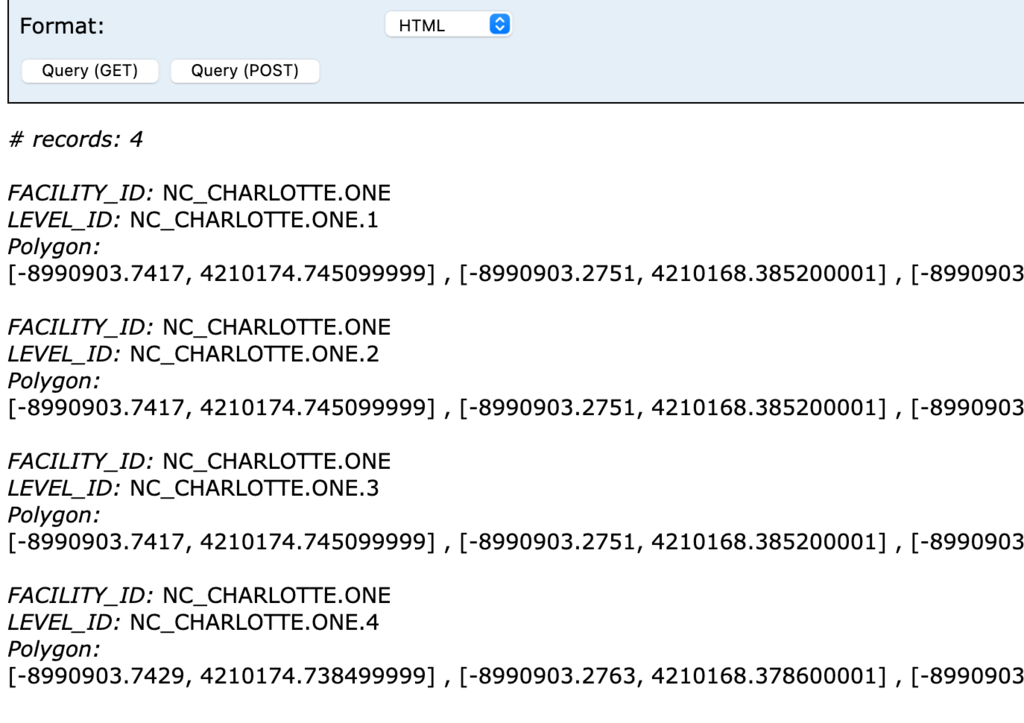
- Choose whichever Facility and Levels you need for the configuration - if this it was a campus that was published, there may be more than one facility defined in this layer but TRIRIGA works on a building by building basis, so choose the details for your current building.
- The FACILITY_ID goes into the
Esri Building IDfield. - The LEVEL_ID goes into the
Esri Floor IDfield.
Obtaining Esri Network URL
- Open a web browser.
- Navigate to your Esri installation’s Portal e.g.
https://host.domain/portal. - Click the
Sign Inon the top right of the landing page. - Log in as
adminor any user that is able to see the organisation’s content. - Select
Contentfrom the navigation bar at the top of the page. - Select
My Organisationon the navigation sub-bar. - Filter the content by clicking
Tools -> Network Analysison the left hand side.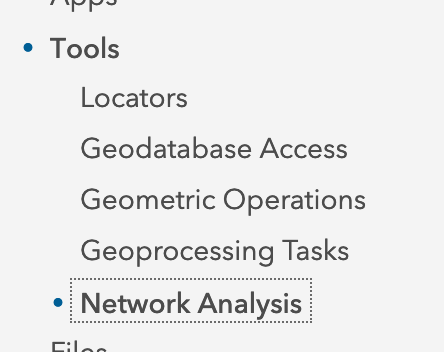
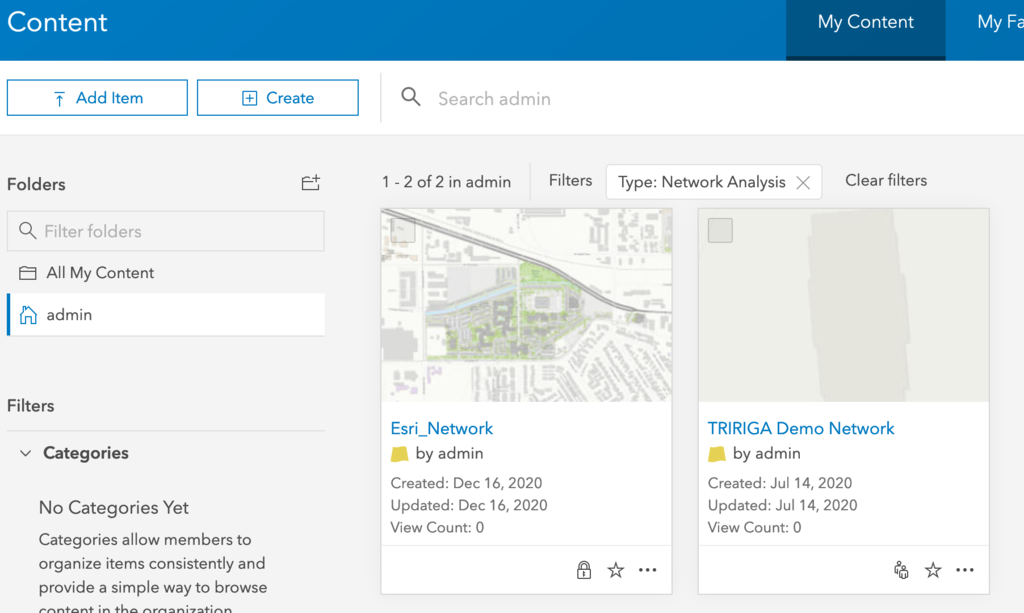
- Select the Network Analysis Service for your map - in grid view click on the title under the thumbnail (do not click the thumbnail itself or the map viewer will open instead). Note assumes the content is displayed in Grid view below but the view can be toggled at the top of the screen (List, Grid, Table).
- On the details screen, click on the link to the navigation layer in the
Layerssection - in the example below the link is called TRIRIGA_Demo_Network.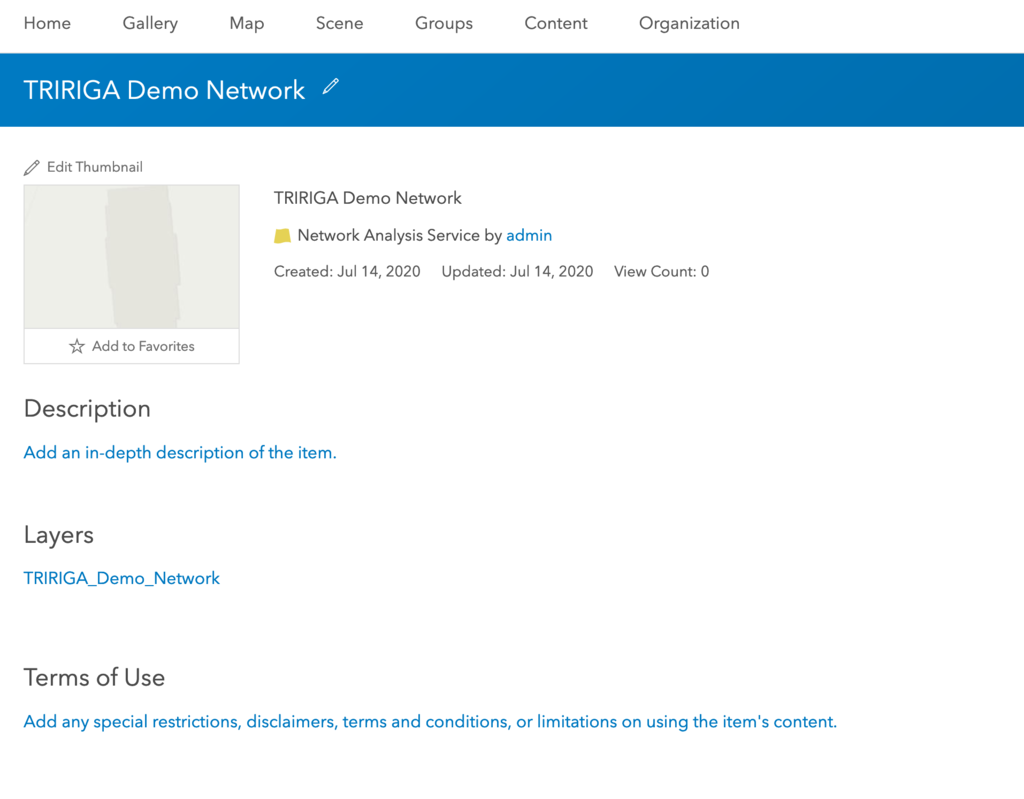
- This opens a REST services descriptor which describes technical information about the navigation layer. Click on the
Route linkin theRoute Layerssection.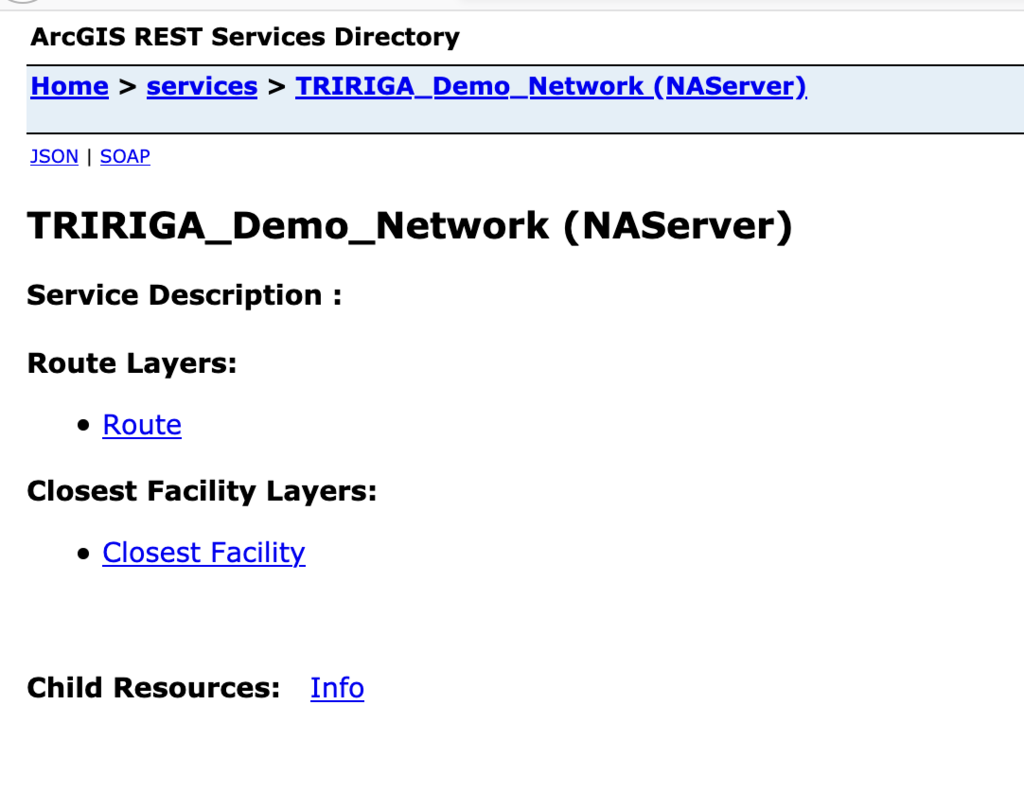
- This opens another REST services descriptor which describes technical information about the route solver part of the navigation service.
Get the full URL in the browser's URL field.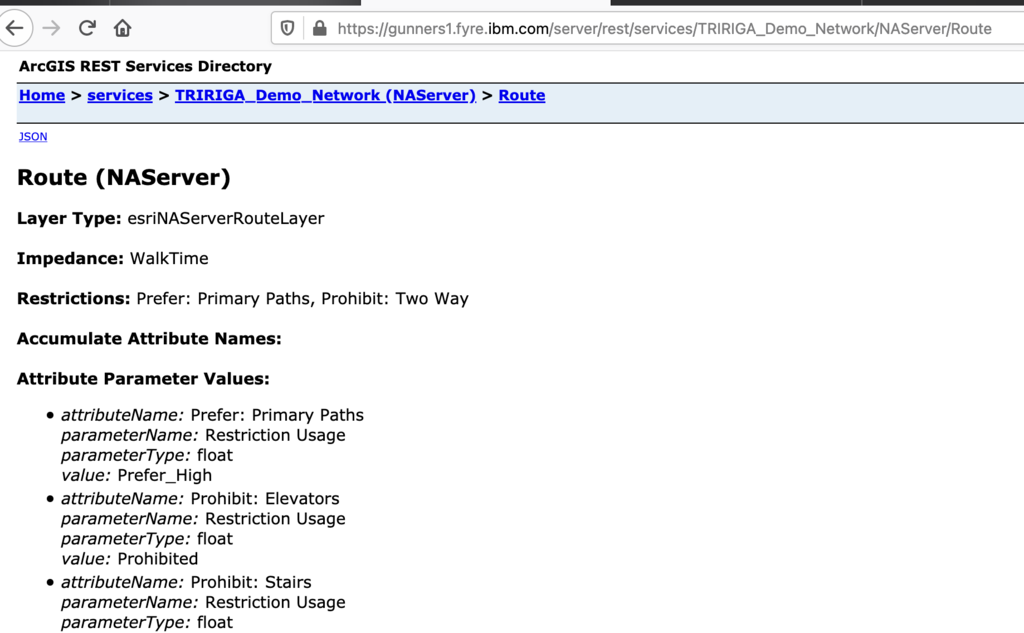
- The URL captured above should be entered into the
Esri Navigation Urlfield.