5. Application Build and Deploy
5.1: Overview
In this section, we will build and deploy a sample application using a simple Jenkins CI/CD pipeline. The application is called Quote of the Day (qotd) and its a microservices-based application that consists of several services:
- qotd-web: the web front-end service
- qotd-quote: the quote service that provides quotes
- qotd-ratings: the ratings service that provides ratings for quotes
- qotd-pdf: the PDF service that generates PDF documents with quotes
- qotd-engraving: the engraving service that generates engraving text for quotes
- qotd-author: the author service that provides information about authors of quotes
The application code is hosted in a GitHub repository. The container images are built using Buildah and pushed to the GitHub Container Registry (GHCR).
The application is deployed in a K3S cluster running on the demo-apps VM.
The application will be monitored by Instana, which will provide the SBOM information to Concert for vulnerability scanning.
Buildah is an open-source, daemonless tool for building and managing OCI/Docker container images with fine-grained control over the build process. From a high-level perspective, Buildah is similar to Docker or Podman, but it does not require a daemon to run and can be easily used in rootless mode.
5.2: Verifying that the Application is not Deployed
We will verify now that the application is not deployed yet in the cluster by running the following commands. From the Bastion SSH, run the following commands one by one to login to the demo-apps VM host with the user 'jammer'.
ssh jammer@demo-apps
kubectl get pods -n qotd
exit
You should see an error message stating that no resources were found in qotd namespace.
5.3: Initializing Jenkins
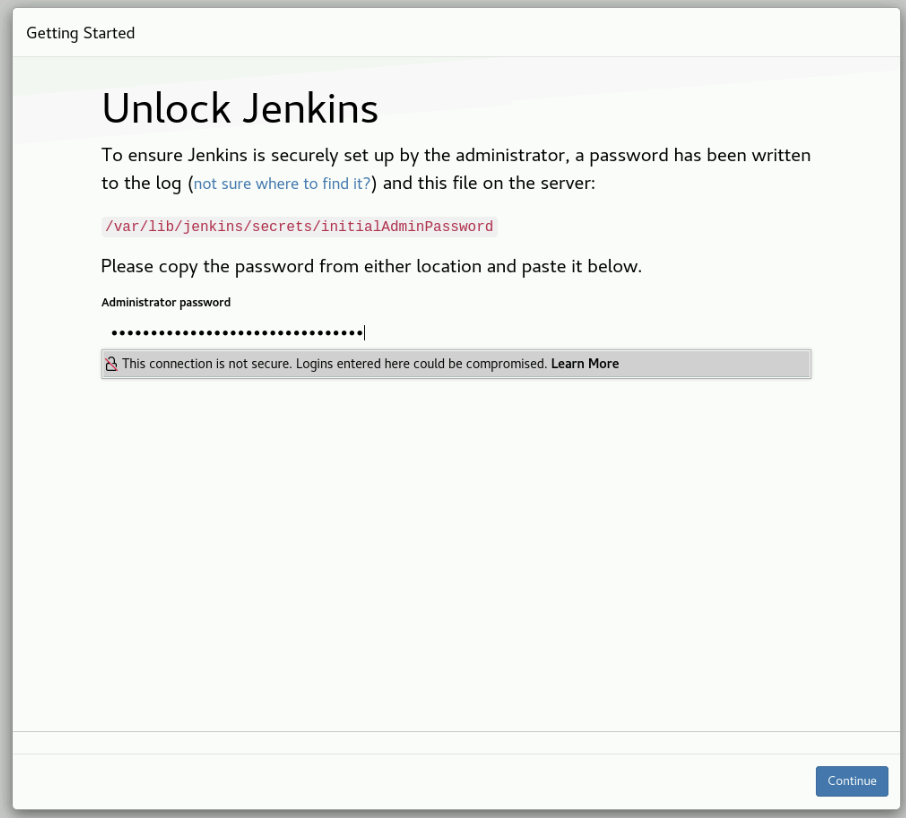
Follow these steps to initialize Jenkins and install the required plugins. From the Bastion Remote Desktop, open the Firefox browser and click on the Jenkins bookmark. On the Unlock Jenkins window, enter the Jenkins Administrator password found in the credentials file under jenkins_password and click Continue.
On the Customize Jenkins window, select Install suggested plugins.

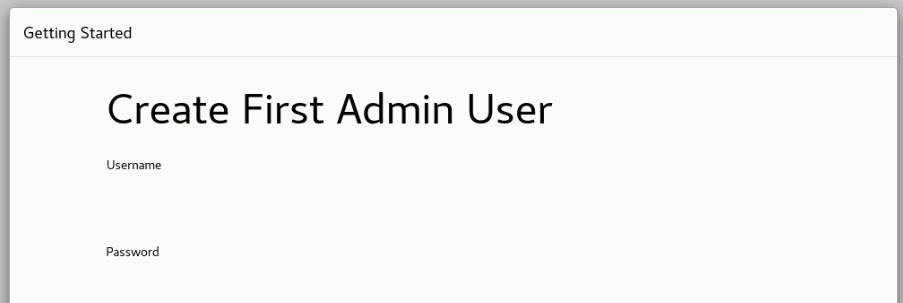
After the plugins are installed, skip the Create First Admin User window by clicking Skip and continue as admin.
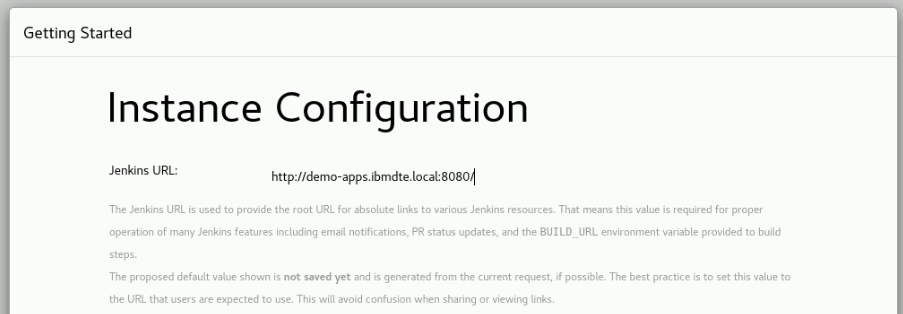
On the Instance Configuration window, don't change the default URL and just click Save and Finish.
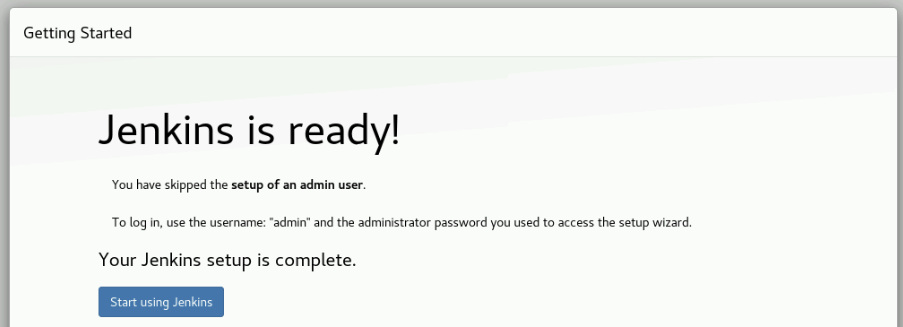
On the Jenkins is ready window, click Start using Jenkins.
5.4: Configuring the Jenkins Pipeline for Application Build and Deploy
In this Lab, we will use the basic capabilities of Jenkins to create two simple CI/CD pipelines. Advanced Jenkins configuration and security hardening is out of the scope of this Lab.
We will create a Jenkins pipeline to build and deploy the qotd application.
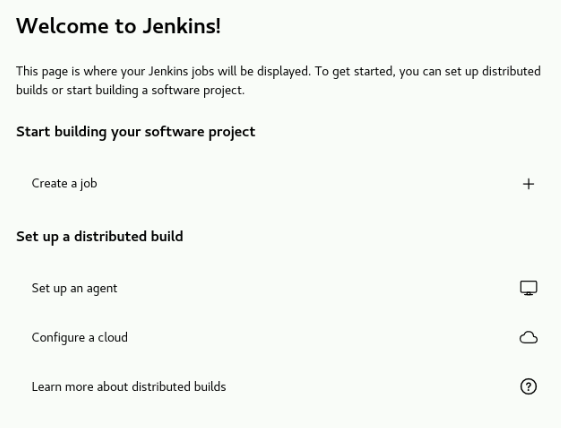
On the Welcome to Jenkins! window, click on Create a job.
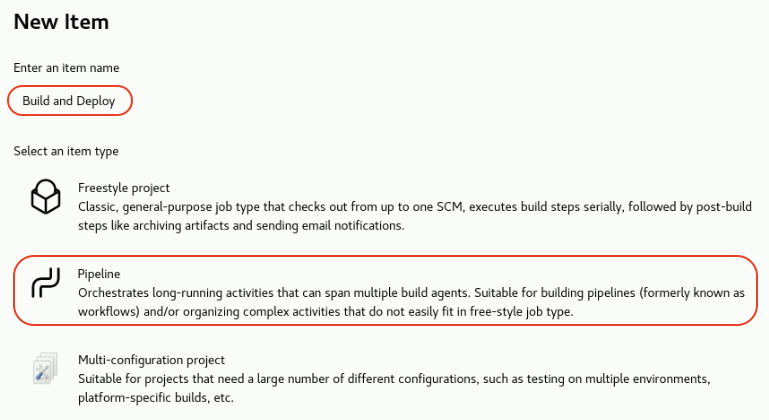
In the New Item page under Enter an item name field, type Build and Deploy. Select Pipeline and click OK.
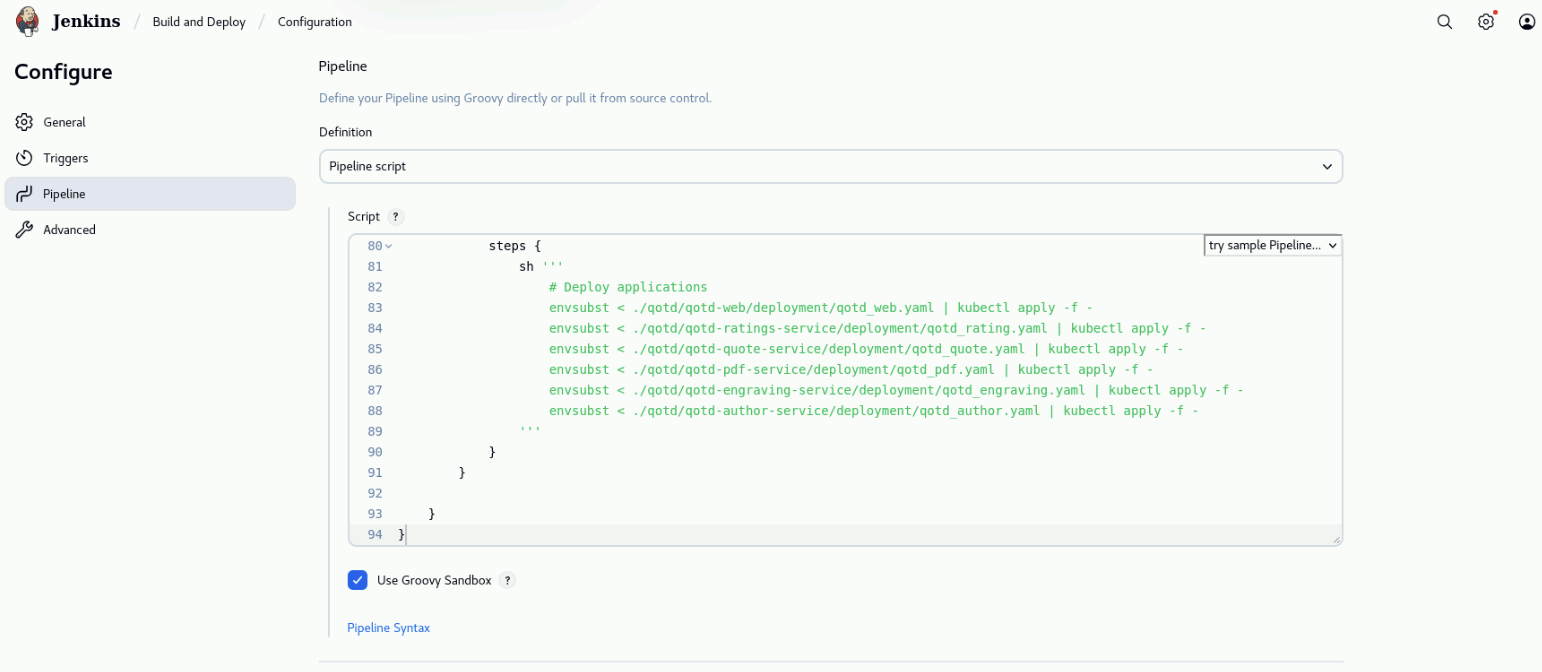
In the Configure page, select Pipeline on the left menu. Under the Pipeline section, leave Pipeline script in the Definition field and copy the following code (hover on the code and use the top-right Copy button to avoid missing code). Paste the code into the Script field. Click on Save to save the pipeline.
pipeline {
    agent any

    environment {
        KUBECONFIG = '/home/jenkins/.kube/config'

        // Update the environment variables below
        GIT_URL = 'UPDATE'
        GHCR_USER = 'UPDATE'
        GHCR_PAT = 'UPDATE'
    }

    stages {
        stage('Checkout Code') {
            steps {
                git url: "${GIT_URL}", branch: 'main'
            }
        }

        stage('Create namespace and pull secret for GitHub Container Registry') {
            steps {
                sh '''
                    # Create namespace if it does not exist
                    kubectl create namespace qotd --dry-run=client --save-config -o yaml | kubectl apply -f -

                    # Create docker-registry secret for qotd
                    kubectl delete secret ghcr-secret --namespace=qotd --ignore-not-found
                    kubectl create secret docker-registry ghcr-secret \
                        --docker-server=ghcr.io \
                        --docker-username=$GHCR_USER \
                        --docker-password=$GHCR_PAT \
                        --namespace=qotd

                '''
            }
        }

        stage('Build, Tag and Push the images to the local Registry') {
            steps {
                sh '''

                    export REGISTRIES_CONFIG_PATH=/etc/containers/registries.conf


                    # Buildah is an open-source, daemonless tool for building and managing OCI/Docker container images
                    # Authenticate to GitHub Container Registry (rootless)
                    buildah login -u $GHCR_USER -p $GHCR_PAT ghcr.io


                    # Build the image (rootless automatically uses ~/.local/share/containers/storage)
                    buildah bud --storage-driver=vfs -t ghcr.io/$GHCR_USER/qotd-web:latest ./qotd/qotd-web
                    buildah bud --storage-driver=vfs -t ghcr.io/$GHCR_USER/qotd-ratings-service:latest ./qotd/qotd-ratings-service
                    buildah bud --storage-driver=vfs -t ghcr.io/$GHCR_USER/qotd-quote-service:latest ./qotd/qotd-quote-service
                    buildah bud --storage-driver=vfs -t ghcr.io/$GHCR_USER/qotd-pdf-service:latest ./qotd/qotd-pdf-service
                    buildah bud --storage-driver=vfs -t ghcr.io/$GHCR_USER/qotd-engraving-service:latest ./qotd/qotd-engraving-service
                    buildah bud --storage-driver=vfs -t ghcr.io/$GHCR_USER/qotd-author-service:latest ./qotd/qotd-author-service

                    # Push the image to the local registry using HTTP
                    buildah push --storage-driver=vfs --tls-verify=true ghcr.io/$GHCR_USER/qotd-web:latest
                    buildah push --storage-driver=vfs --tls-verify=true ghcr.io/$GHCR_USER/qotd-ratings-service:latest
                    buildah push --storage-driver=vfs --tls-verify=true ghcr.io/$GHCR_USER/qotd-quote-service:latest
                    buildah push --storage-driver=vfs --tls-verify=true ghcr.io/$GHCR_USER/qotd-pdf-service:latest
                    buildah push --storage-driver=vfs --tls-verify=true ghcr.io/$GHCR_USER/qotd-engraving-service:latest
                    buildah push --storage-driver=vfs --tls-verify=true ghcr.io/$GHCR_USER/qotd-author-service:latest

                    # List images in the local registry
                    echo "List images in the local registry from   https://github.com/users/$GHCR_USER/packages"

                '''
            }
        }

        stage('Deploy the application into the K8 cluster') {
            steps {
                sh '''
                    # Deploy application
                    envsubst < ./qotd/qotd-web/deployment/qotd_web.yaml | kubectl apply -f -
                    envsubst < ./qotd/qotd-ratings-service/deployment/qotd_rating.yaml | kubectl apply -f -
                    envsubst < ./qotd/qotd-quote-service/deployment/qotd_quote.yaml | kubectl apply -f -
                    envsubst < ./qotd/qotd-pdf-service/deployment/qotd_pdf.yaml | kubectl apply -f -
                    envsubst < ./qotd/qotd-engraving-service/deployment/qotd_engraving.yaml | kubectl apply -f -
                    envsubst < ./qotd/qotd-author-service/deployment/qotd_author.yaml | kubectl apply -f -
                '''
            }
        }

    }
}
Take a minute to review the pipeline code. Note that first, environment variables are defined for the GitHub repository URL, GitHub Container Registry (GHCR) user and Personal Access Token (PAT). Then, the pipeline has four stages:
- Checkout Code: this stage clones the GitHub repository that contains the code for the qotd application.
- Create namespace and pull secret for GitHub Container Registry: this stage creates the
qotdnamespace and a pull secret to access the GHCR. - Build, Tag and Push the images to the local Registry: this stage builds the container images using Buildah, tags them and pushes them to the GHCR.
- Deploy applications into the K8 cluster: this stage deploys the application into the K3S cluster
using
kubectland the deployment YAML files.
After saving the pipeline, click on Configure on the left menu. On the Configure page, click on Pipeline
on the left menu. Under the Pipeline section, in the Script field, update the environment variables
GIT_URL, GHCR_USER, GHCR_PAT with the values that you captured in the credentials.txt file during the lab preparation.
Click on Save to save the changes.
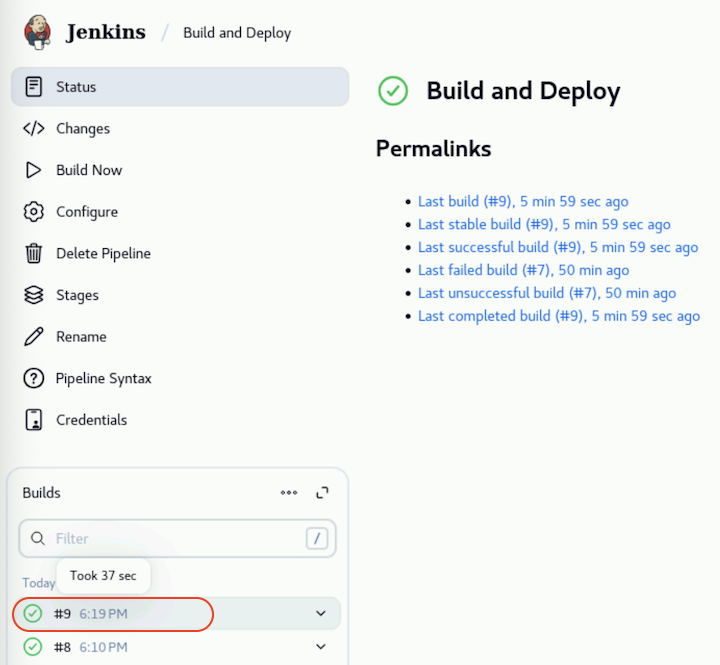
Finally, click on Build Now on the left menu to run the pipeline.
The first build can take up to 10 minutes to run because it needs to download all the required dependencies and build multiple container images. Subsequent builds will be a bit faster because some dependencies will be cached.
After the build is finish, you should see a green check next to the build number indicating that the build was successful.
5.5: Verifying that the Application has been Deployed
We will verify now that the application has been deployed in the cluster by running the following commands. From the Bastion SSH, run the following commands one by one to login to the demo-apps VM host with the user 'jammer'.
ssh jammer@demo-apps
kubectl get pods -n qotd
exit
You should see the following output will all pods with running status:
[jammer@demo-apps ~]$ kubectl get pods -n qotd
NAME                             READY   STATUS    RESTARTS   AGE
qotd-author-696bcdb947-mvb2d     1/1     Running   0          76m
qotd-engraving-fb54bc78d-klb7t   1/1     Running   0          76m
qotd-pdf-5b447c68b4-9tgls        1/1     Running   0          76m
qotd-pdf-5b447c68b4-gw4x6        1/1     Running   0          76m
qotd-quote-5fd5556546-jgrkm      1/1     Running   0          76m
qotd-quote-5fd5556546-mrgw6      1/1     Running   0          76m
qotd-rating-5b6b5bd444-75gpg     1/1     Running   0          76m
qotd-rating-5b6b5bd444-b778g     1/1     Running   0          76m
qotd-web-7cb646f6f6-b9nk6        1/1     Running   0          76m
qotd-web-7cb646f6f6-nd8t8        1/1     Running   0          76m
5.6: Defining the Application in Instana
We will define the application in Instana to enable monitoring and vulnerability scanning. From the Bastion Remote Desktop, on the Firefox browser click on the Instana tab.
We will now look at the information that Instana agent has already collected from the demo-apps K3S cluster. On the Instana left menu, click on Platforms > Kubernetes. On the Kubernetes page, click on the Clusters tab and note that the K3S cluster demo-apps is listed, as shown below.
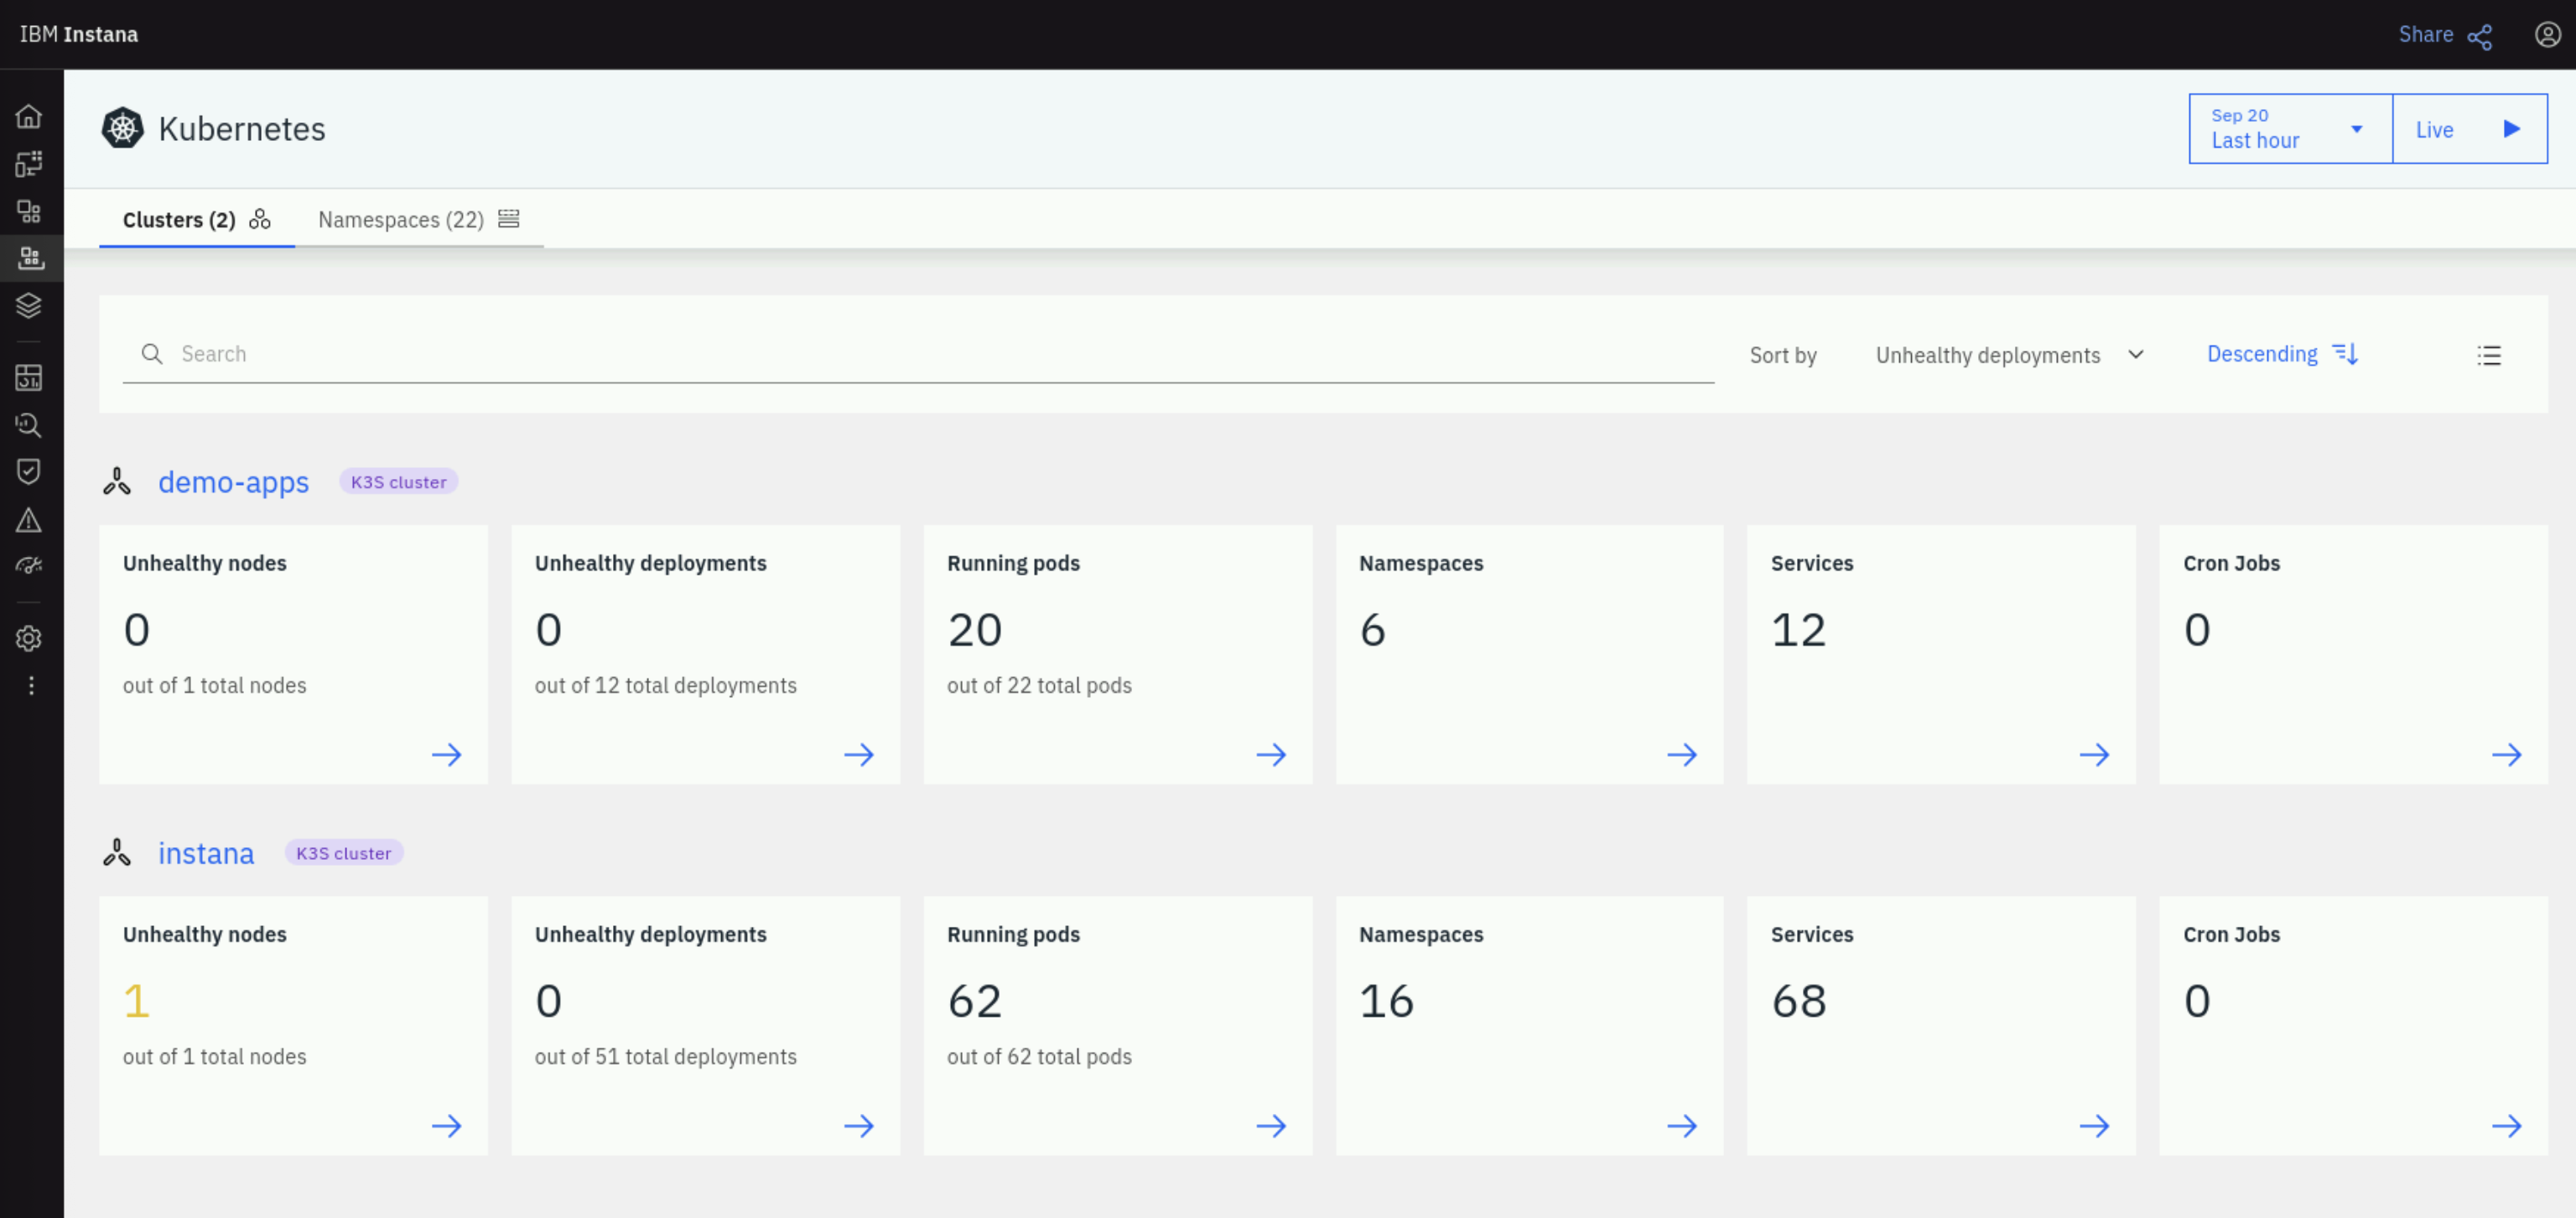
Note that Instana has already discovered the nodes, services, namespaces and pods running in the cluster.
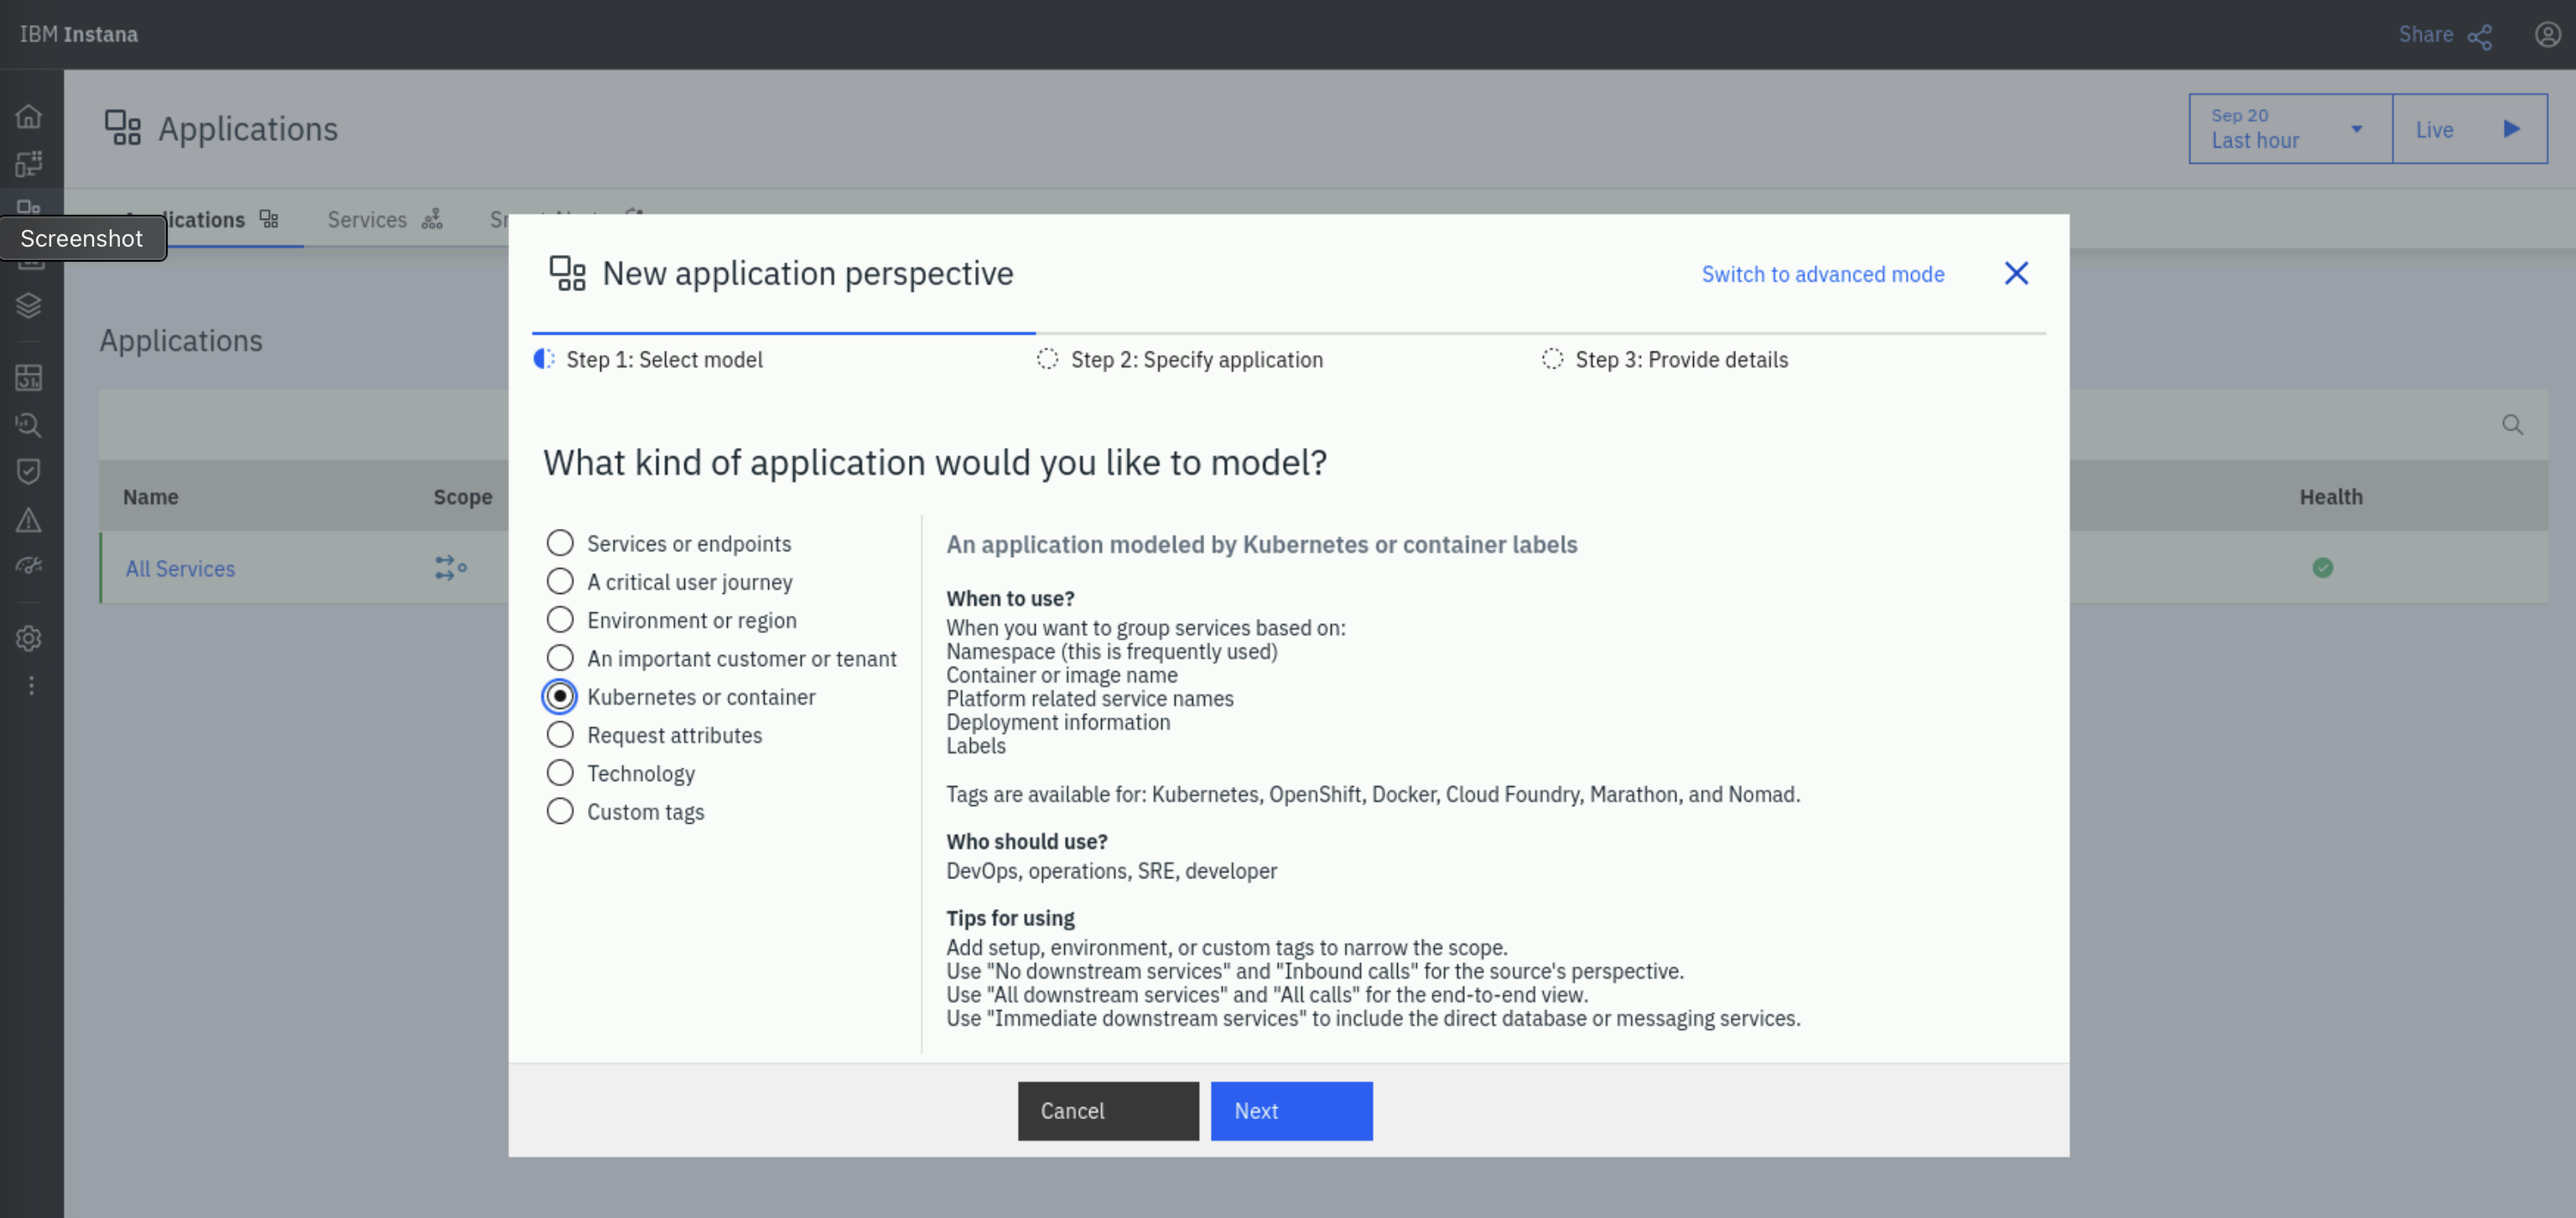
We will now define the qotd application in Instana. On the left menu, click on Applications. On the Applications page,on the bottom-right click on + ADD and select New application perspective.
On the New Application Perspective* window, on Step 1: Select model select Kubernetes or containers and click Next.
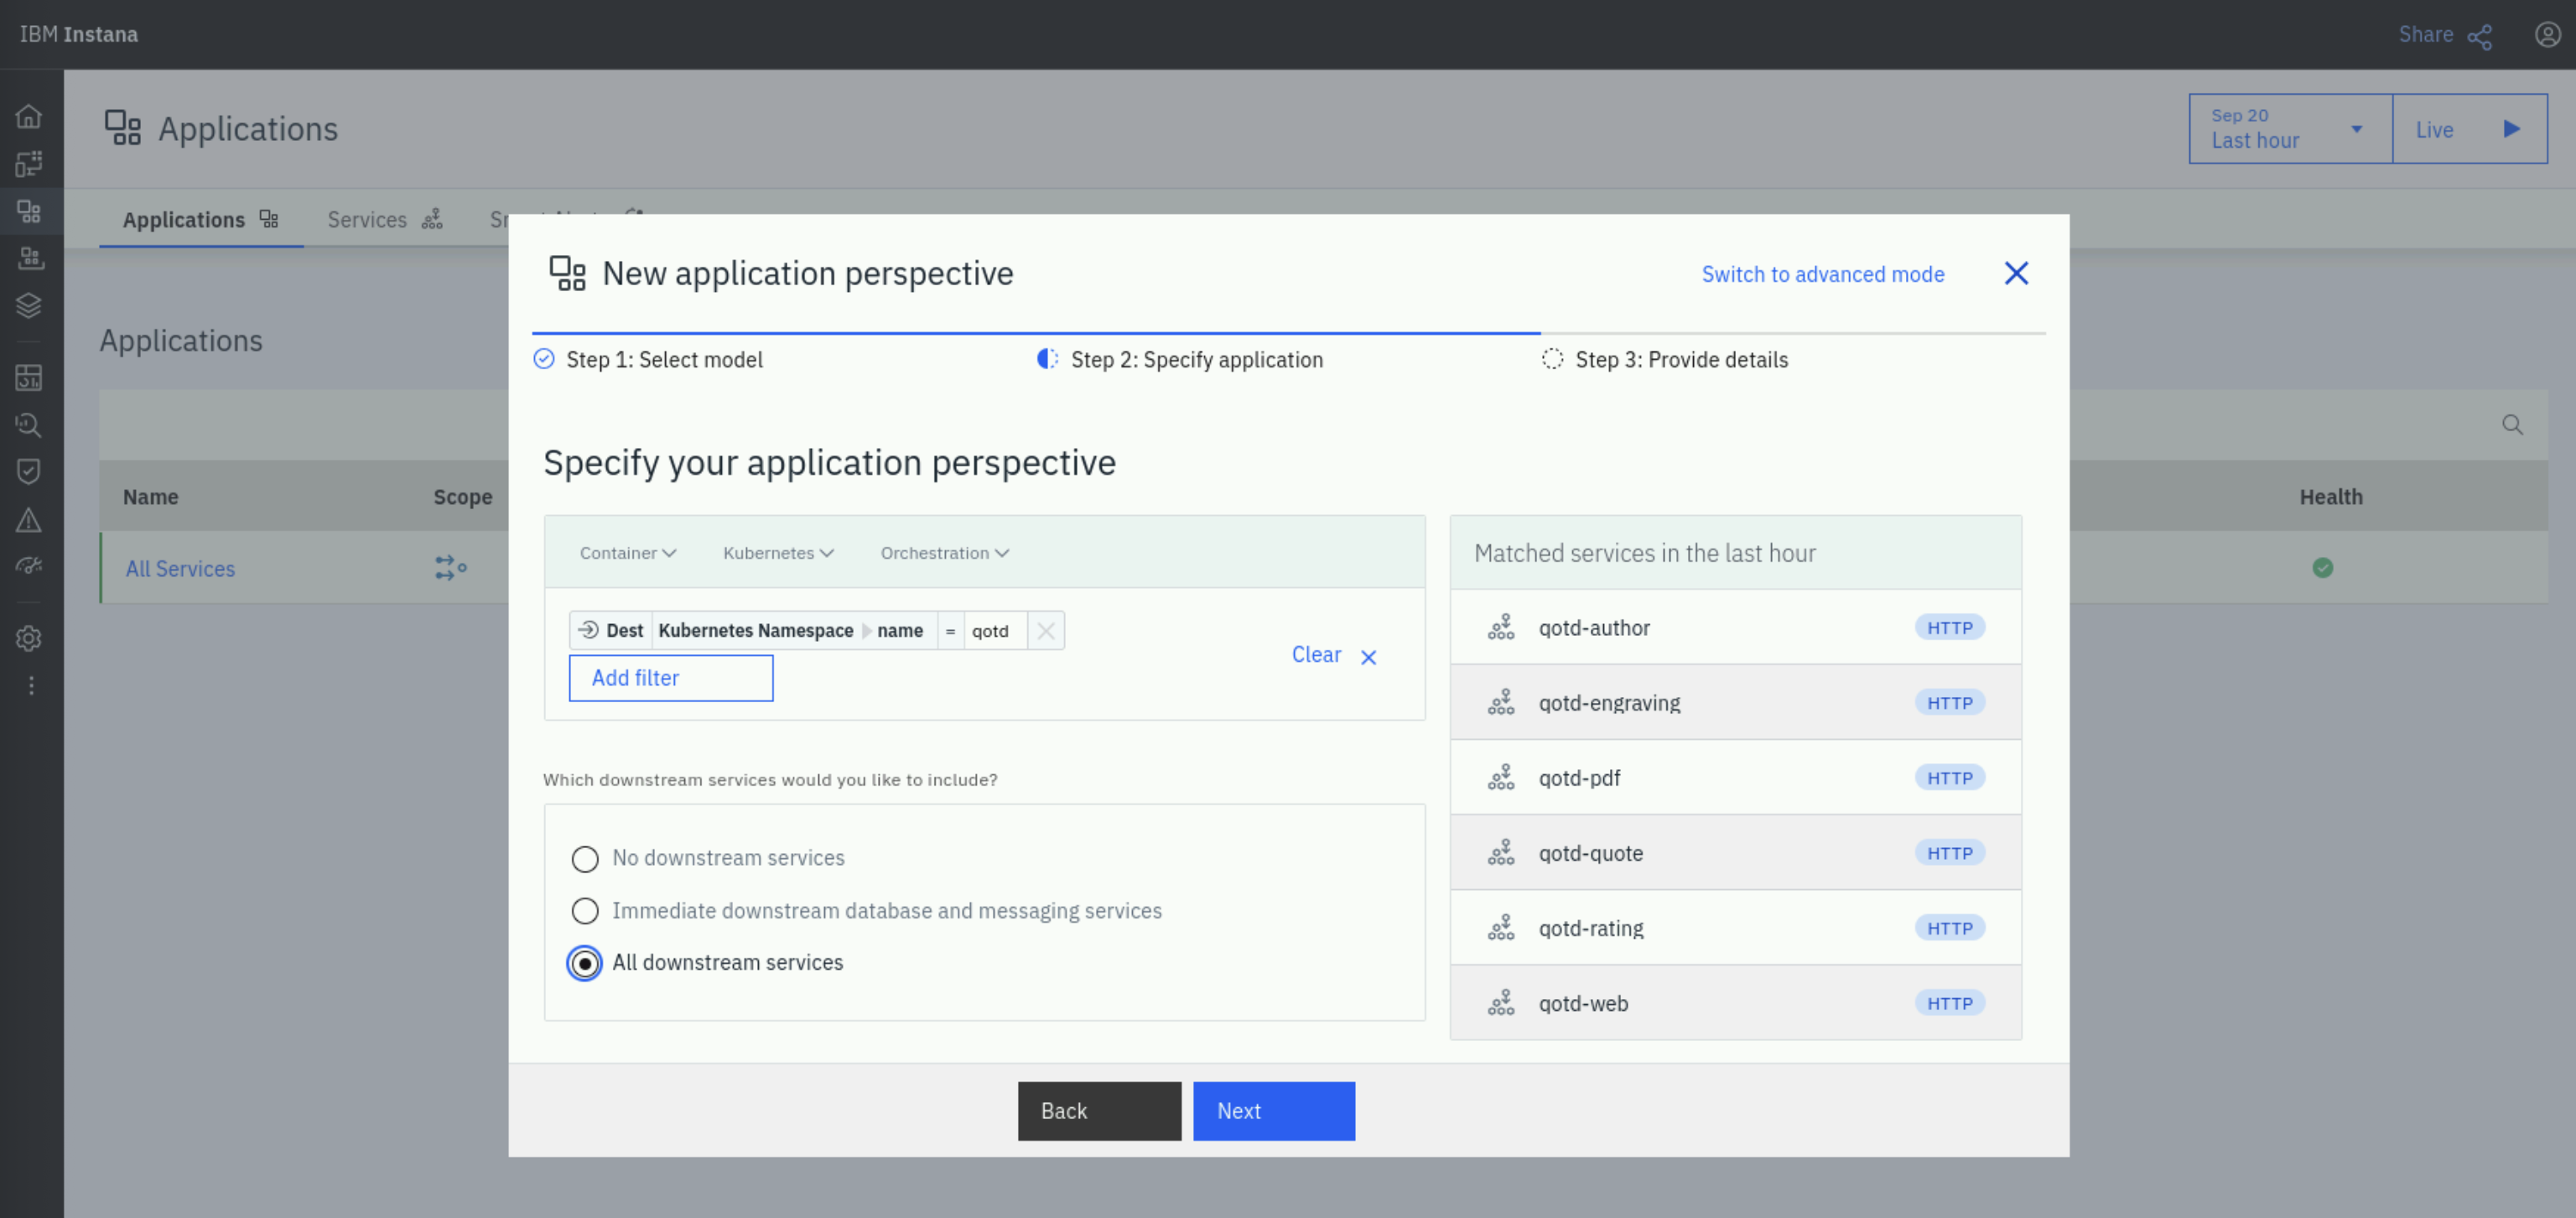
On Step 2: Specify application, click on the Add Filter button. In the Add Filter window, type namespace in the search field,
and select Kubernetes > Namespace > Name. In the listed name options, select qotd.
Under Which downstream services would you like to include?, select All downstream services and click Next.
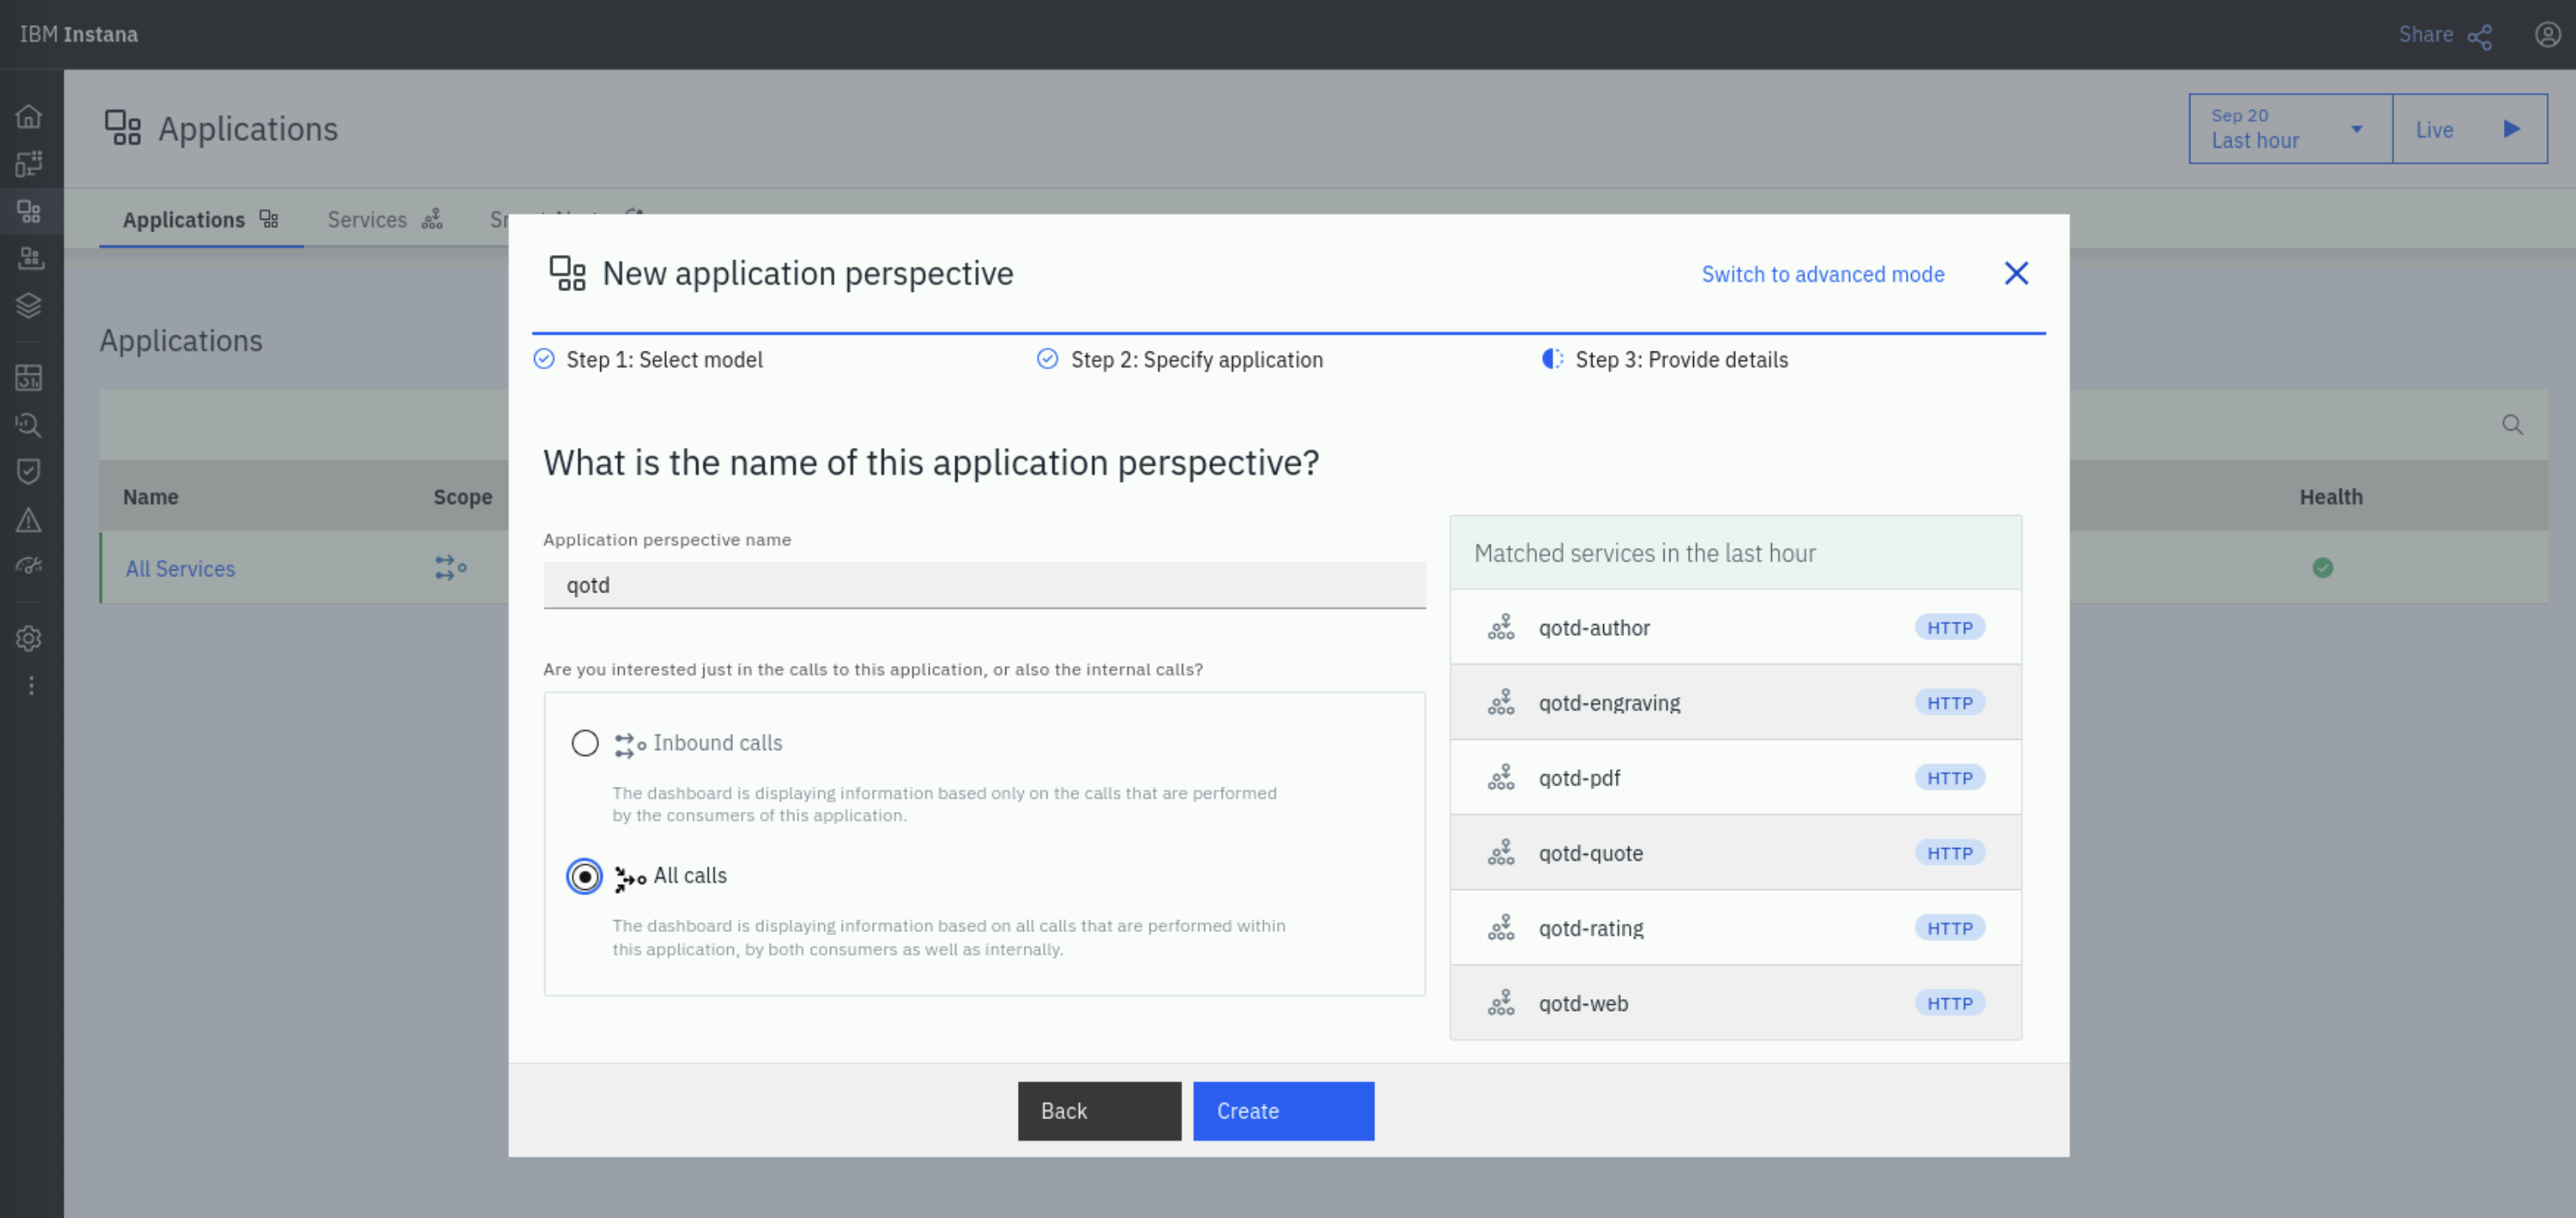
On Step 3: Provide details, under Application perspective name, type qotd. Under Are you interested just in the calls
to this application, or also the internal calls? select All calls. Click Create to create the application perspective.
All right! The application perspective has been created. On the top-right, click on the Live button to enable live data feeds. After a couple of minutes, you should see the Summary page get populated with data.
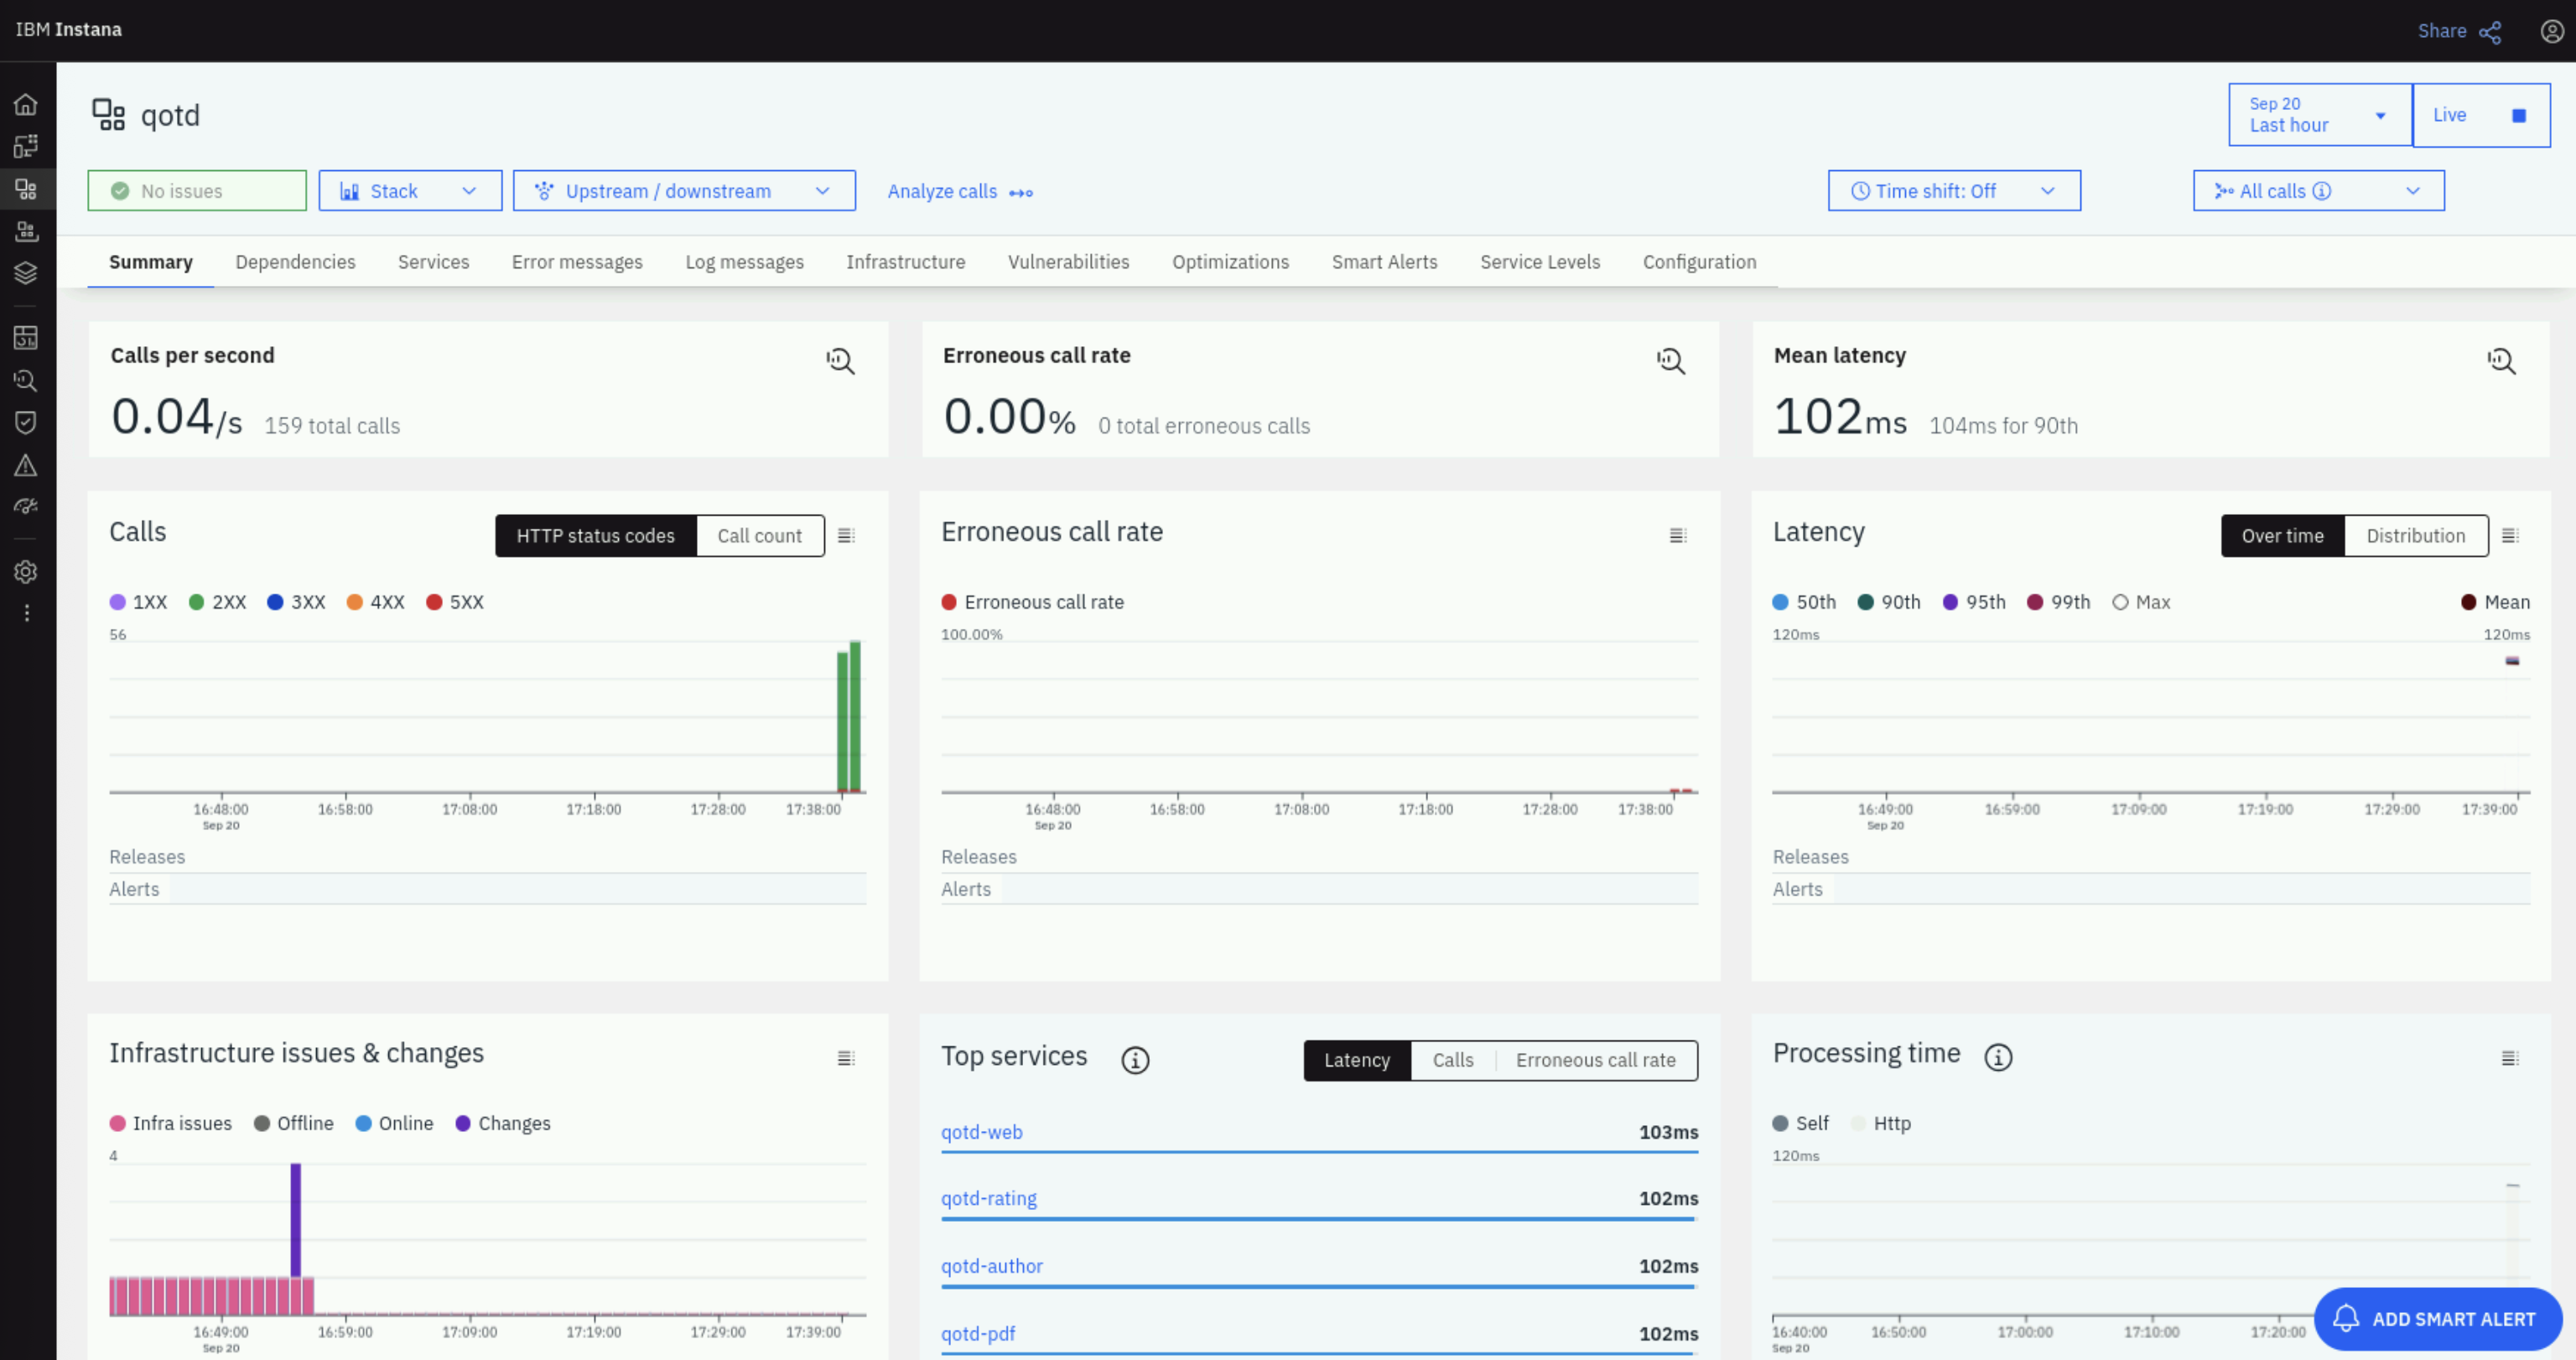
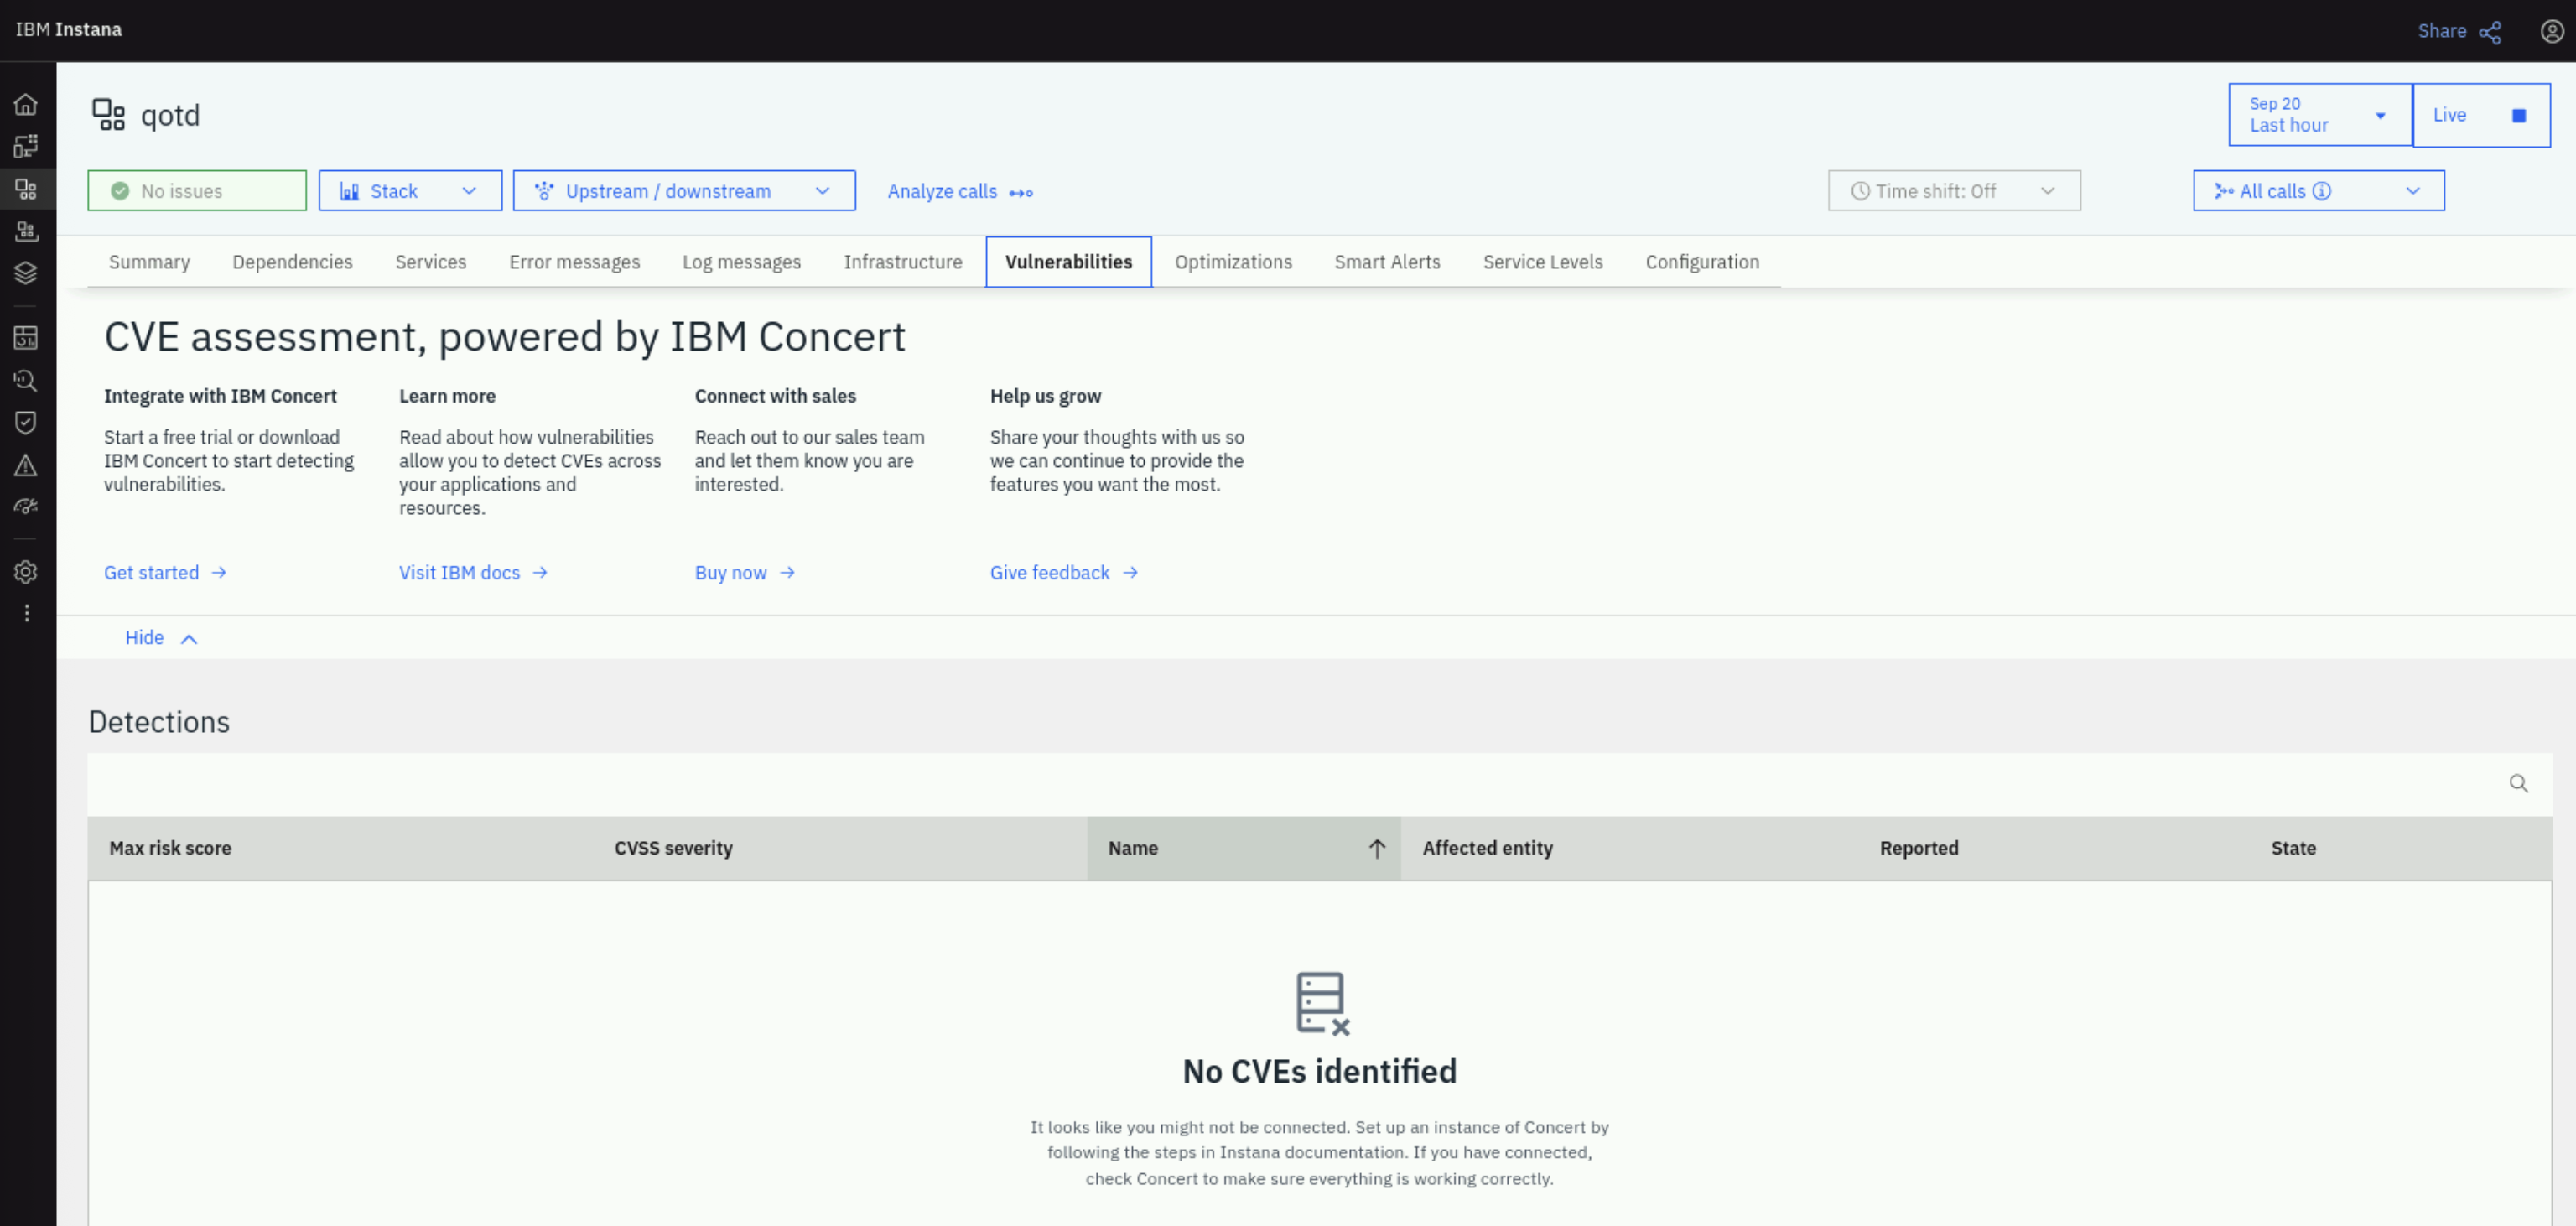
Click on the Vulnerabilities tab. Note that there are no vulnerabilities shown yet because Concert has not reported vulnerabilities.
5.7: Prompting Concert to get Application Information from Instana
Now we will prompt Concert to receive the application information (SBOM) from Instana. From the Bastion Remote Desktop, on the Firefox browser click on the Concert tab.
From the left menu, click on Administration > Integrations. Under the Ingestion jobs tab, locate the instana-ingestion job you created in the previous section. Click the 3-dots menu on the right and select Run now to prompt Concert to pull application configuration from Instana.
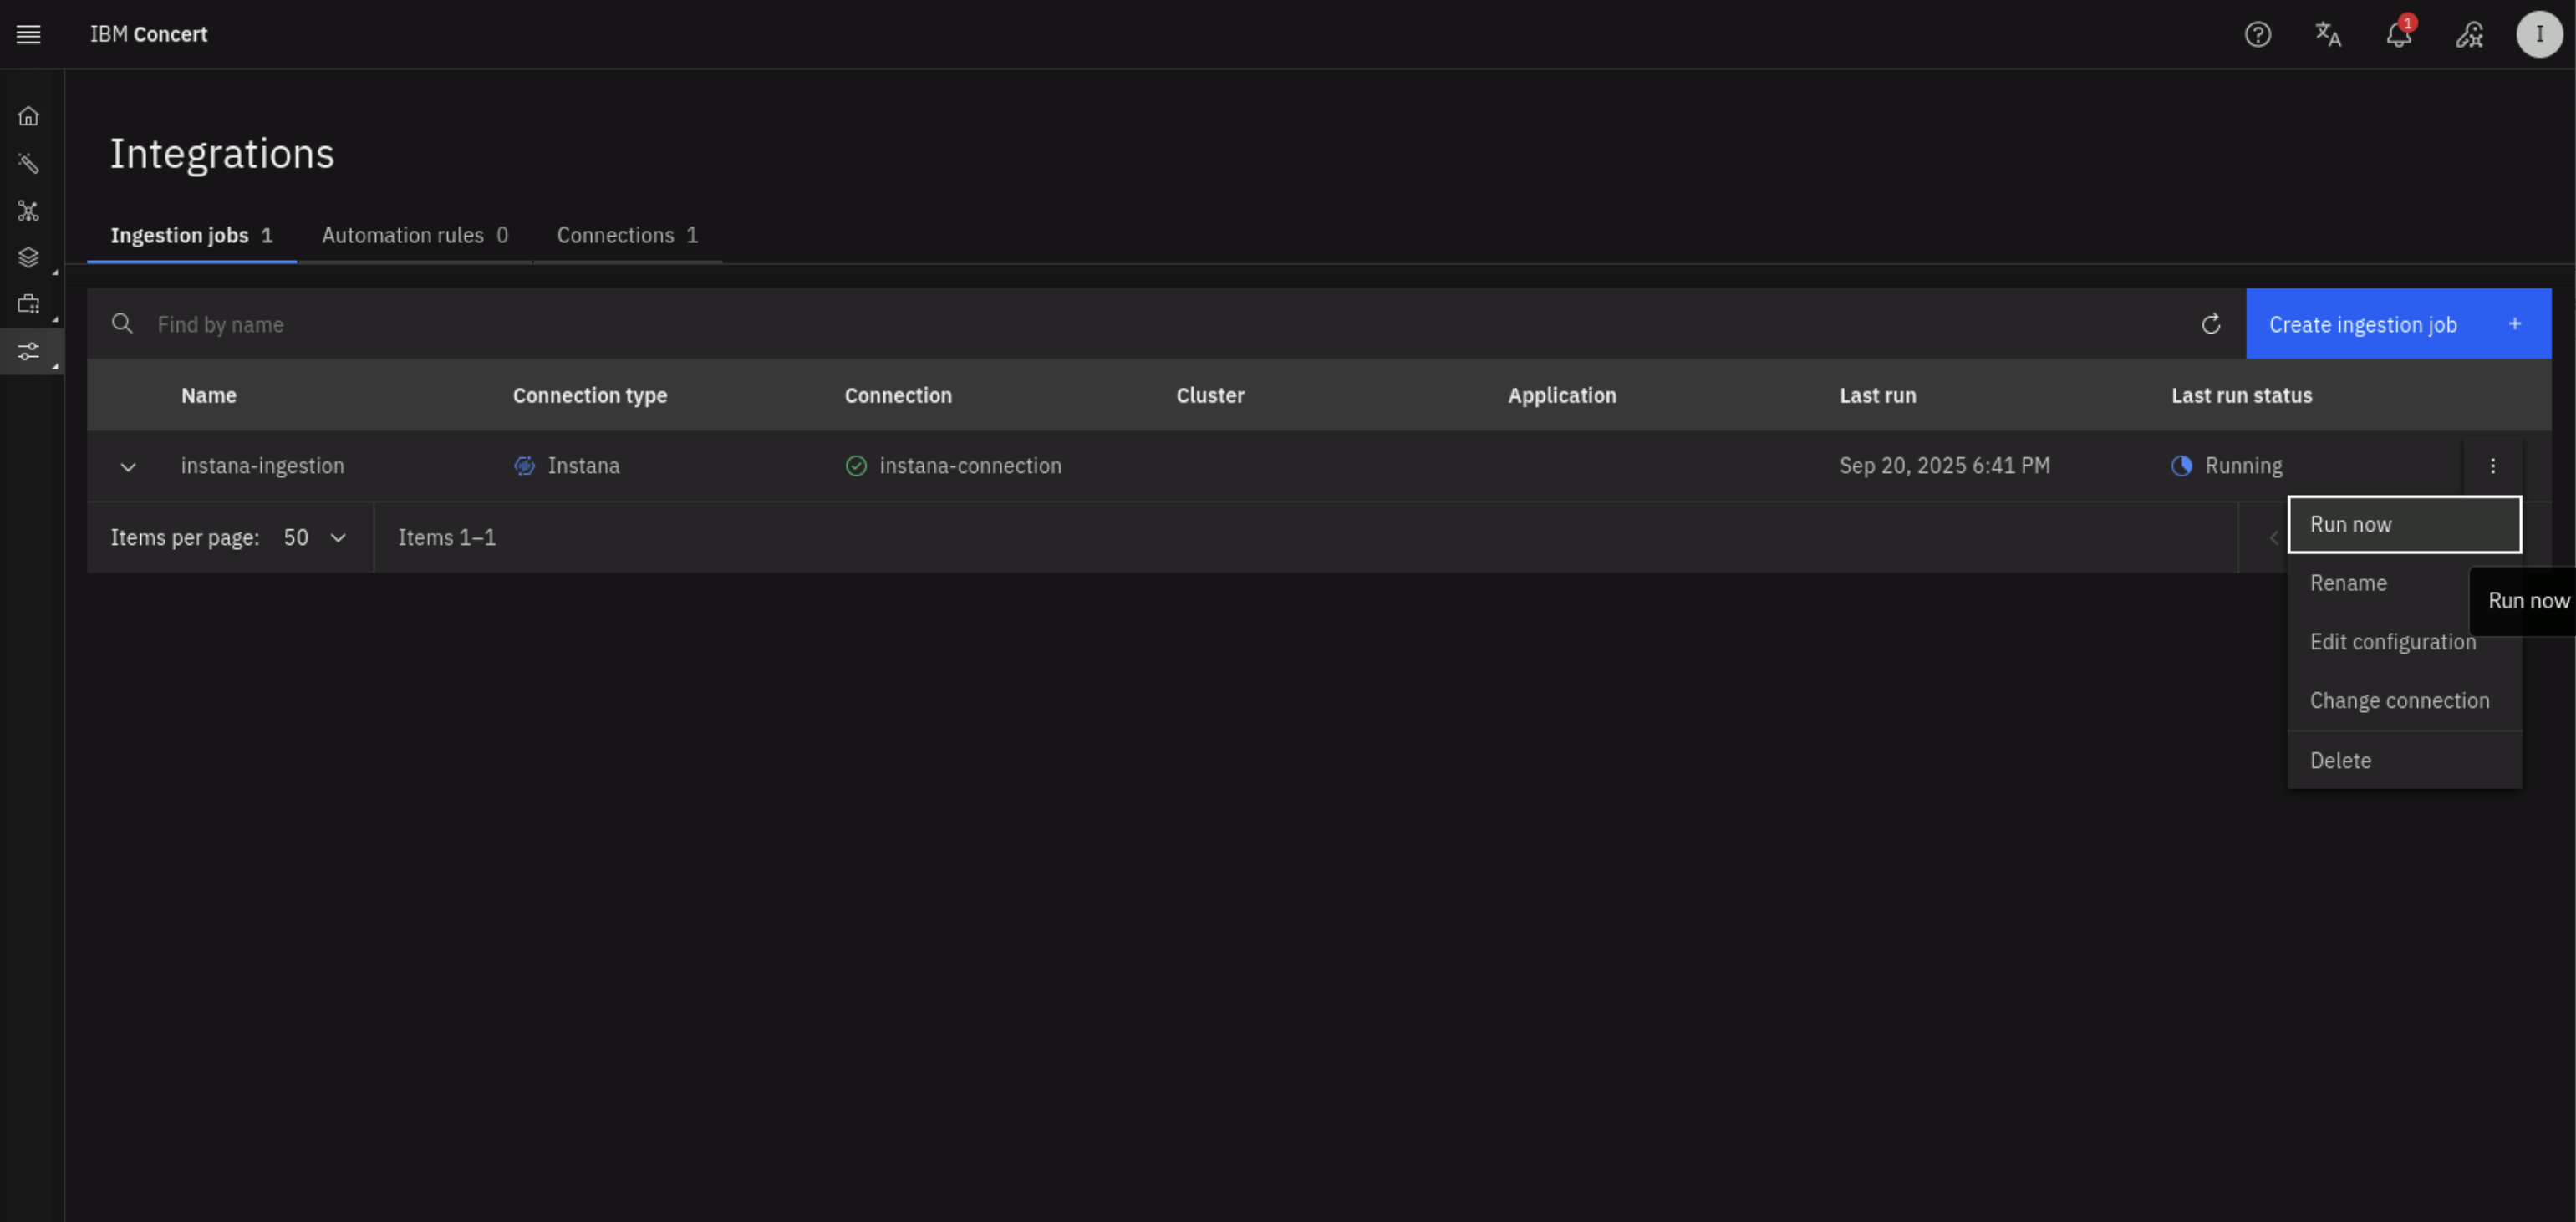
Wait a few seconds for the ingestion job to complete. Refresh the page to see the status of the job. When the job is completed, you should see a Success status.
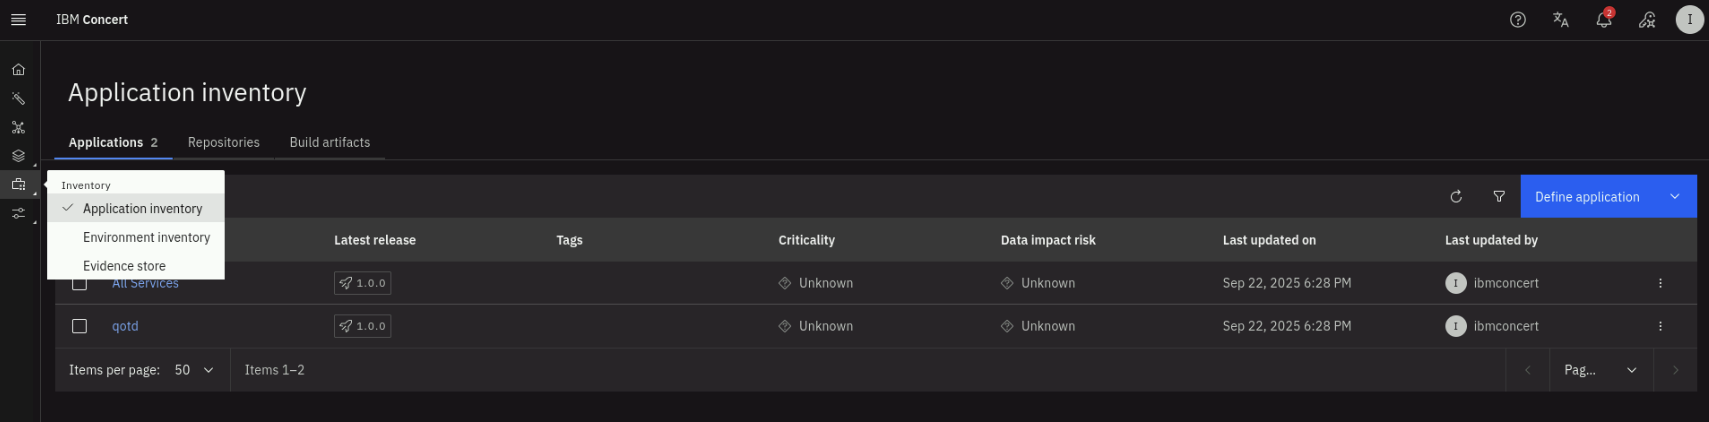
From the left menu, go to Inventory > Application inventory and confirm you see the qotd application listed. Note that you will also see an All Services application listed. This is an auto-defined application that is present by default when Instana is first deployed in an environment. It acts as a catch-all group containing every service that Instana has automatically discovered in your monitored environment.
Lets inspect the Application SBOMs that Concert has ingested from Instana. From the left menu, click on Inventory > Evidence Store. On the Evidence Store page, click on the Added on column to sort the items by descending time (downward-pointing arrow). Note that Concert has ingested the application SBOM for the qotd and All Services applications, as shown below.
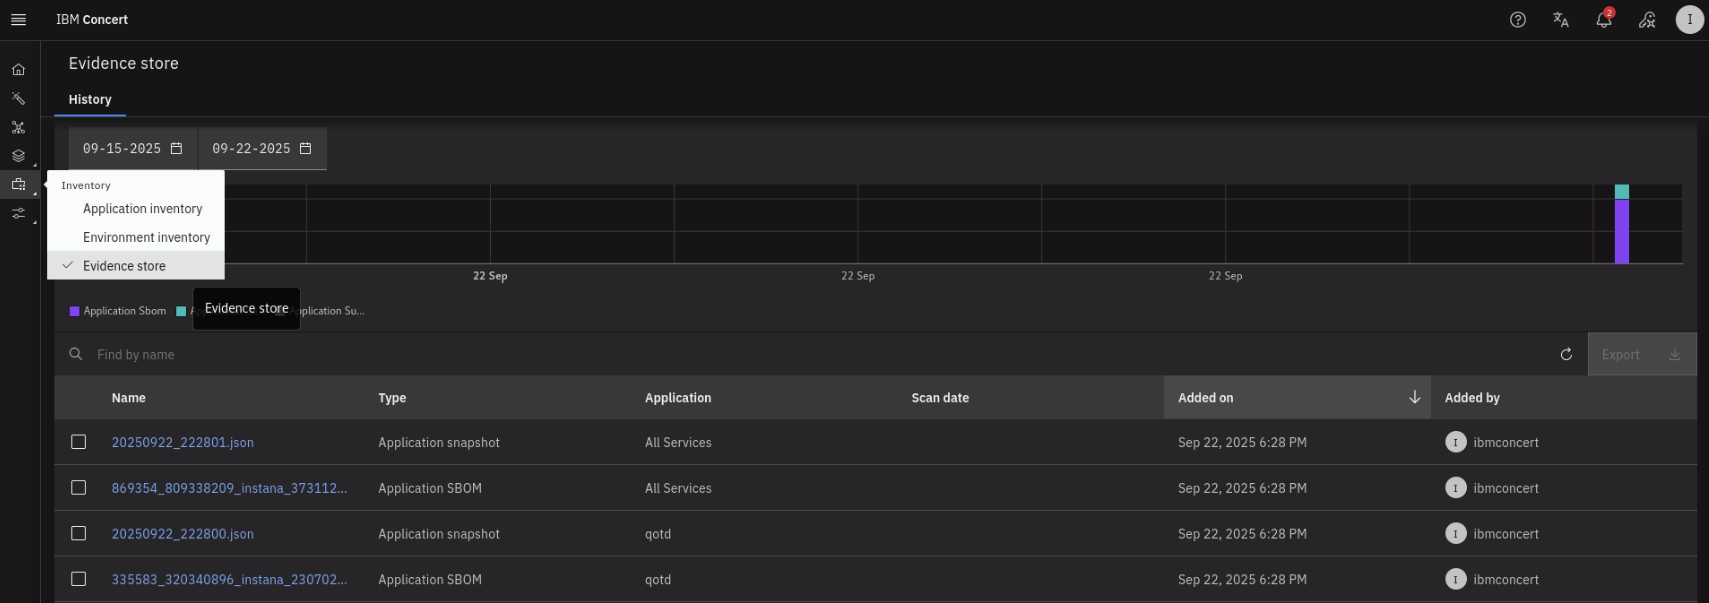
The All Services application in Instana is an auto-defined application that is present by default when Instana is first deployed in an environment. It acts as a catch-all group containing every service that Instana has automatically discovered in your monitored environment.
Lets inspect the Application definitions that Concert now has. From the left menu, click on Inventory > Application inventory.
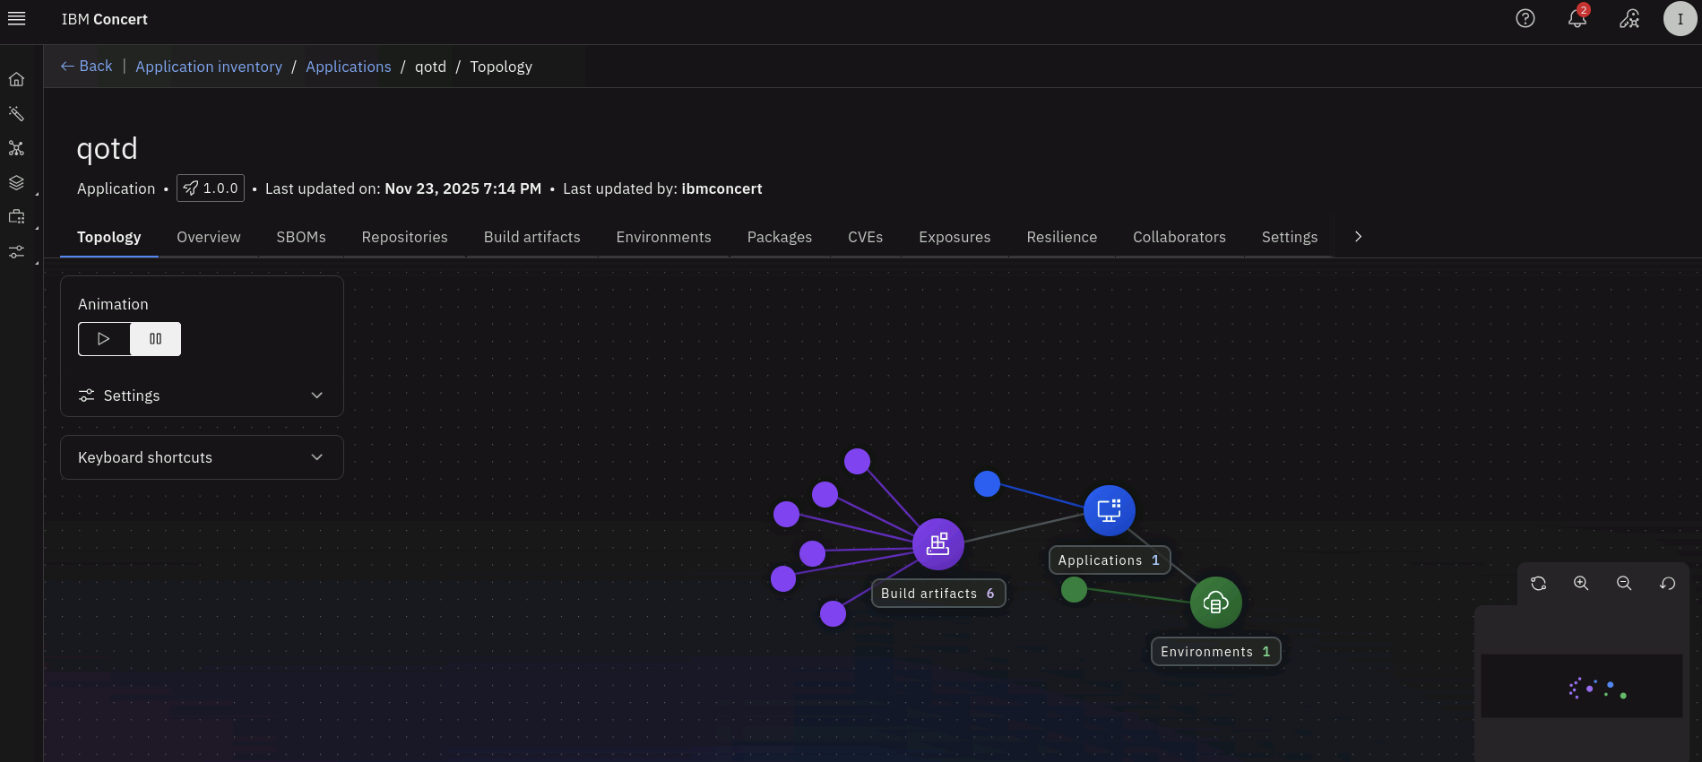
From the Application inventory page, click on the qotd application. On the Topology tab, note that Concert has discovered the application components and their relationships.
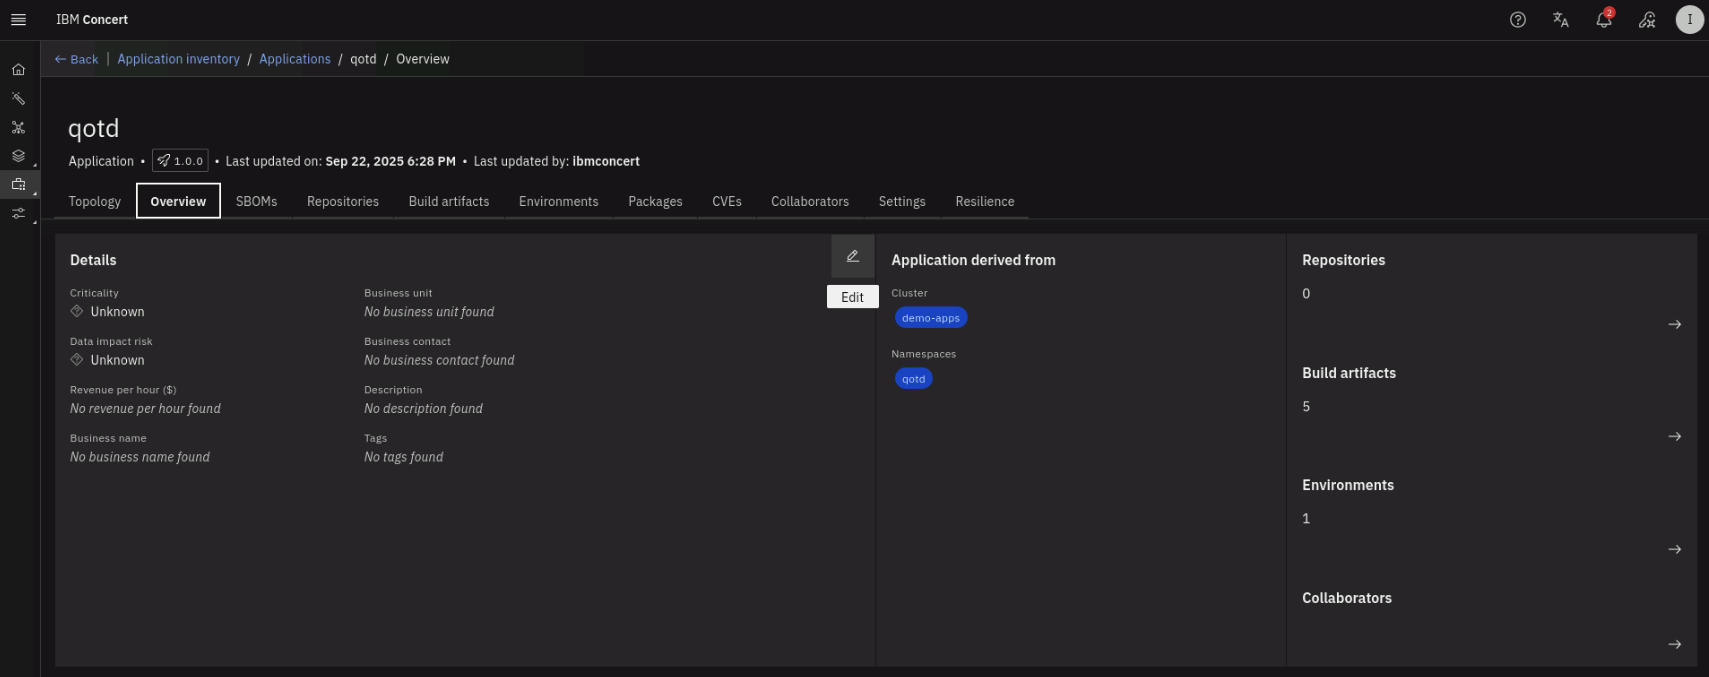
Click on the Overview tab. Note that empty application details are shown. Click on the pencil (Edit) icon to edit the application details.
On the Edit details window, under Criticality, select High. Under Impact Risk, select High. under Revenue per hour ($), type 500.
Under Description, type Quote of the day application. On Add business details, select Yes.
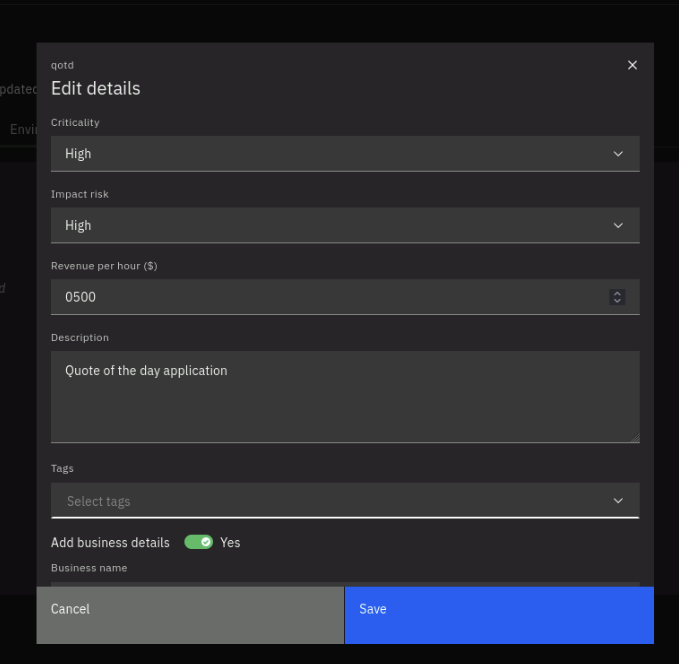
Under Business Owner, type ACME. Under Business Unit, type Sales. Under Business email, type acme@email.com.
Under Business phone, type 919-555-5555.

Click Save to save the changes.
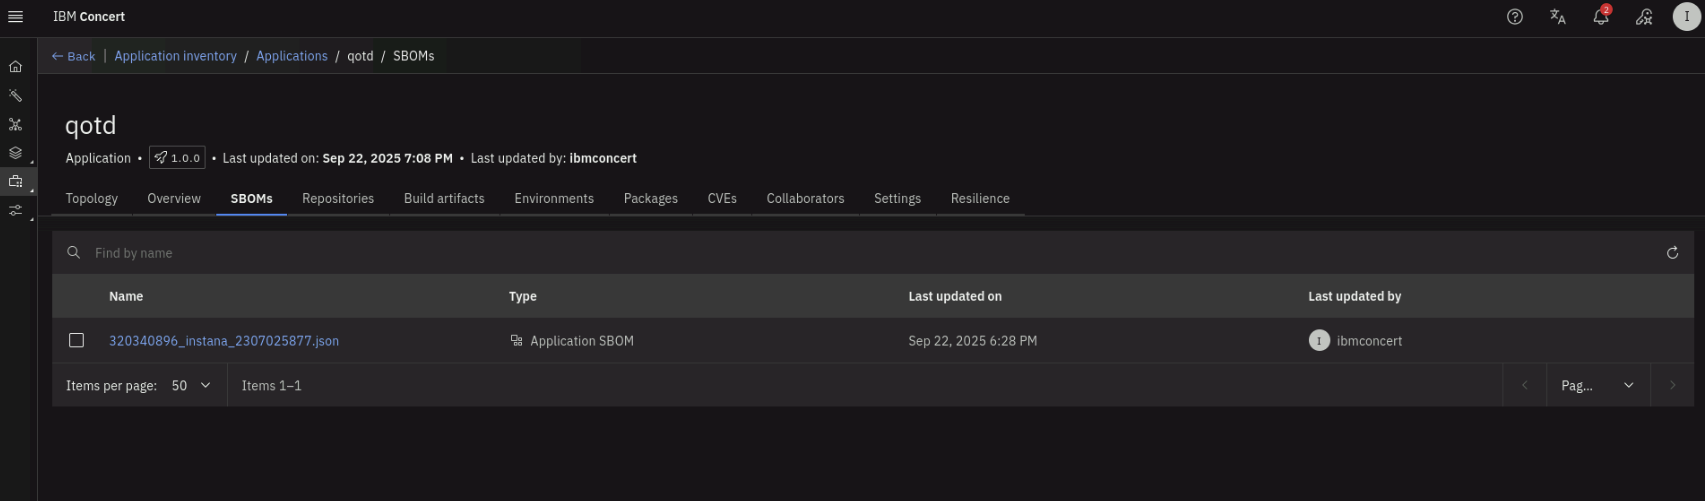
On the SBOMs tab, note that the latest SBOM file received from Instana is listed.
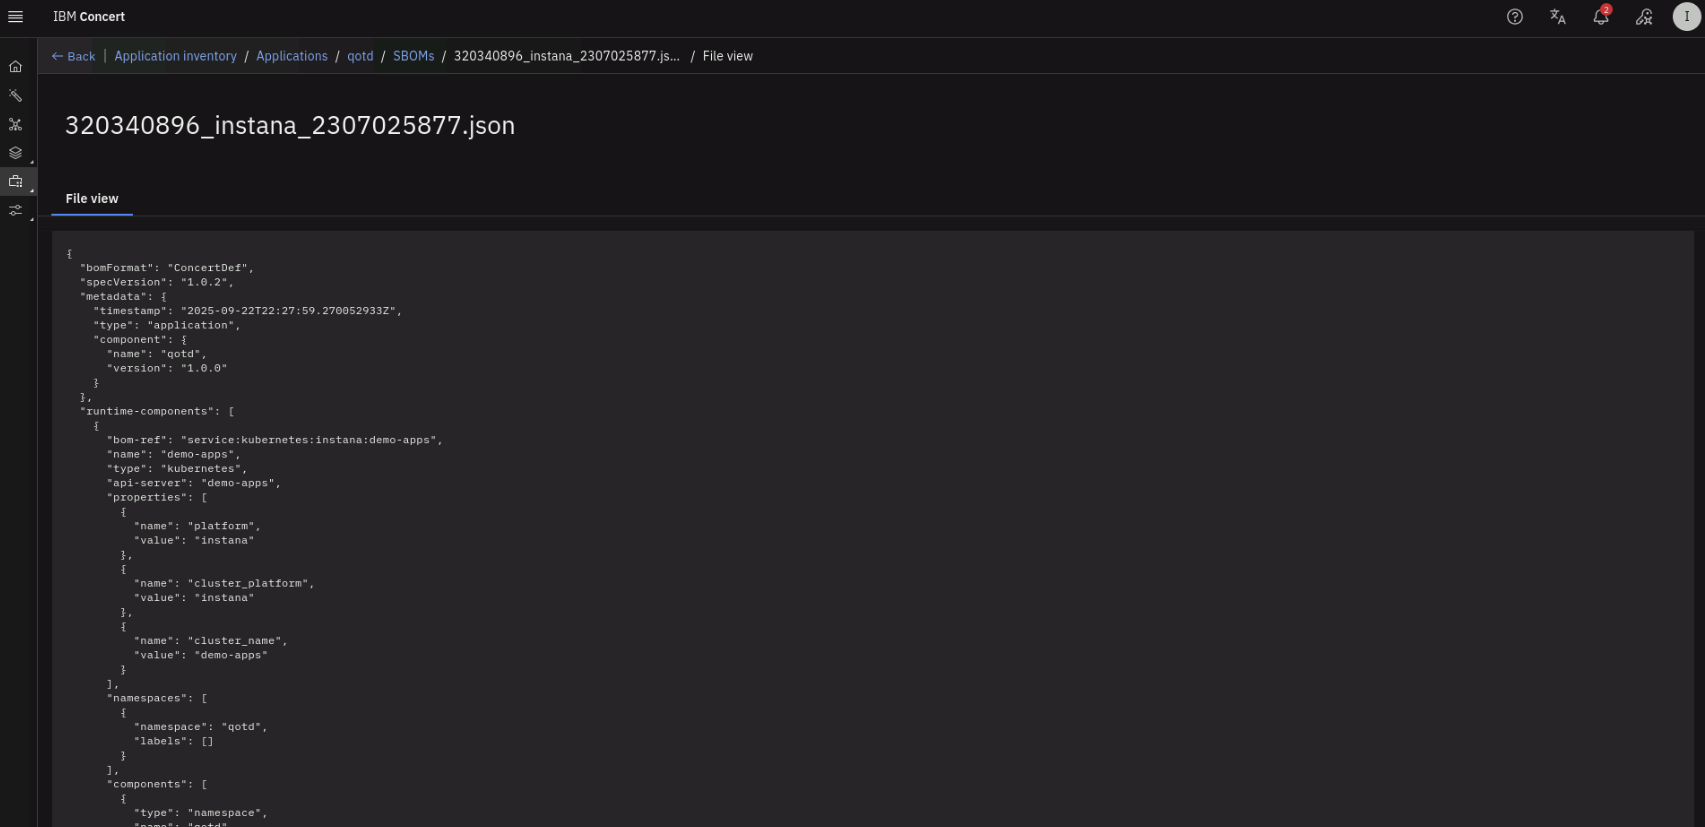
Click on the SBOM file name to see the details of the SBOM again (click on Show more on the right to expand the File view). Explore the SBOM details that was provided by Instana.
Click on Back on the top-left.
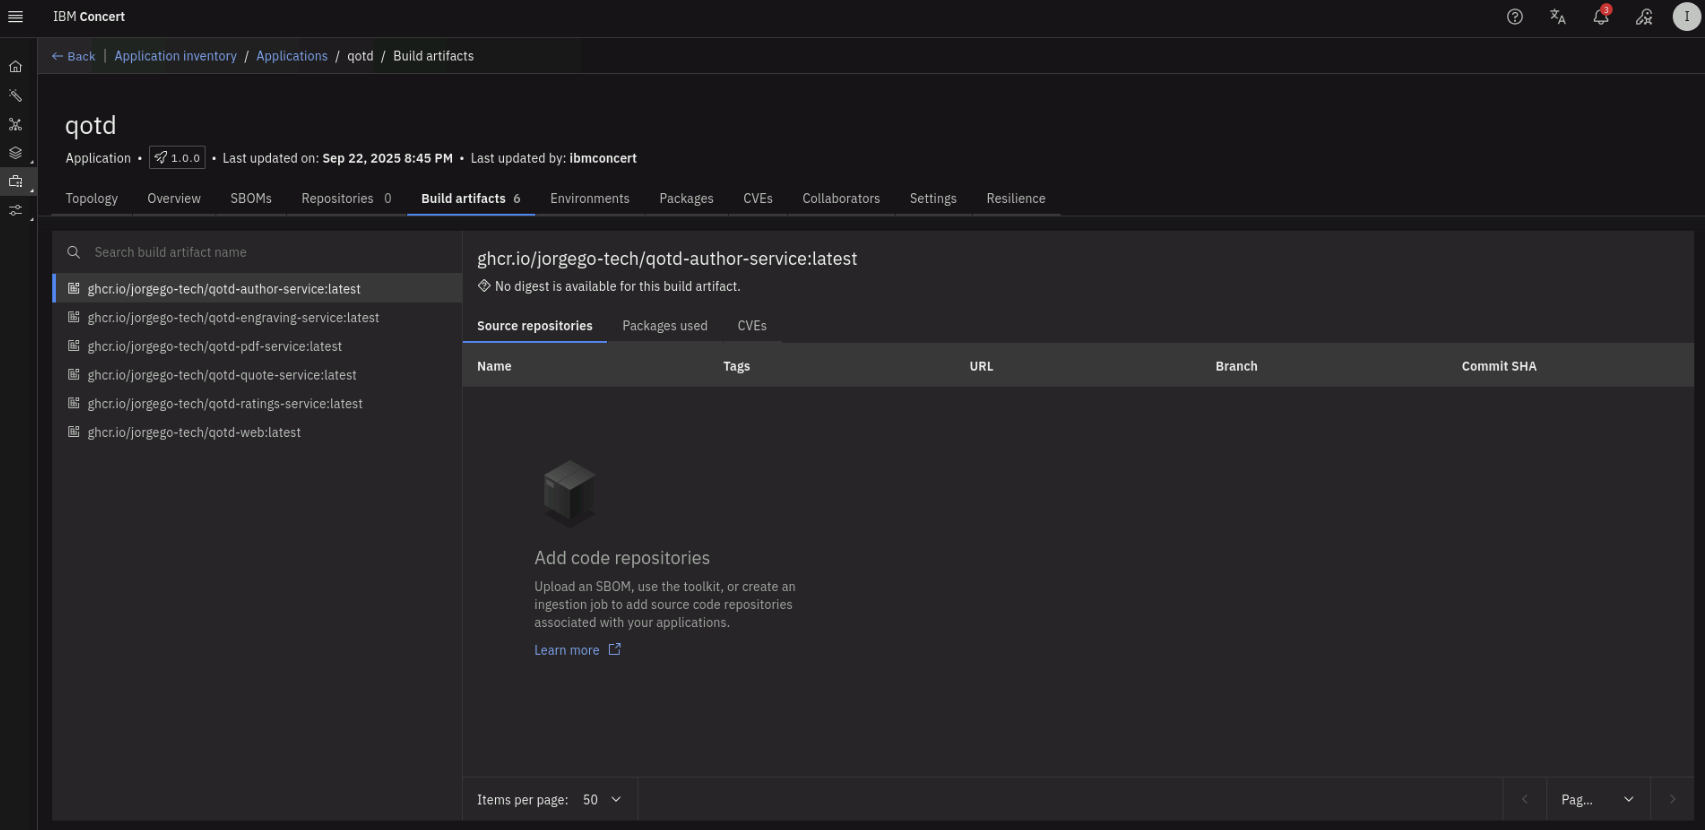
Click on the Build artifacts tab. Note that the application build artifacts are listed, based on the SBOM information provided by Instana.
Click on the Environments tab. Note that under Runtimes, both the demo-apps K3S cluster and the Instana K3S cluster are listed as runtime environments.
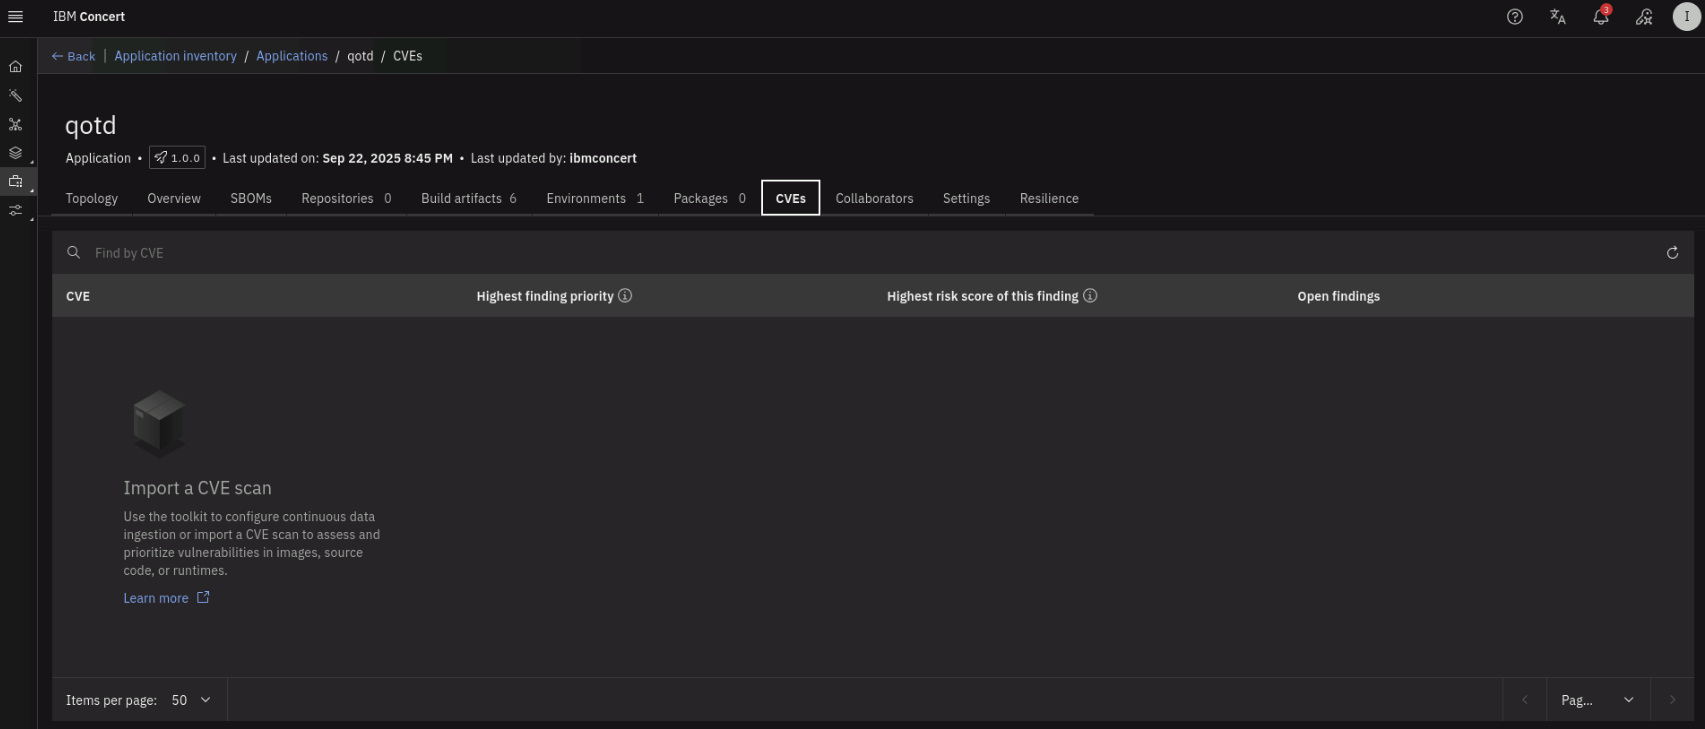
Finally, click on the CVEs tab. Note that there are no vulnerabilities because Concert has not received any vulnerability scanning information yet.
Congratulations! You have successfully built and deployed the qotd application using Jenkins, defined the application in Instana, and allowed Concert to ingest the application information from Instana. In the next section, we will perform the vulnerability scanning of the application.