3. Lab Preparation
3.1: Overview
Make sure to complete the Lab preparation steps from this section before proceeding with the Lab.
You may get prompted for software updates during the lab. Please ignore these prompts and do NOT install any updates to avoid disrupting the lab environment.
If you get a security warning (Warning: Potential Security Risk Ahead) when accessing the Concert, Instana or Jenkins UIs, please ignore it and proceed to the UI (click on Advanced and then Accept the Risk and Continue).
3.1.1: Using SSH from the Bastion Host
You can connect from the Bastion host to other VMs using the jammer user with the SSH commands as shown below. This is for information only. You don't need to run these commands now.
# Access the Concert VM
ssh jammer@concert
# Access the Instana VM
ssh jammer@instana-{0-2}
# Access the Demo Apps VM
ssh jammer@demo-apps
# Access the Bluebox VM
ssh jammer@bluebox
3.1.2: Capturing the Lab Credentials
You will need to capture multiple pieces of information from the Concert and Instana UIs to complete the lab.
To facilitate this process, we will capture this information into a single text file. From the Bastion Remote Desktop,
on the left panel click on Show Applications, select Text Editor, paste the content below into a new
file named credentials.txt and save it. Keep this window open for easy access later.
Bookmarks:
  Lab guide:  https://ibm.github.io/waiops-tech-jam/labs/concert/introduction/
  Concert:    https://concert.ibmdte.local:12443
  Instana:    https://unit0-ibm.instana-0.ibmdte.local
  Jenkins:    http://demo-apps.ibmdte.local:8080

Concert URL:       https://concert.ibmdte.local
Concert API Key:
concert_username:  ibmconcert
concert_password:  Passw0rd

Instana URL:               https://unit0-ibm.instana-0.ibmdte.local
Instana API Token:
instana_server_username:   admin@instana.local
instana_server_password:   Passw0rd

jenkins_user:      admin
jenkins_password:

GIT_URL - GitHub Repository URL:
GitHub Container Registry URL:   https://ghcr.io/<github-username>/
GHCR_USER - GitHub Username:
GHCR_PAT - GitHub Personal Access Token:

---------------------------------------
From the Bastion SSH, run the command below and copy the Jenkins password into the credentials file
cat demo-details.yml | grep -E 'jenkins'
3.2 Login into IBM Concert for the First Time
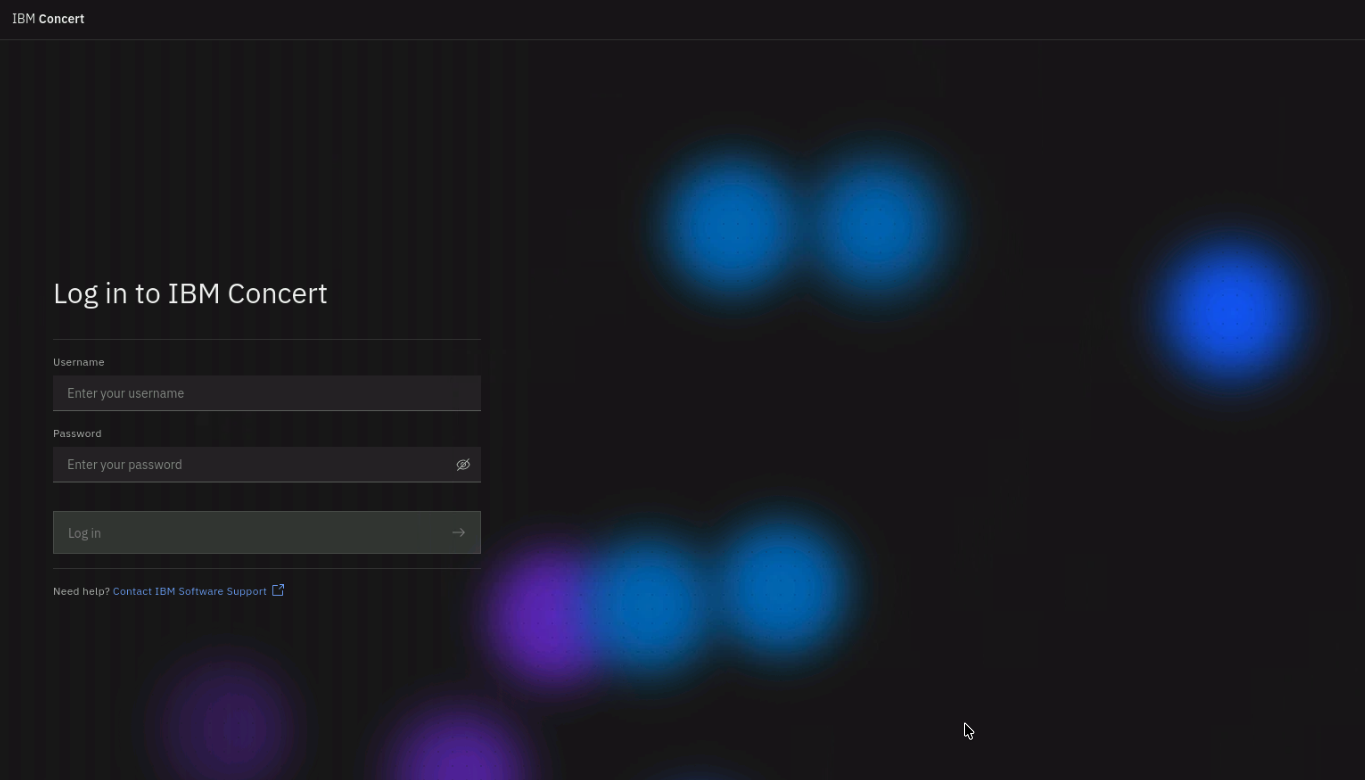
From the Bastion Remote Desktop, open the Firefox browser and click on the Concert bookmark to launch the Concert UI.
Login to the Concert UI using the credentials from your credentials file:
- concert_username
- concert_password
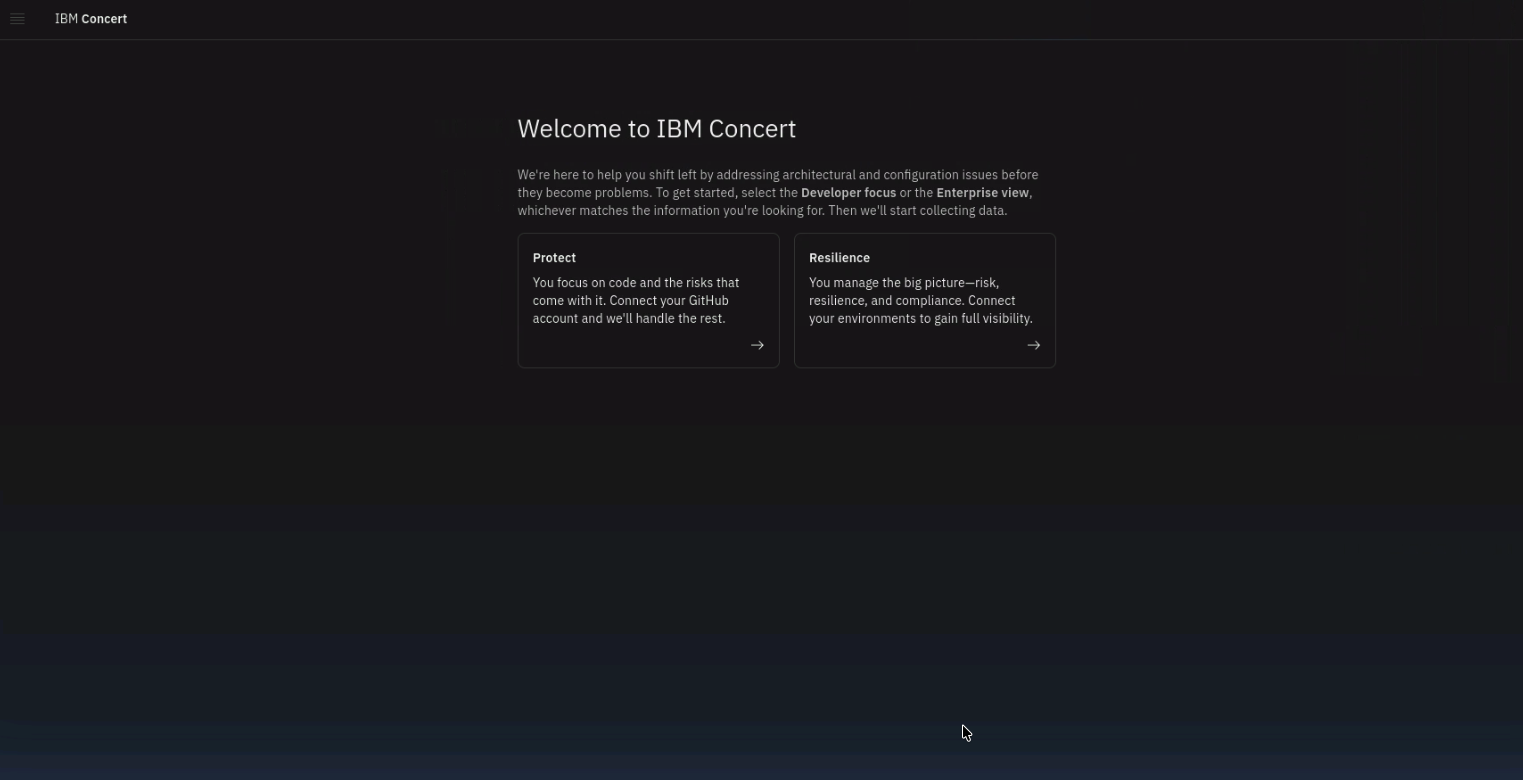
On the Concert welcome page, select the Resilience option on the right and select Skip in the next page:
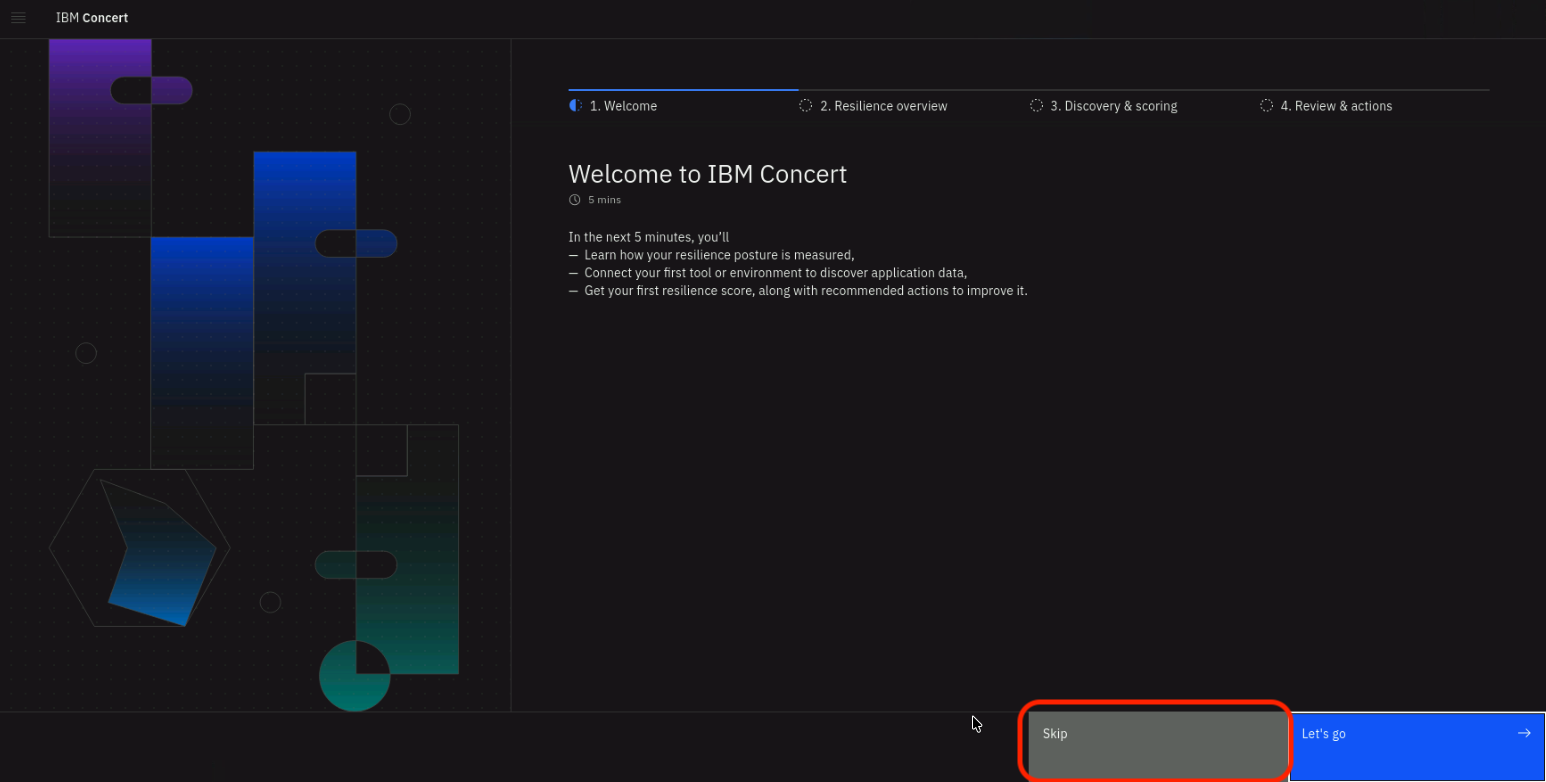
Again, make sure to choose Skip in the next page to bypass the setup wizard.
3.3: Obtaining the IBM Concert API Key
- In the Concert UI, on the top right corner, click on the API Key icon.
- Click Generate API key.
- After the API key is generated, save the value under API key into the credentials file.
- Click on the X to close the window.
3.4: Obtaining the Instana API token
- From the Bastion Remote Desktop, on the Firefox browser, open a new Tab and click on the Instana bookmark to open the Instana UI.
- Login to the Instana UI with the credentials recorded in the credentials file (instana_server_username: and instana_server_password:).
- From the Instana navigation menu on the left, click Settings > Security & access > API tokens.
- Click New API token.
- Enter a unique name for your API token, such as concert-token. For the Instana-Concert integration, Concert uses read-only APIs and the default API token permissions are sufficient.
- Click on Save at the bottom.
- After the API token is generated, save it into the credentials file after Instana API Token:. You will need this token when creating the Instana connection in Concert.
3.5: Configuring GitHub
You will need a GitHub account to complete the lab. If you do not have one, please create one at GitHub.
3.5.1: Forking the qotd application repository
You will fork the qotd application repository into your GitHub account. We will use this repository to demonstrate the vulnerability scanning capabilities of Concert.
- Login to your GitHub account and open the following repository URL on the browser
https://github.com/jorgego11/concert-vulnerability-lab
- On the top right corner of the page, click on the Fork button to create a copy of the repository in your GitHub account.
- In the Create a new fork page, keep the default settings and click Create fork as shown below (your GitHub username will be shown under Owner).:
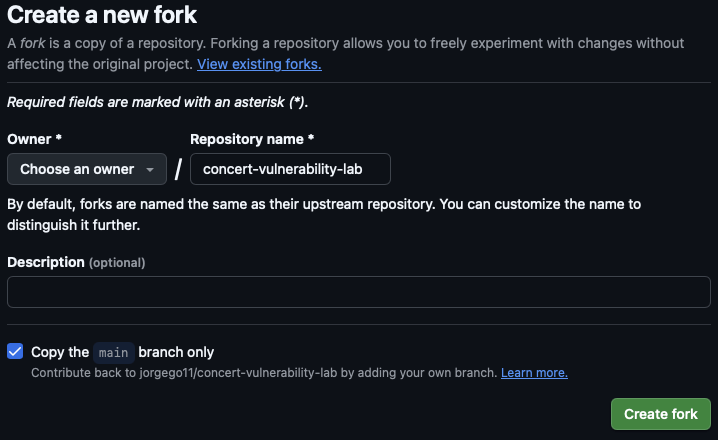
- Copy the URL of your forked repository and save it into the credentials file after GitHub Repository URL. You will need it later to configure Jenkins. The URL should look similar to:
https://github.com/<github-username>/concert-vulnerability-lab
-
Update the GitHub Container Registry URL in the credentials file by replacing
<github-username>with your actual GitHub username. -
Update GitHub Username in the credentials file with your actual GitHub username.
3.5.2: Enabling GitHub issues
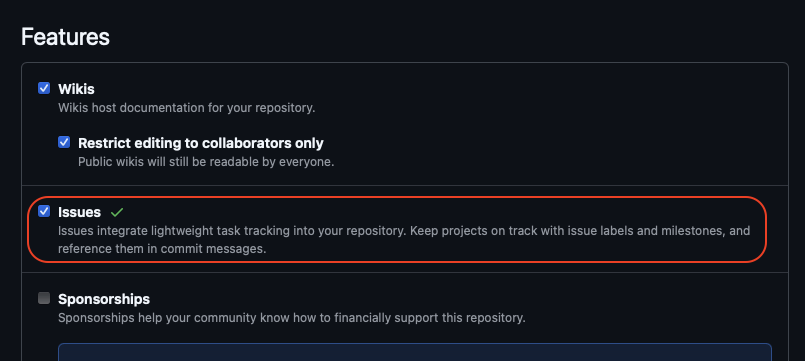
You will enable GitHub issues in your forked repository to allow Concert to create issues for the detected vulnerabilities.
- In your forked repository, click on the Settings tab.
- Under the General section, scroll down to the Features section and select the checkbox for Issues as shown below:
3.5.3: Creating a Personal Access Token (PAT)
You will create a Personal Access Token (PAT) in GitHub to allow the Jenkins CI/CD pipeline to access your forked repository.
- In your GitHub account, click on your profile picture on the top right corner of the page and select Settings.
- In the left navigation menu, scroll all way down and click Developer settings.
- In the left navigation menu, click Personal access tokens > Tokens (classic).
- Click Generate new token > Generate new token (classic).
- Under Note, enter a name for your token, such as concert-lab.
- Under Expiration, select 90 days.
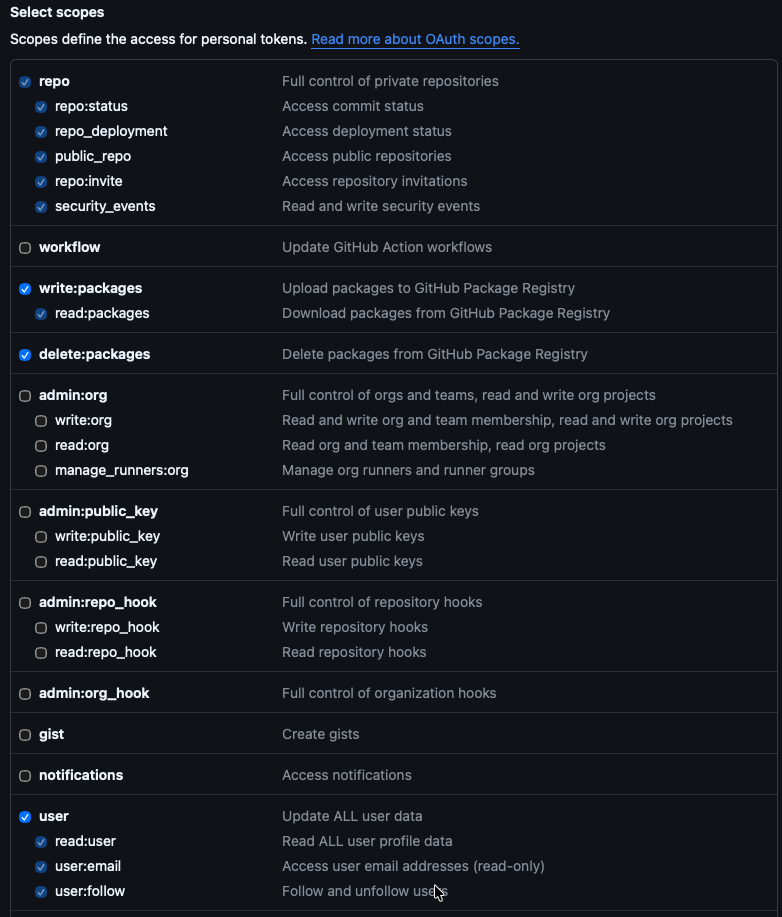
- Select the following scopes:
- repo (Full control of private repositories)
- write:packages (to push/pull images)
- delete:packages (to delete images)
- user (Update ALL user data)
- Click Generate token on the bottom.
- Copy the generated token into the credentials file after GHCR_PAT. You will need it later to configure Jenkins.
Make sure to save the credentials file!. Keep the window open for easy access during the Lab.