Consider the following tasks after installing Event Streams.
Verifying your installation
To verify that your Event Streams installation deployed successfully, check the status of your release as follows.
- Log in to your IBM Cloud Private cluster management console from a supported web browser by using the URL
https://<Cluster Master Host>:<Cluster Master API Port>. The master host and port for your cluster are set during the installation of IBM Cloud Private. For more information, see the IBM Cloud Private documentation. - Enter an IBM Cloud Private administrator user name and password.
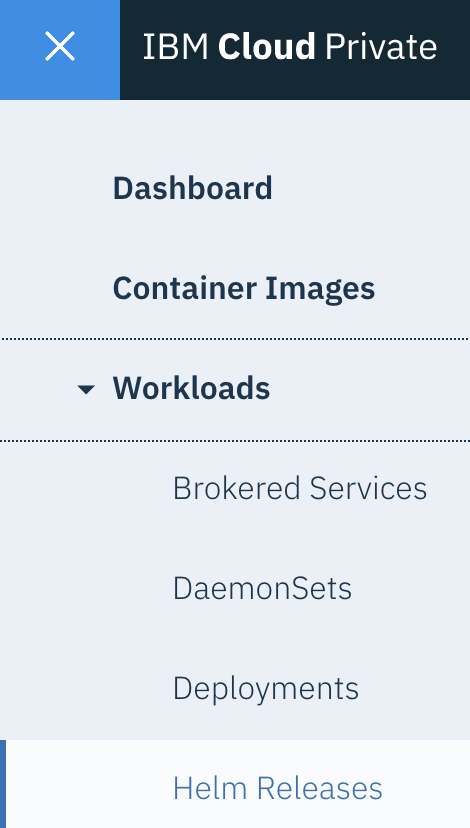
- From the navigation menu, click Workloads > Helm Releases.
- Locate your installation in the NAME column, and ensure the STATUS column for that row states Deployed.
- Optional: Click the name of your installation to check further details of your Event Streams installation. For example, you can check the ConfigMaps used, or check the logs for your pods.
- Log in to your Event Streams UI to get started.
Installing the command-line interface
The Event Streams command-line interface (CLI) is a plugin for the IBM Cloud Private CLI. You can use the Event Streams CLI to manage your Event Streams instance from the command line, such as creating, deleting, and updating topics.
To install the Event Streams CLI:
- Ensure you have the IBM Cloud Private CLI installed.
- Log in to the Event Streams as an administrator.
- Click the Toolbox tab.
- Go to the Event Streams command-line interface section and click Find out more.
- Download the Event Streams CLI plug-in for your system by using the appropriate link.
- Install the plugin using the following command:
cloudctl plugin install <full_path>/es-plugin
To start the Event Streams CLI and check all available command options in the CLI, use the cloudctl es command. To get help on each command, use the --help option.
To use the Event Streams CLI against a deployed IBM Cloud Private cluster, run the following commands, replacing <master_ip_address> with your master node IP address, <master_port_number> with the master node port number, and <my_cluster> with your cluster name:
cloudctl login -a https://<master_ip_address>:<master_port_number> -c <my_cluster>
cloudctl es init
Firewall settings
In your firewall settings, ensure you enable communication for the node ports that Event Streams services use. To find out what ports need to be opened, follow these steps:
- Log in to your IBM Cloud Private cluster management console from a supported web browser by using the URL
https://<Cluster Master Host>:<Cluster Master API Port>. The master host and port for your cluster are set during the installation of IBM Cloud Private. For more information, see the IBM Cloud Private documentation. - From the navigation menu, click Workloads > Helm Releases.

- Locate the release name of your Event Streams installation in the NAME column, and click the name.
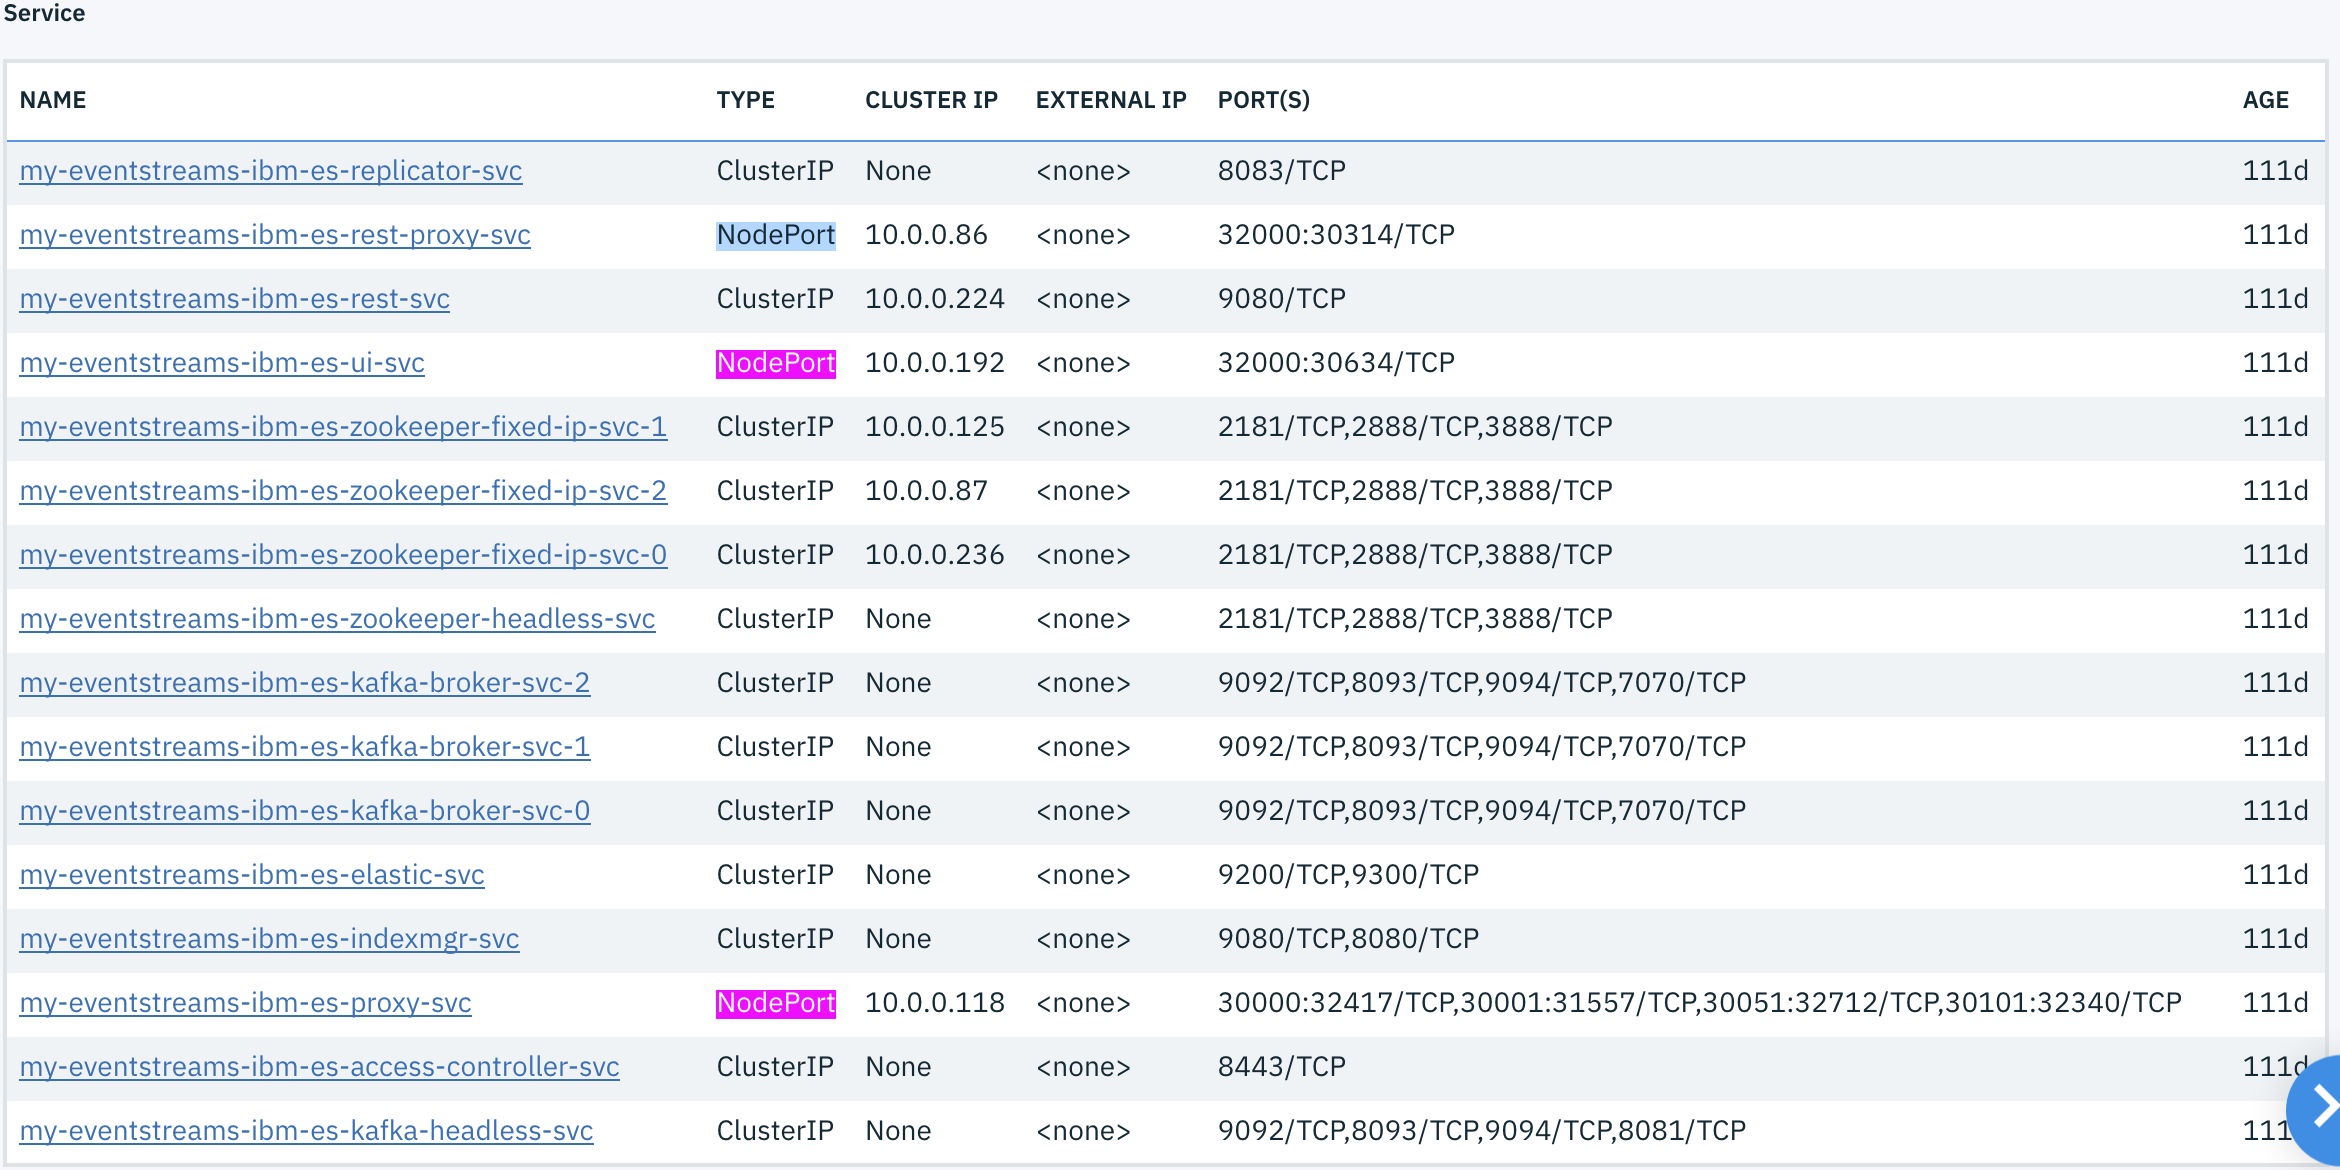
- Scroll down to the Service table. The table lists information about the Event Streams services.
- In the Service table, look for
NodePortin the TYPE column.
In each row that hasNodePortas type, look in the PORT(S) column to find the port numbers you need to ensure are open to communication.
The port numbers are paired as<internal_number:external_number>(for example,32000:30553). For your firewall settings, ensure the external numbers are open.
The following image provides an example of the table:

Connecting clients
You can set up external client access during installation. After installation, clients can connect to the Kafka cluster by using the externally visible IP address for the Kubernetes cluster. The port number for the connection is allocated automatically and varies between installations. To look up this port number after the installation is complete:
- Log in to your IBM Cloud Private cluster management console from a supported web browser by using the URL
https://<Cluster Master Host>:<Cluster Master API Port>. The master host and port for your cluster are set during the installation of IBM Cloud Private. For more information, see the IBM Cloud Private documentation. - Enter an IBM Cloud Private administrator user name and password.
- From the navigation menu, click Workloads > Helm Releases.
- In the NAME column, locate and click the release name used during installation.
- Scroll down through the sections and locate the Service section.
- In the NAME column, locate and click the
<releasename>-ibm-es-proxy-svcNodePort entry. - In the Type column, locate the list of Node port links.
- Locate the top entry in the list named
bootstrap <bootstrap port>/TCP. - If no external hostname was specified when Event Streams was installed, this is the IP address and port number that external clients should connect to.
- If an external hostname was specified when Event Streams was installed, clients should connect to that external hostname using this bootstrap port number.
Before connecting a client, ensure the necessary certificates are configured within your client environment. Use the TLS and CA certificates if you provided them during installation, or export the self-signed public certificate from the browser.

- Log in to your Event Streams UI.
- Click Connect to this cluster on the right.
- On the Connect a client tab, copy the address from the Bootstrap server section. This gives the bootstrap address for Kafka clients.
- From the Certificates section, download the server certificate. If you are using a Java client, use the Java truststore. Otherwise, use the PEM certificate.

- Log in to your Event Streams UI.
- Click the Topics tab to view the topic list.
- Click the topic you want to connect the client to.
- Click the Connection information tab.
- Copy the broker information. This gives the bootstrap address for Kafka clients.
- From the Certificates section, download the server certificate. If you are using a Java client, use the JKS truststore. Otherwise, use the PEM certificate.
Setting up access
Secure your installation by managing the access your users and applications have to your Event Streams resources.
For example, associate your IBM Cloud Private teams with your Event Streams instance to grant access to resources based on roles.
Scaling
Depending on the size of the environment that you are installing, consider scaling and sizing options. You might also need to change scale and size settings for your services over time. For example, you might need to add additional Kafka brokers over time.
See how to scale your environment
Considerations for GDPR readiness
Consider the requirements for GDPR, including encrypting your data for protecting it from loss or unauthorized access.
