Scenario
The security team wants to process a live stream of door access events, as part of a project to be able to identify and respond to unusual out-of-hours building access.
To begin, they want to create a stream of events for weekend building access, enriching that stream of events with additional information about the buildings from their database.
Before you begin
The instructions in this tutorial use the Tutorial environment, which includes a selection of topics each with a live stream of events, created to allow you to explore features in IBM Event Automation. Following the setup instructions to deploy the demo environment gives you a complete instance of IBM Event Automation that you can use to follow this tutorial for yourself.
You will also need to run the optional instructions for creating a PostgreSQL database. This database will provide a source of reference data that you will use to enrich the Kafka events.
Versions
This tutorial uses the following versions of Event Automation capabilities. Screenshots may differ from the current interface if you are using a newer version.
- Event Endpoint Management 11.6.4
- Event Processing 1.4.7
Instructions
Step 1: Discover the topic to use
For this scenario, you need a source of door badge events.
-
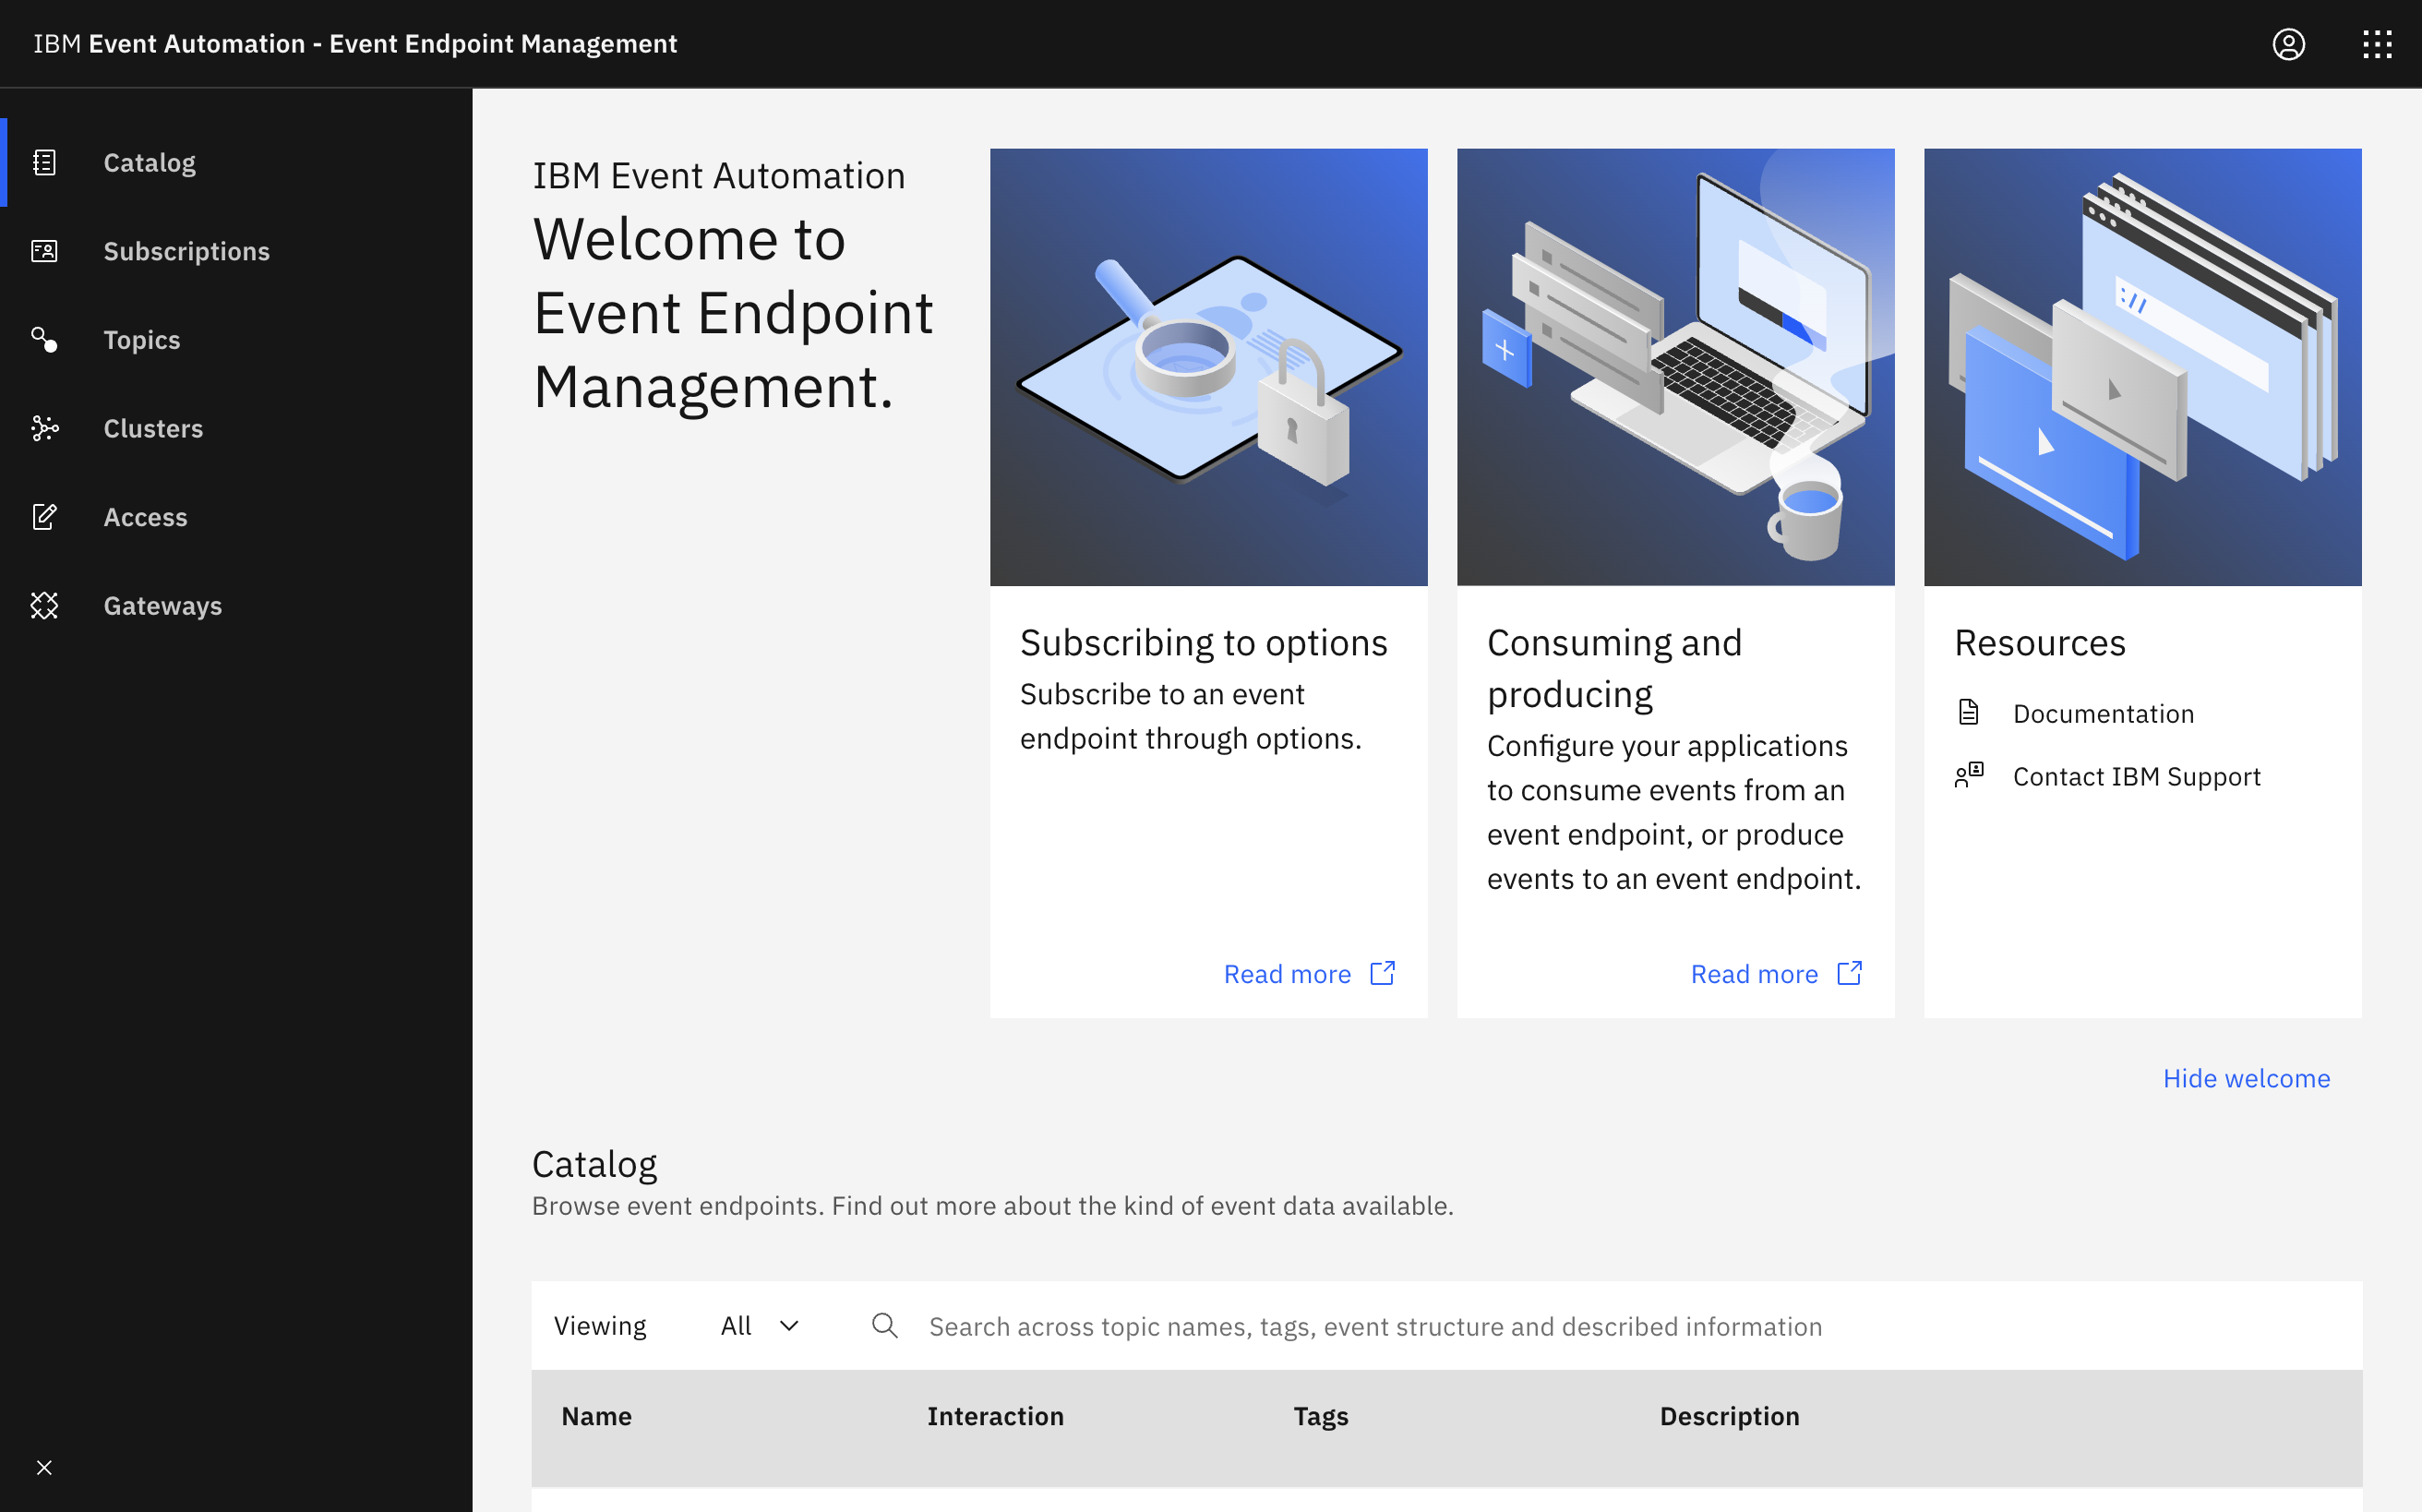
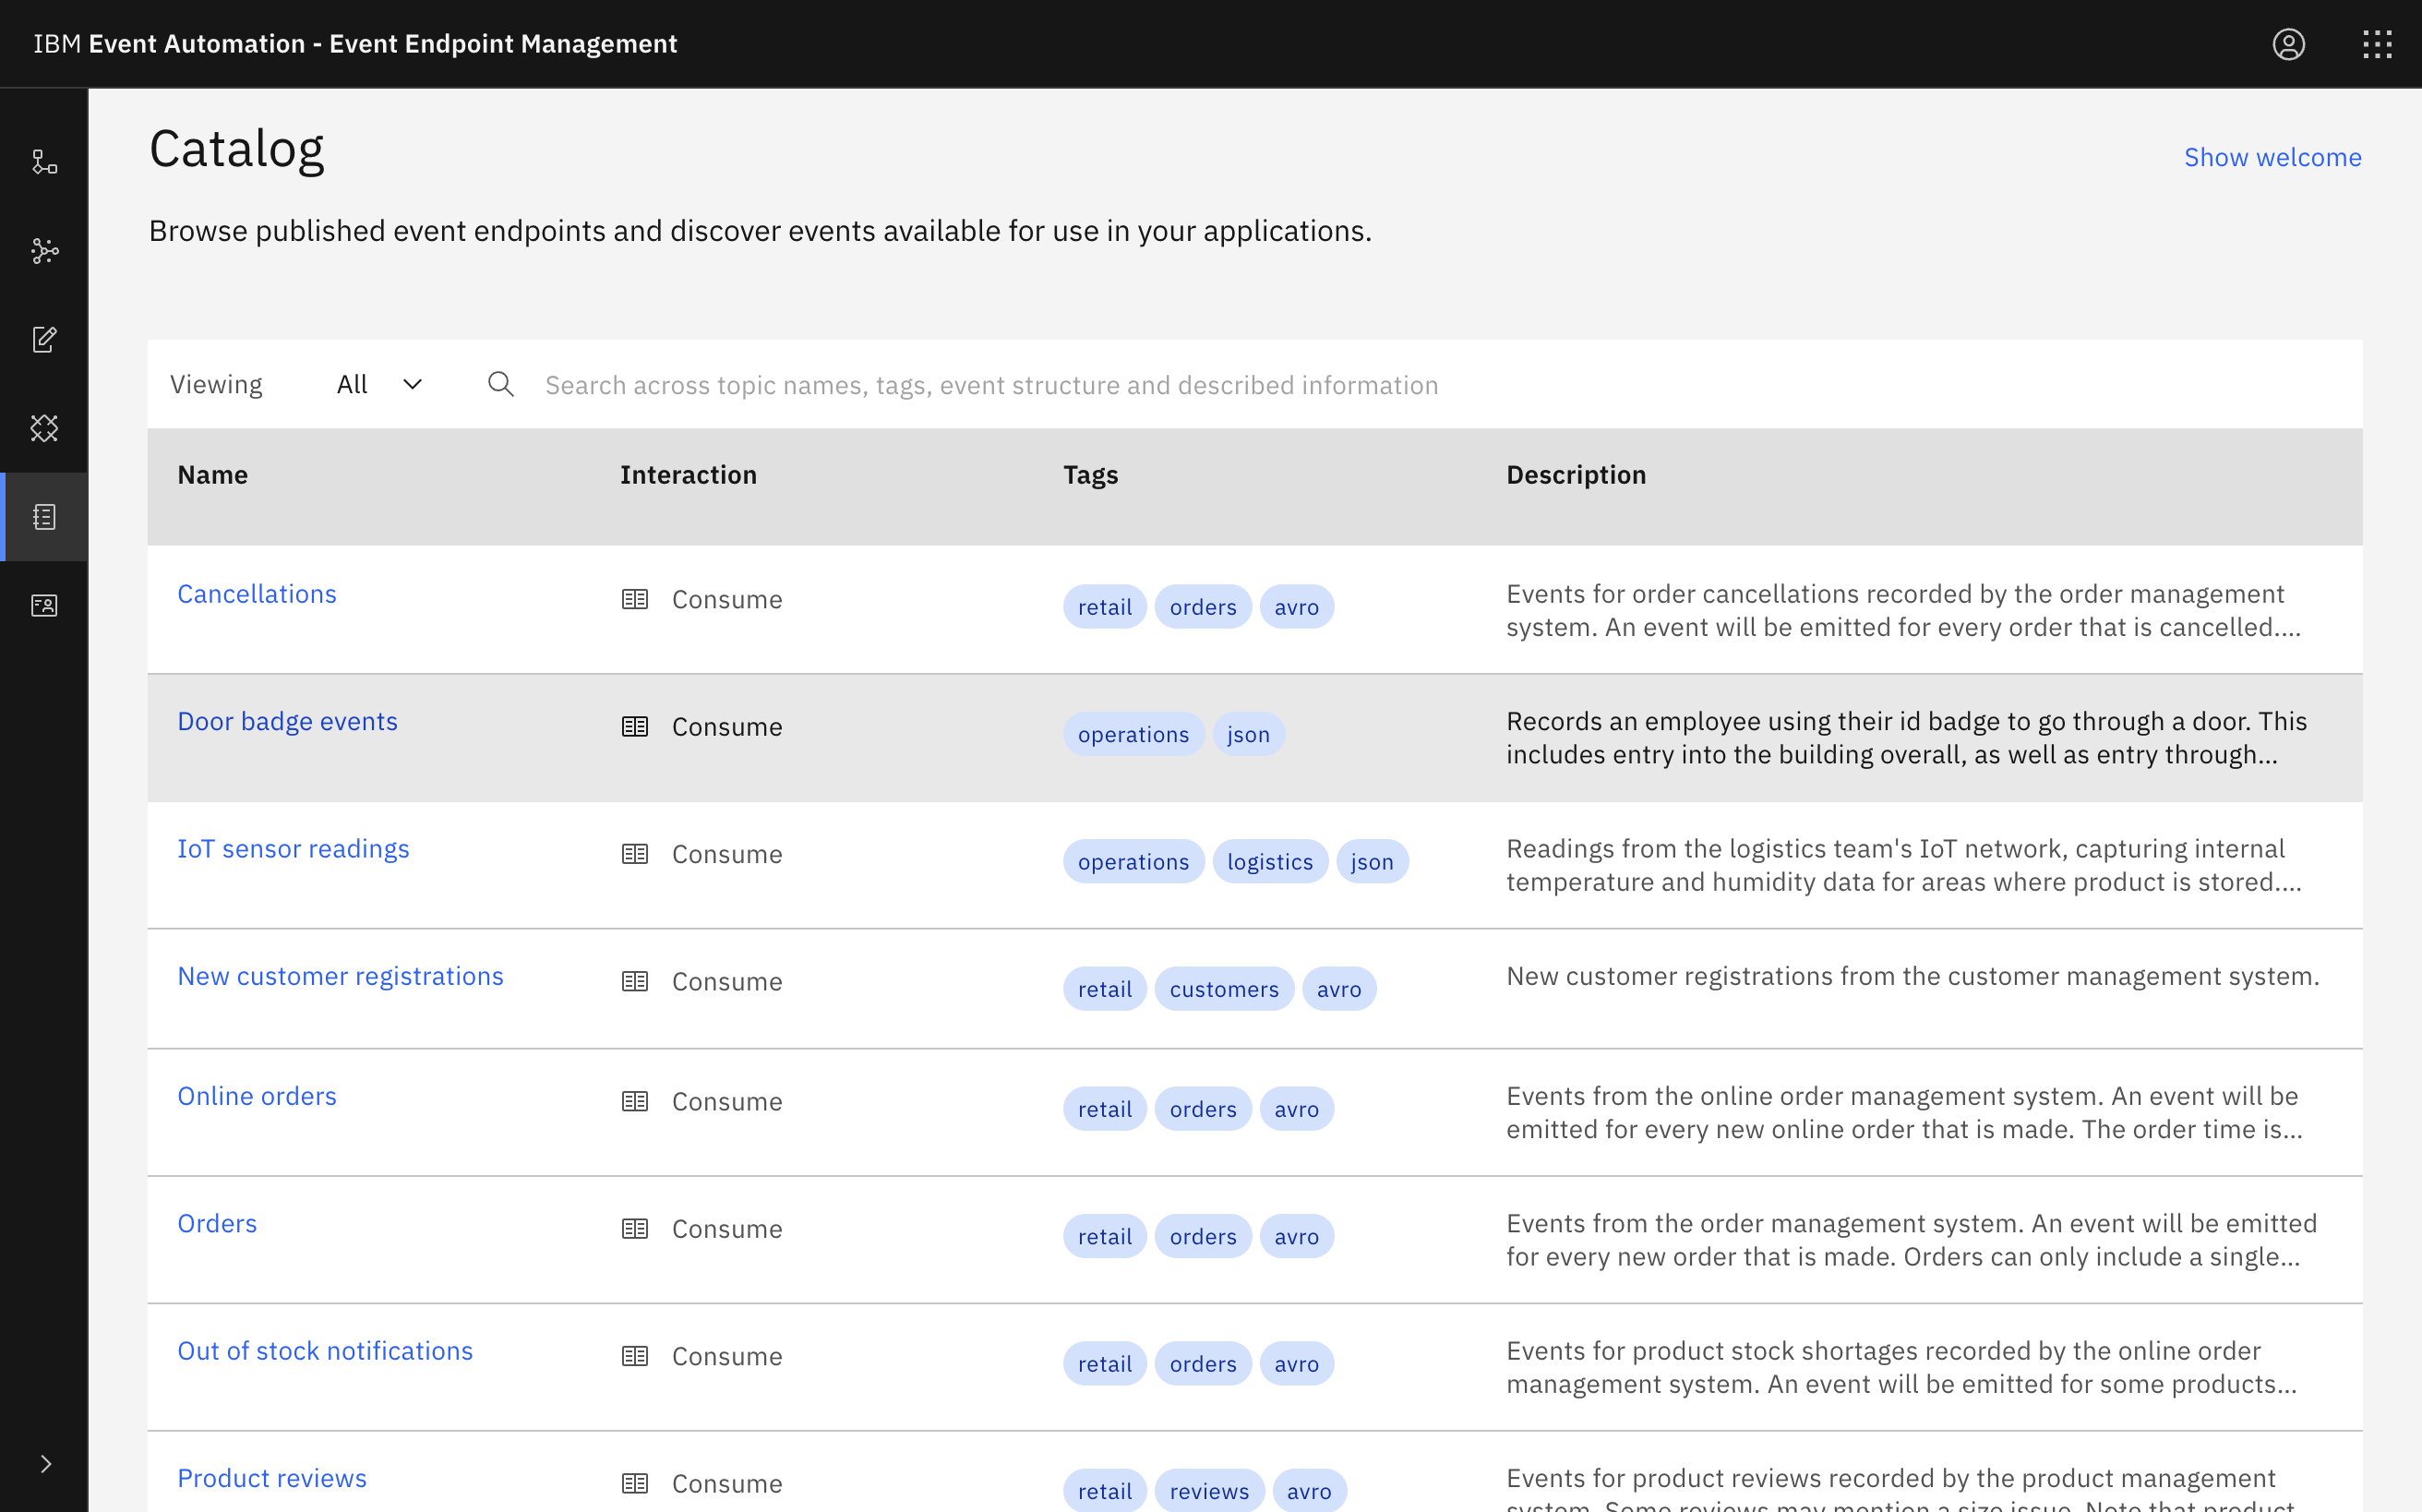
Go to the Event Endpoint Management catalog.
If you need a reminder about how to access the Event Endpoint Management catalog you can review Accessing the tutorial environment.
-
Find the
Door badge eventstopic. -
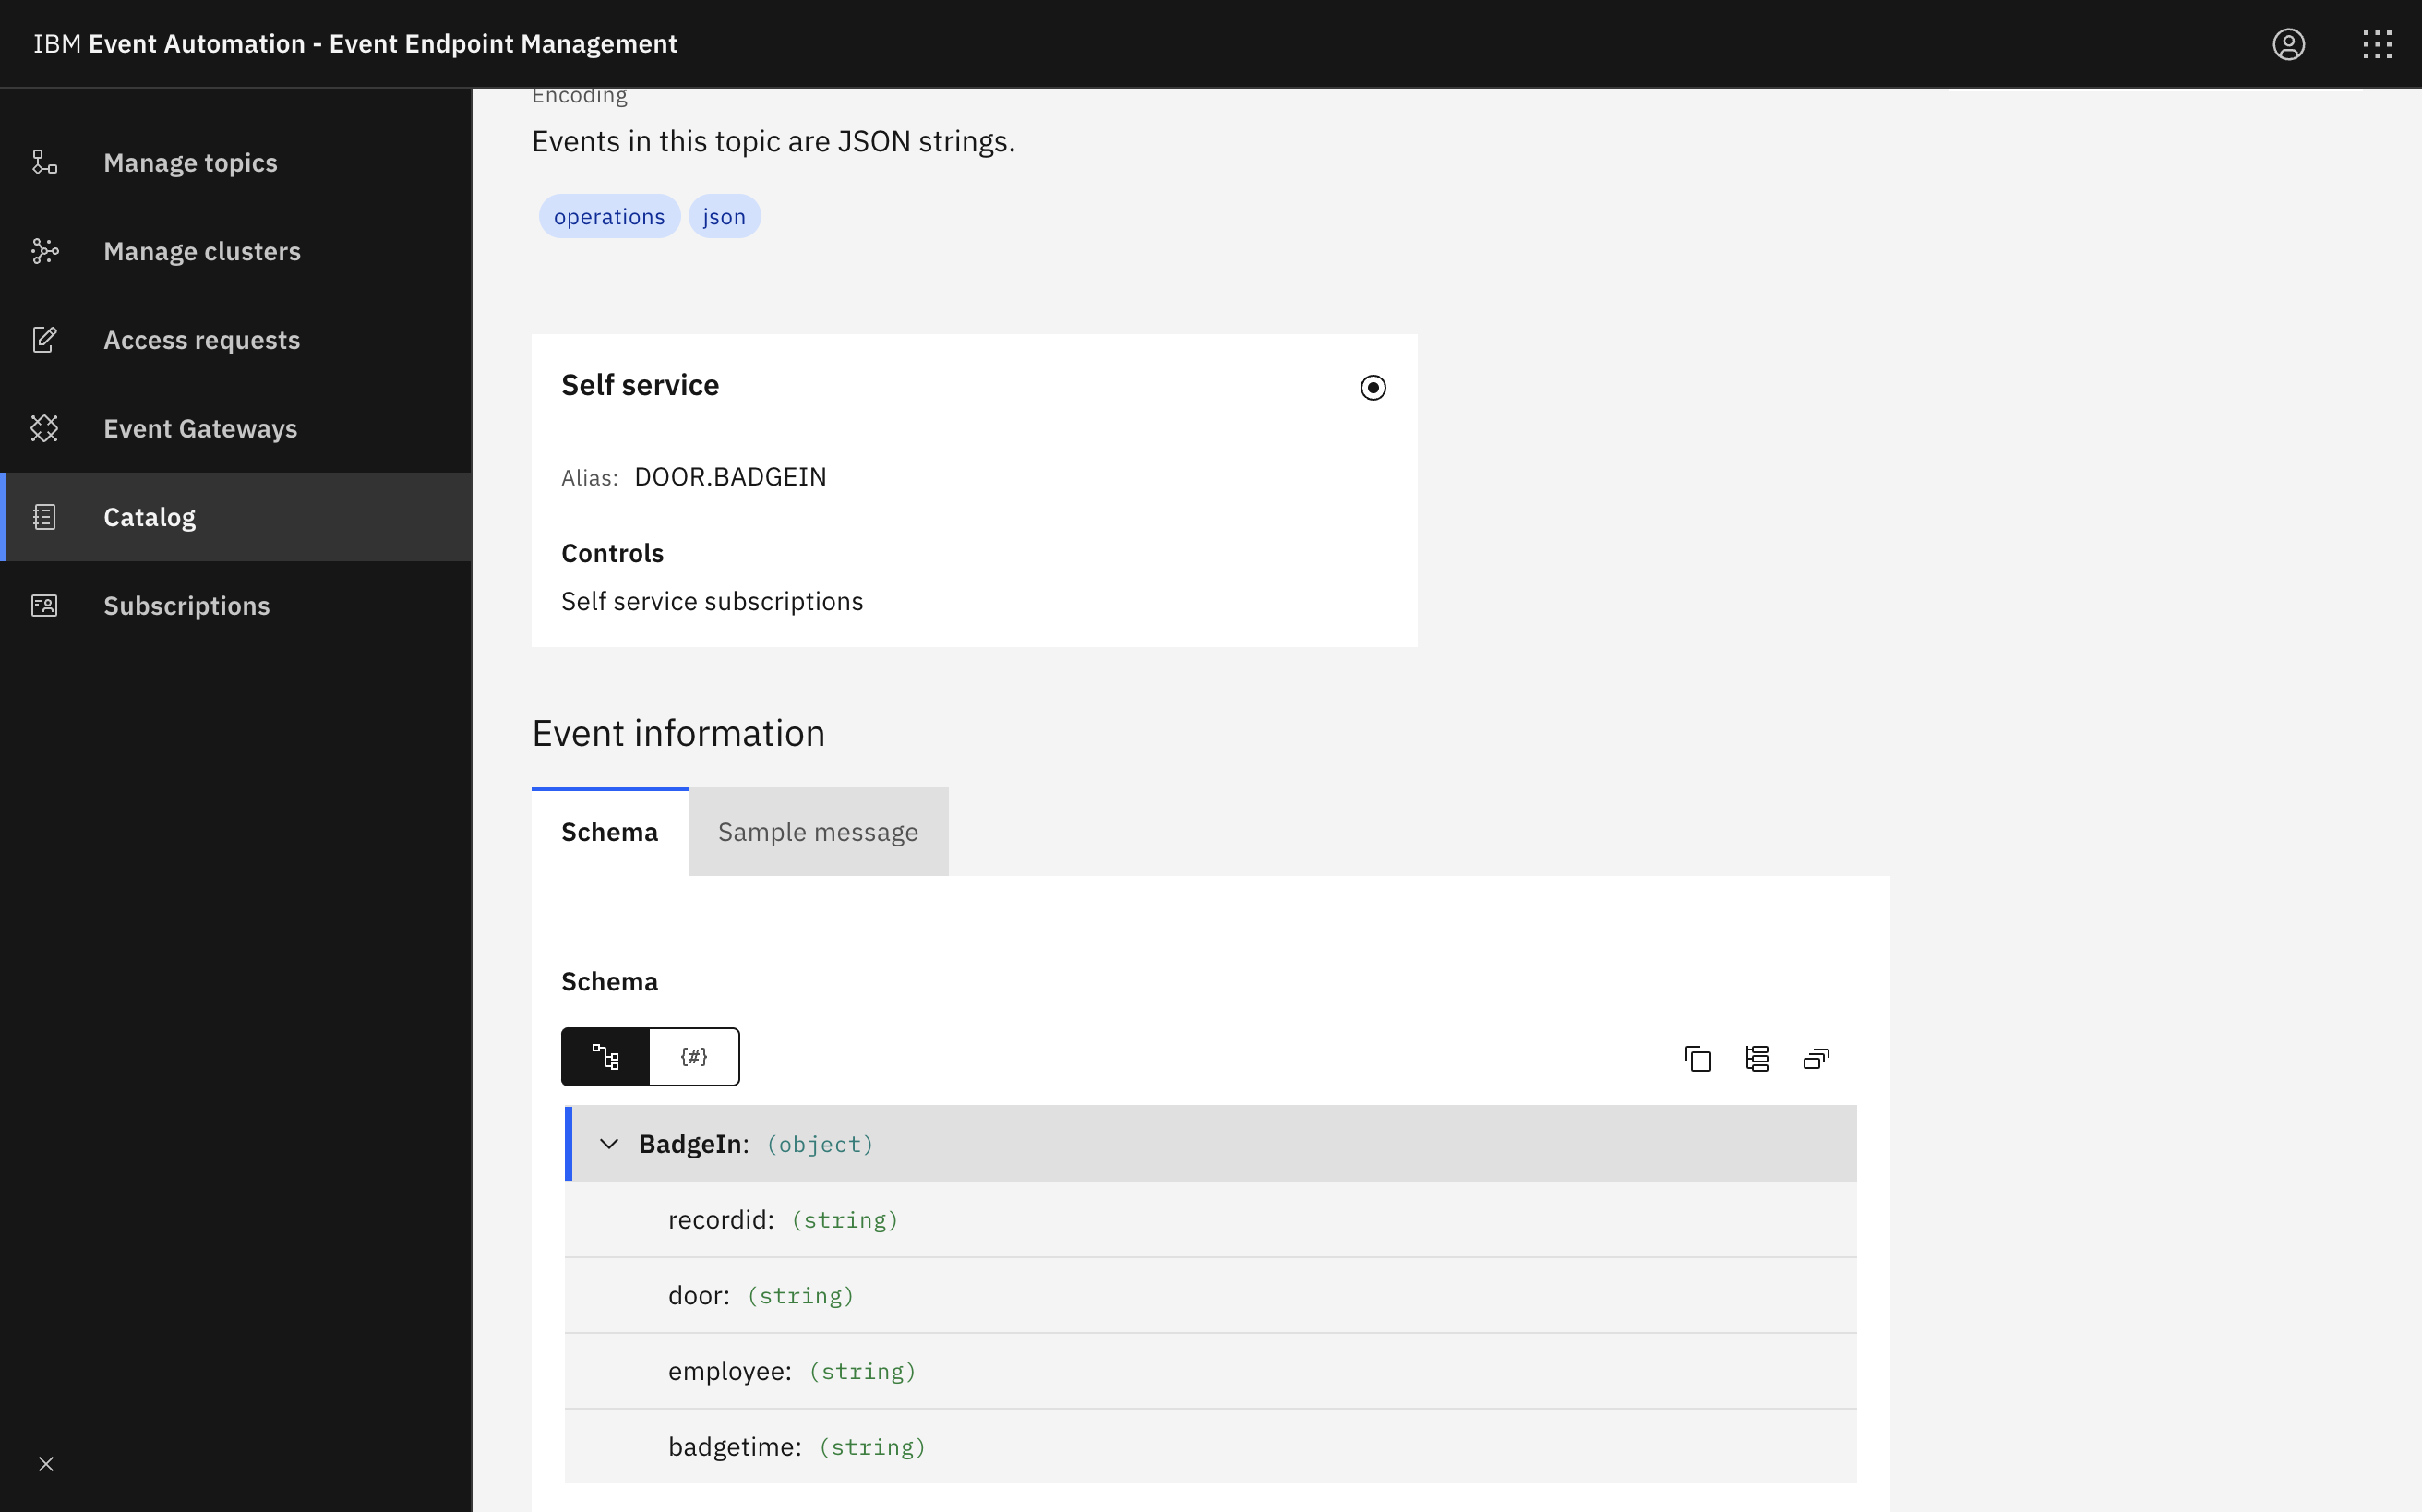
Click into the topic to review the information about the events that are available here.
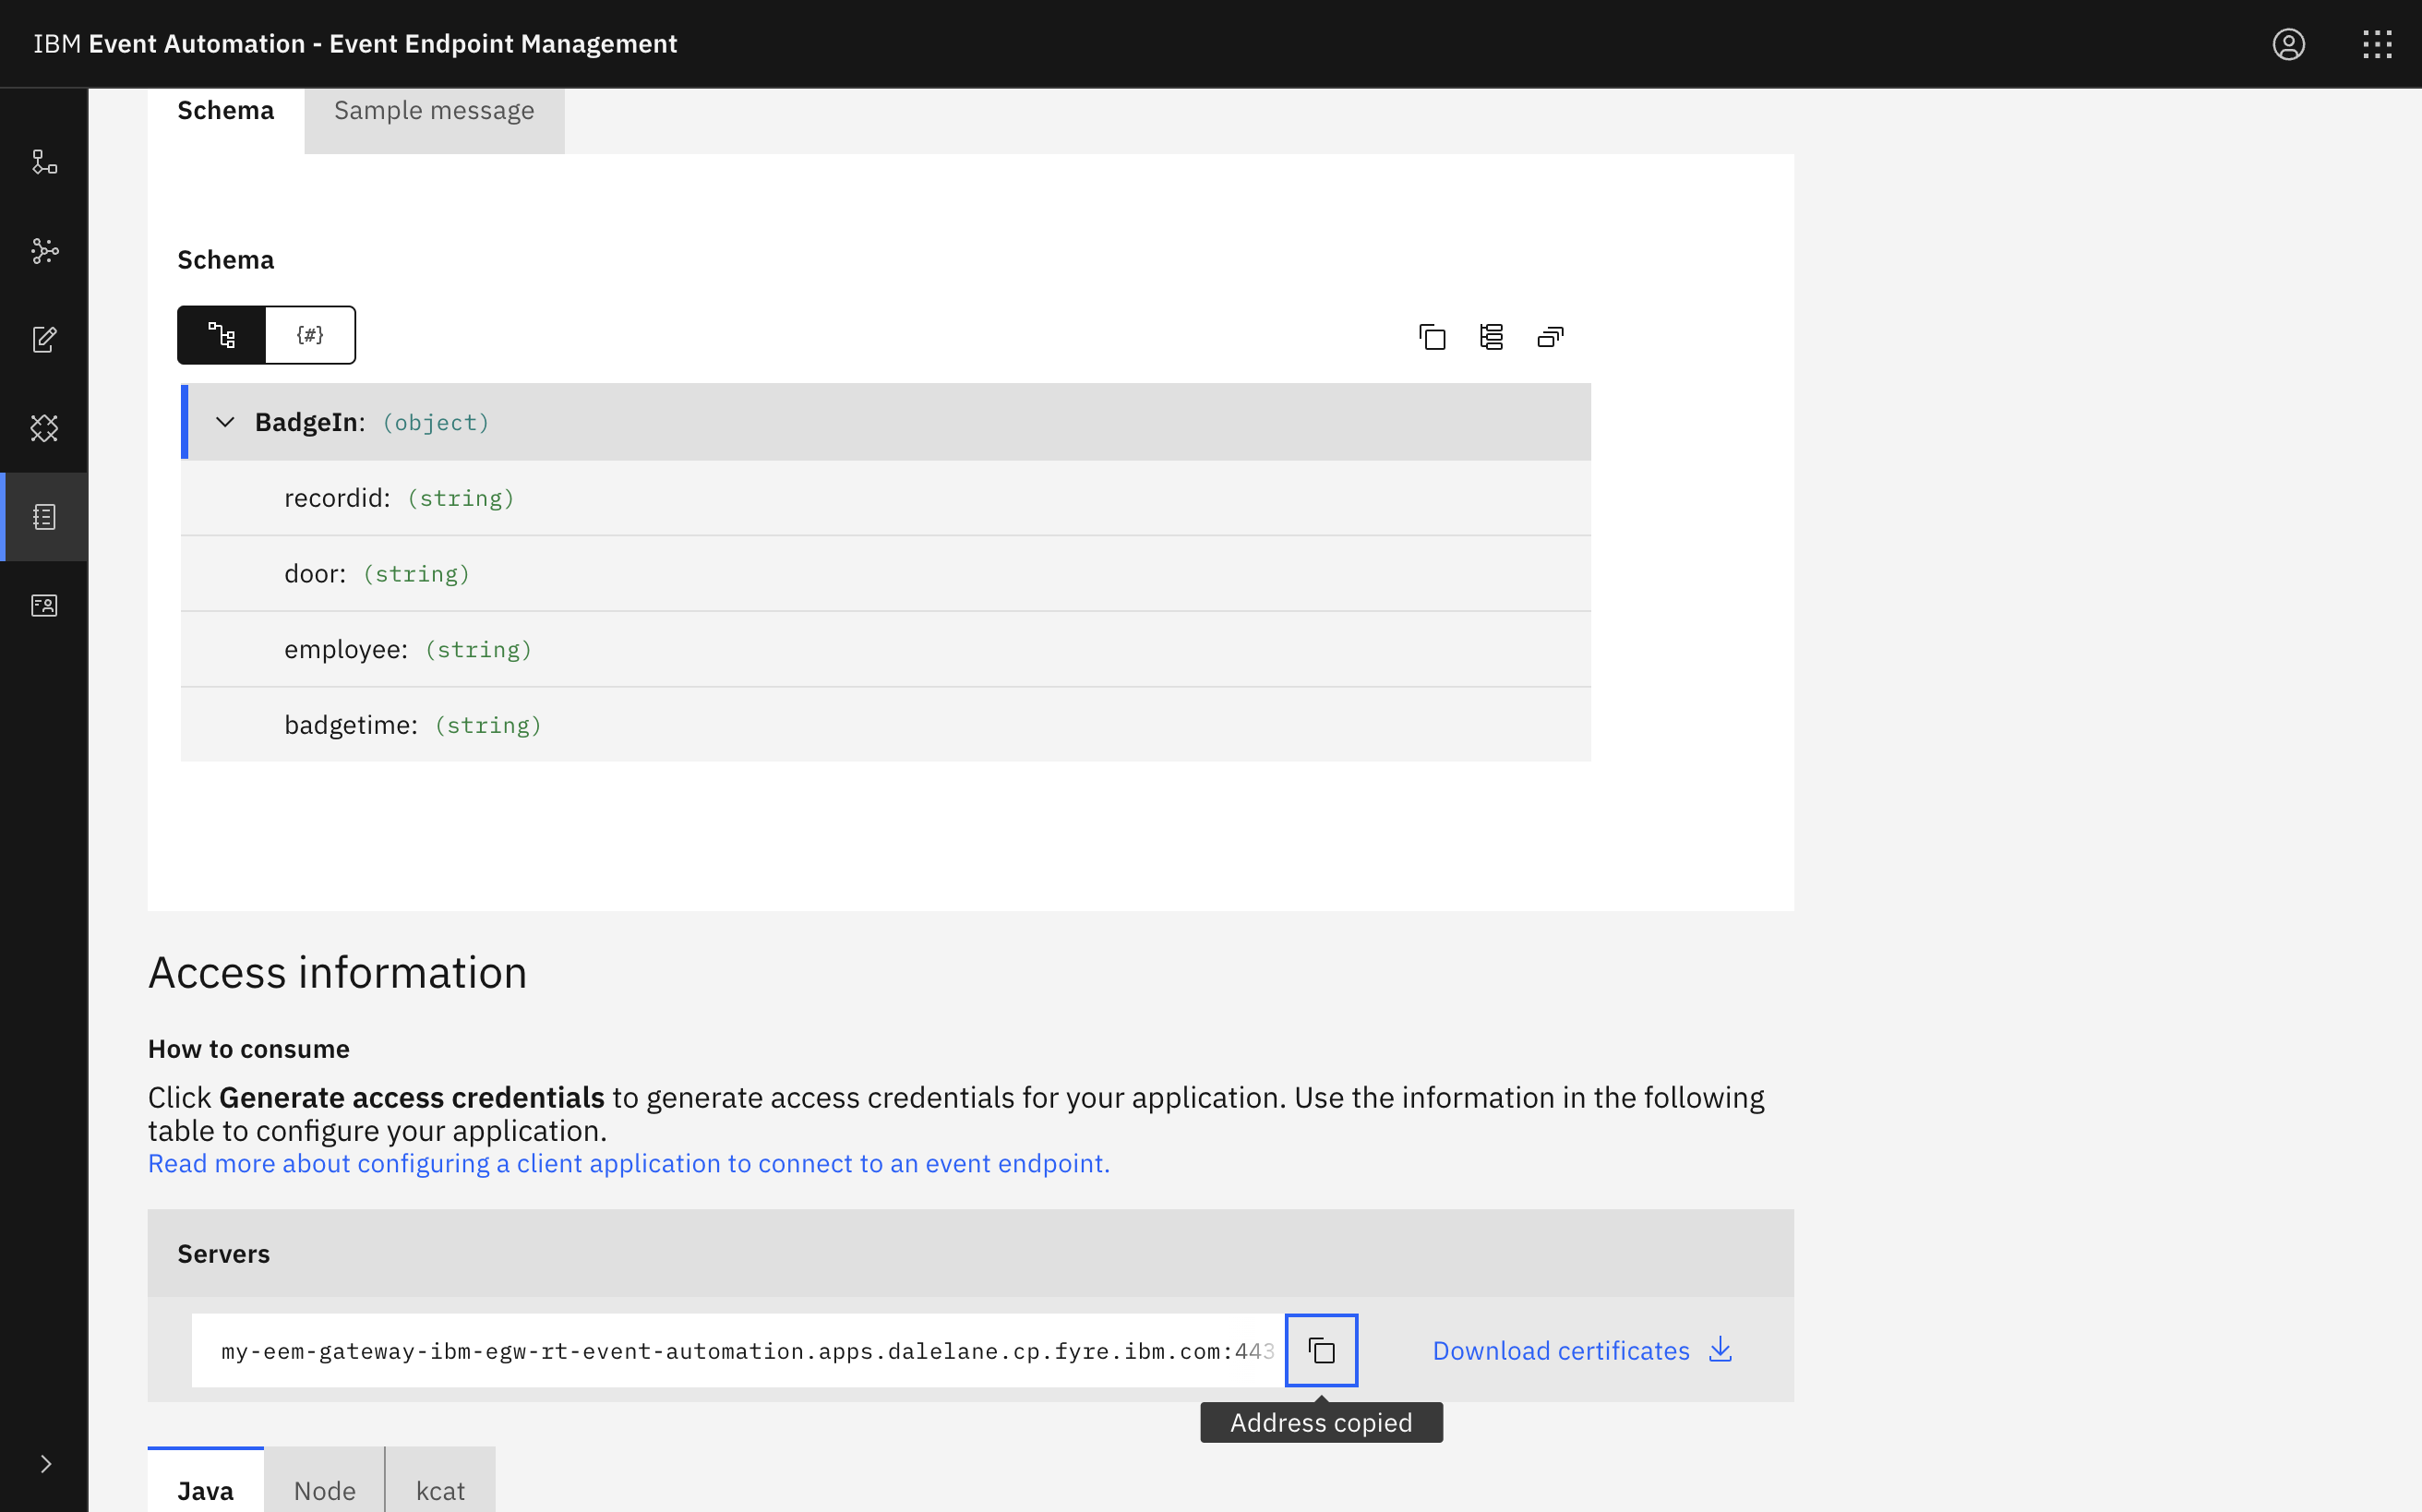
Look at the schema and sample message to see the properties in the door events, and get an idea of what to expect from events on this topic.
Tip: Keep this page open. It is helpful to have the catalog available while you work on your event processing flows, as it allows you to refer to the documentation about the events as you work. Complete the following steps in a separate browser window or tab.
Step 2: Create a flow
-
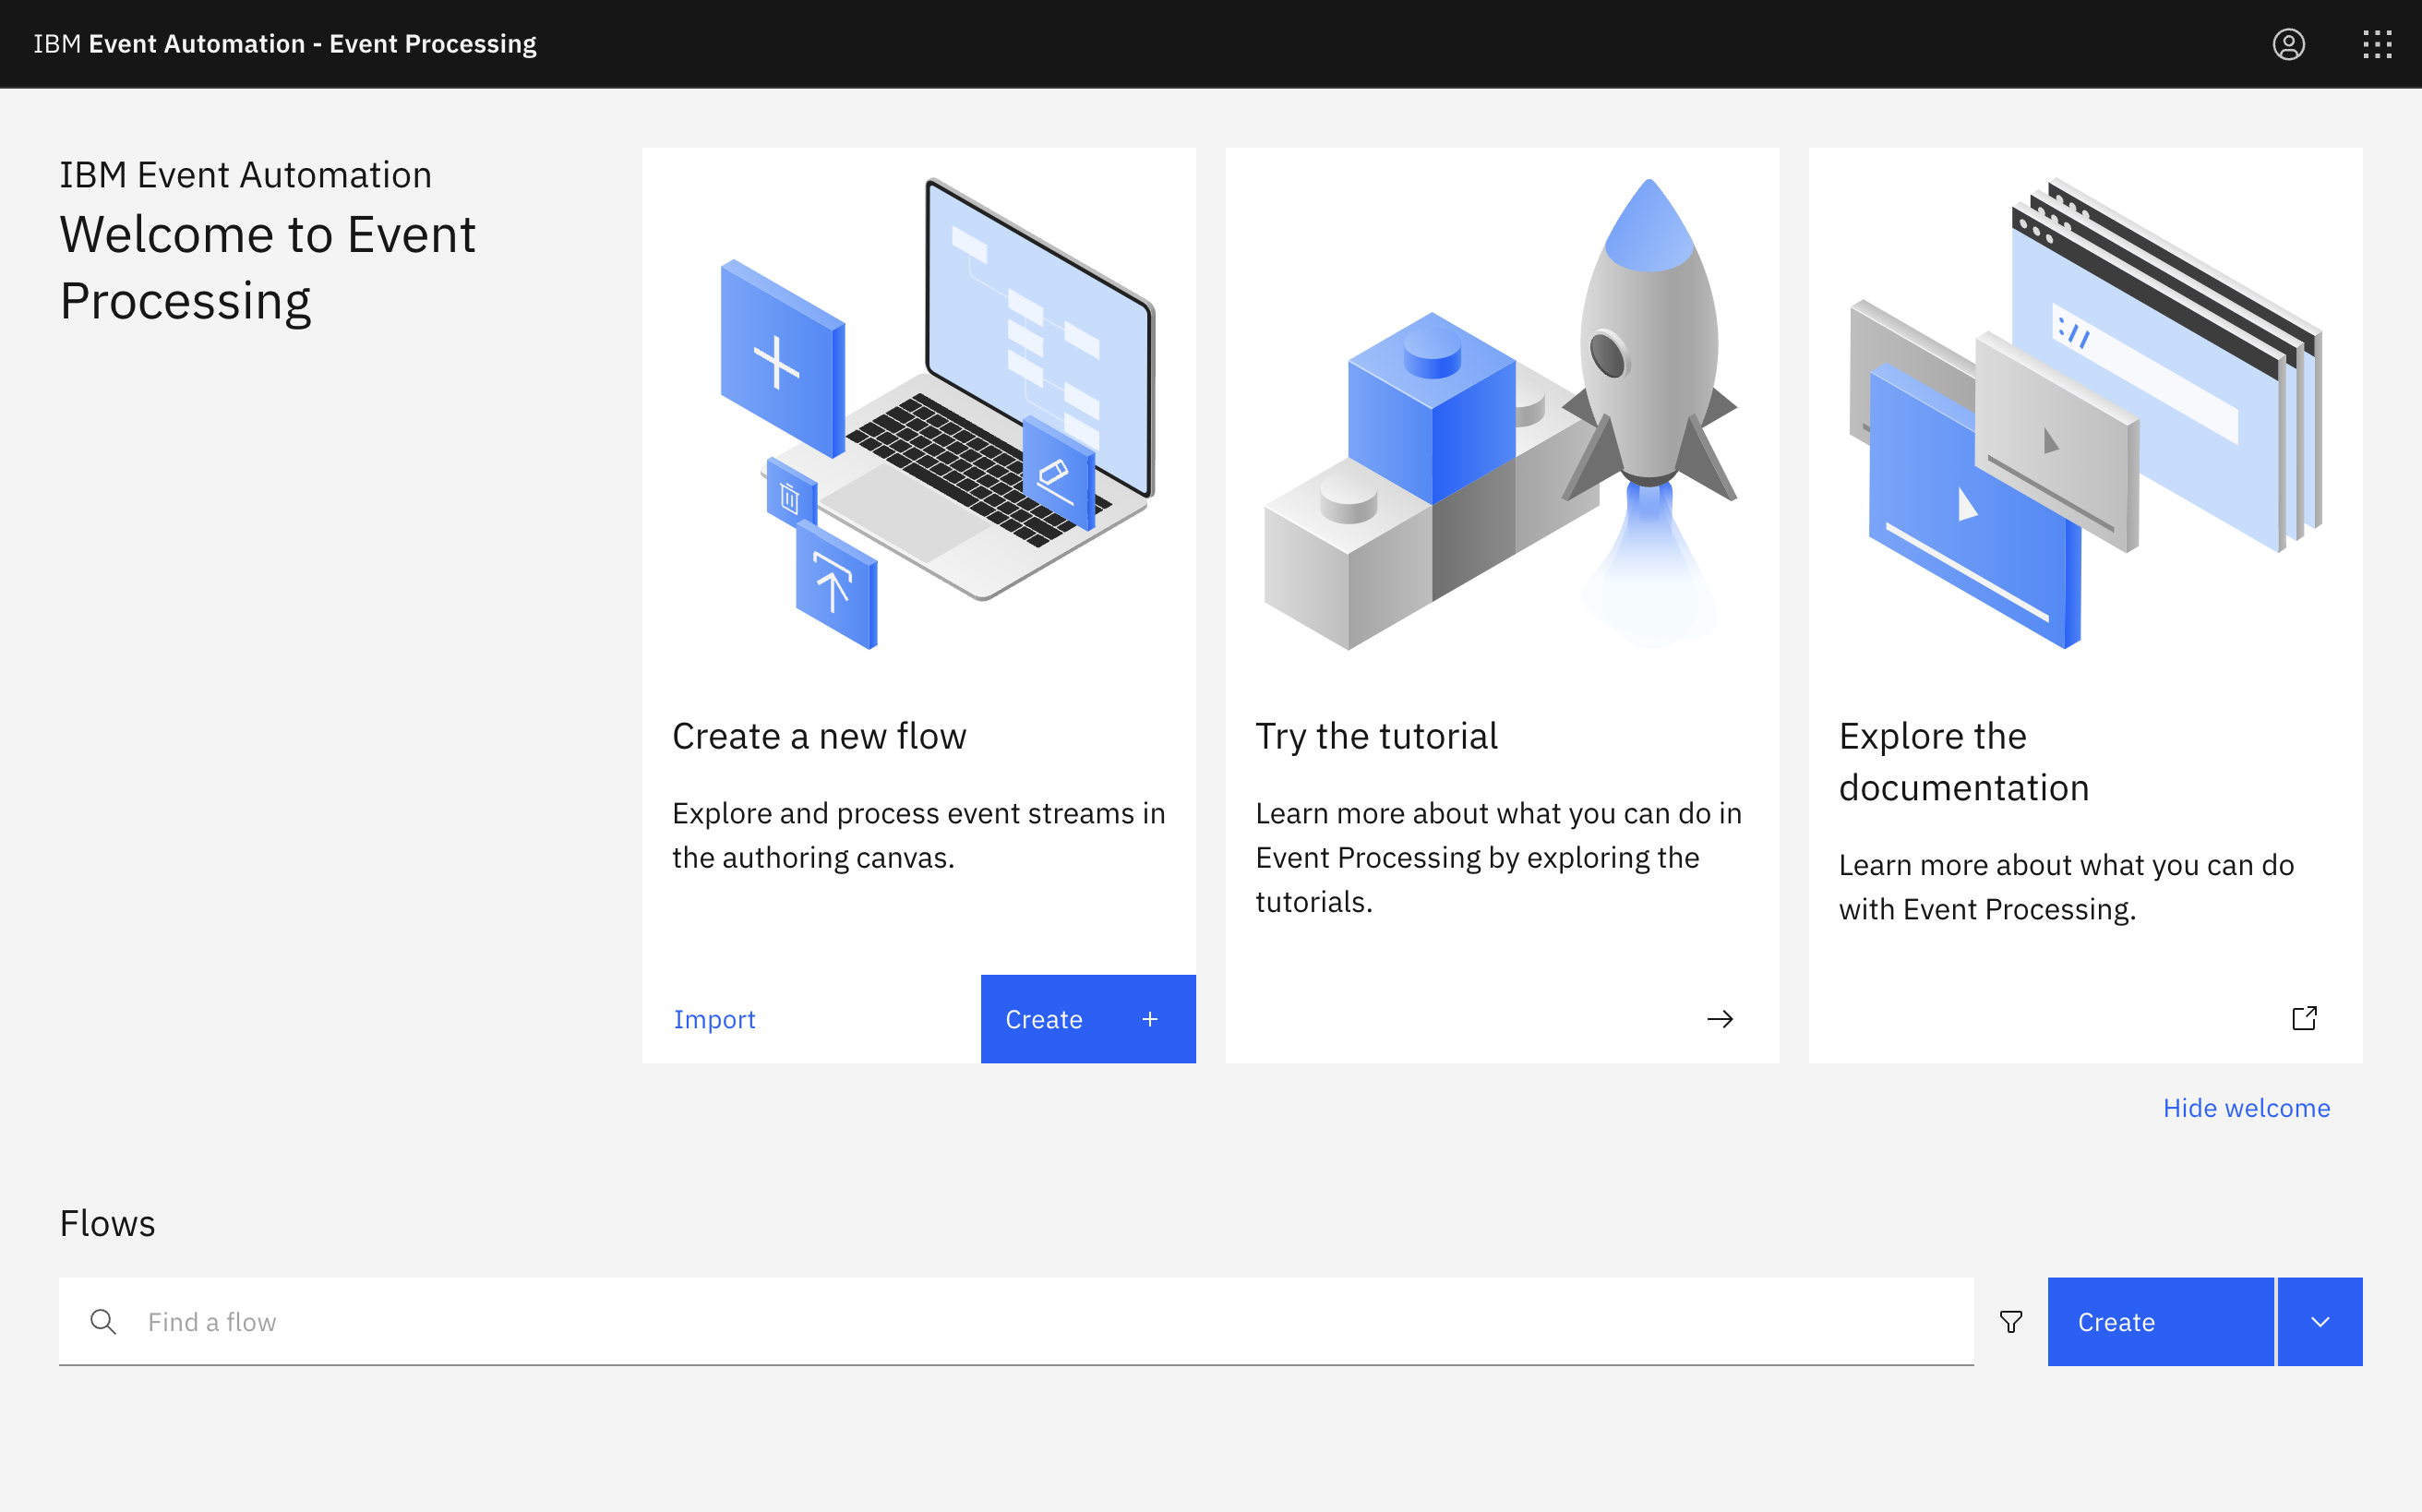
Go to the Event Processing home page.
If you need a reminder about how to access the Event Processing home page, you can review Accessing the tutorial environment.
-
Create a flow, and give it a name and description to explain that you will use it to create an enriched stream of weekend door badge events.
Step 3: Provide a source of events
The next step is to bring the stream of events you discovered in the catalog into Event Processing.
-
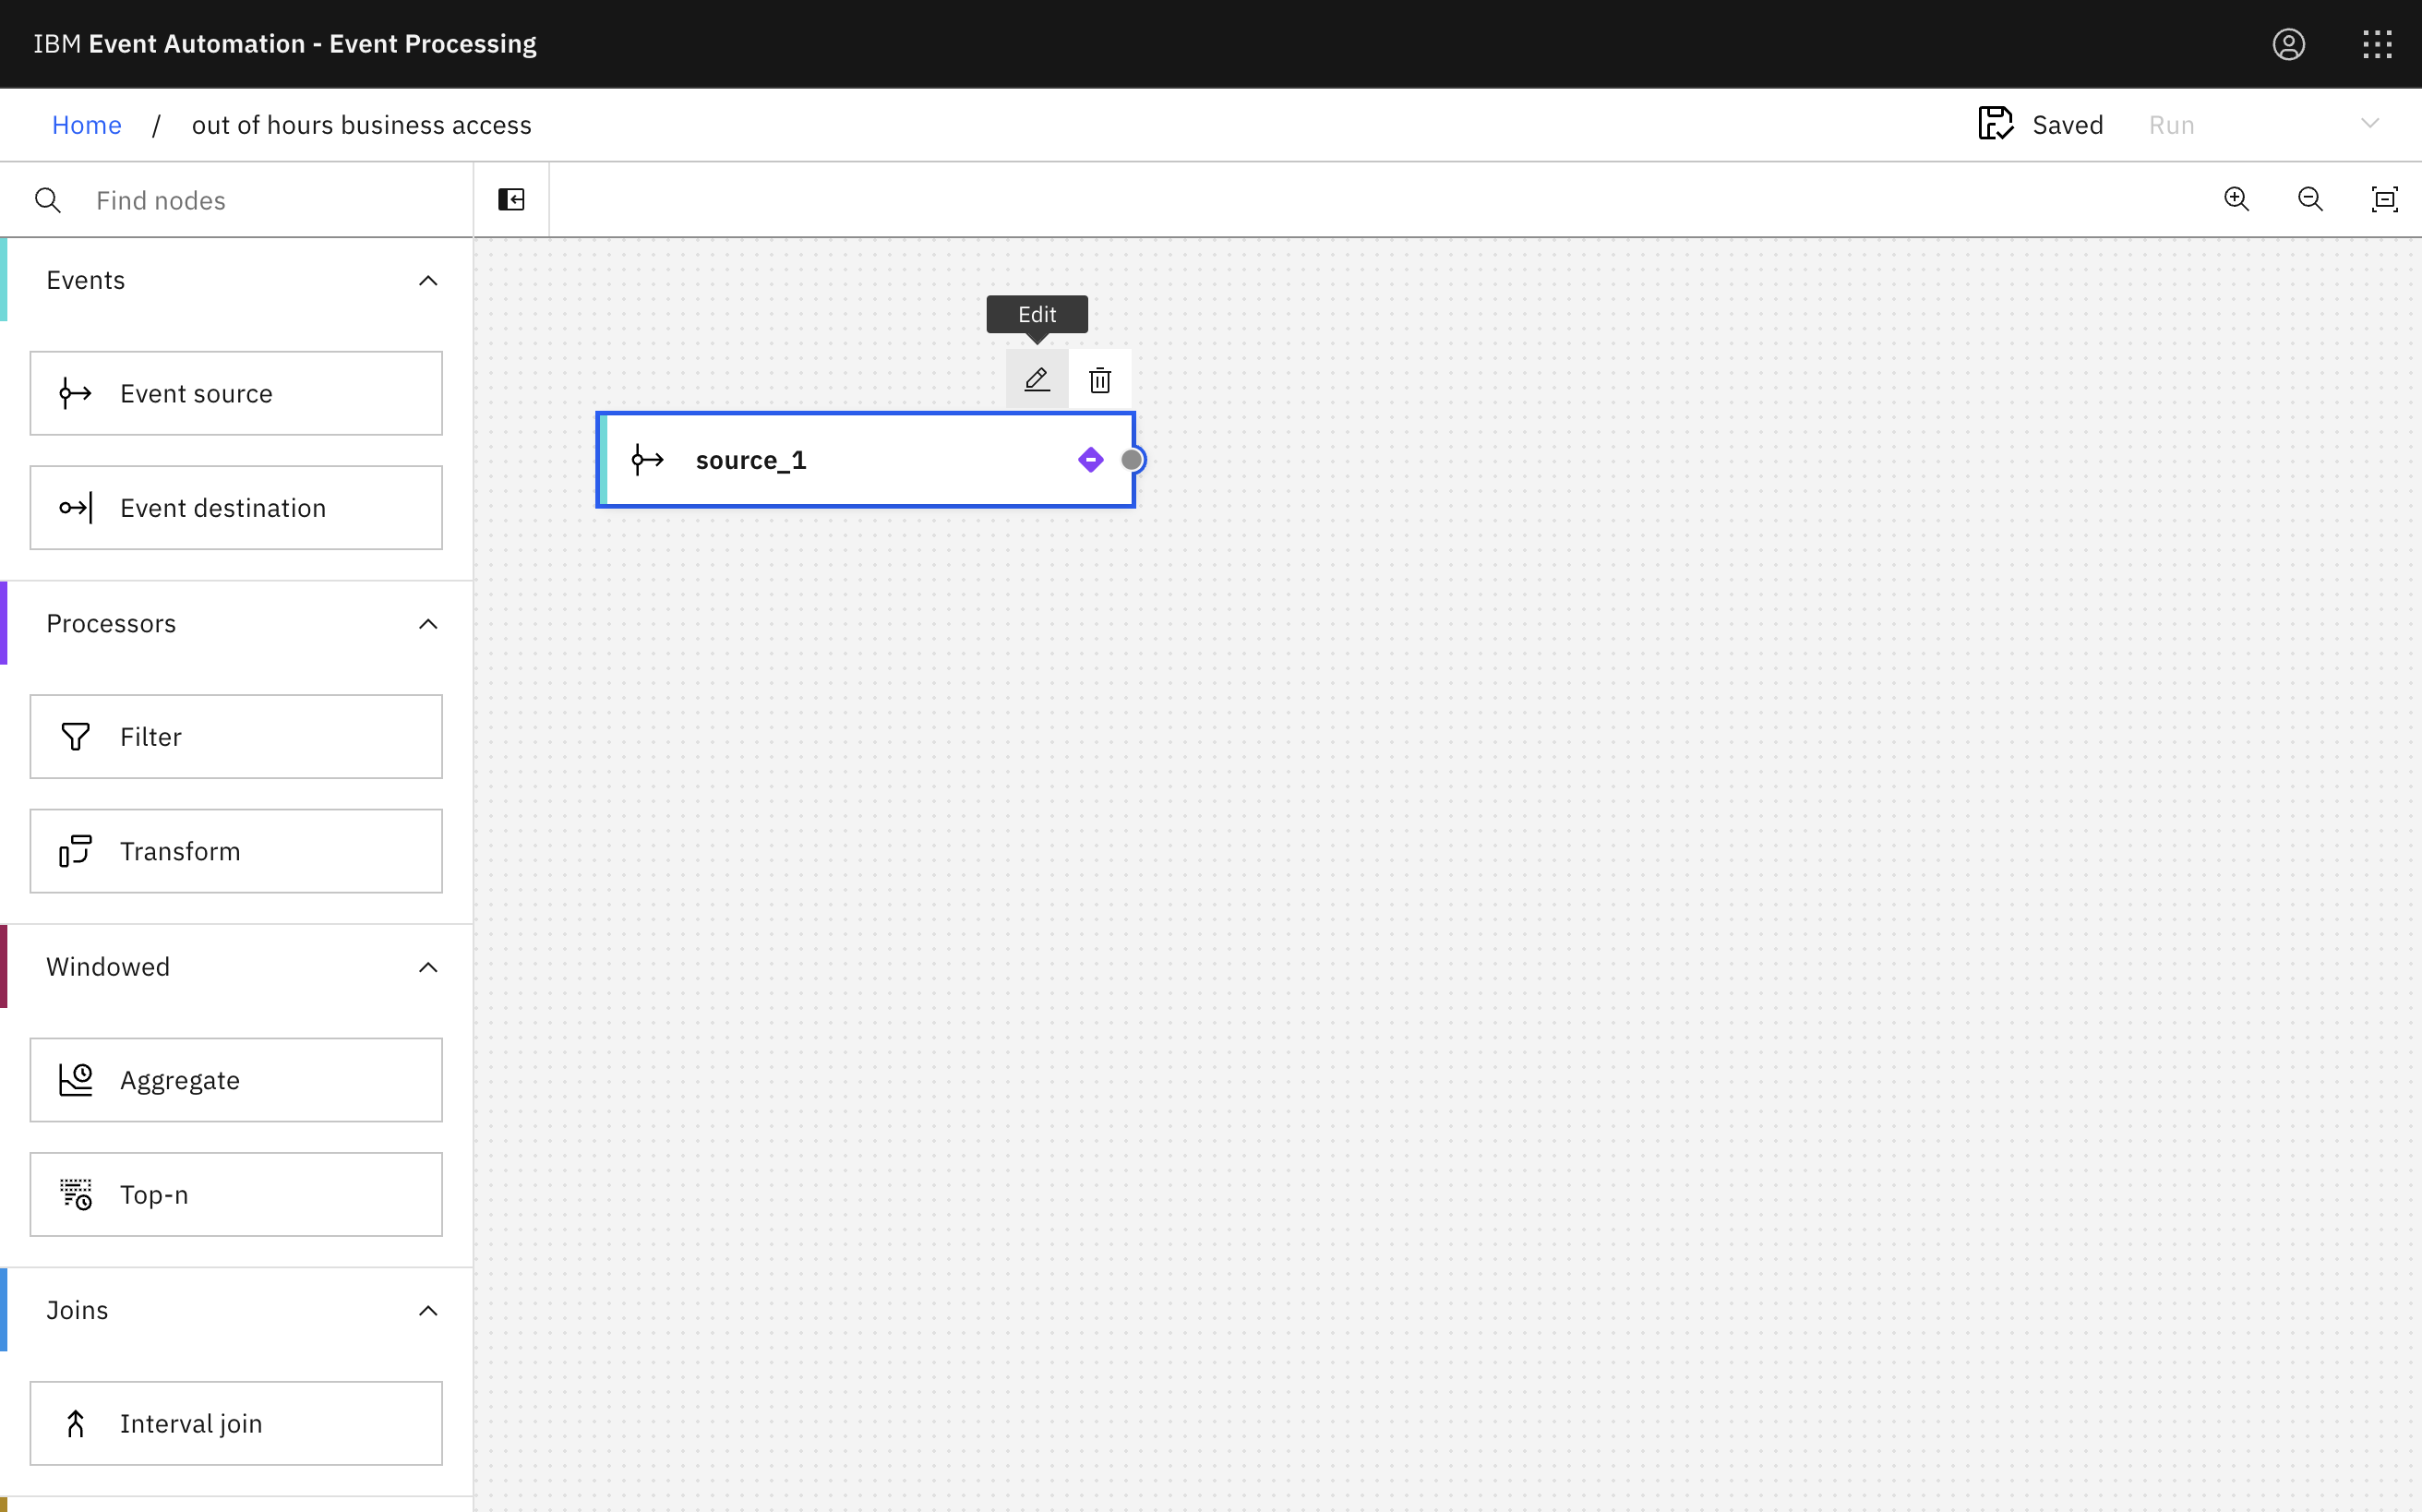
Update the Event source node.
Hover over the node and click
Edit to configure the node.
-
Add a new event source.
Click Next.
-
Get the server address for the event source from the Event Endpoint Management catalog page.
Click the Copy icon next to the Servers address to copy the address to the clipboard.
-
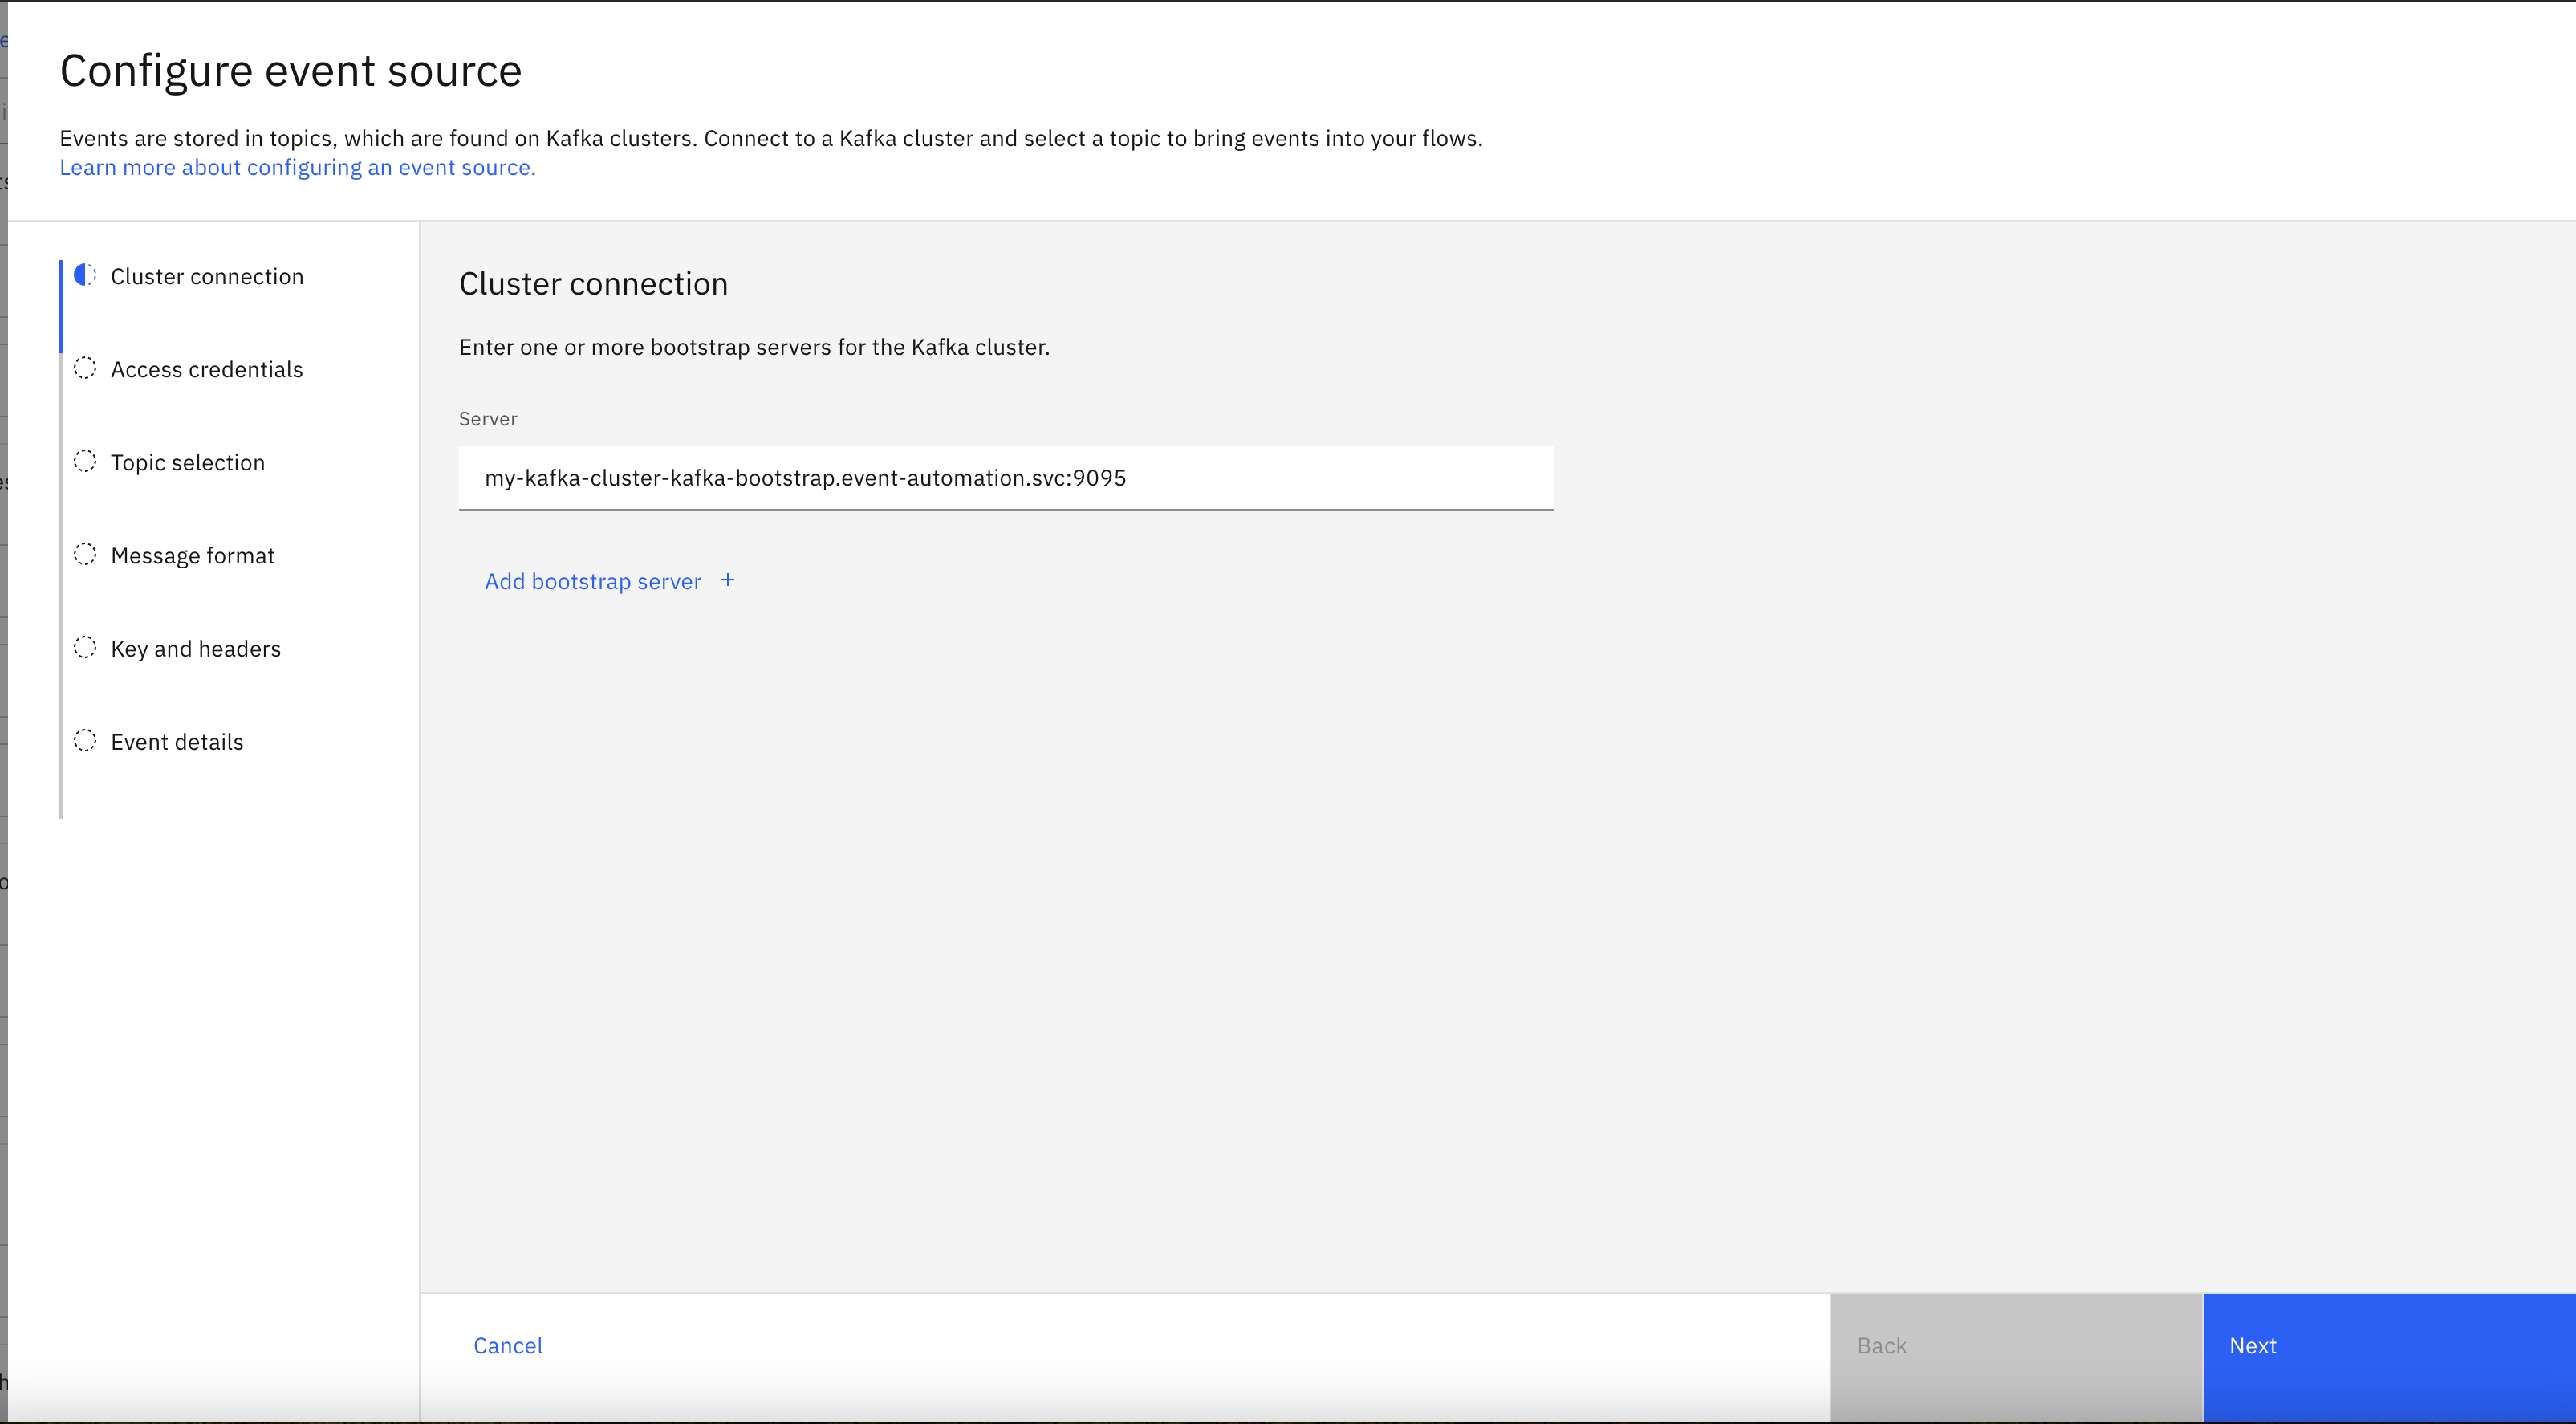
Configure the new event source.
Paste in the server address that you copied from Event Endpoint Management in the previous step.
Click Next.
-
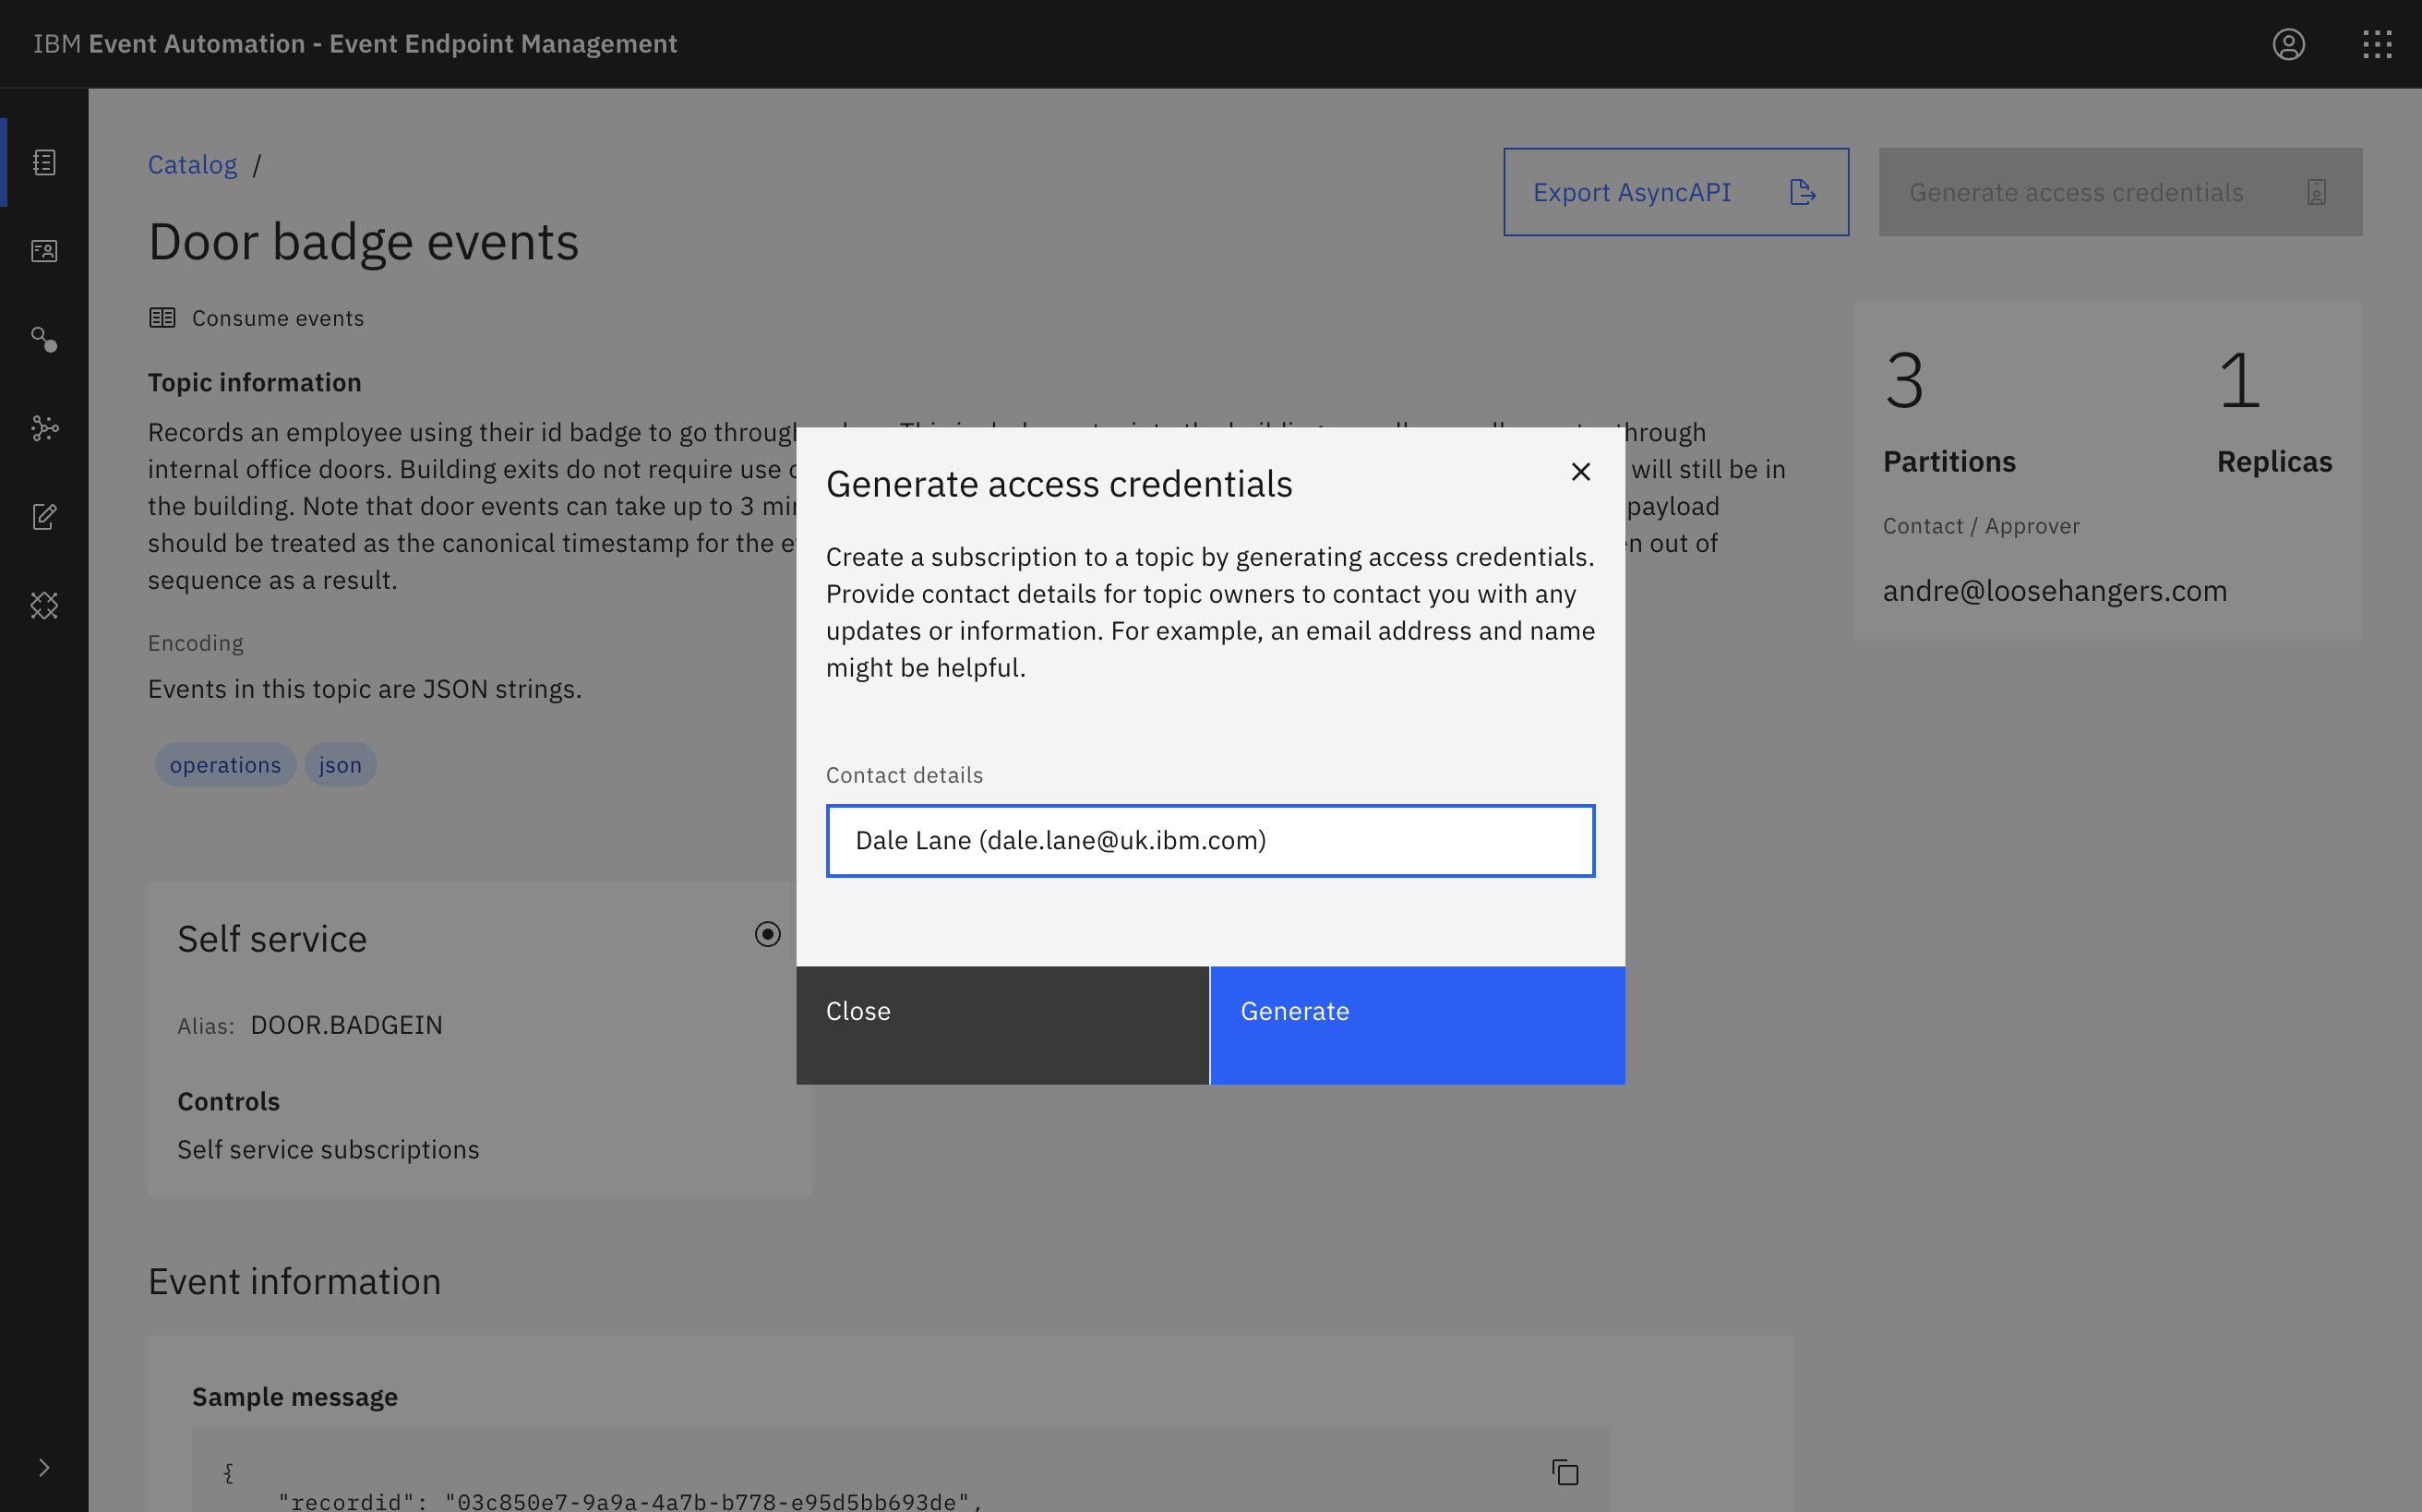
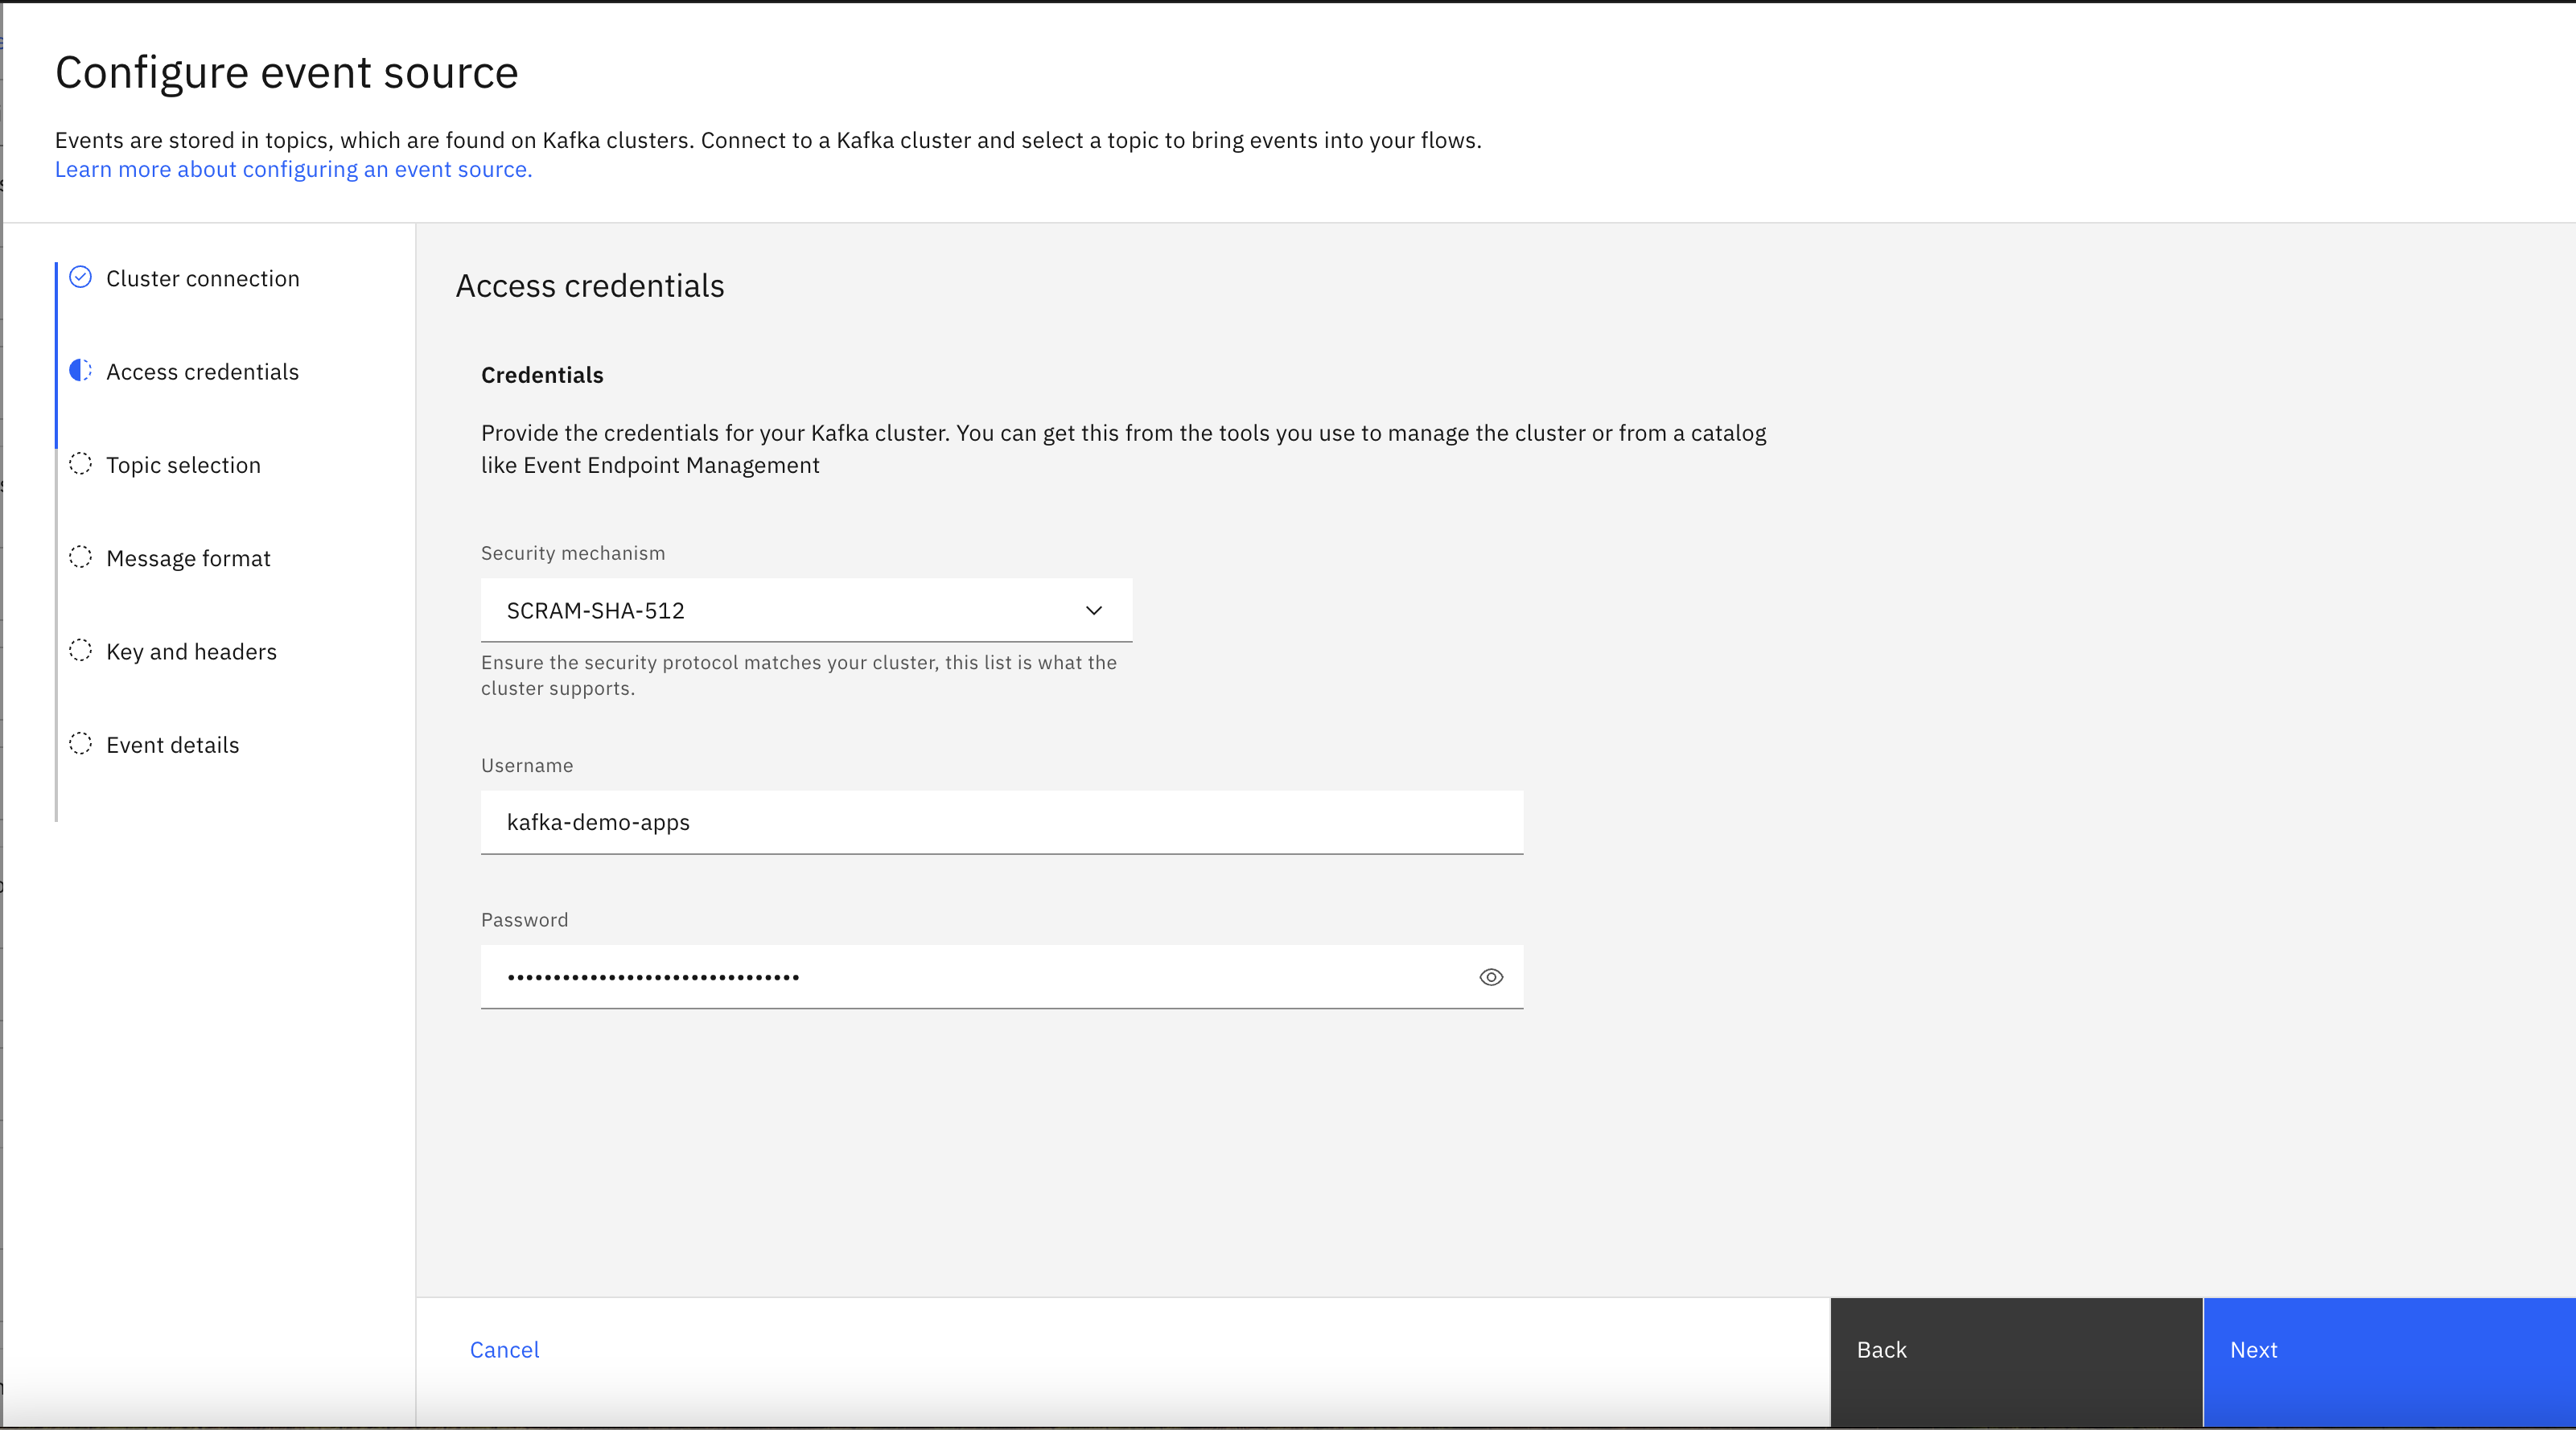
Generate access credentials for accessing this stream of events from the Event Endpoint Management page.
Click Subscribe, and provide your contact details.
-
Copy the username and password from Event Endpoint Management and paste into Event Processing to allow access to the topic.
The username starts with
eem-.Click Next.
-
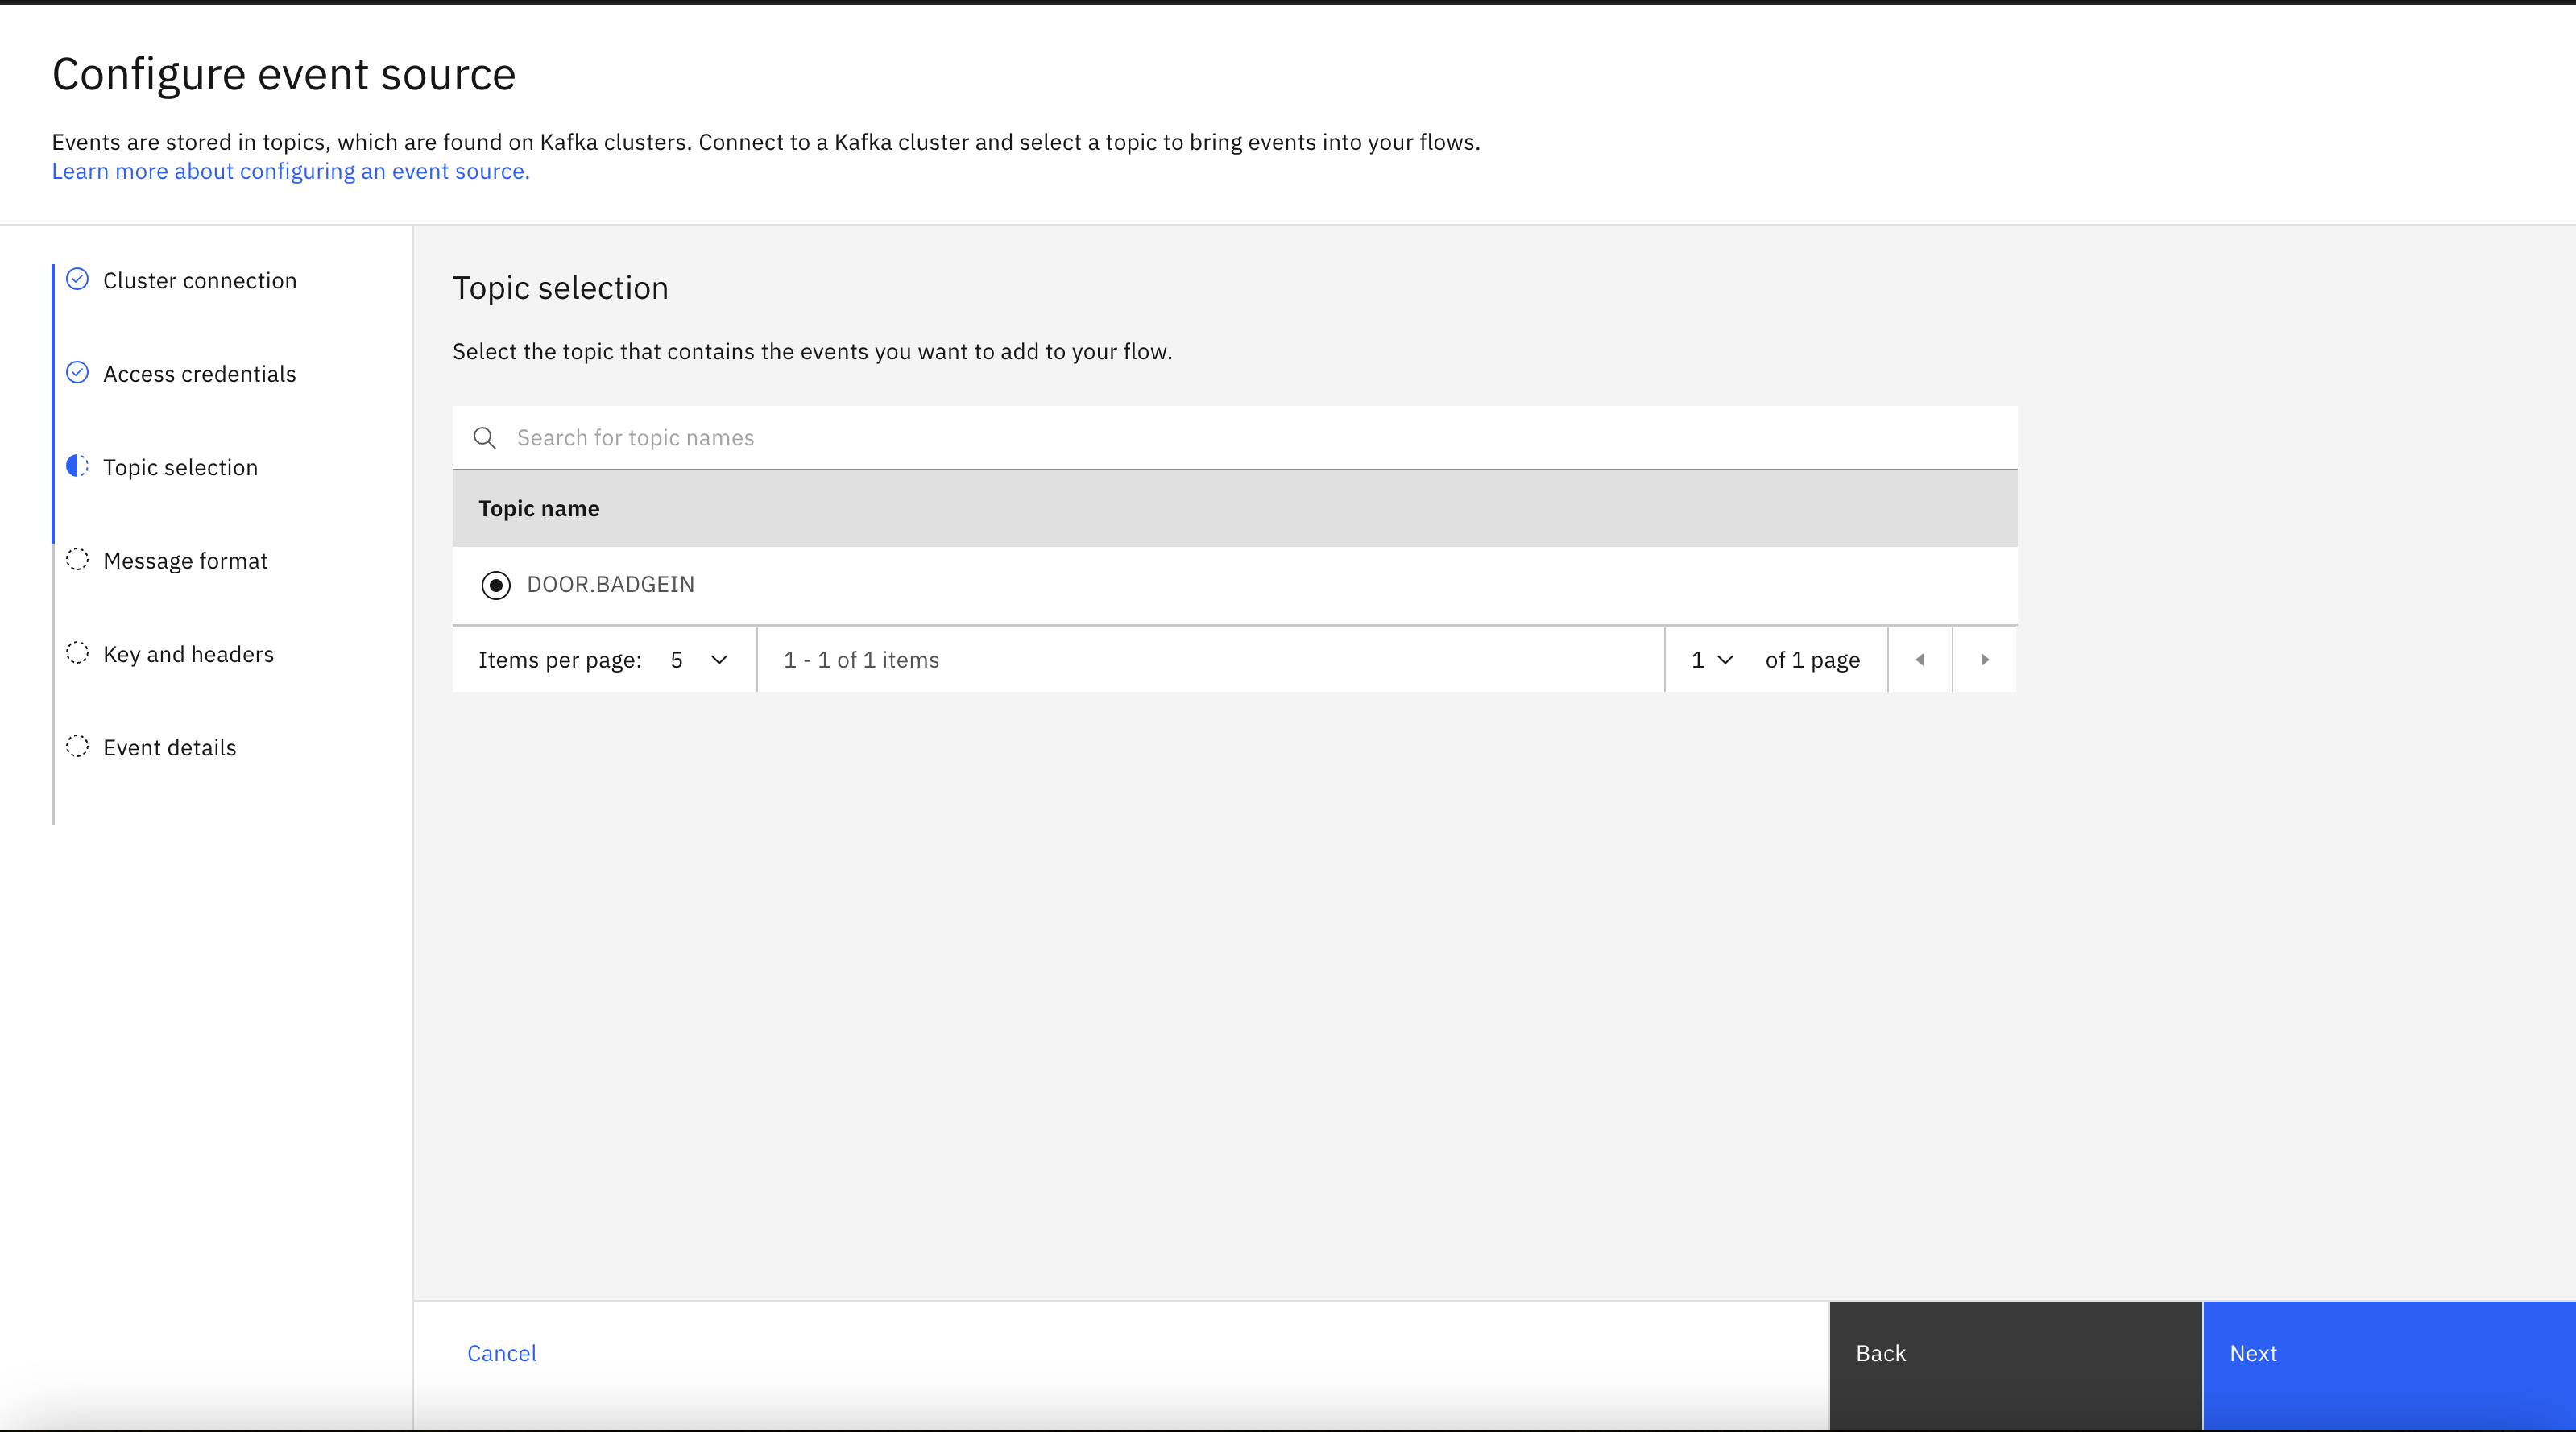
Select the
DOOR.BADGEINtopic that you want to process events from.Click Next.
-
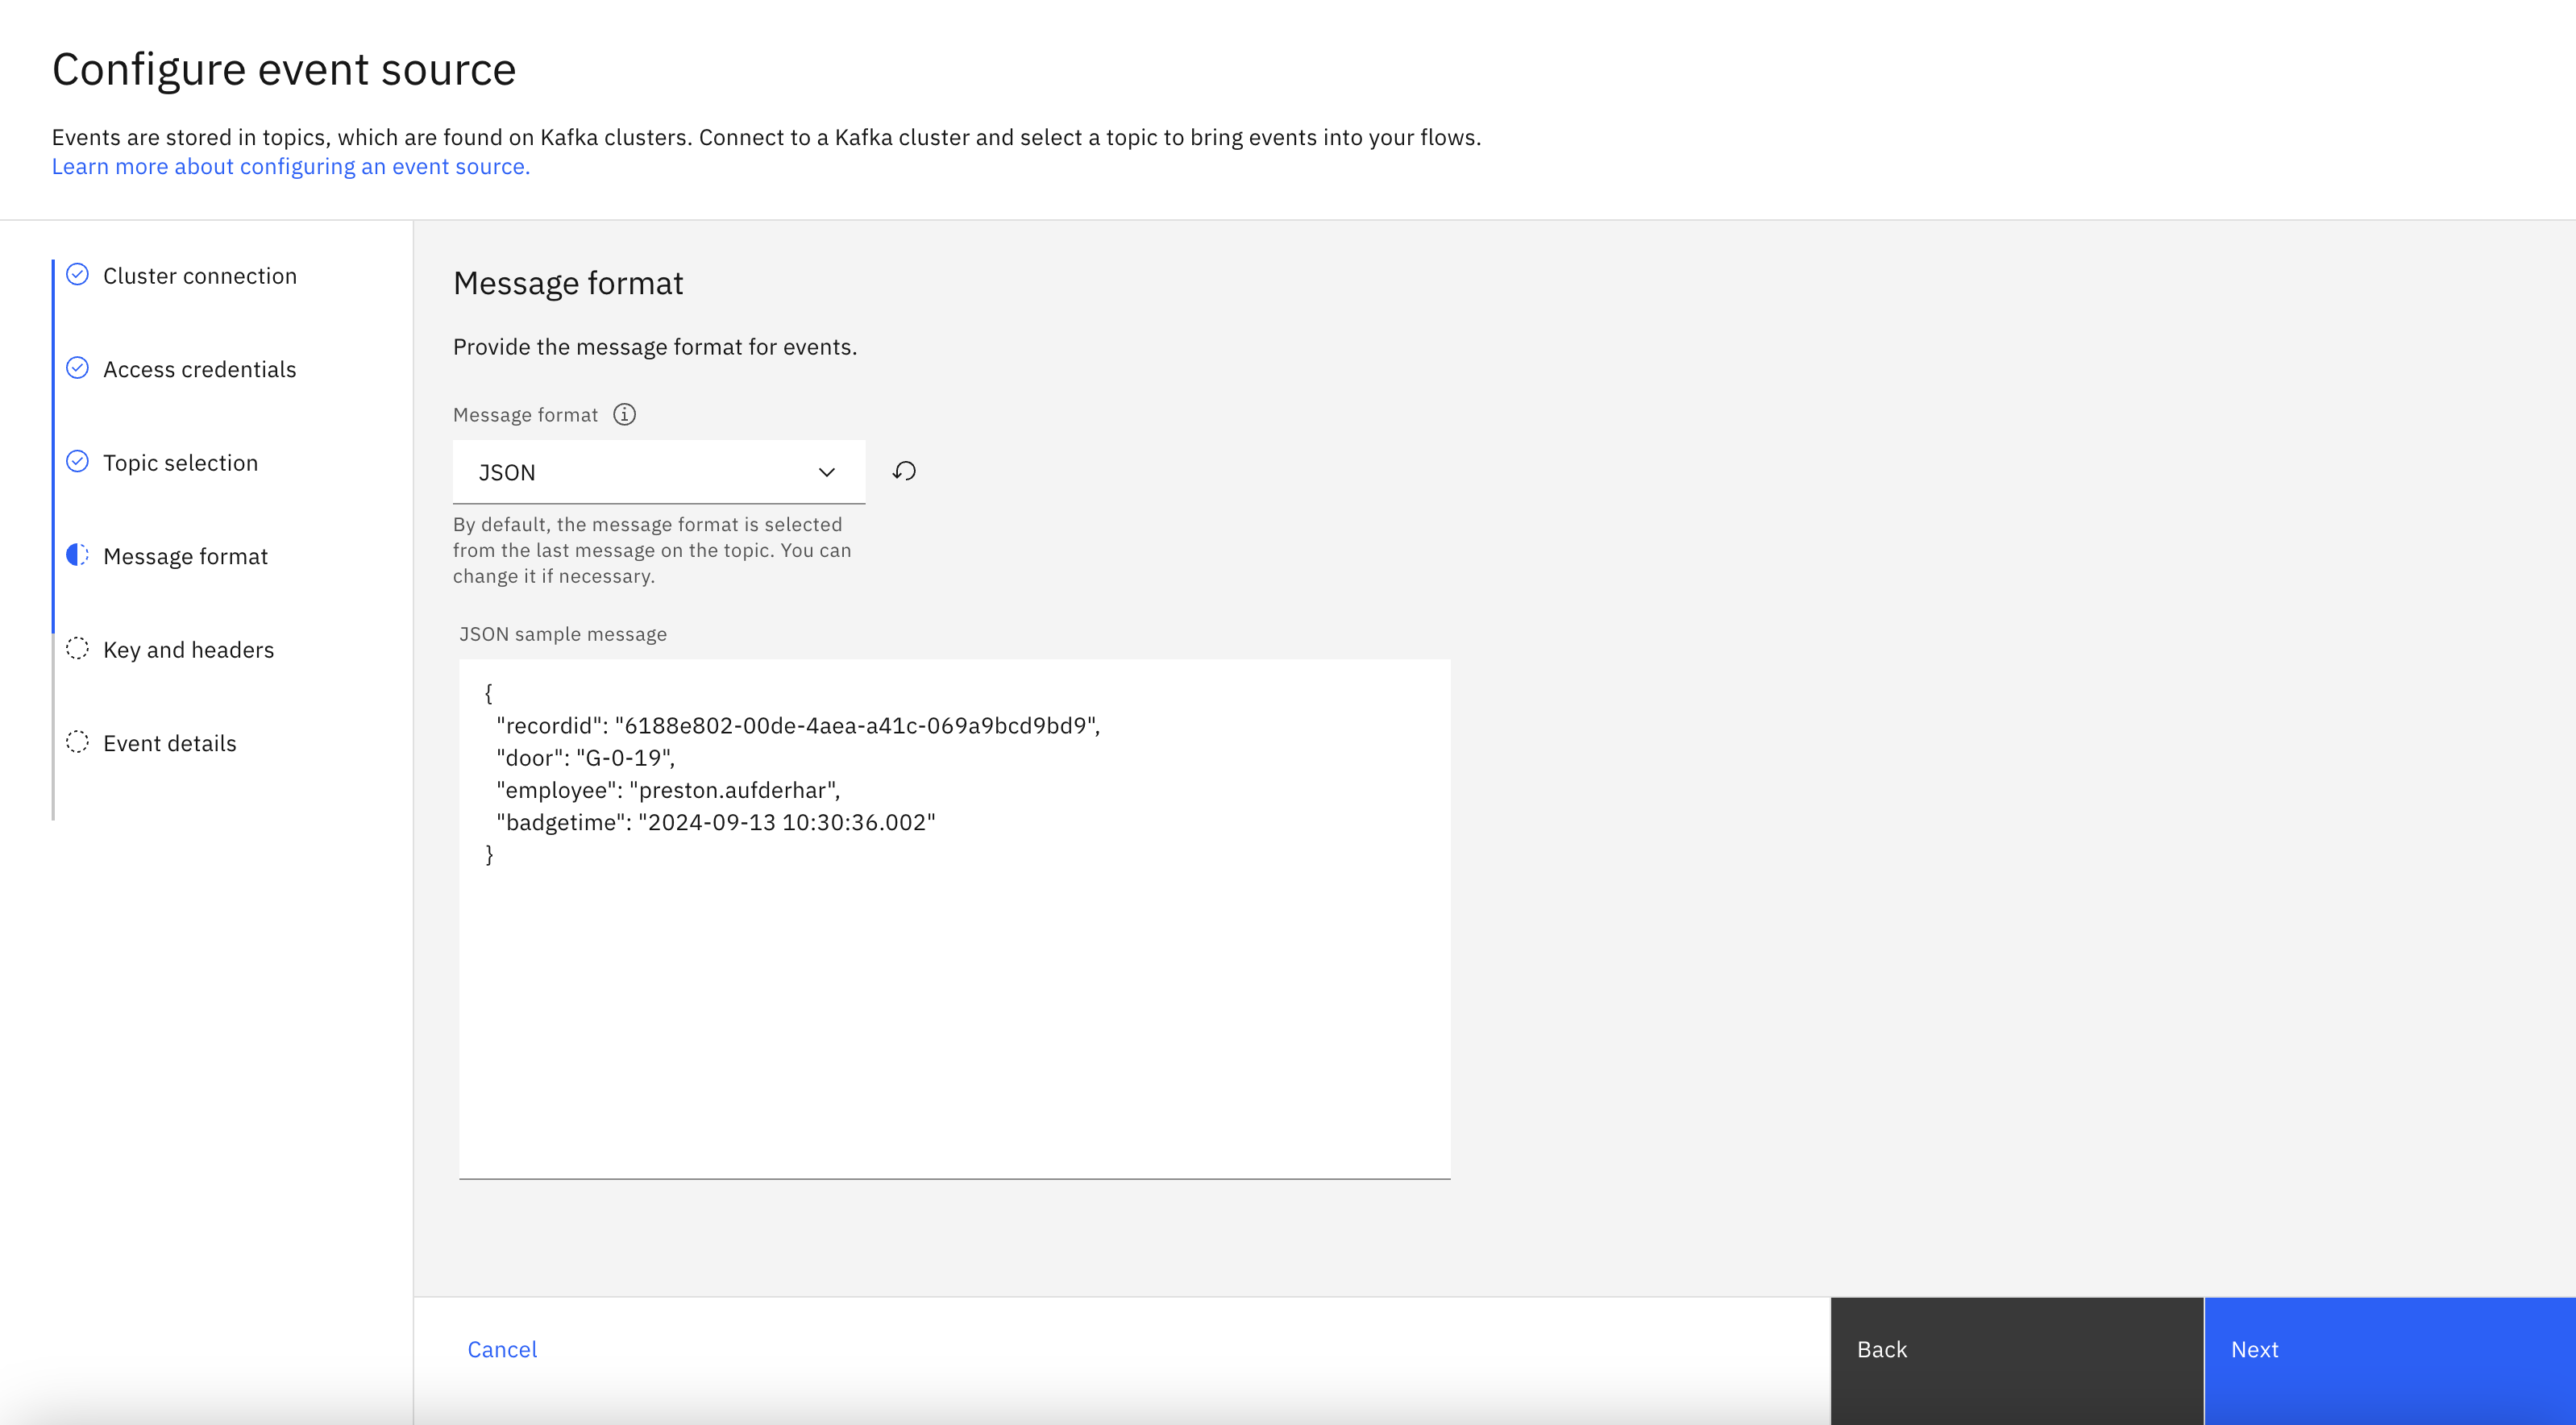
The format
JSONis auto-selected in the Message format drop-down and the sample message is auto-populated in the JSON sample message field.Did you know? The catalog page for this topic tells you that events on this topic are JSON strings.
Click Next.
-
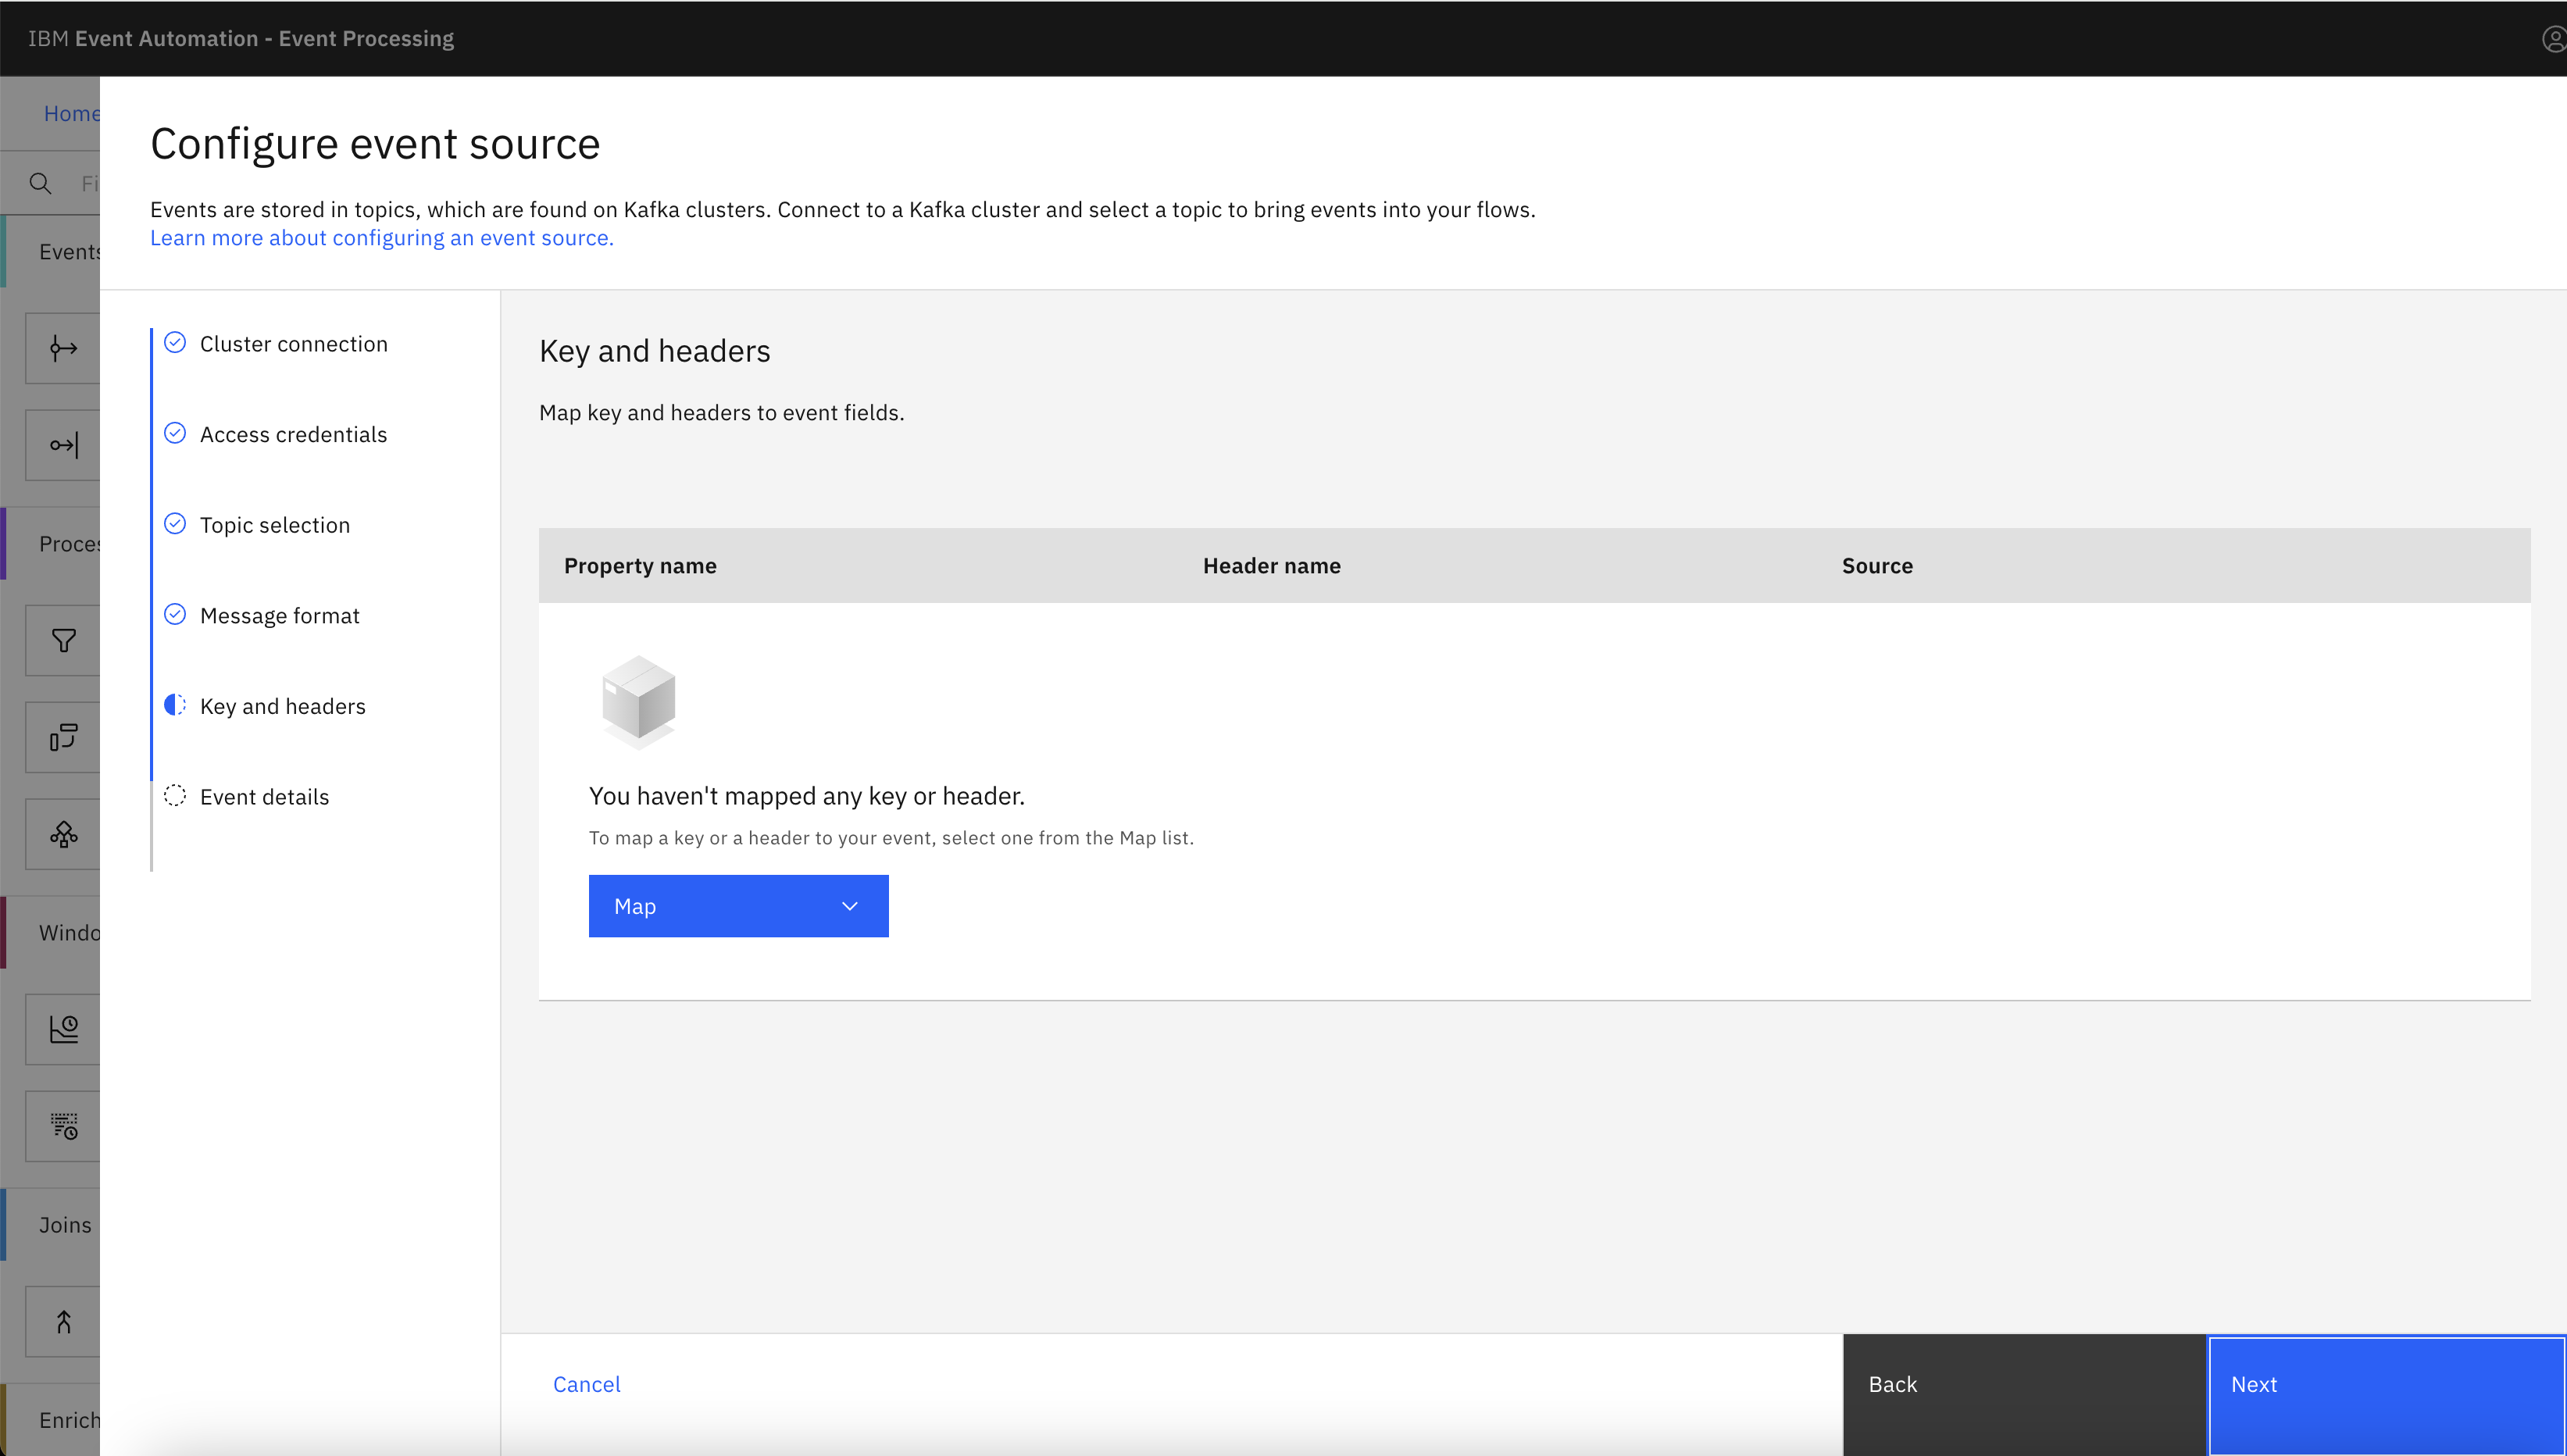
In the Key and headers pane, click Next.
Note: The key and headers are displayed automatically if they are available in the selected topic message.
-
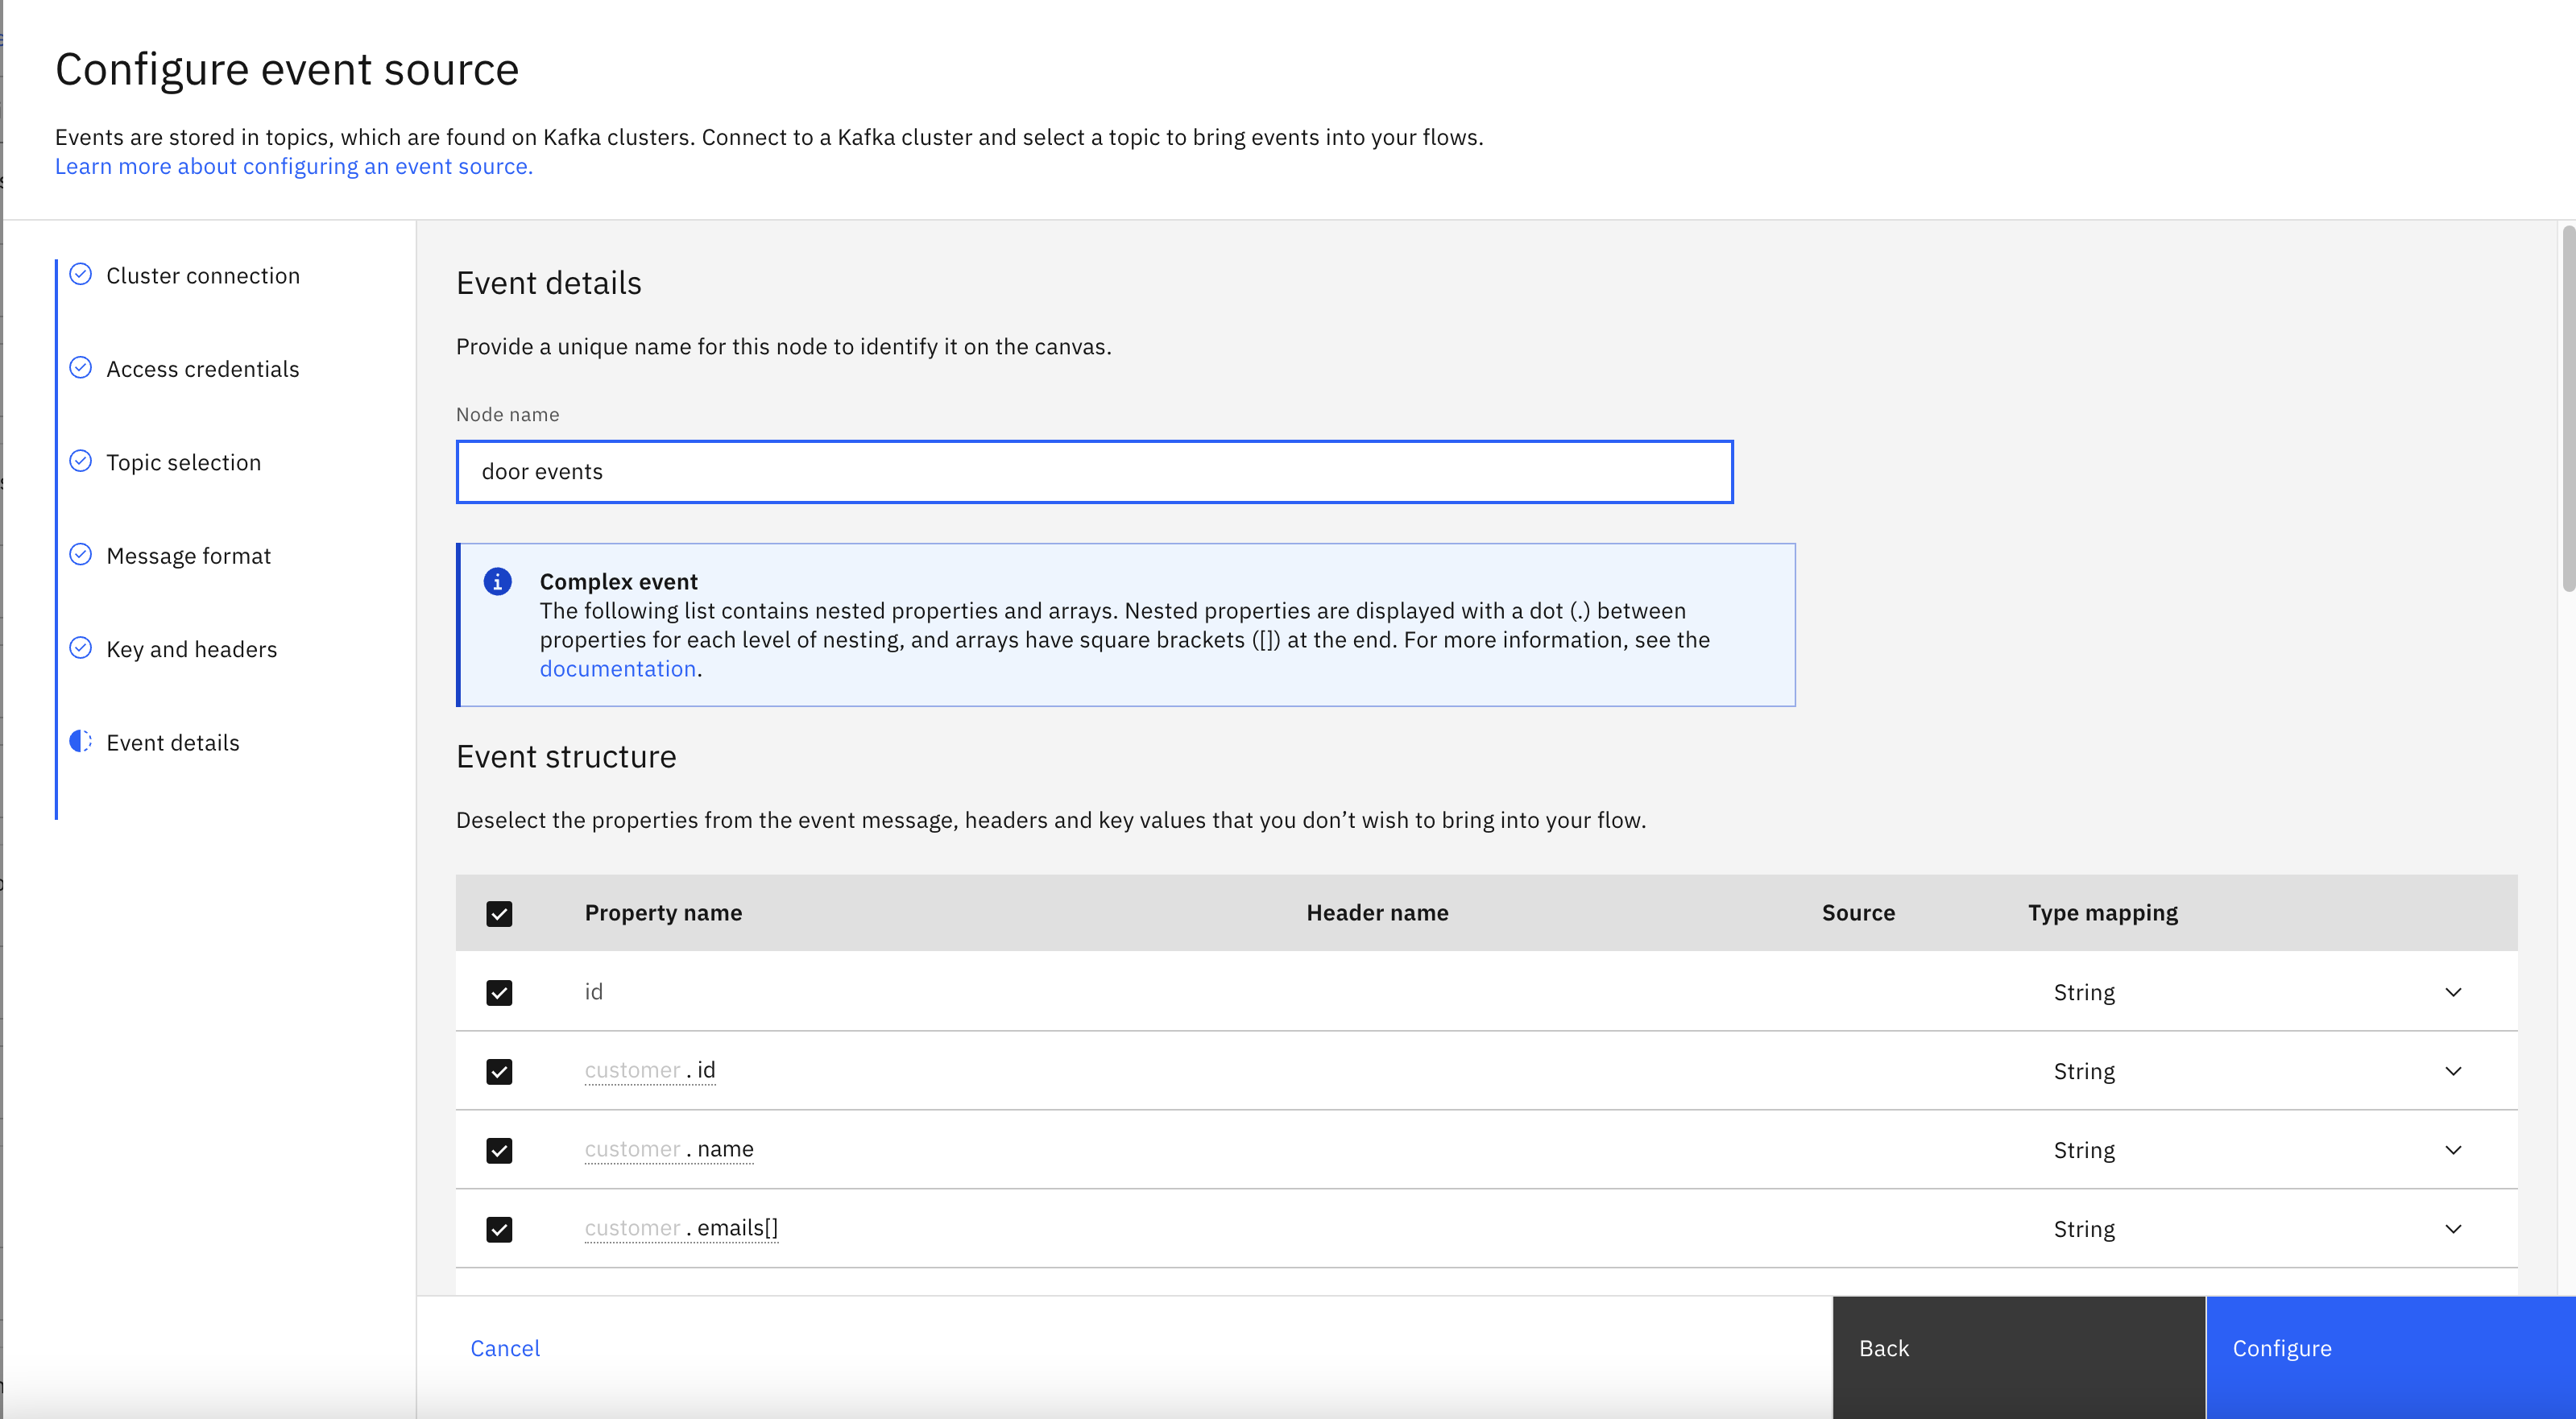
In the Event details pane, enter the node name as
door eventsin the Node name field. -
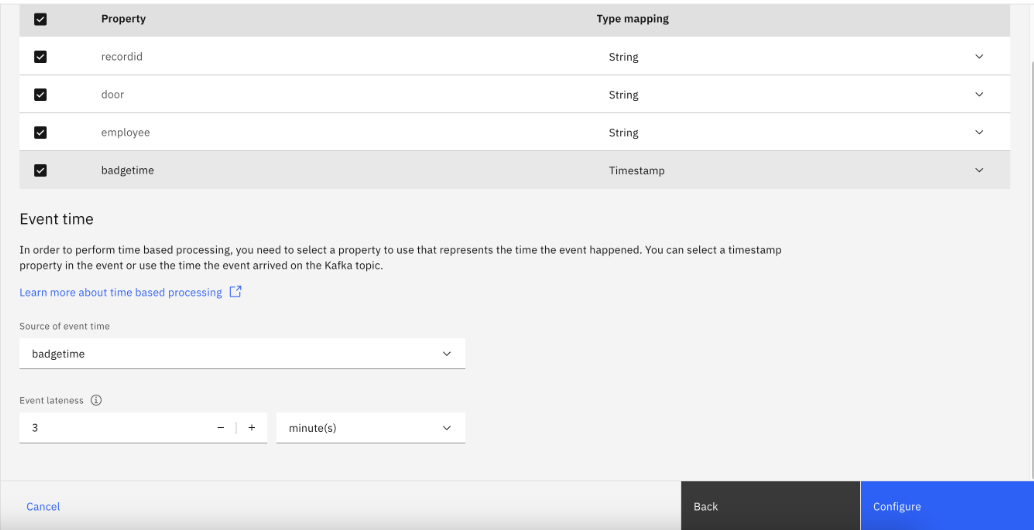
Confirm that the type of the
badgetimeproperty has automatically been detected asTimestamp. - Configure the event source to use the
badgetimeproperty as the source of the event time, and to tolerate lateness of up to 3 minutes. - Click Configure to finalize the event source.
Step 4: Derive additional properties
The next step is to define transformations that will derive additional properties to add to the events.
-
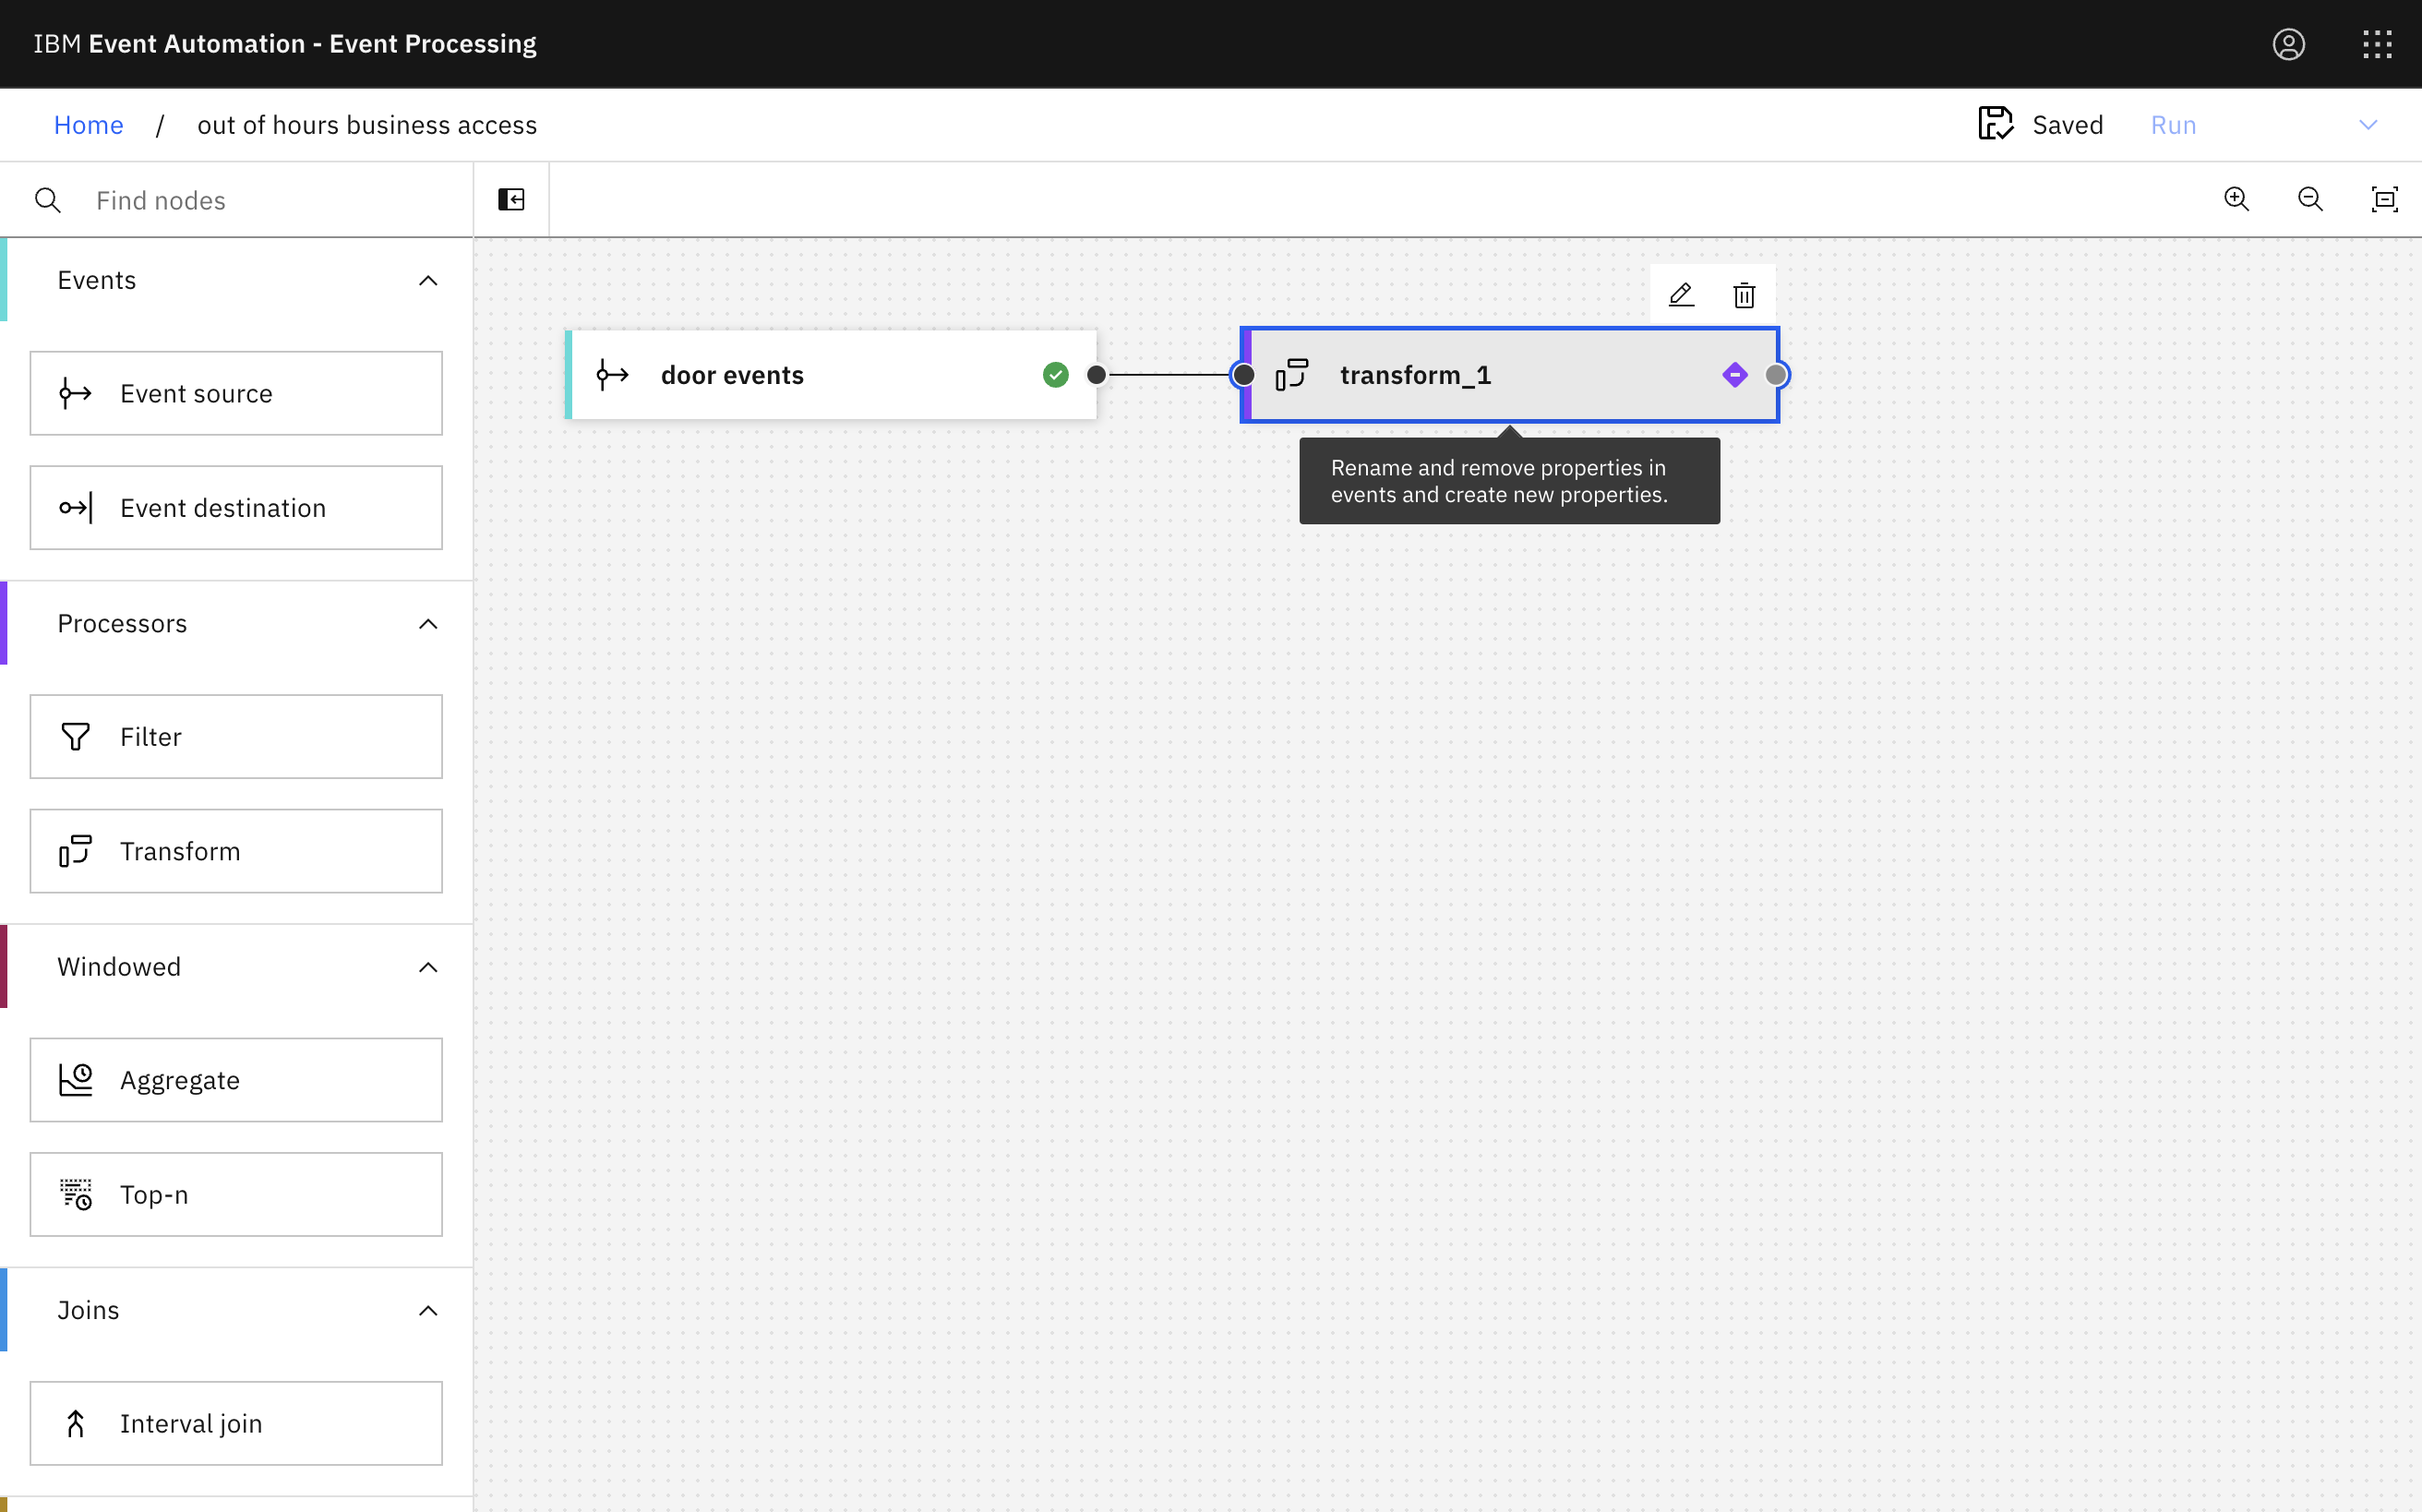
Add a Transform node and link it to your event source.
Create a transform node by dragging one onto the canvas. You can find this in the Processors section of the left panel.
Click and drag from the small gray dot on the event source to the matching dot on the transform node.
Hover over the node and click
Edit to configure the node.
-
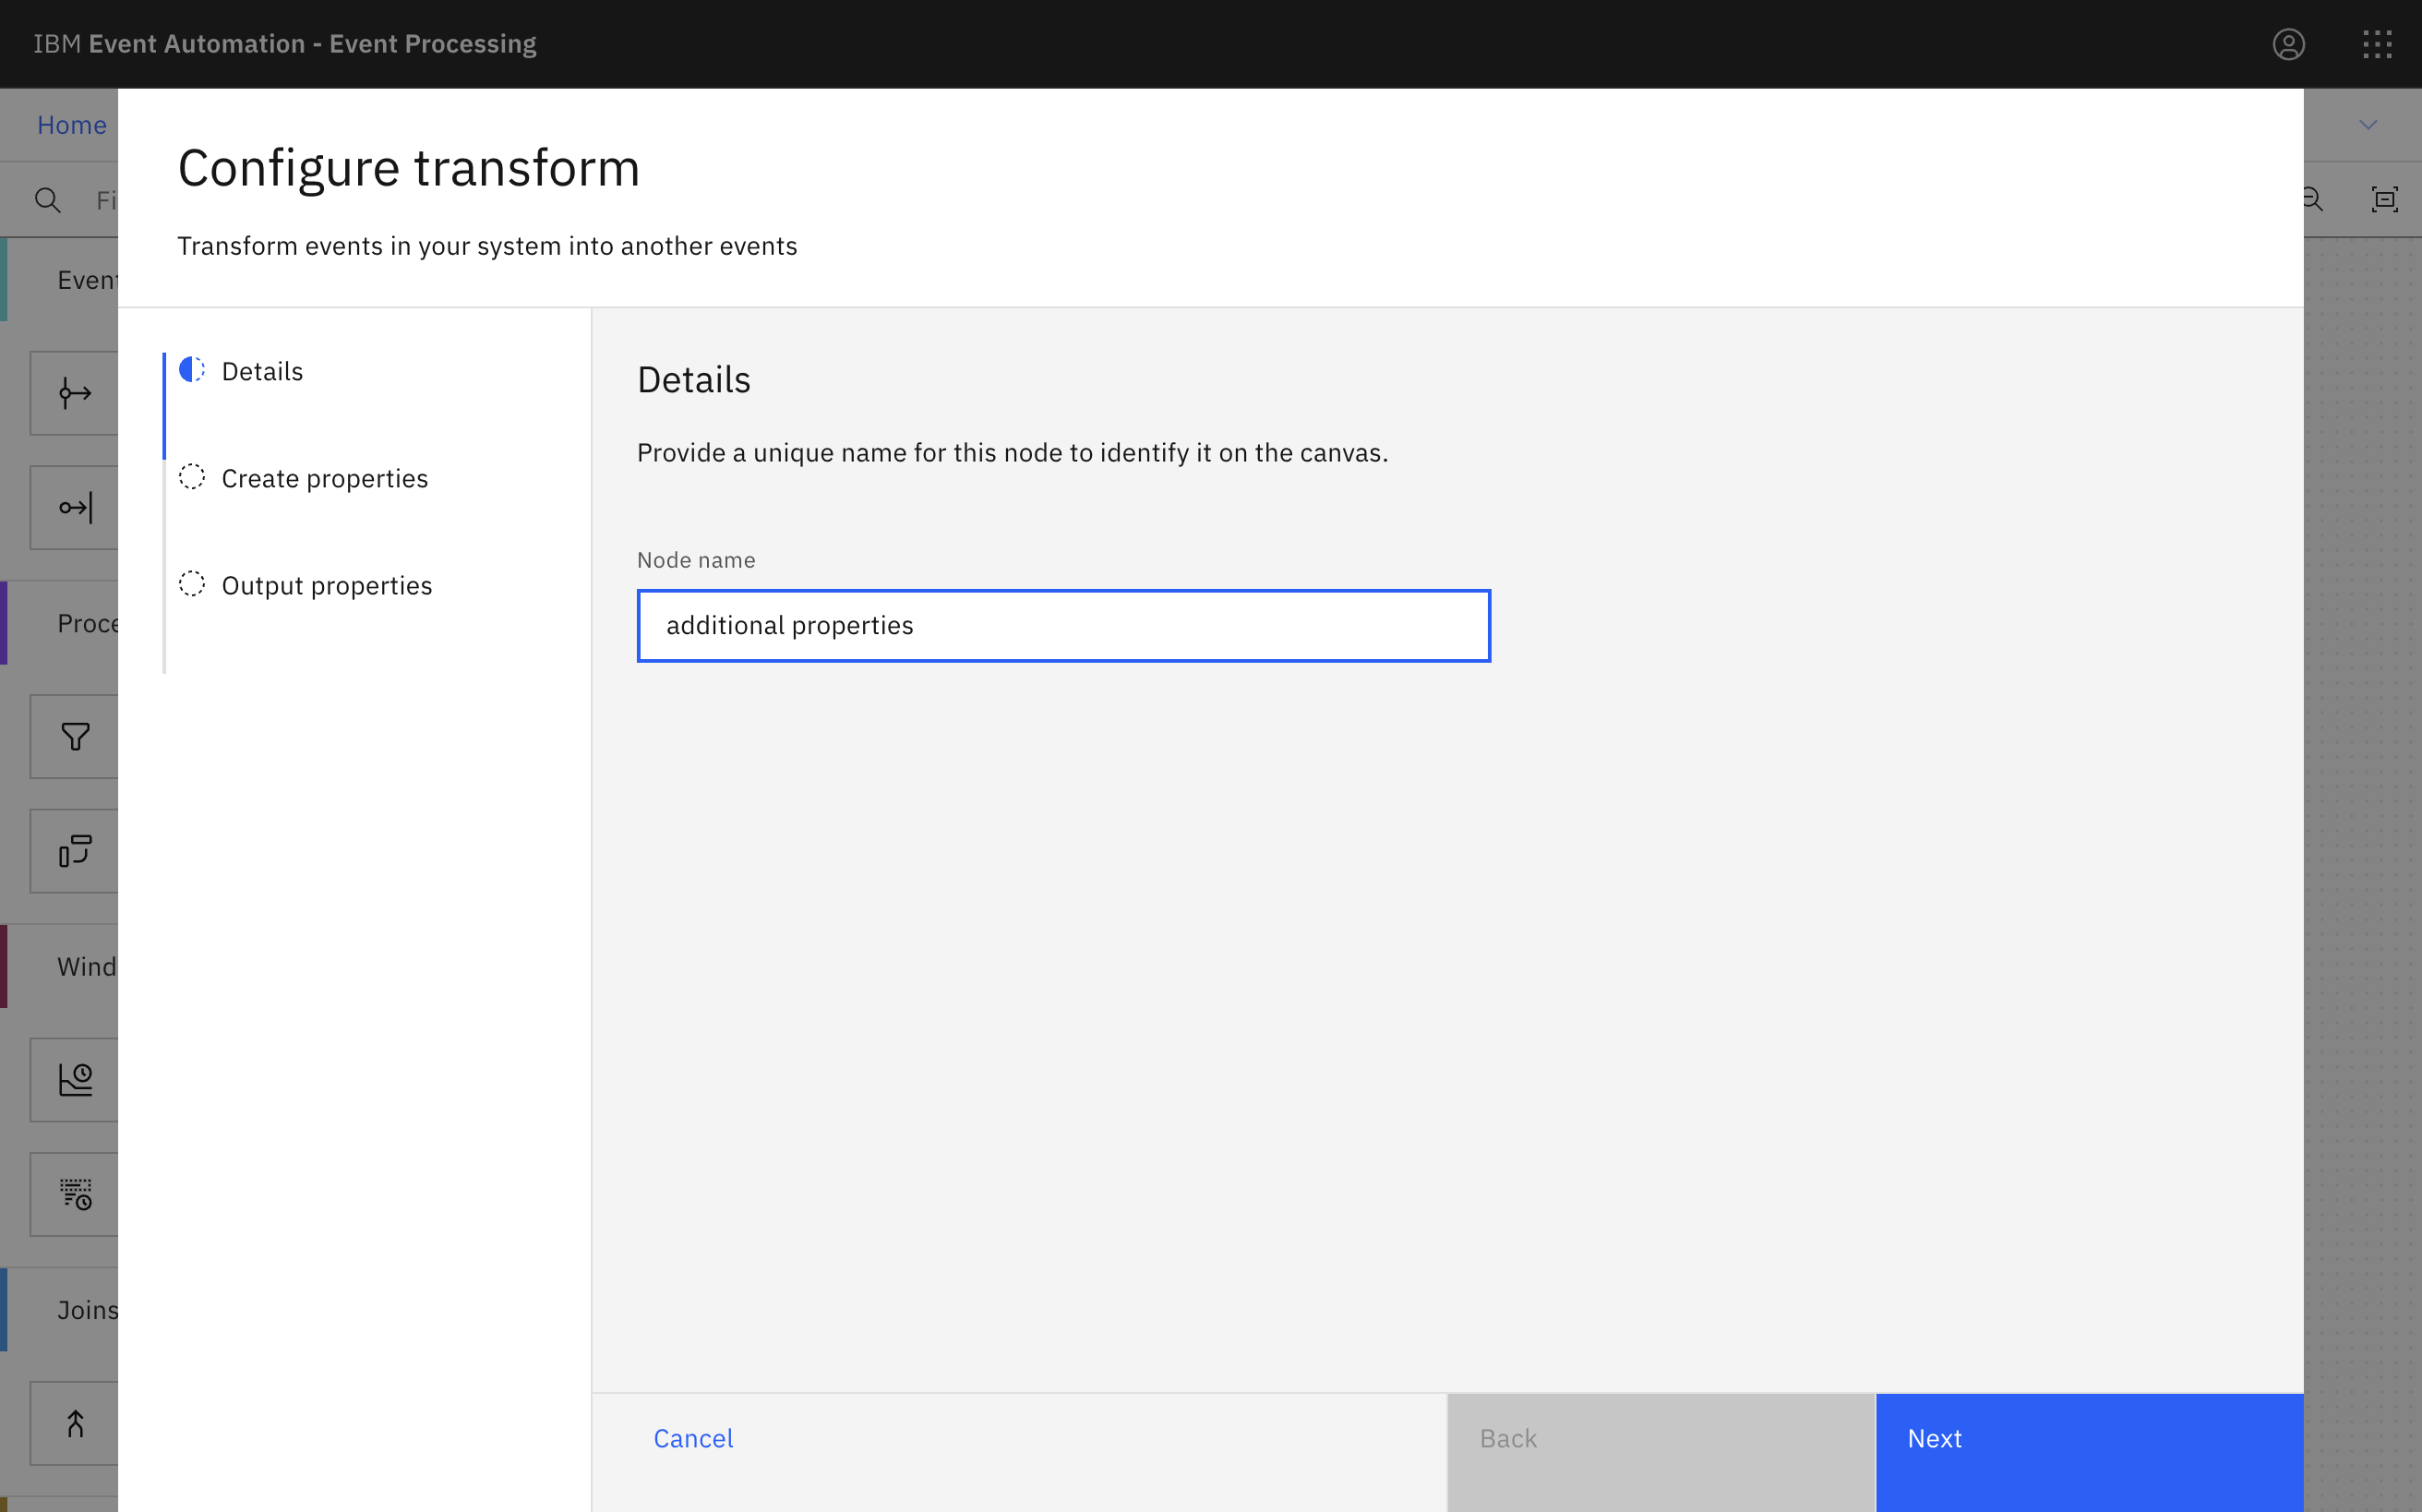
Give the transform node a name that describes what it will do:
additional properties.Click Next.
-
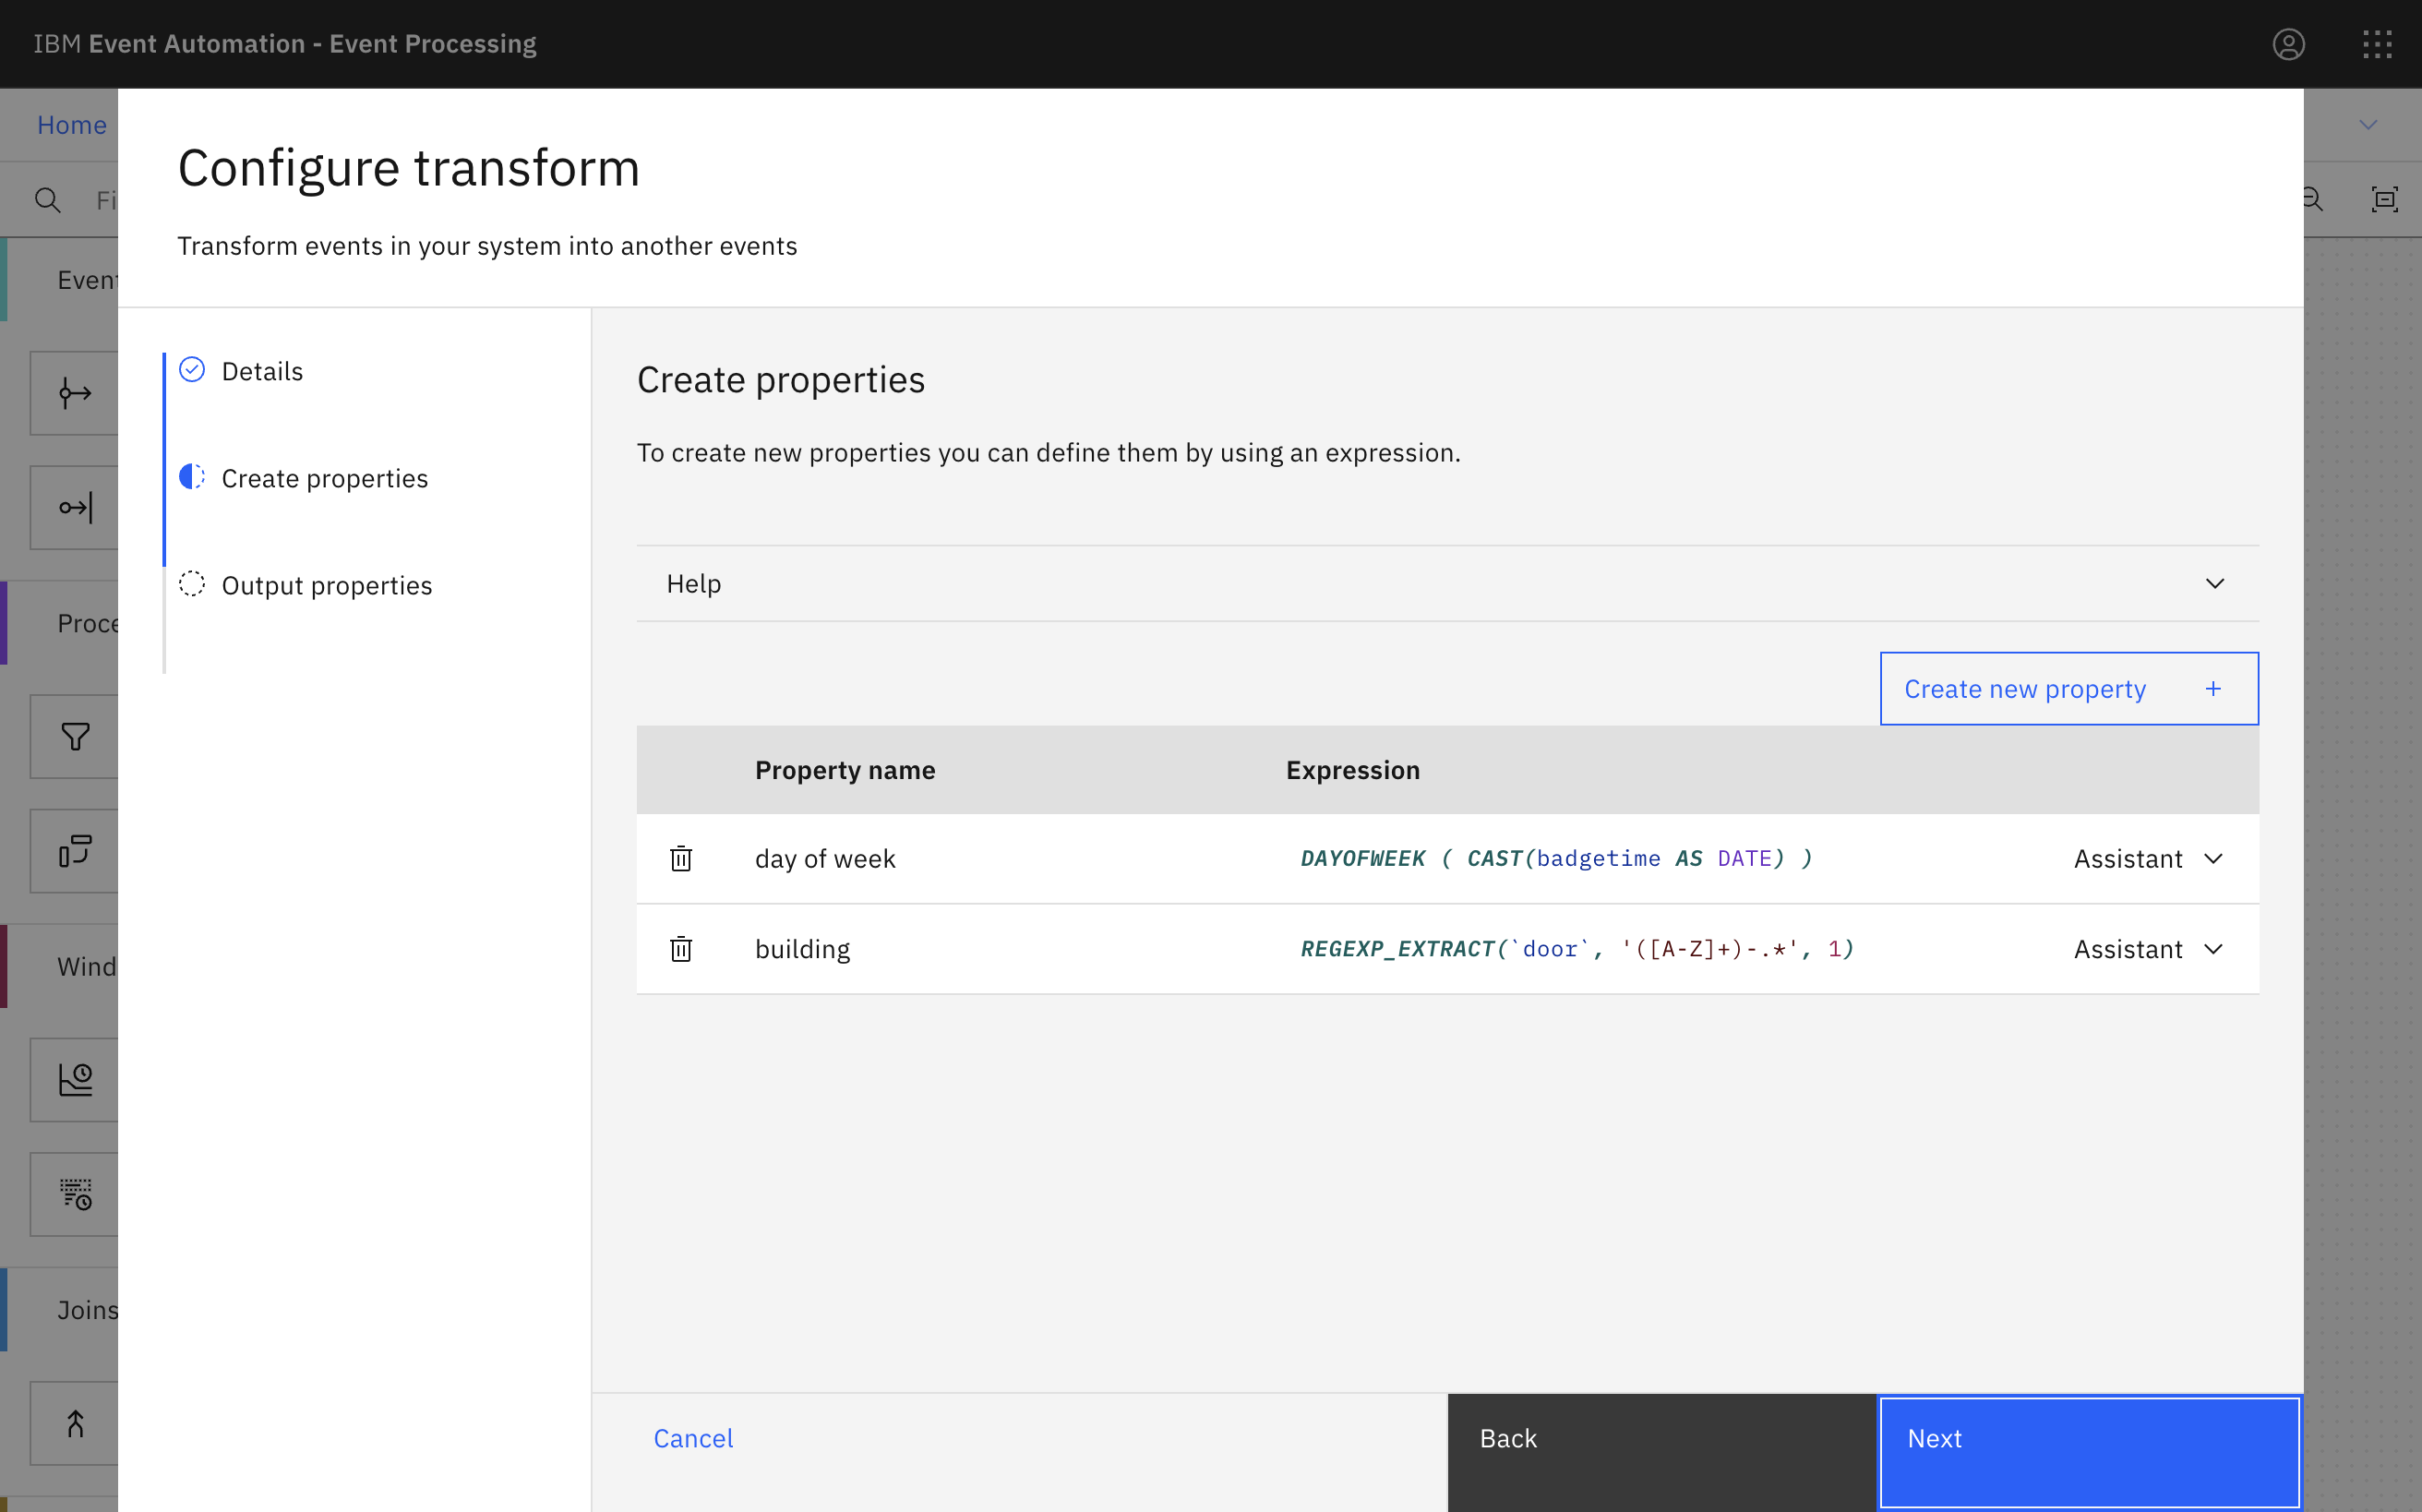
Compute two new additional properties using the transform node.
You should call the first property
day of week.This will identify the day of the week from the timestamp contained in the door event. This is created as a number, where 1 means Sunday, 2 means Monday, and so on.
Use this function expression:
DAYOFWEEK ( CAST(badgetime AS DATE) )You should call the second property
building.Door IDs are made up of:
<building id> - <floor number> - <door number>For example:
H-0-36For your second property, you should use the function expression:
REGEXP_EXTRACT(`door`, '([A-Z]+)-.*', 1)This expression will capture the building ID from the start of the door ID.
-
Click Next and then Configure to finalize the transform.
Step 5: Test the flow
The next step is to run your event processing flow and view the results.
-
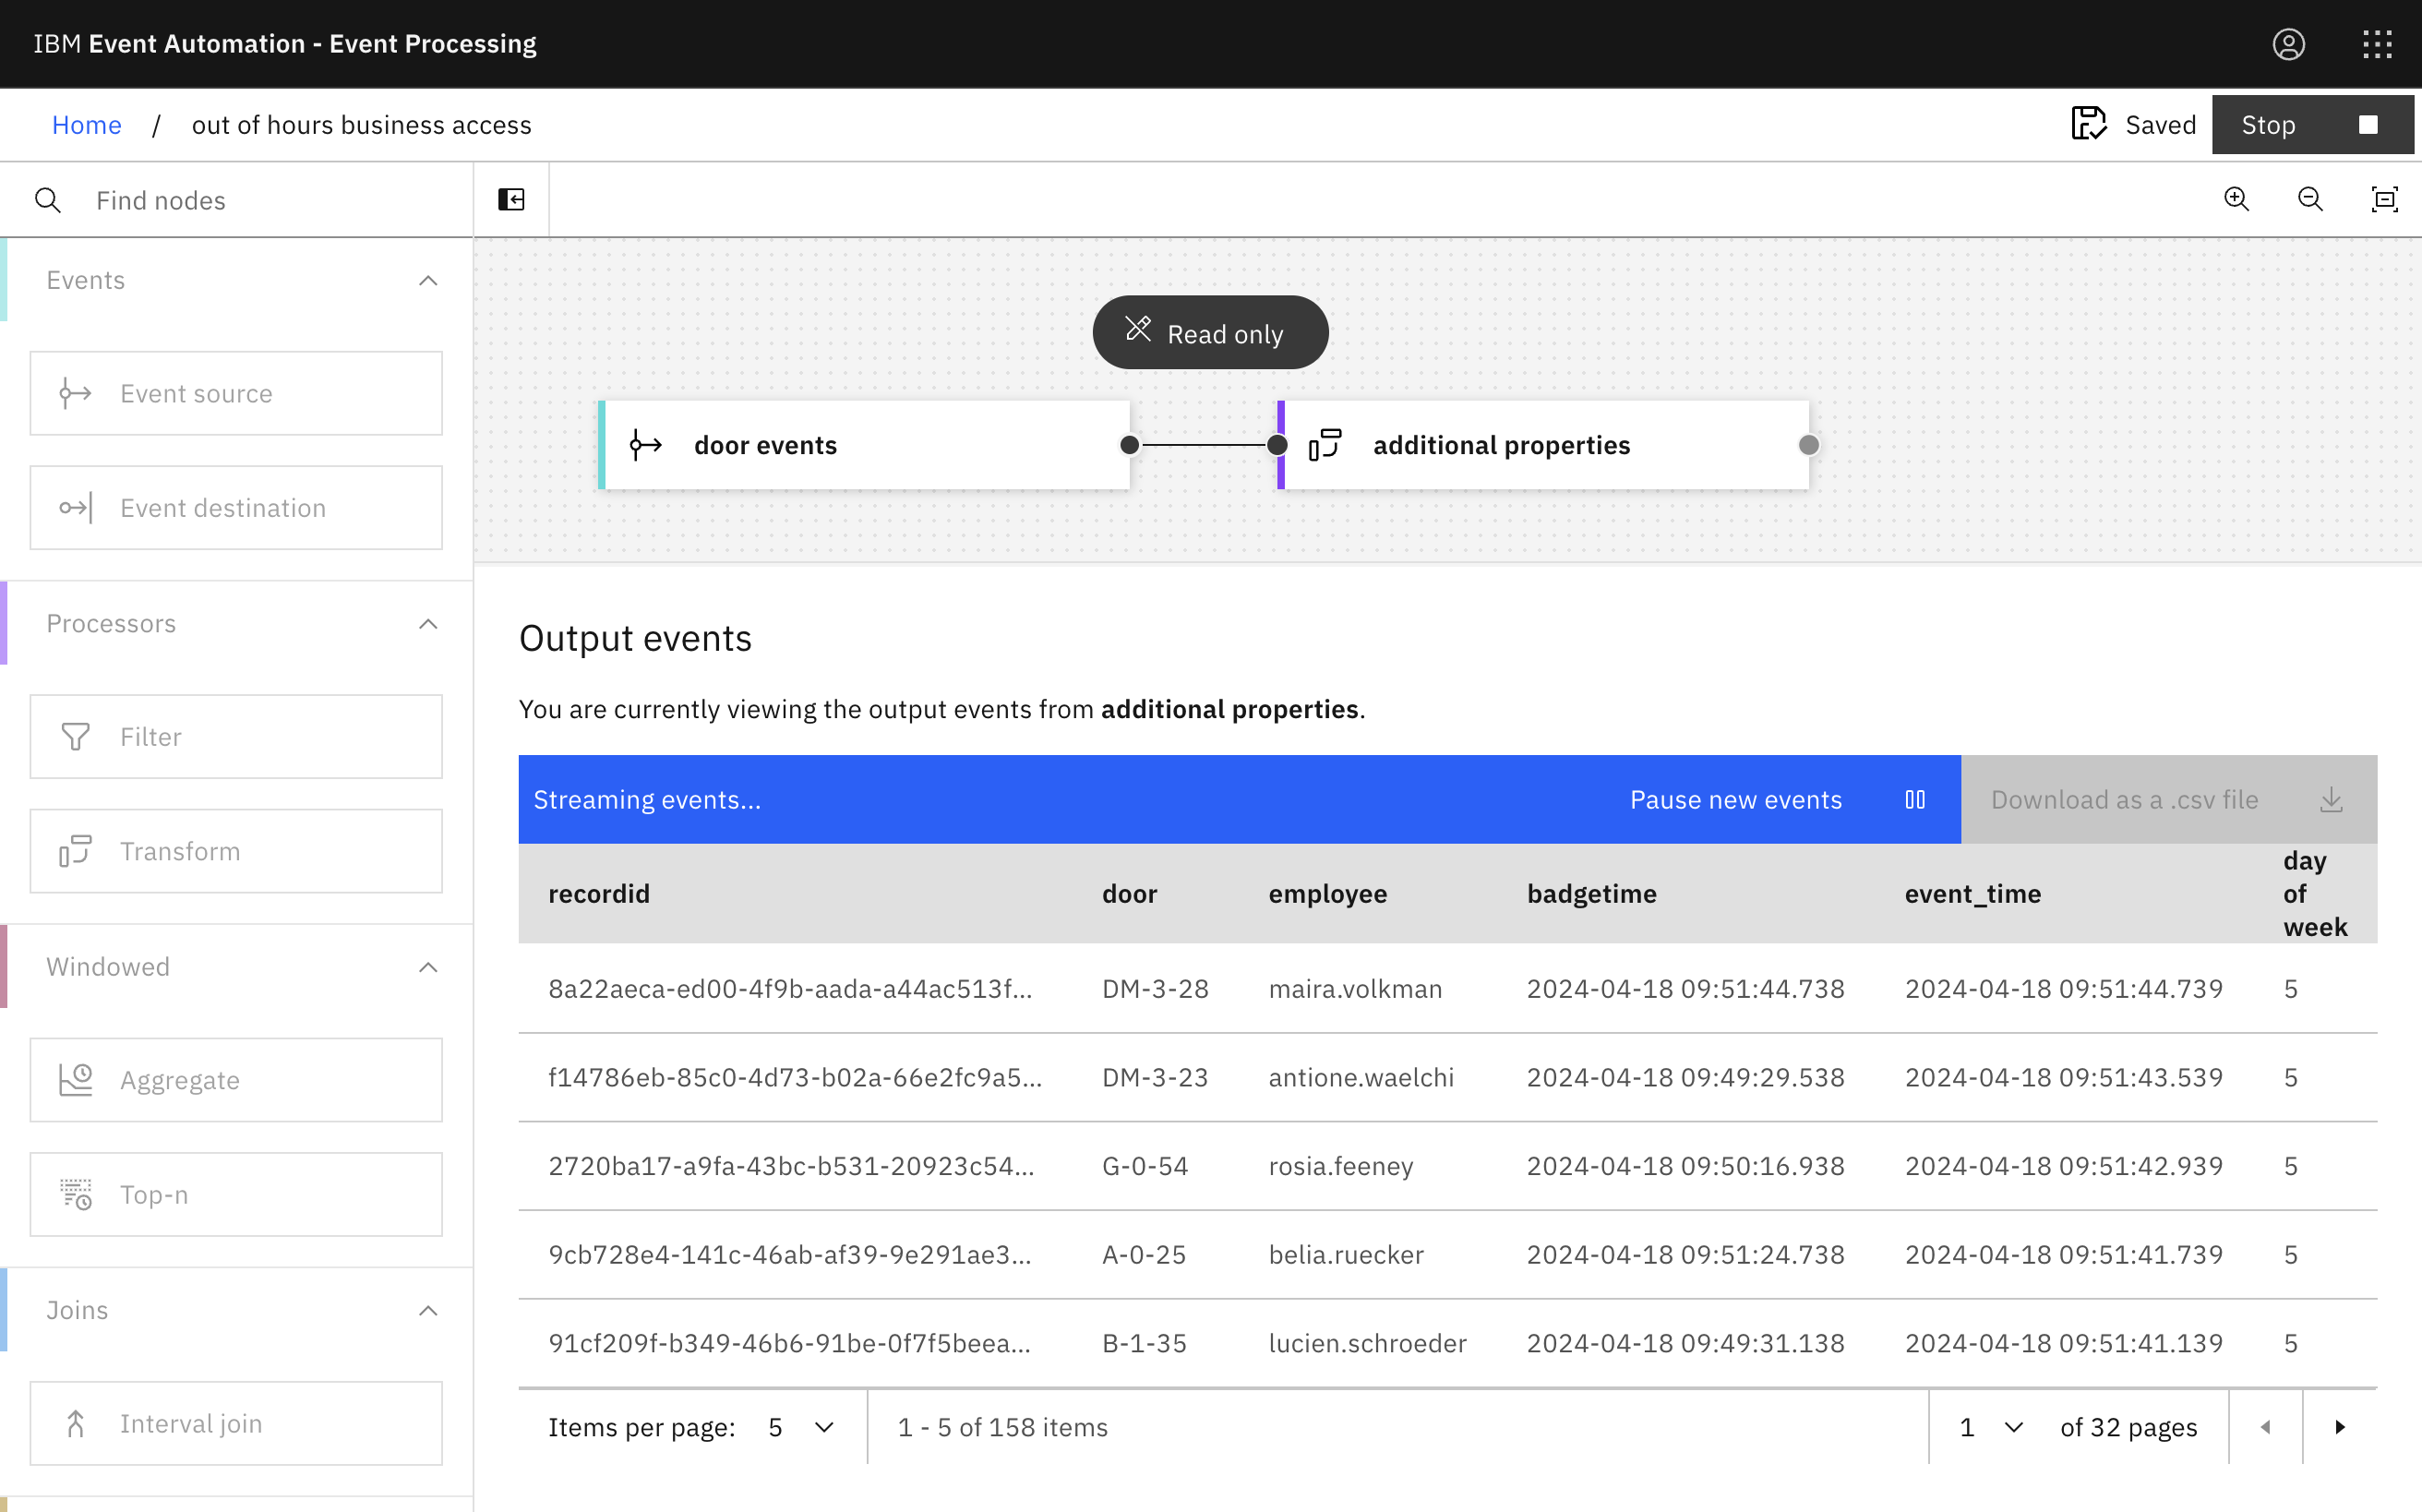
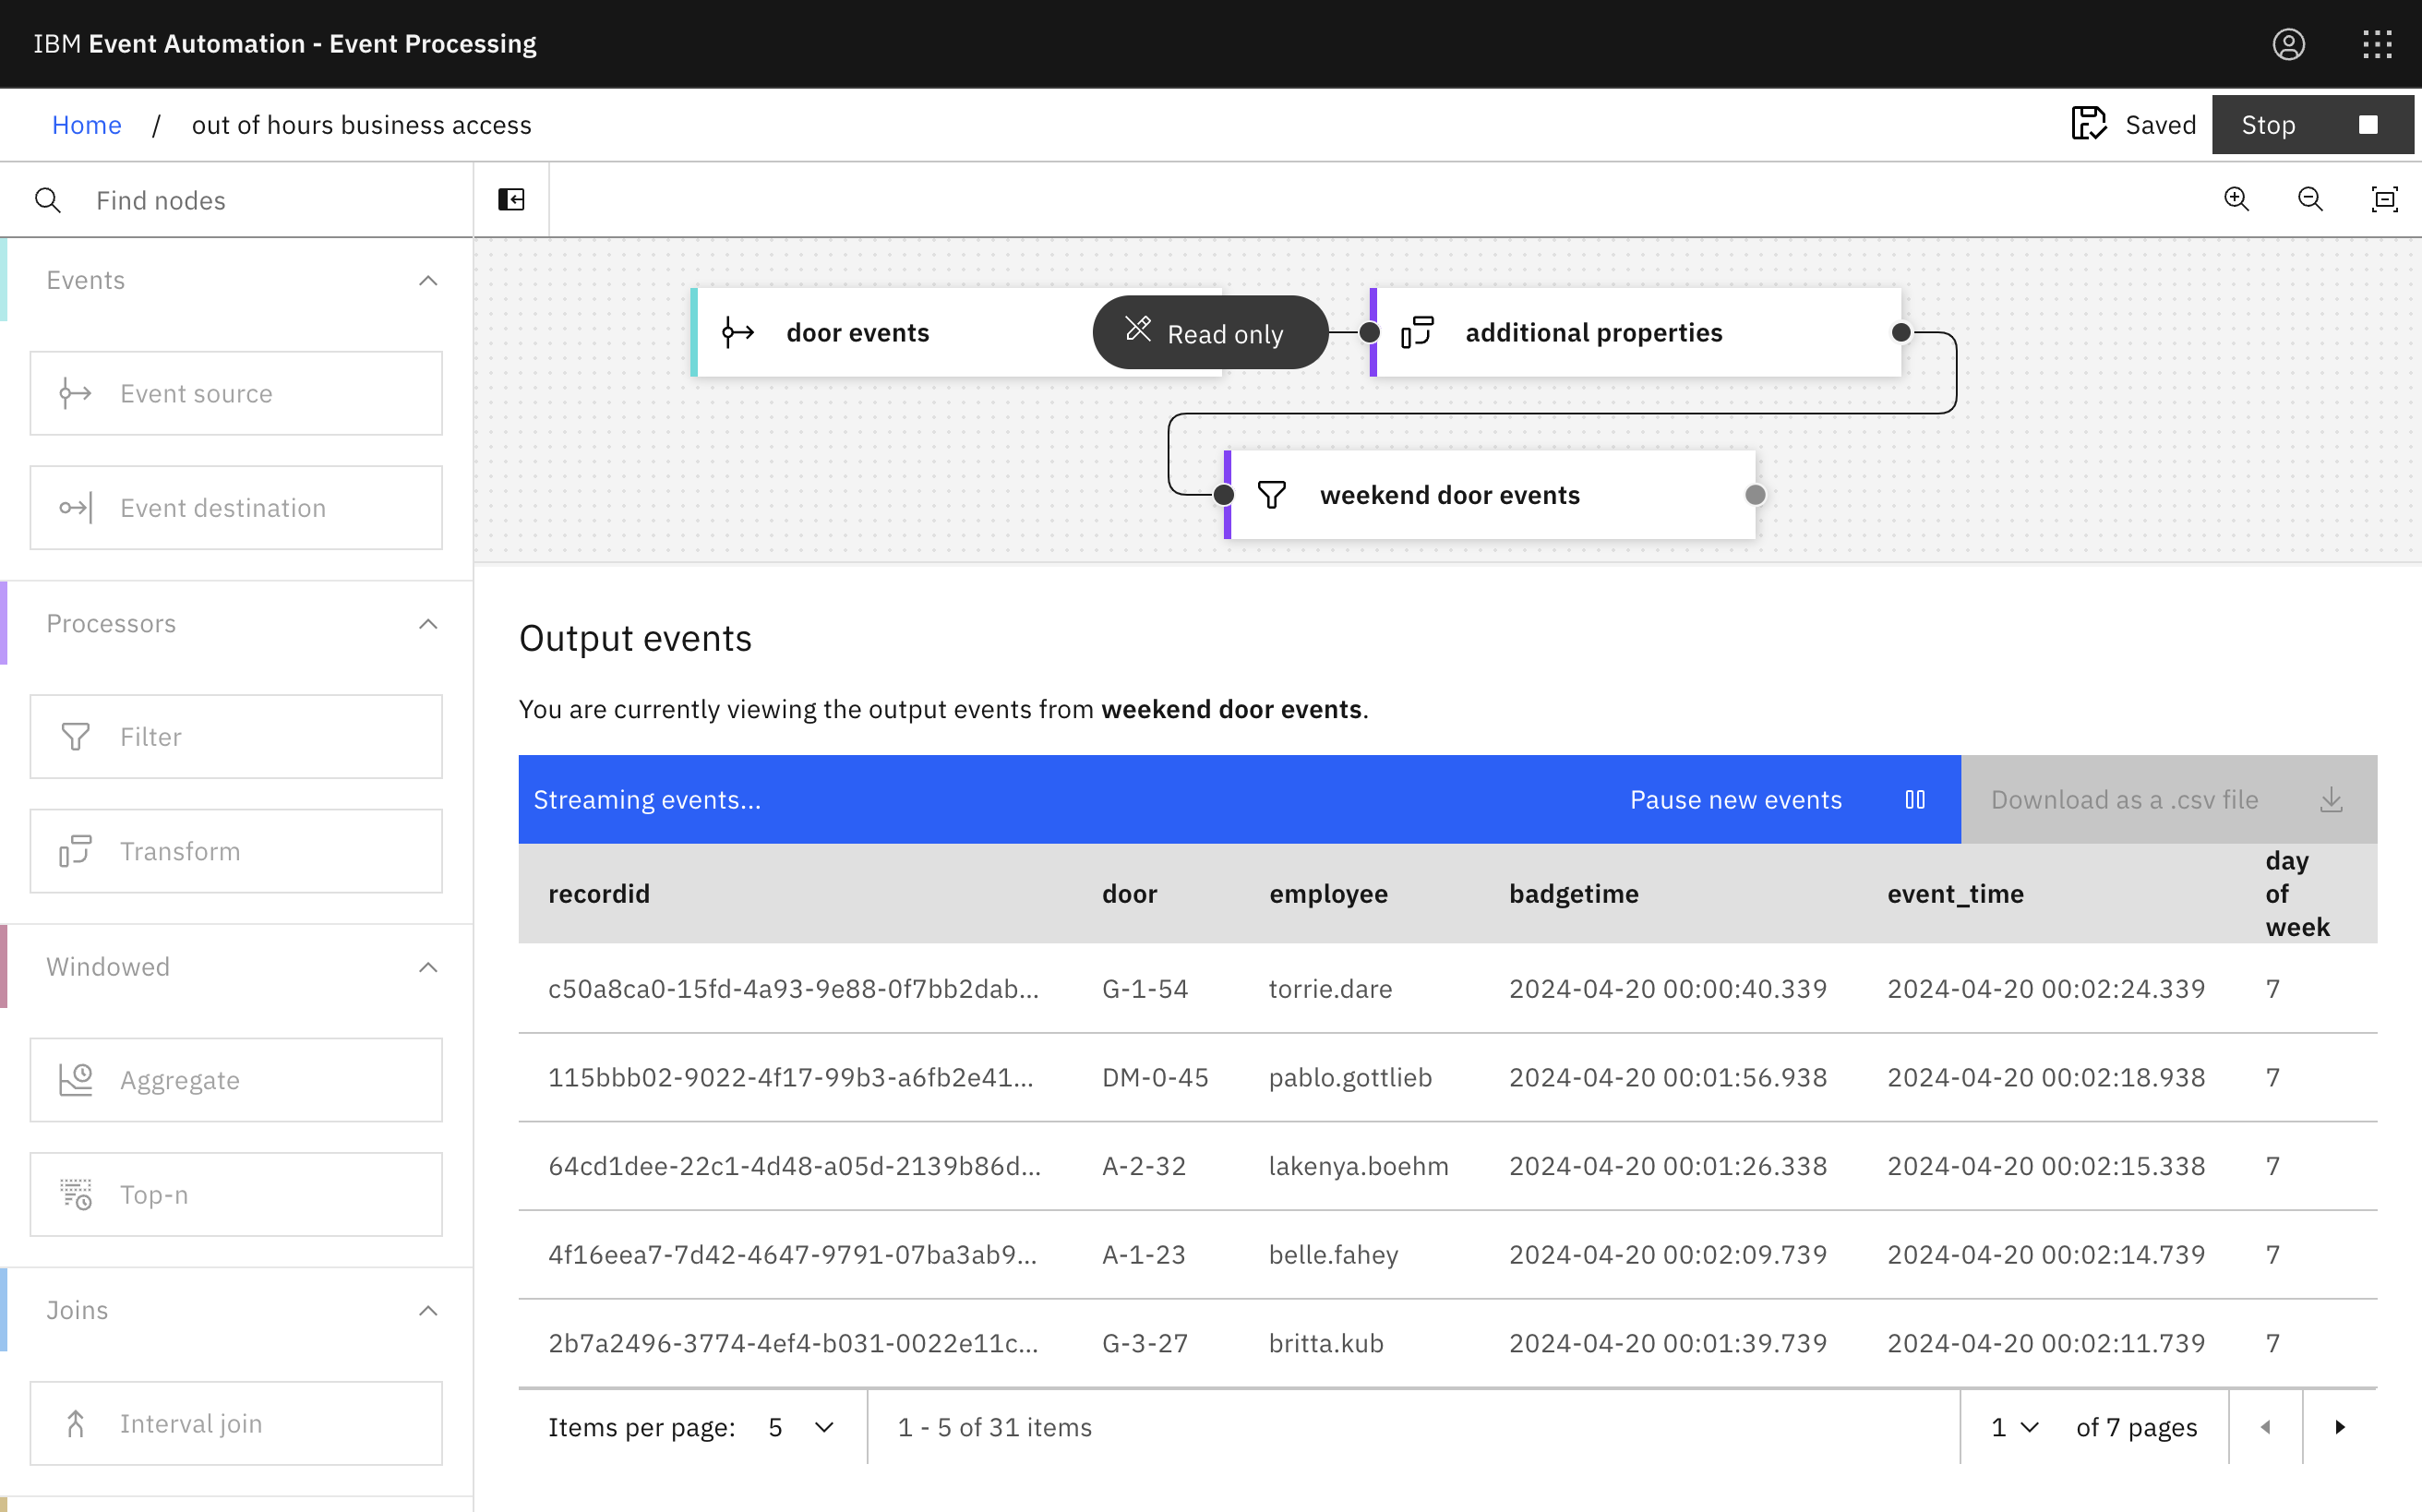
Use the Run menu, and select Include historical to run your filter on the history of door badge events available on this Kafka topic.
Verify that the day of the week is being correctly extracted from the timestamp, and that the building ID is correctly being extracted from the door ID.
Step 6: Filter to events of interest
The next step is to identify door badge events that occur at weekends. The additional day of week property that you computed in the transform node will be helpful for this.
-
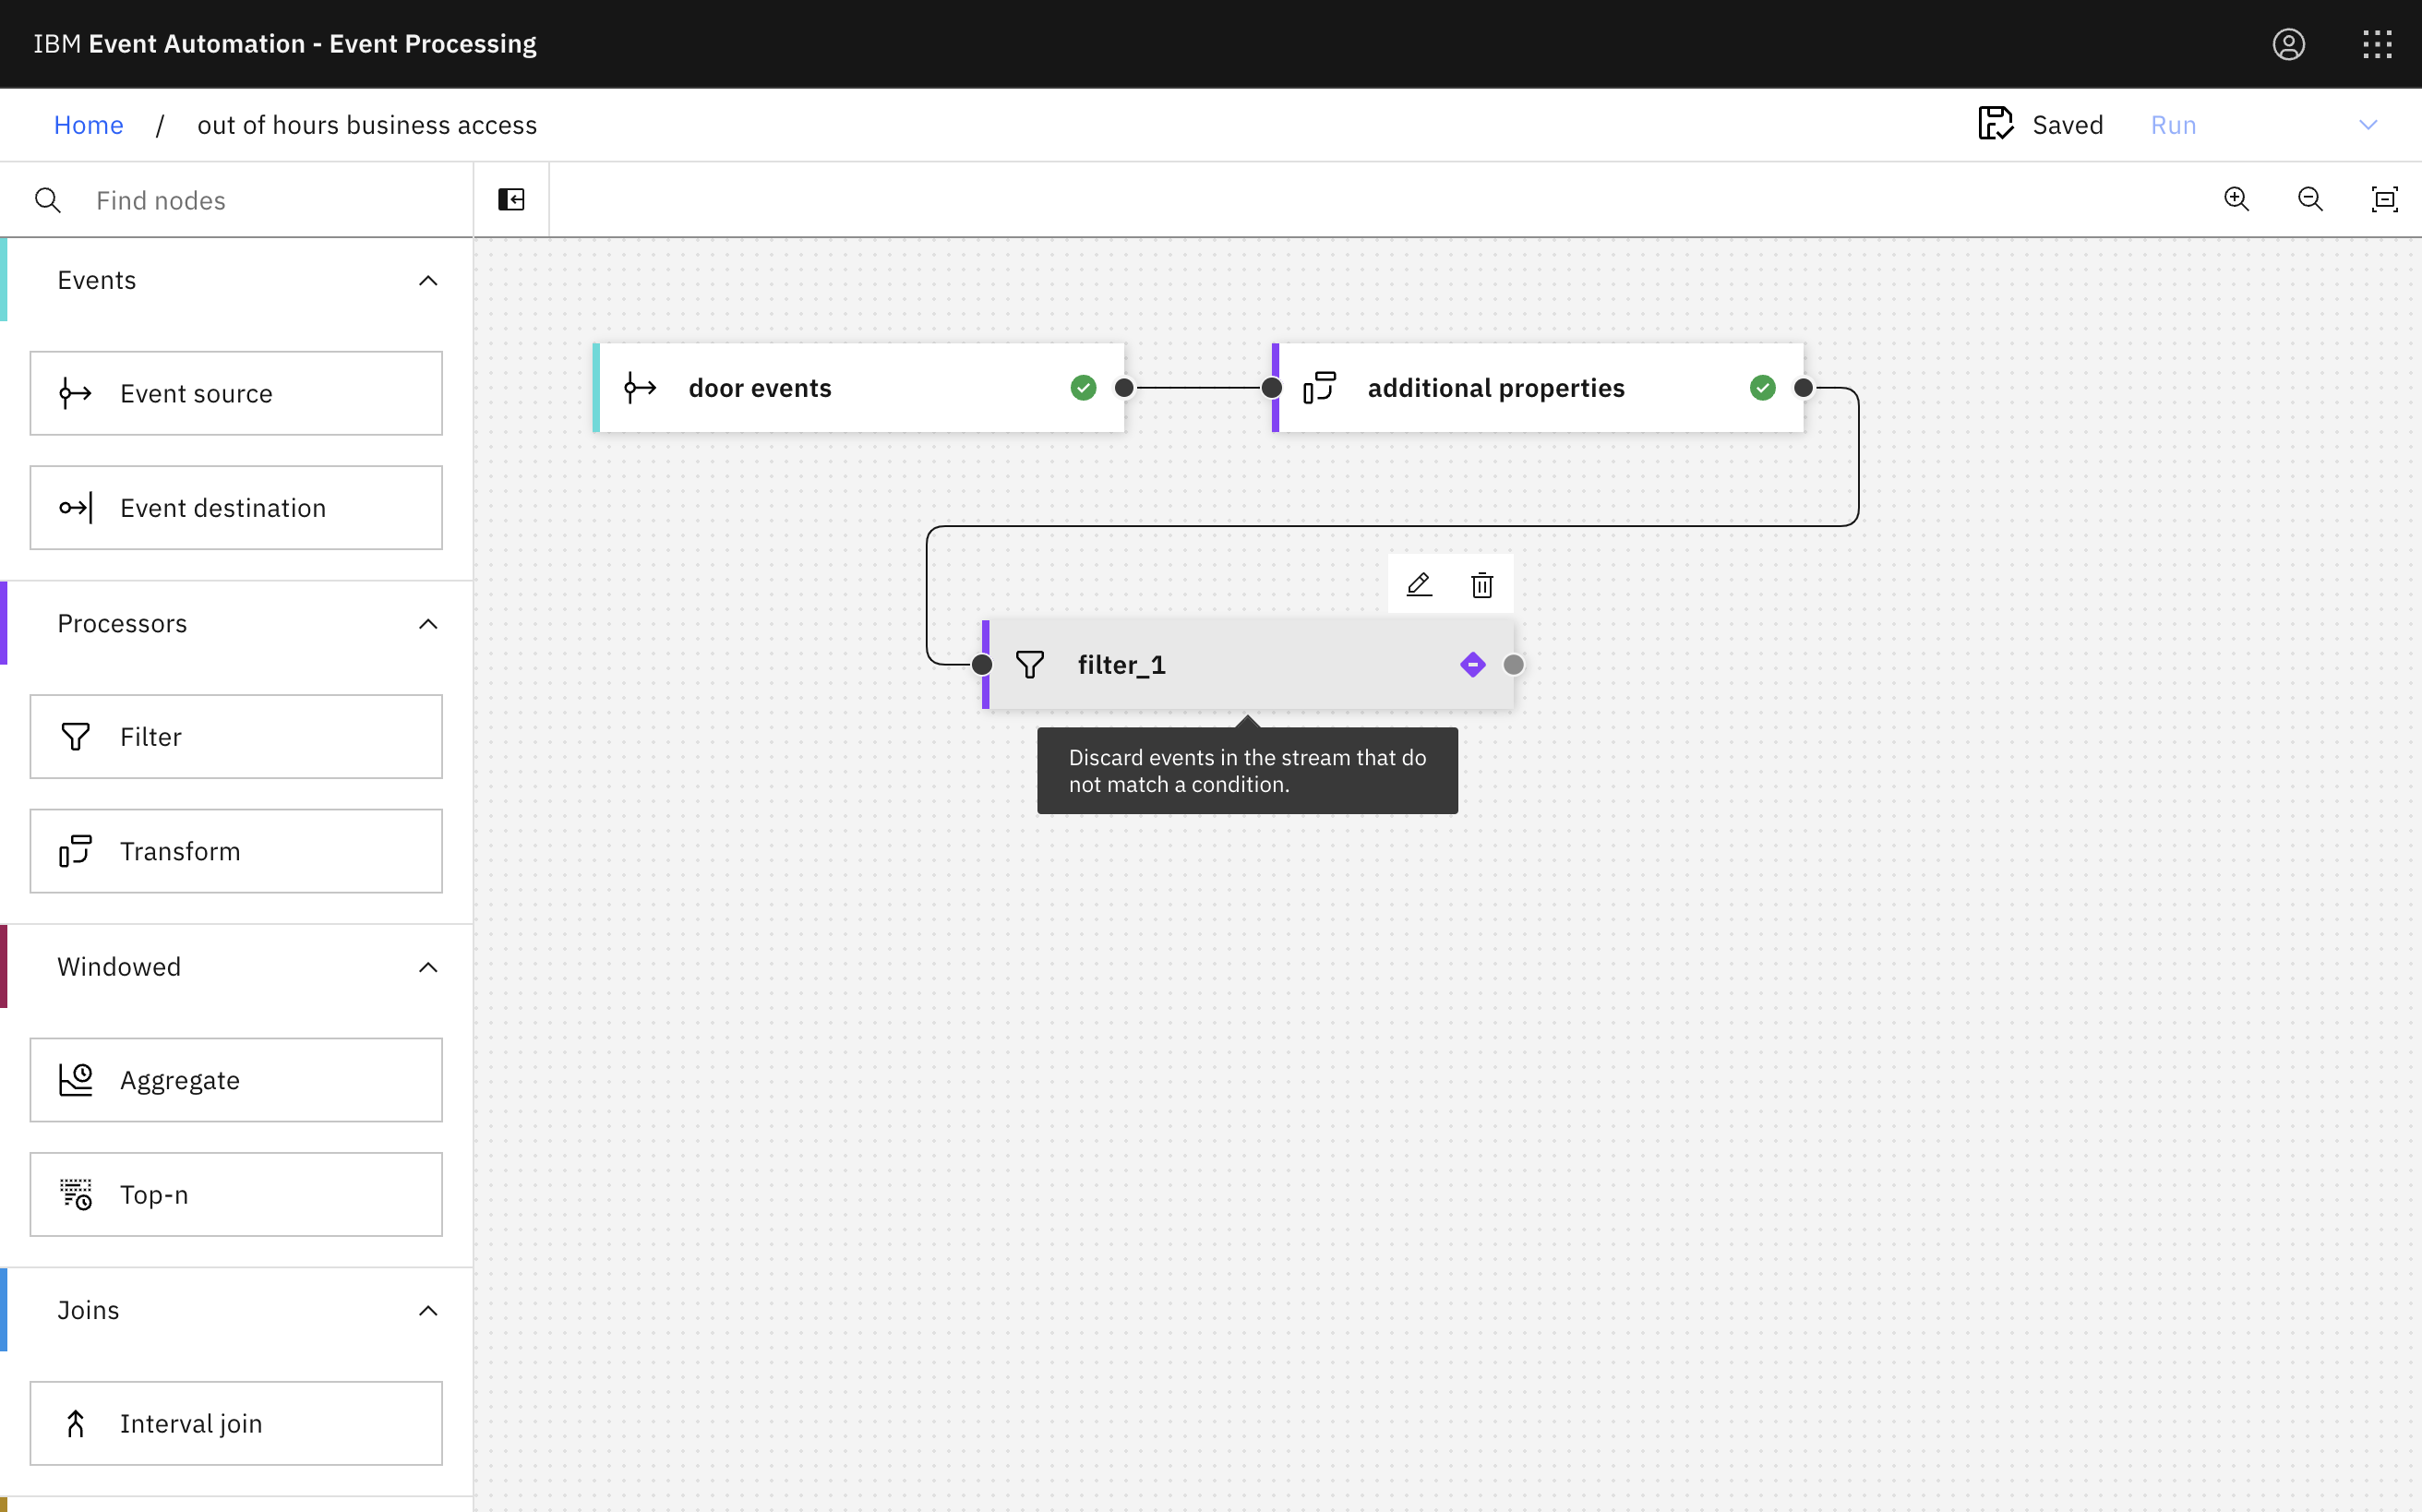
Create a Filter node and link it to a transform node.
Create a filter node by dragging one onto the canvas. You can find this in the Processors section of the left panel.
Click and drag from the small gray dot on the event source to the matching dot on the filter node.
Hover over the node and click
Edit to configure the node.
-
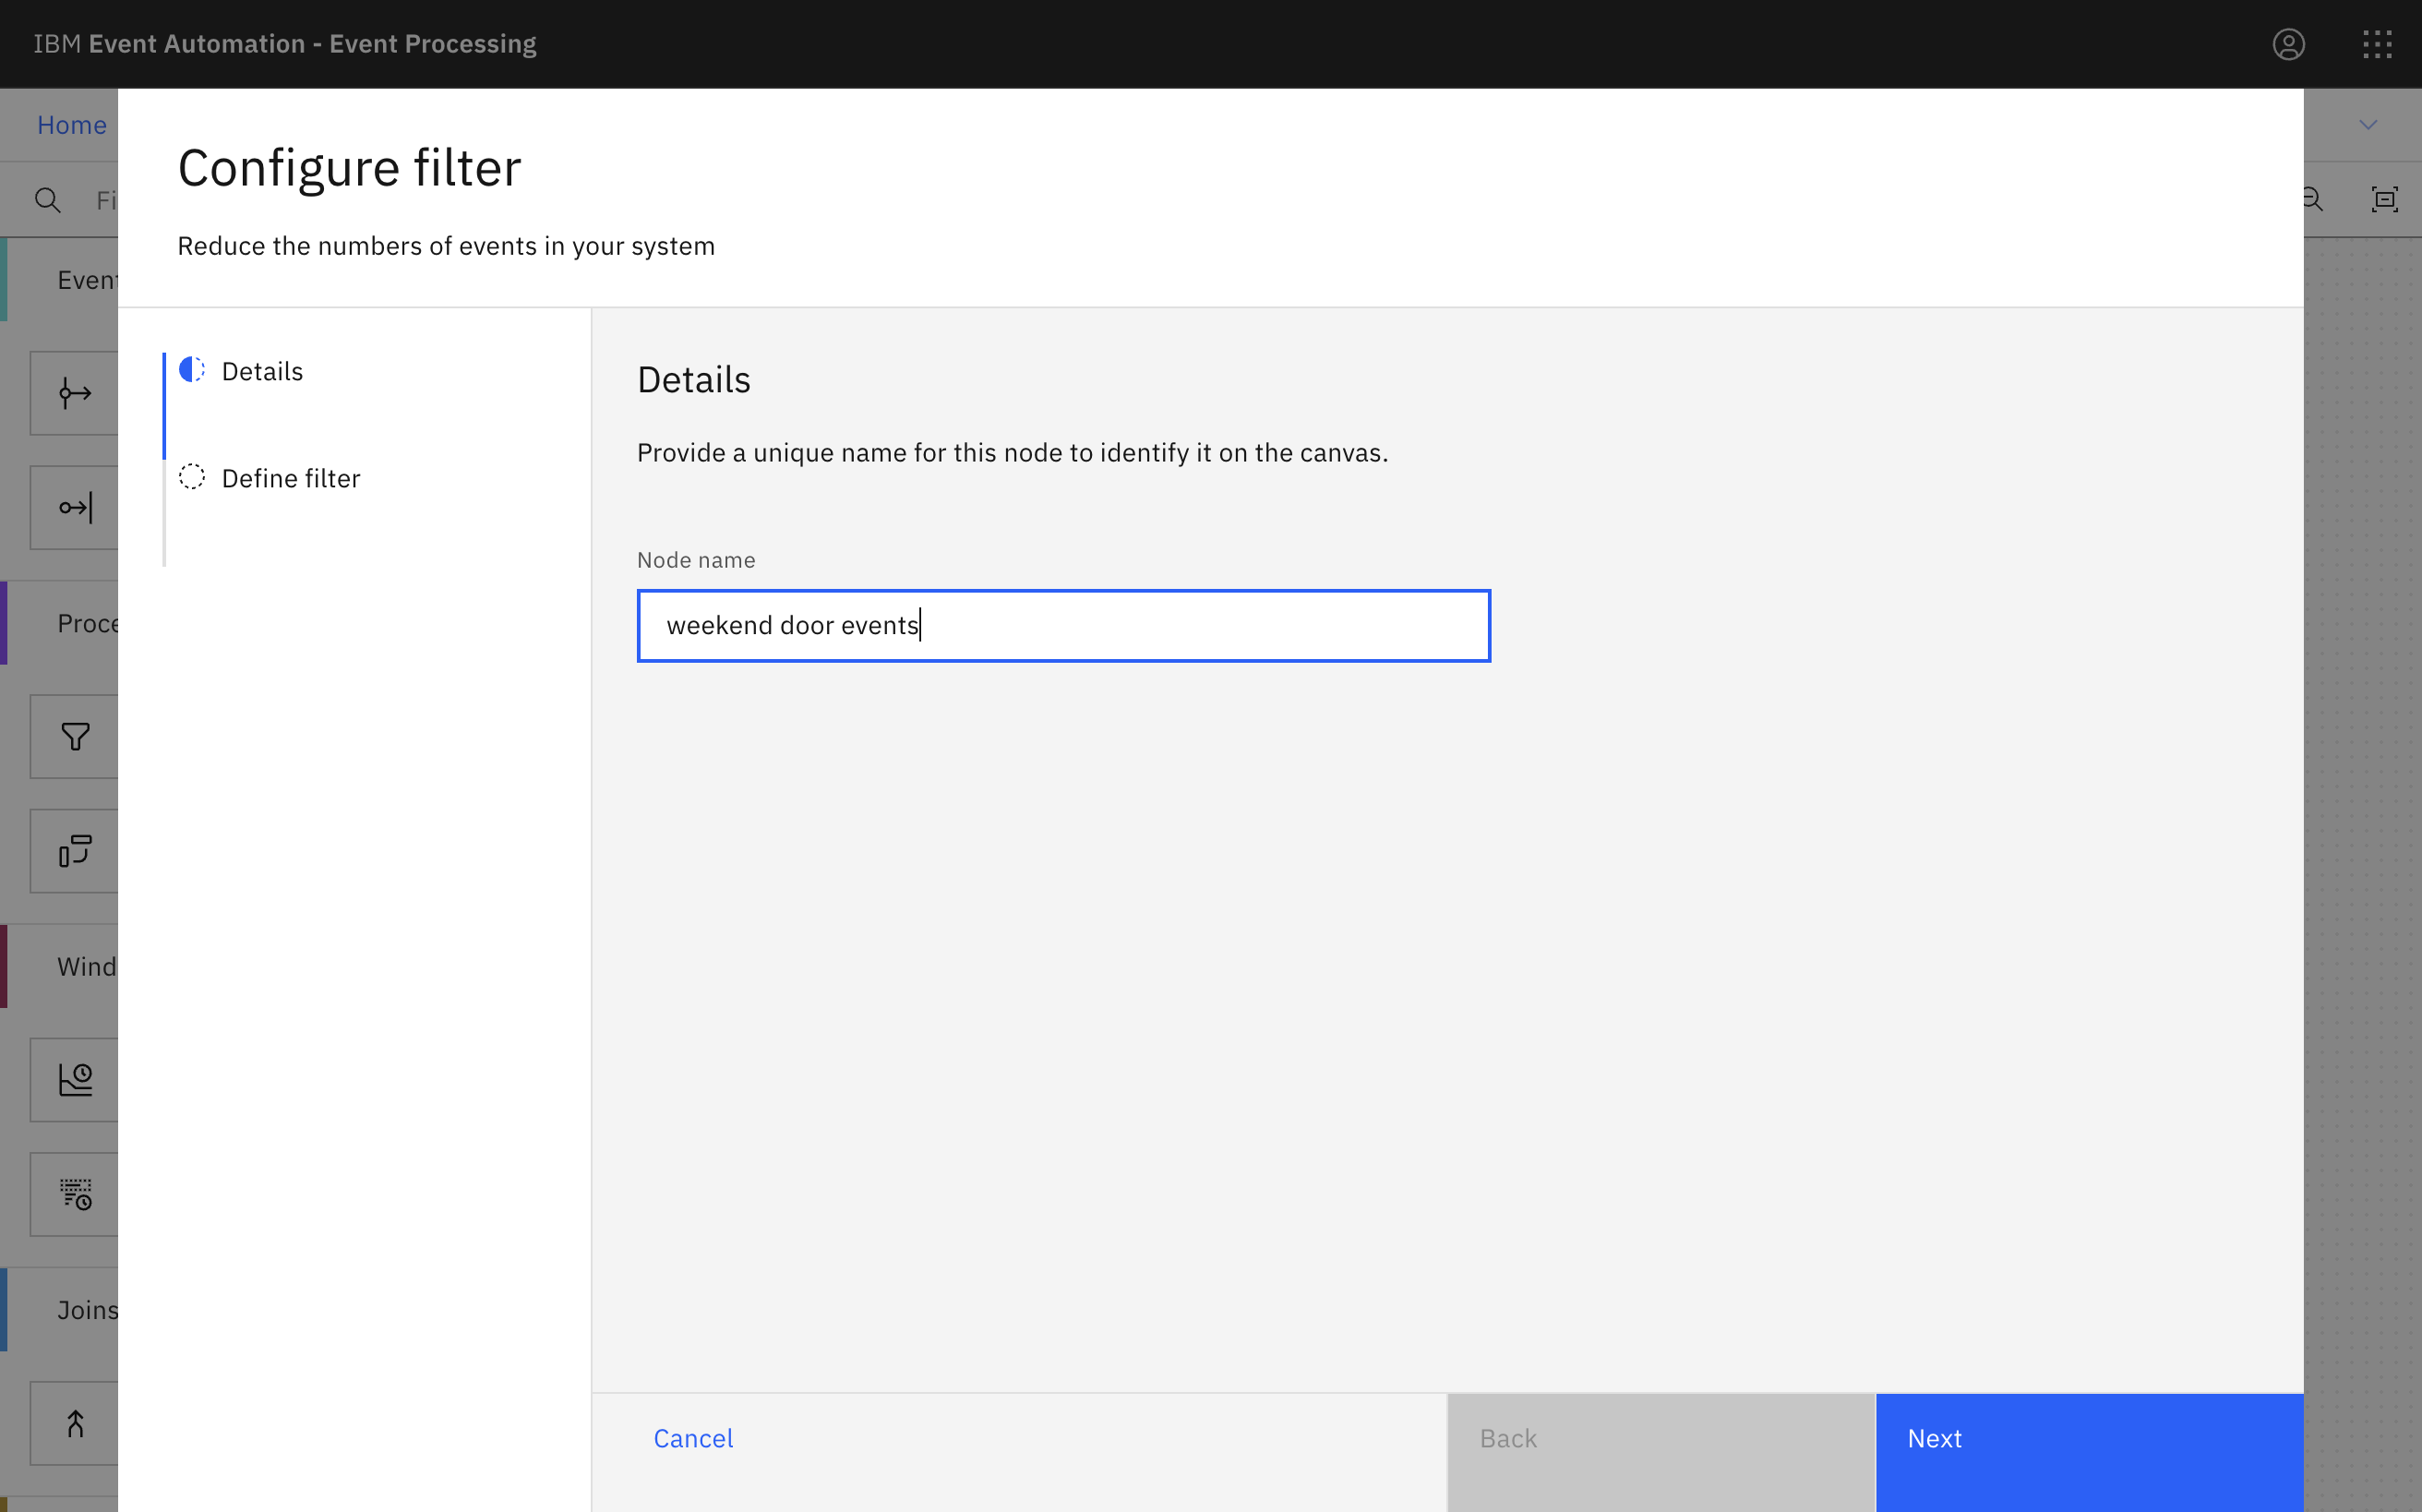
Give the filter node a name that describes the events it should identify:
weekend door events.Click Next.
-
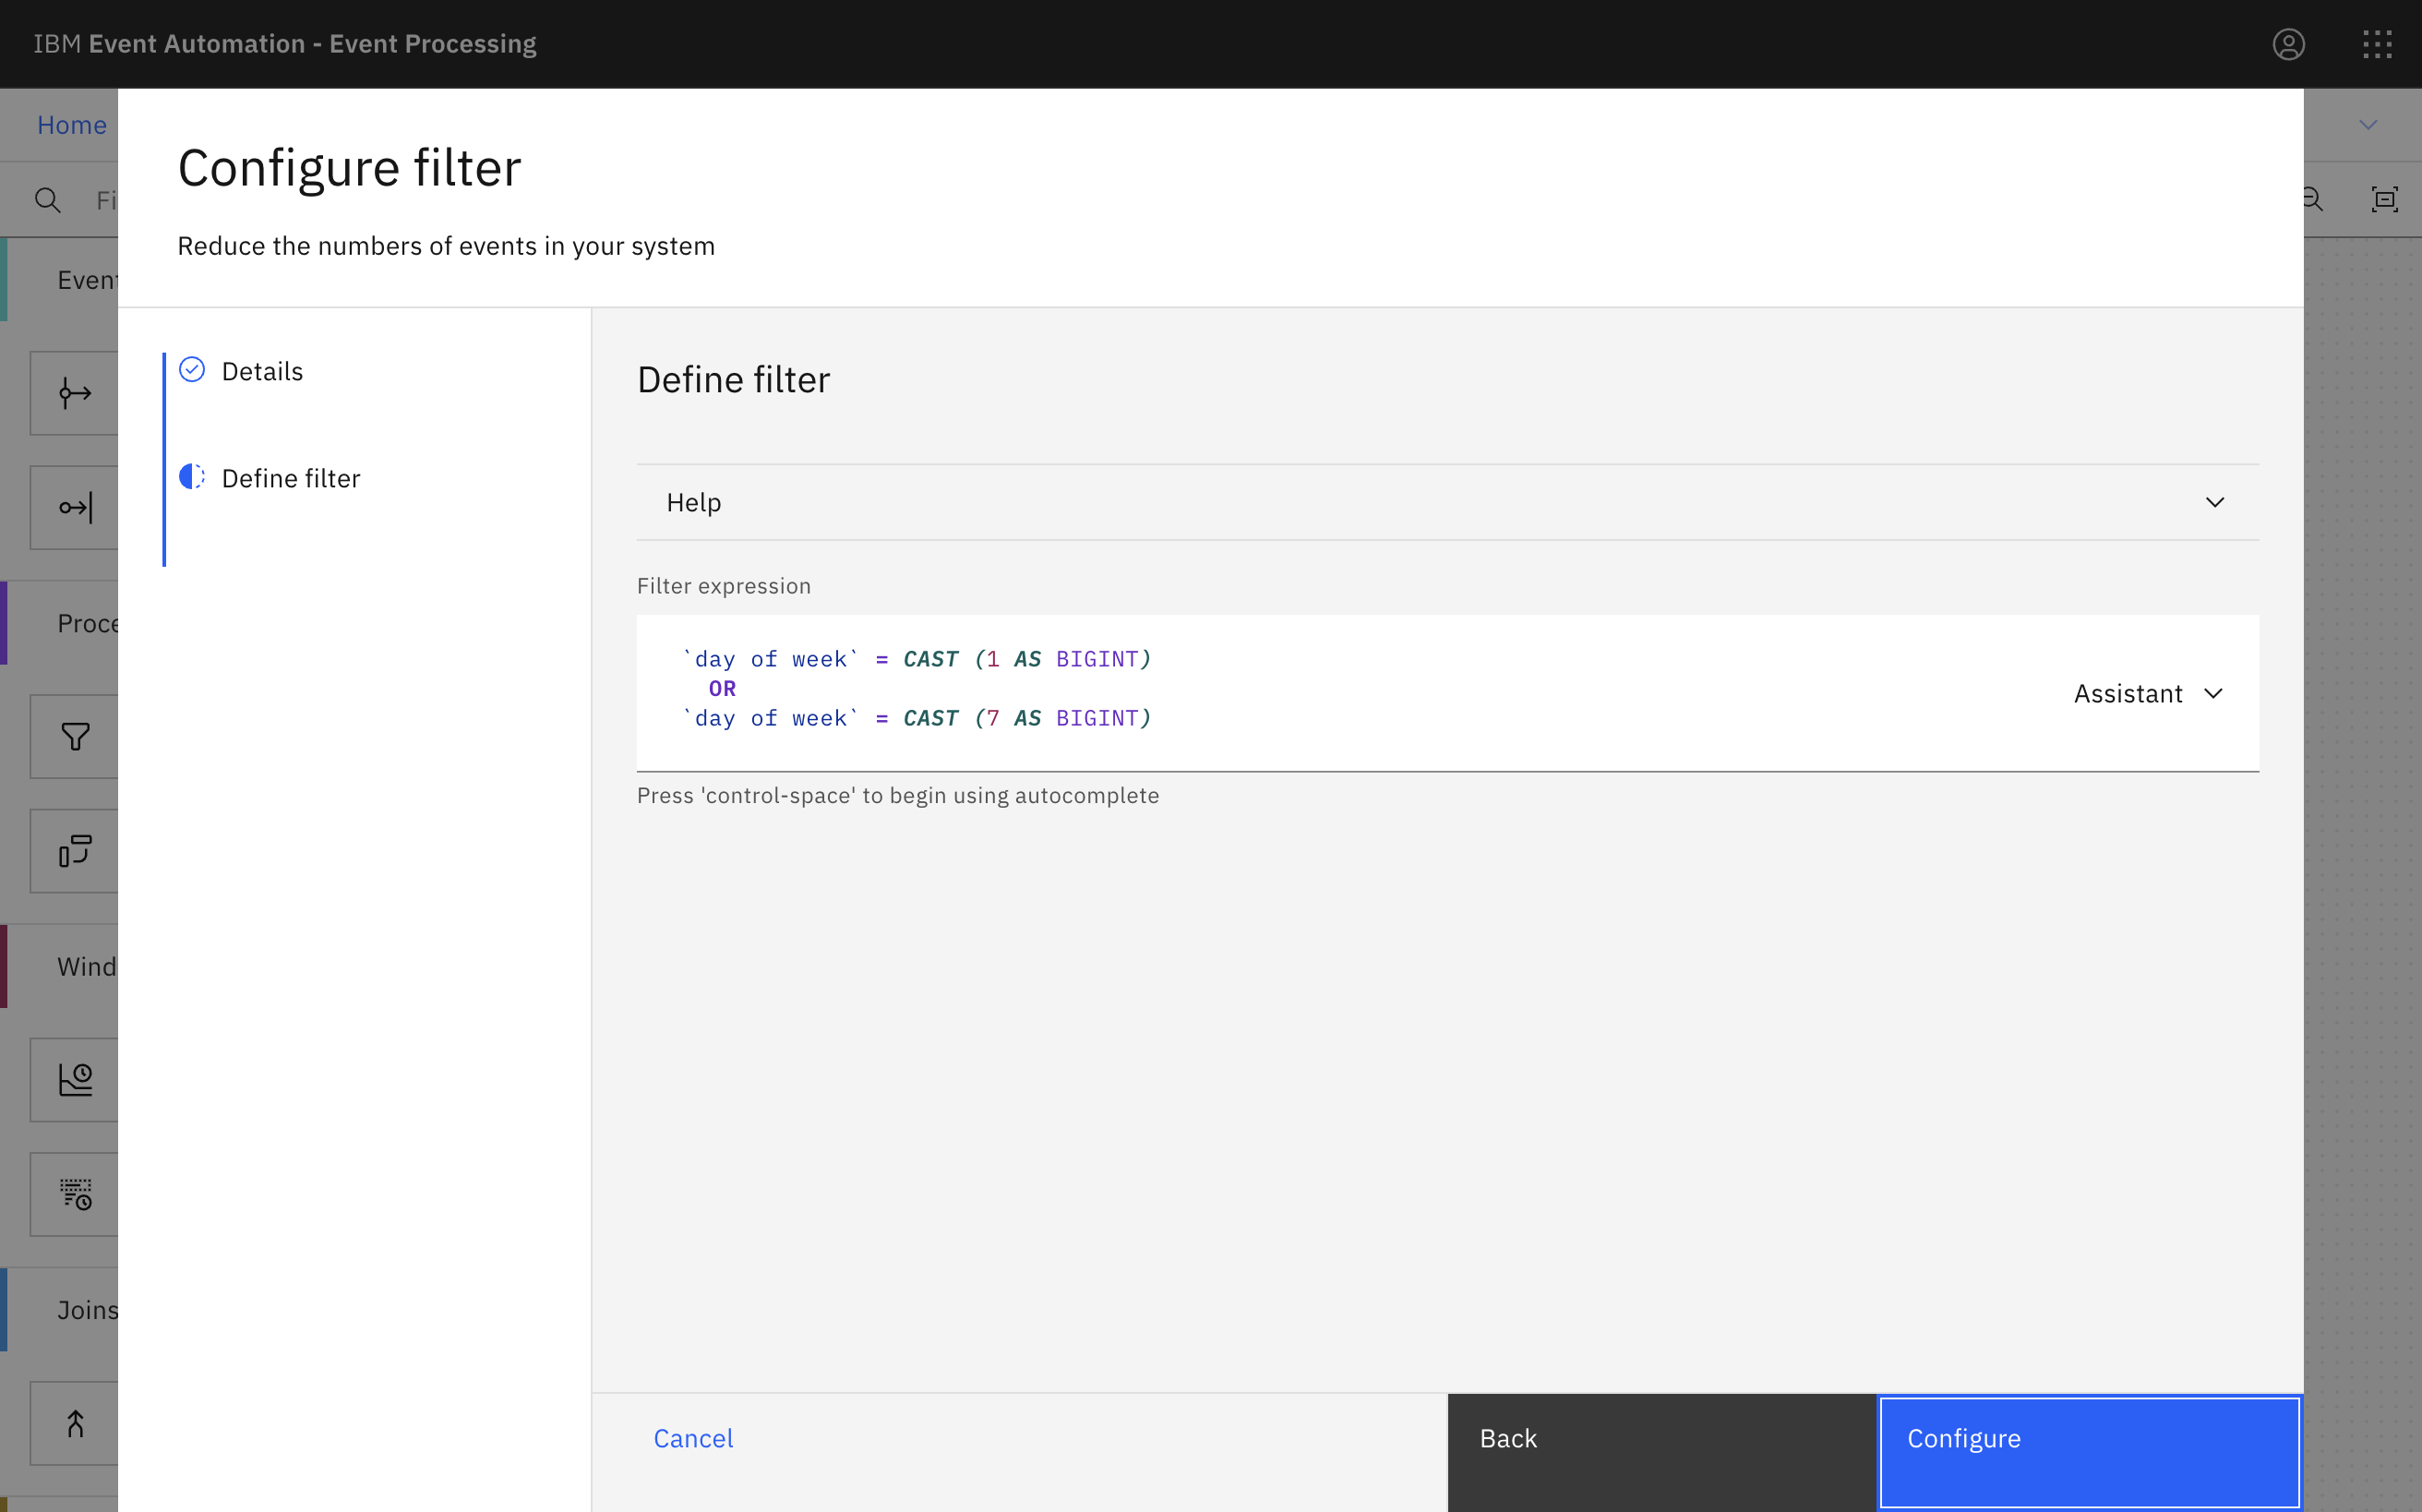
Define a filter that matches door badge events with a
day of weekvalue that indicates Saturday or Sunday.Use the assistant to create the following filter expression:
 `day of week` = CAST (1 AS BIGINT)
   OR
 `day of week` = CAST (7 AS BIGINT)
Did you know? Including line breaks in your expressions can make them easier to read.
-
Click Next to open the Output properties pane. Choose the properties to output.
-
Click Configure to finalize the filter.
Step 7: Test the flow
The next step is to run your event processing flow again and view the results.
-
Use the Run menu, and select Include historical to run your filter on the history of door badge events available on this Kafka topic.
Verify that all events are for door badge events with a timestamp of a Saturday or Sunday.
Step 8: Enrich the events
The next step is to add additional information about the building to these out-of-hours door events.
-
Add a Database node to the flow.
Create a database node by dragging one onto the canvas. You can find this in the Enrichment section of the left panel.
-
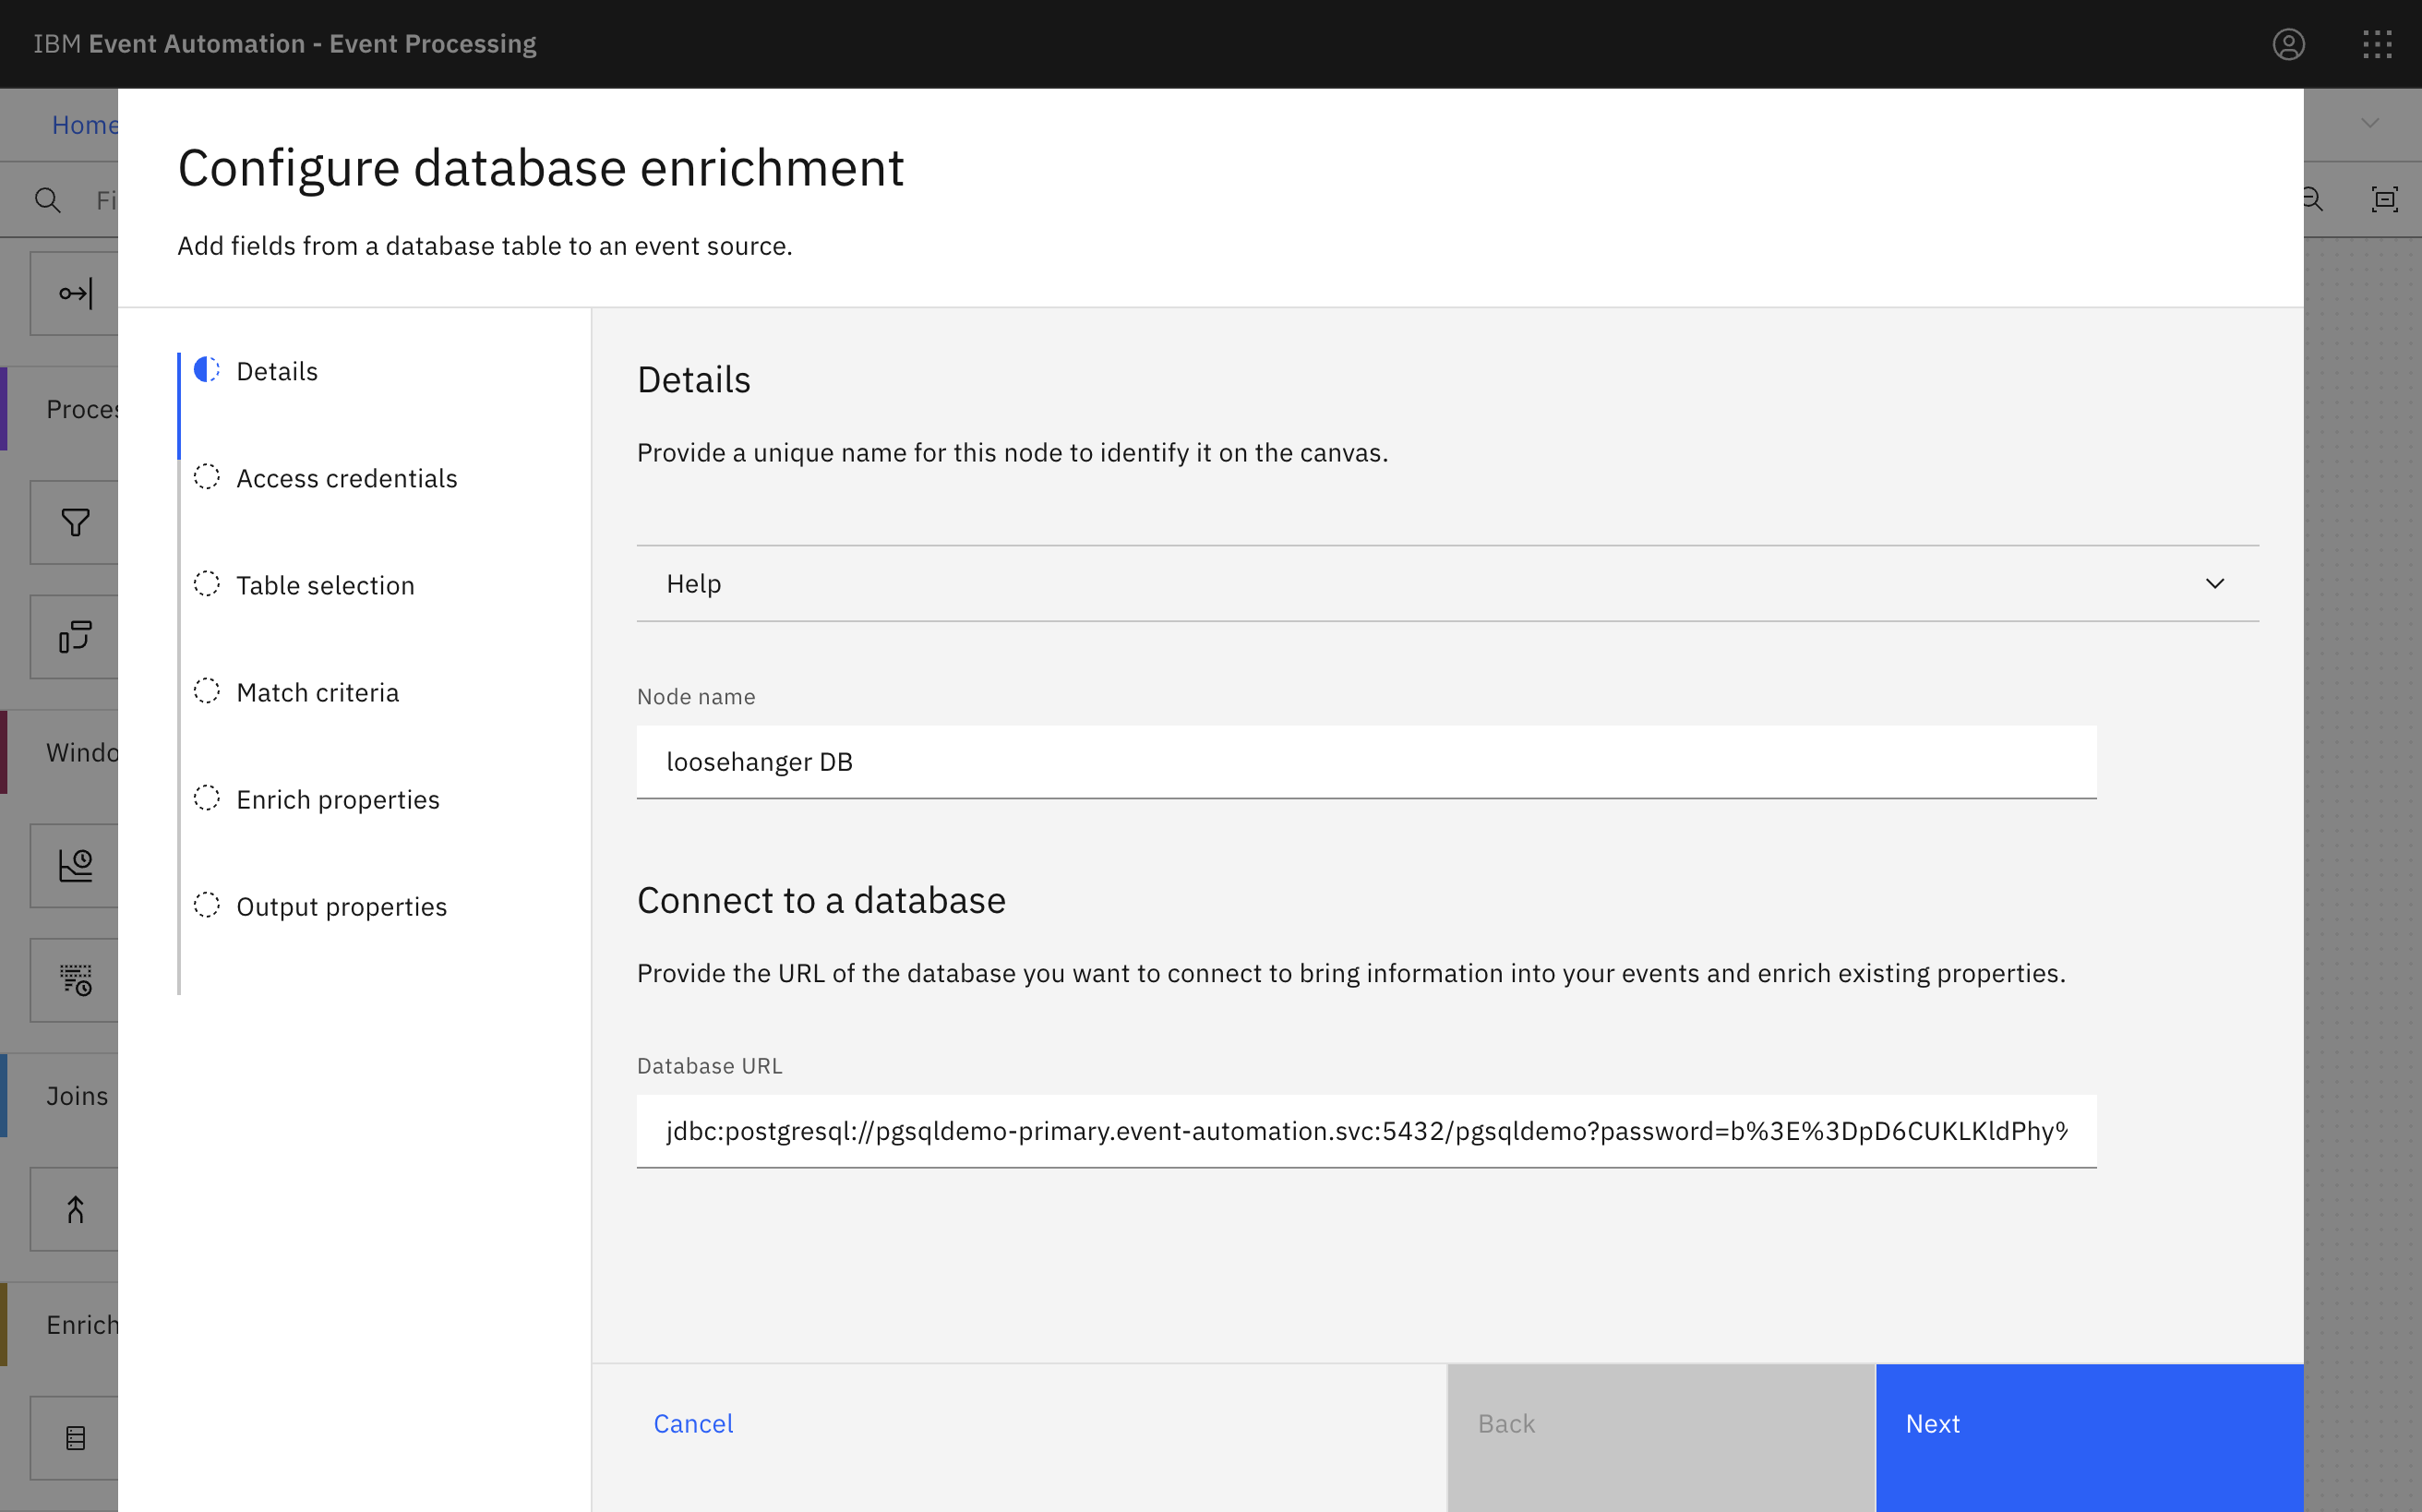
Give the database node a name and paste the JDBC URI for your database into the Database URL field.
Get the JDBC URI for your PostgreSQL database by following the instructions for Accessing PostgreSQL database tables.
-
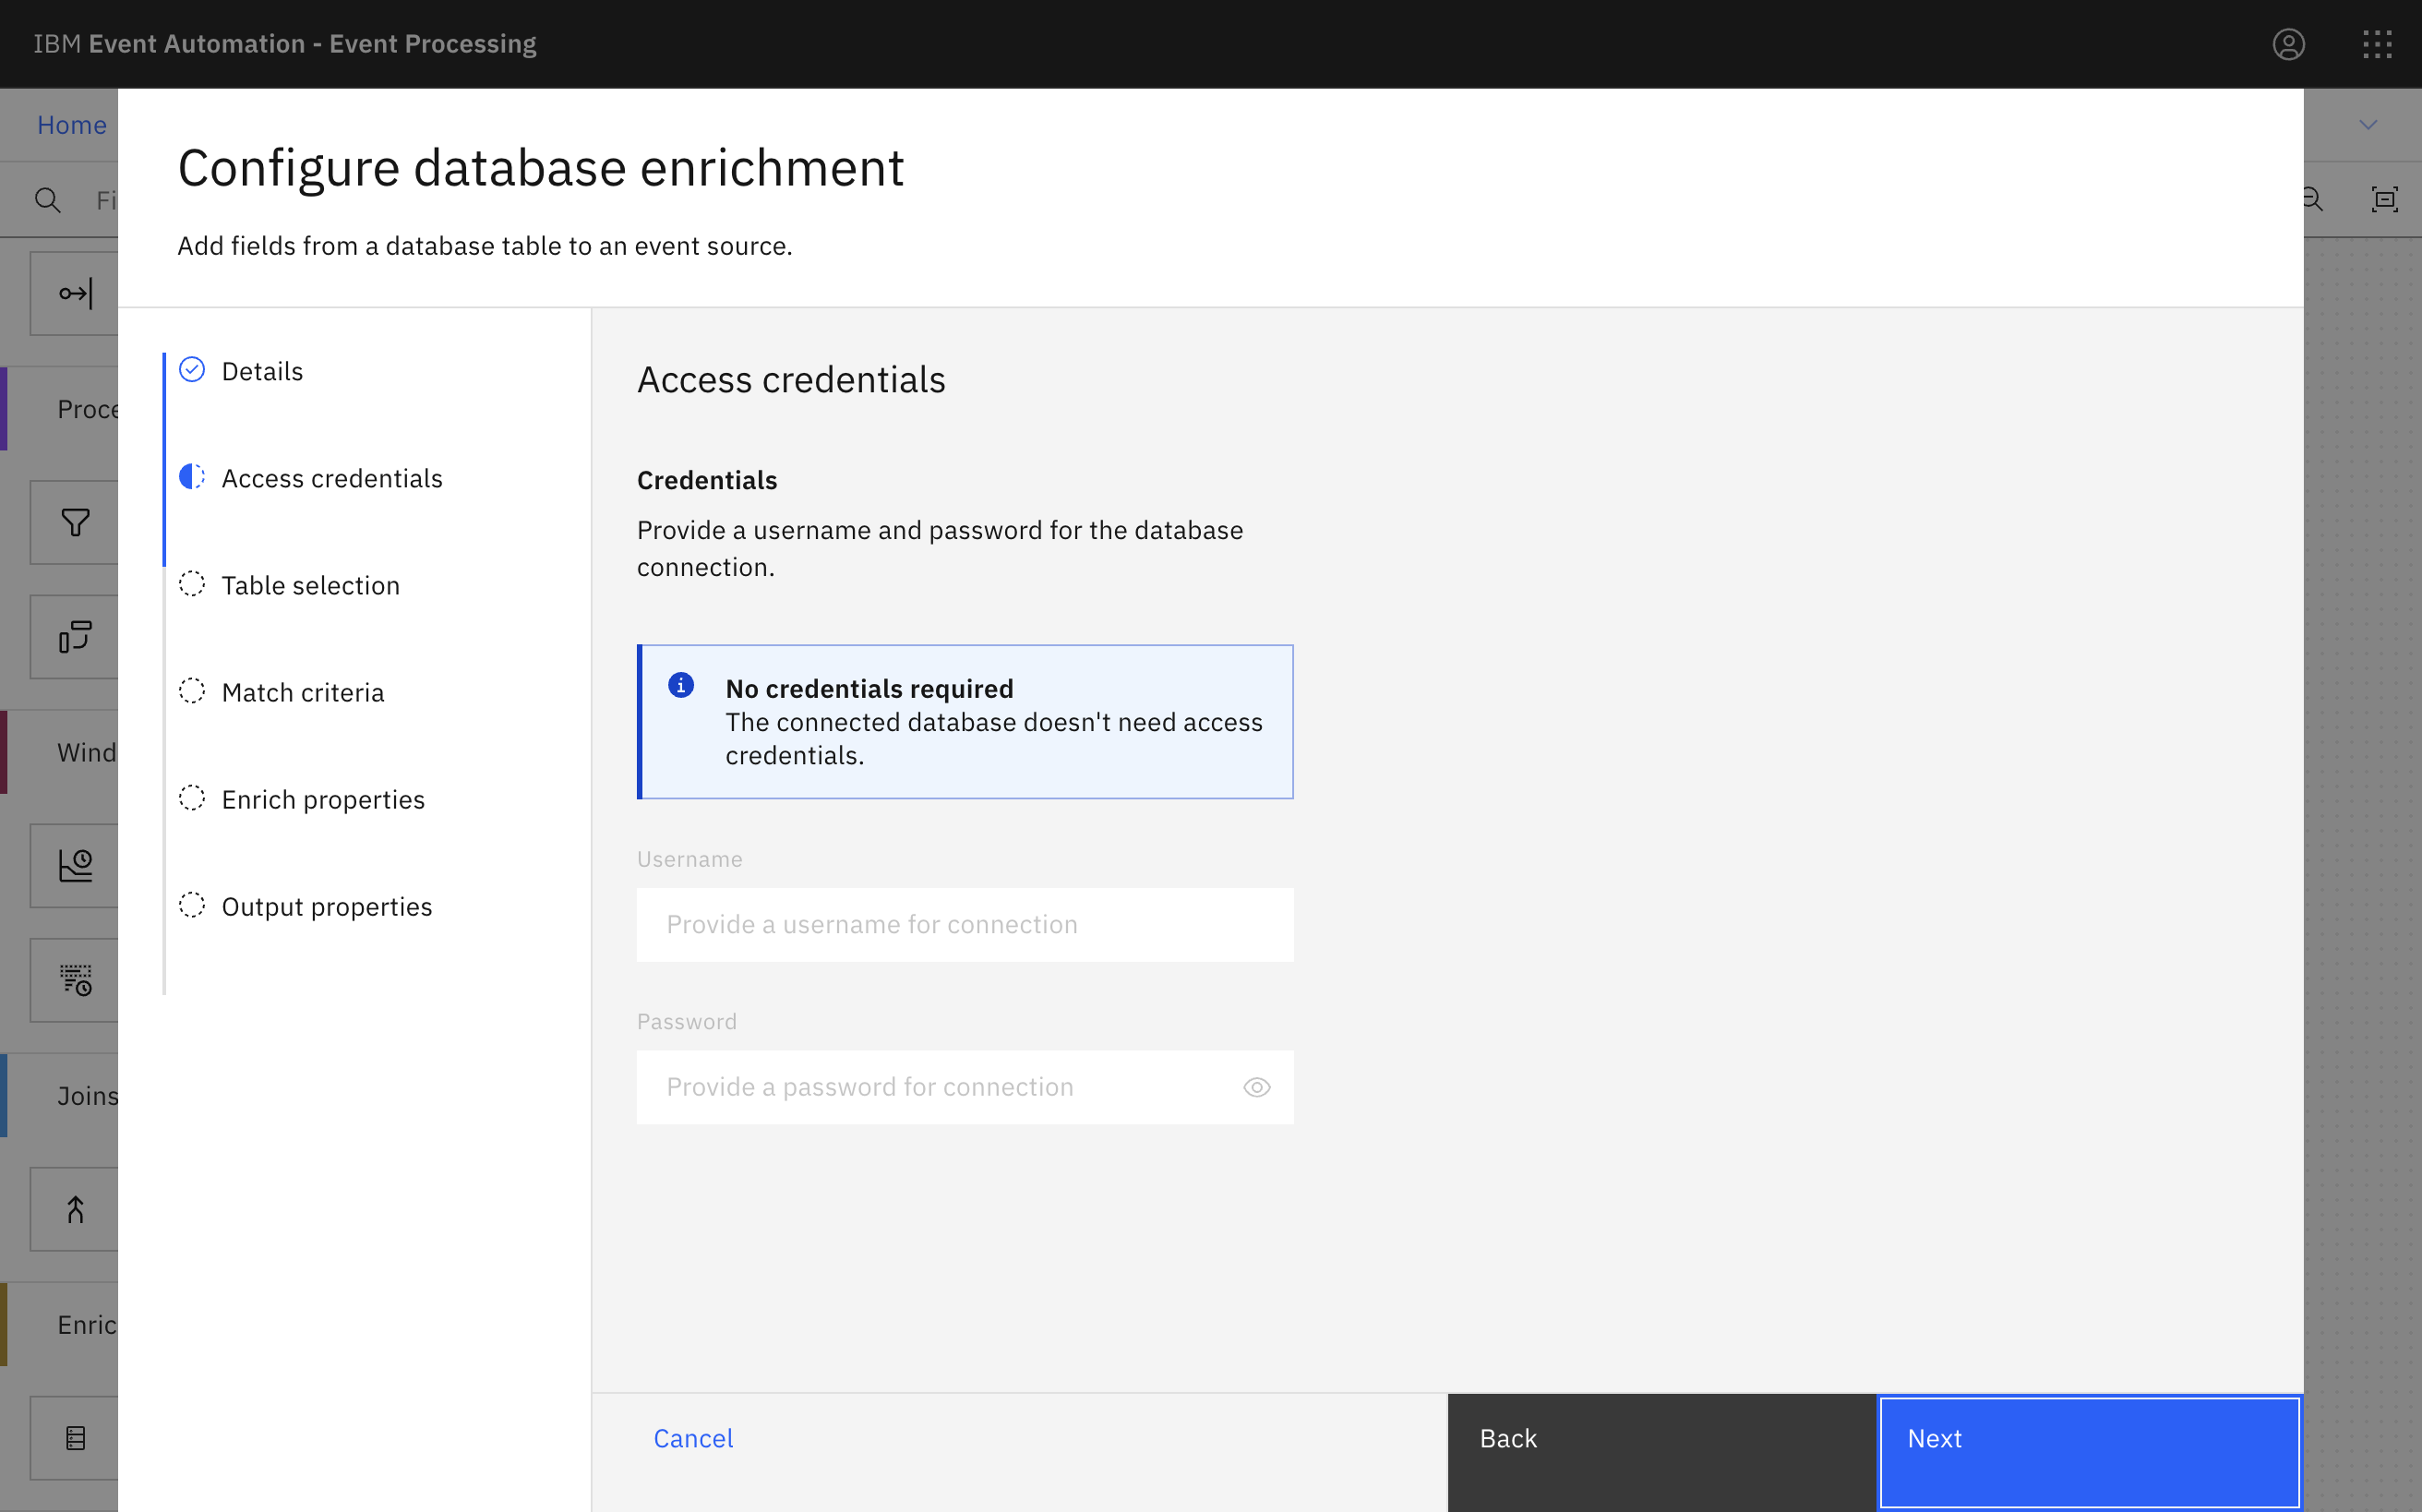
Click Next.
The database username and password were included in the JDBC URI, so no additional credentials are required.
-
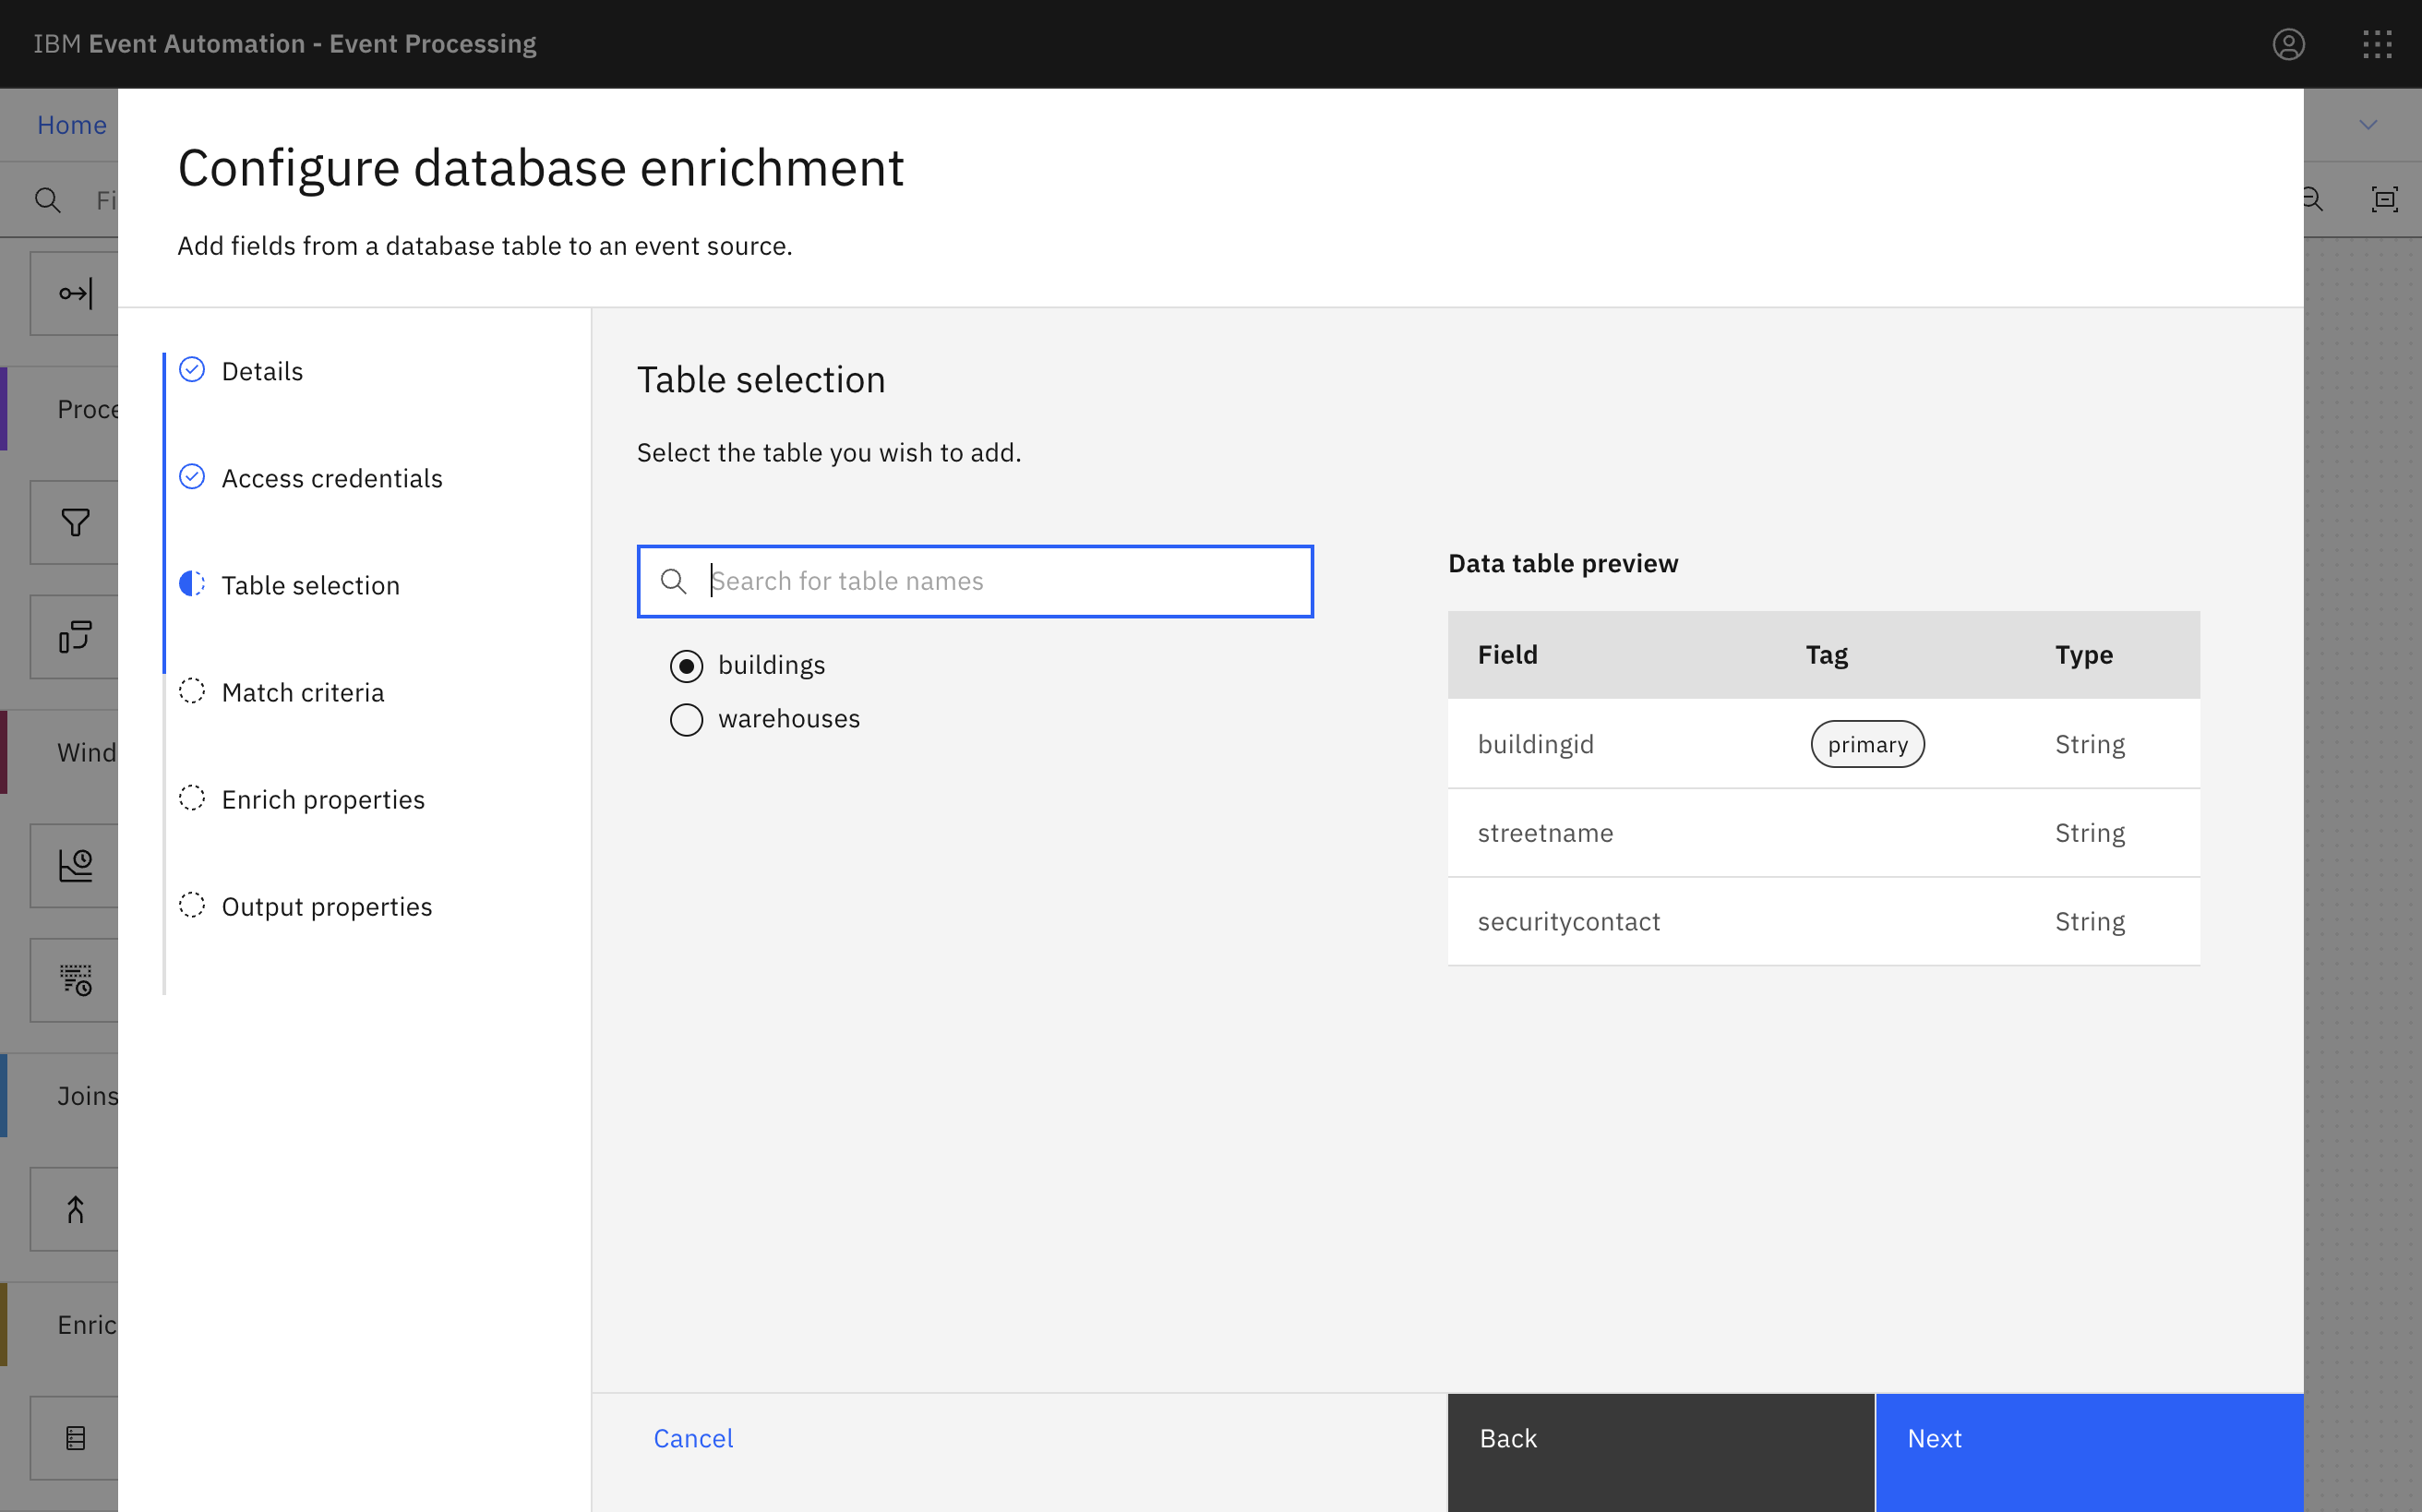
Select the buildings database table.
-
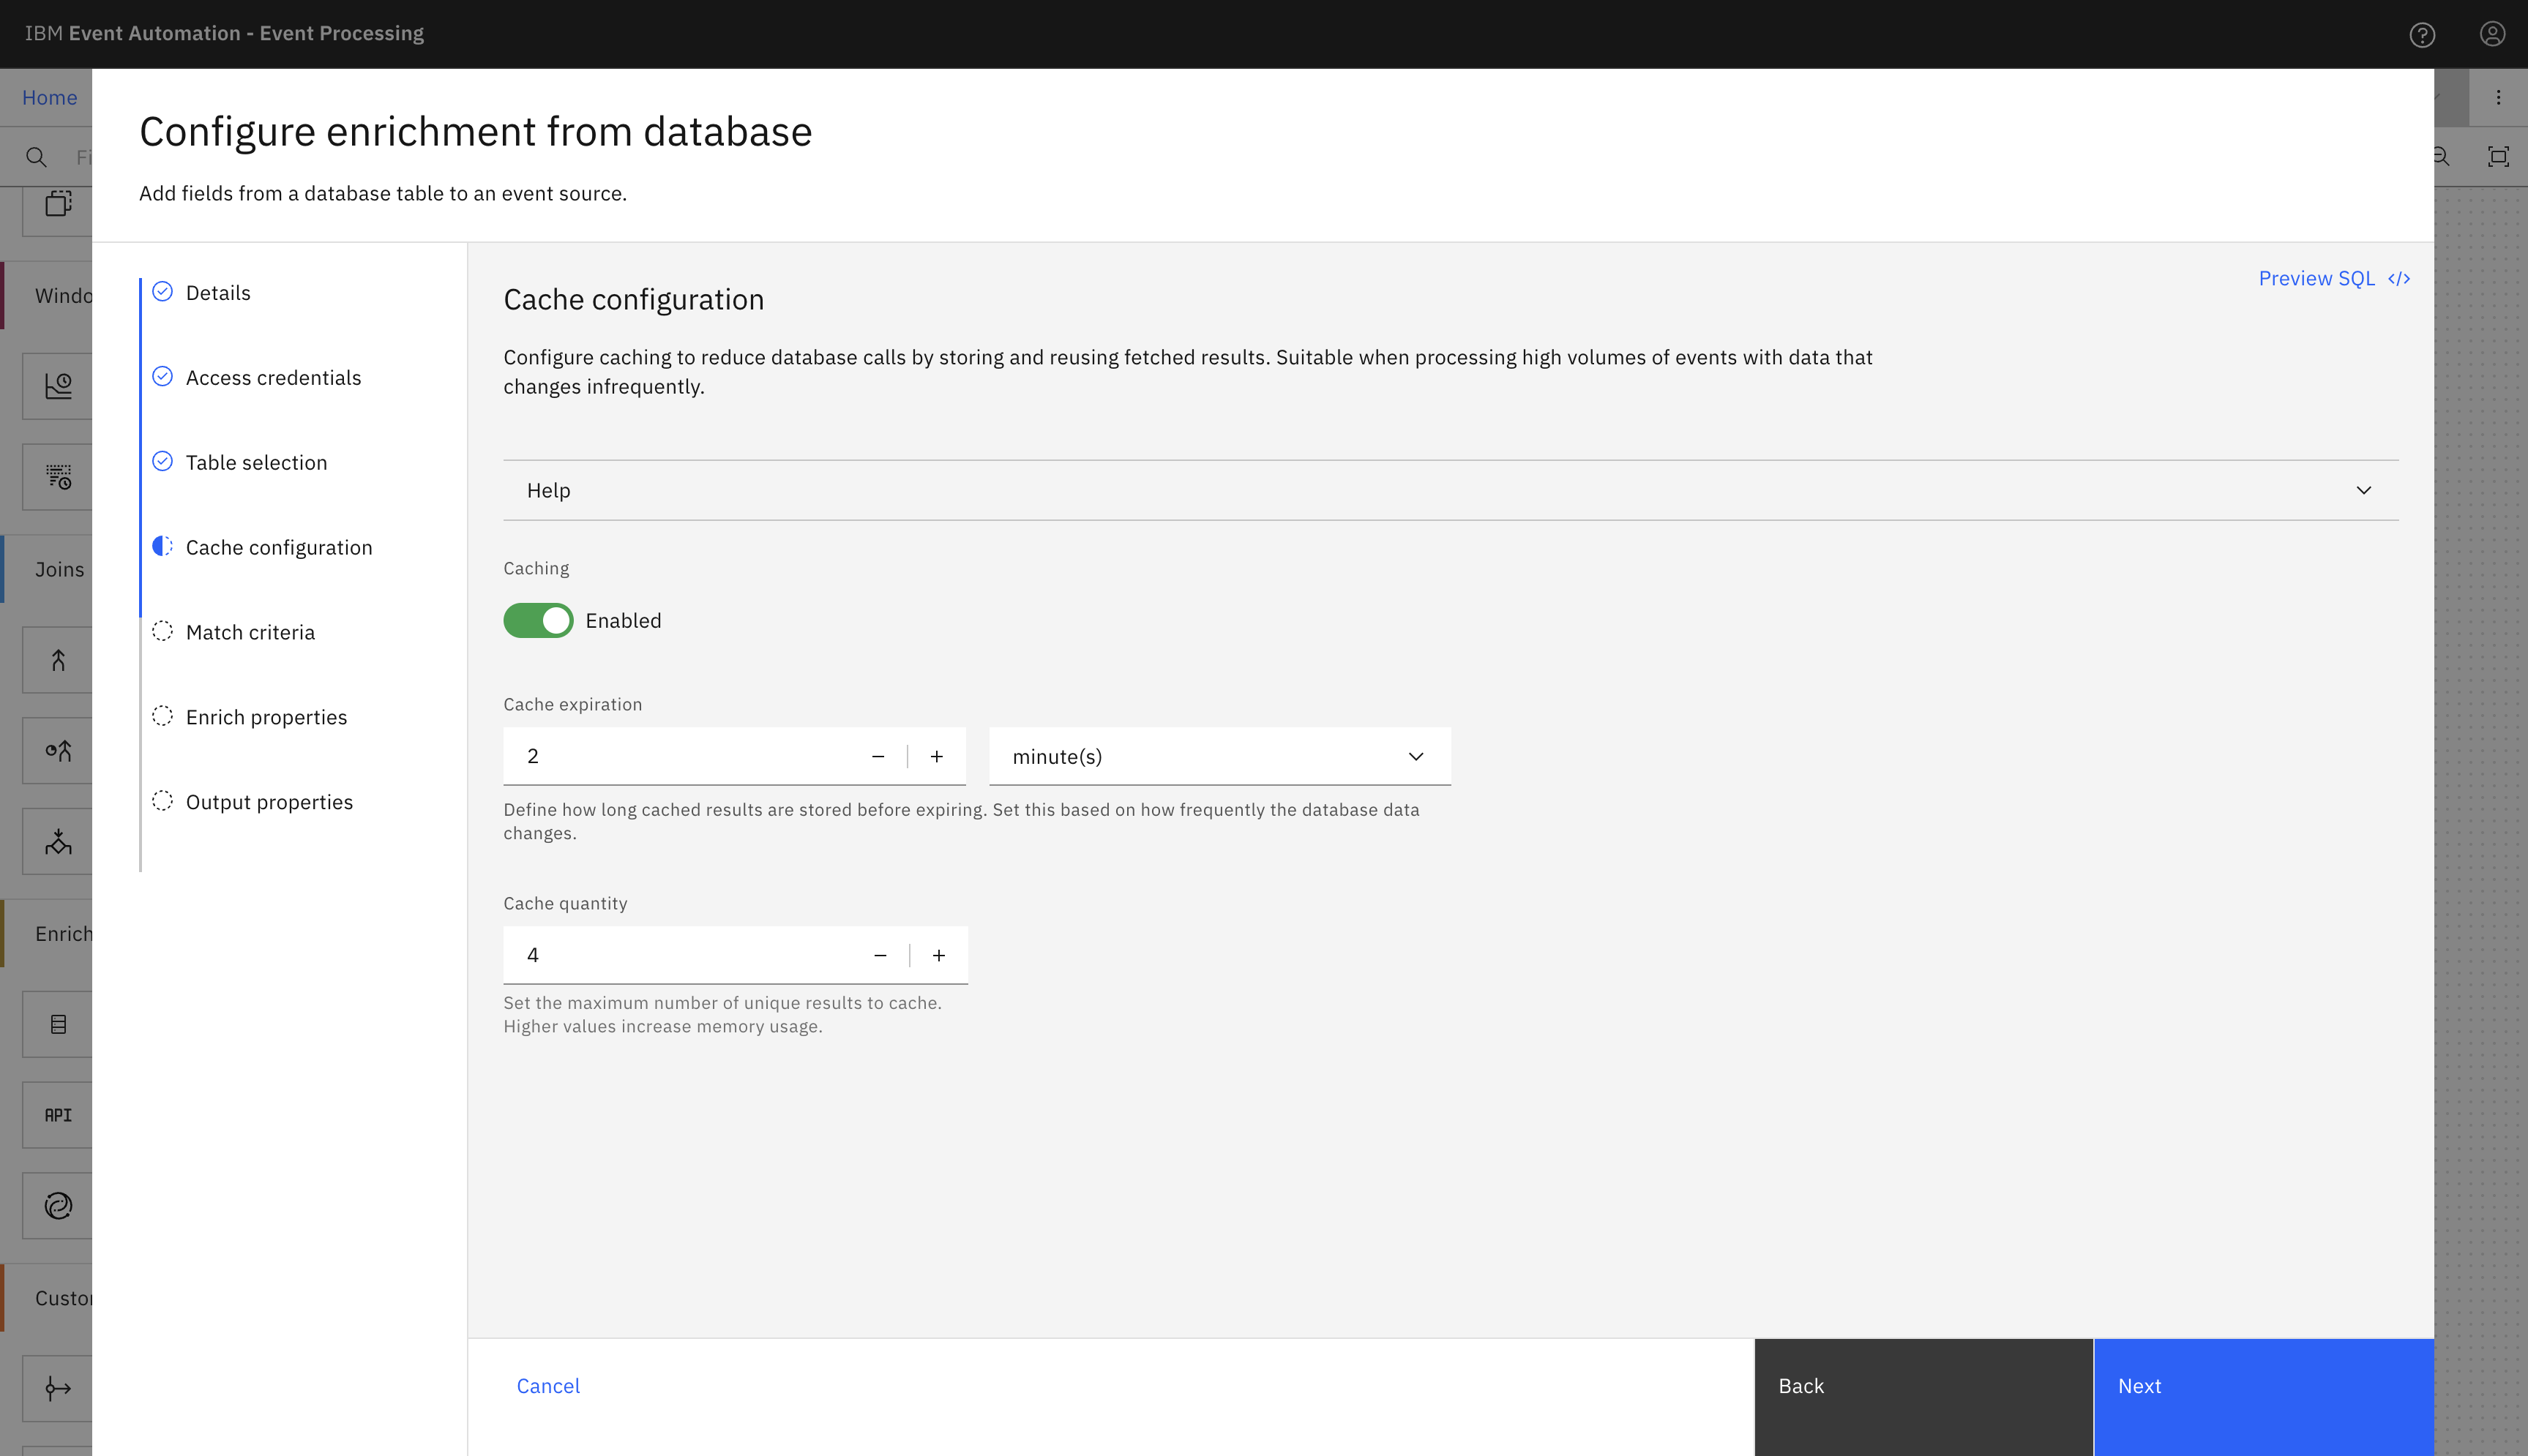
In the Cache configuration pane, click the Caching toggle to enable caching.
Enter two minutes as the Cache expiration and 4 as the Cache quantity and click Next.
-
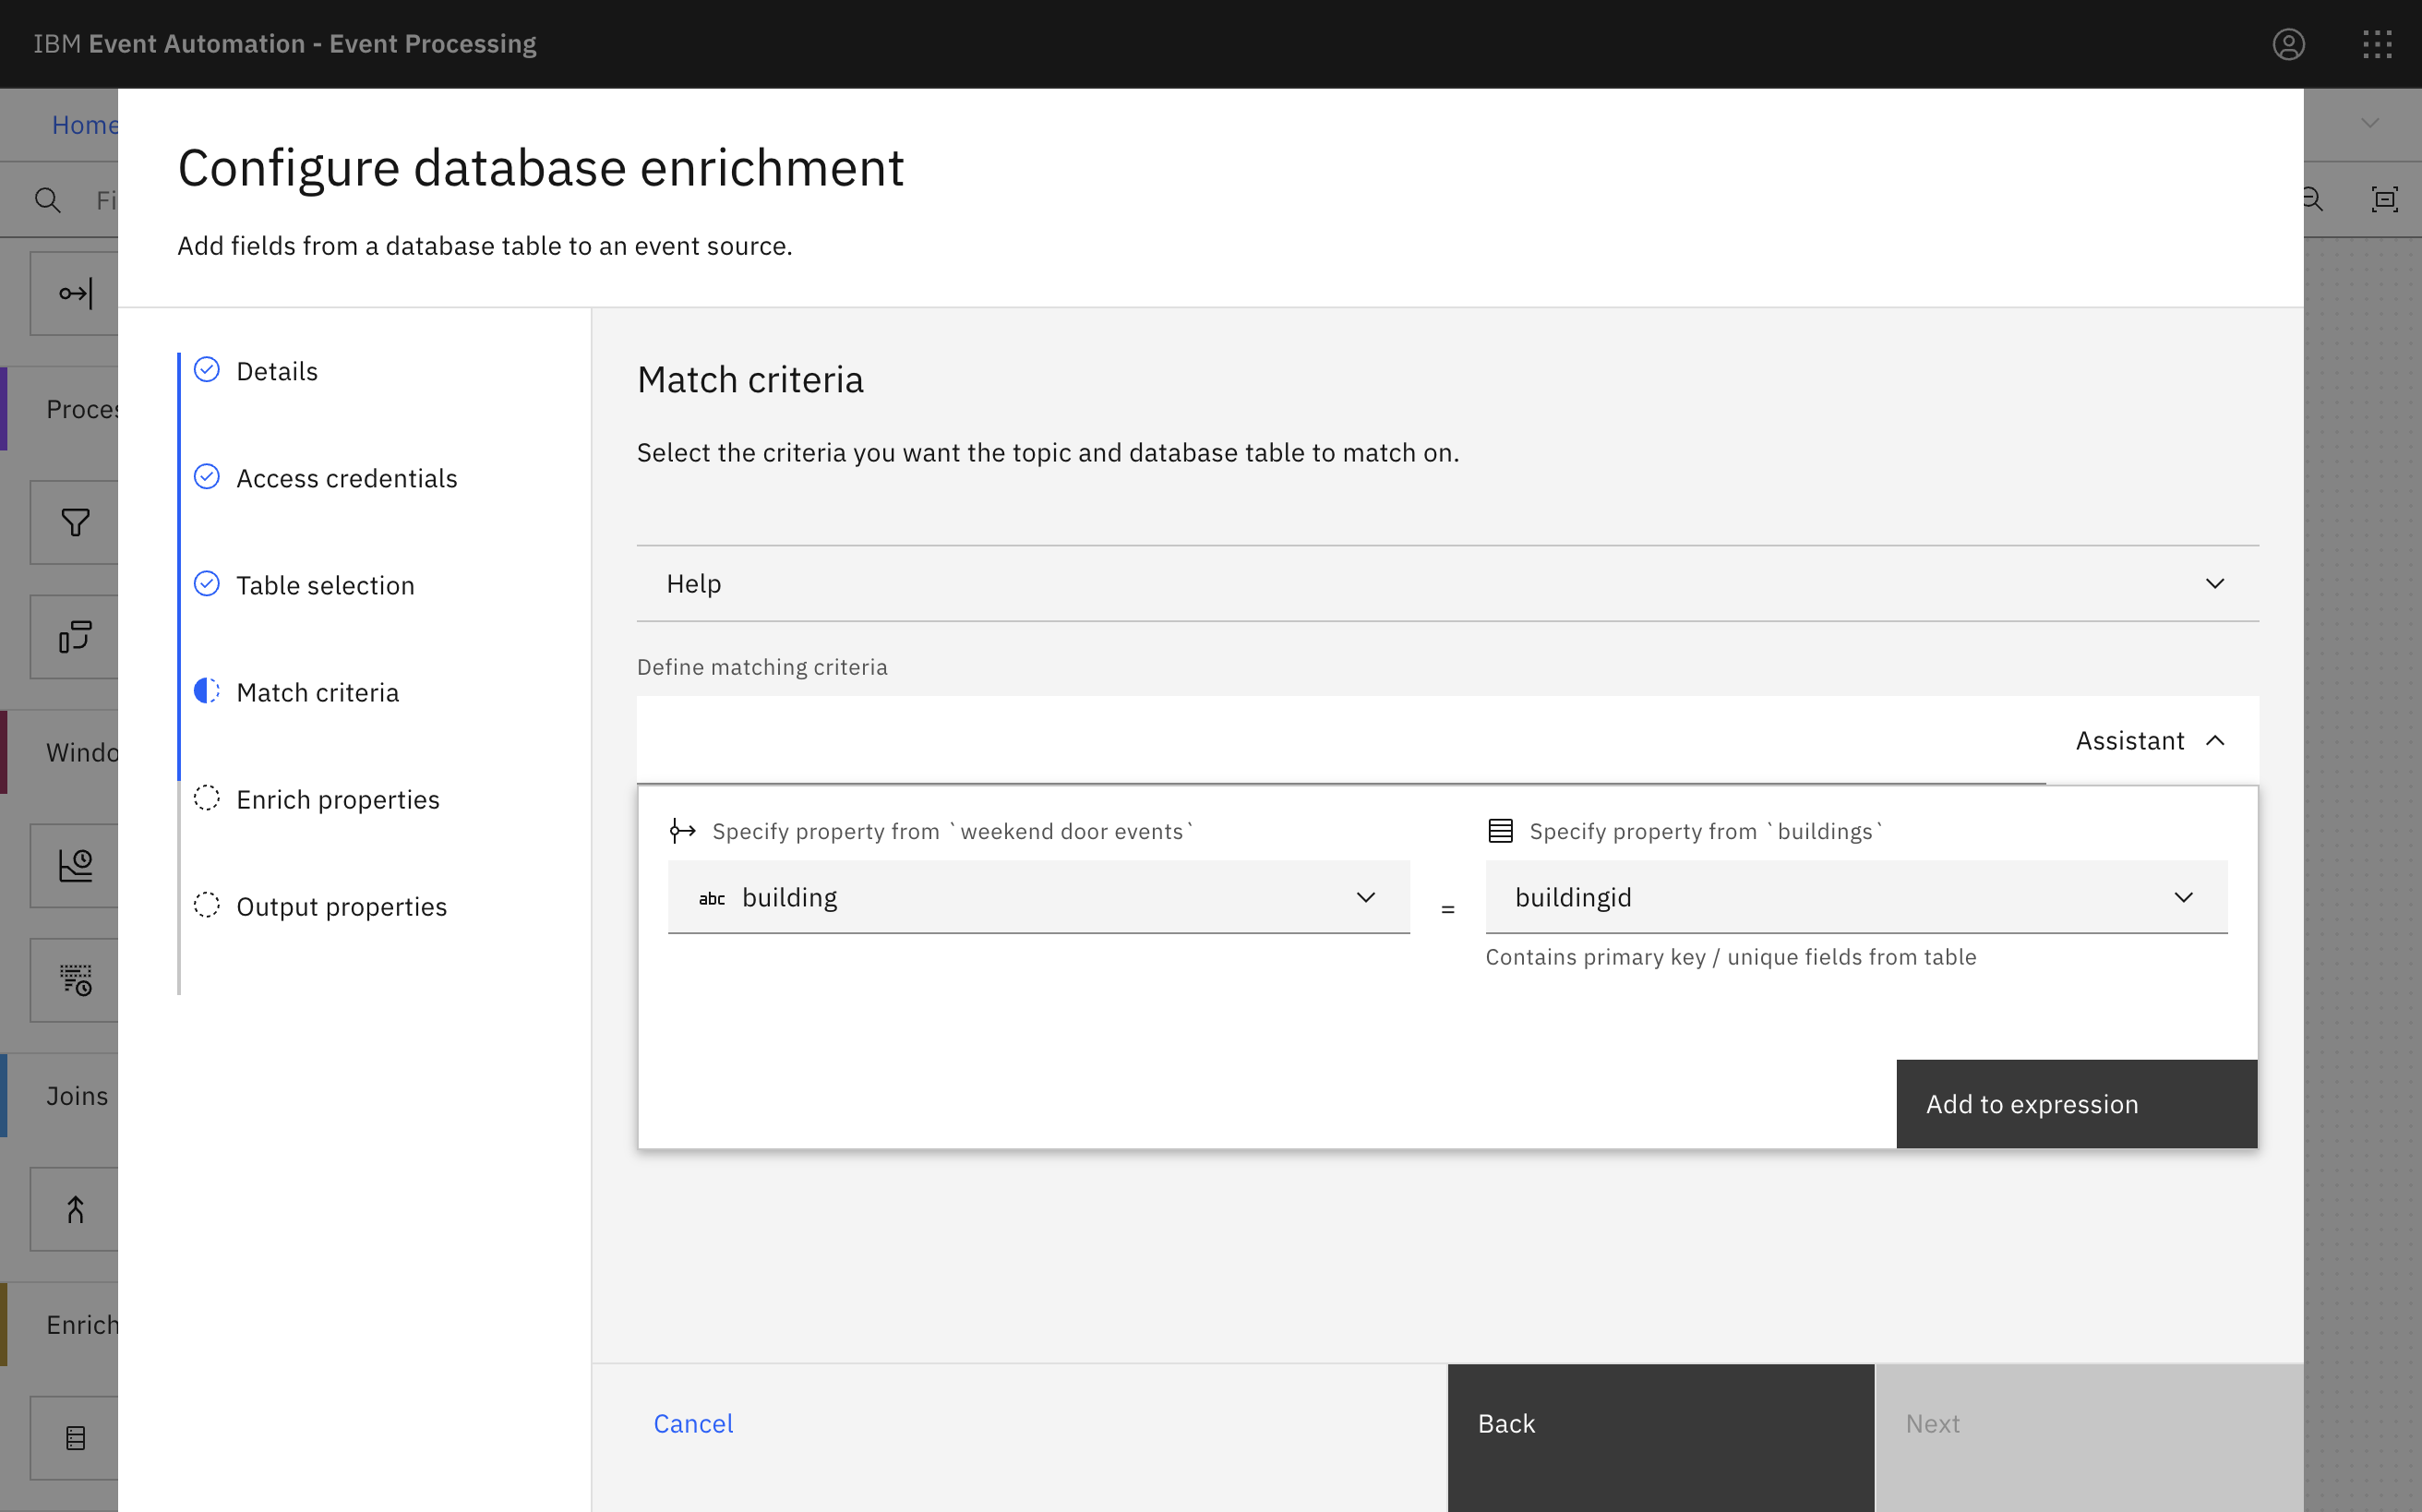
In the Match criteria pane, use the assistant to define a join that matches events with the database row about the same building.
Match the
buildingvalue from the Kafka events with the database row using thebuildingidcolumn.Click Next.
-
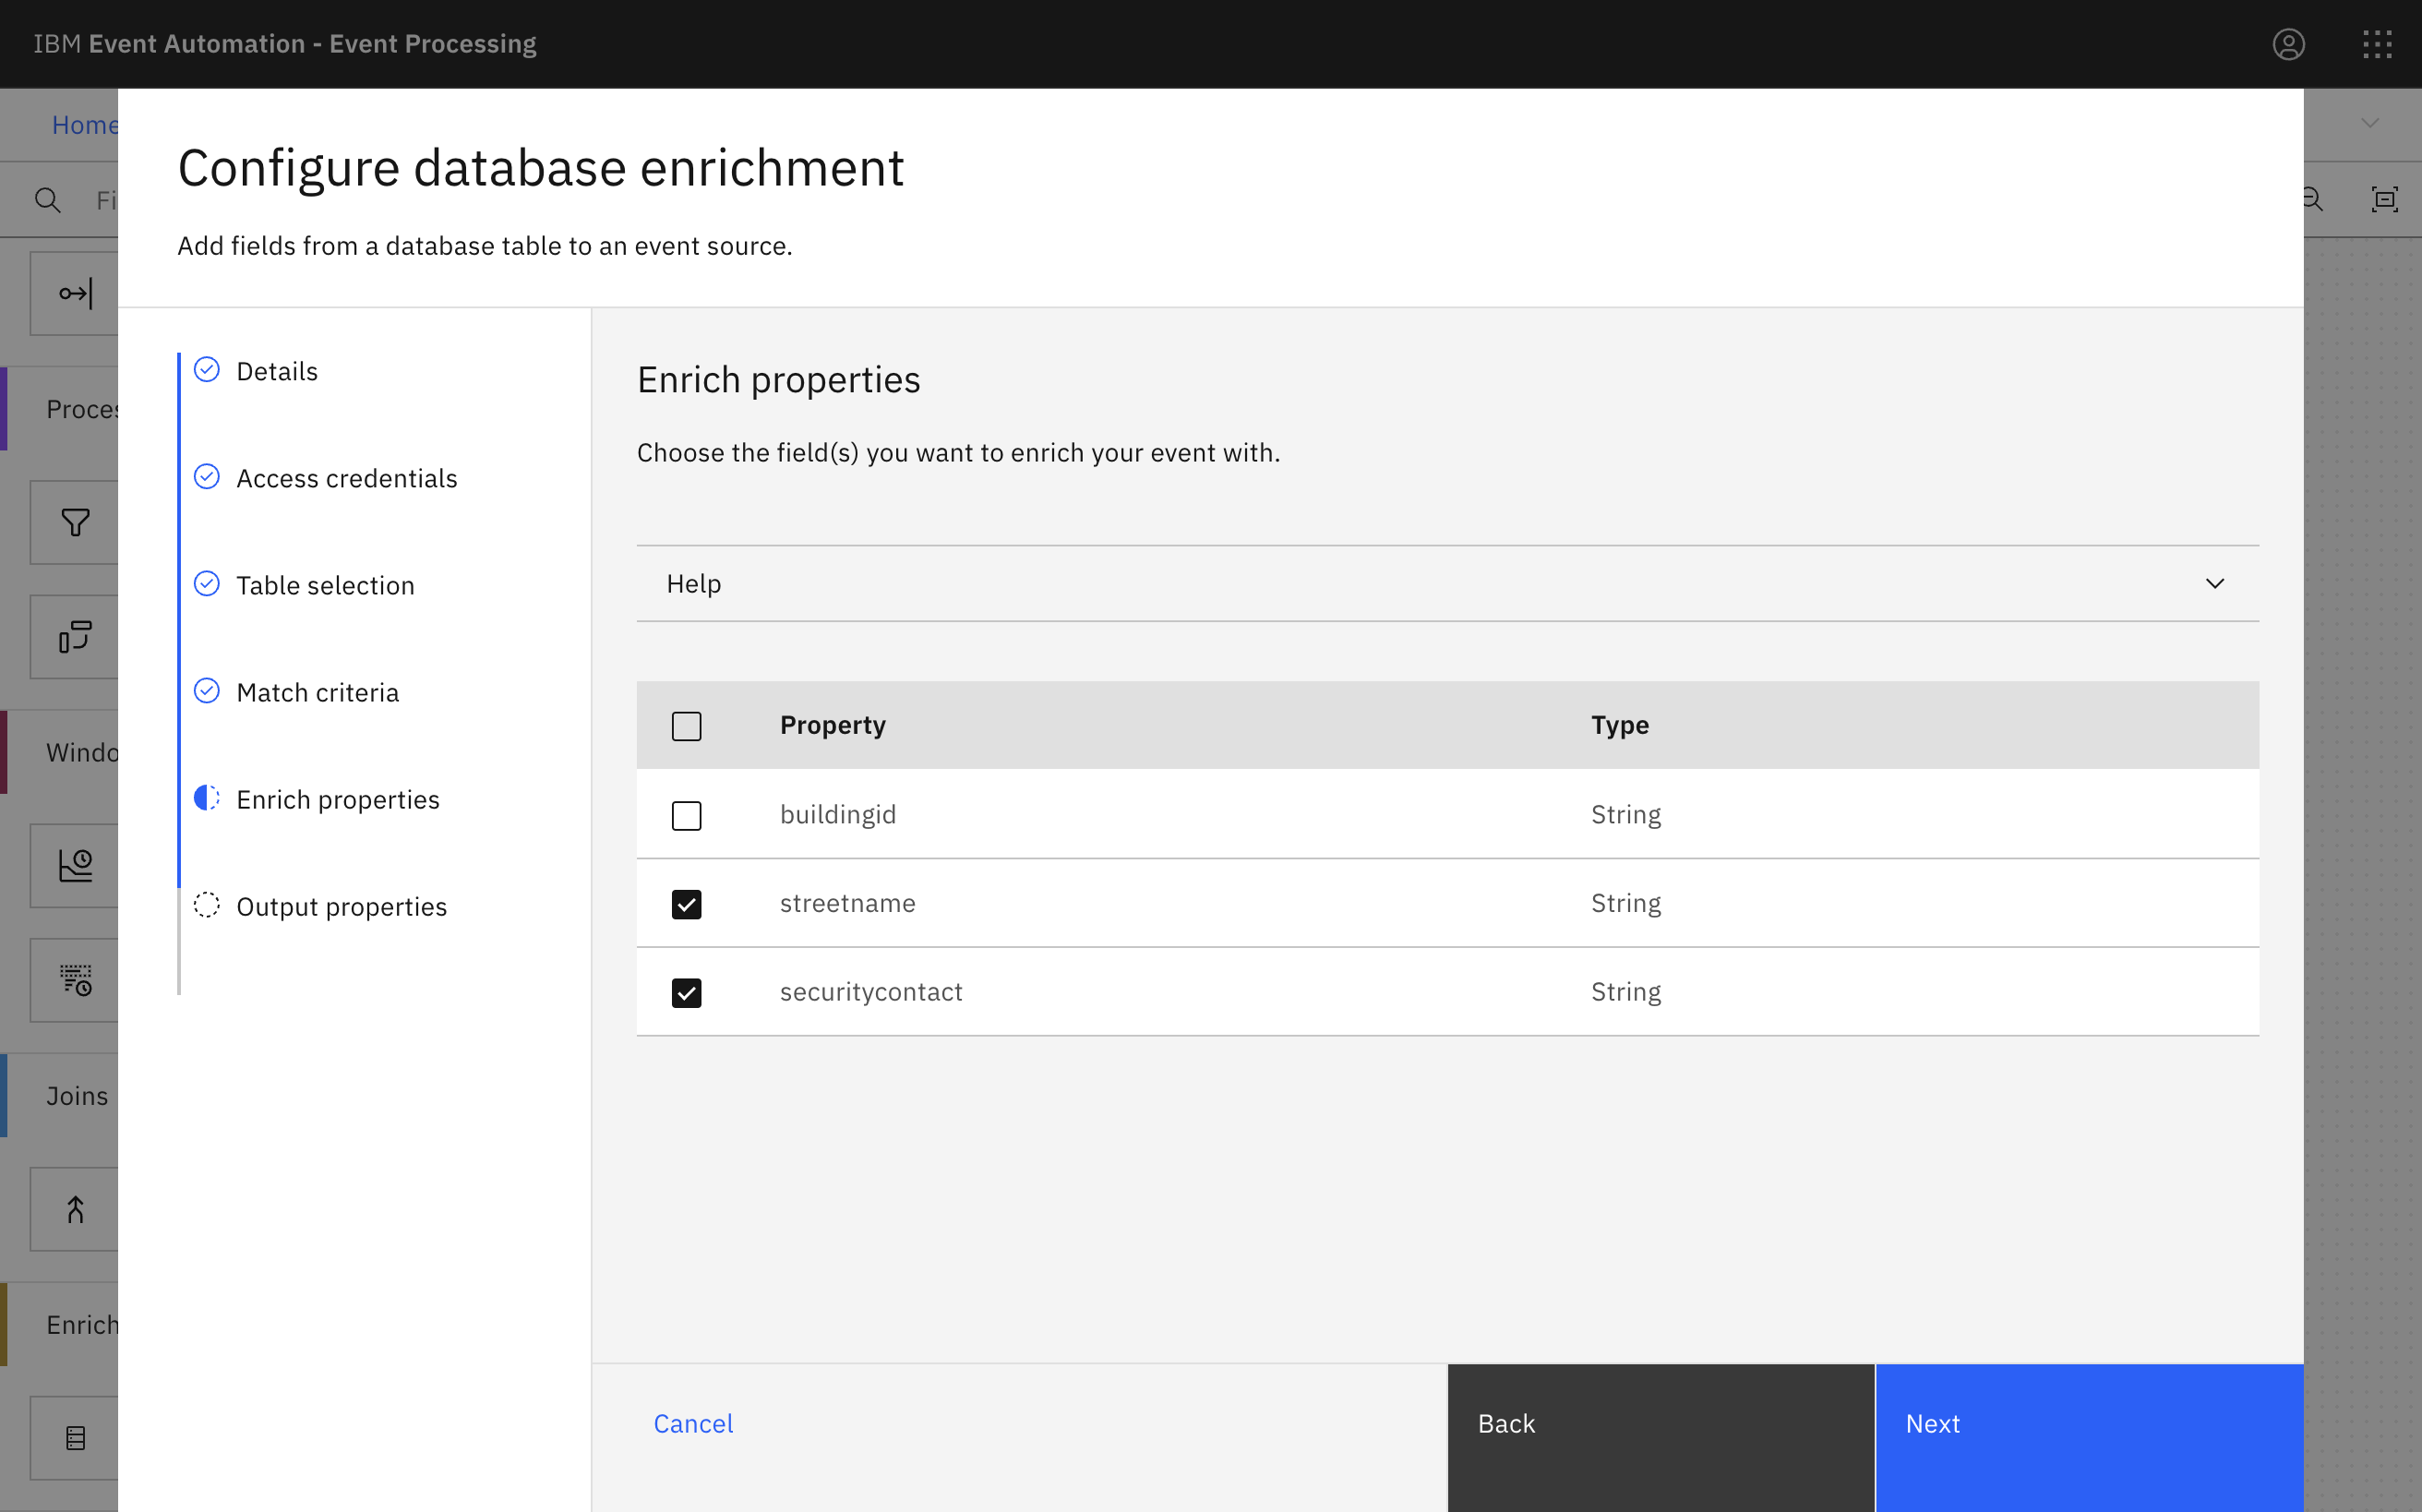
Select the database columns to include in your output events.
Include the street name and security contact columns.
There is no need to include the
buildingidcolumn because this value is already contained in the events.Click Next.
-
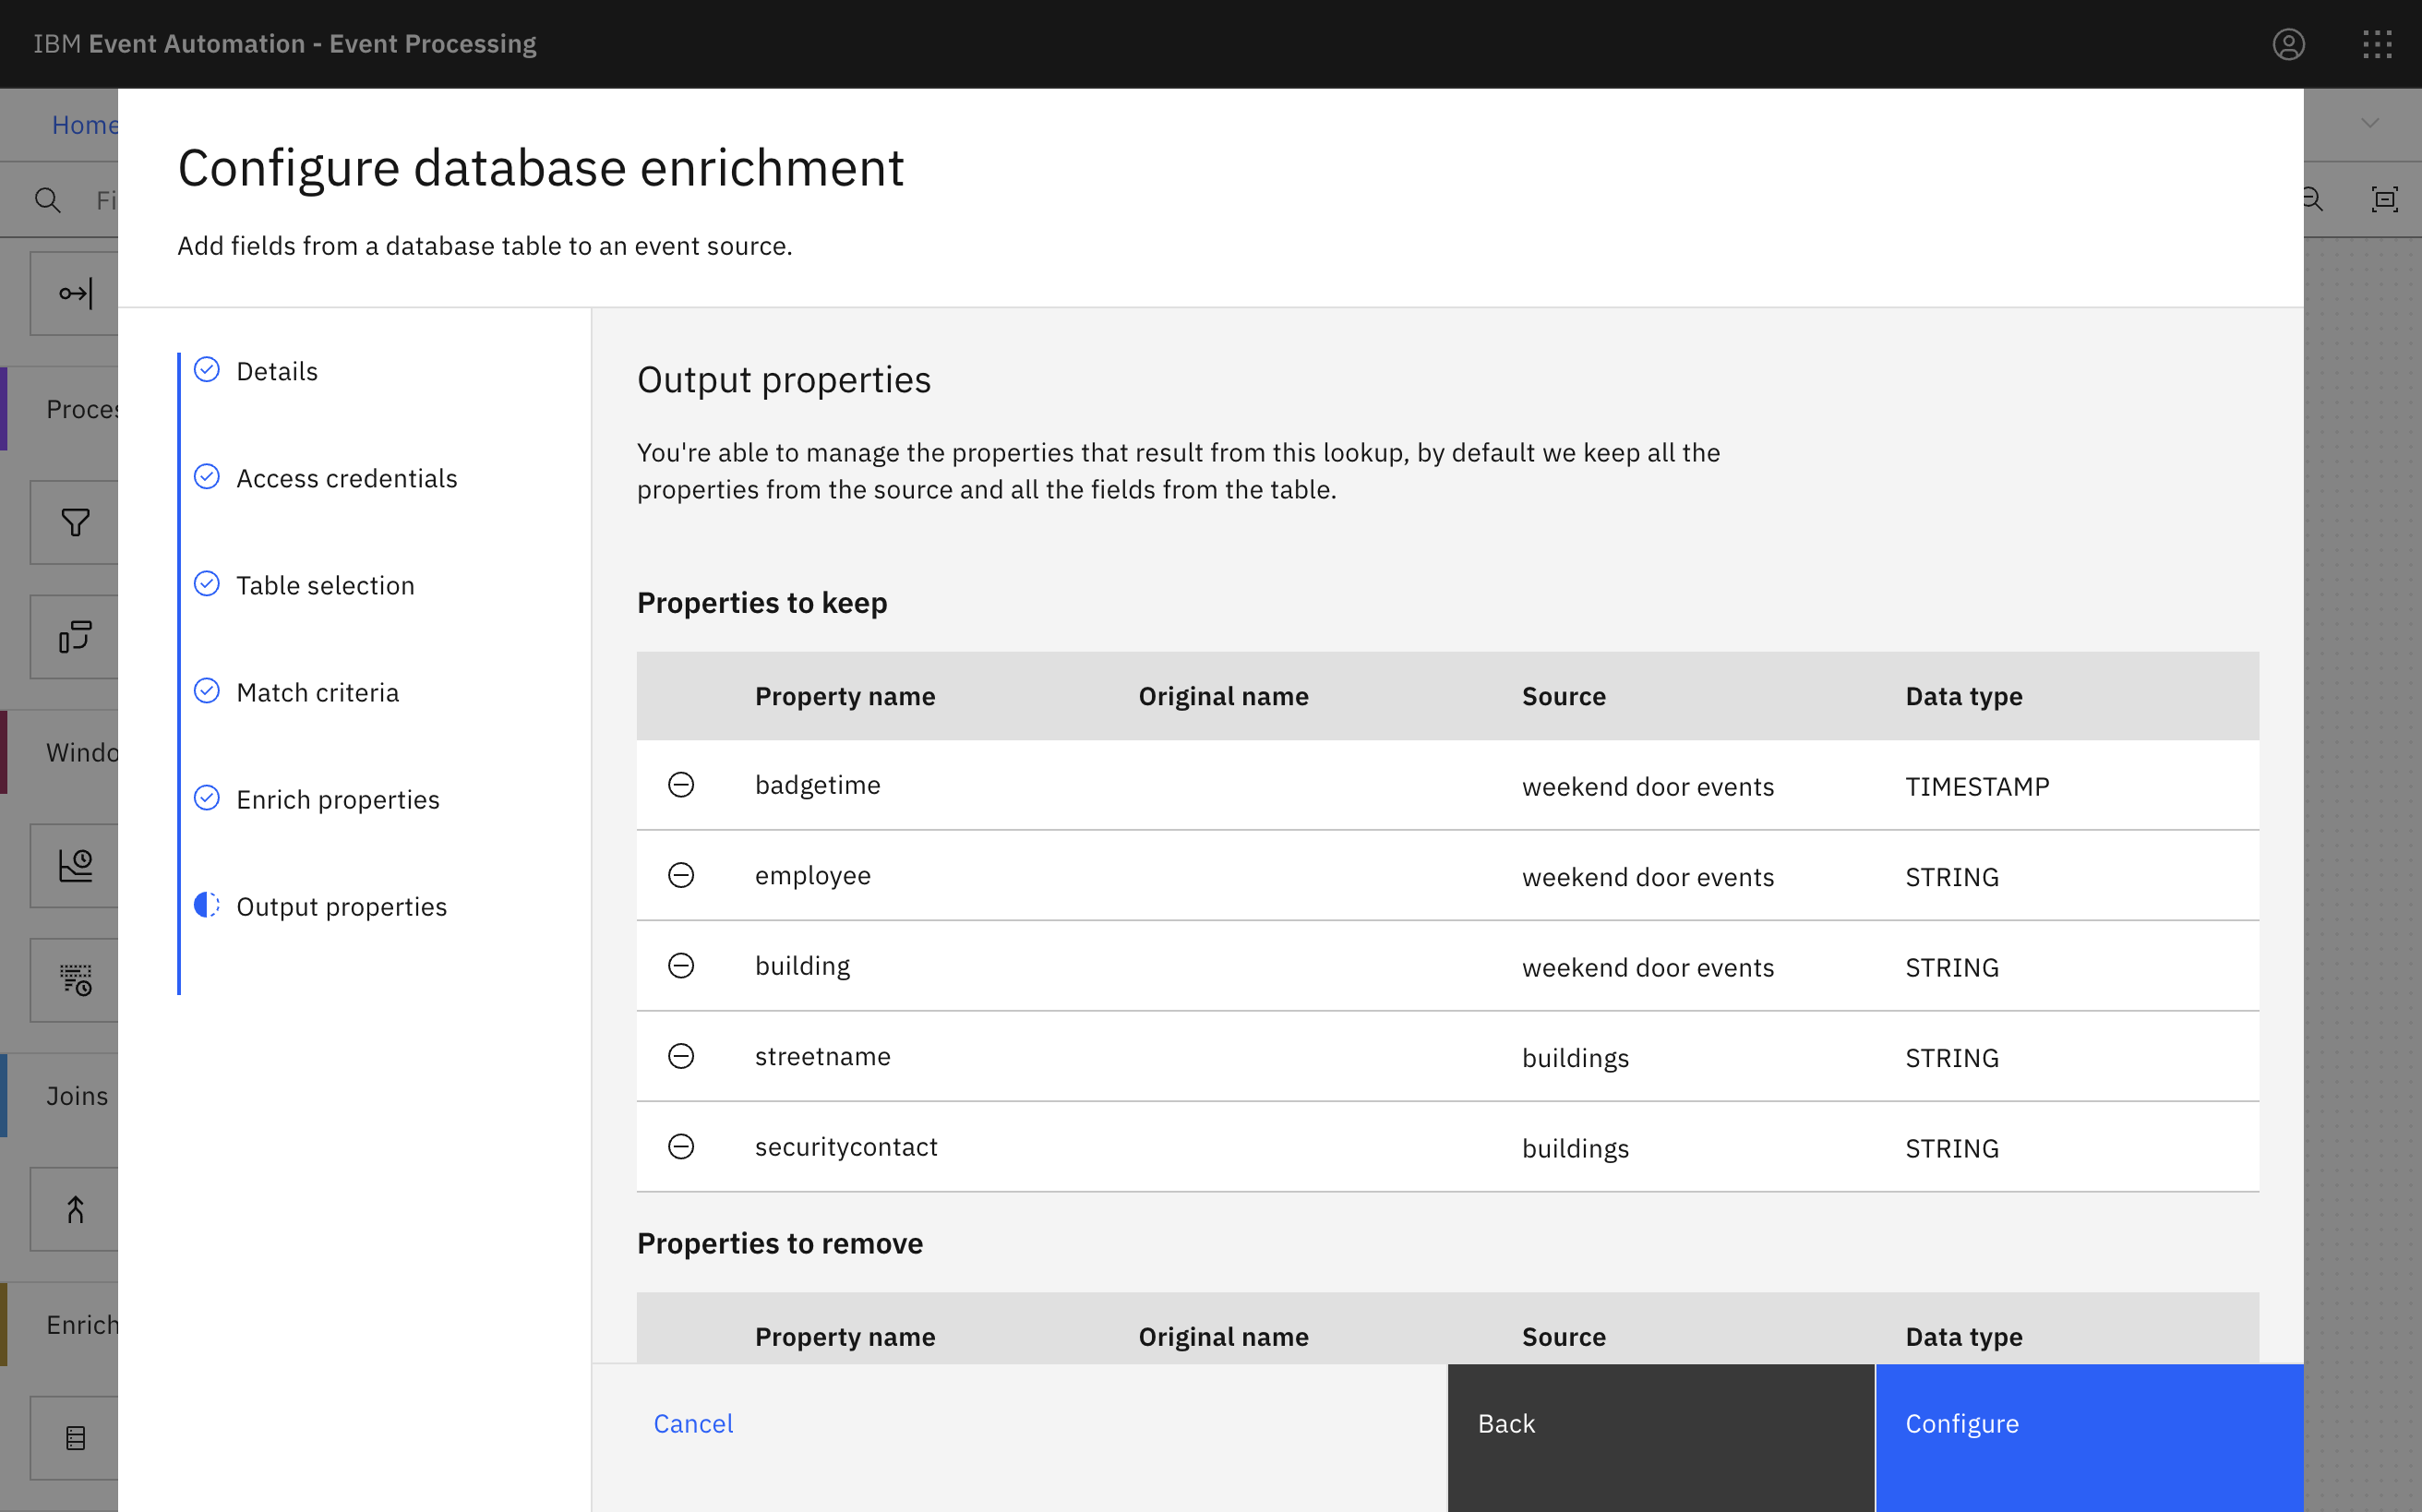
Choose the properties to output.
For example, the
day of weekproperty was useful for our filter, but we may not need to output it as a finished result.The screenshot shows an example set of properties that could be useful for this demo scenario.
-
Click Configure to finalize the enrichment.
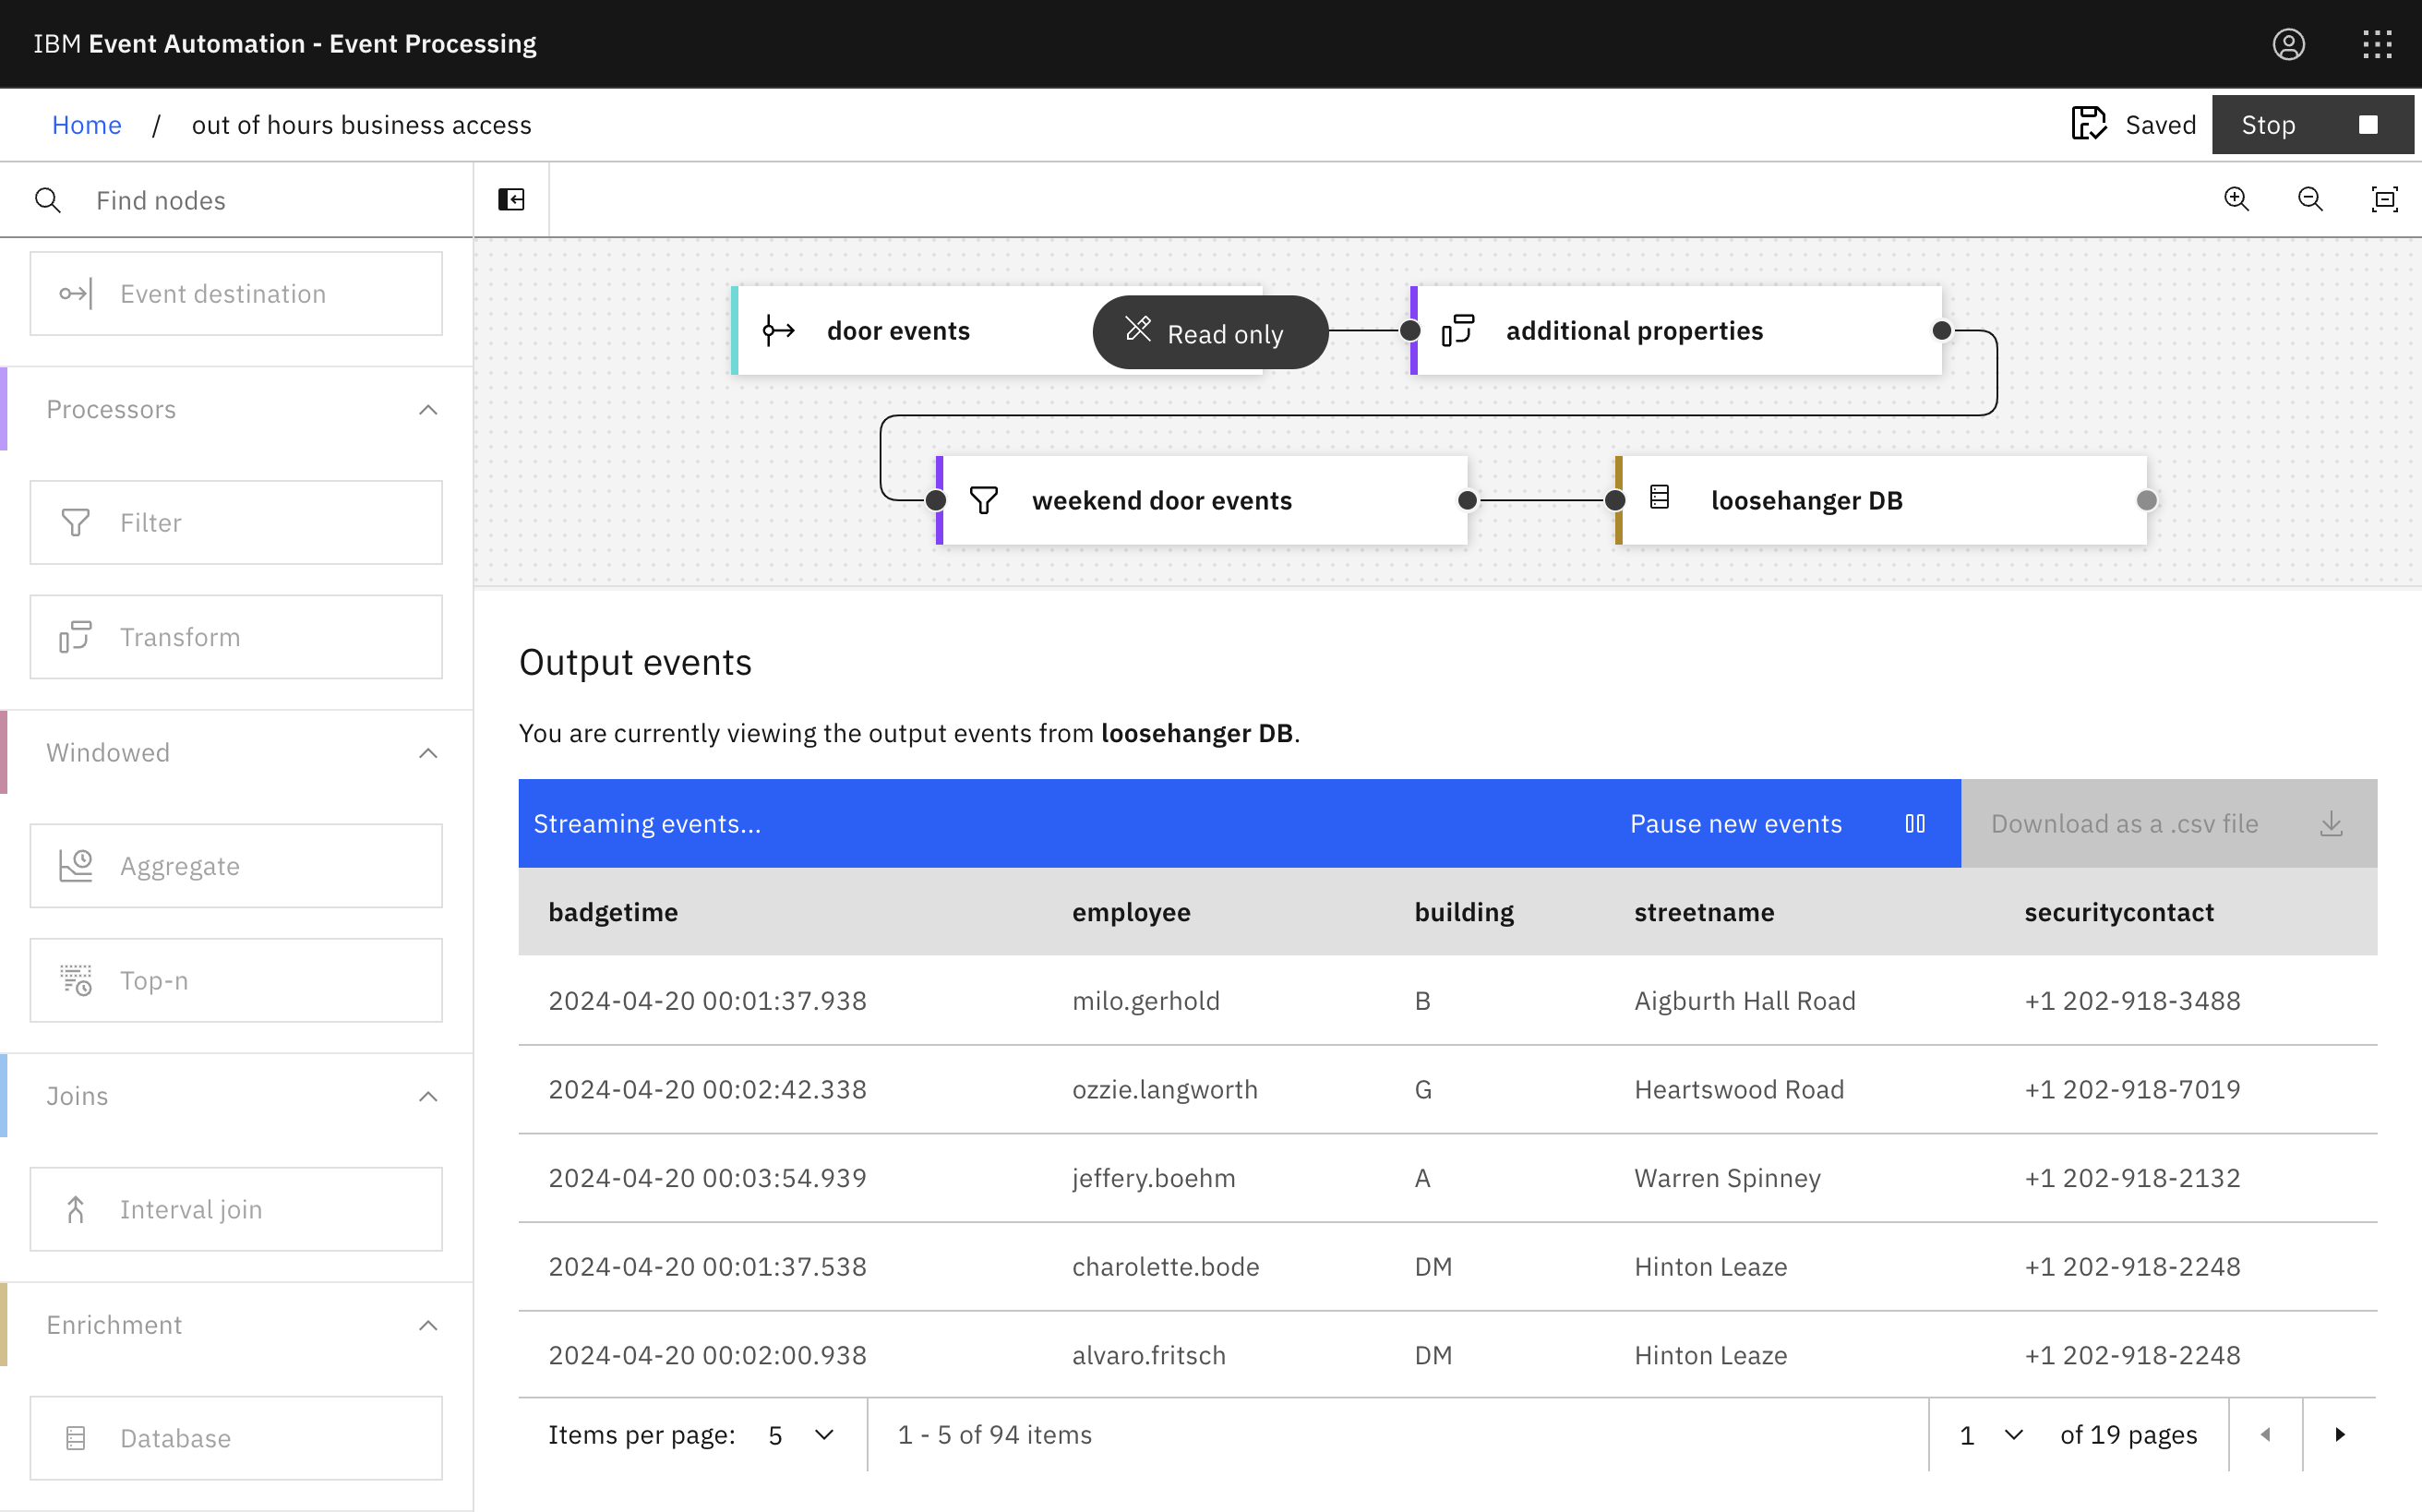
Step 9: Test the flow
The final step is to run your event processing flow and view the results.
-
Use the Run menu, and select Include historical to run your filter on the history of door badge events available on this Kafka topic.
Recap
You used a transform node to compute additional properties from a stream of events.
You then further enhanced the stream of events to increase their business relevance by enriching the events with reference data from a database. Relevant data in the database was identified based on the new computed properties.
