Deploy microservices to Kubernetes
In this exercise we will run the application in your Kubernetes cluster using precompiled container images for our sample application: articles-secure, web-api-secure, and web-app. These container images have been uploaded to Docker Hub.
When running locally, you will set the Keycloak URL as OpenID Connect (OIDC) provider in application.properties. When running on a Kubernetes cluster we cannot set the OIDC provider (keycloak) in application.properties without recompiling the code, building a new image, and loading this image in a Image repository that is accessible to your Kubernetes cluster. So for this example, we specify the Quarkus OIDC property as environment variable during deployment. The environment variable is read from a config map.
STEP 1: Apply configmap
This is our configmap definition:
kind: ConfigMap
apiVersion: v1
metadata:
  name: security-url-config
data:
  QUARKUS_OIDC_AUTH_SERVER_URL: "http://keycloak:8080/auth/realms/quarkus"
Our Keycloak service runs in the same namespace as the rest of the application, so all we need is the name of the service (keycloak) and the port numer (8080).
- Apply the
configmap.yaml
cd $ROOT_FOLDER/IKS
kubectl apply -f configmap.yaml
STEP 2: Now deploy the 3 services
- Deploy Articles Microservice
cd $ROOT_FOLDER/articles-secure/deployment
kubectl apply -f articles.yaml
- Deploy Web-API Microservice
cd $ROOT_FOLDER/web-api-secure/deployment
kubectl apply -f web-api.yaml
- Deploy Web-App Vue.js frontend application
cd $ROOT_FOLDER/web-app/deployment
kubectl apply -f web-app.yaml
- Verify all pods are running
kubectl get pods
Example output:
NAME                        READY   STATUS                       RESTARTS   AGE
articles-5df77c46b4-v7xcd   2/2     Running                0          3h35m
keycloak-77cffb978-vjttk    2/2     Running                      0          44h
web-api-5c9698b875-kz82k    2/2     Running                 0          3h35m
web-app-659c4676d9-pw6f8    2/2     Running                      0          3h34m
STEP 3: Adjust the redirect, admin, web origins URLs in Keycloak
- Try to open the Cloud-Native-Starter application in a browser. Use the
$INGRESSURLof your cluster, which is the URL to the frontend applicationWeb_APPyou deployed before.
echo https://$INGRESSURL
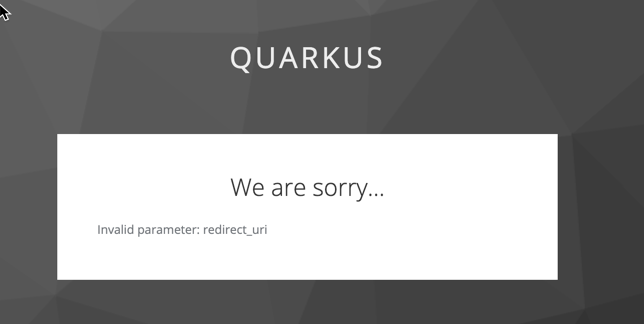
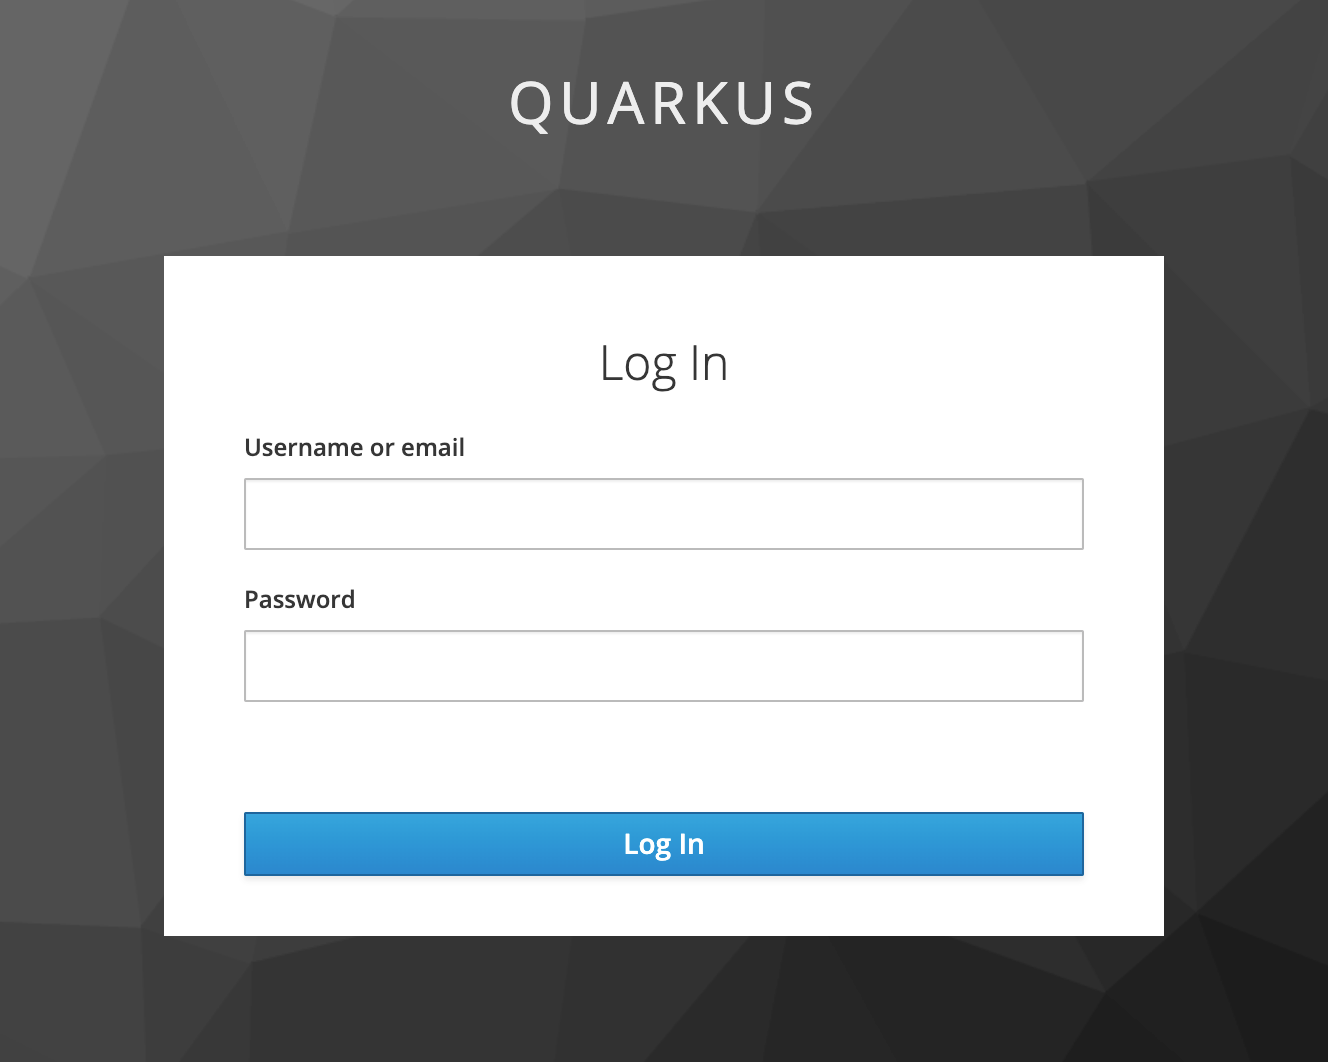
- You will see we need to configure the redirect in Keycloak
- Open Keycloak in a browser and login to Keycloak with
user: adminandpassword: admin. Get the right URL by display the URL with the following terminal command.
echo https://$INGRESSURL/auth/admin/master/console/#/realms/quarkus
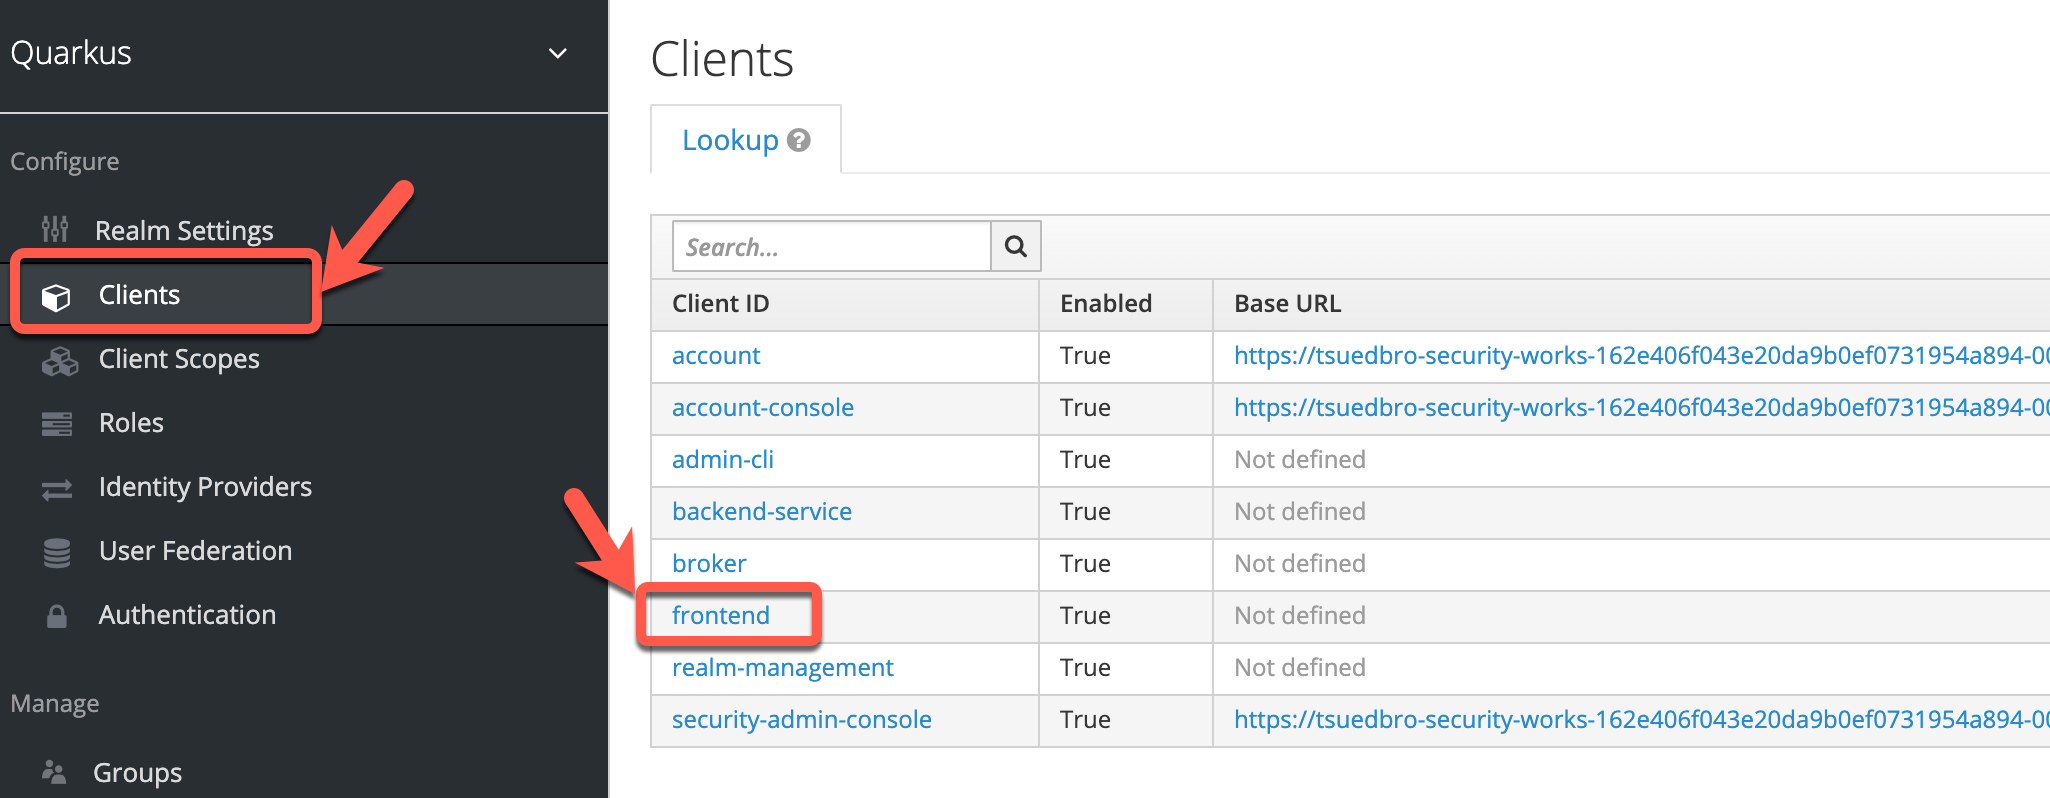
- Select
Clientsand thenfrontendin Keycloak.
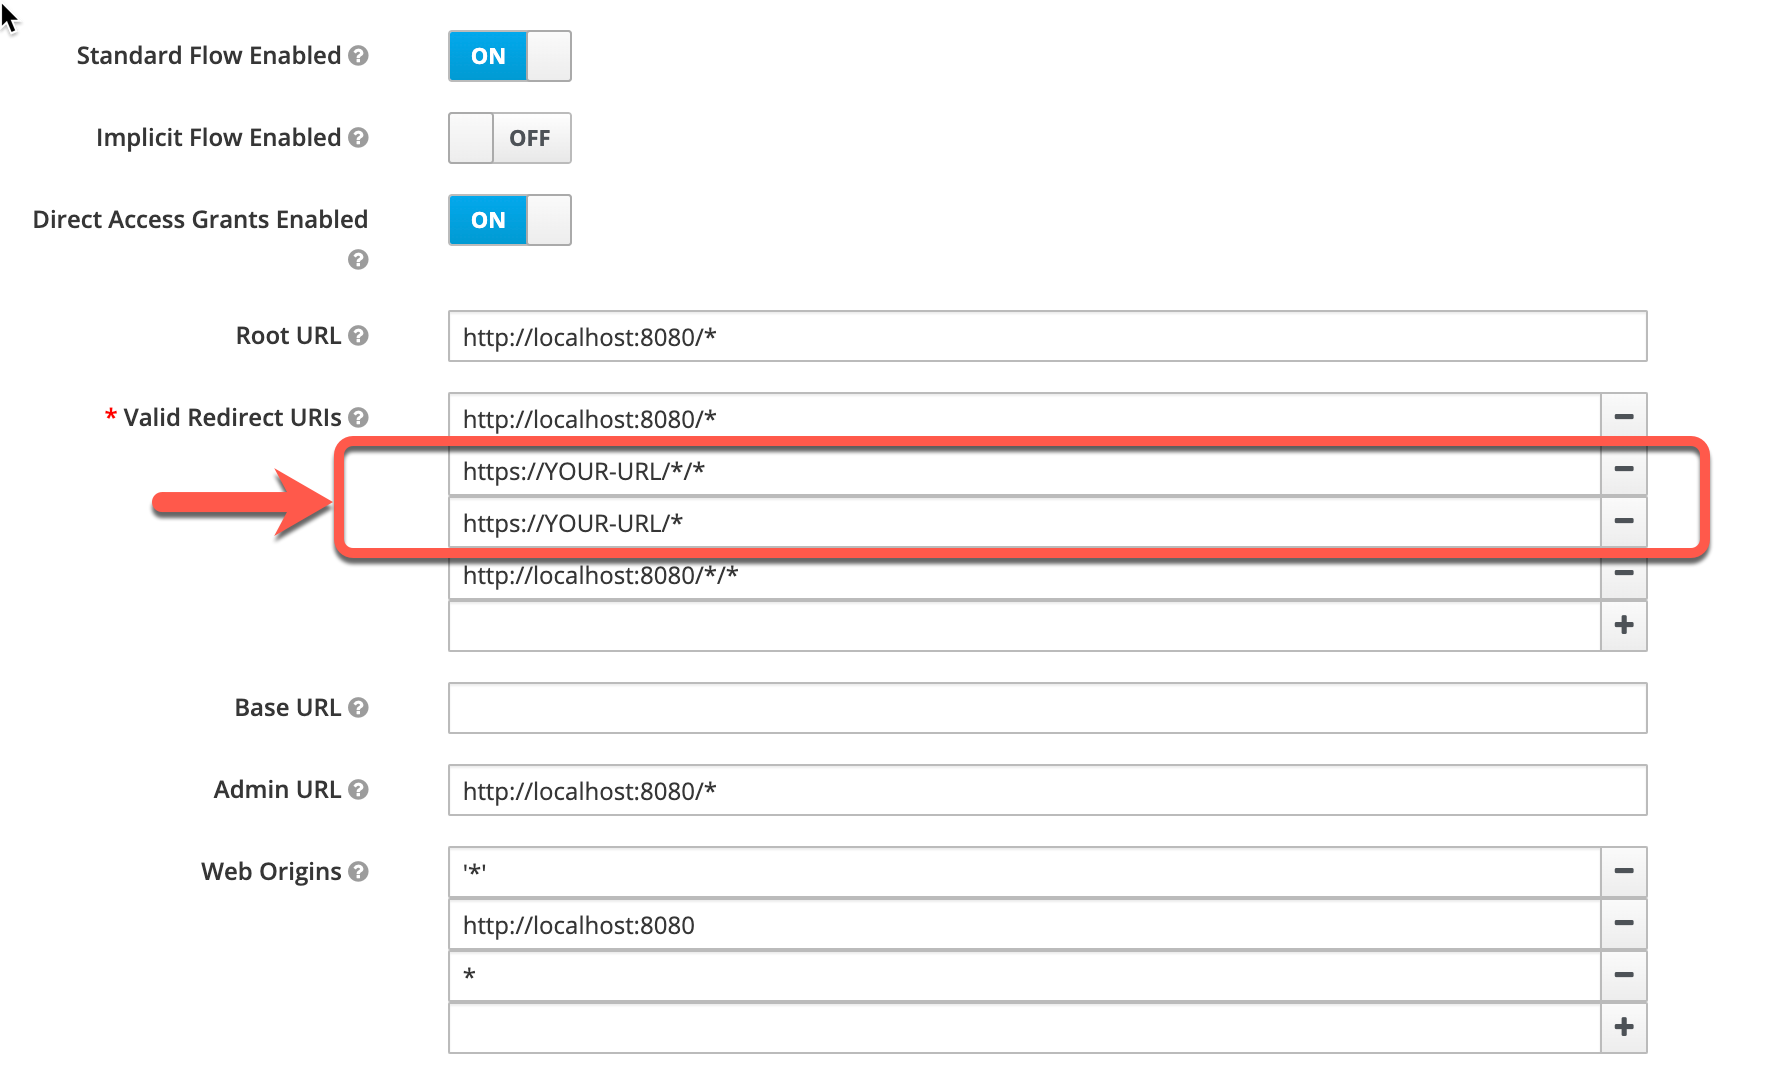
- Ajust the client frontend URIs
https://YOUR-URL:authwith valid redirect URI you get with the command:
echo https://$INGRESSURL
Replace the entries with your value.
STEP 4: Open the Cloud Native Starter application in your browser
- Use following URL:
echo https://$INGRESSURL
- Login in with
user: aliceandpassword: alice
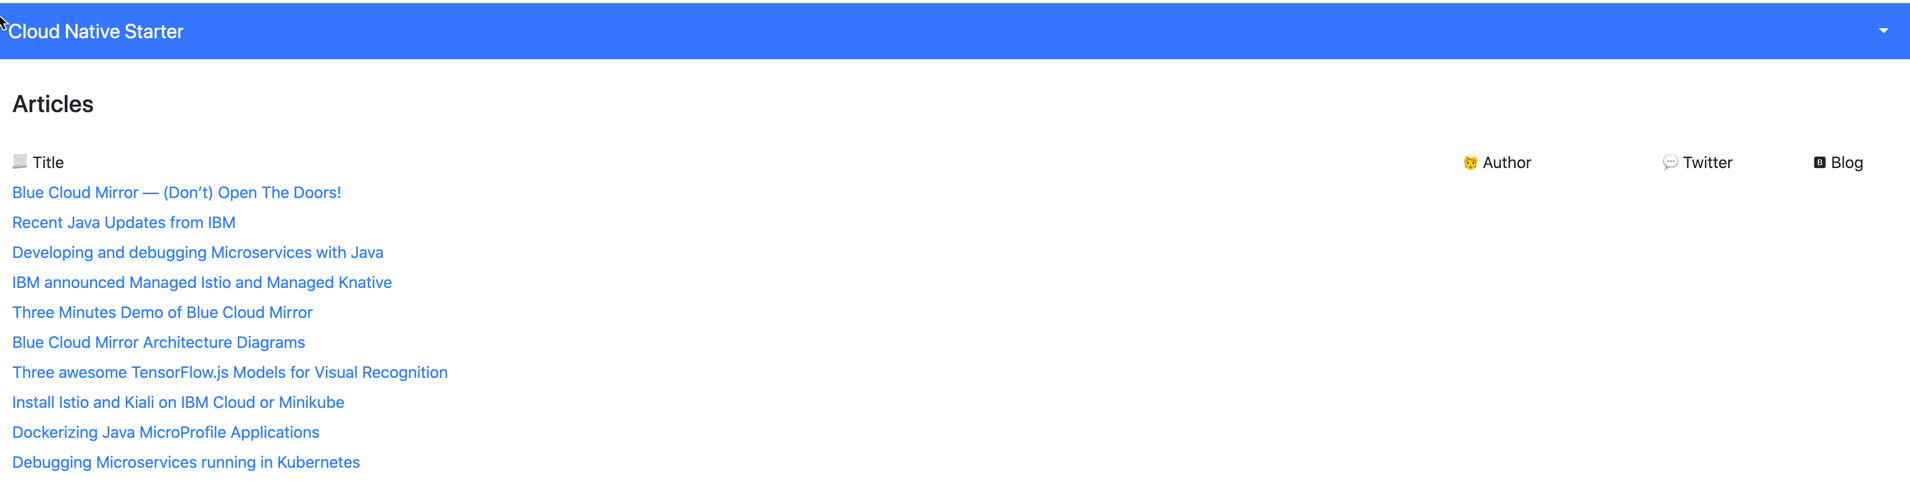
- Now you see the entries of the articles
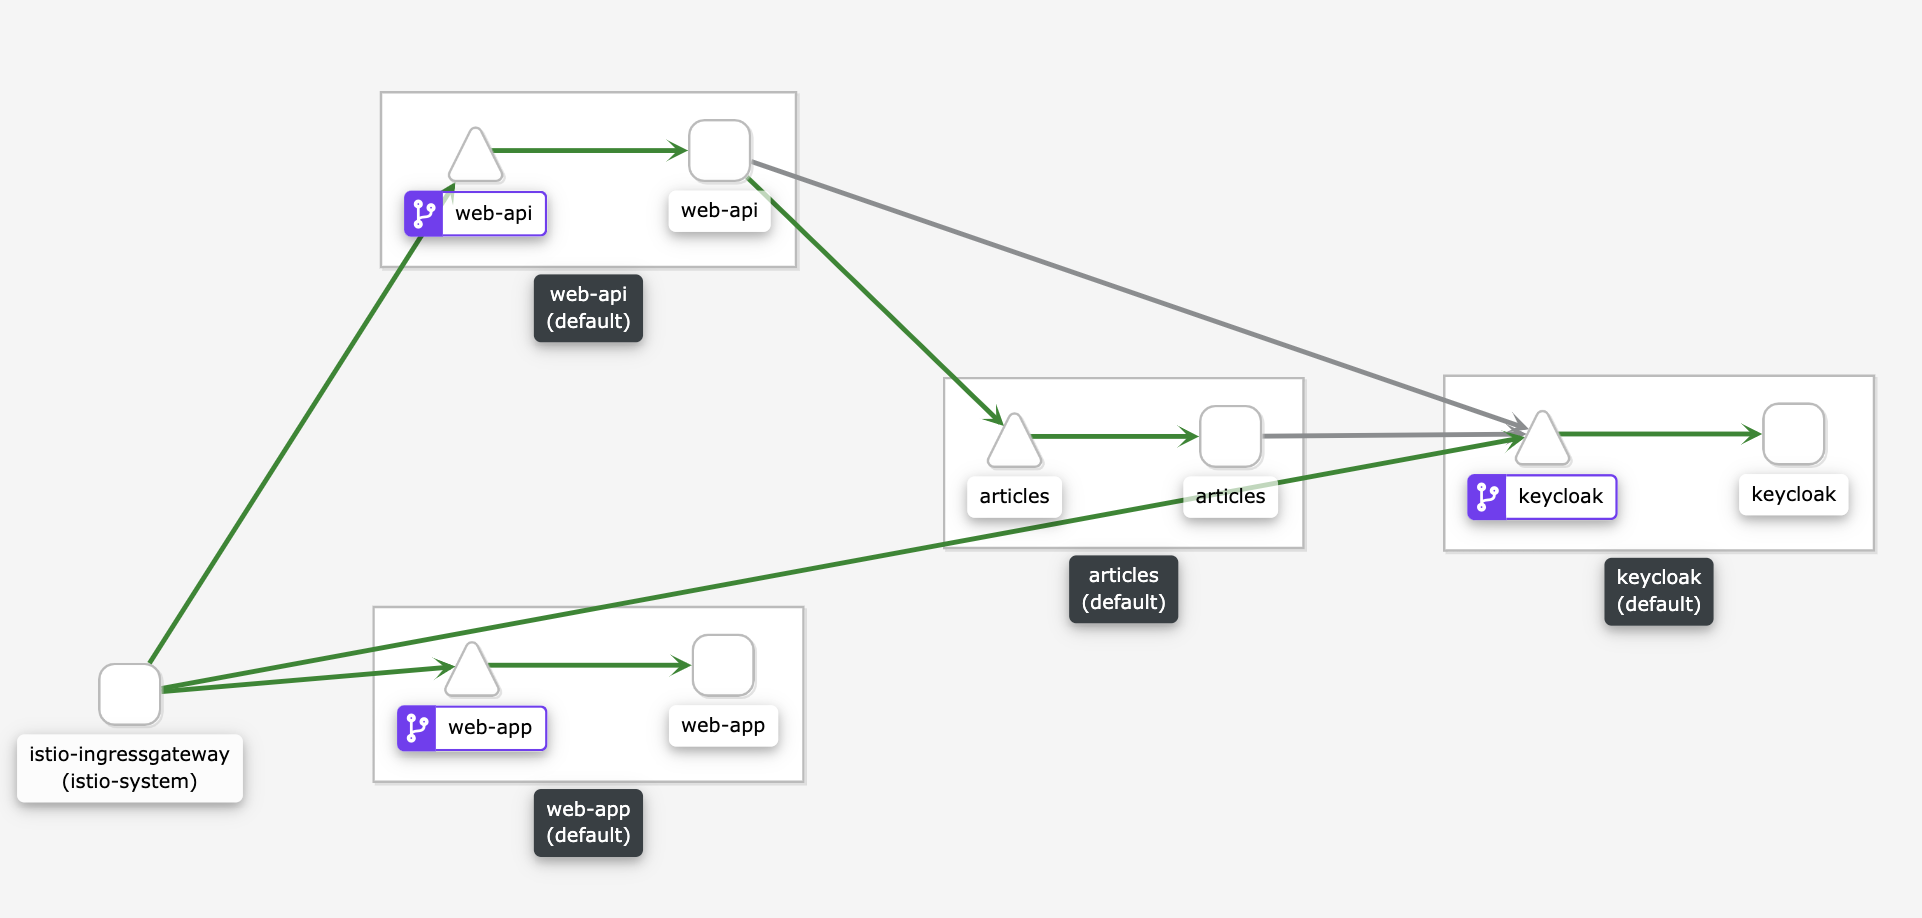
Note: The image shows you in Kiali the running applications. These are the simplified steps you see in the image. This is not a part of your hands-on tasks.
* 1: The `web-app` will be requested buy our URL to be loaded in a webbrowser.
* 2: The `web-app` in the webbrowser does connect to `Keycloak` for Authentication.
* 2: The `web-app` in the webbrowser does connect to the `web-api` to get the Articles information.
* 4: The `web-api` in does validated the authorization with `Keyloak`.
* 5: The `web-api` in the webbrowser does connect to the `articles` to get the Articles information.
* 6: The `articles` in does validated the authorization with `Keyloak`.