Frequently Asked Questions & Helpful Tips / Tricks
- How do I get to the workshop OpenShift console?
- How do I get to the workshop information page?
- I don't have the trader lite application, how can I install it?
Note: You can click on any image in the instructions below to zoom in and see more details. When you do that just click on your browser's back button to return to the previous state.
Your workshop OpenShift cluster console
Open the OpenShift console on your workshop cluster:
Note: You can click on any image in the instructions below to zoom in and see more details. When you do that just click on your browser's back button to return to the previous state.
-
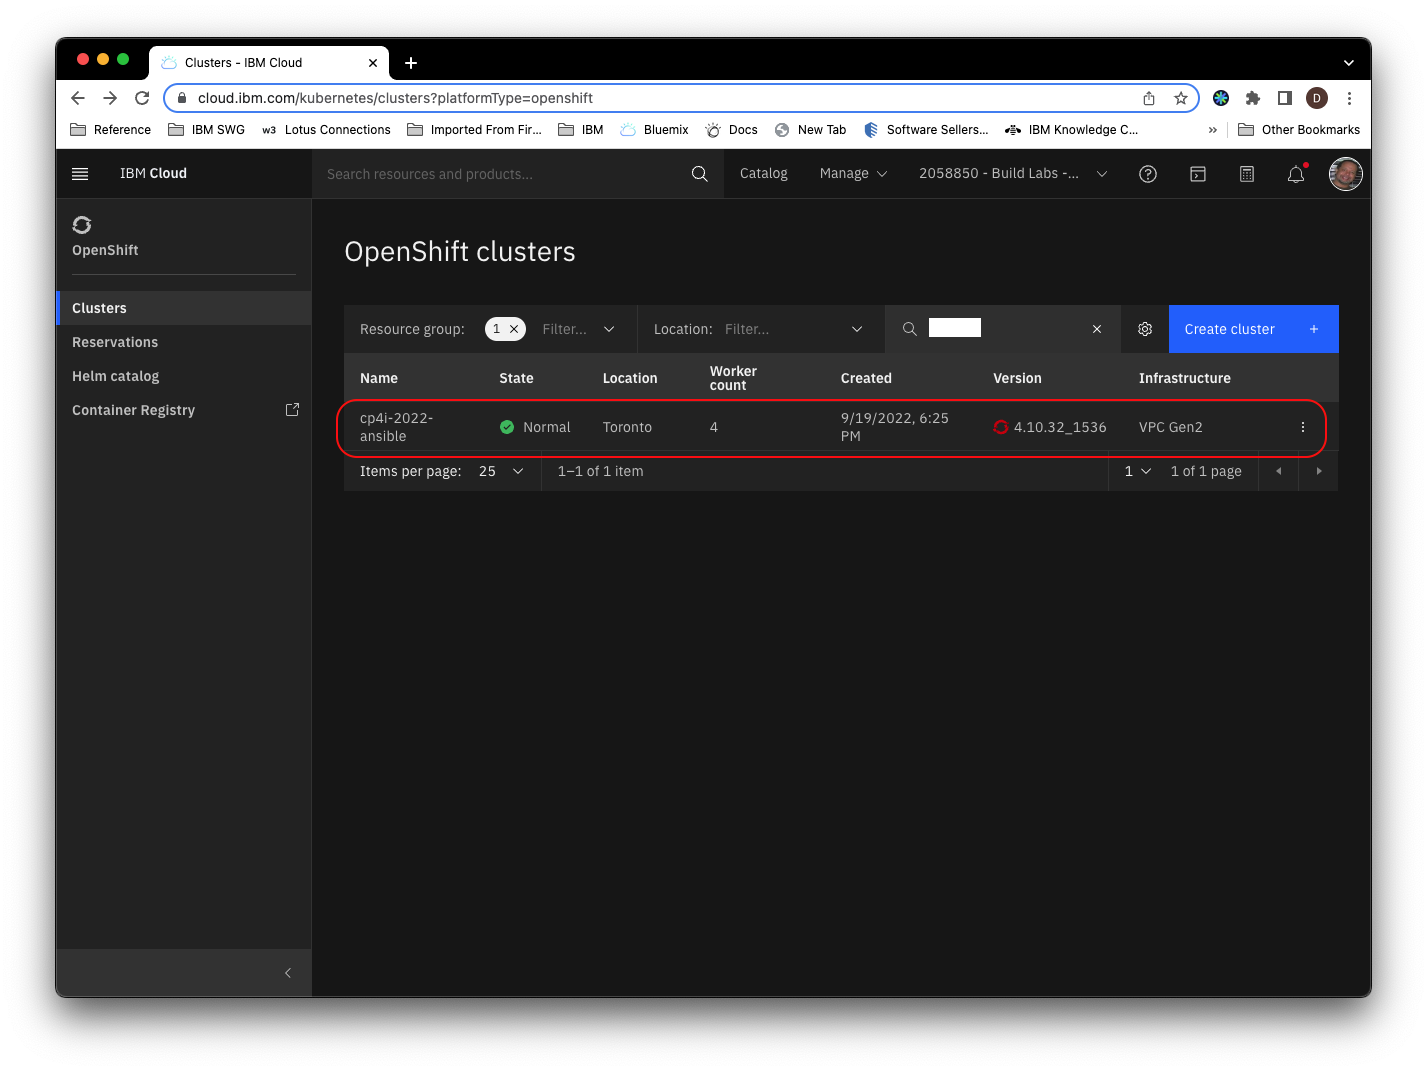
Got to the IBM Cloud landing page. Click on the OpenShift cluster icon in the left navigation.

-
Select your workshop cluster.
-
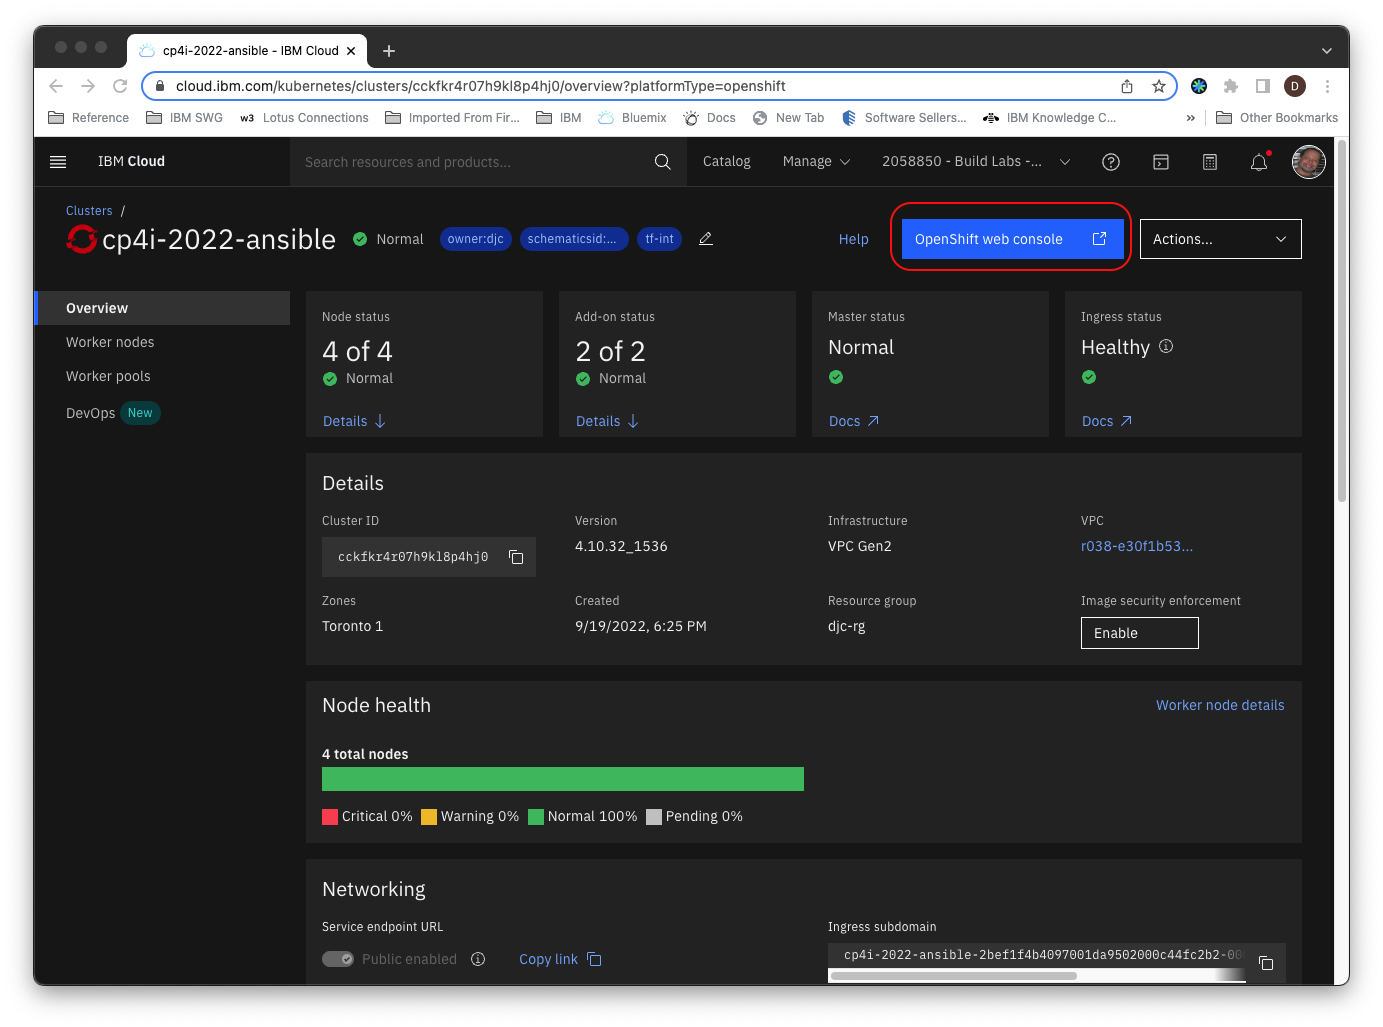
Details for your cluster will load.
-
Click on OpenShift web console to launch the console.
Workshop Information Page
If you no longer have your workshop cluster OpenShift console open, follow the instructions in the previous section and then return here.
-
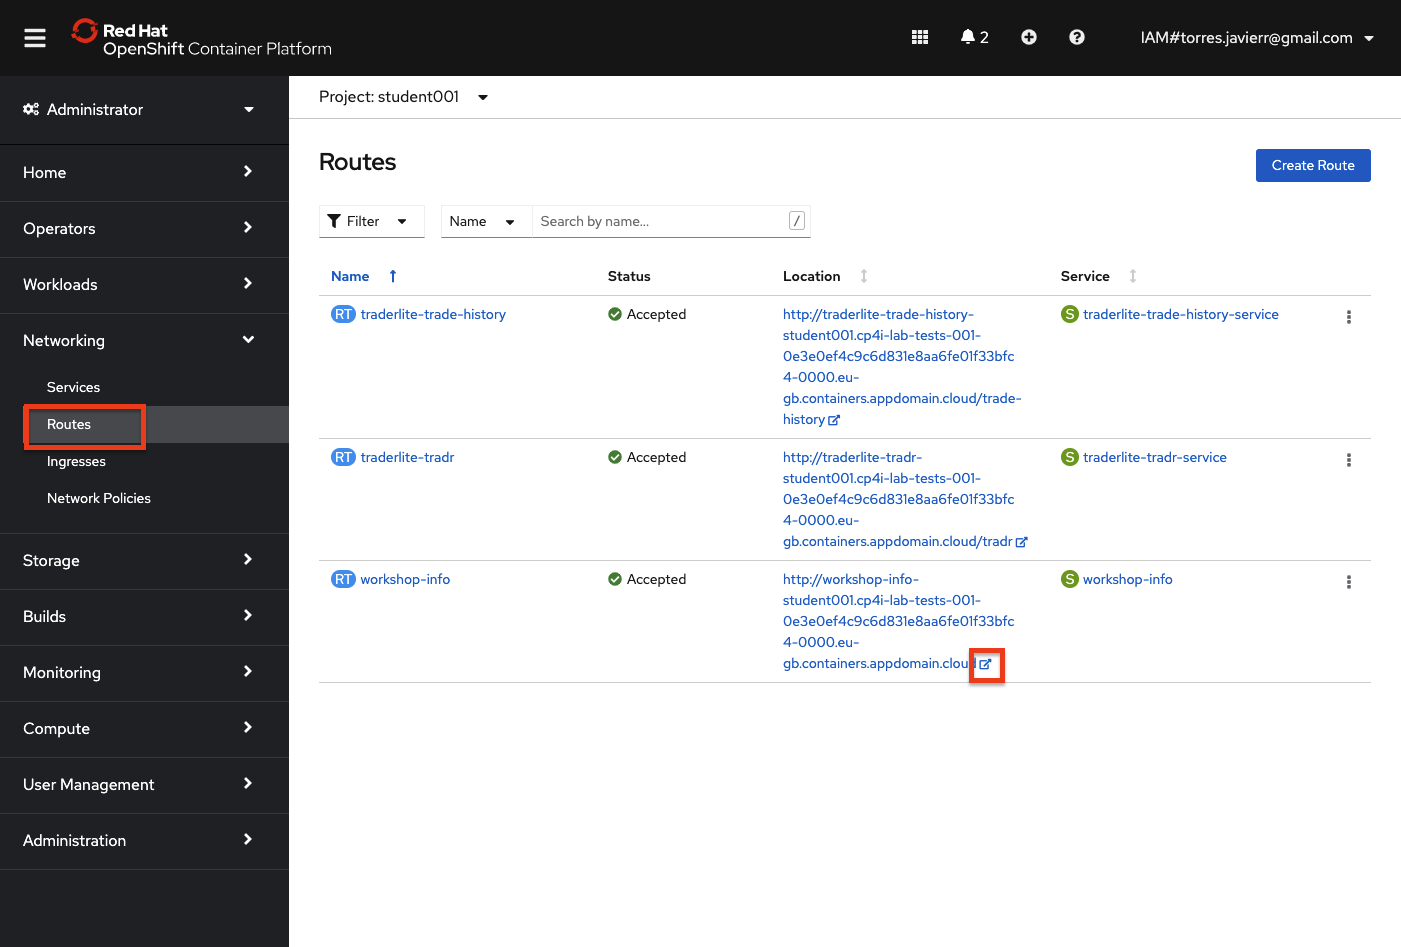
Go to the OpenShift console of your assigned cluster. Select your studentnnn project. In the navigation on the left, select Routes in the Operators section.
-
Click on the icon next to the url for the workshop-info route. This will open the webpage in a new tab.
Traderlite Application Installation
The traderlite application used in this workshop is installed as part of the API Connect and/or the Salesforce integration labs. If you have not completed that lab, follow these steps to install an instance of the application.
-
In a separate browser tab, go to the OpenShift console of your workshop cluster.
-
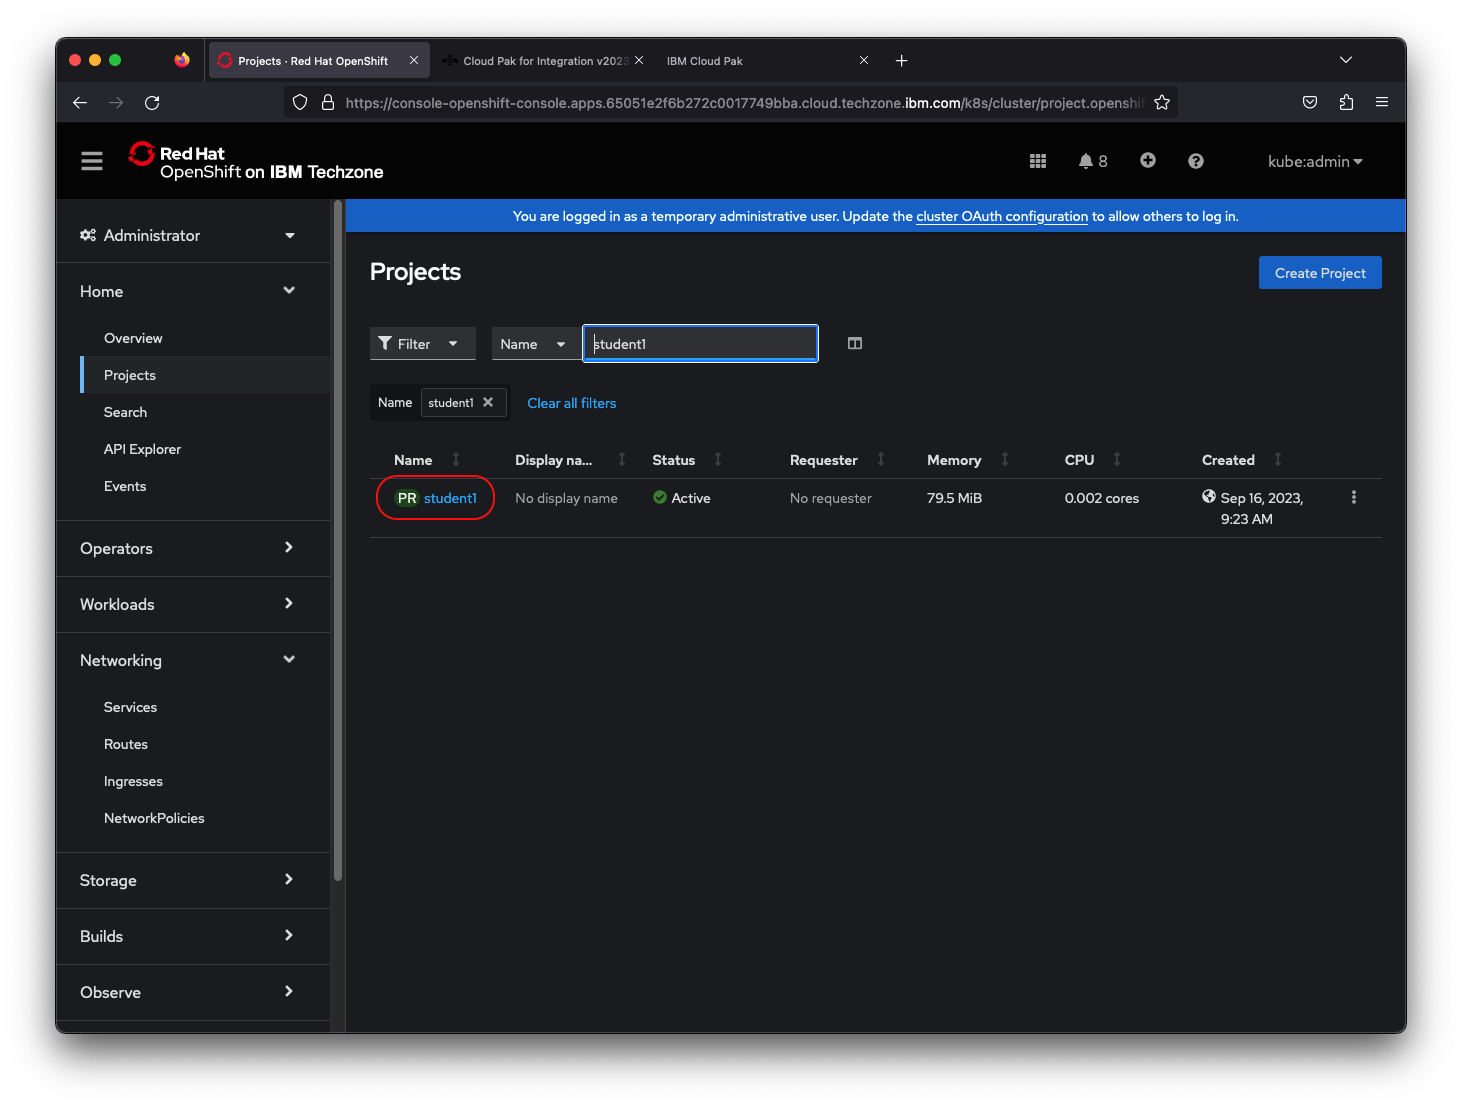
Click on Projects in the left navigation and then click on your student001 project in the list.
-
Click on Installed Operators in the left navigation and then click on the TraderLite Operator in the list.
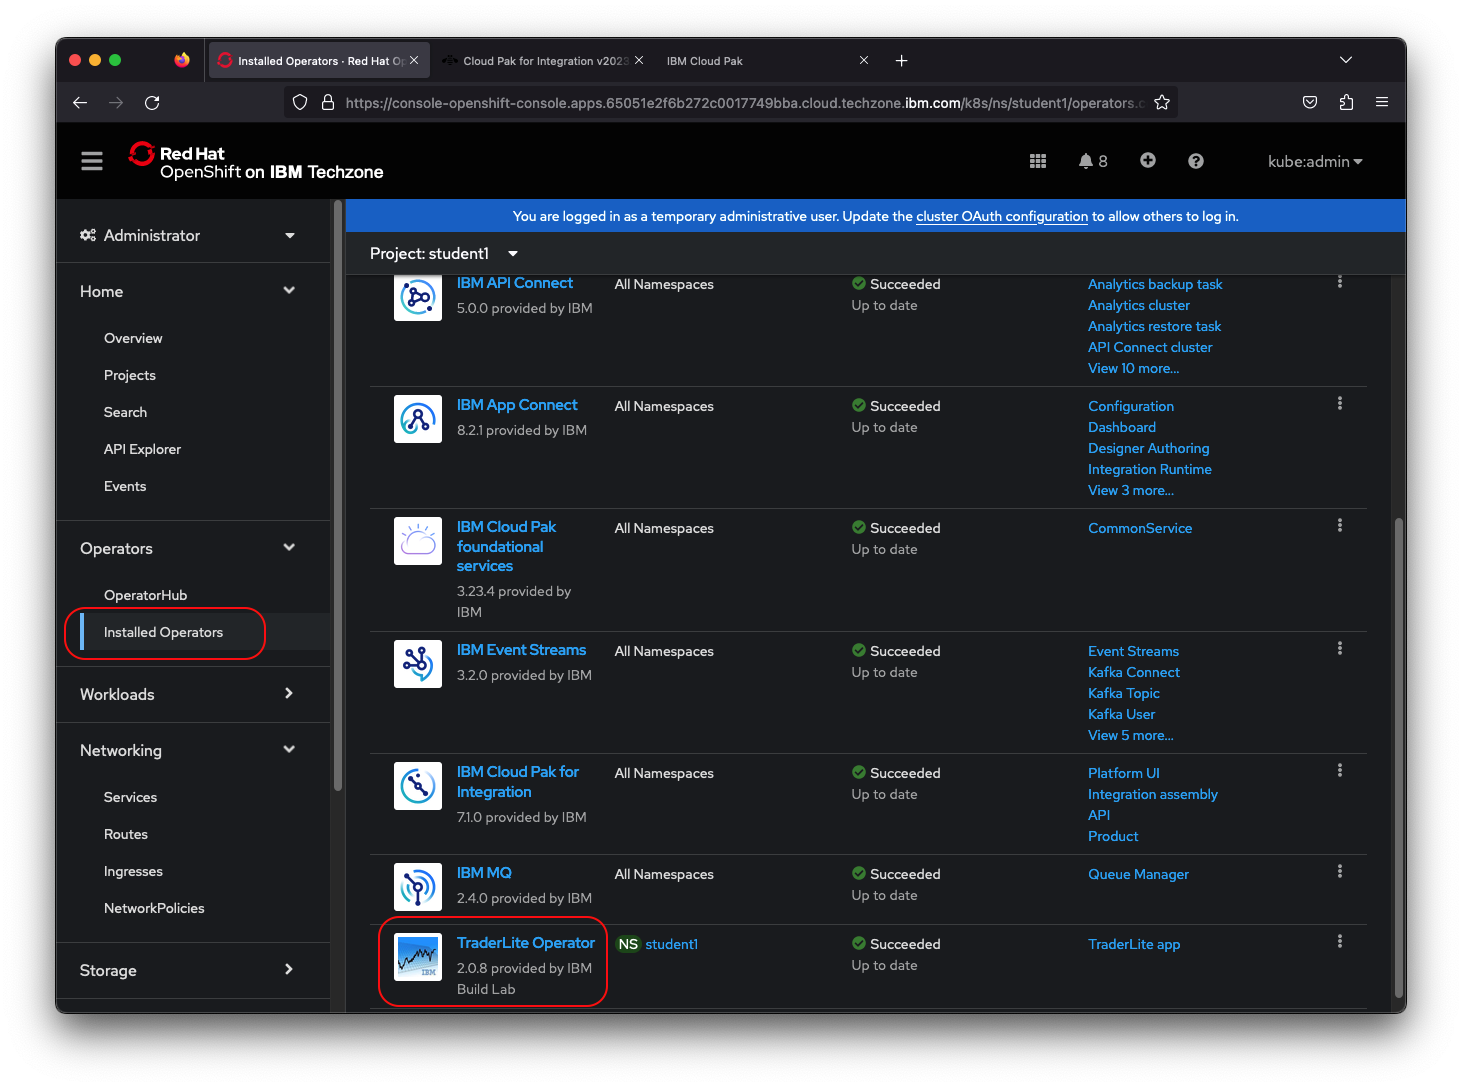
-
Click the Create Instance to start the installation of the TraderLite app.
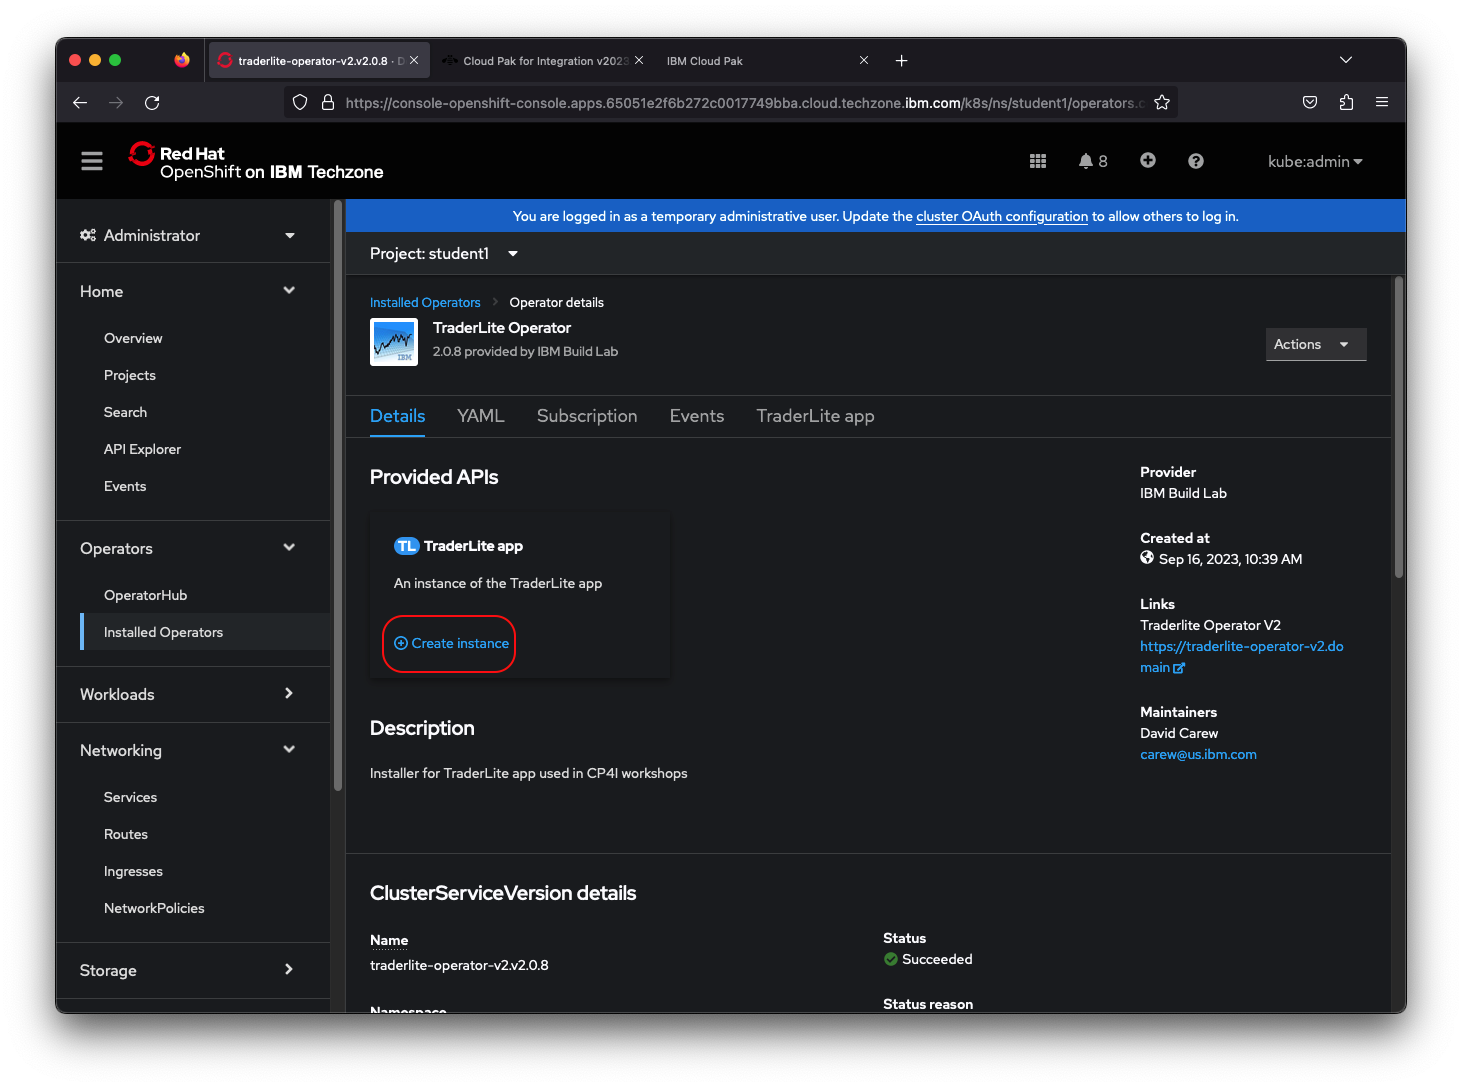
-
Name the instance traderlite and leave everything else with their default values. Click Create
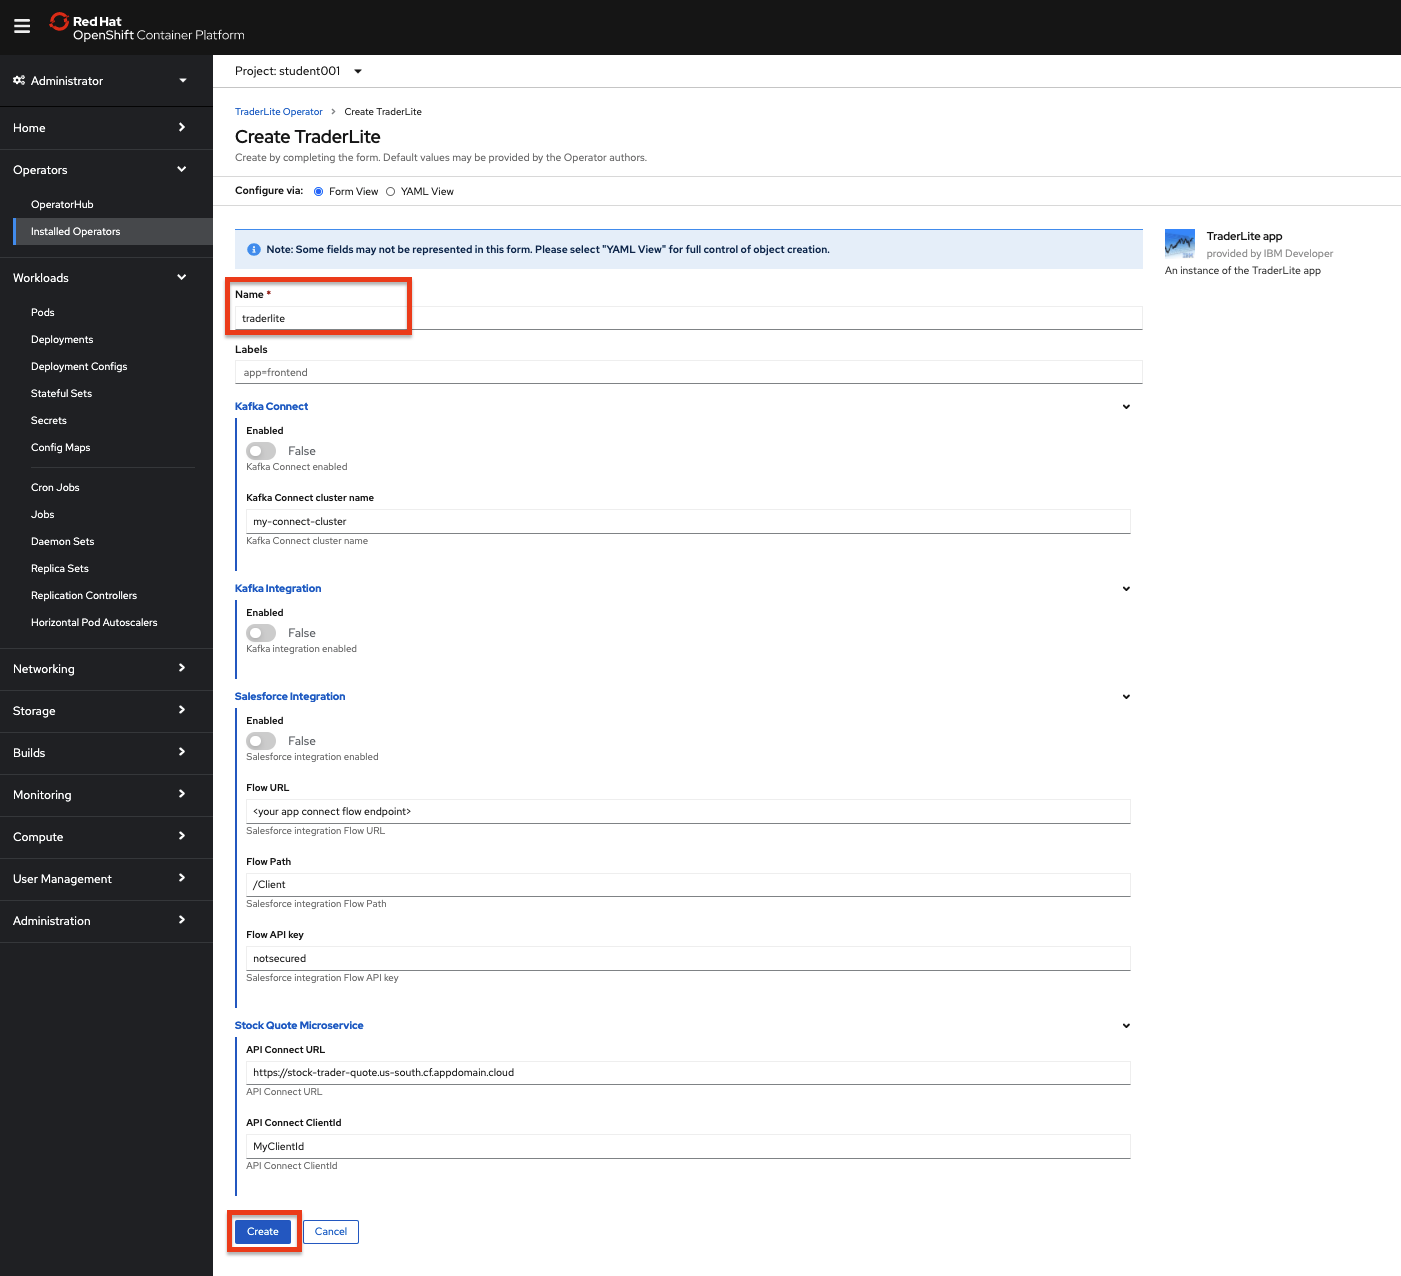
-
In the left navigation select Pods in the Workloads section and then wait for all the TraderLite pods to have a status of Running and be in the Ready state.
Note: You can enter
traderlitein the search by name input field to filter the pods.