Lab 1 - Running Your First Container
Overview
In this lab, you will run your first Docker container.
Containers are just a process (or a group of processes) running in isolation. Isolation is achieved via linux namespaces, control groups (cgroups), seccomp and SELinux. Note that linux namespaces and control groups are built into the linux kernel! Other than the linux kernel itself, there is nothing special about containers.
What makes containers useful is the tooling that surrounds it. For these labs, we will be using Docker, which has been a widely adopted tool for using containers to build applications. Docker provides developers and operators with a friendly interface to build, ship and run containers on any environment with a Docker engine. Because Docker client requires a Docker engine, an alternative is to use Podman, which is a deamonless container engine to develop, manage and run OCI containers and is able to run containers as root or in rootless mode. For those reasons, we recommend Podman but because of adoption, this lab still uses Docker.
The first part of this lab, we will run our first container, and learn how to inspect it. We will be able to witness the namespace isolation that we acquire from the linux kernel.
After we run our first container, we will dive into other uses of containers. You can find many examples of these on the Docker Store, and we will run several different types of containers on the same host. This will allow us to see the benefit of isolation- where we can run multiple containers on the same host without conflicts.
We will be using a few Docker commands in this lab. For full documentation on available commands check out the official documentation.
Prerequisites
Completed Lab 0: You must have access to a docker client, either on localhost, use a terminal from Theia - Cloud IDE at https://labs.cognitiveclass.ai/tools/theiadocker or be using Play with Docker for example.
Get Started
Run docker -h,
$ docker -h
Flag shorthand -h has been deprecated, please use --help

Usage:  docker [OPTIONS] COMMAND

A self-sufficient runtime for containers

...

Management Commands:
  builder     Manage builds
  config      Manage Docker configs
  container   Manage containers
  engine      Manage the docker engine
  image       Manage images
  network     Manage networks
  node        Manage Swarm nodes
  plugin      Manage plugins
  secret      Manage Docker secrets
  service     Manage services
  stack       Manage Docker stacks
  swarm       Manage Swarm
  system      Manage Docker
  trust       Manage trust on Docker images
  volume      Manage volumes
The Docker command line can be used to manage several features of the Docker Engine. In this lab, we will mainly focus on the container command.
If podman is installed, you can run the alternative command for comparison.
sudo podman -h
You can additionally review the version of your Docker installation,
docker version

Client:
  Version:      19.03.6
  ...

Server: Docker Engine - Community
  Engine
    Version:    19.03.5
    ...
You note that Docker installs both a Client and a Server: Docker Engine. For instance, if you run the same command for podman, you will see only a CLI version, because podman runs daemonless and relies on an OCI compliant container runtime (runc, crun, runv etc) to interface with the OS to create the running containers.
sudo podman version --events-backend=none
Version:      2.1.1
API Version:  2.0.0
Go Version:   go1.15.2
Built:        Thu Jan  1 00:00:00 1970
OS/Arch:      linux/amd64
Step 1: Run your first container
We are going to use the Docker CLI to run our first container.
-
Open a terminal on your local computer
-
Run
docker container run -t ubuntu topUse the
docker container runcommand to run a container with the ubuntu image using thetopcommand. The-tflags allocate a pseudo-TTY which we need for thetopto work correctly.$ docker container run -it ubuntu top Unable to find image 'ubuntu:latest' locally latest: Pulling from library/ubuntu aafe6b5e13de: Pull complete 0a2b43a72660: Pull complete 18bdd1e546d2: Pull complete 8198342c3e05: Pull complete f56970a44fd4: Pull complete Digest: sha256:f3a61450ae43896c4332bda5e78b453f4a93179045f20c8181043b26b5e79028 Status: Downloaded newer image for ubuntu:latestThe
docker runcommand will result first in adocker pullto download the ubuntu image onto your host. Once it is downloaded, it will start the container. The output for the running container should look like this:top - 20:32:46 up 3 days, 17:40, 0 users, load average: 0.00, 0.01, 0.00 Tasks: 1 total, 1 running, 0 sleeping, 0 stopped, 0 zombie %Cpu(s): 0.0 us, 0.1 sy, 0.0 ni, 99.9 id, 0.0 wa, 0.0 hi, 0.0 si, 0.0 st KiB Mem : 2046768 total, 173308 free, 117248 used, 1756212 buff/cache KiB Swap: 1048572 total, 1048572 free, 0 used. 1548356 avail Mem PID USER PR NI VIRT RES SHR S %CPU %MEM TIME+ COMMAND 1 root 20 0 36636 3072 2640 R 0.3 0.2 0:00.04 toptopis a linux utility that prints the processes on a system and orders them by resource consumption. Notice that there is only a single process in this output: it is thetopprocess itself. We don't see other processes from our host in this list because of the PID namespace isolation.Containers use linux namespaces to provide isolation of system resources from other containers or the host. The PID namespace provides isolation for process IDs. If you run
topwhile inside the container, you will notice that it shows the processes within the PID namespace of the container, which is much different than what you can see if you rantopon the host.Even though we are using the
ubuntuimage, it is important to note that our container does not have its own kernel. Its uses the kernel of the host and theubuntuimage is used only to provide the file system and tools available on an ubuntu system. -
Inspect the container with
docker container execThe
docker container execcommand is a way to "enter" a running container's namespaces with a new process.Open a new terminal. On cognitiveclass.ai, select
Terminal>New Terminal.Using play-with-docker.com, to open a new terminal connected to node1, click "Add New Instance" on the lefthand side, then ssh from node2 into node1 using the IP that is listed by 'node1 '. For example:
[node2] (local) root@192.168.0.17 ~
$ ssh 192.168.0.18
[node1] (local) root@192.168.0.18 ~
$
In the new terminal, use the
docker container lscommand to get the ID of the running container you just created.$ docker container ls CONTAINER ID IMAGE COMMAND CREATED STATUS PORTS NAMES b3ad2a23fab3 ubuntu "top" 29 minutes ago Up 29 minutes goofy_nobelThen use that id to run
bashinside that container using thedocker container execcommand. Since we are using bash and want to interact with this container from our terminal, use-itflags to run using interactive mode while allocating a psuedo-terminal.$ docker container exec -it b3ad2a23fab3 bash root@b3ad2a23fab3:/#And Voila! We just used the
docker container execcommand to "enter" our container's namespaces with our bash process. Usingdocker container execwithbashis a common pattern to inspect a docker container.Notice the change in the prefix of your terminal. e.g.
root@b3ad2a23fab3:/. This is an indication that we are running bash "inside" of our container.Note: This is not the same as ssh'ing into a separate host or a VM. We don't need an ssh server to connect with a bash process. Remember that containers use kernel-level features to achieve isolation and that containers run on top of the kernel. Our container is just a group of processes running in isolation on the same host, and we can use
docker container execto enter that isolation with thebashprocess. After runningdocker container exec, the group of processes running in isolation (i.e. our container) includetopandbash.From the same termina, run
ps -efto inspect the running processes.root@b3ad2a23fab3:/# ps -ef UID PID PPID C STIME TTY TIME CMD root 1 0 0 20:34 ? 00:00:00 top root 17 0 0 21:06 ? 00:00:00 bash root 27 17 0 21:14 ? 00:00:00 ps -efYou should see only the
topprocess,bashprocess and ourpsprocess.For comparison, exit the container, and run
ps -efortopon the host. These commands will work on linux or mac. For windows, you can inspect the running processes usingtasklist.root@b3ad2a23fab3:/# exit exit $ ps -ef # Lots of processes!Technical Deep Dive PID is just one of the linux namespaces that provides containers with isolation to system resources. Other linux namespaces include: - MNT - Mount and unmount directories without affecting other namespaces - NET - Containers have their own network stack - IPC - Isolated interprocess communication mechanisms such as message queues. - User - Isolated view of users on the system - UTC - Set hostname and domain name per container
These namespaces together provide the isolation for containers that allow them to run together securely and without conflict with other containers running on the same system. Next, we will demonstrate different uses of containers. and the benefit of isolation as we run multiple containers on the same host.
Note: Namespaces are a feature of the linux kernel. But Docker allows you to run containers on Windows and Mac... how does that work? The secret is that embedded in the Docker product or Docker engine is a linux subsystem. Docker open-sourced this linux subsystem to a new project: LinuxKit. Being able to run containers on many different platforms is one advantage of using the Docker tooling with containers.
In addition to running linux containers on Windows using a linux subsystem, native Windows containers are now possible due the creation of container primitives on the Windows OS. Native Windows containers can be run on Windows 10 or Windows Server 2016 or newer.
Note: if you run this exercise in a containerized terminal and execute the
ps -efcommand in the terminal, e.g. inhttps://labs.cognitiveclass.ai, you will still see a limited set of processes after exiting theexeccommand. You can try to run theps -efcommand in a terminal on your local machine to see all processes. -
Clean up the container running the
topprocesses by typing:<ctrl>-c, list all containers and remove the containers by their id.docker ps -a docker rm <CONTAINER ID>
Step 2: Run Multiple Containers
-
Explore the Docker Hub
The Docker Hub is the public central registry for Docker images, which contains community and official images.
When searching for images you will find filters for "Docker Certified", "Verified Publisher" and "Official Images" images. Select the "Docker Certified" filter, to find images that are deemed enterprise-ready and are tested with Docker Enterprise Edition product. It is important to avoid using unverified content from the Docker Store when developing your own images that are intended to be deployed into the production environment. These unverified images may contain security vulnerabilities or possibly even malicious software.
In Step 2 of this lab, we will start a couple of containers using some verified images from the Docker Hub: nginx web server, and mongo database.
-
Run an Nginx server
Let's run a container using the official Nginx image from the Docker Hub.
$ docker container run --detach --publish 8080:80 --name nginx nginx
Unable to find image 'nginx:latest' locally
latest: Pulling from library/nginx
36a46ebd5019: Pull complete
57168433389f: Pull complete
332ec8285c50: Pull complete
Digest: sha256:c15f1fb8fd55c60c72f940a76da76a5fccce2fefa0dd9b17967b9e40b0355316
Status: Downloaded newer image for nginx:latest
5e1bf0e6b926bd73a66f98b3cbe23d04189c16a43d55dd46b8486359f6fdf048
We are using a couple of new flags here. The
--detachflag will run this container in the background. Thepublishflag publishes port 80 in the container (the default port for nginx), via port 8080 on our host. Remember that the NET namespace gives processes of the container their own network stack. The--publishflag is a feature that allows us to expose networking through the container onto the host.How do you know port 80 is the default port for nginx? Because it is listed in the documentation on the Docker Hub. In general, the documentation for the verified images is very good, and you will want to refer to them when running containers using those images.
We are also specifying the
--nameflag, which names the container. Every container has a name, if you don't specify one, Docker will randomly assign one for you. Specifying your own name makes it easier to run subsequent commands on your container since you can reference the name instead of the id of the container. For example:docker container inspect nginxinstead ofdocker container inspect 5e1.Since this is the first time you are running the nginx container, it will pull down the nginx image from the Docker Store. Subsequent containers created from the Nginx image will use the existing image located on your host.
Nginx is a lightweight web server. You can access it on port 8080 on your localhost.
-
Access the nginx server on localhost:8080.
curl localhost:8080will return the HTML home page of Nginx,
<!DOCTYPE html> <html> <head> <title>Welcome to nginx!</title> <style> body { width: 35em; margin: 0 auto; font-family: Tahoma, Verdana, Arial, sans-serif; } </style> </head> <body> <h1>Welcome to nginx!</h1> -
If you are using play-with-docker, look for the
8080link near the top of the page, or if you run a Docker client with access to a local browser,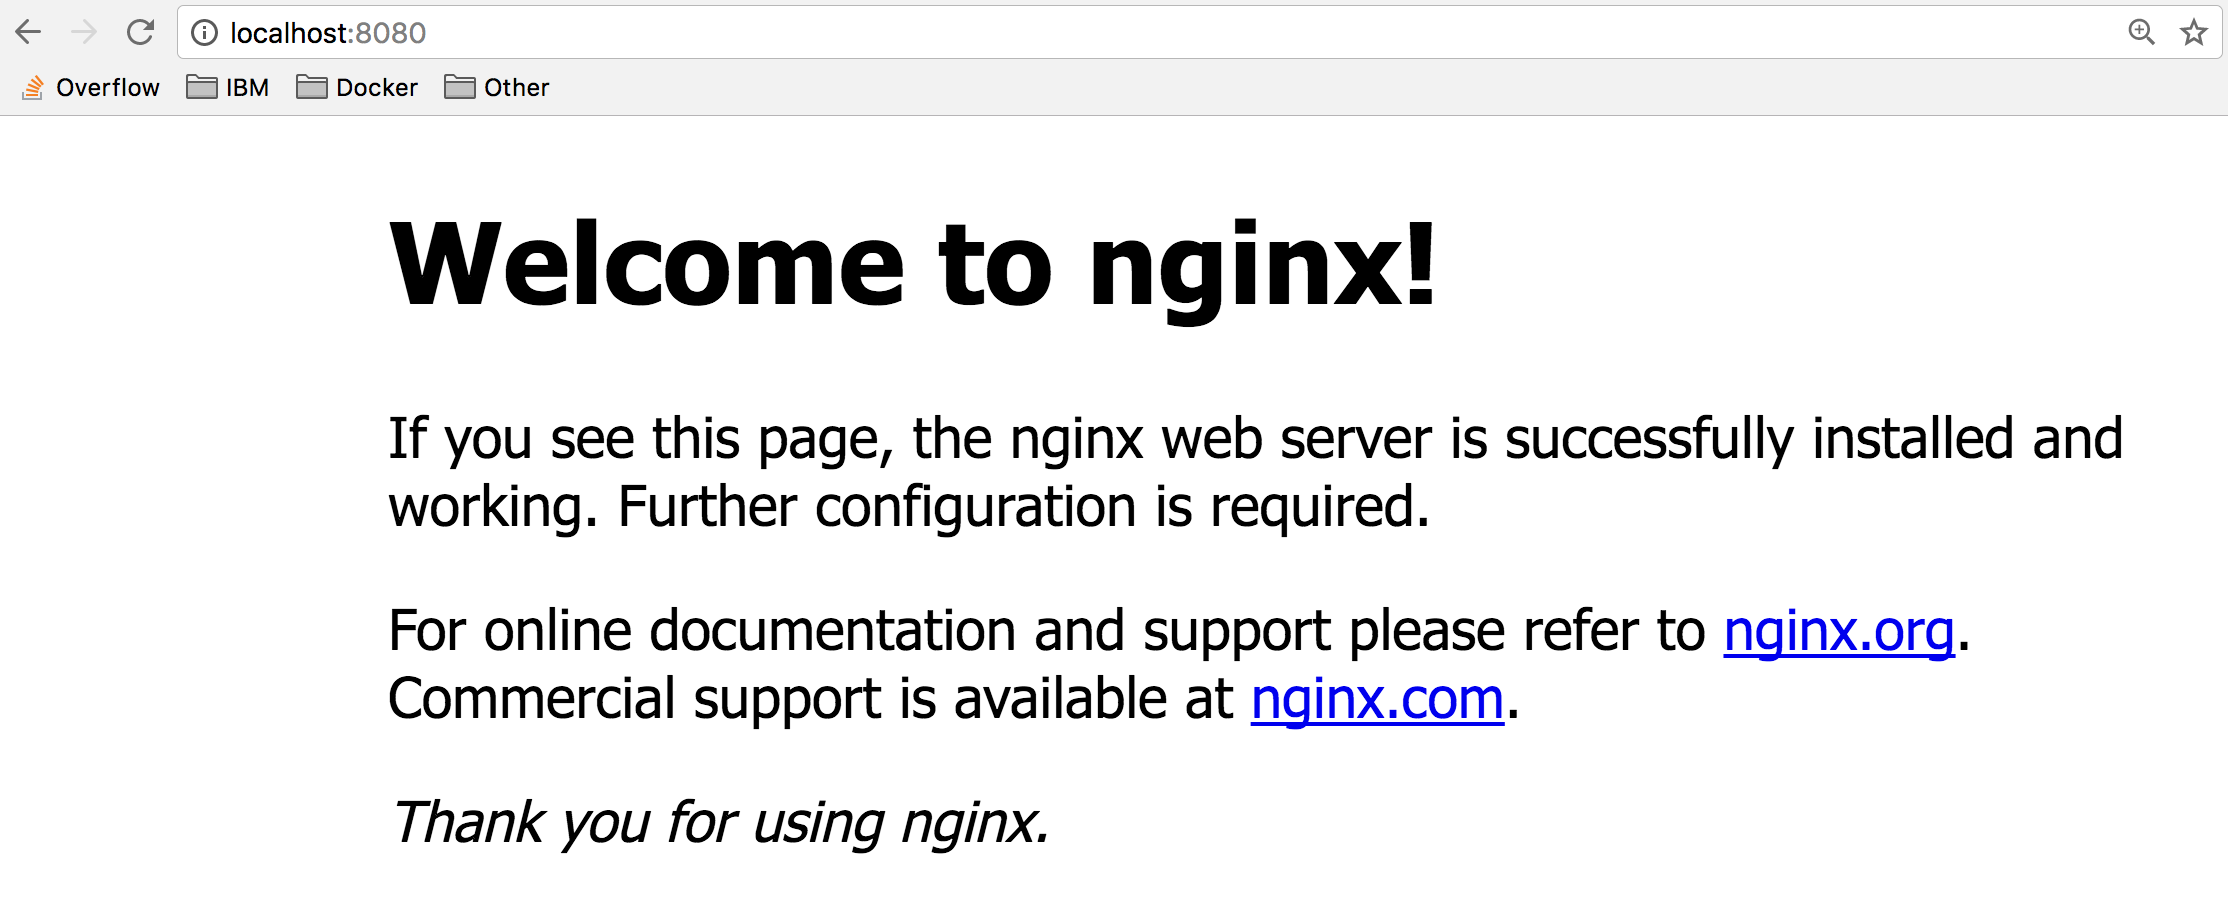
-
Run a mongo DB server
Now, run a mongoDB server. We will use the official mongoDB image from the Docker Hub. Instead of using the
latesttag (which is the default if no tag is specified), we will use a specific version of the mongo image: 4.4.$ docker container run --detach --publish 8081:27017 --name mongo mongo:4.4 Unable to find image mongo:4.4 locally 4.4: Pulling from library/mongo d13d02fa248d: Already exists bc8e2652ce92: Pull complete 3cc856886986: Pull complete c319e9ec4517: Pull complete b4cbf8808f94: Pull complete cb98a53e6676: Pull complete f0485050cd8a: Pull complete ac36cdc414b3: Pull complete 61814e3c487b: Pull complete 523a9f1da6b9: Pull complete 3b4beaef77a2: Pull complete Digest: sha256:d13c897516e497e898c229e2467f4953314b63e48d4990d3215d876ef9d1fc7c Status: Downloaded newer image for mongo:4.4 d8f614a4969fb1229f538e171850512f10f490cb1a96fca27e4aa89ac082eba5Again, since this is the first time we are running a mongo container, we will pull down the mongo image from the Docker Store. We are using the
--publishflag to expose the 27017 mongo port on our host. We have to use a port other than 8080 for the host mapping, since that port is already exposed on our host. Again refer to the official docs on the Docker Hub to get more details about using the mongo image. -
Access localhost:8081 to see some output from mongo.
curl localhost:8081which will return a warning from MongoDB,
It looks like you are trying to access MongoDB over HTTP on the native driver port. -
If you are using play-with-docker, look for the
8080link near the top of the page.
-
Check your running containers with
docker container ls$ docker container ls CONTAINER ID IMAGE COMMAND CREATED STATUS PORTS NAMES d6777df89fea nginx "nginx -g 'daemon ..." Less than a second ago Up 2 seconds 0.0.0.0:8080->80/tcp nginx ead80a0db505 mongo "docker-entrypoint..." 17 seconds ago Up 19 seconds 0.0.0.0:8081->27017/tcp mongo af549dccd5cf ubuntu "top" 5 minutes ago Up 5 minutes priceless_keplerYou should see that you have an Nginx web server container, and a MongoDB container running on your host. Note that we have not configured these containers to talk to each other.
You can see the "nginx" and "mongo" names that we gave to our containers, and the random name (in my case "priceless_kepler") that was generated for the ubuntu container. You can also see that the port mappings that we specified with the
--publishflag. For more details information on these running containers you can use thedocker container inspect [container idcommand.One thing you might notice is that the mongo container is running the
docker-entrypointcommand. This is the name of the executable that is run when the container is started. The mongo image requires some prior configuration before kicking off the DB process. You can see exactly what the script does by looking at it on github. Typically, you can find the link to the github source from the image description page on the Docker Store website.Containers are self-contained and isolated, which means we can avoid potential conflicts between containers with different system or runtime dependencies. For example: deploying an app that uses Java 7 and another app that uses Java 8 on the same host. Or running multiple nginx containers that all have port 80 as their default listening ports (if exposing on the host using the
--publishflag, the ports selected for the host will need to be unique). Isolation benefits are possible because of Linux Namespaces.Note: You didn't have to install anything on your host (other than Docker) to run these processes! Each container includes the dependencies that it needs within the container, so you don't need to install anything on your host directly.
Running multiple containers on the same host gives us the ability to fully utilize the resources (cpu, memory, etc) available on single host. This can result in huge cost savings for an enterprise.
While running images directly from the Docker Hub can be useful at times, it is more useful to create custom images, and refer to official images as the starting point for these images. We will dive into building our own custom images in Lab 2.
Step 3: Clean Up
Completing this lab results in a bunch of running containers on your host. Let's clean these up.
-
First get a list of the containers running using
docker container ls.$ docker container ls CONTAINER ID IMAGE COMMAND CREATED STATUS PORTS NAMES d6777df89fea nginx "nginx -g 'daemon ..." 3 minutes ago Up 3 minutes 0.0.0.0:8080->80/tcp nginx ead80a0db505 mongo "docker-entrypoint..." 3 minutes ago Up 3 minutes 0.0.0.0:8081->27017/tcp mongo af549dccd5cf ubuntu "top" 8 minutes ago Up 8 minutes priceless_kepler -
Next, run
docker container stop [container id]for each container in the list. You can also use the names of the containers that you specified before.$ docker container stop d67 ead af5 d67 ead af5Note: You only have to reference enough digits of the ID to be unique. Three digits is almost always enough.
-
Remove the stopped containers
docker system pruneis a really handy command to clean up your system. It will remove any stopped containers, unused volumes and networks, and dangling images.$ docker system prune WARNING! This will remove: - all stopped containers - all volumes not used by at least one container - all networks not used by at least one container - all dangling images Are you sure you want to continue? [y/N] y Deleted Containers: 7872fd96ea4695795c41150a06067d605f69702dbcb9ce49492c9029f0e1b44b 60abd5ee65b1e2732ddc02b971a86e22de1c1c446dab165462a08b037ef7835c 31617fdd8e5f584c51ce182757e24a1c9620257027665c20be75aa3ab6591740 Total reclaimed space: 12B
Summary
In this lab, you created your first Ubuntu, Nginx and MongoDB containers.
Key Takeaways
- Containers are composed of linux namespaces and control groups that provide isolation from other containers and the host.
- Because of the isolation properties of containers, you can schedule many containers on a single host without worrying about conflicting dependencies. This makes it easier to run multiple containers on a single host: fully utilizing resources allocated to that host, and ultimately saving some money on server costs.
- Avoid using unverified content from the Docker Store when developing your own images because these images may contain security vulnerabilities or possibly even malicious software.
- Containers include everything they need to run the processes within them, so there is no need to install additional dependencies directly on your host.