Using IBM Data Shift
This macOS app simplifies migrating files, applications and preferences from one Mac to another. The app needs to run on both the old and the new device, and it guides users through the transfer.
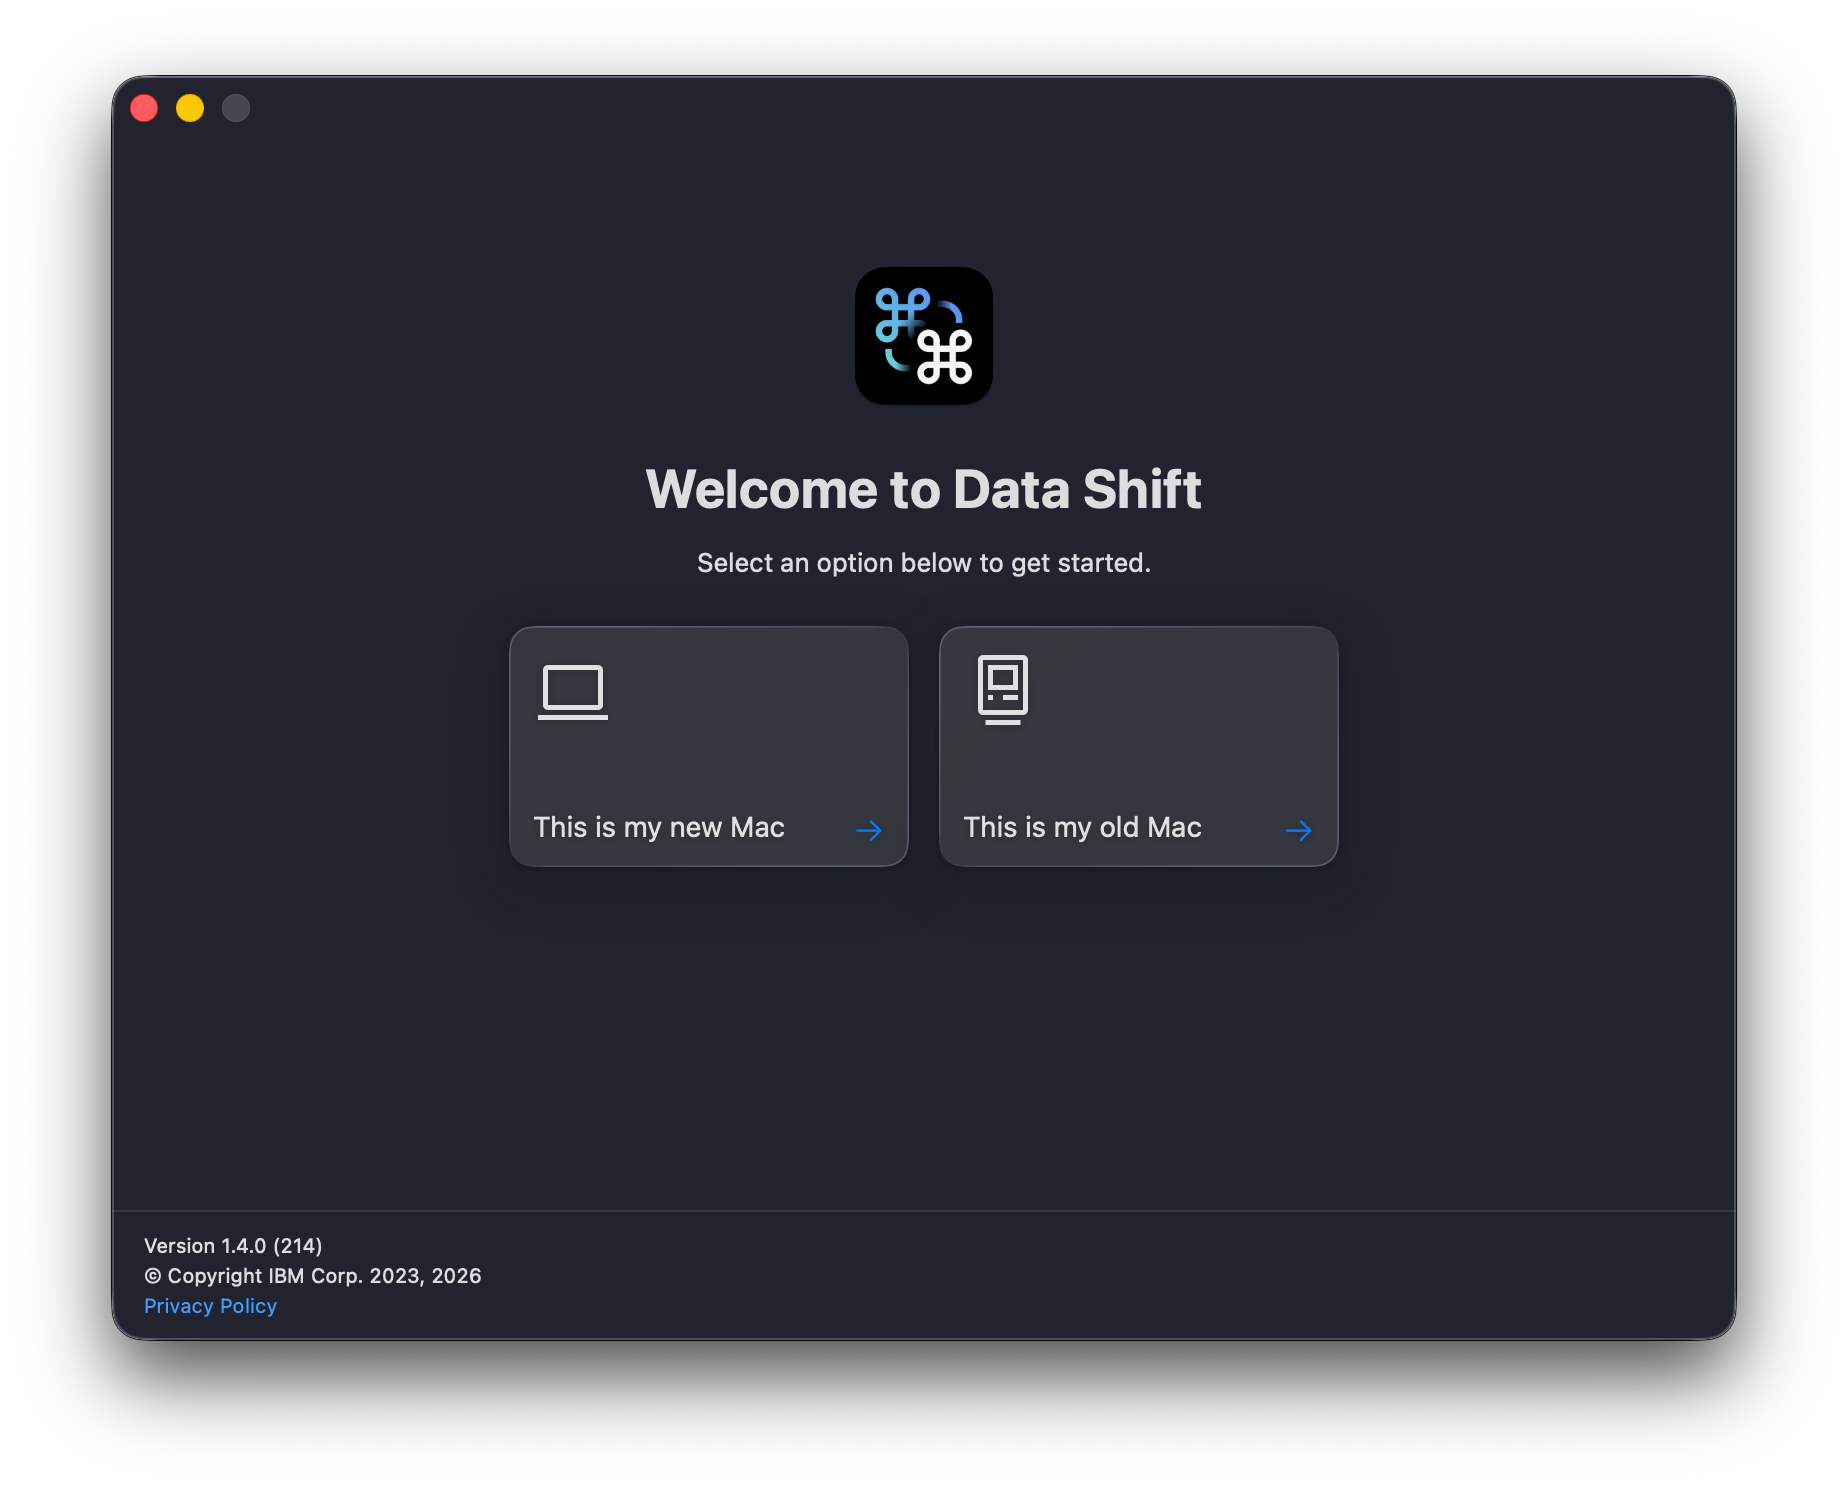
Initial setup
Launch the app on both devices, then choose the role of each:
- Old device (source): the Mac that contains the data to transfer.
- New device (destination): the Mac that will receive the data.
Device pairing
- On the new device, the app displays a unique pairing code.
- On the old device, the app lists the available Macs. A device only appears if the app is running and set as the “new” device on that Mac.
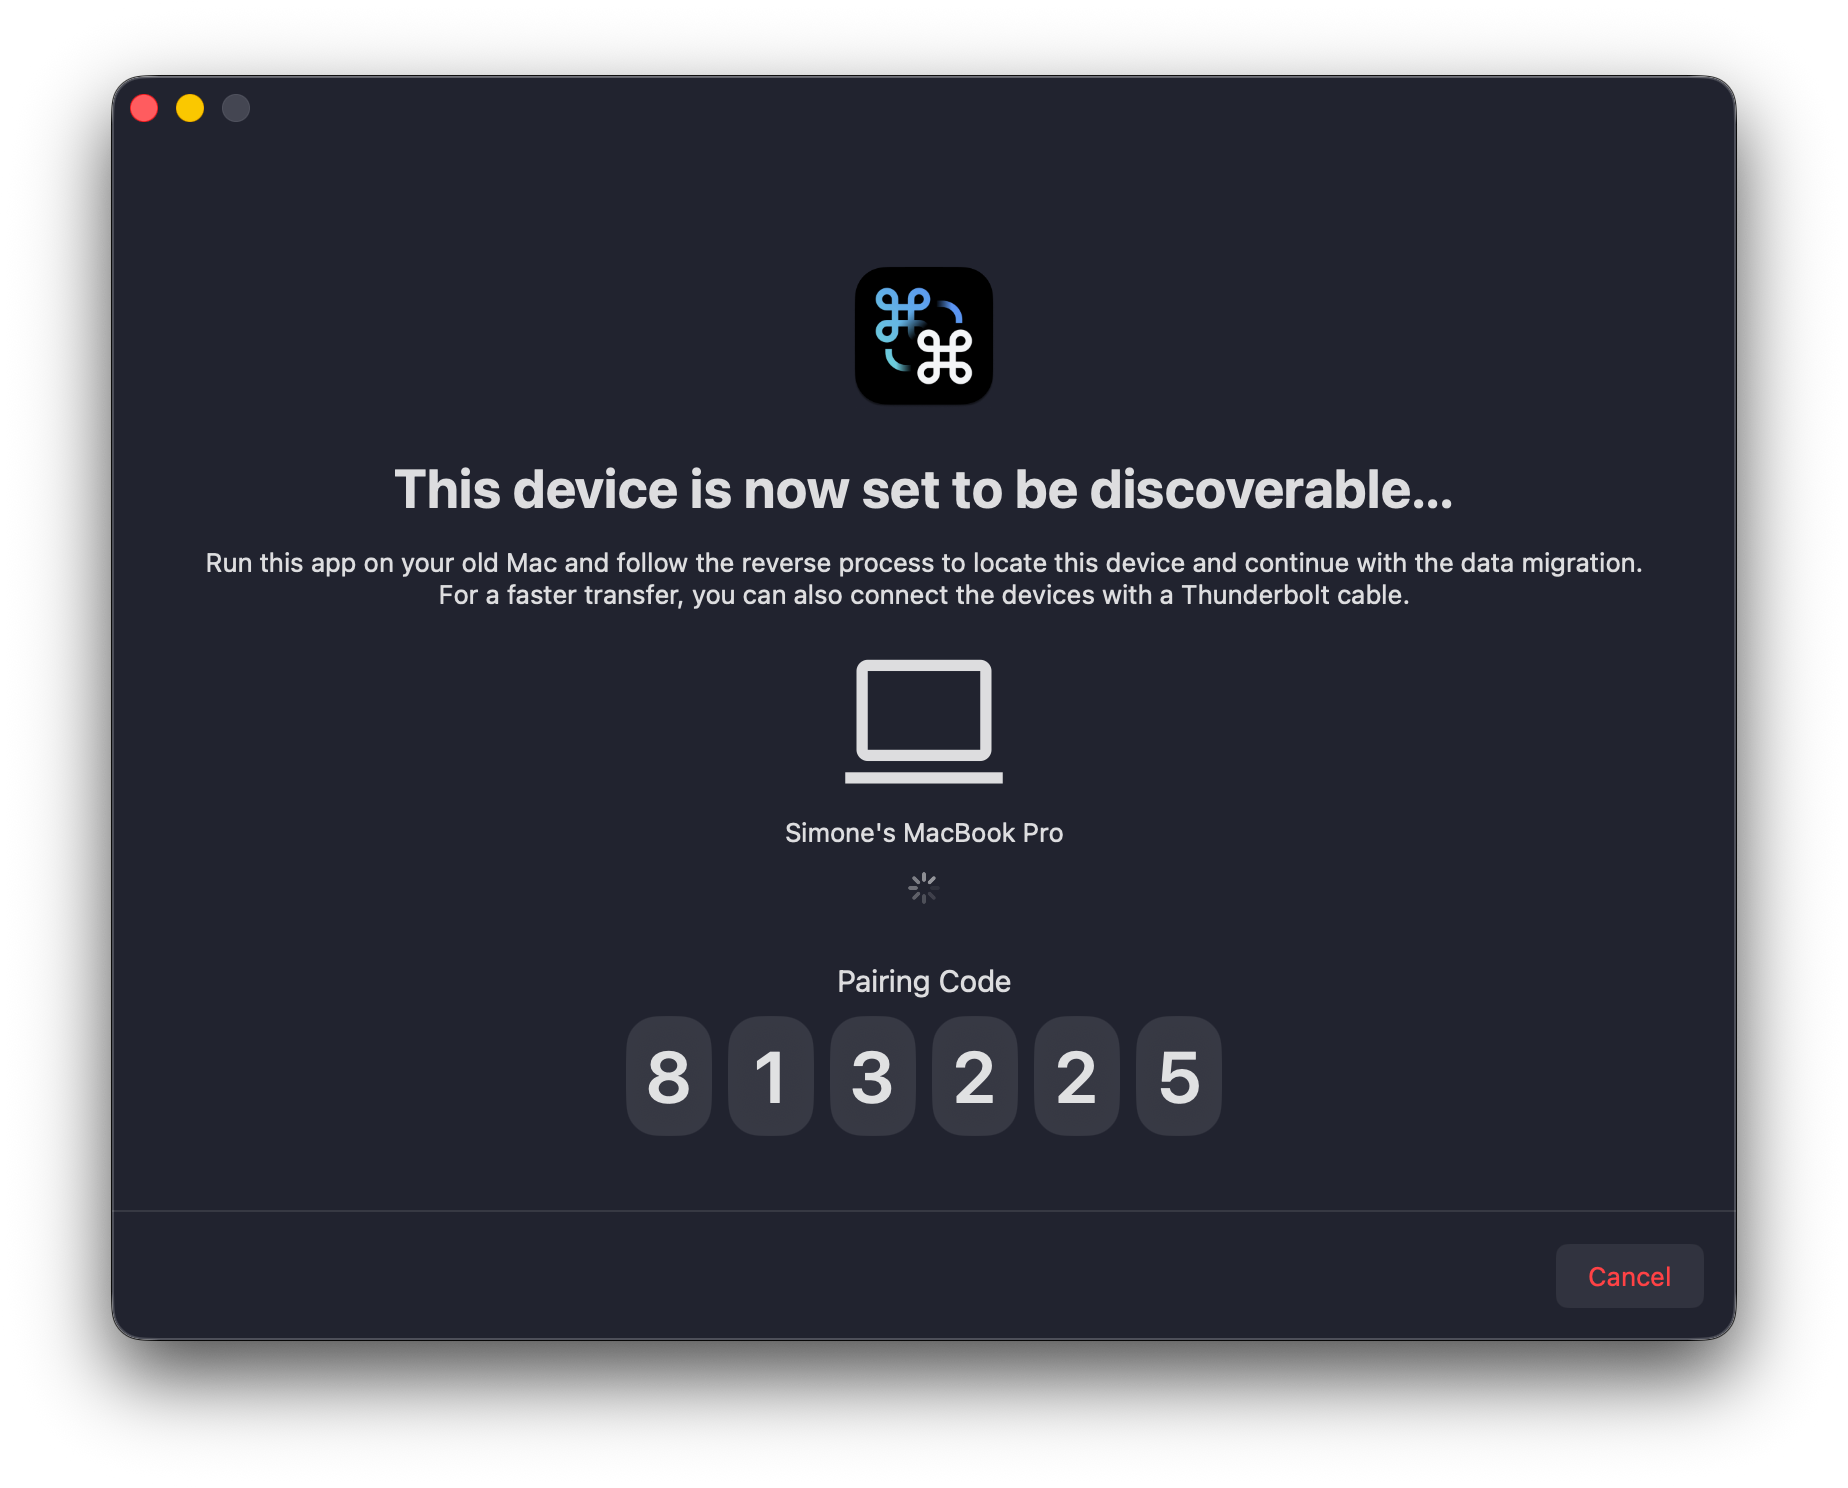
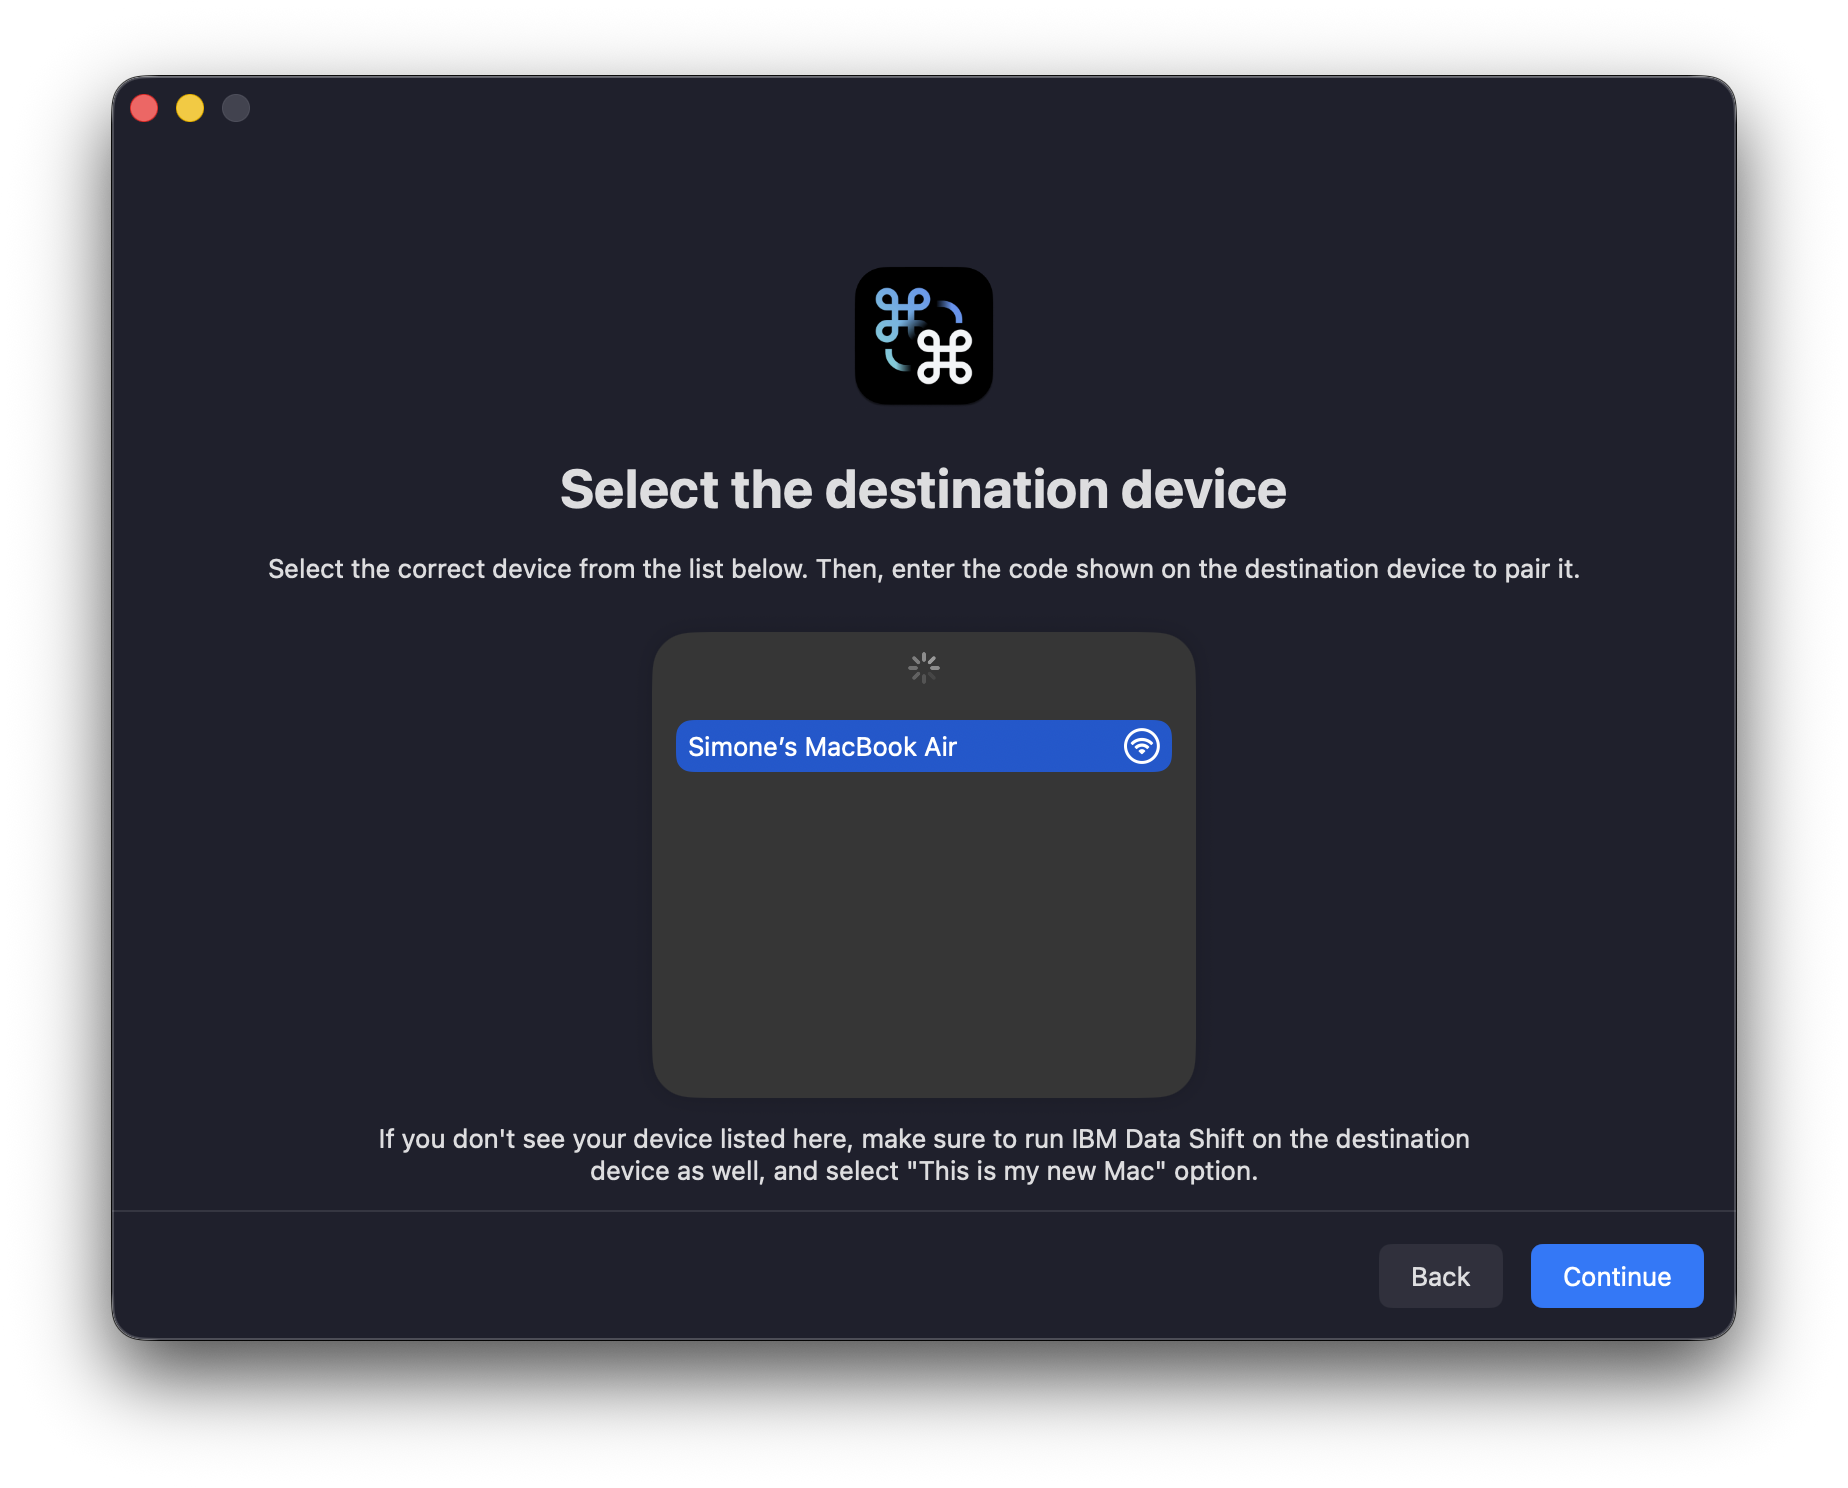
The list shows an icon for the connection method, either Wi-Fi or Thunderbolt cable. For the fastest and most reliable transfer use a Thunderbolt cable, especially in congested Wi-Fi environments such as offices or public spaces.
Device connection
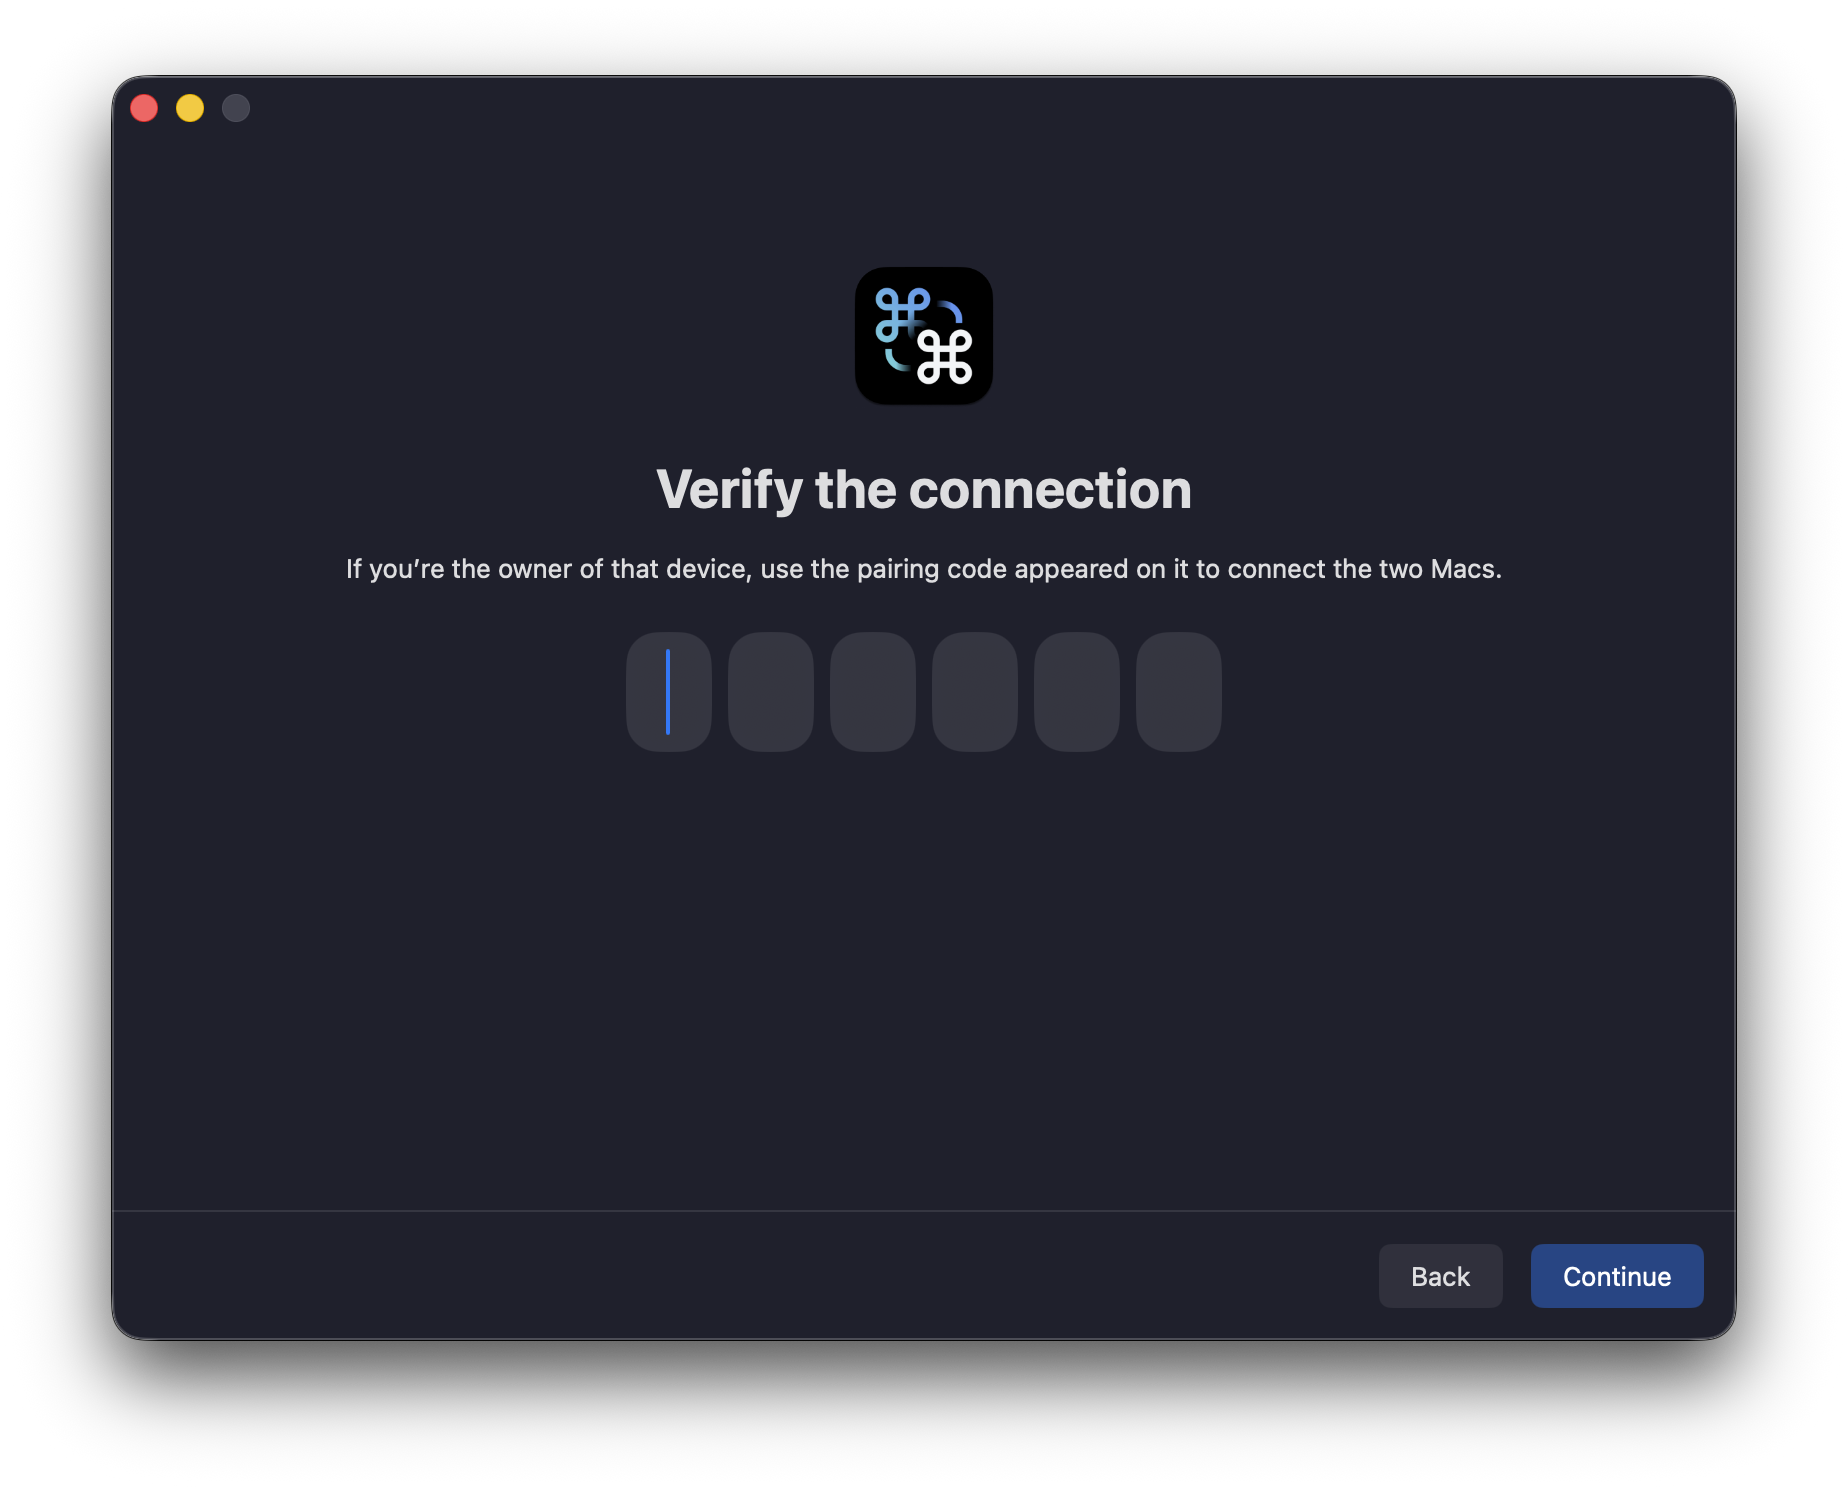
Select the new device from the list on the old Mac. Then enter the pairing code displayed on the new device. Once paired, the migration can proceed.
- Pairing request approval From v2.0.0
- the new Mac now asks the user to explicitly accept or decline each incoming pairing request. The verification code can only be used after the request is accepted, so check that the hostname shown matches your old Mac.
- Wrong codes From v2.0.0
- after 5 wrong code attempts the new Mac locks pairing. Generate a new code on the new Mac to continue.
Migration options
Once the devices are paired, choose what to transfer from the old Mac:
- Lite migration: only the contents of the Desktop and Documents folders.
- Complete migration: all user data, applications and preferences.
- Advanced mode: manually select specific folders and applications. In this mode, user preferences and “Application Support” data for the selected apps are not migrated.
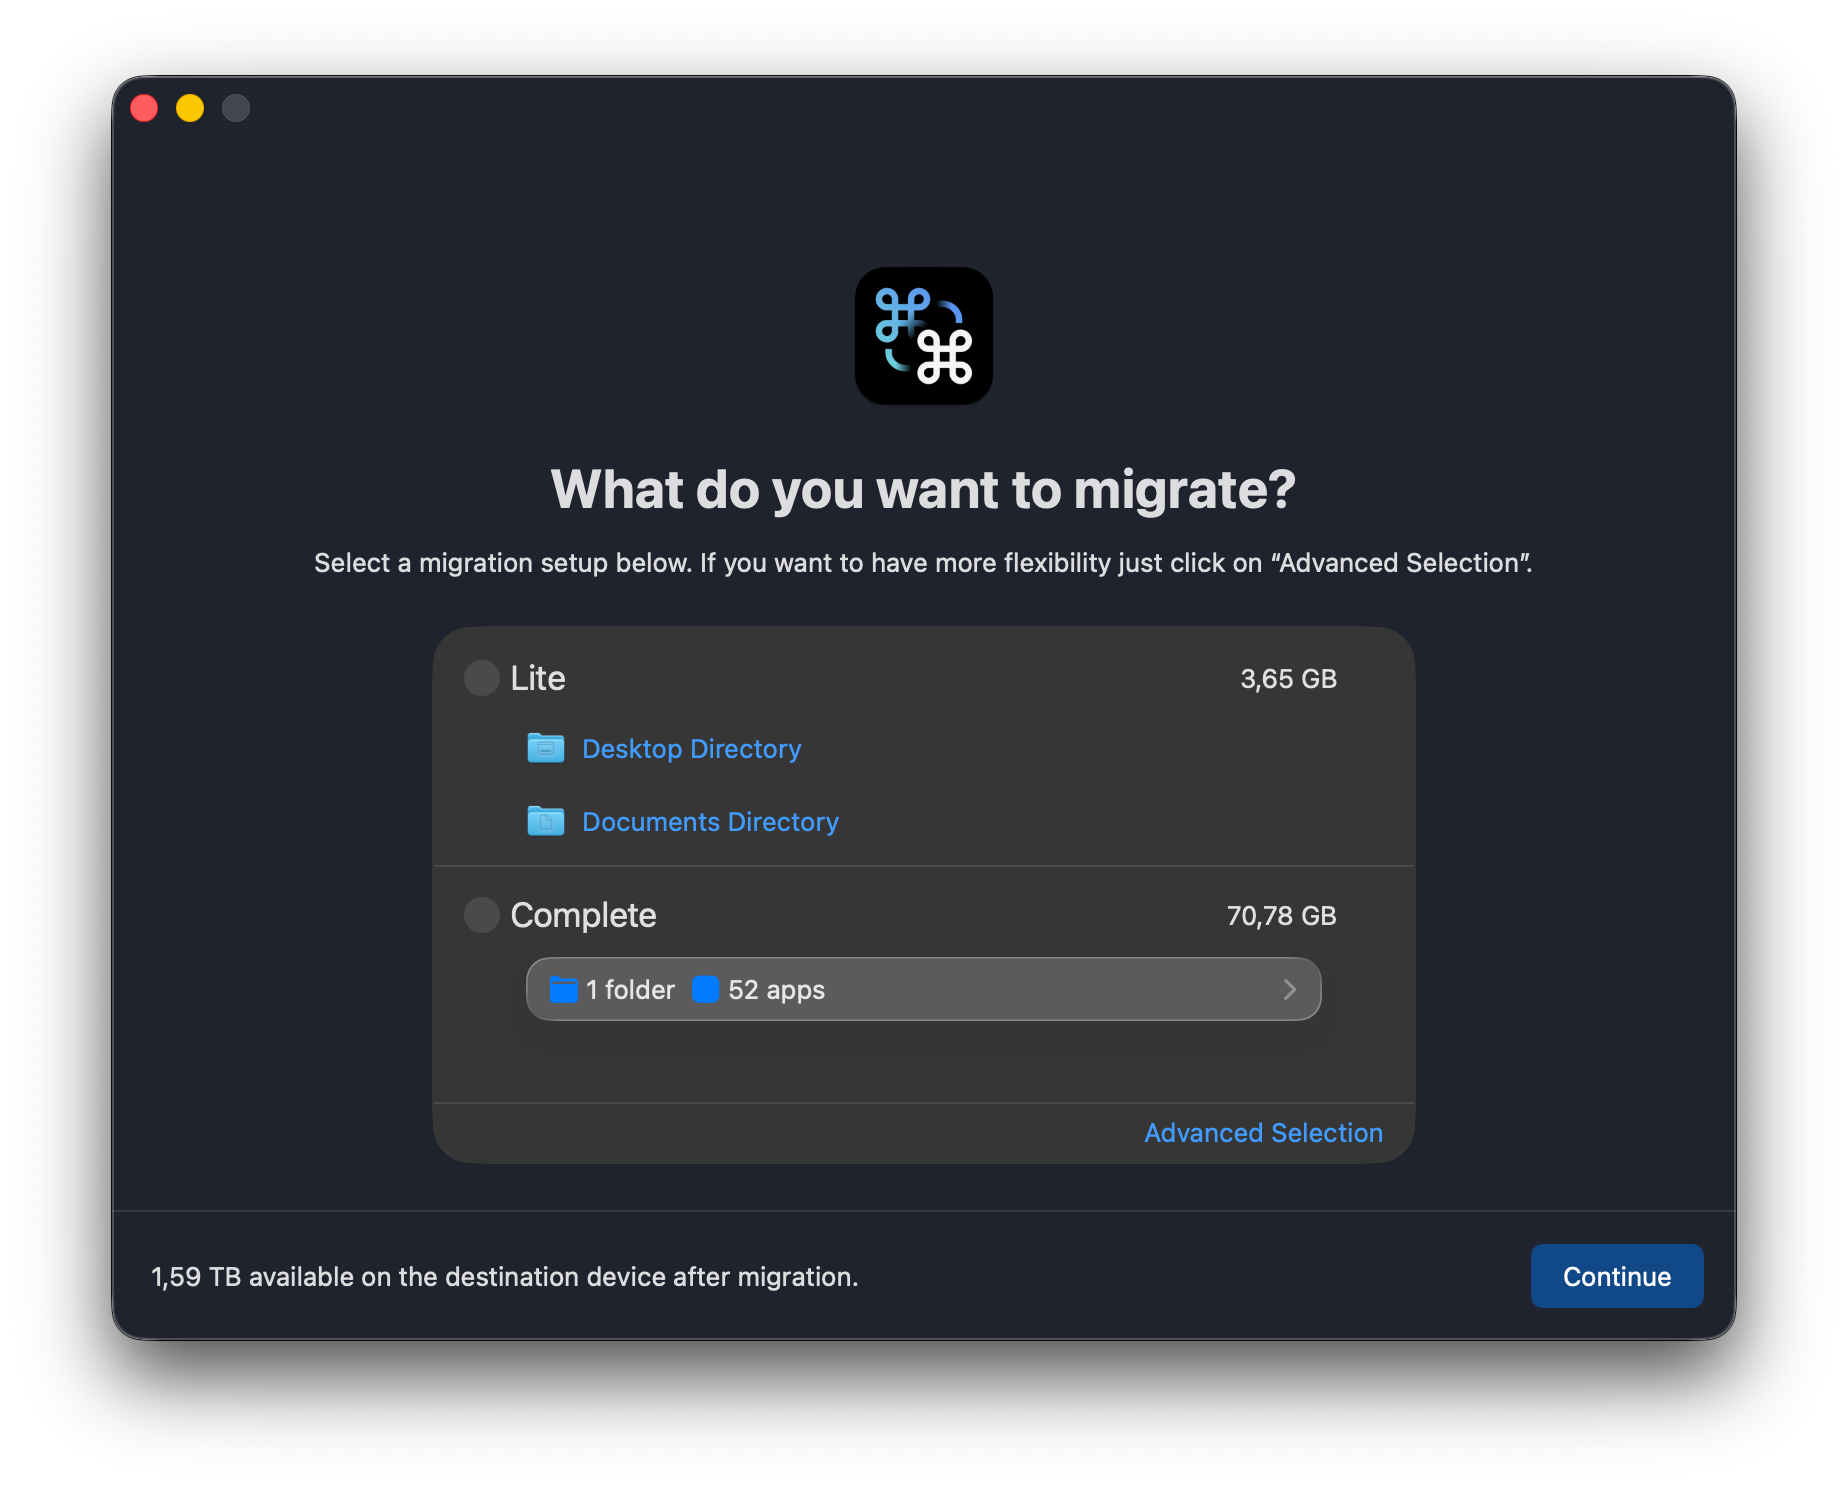
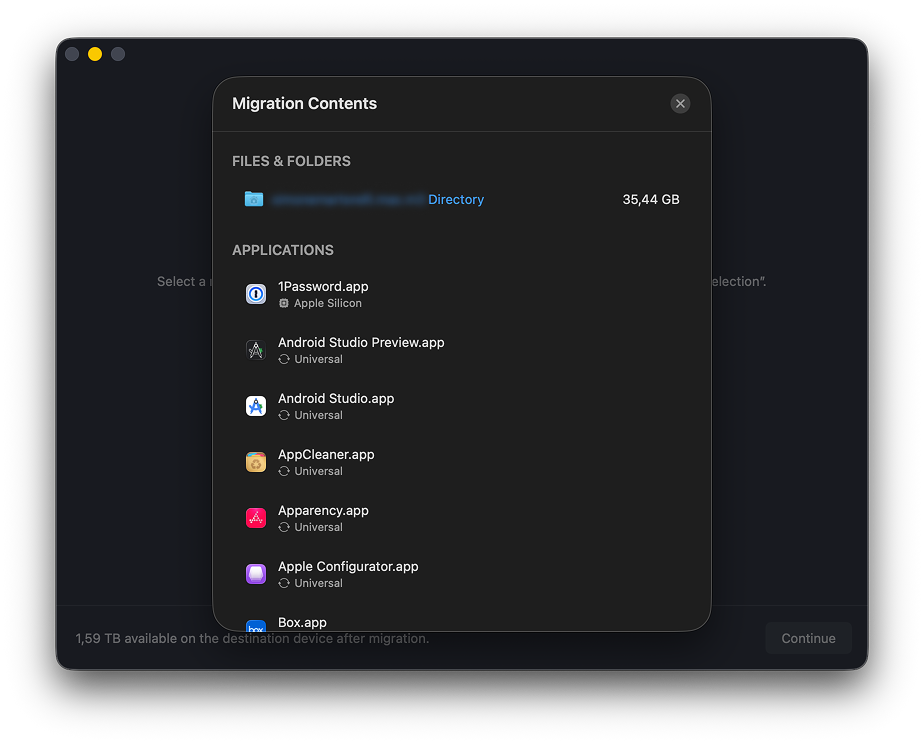
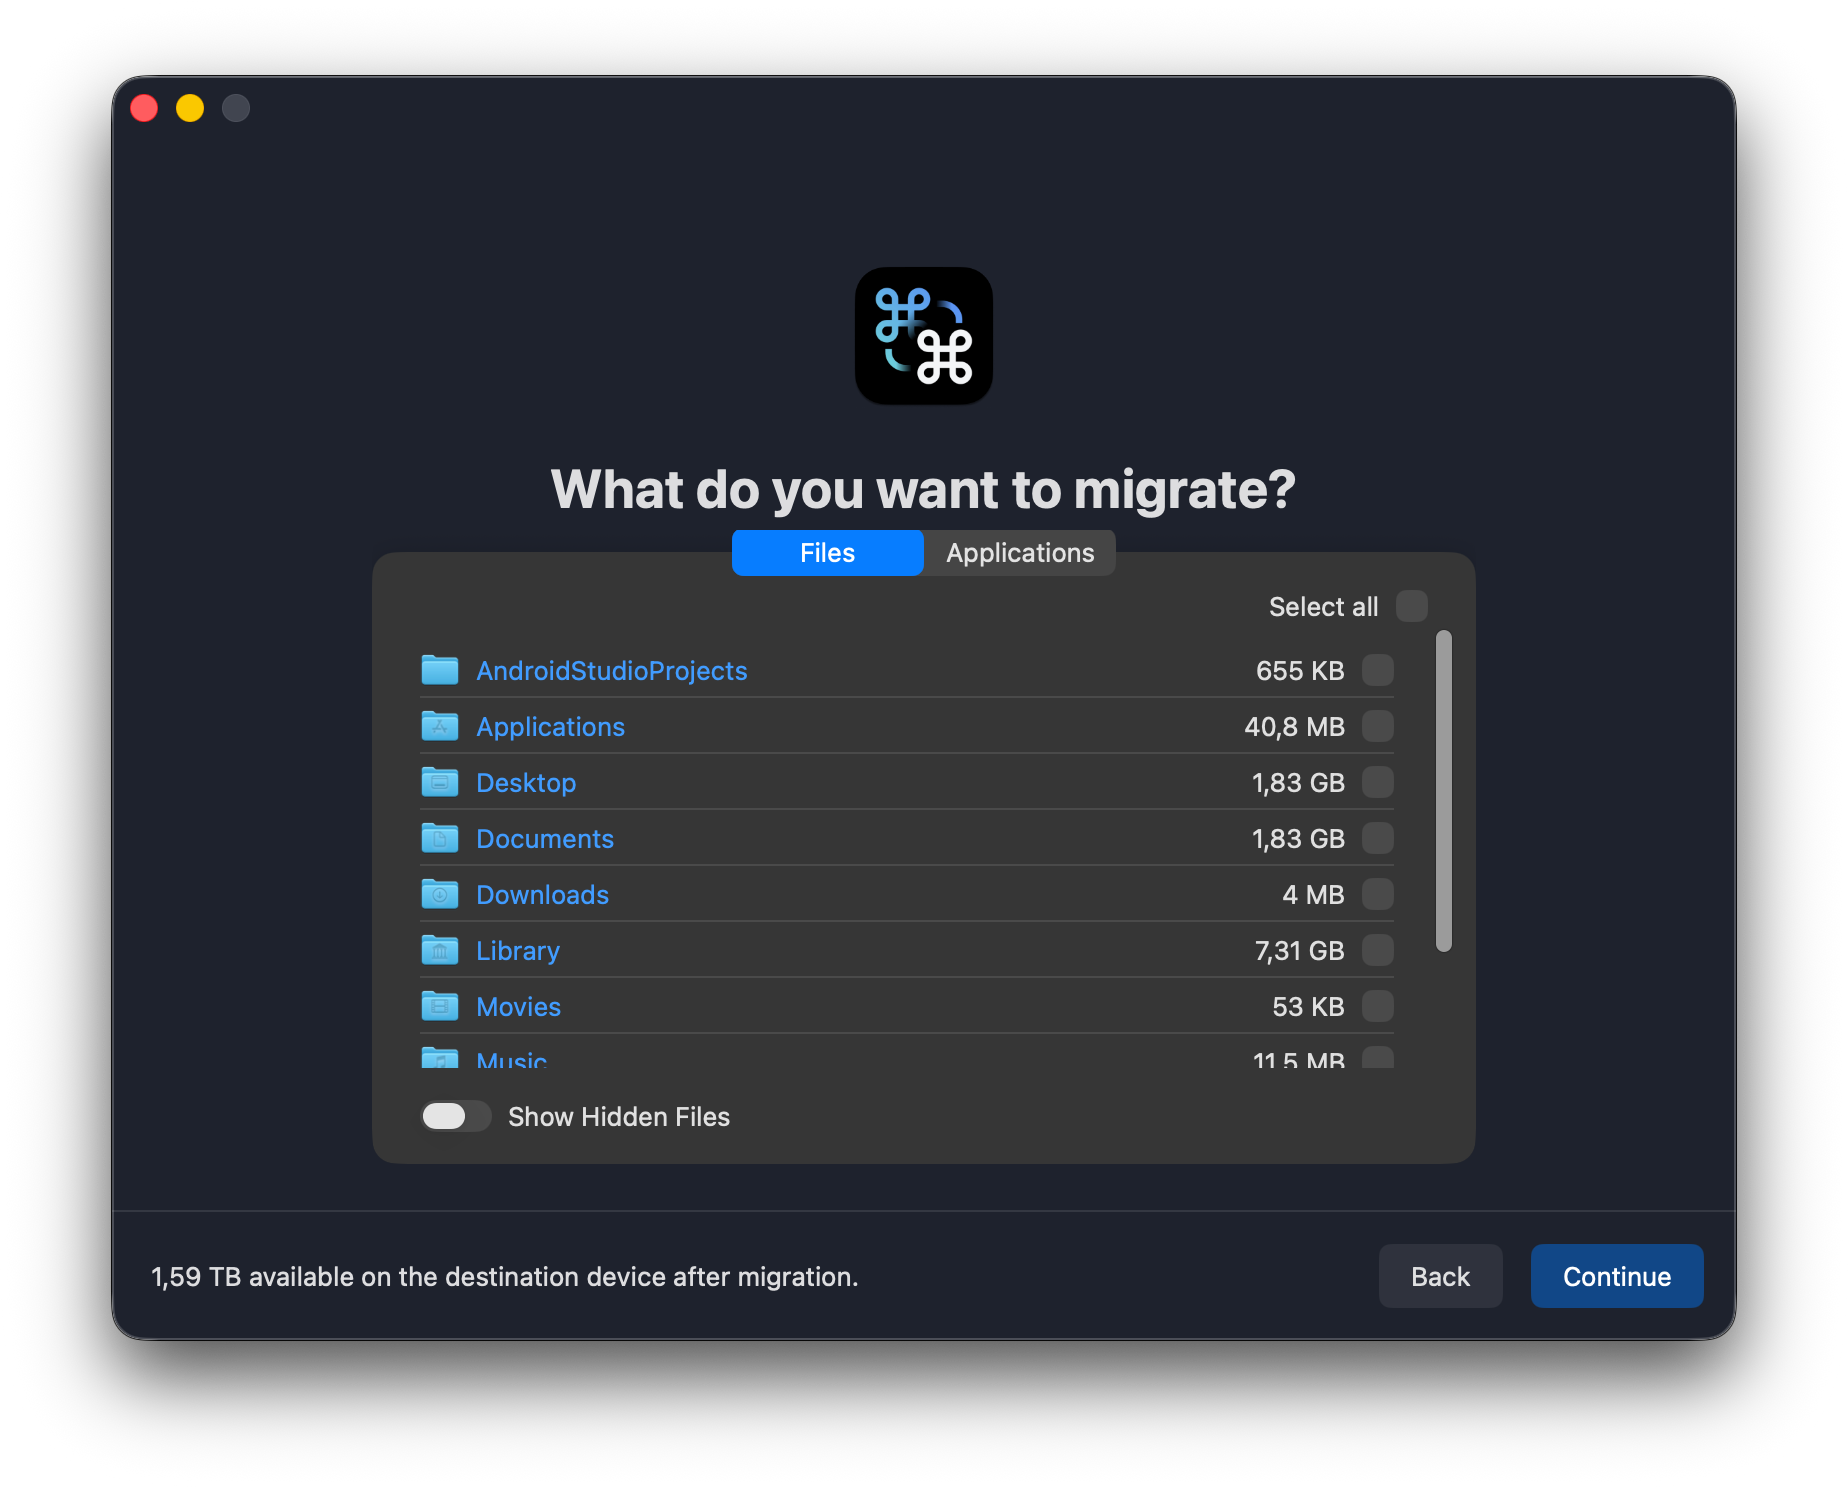
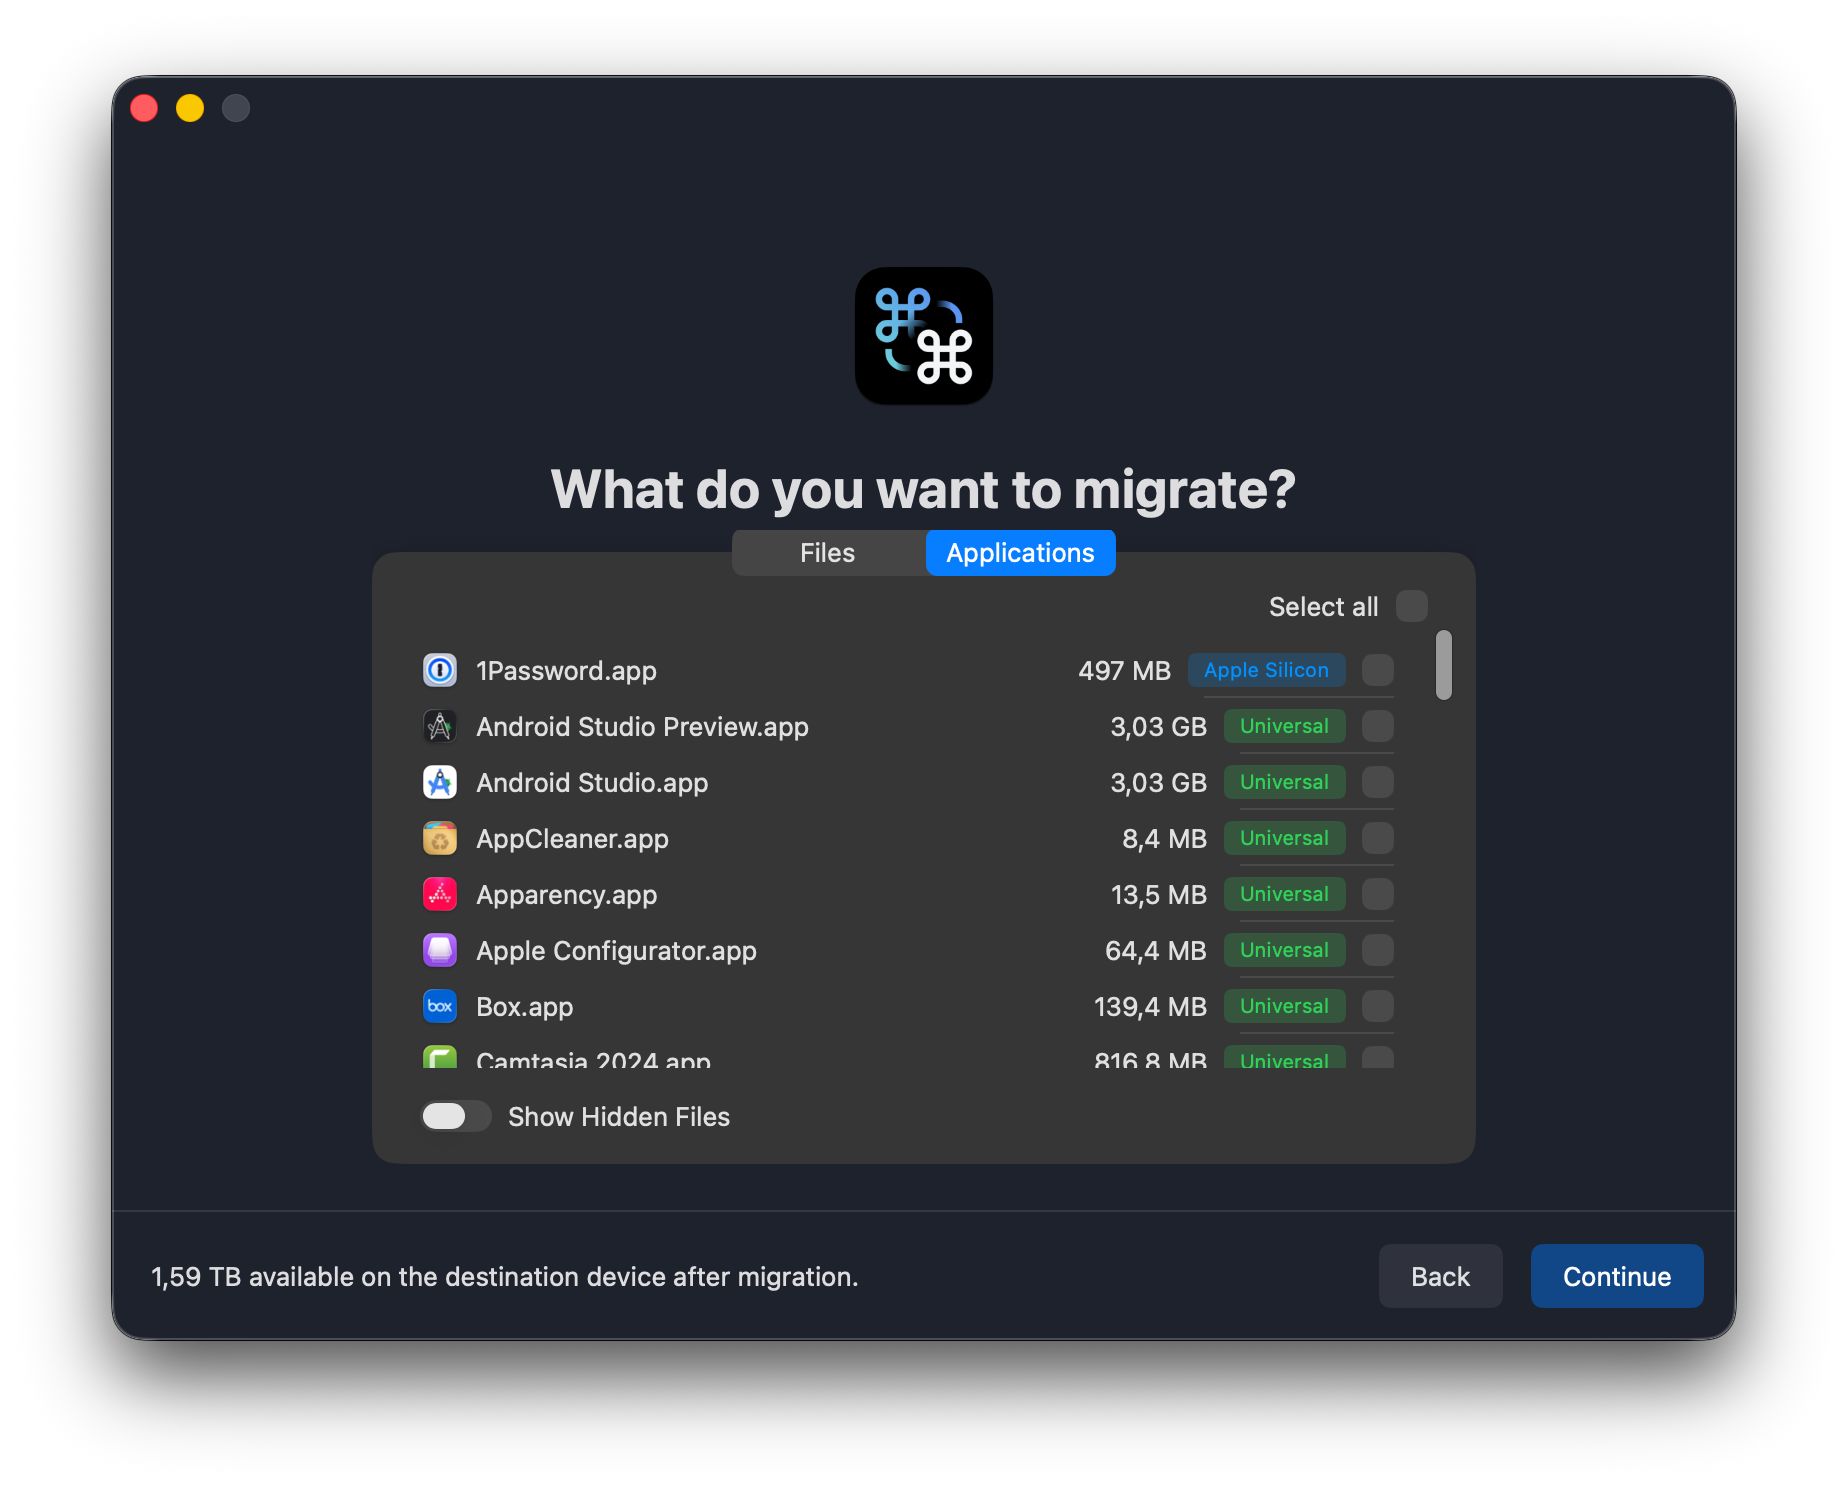
Administrators can replace Lite and Complete with their own named presets From v2.0.0 . The picker then shows those presets instead.
After choosing a mode, click Start Migration / Continue.
Preferences selection From v2.0.0
When preferences are part of the selected option, IBM Data Shift discovers the macOS system preferences on the old Mac and groups them into categories such as Dock, Finder, Keyboard, Trackpad/Mouse, Appearance, Accessibility, Language & Region, Menu Bar/Control Center, Sound Effects, Screenshots, Screen Saver, Terminal, Mission Control, Stage Manager, Keyboard Shortcuts and Hot Corners. Review them and select which groups to migrate. Each group shows a description of the settings it carries, the number of keys discovered and the estimated size. On the new Mac, existing values are backed up before being overwritten.
Application support files From v2.0.0
For every application you migrate, its support files (Application Support, sandboxed Containers, Group Containers and preference files) are discovered automatically. In the Advanced Selection view, and in the summary page, you can expand each app to see the categories and counts of files found. Cache and temporary folders that apps regenerate on their own are not migrated.
Available storage on the new device
The setup page shows whether the new device has enough free space for the selected option. If the destination reports too little space, the migration is blocked. If the free space on the destination can’t be determined From v1.4.1 , a warning is shown instead: make sure the new device has enough capacity for the selected option before continuing.
Architecture compatibility check From v1.4.0
During setup, IBM Data Shift analyzes the applications in scope to determine their compatibility with the destination architecture (Intel vs. Apple Silicon). When incompatible applications are found you can:
- Ignore: skip the incompatible applications entirely.
- Review: see the detailed list before deciding.
- Migrate anyway: transfer them despite the warning.
Migration summary (optional)
This page summarizes what is going to be migrated and what is not. It also shows a message related to the chosen duplicate file handling policy.
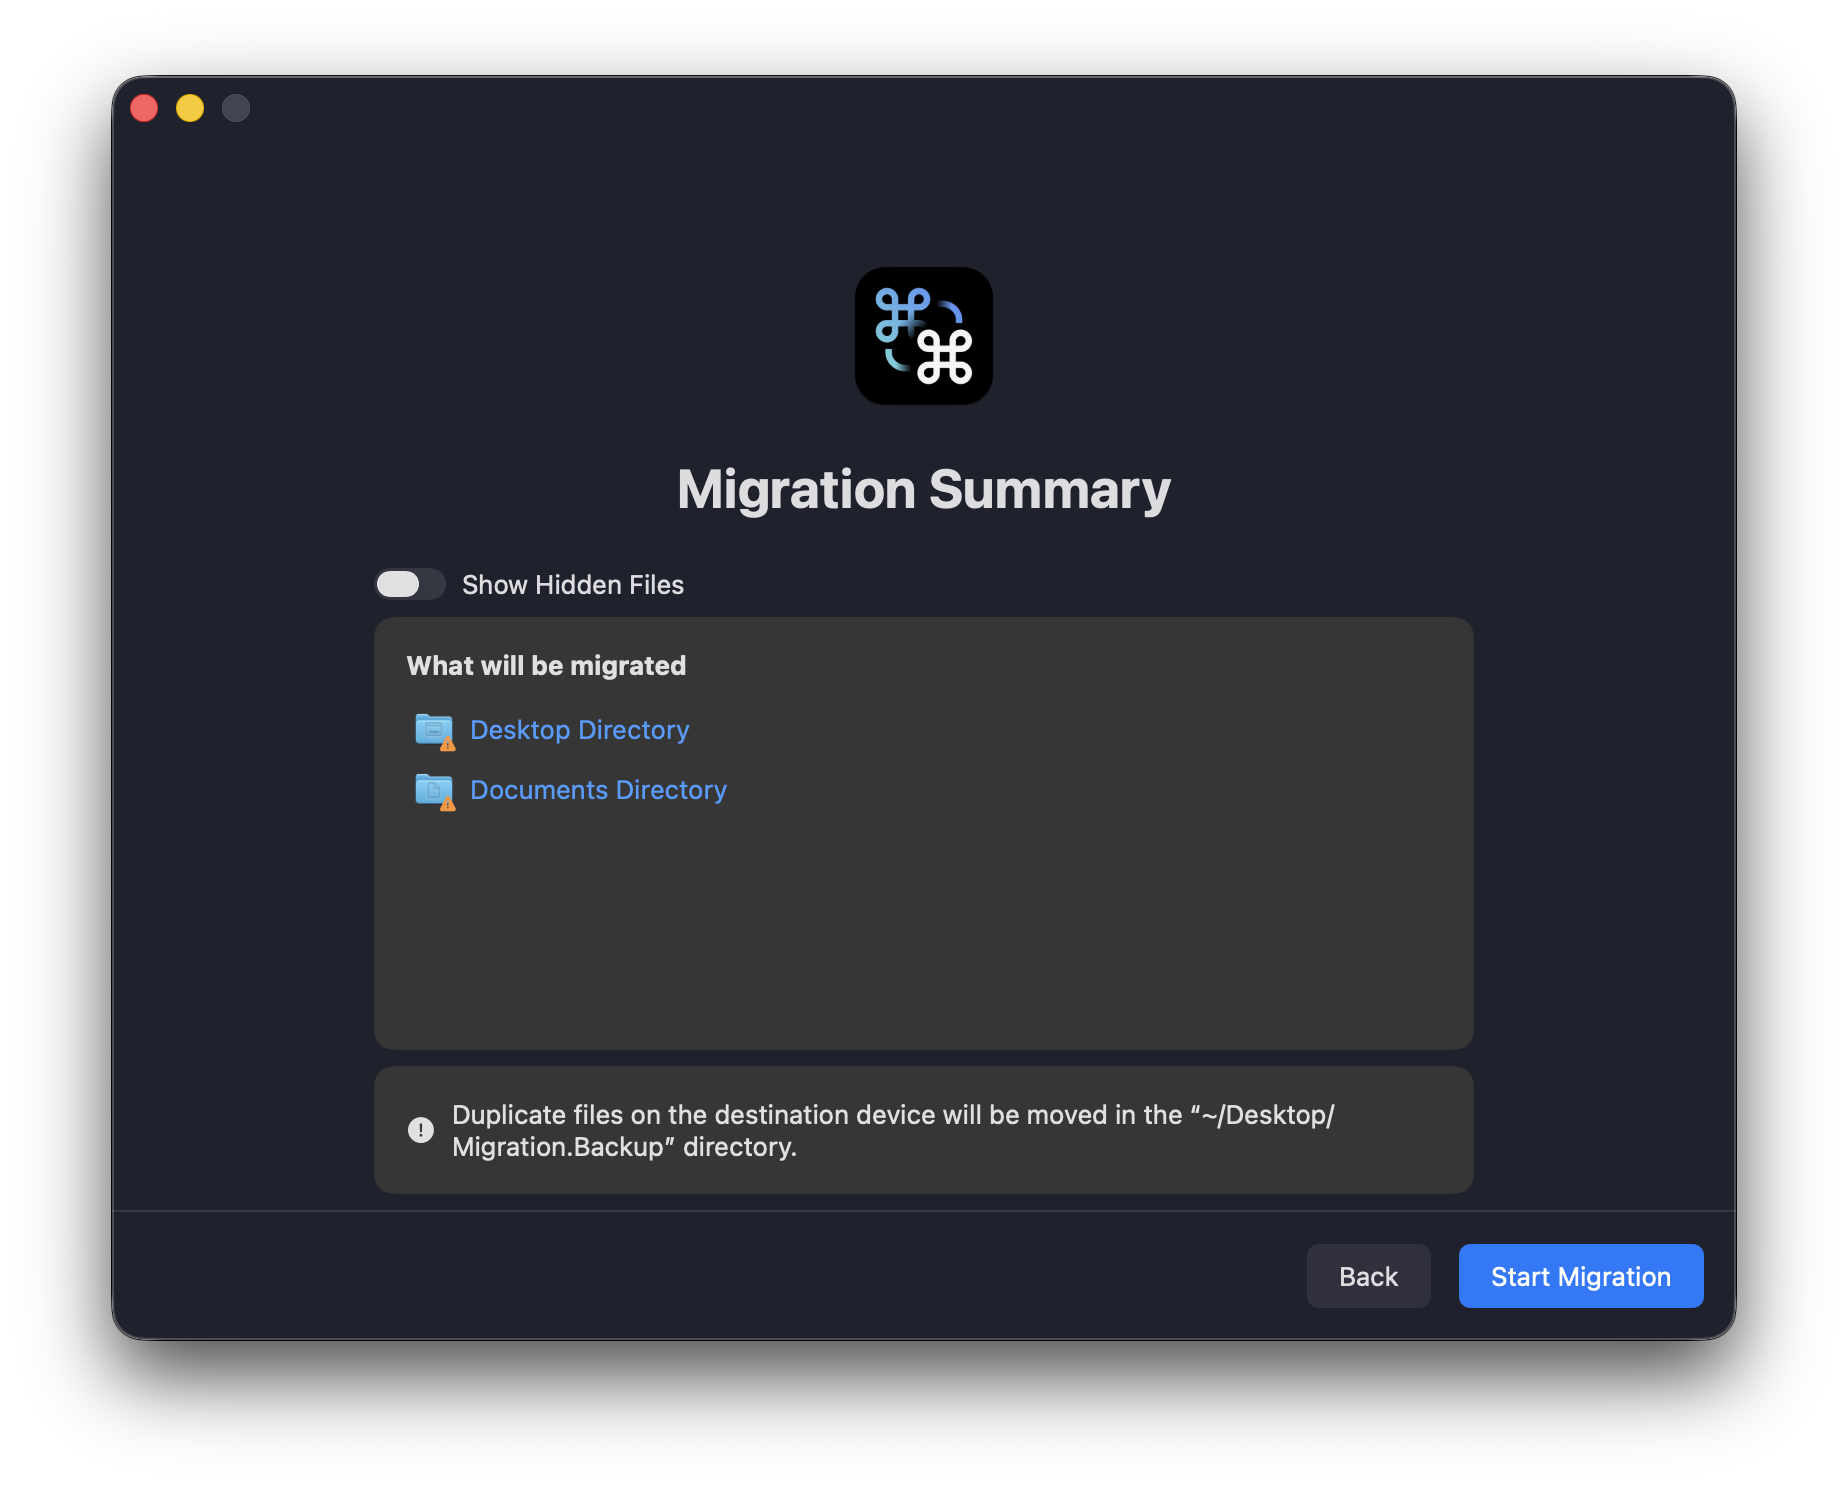
Proceed by clicking Start Migration.
Important reminders during migration
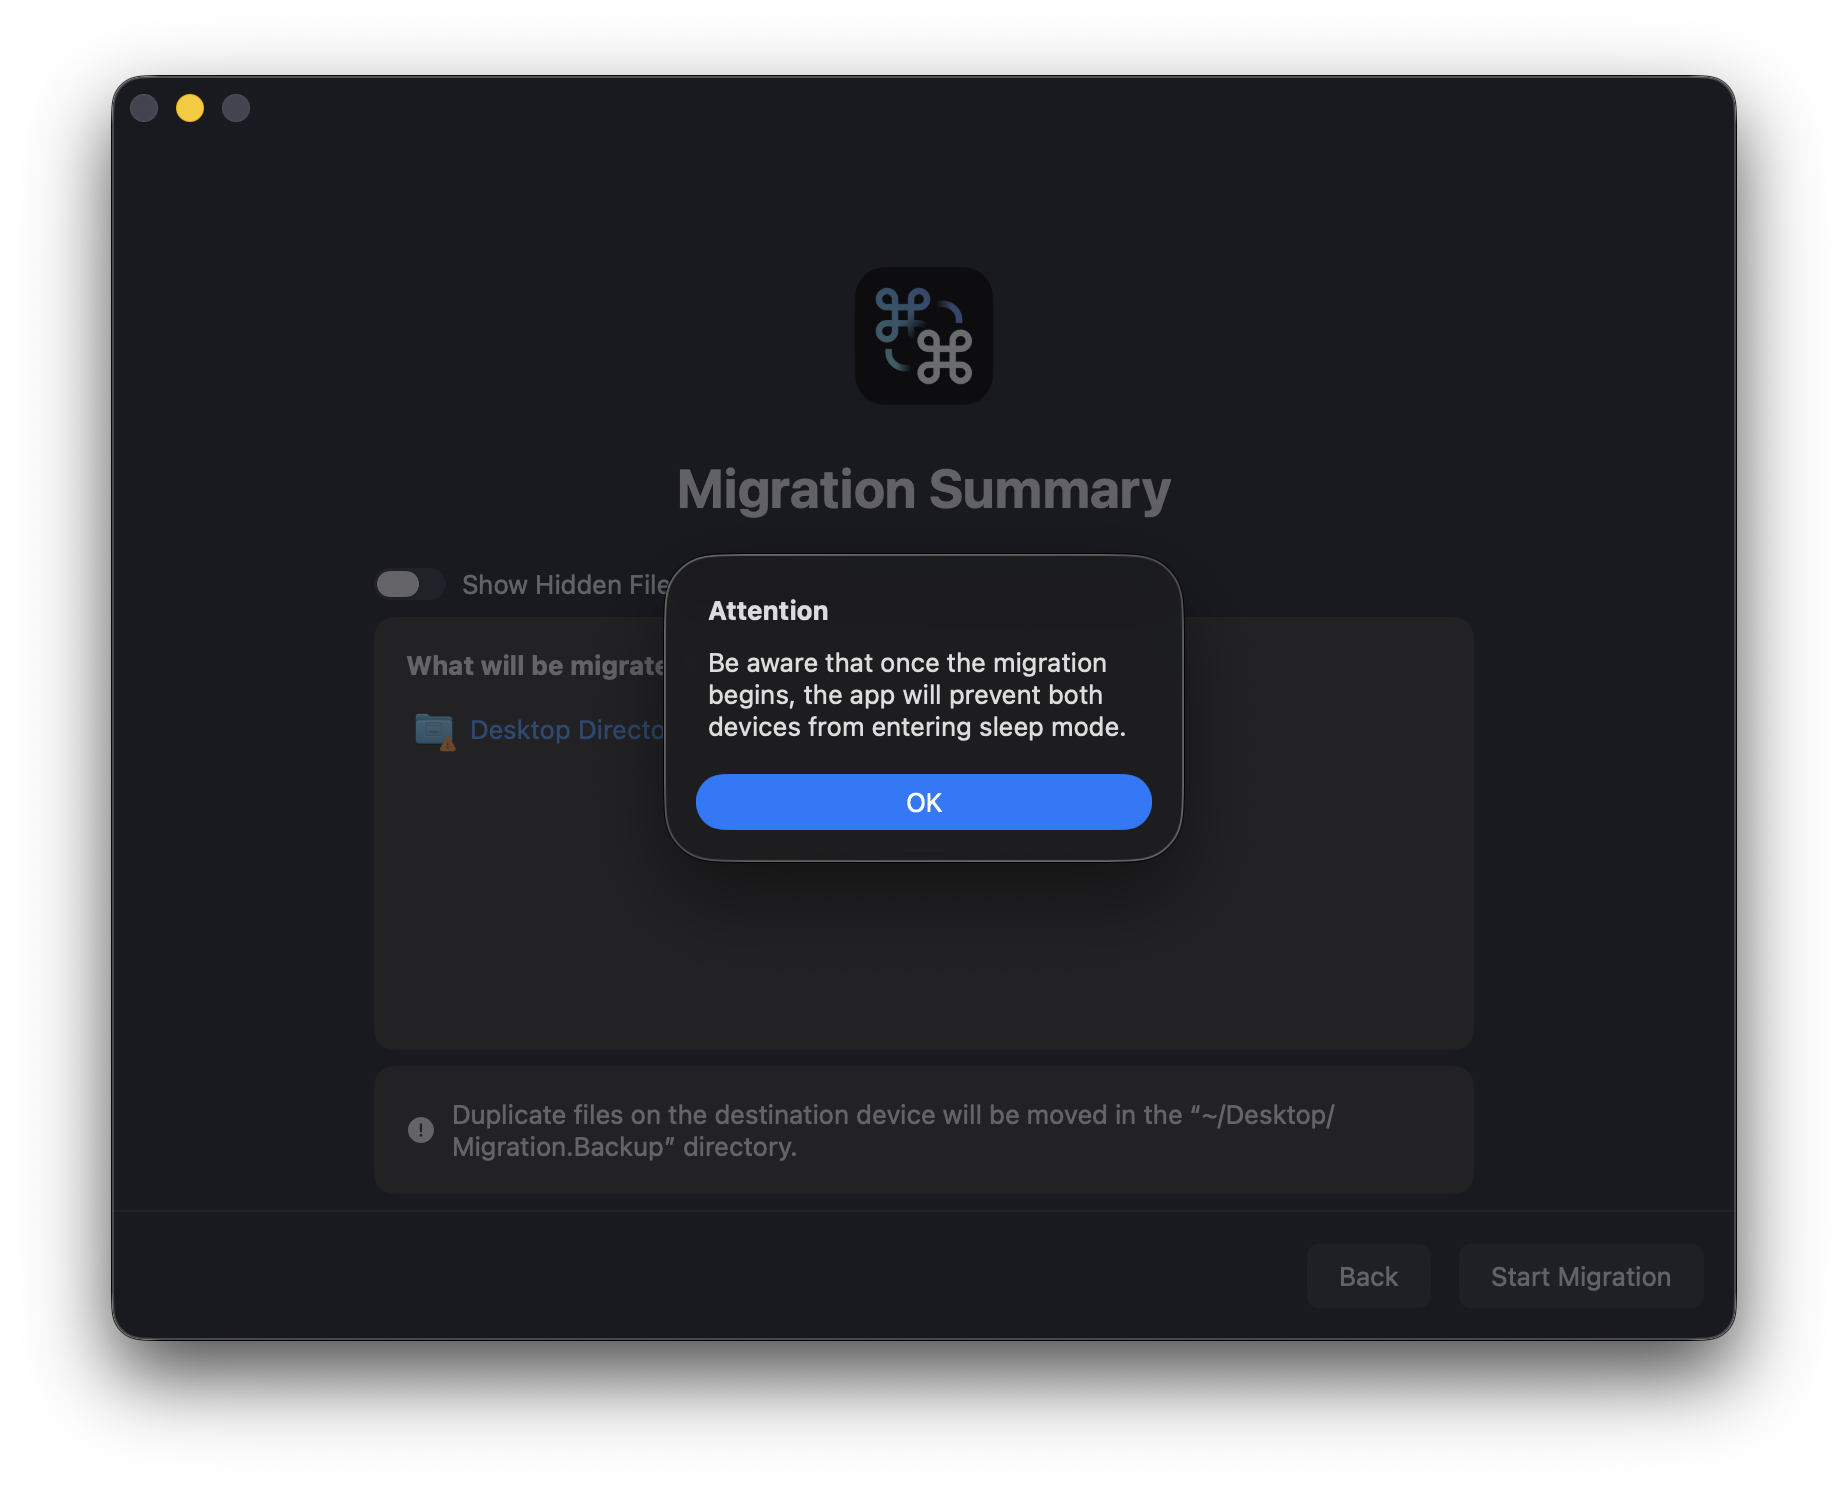
- Avoid sleep mode: the app keeps both devices awake during the transfer, since sleeping can disrupt the migration and lead to incomplete data transfer.
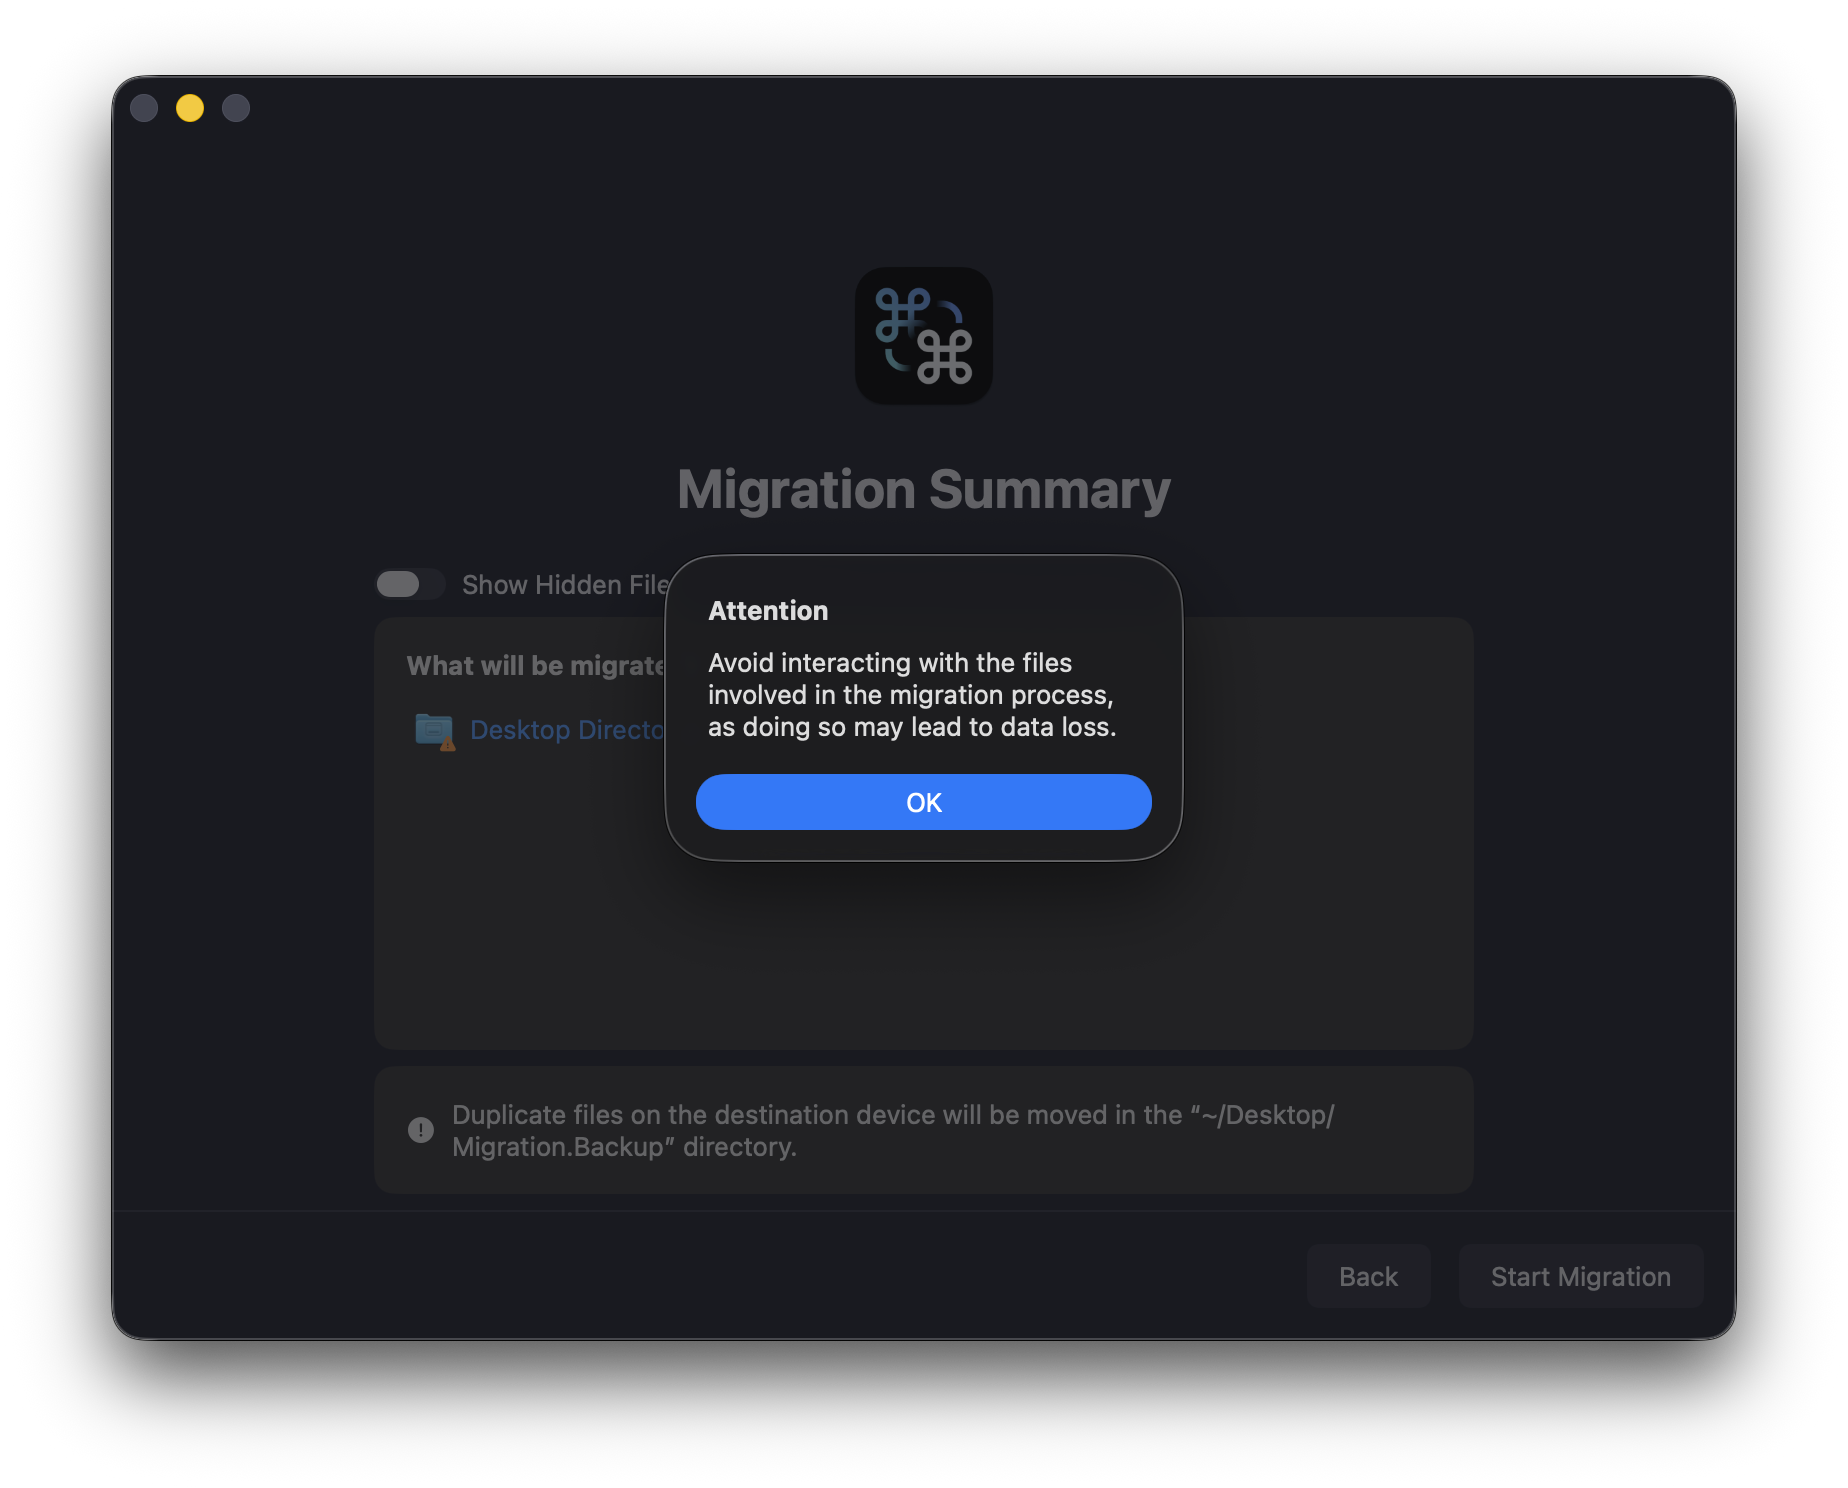
- Do not interact with migrated files: don’t open or modify files during the migration to prevent data loss or errors.
The app shows the estimated time remaining and the progress percentage. The completion percentages on the two devices may differ because of network conditions, which is normal.
Pausing and resuming From v2.0.0
On the old Mac you can pause a running migration. The app finishes the data already in flight, so you can disconnect the devices, for example to move them or let them sleep. The new Mac keeps its state and automatically accepts the old Mac’s reconnection when you resume, continuing from the same point. If the resume can’t reach the new Mac within 60 seconds, the app goes back to the paused screen so you can retry.
Files that exist only as cloud placeholders (for example iCloud Drive items removed by “Optimize Mac Storage”) are not downloaded and are skipped, and the same applies to named pipes, sockets and device files. Skipped items are logged and, if reports are enabled, listed in the migration report.
Completing the migration
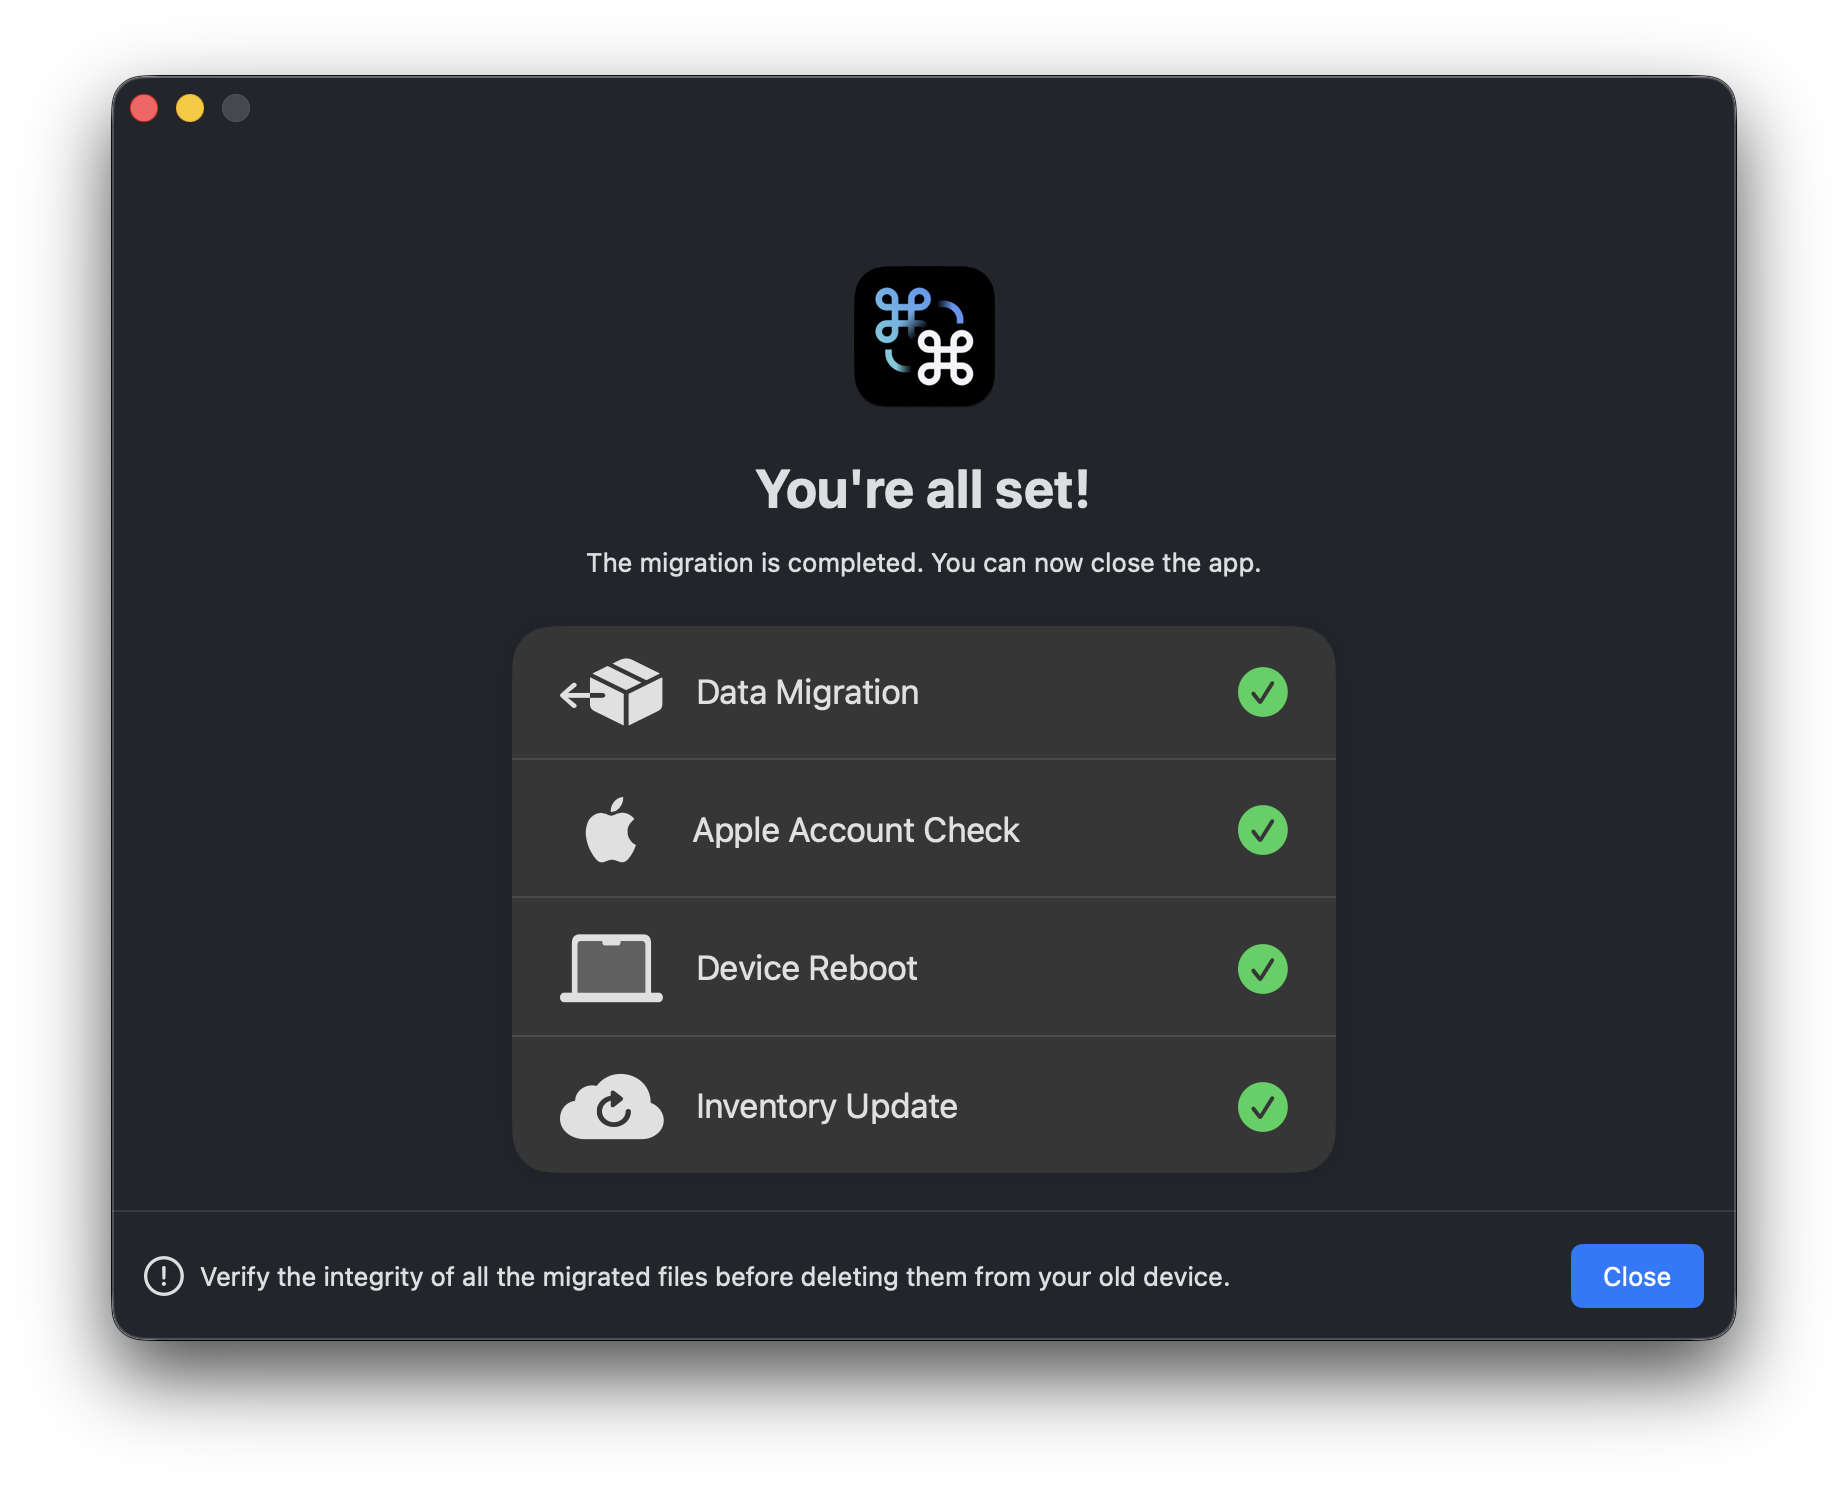
Once the data migration is complete, the app on the old Mac can be closed, and the devices can be disconnected if a Thunderbolt cable was used.
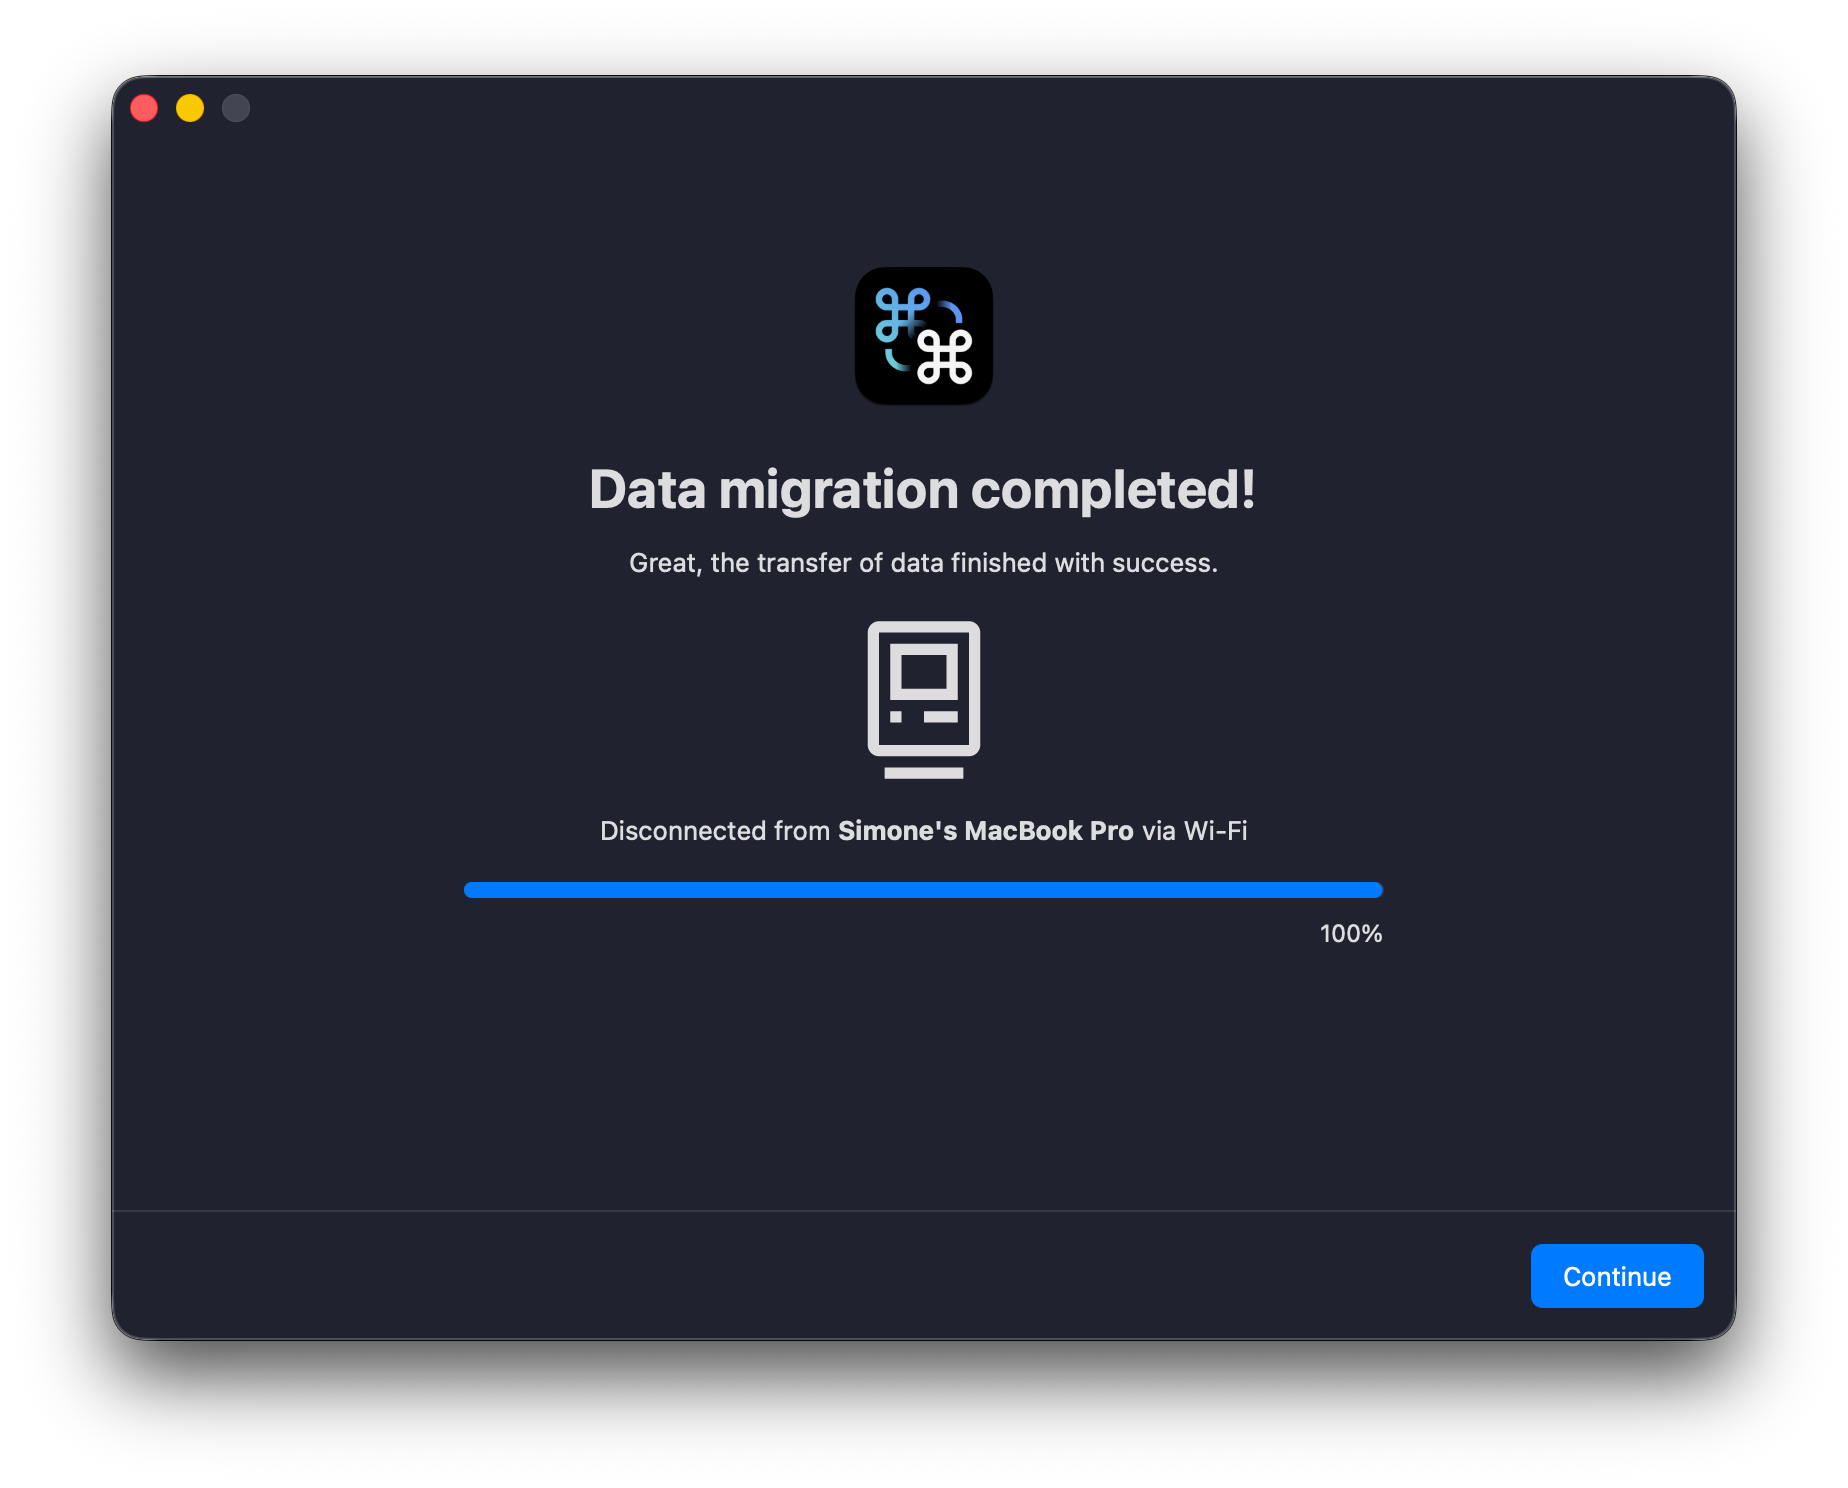
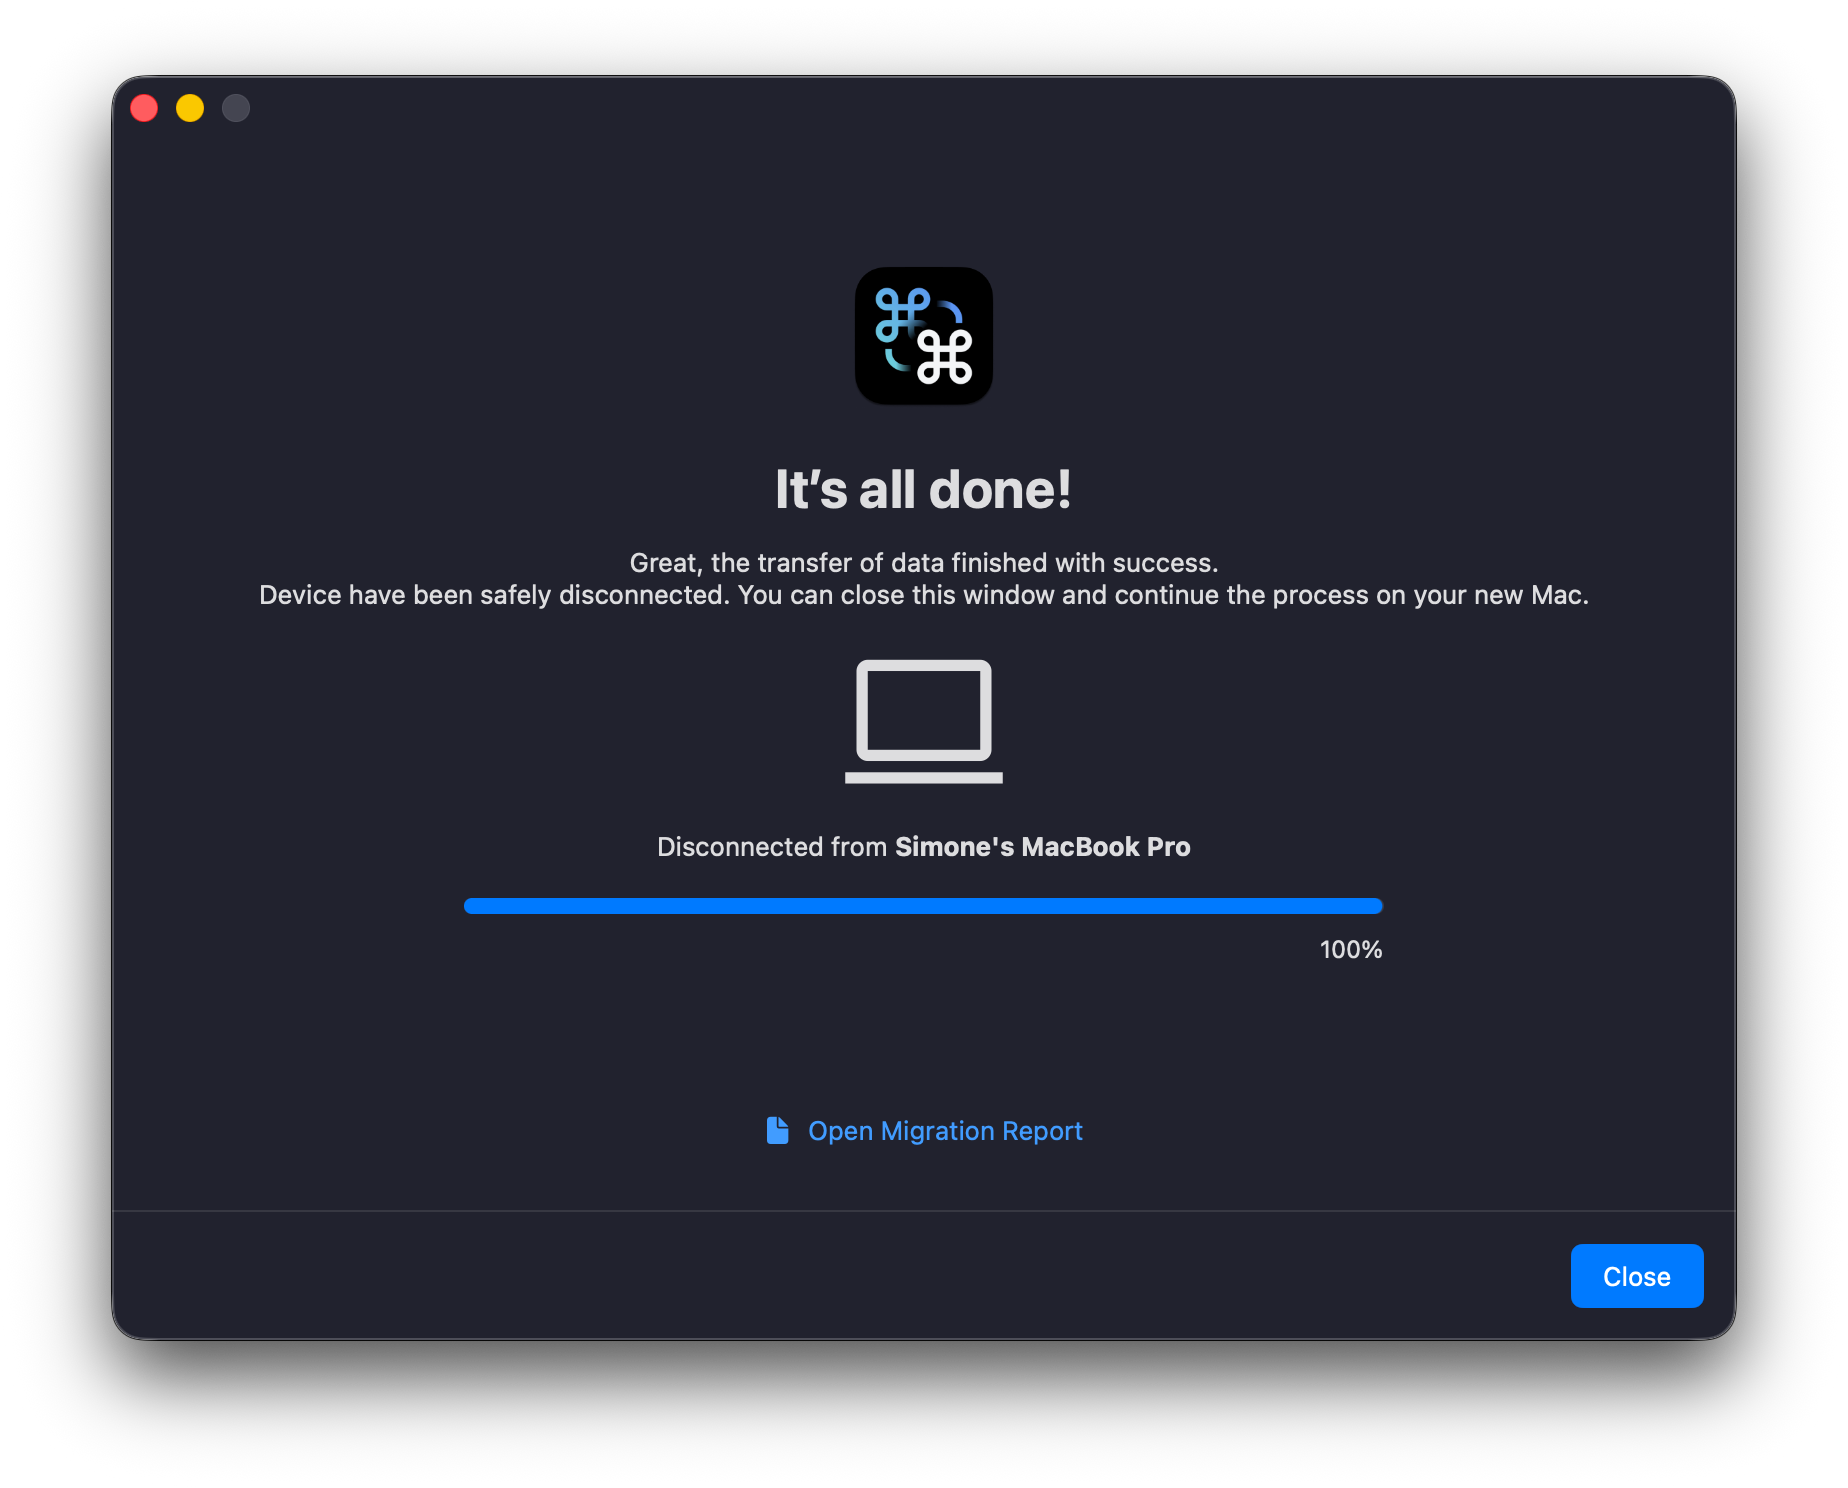
On the new device a few additional steps follow:
-
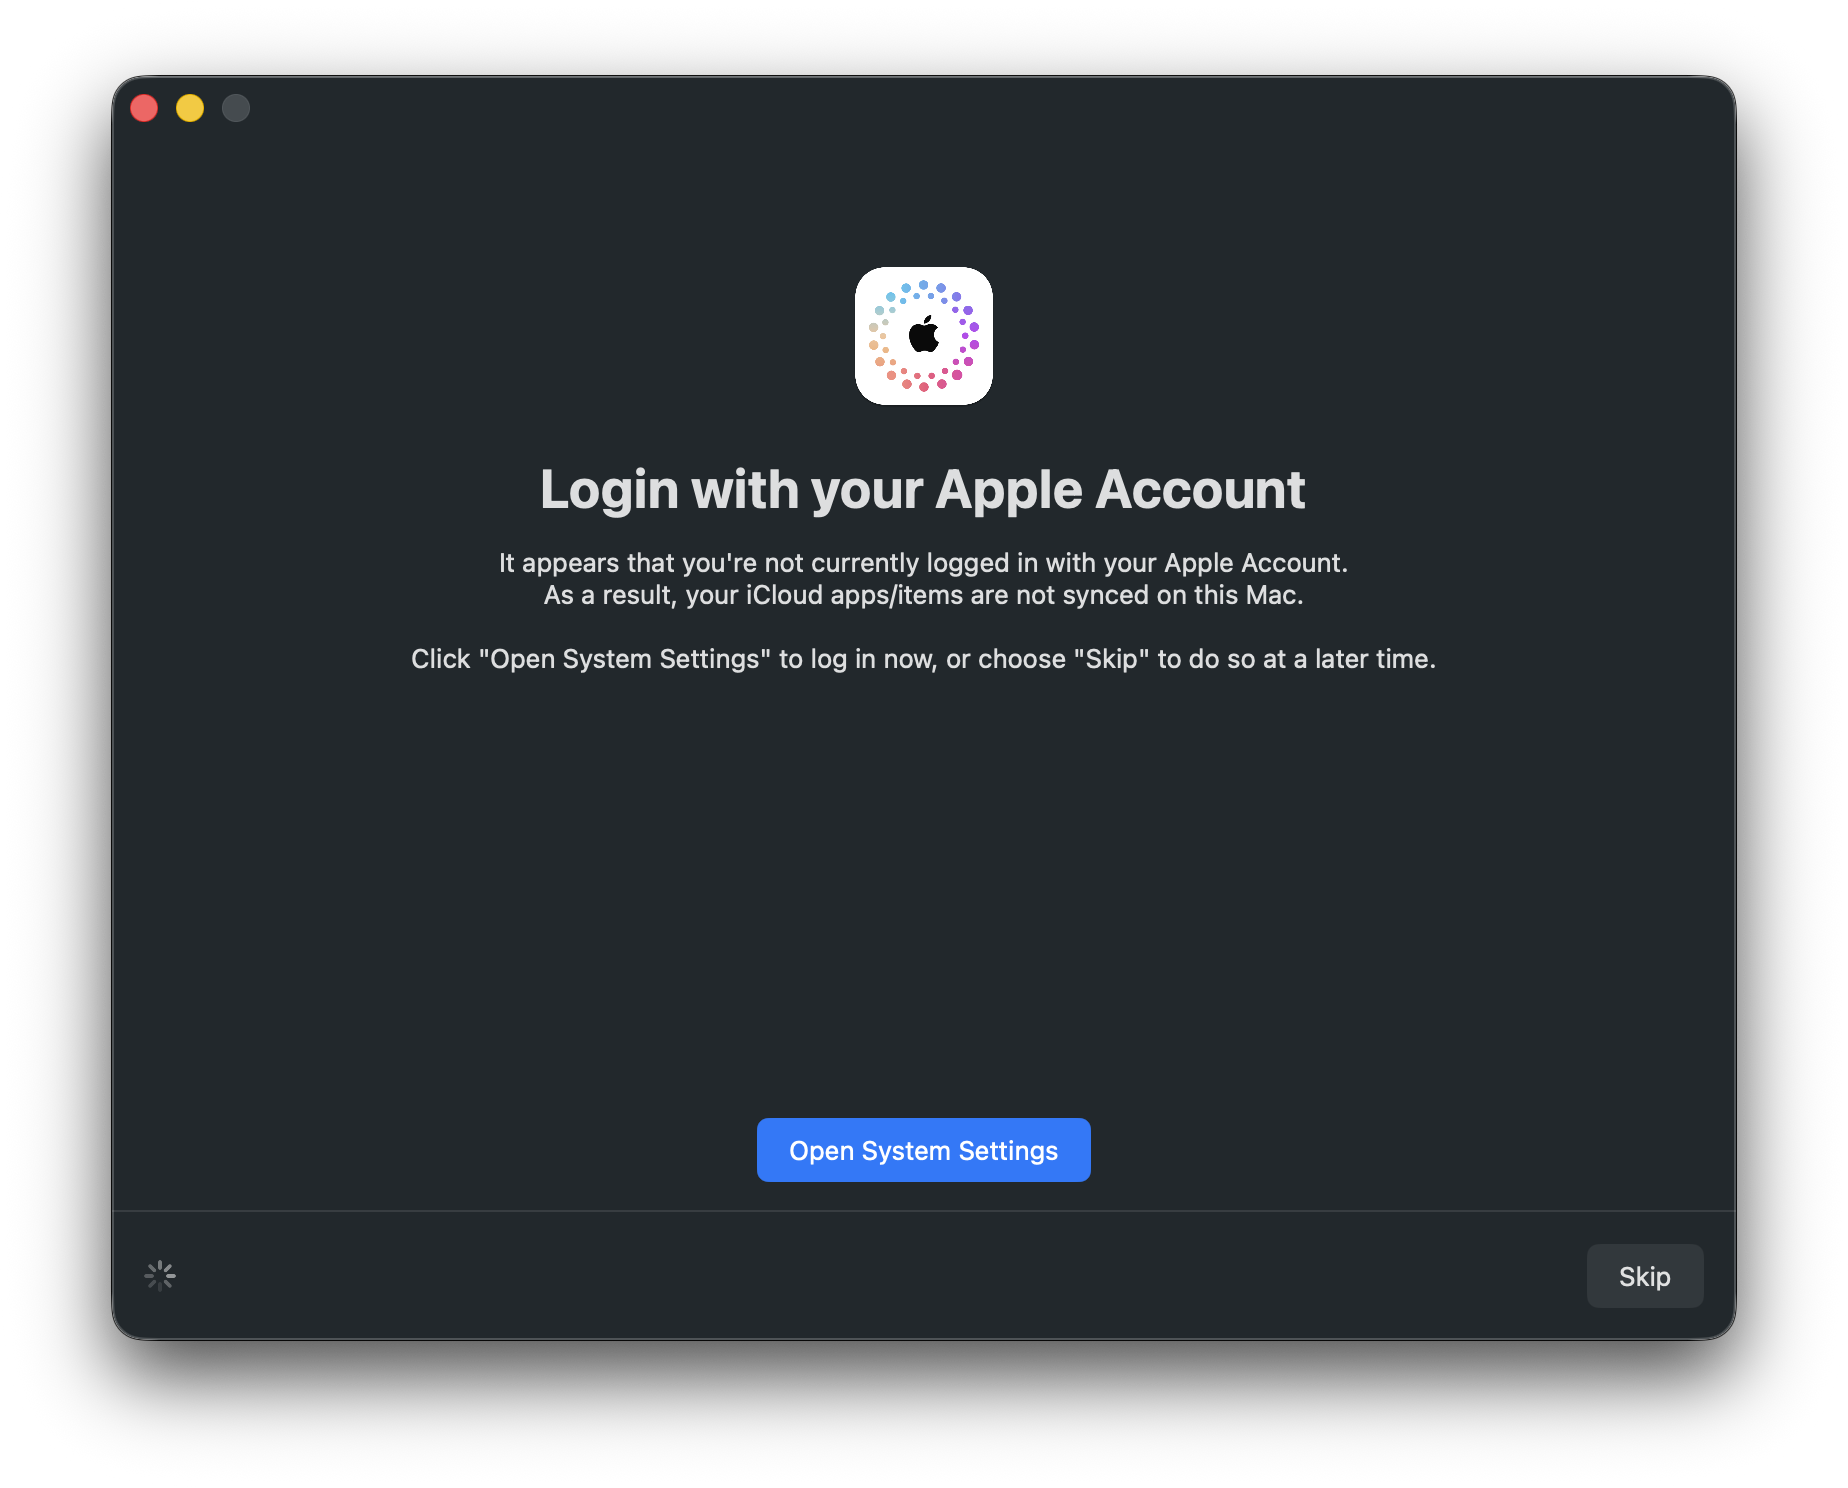
The app checks whether you are logged into your Apple ID and prompts you to log in if not (optional).
-
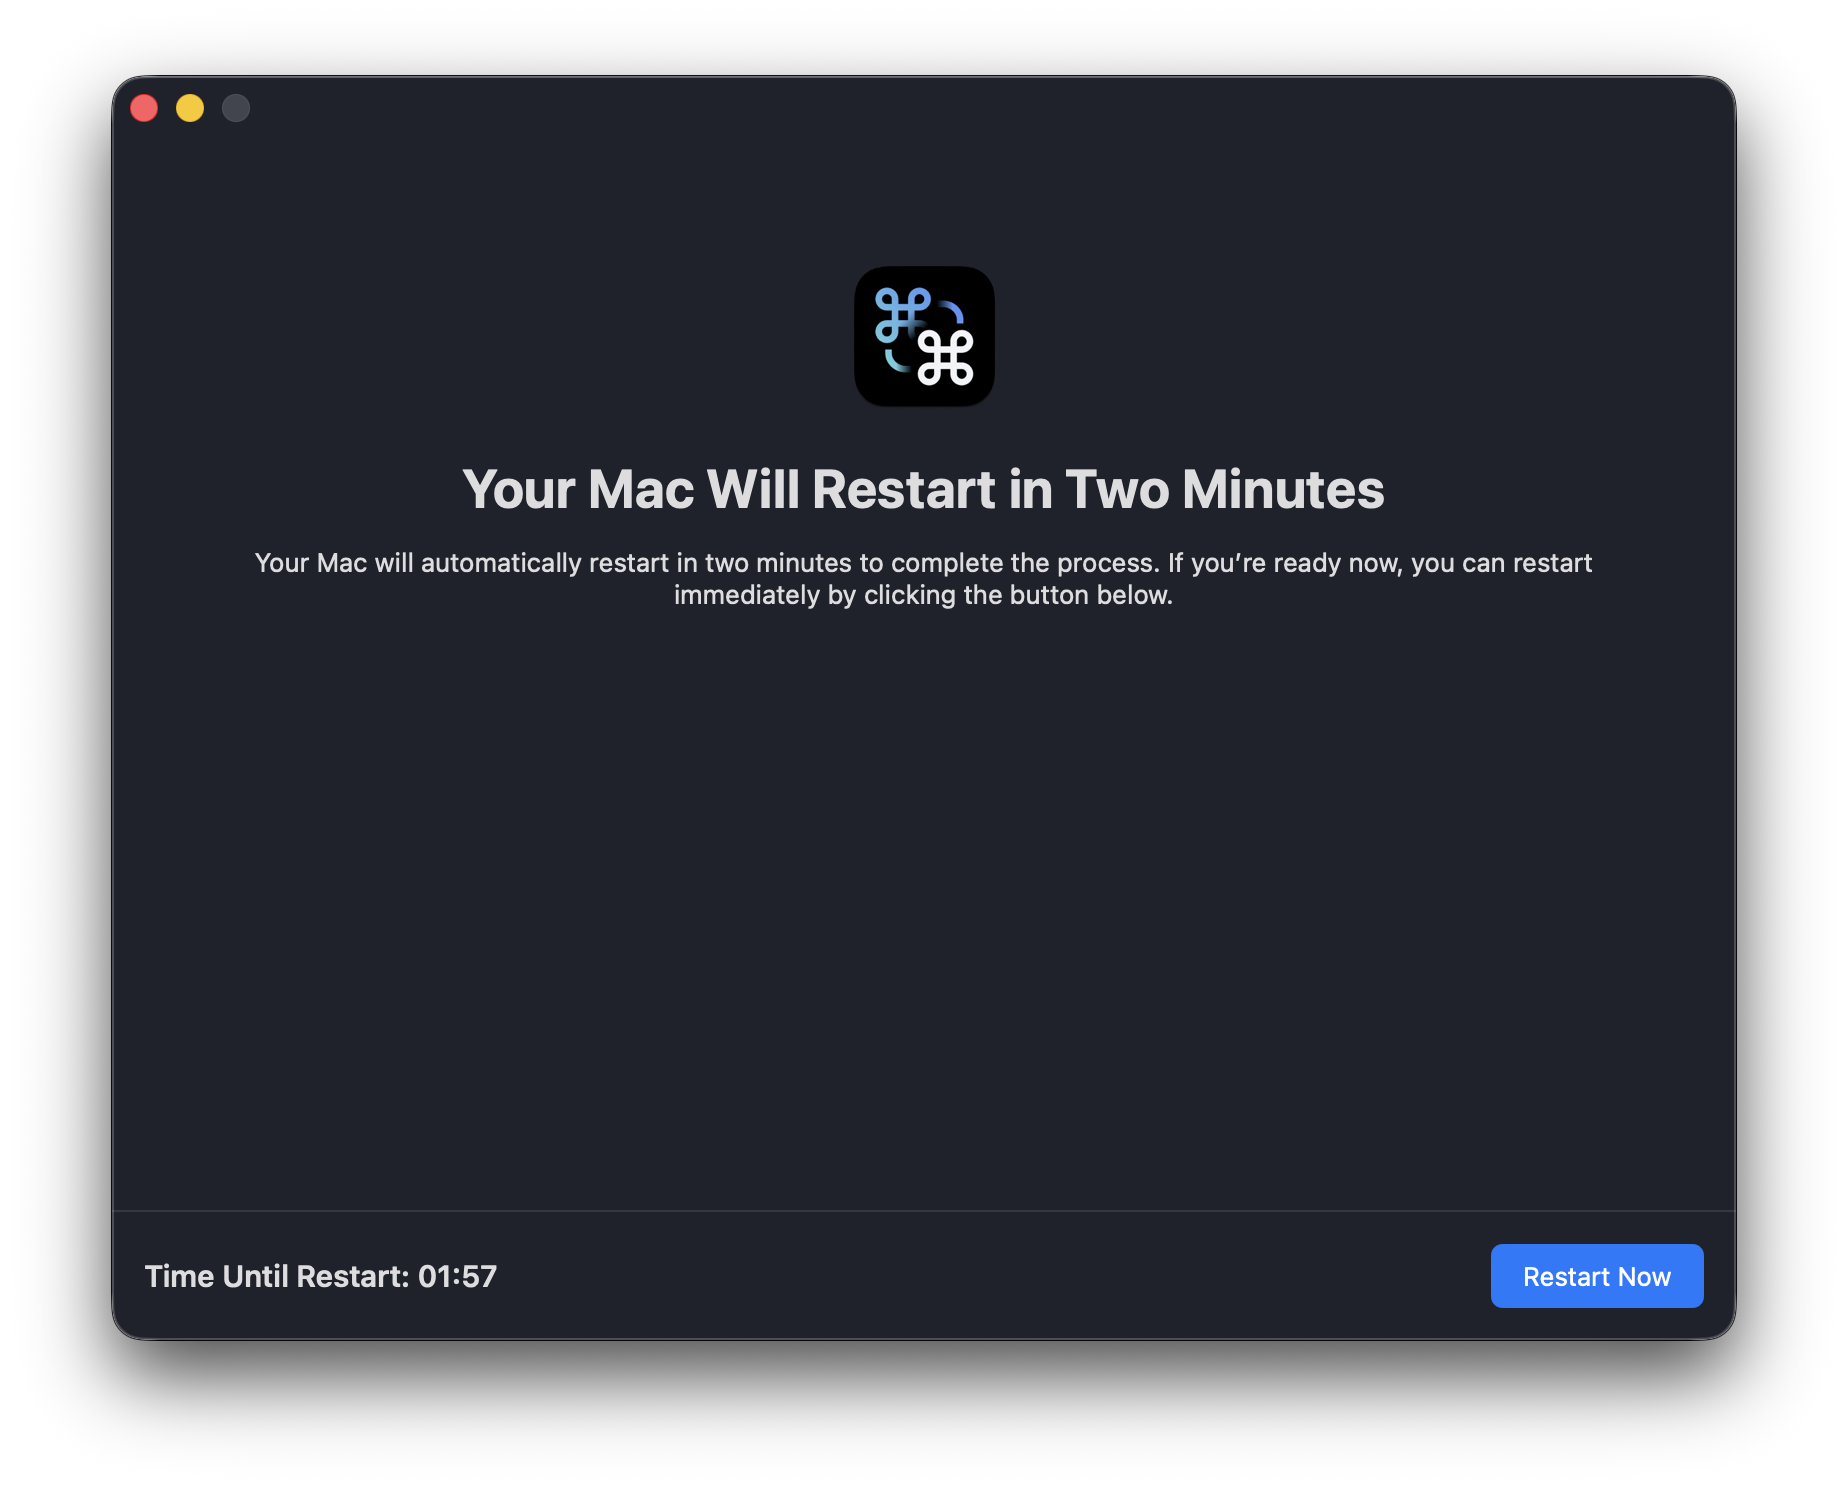
After a Complete migration, the app starts a 2-minute countdown for a system reboot, which you can trigger earlier.
-
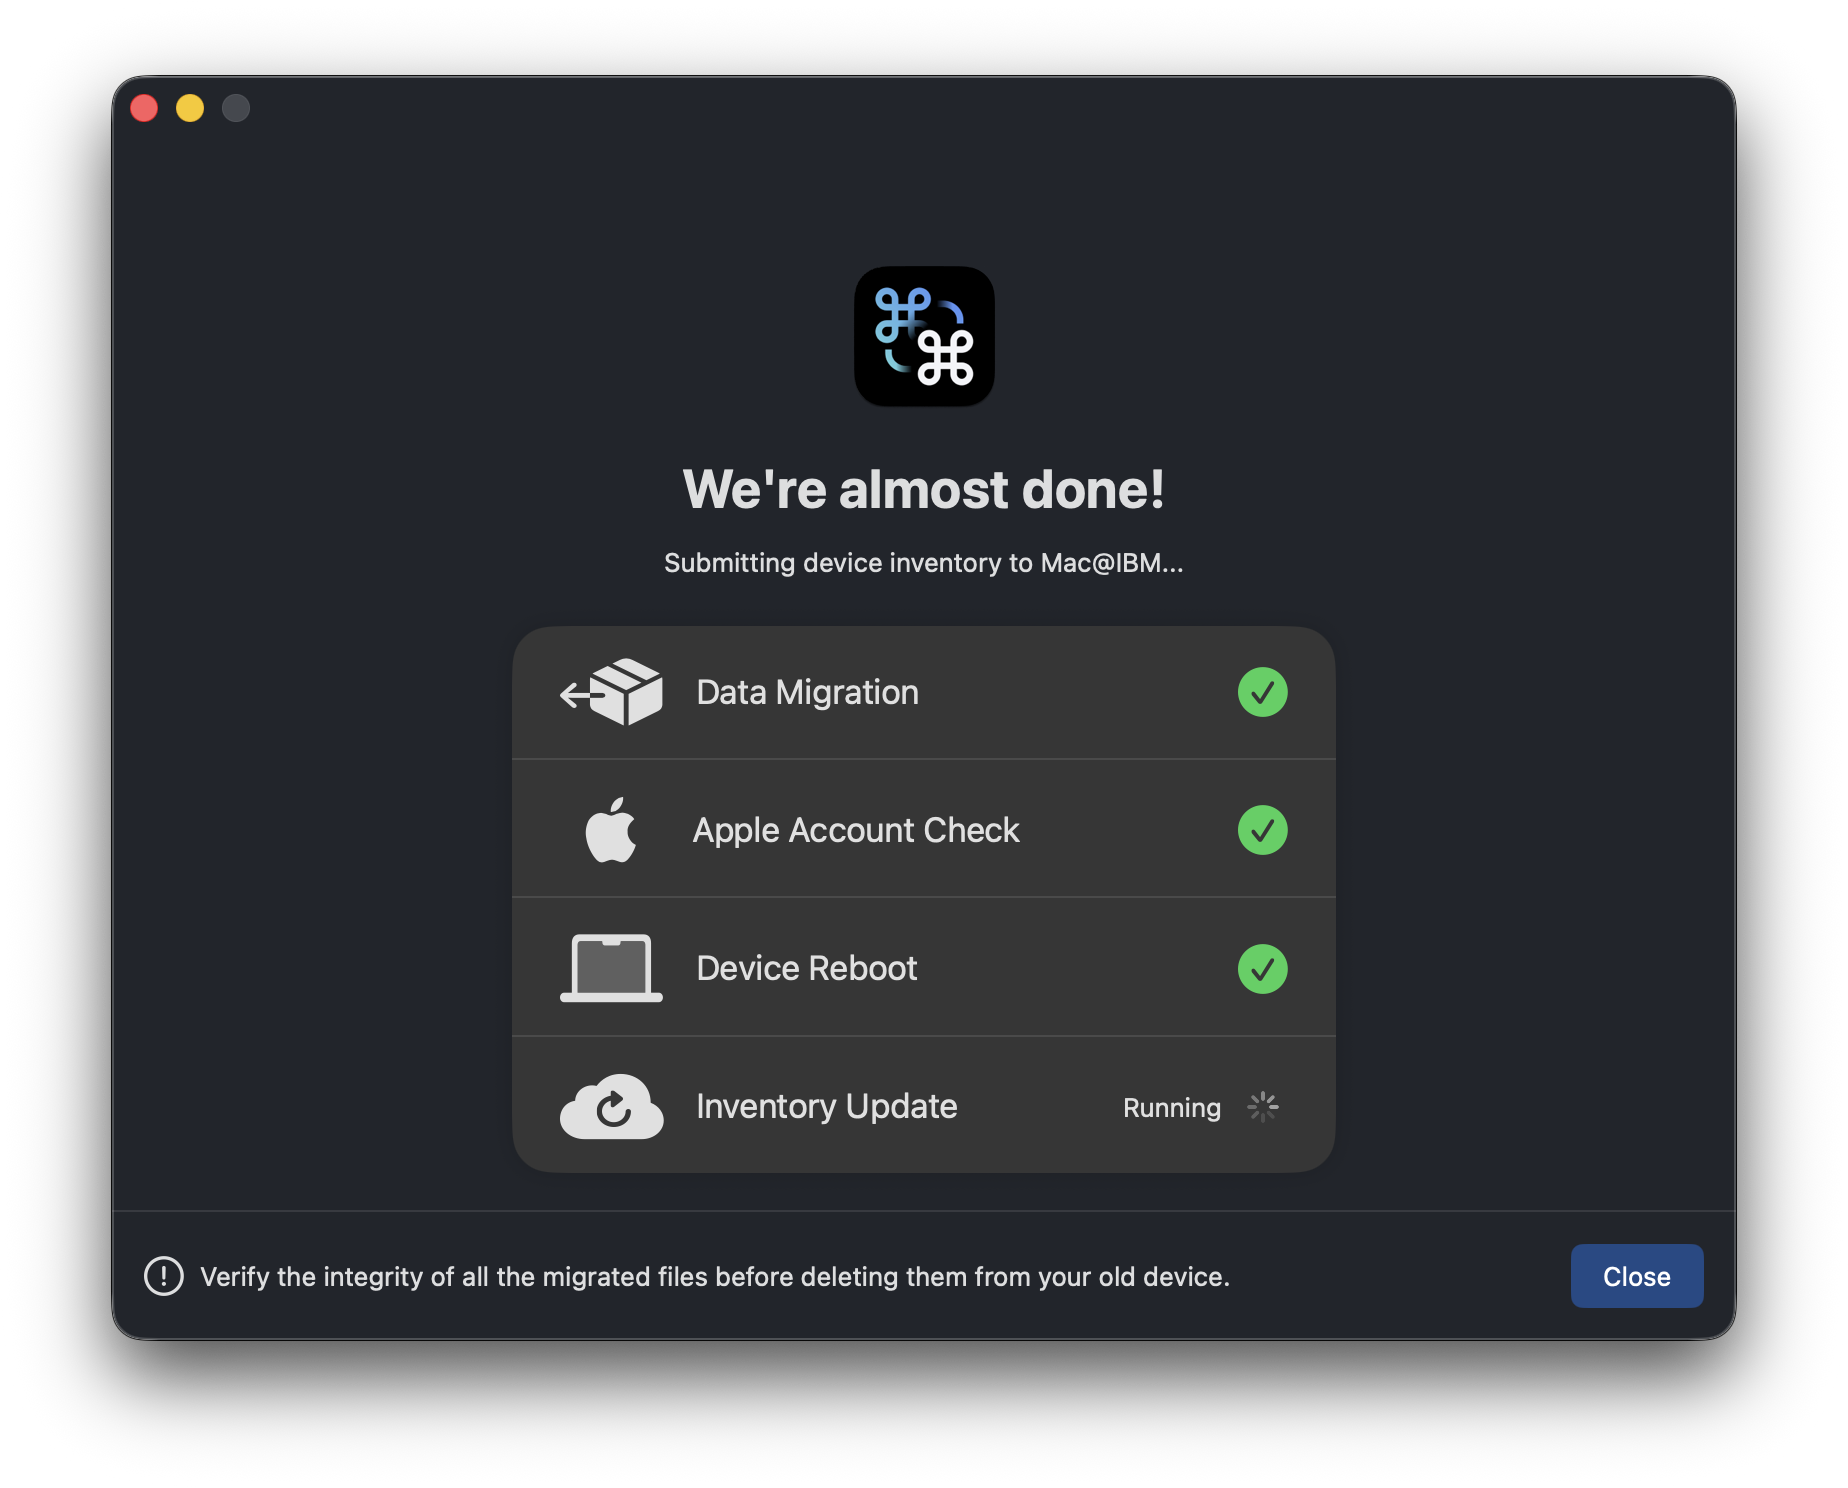
After the reboot, the app updates the device inventory in the background (optional).
-
Once finished, you can close the app.
Best practices
- Use a Thunderbolt connection for faster and more reliable migrations, especially in busy environments.
- Monitor the devices: keep both devices connected to the same network used when the connection was established.
- Double-check migrated files: we strongly recommend verifying your migrated files to catch any issue caused by file corruption.