3. Lab Preparation
3.1: Overview
Before proceeding with the main lab activities, ensure that you have completed all Lab Preparation steps in this section. These steps will help you gather necessary credentials, verify system access, and prepare your environment for the SSO configuration exercises.
You may receive prompts for software updates during the lab.
Please ignore these prompts and do not install any updates to avoid disrupting the lab environment.
If you encounter a security warning such as "Warning: Potential Security Risk Ahead" when using the browser, please disregard it. Select Advanced → Accept the Risk and Continue.
3.2: Using the Bastion Host
This section provides background information about the Bastion environment. You will execute actual commands in later sections.
3.2.1: Accessing the UIs
From the Bastion Host Terminal, click on Activities and open Firefox.
The following bookmarks are pre-configured in Firefox:
- Concert UI:
https://concert.ibmdte.local:12443/concert/ - Keycloak Admin Console:
https://concert.ibmdte.local:13443/sys/internal/kc/
3.2.2: Using SSH from the Bastion Host
You can connect from the Bastion host to other lab VMs using SSH commands as shown below:
# Access the Concert VM
ssh jammer@concert

# Access the OpenLDAP VM
ssh jammer@bluebox
All SSH connections use key-based authentication. No password is required when connecting from the Bastion Host to lab VMs.
3.3: Creating the Credentials File
In this section, you will collect all necessary credentials and configuration details required to complete the lab exercises. All credentials will be consolidated into a single text file, which simplifies the steps later in the lab.
3.3.1: Prepare the Credentials File
- From the Bastion Remote Desktop, on the left panel click Show Applications → Text Editor.
- Create a new file named
credentials.txt. - Paste the following template into the file and save it.
- Keep this window open for easy access during the lab.
# Concert SSO Lab Credentials
# ===========================

Bookmarks:
  Lab guide:  https://ibm.github.io/waiops-tech-jam/labs/concert/sso/1-introduction/
  Concert:    https://concert.ibmdte.local:12443/concert/
  Keycloak:   https://concert.ibmdte.local:13443/sys/internal/kc/

# Concert Configuration
Concert URL: https://concert.ibmdte.local:12443/concert/
Concert Port: 12443
concert_username:
concert_password:

# Keycloak Configuration
Keycloak Admin Console: https://concert.ibmdte.local:13443/sys/internal/kc/
Keycloak Realm: concert-realm
keycloak_admin_username: admin
keycloak_admin_password:
keycloak_bootstrap_admin_username:
keycloak_bootstrap_admin_password:

# OpenLDAP Configuration
OpenLDAP Host: bluebox.ibmdte.local
OpenLDAP Port: 389
OpenLDAP Base DN: dc=example,dc=com
OpenLDAP Admin DN: cn=admin,dc=example,dc=com
openldap_admin_password: secret

# Test Users (to be created in OpenLDAP-configuration section)
alice_username: alice
alice_password: Alice@123
alice_role: Admin
alice_group: corporate_it_staff

bob_username: bob
bob_password: Bob@123
bob_role: User
bob_group: hr_staff

charlie_username: charlie
charlie_password: Charlie@123
charlie_role: User
charlie_group: sales_staff

# OIDC Client Configuration (to be created in Keycloak)
oidc_client_id: concert-client
oidc_client_secret:

# Host IP Addresses
concert_ip:
openldap_ip:
From the Bastion SSH, run the command below:
cat demo-details.yml | grep -E 'concert'
Just to have the users and passwords handy together, copy these values below to the credentials file:
- concert_username:
- concert_password:
Keep this credentials file open throughout the lab. You will update it with retrieved passwords and configuration values as you progress through the exercises.
3.4: Retrieve Host IP Addresses
Run the following commands from the Bastion SSH terminal to capture the IP addresses of the lab hosts:
# Get Concert host IP address
getent hosts concert | awk '{print $1}'

# Get OpenLDAP host IP address
getent hosts bluebox | awk '{print $1}'
Copy the IP addresses displayed and update the corresponding sections in your credentials.txt file:
concert_ip:  192.168.252.35
openldap_ip: 192.168.252.34
3.5: Retrieve Keycloak Admin Password
Keycloak is embedded within the Concert installation and runs as a container. The admin password is stored in an environment variable under ibm-solis-embedded-keycloak container.
3.5.1: Steps to Retrieve Keycloak Admin Password
- Connect to the Concert host via SSH:
ssh jammer@concert
- Retrieve the Keycloak admin password from the ibm-solis-embedded-keycloak container environment variables:
# Get the default Keycloak admin username and password
podman exec -it ibm-solis-embedded-keycloak env | grep KC_BOOT
You should see output similar to the one below:
# Get the KC_BOOTSTRAP_ADMIN_USERNAME and KC_BOOTSTRAP_ADMIN_PASSWORD
[jammer@concert ~]$ podman exec -it ibm-solis-embedded-keycloak env | grep KC_BOOT
KC_BOOTSTRAP_ADMIN_USERNAME=70ef10c2c12c17b74301624d
UTILS_GENERATED_CONFIG="SOLIS_HUB_INTERNAL_SECRET KC_BOOTSTRAP_ADMIN_USERNAME KC_BOOTSTRAP_ADMIN_PASSWORD OOB_POSTGRES_USER OOB_POSTGRES_PASSWORD"
UTILS_GENERATED_CONFIG_BYO_DB="SOLIS_HUB_INTERNAL_SECRET KC_BOOTSTRAP_ADMIN_USERNAME KC_BOOTSTRAP_ADMIN_PASSWORD OOB_POSTGRES_USER OOB_POSTGRES_PASSWORD"
KC_BOOTSTRAP_ADMIN_PASSWORD=<your-secure-password>
[jammer@concert ~]$
The Keycloak admin username and password are randomly generated during Concert installation. You must retrieve them from the ibm-solis-embedded-keycloak container environment variables as shown above.
- Copy the admin username and admin password displayed and update your
credentials.txtfile:
keycloak_bootstrap_admin_username: 70ef10c2c12c17b74301624d
keycloak_bootstrap_admin_password: <your-secure-password>
- Exit the SSH session:
exit
3.6: Login to Keycloak
From the Bastion Host, open Firefox.
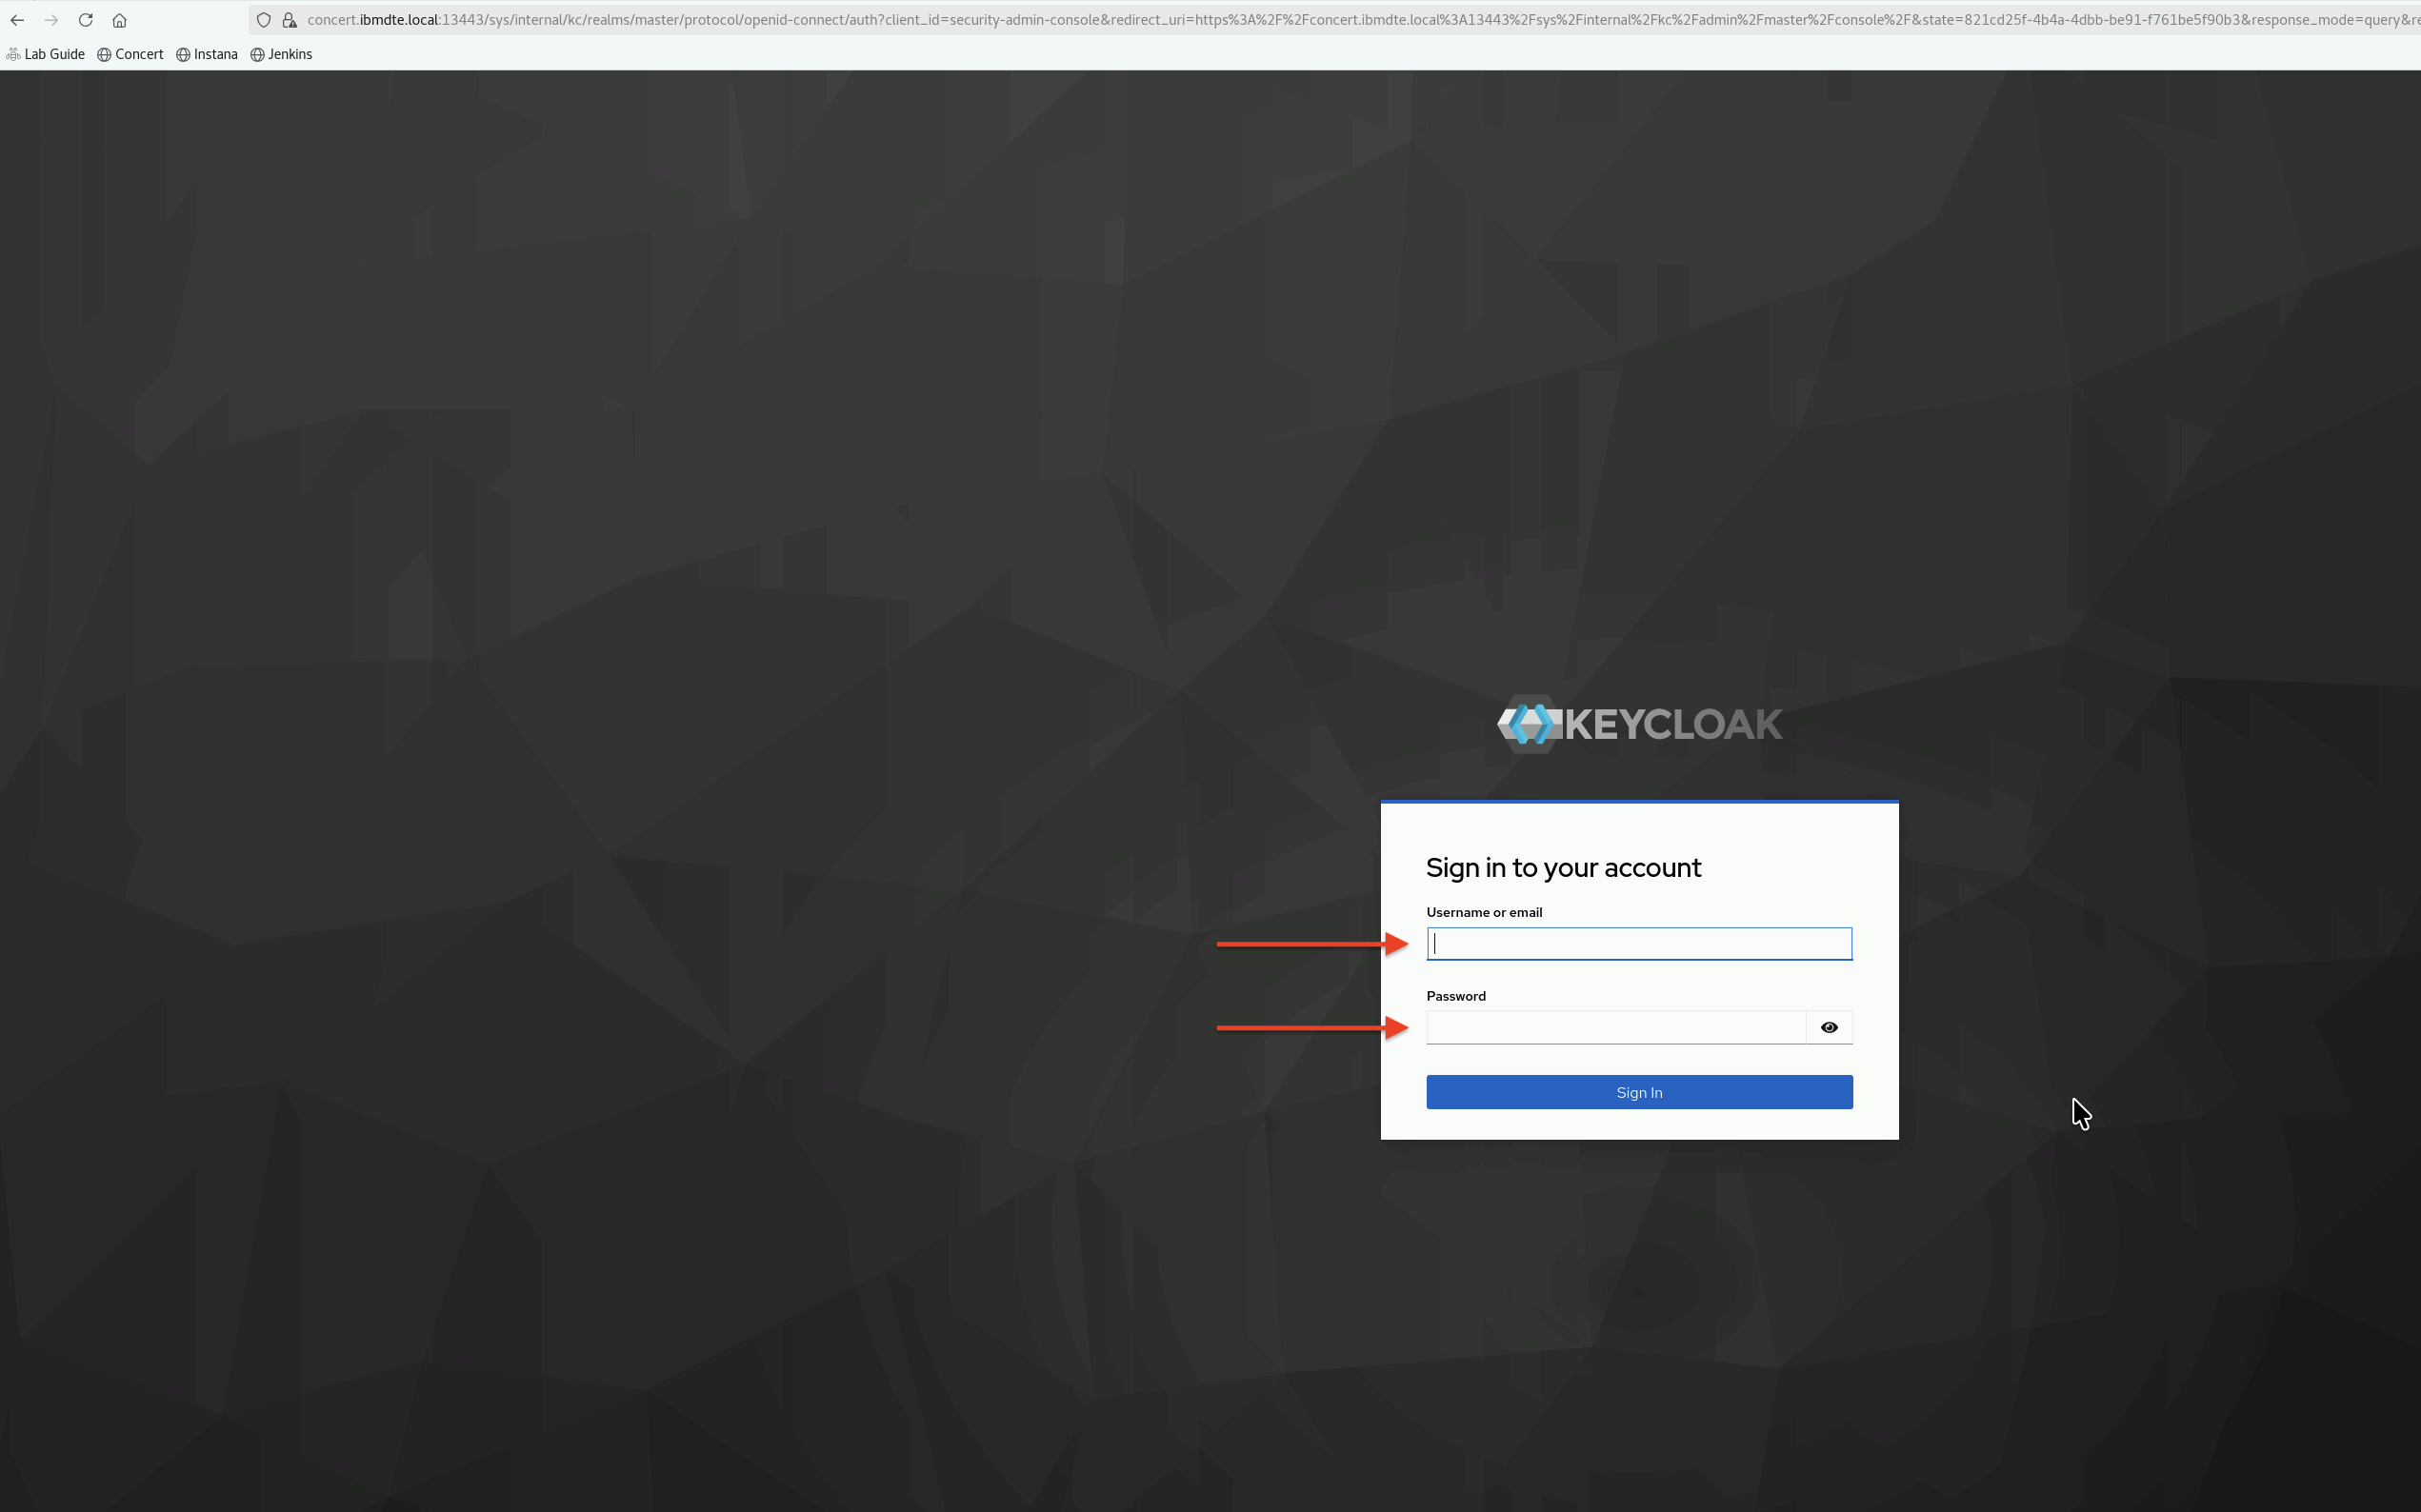
- Click on the Keycloak bookmark to open the Keycloak UI. Or navigate to:
https://concert.ibmdte.local:13443/sys/internal/kc/ - Accept the certificate warning if prompted
- Enter keycloak_admin_username and keycloak_admin_password at the login page.
- After login, you will get a message highlighted in yellow that says "You are logged in as a temporary admin user. To harden security, create a permanent admin account and delete the temporary one".
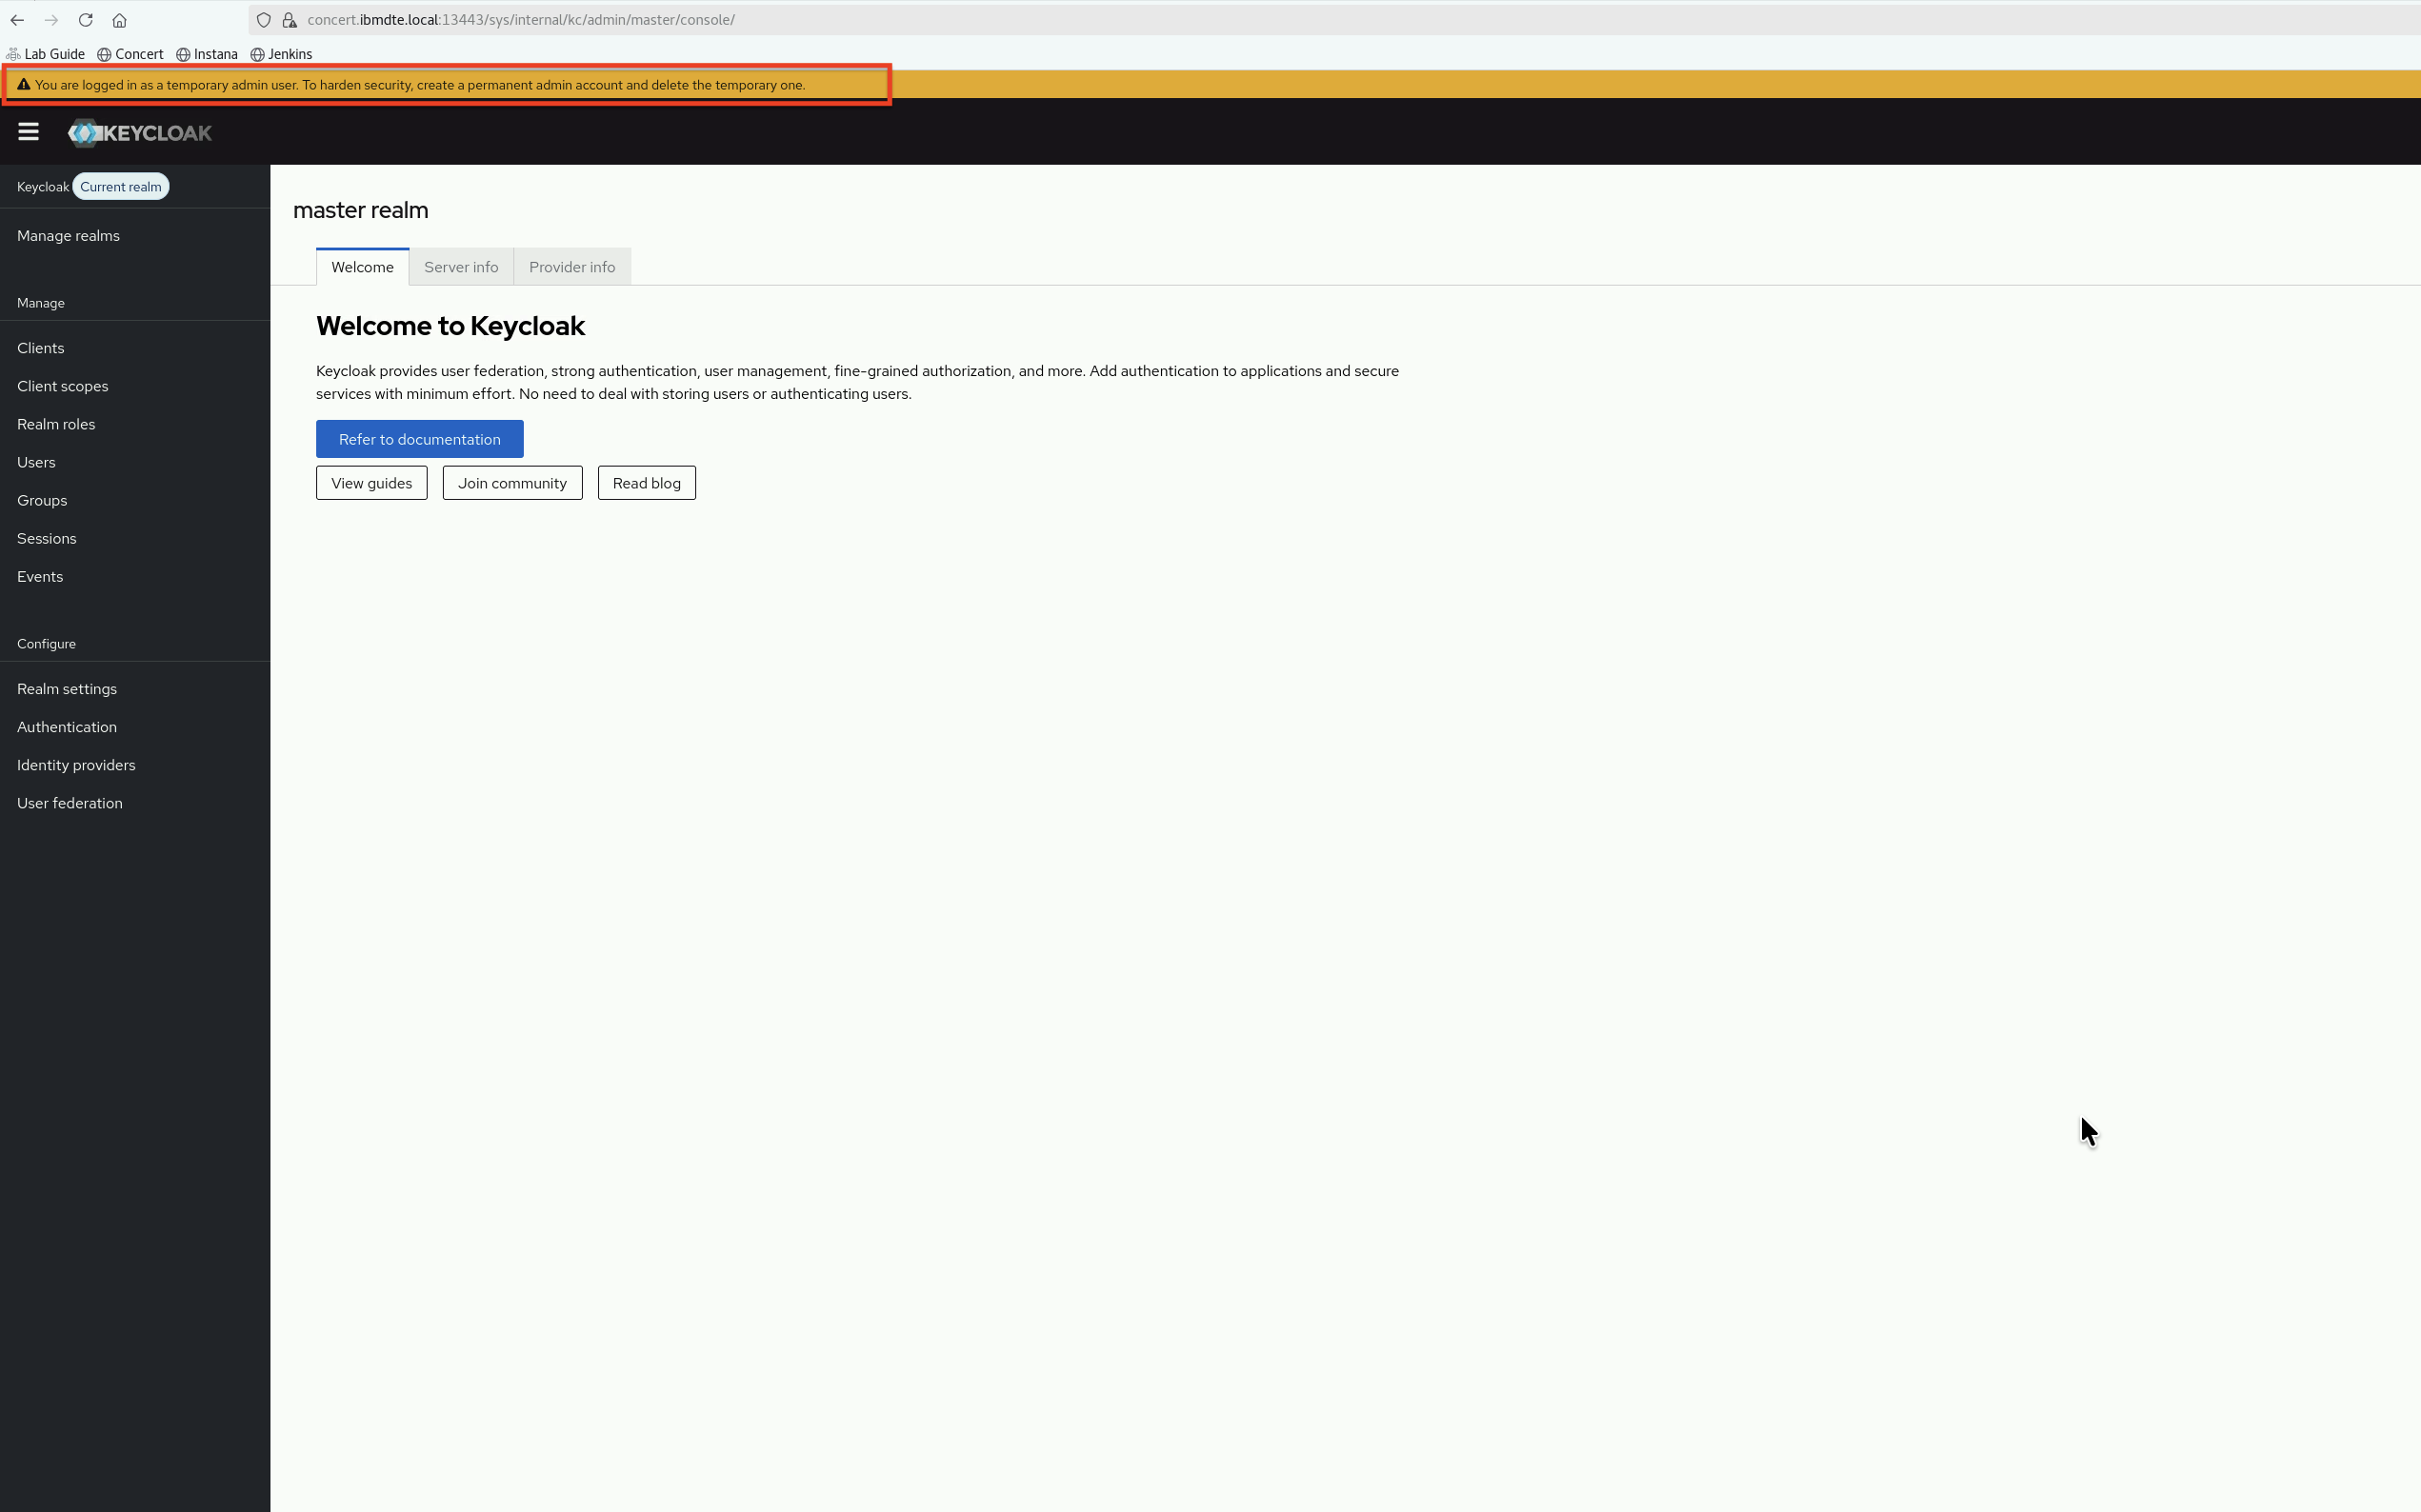
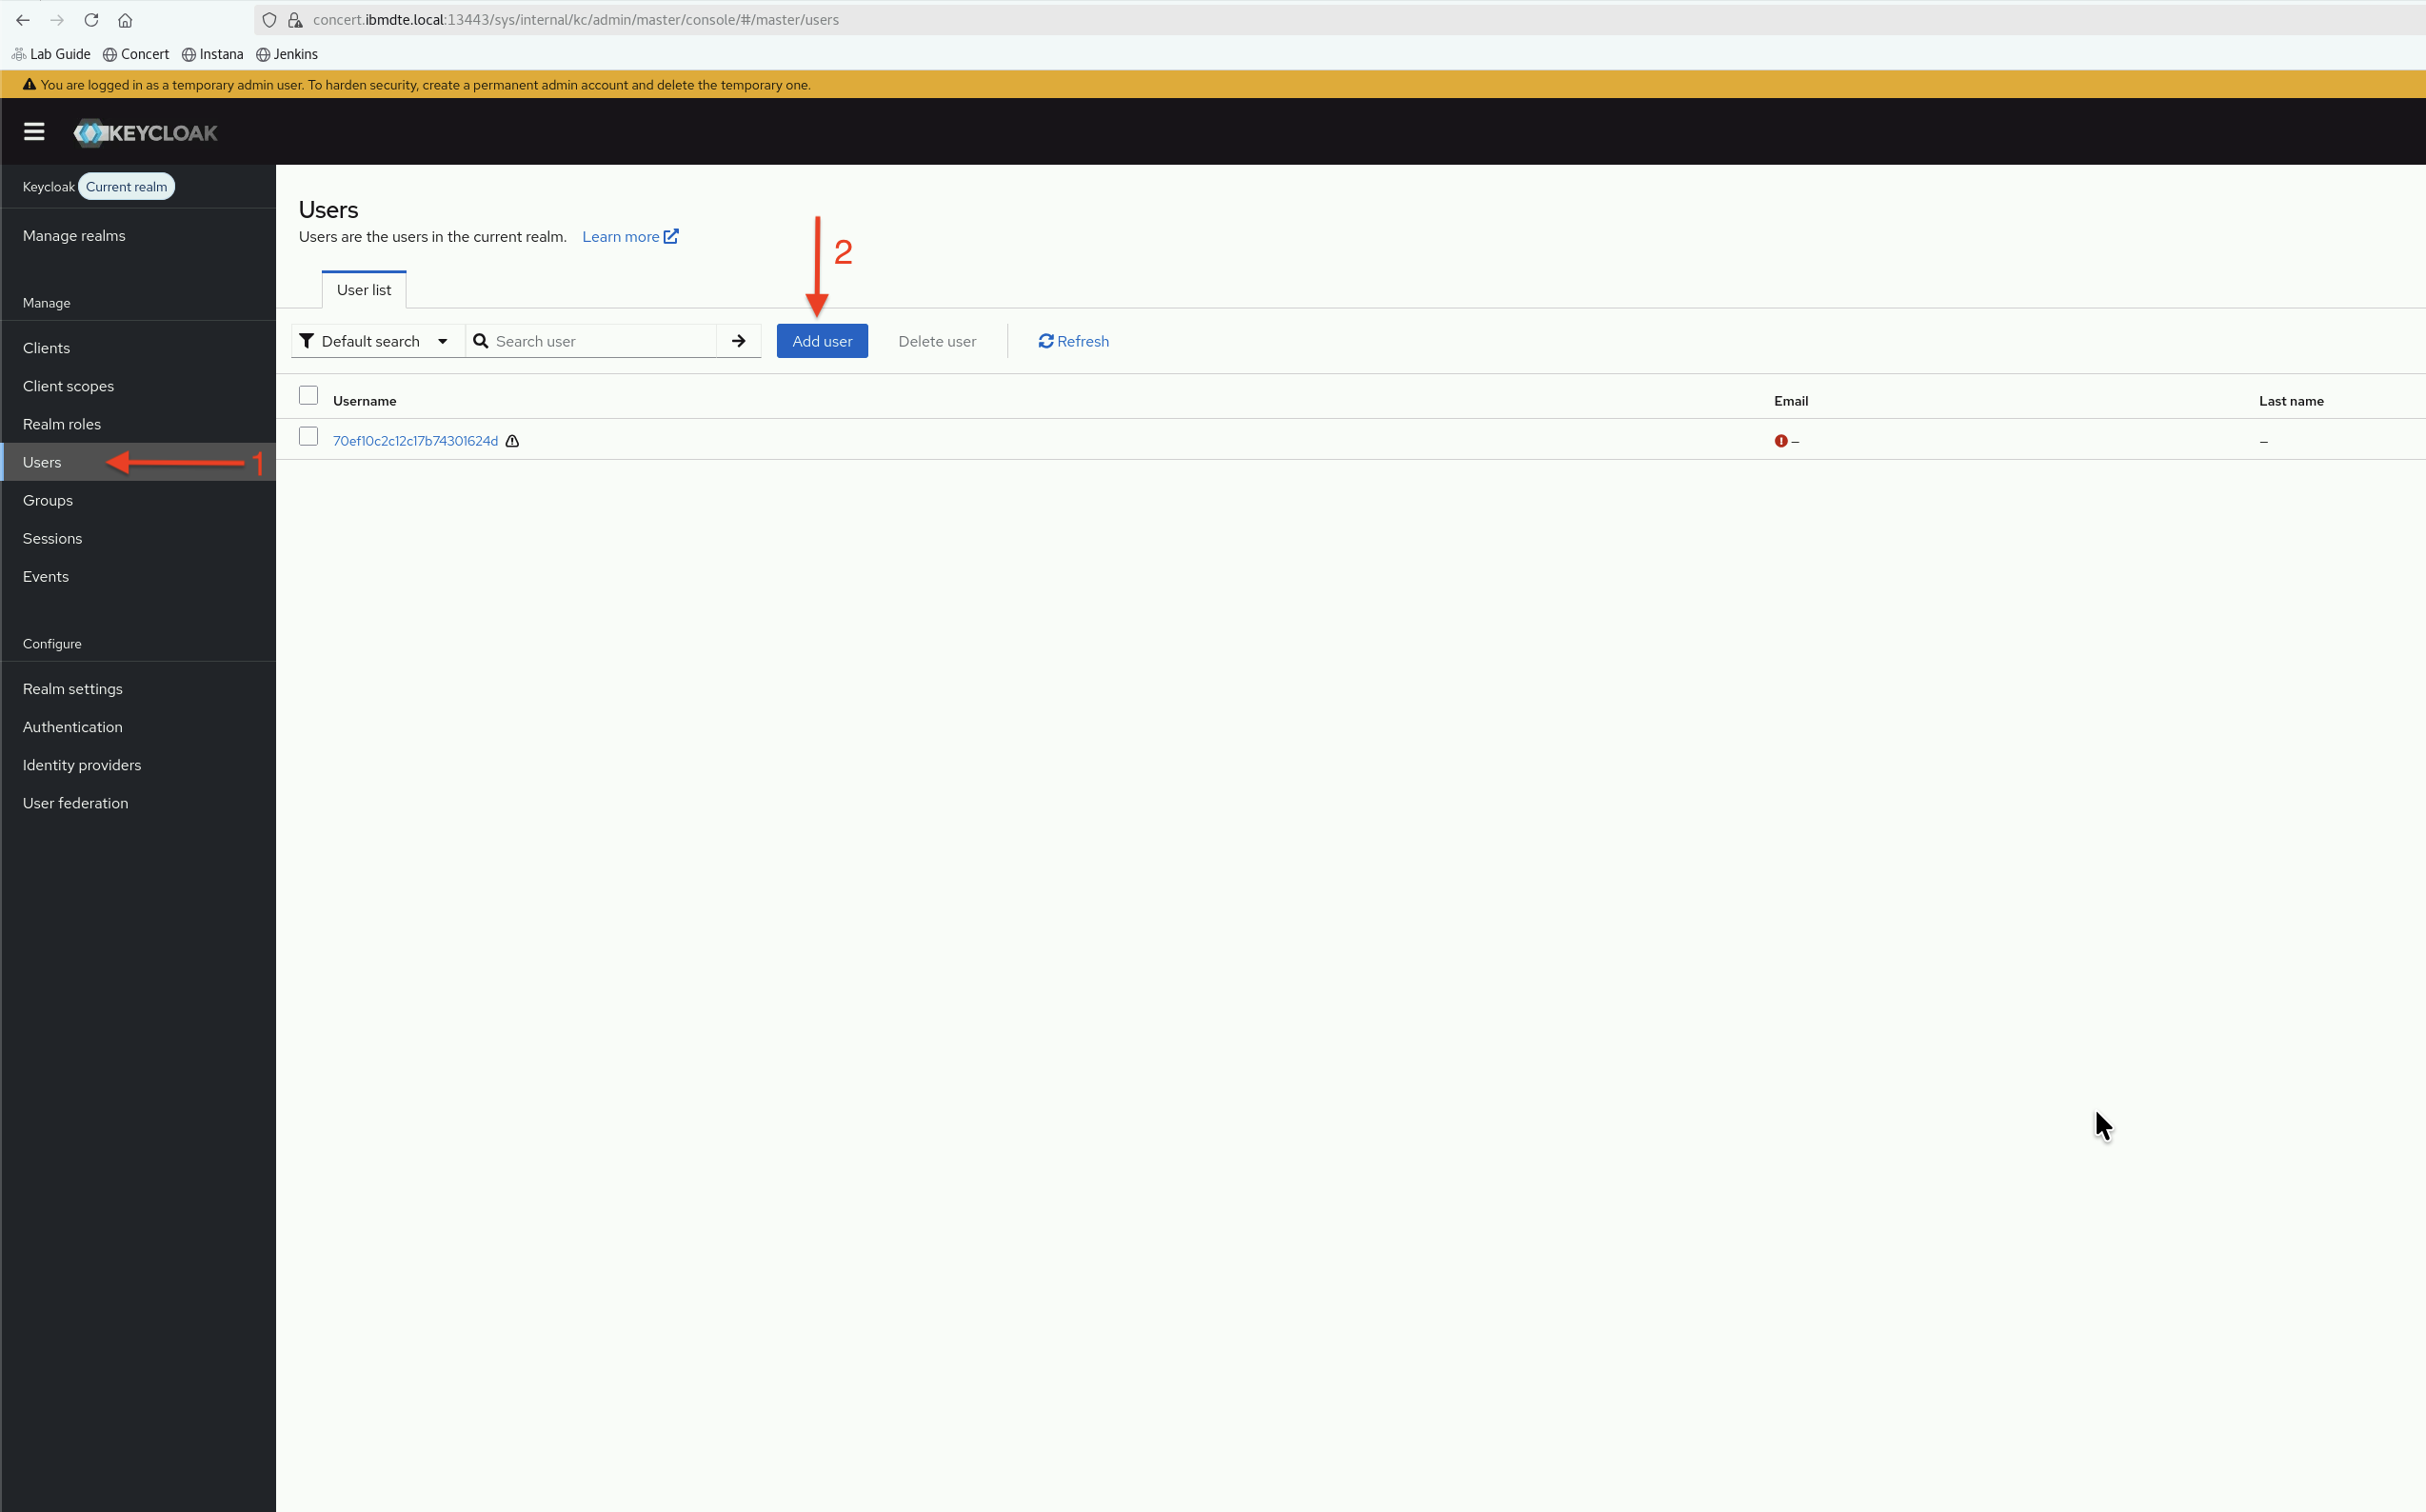
- Let's create an admin user and password. From the Keycloak UI, select
Usersin the left side navigation. Then, selectAdd user.
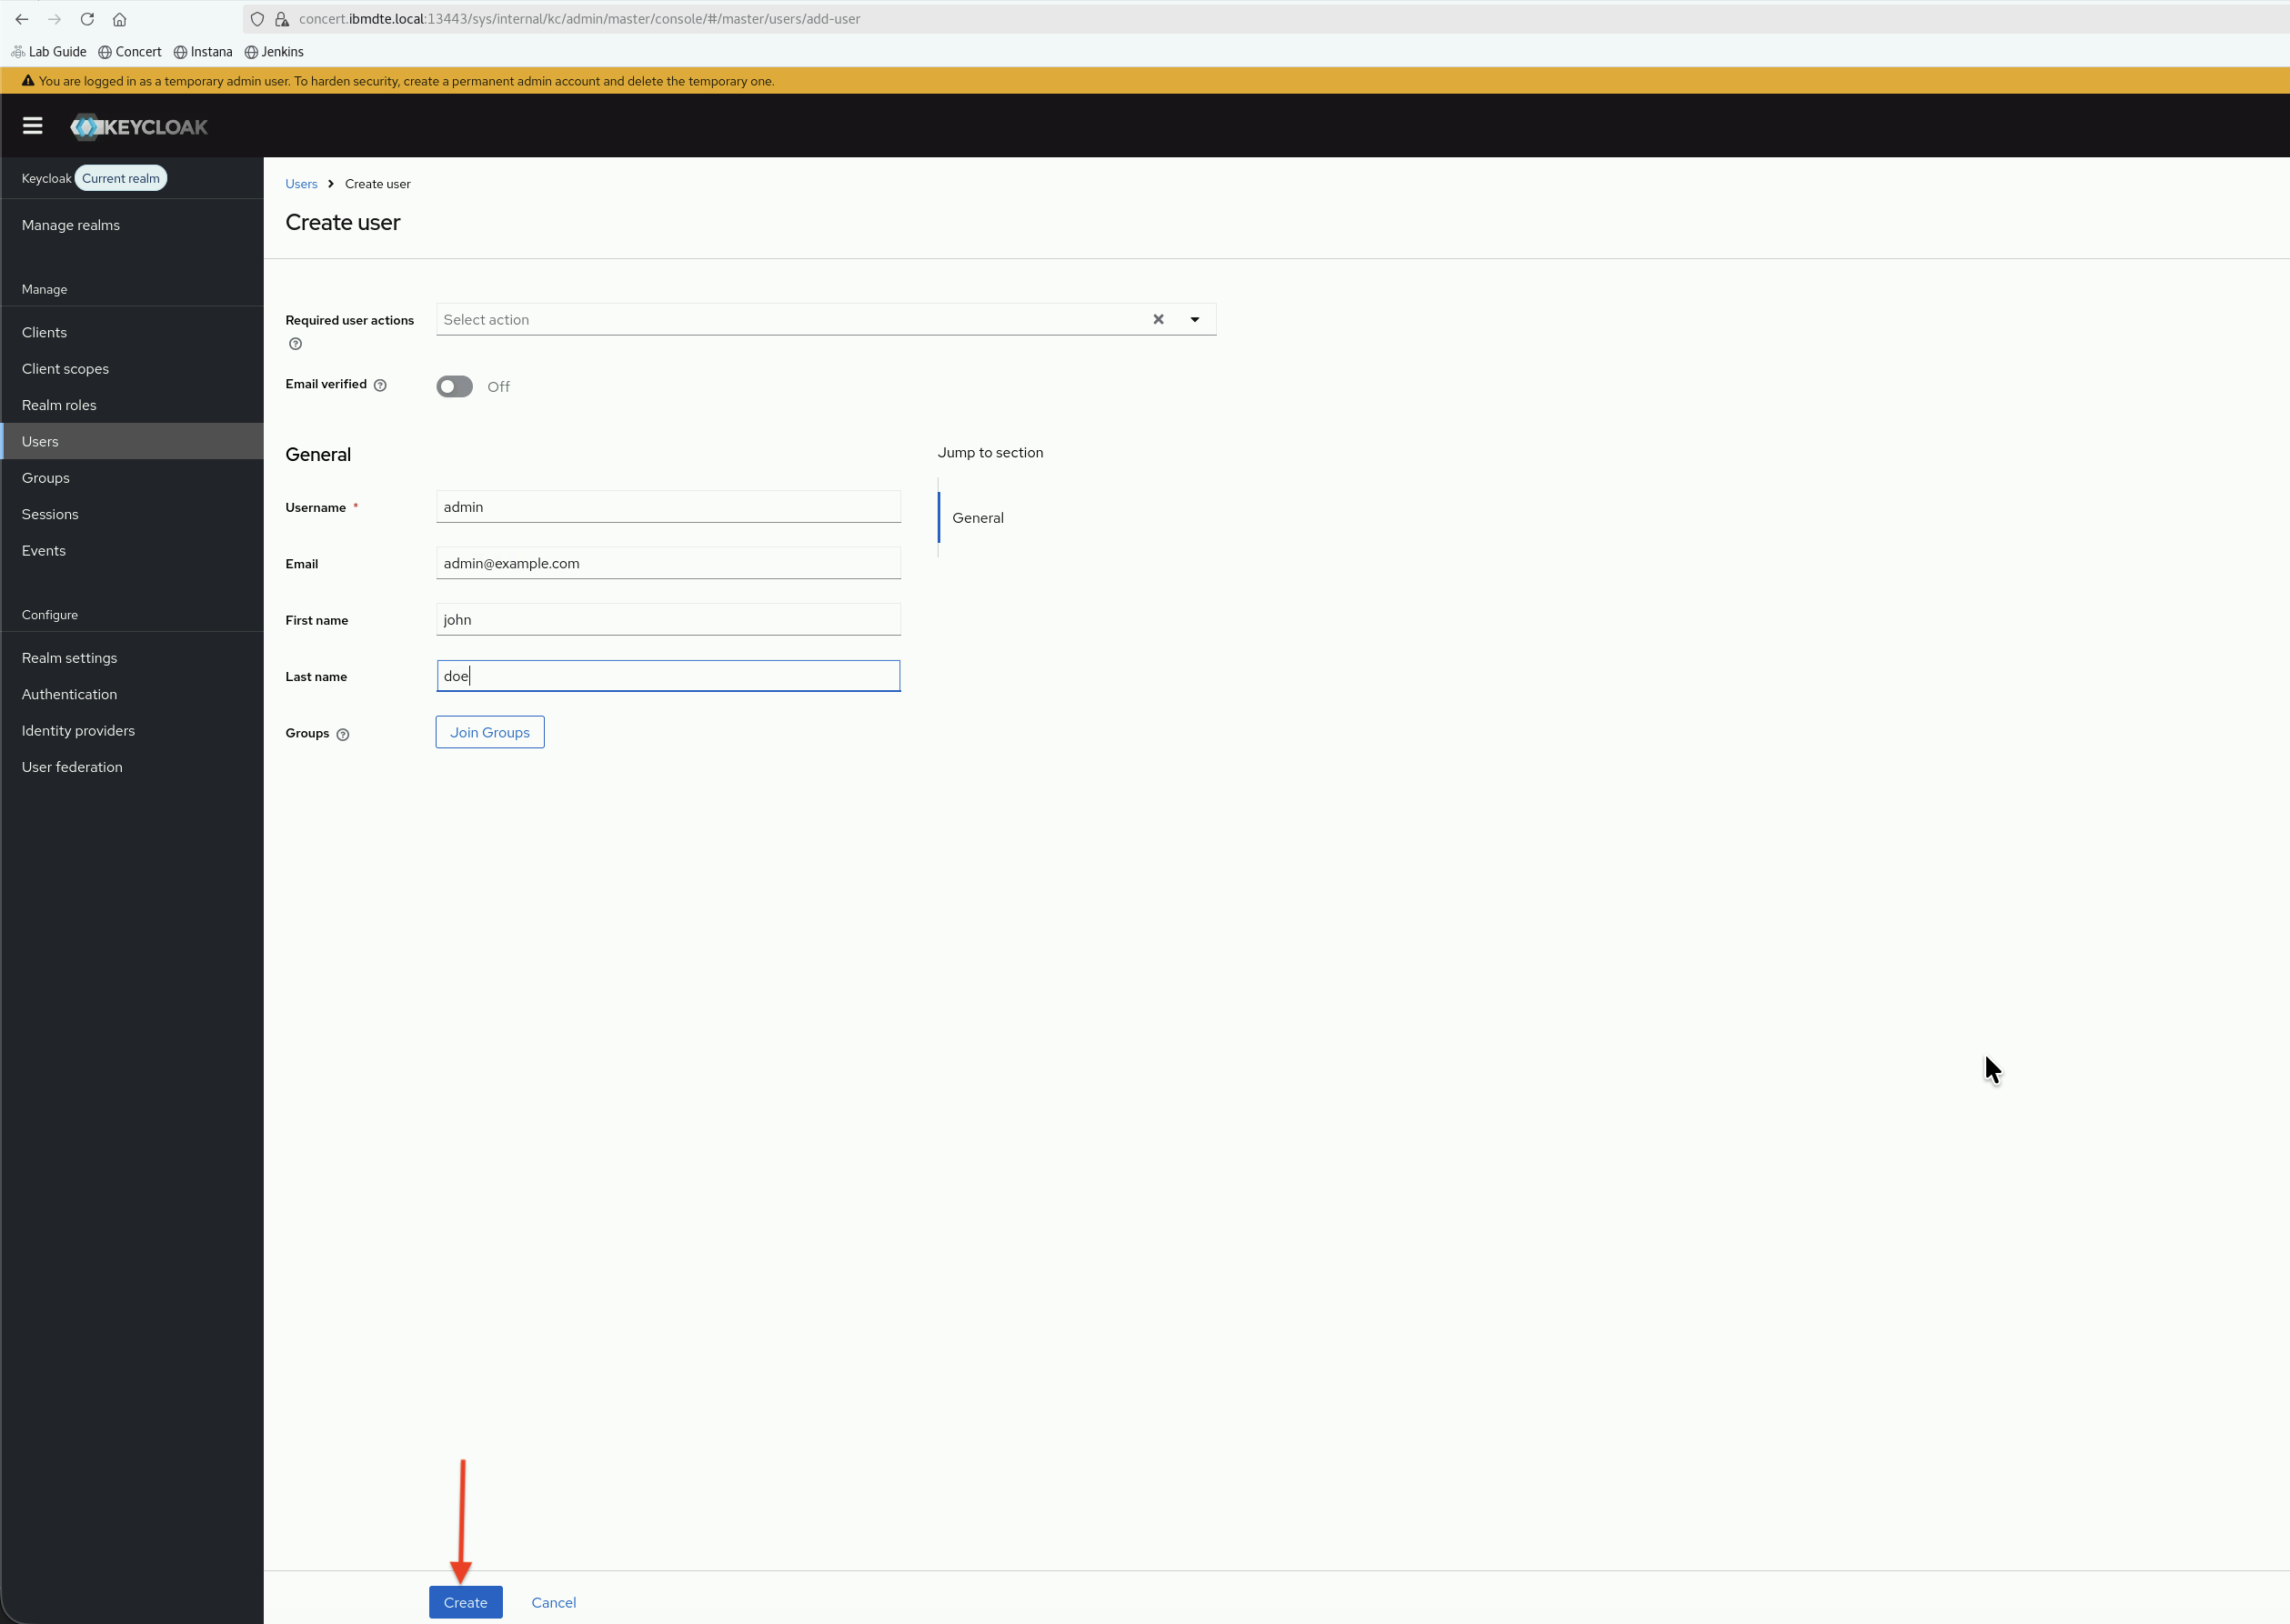
- Create an Admin user using below values and finally, click the
Createbutton.- Username:
admin - Email:
admin@example.com - First name:
john - Last name:
doe
- Username:
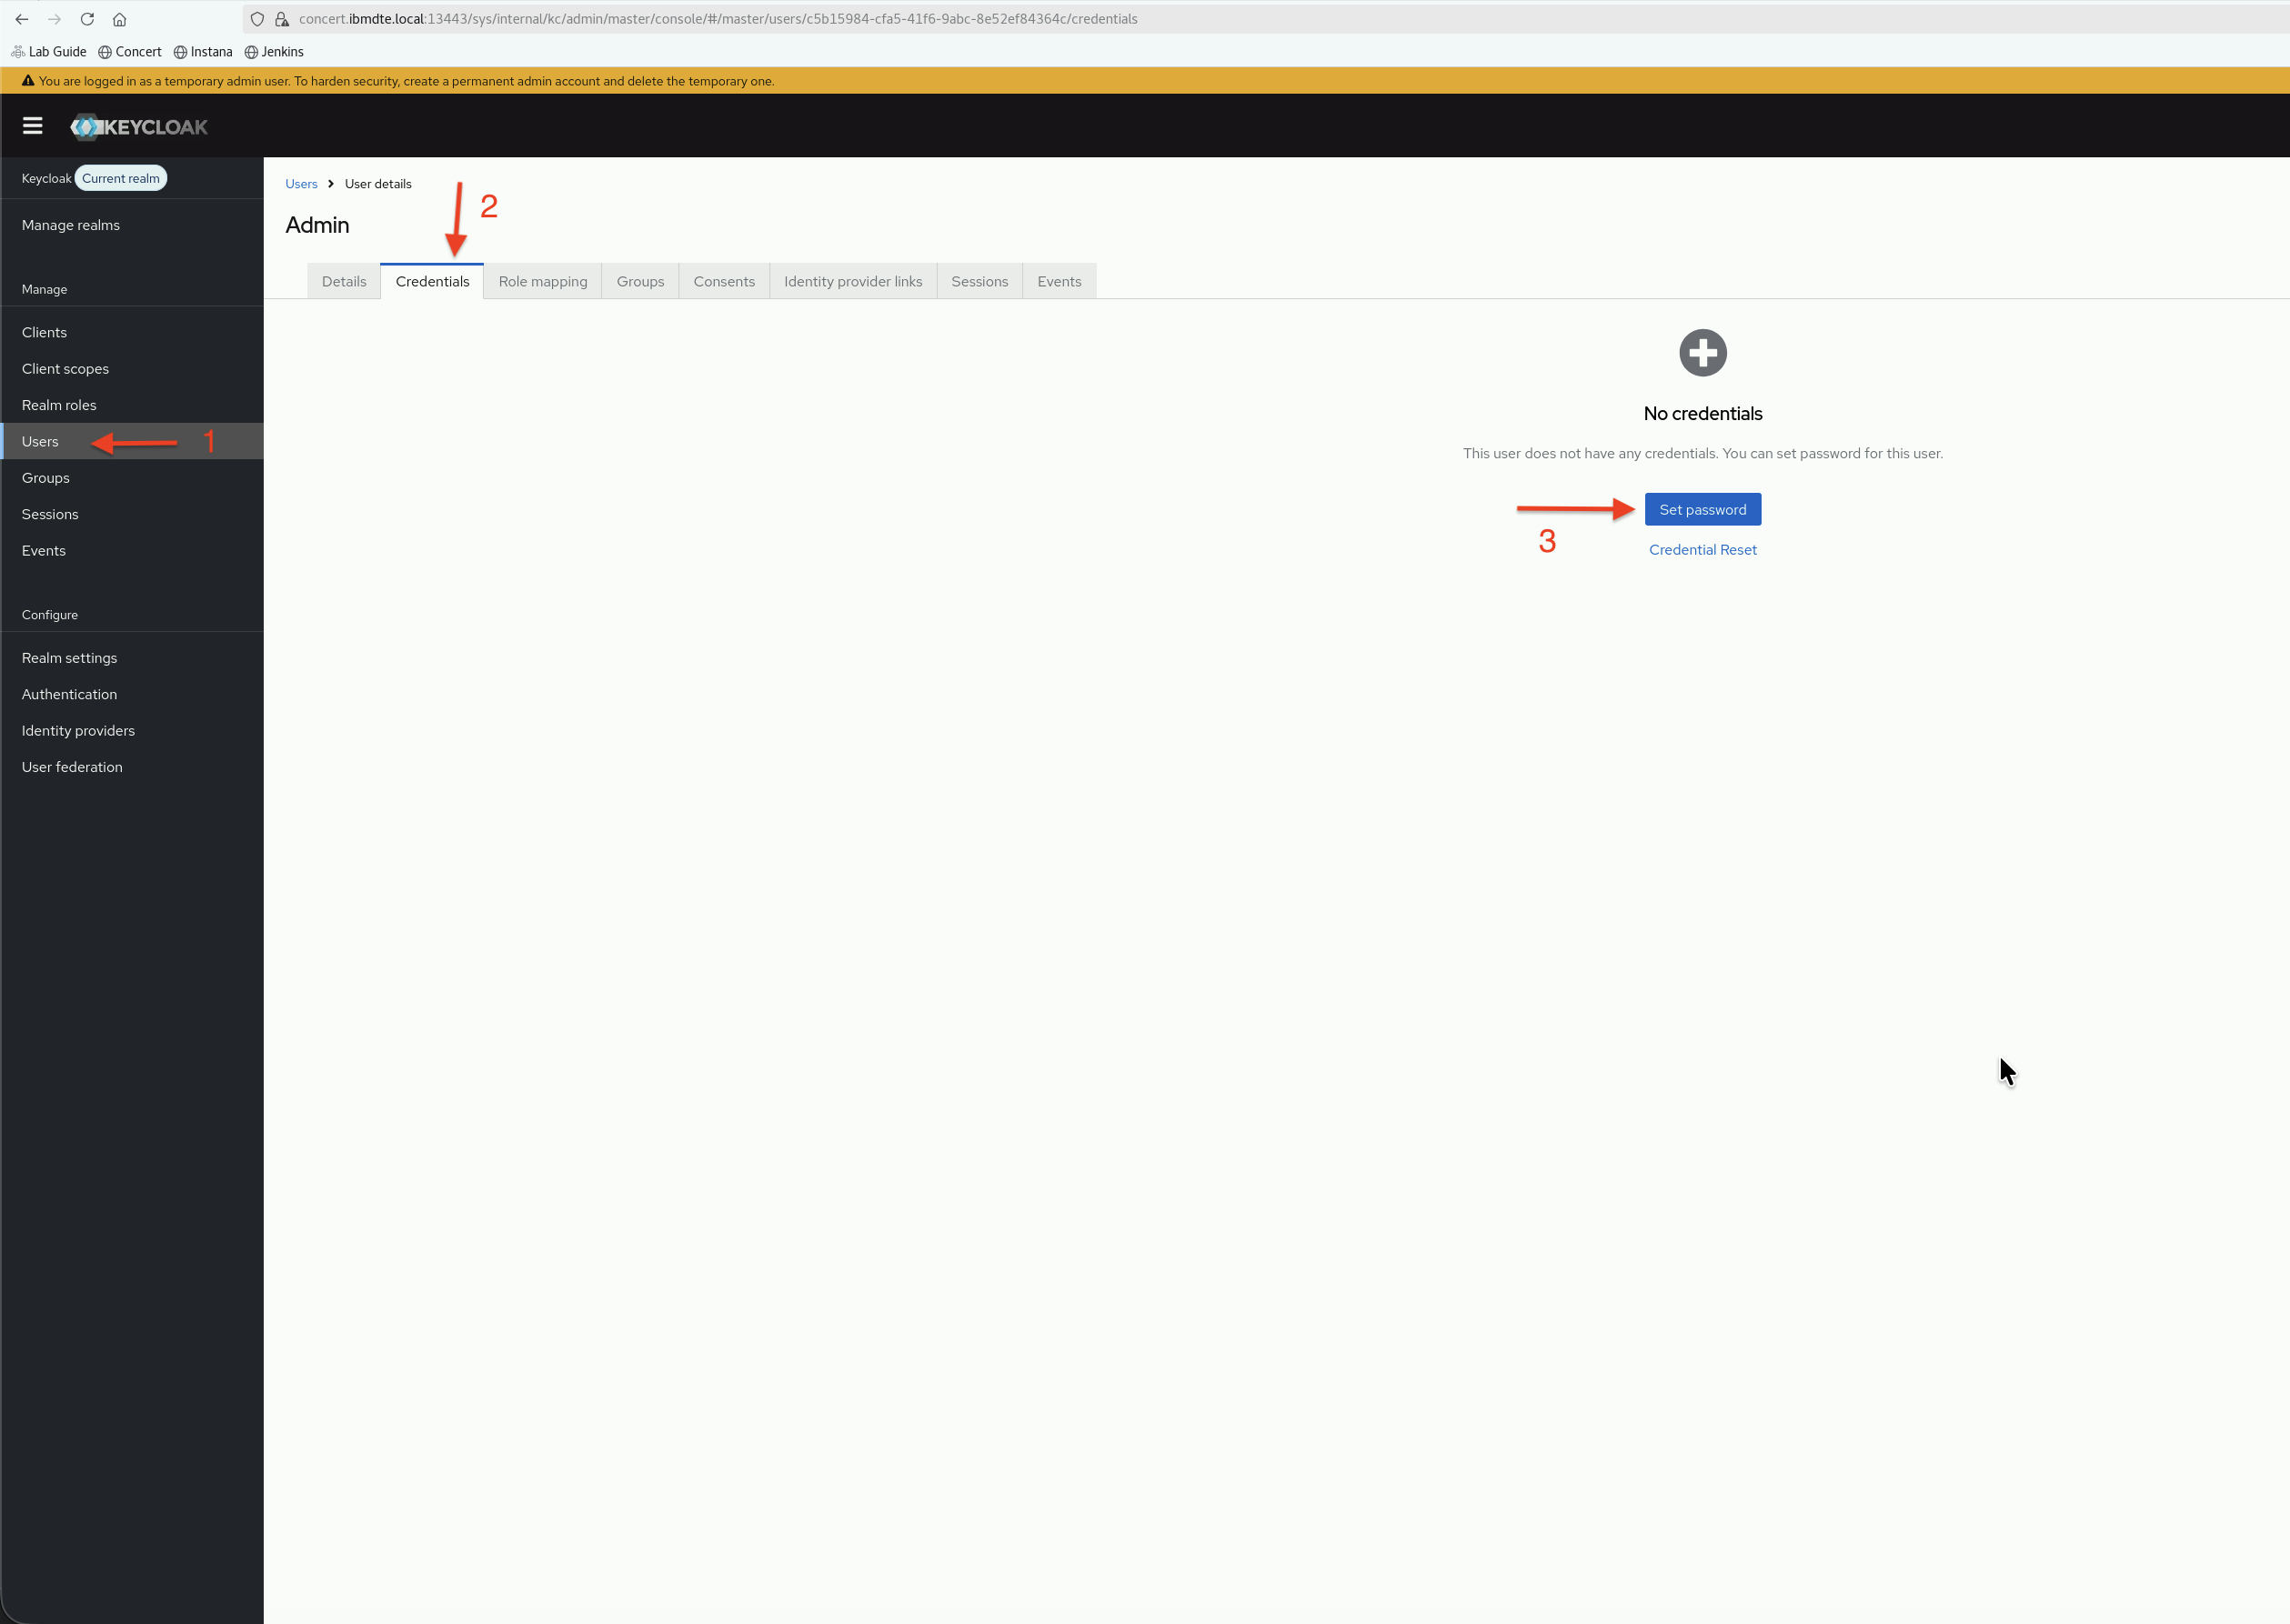
- Next, set password for the Admin user. Still, under
Usersin the left side navigation, selectCredentialstab and clickSet passwordbutton.
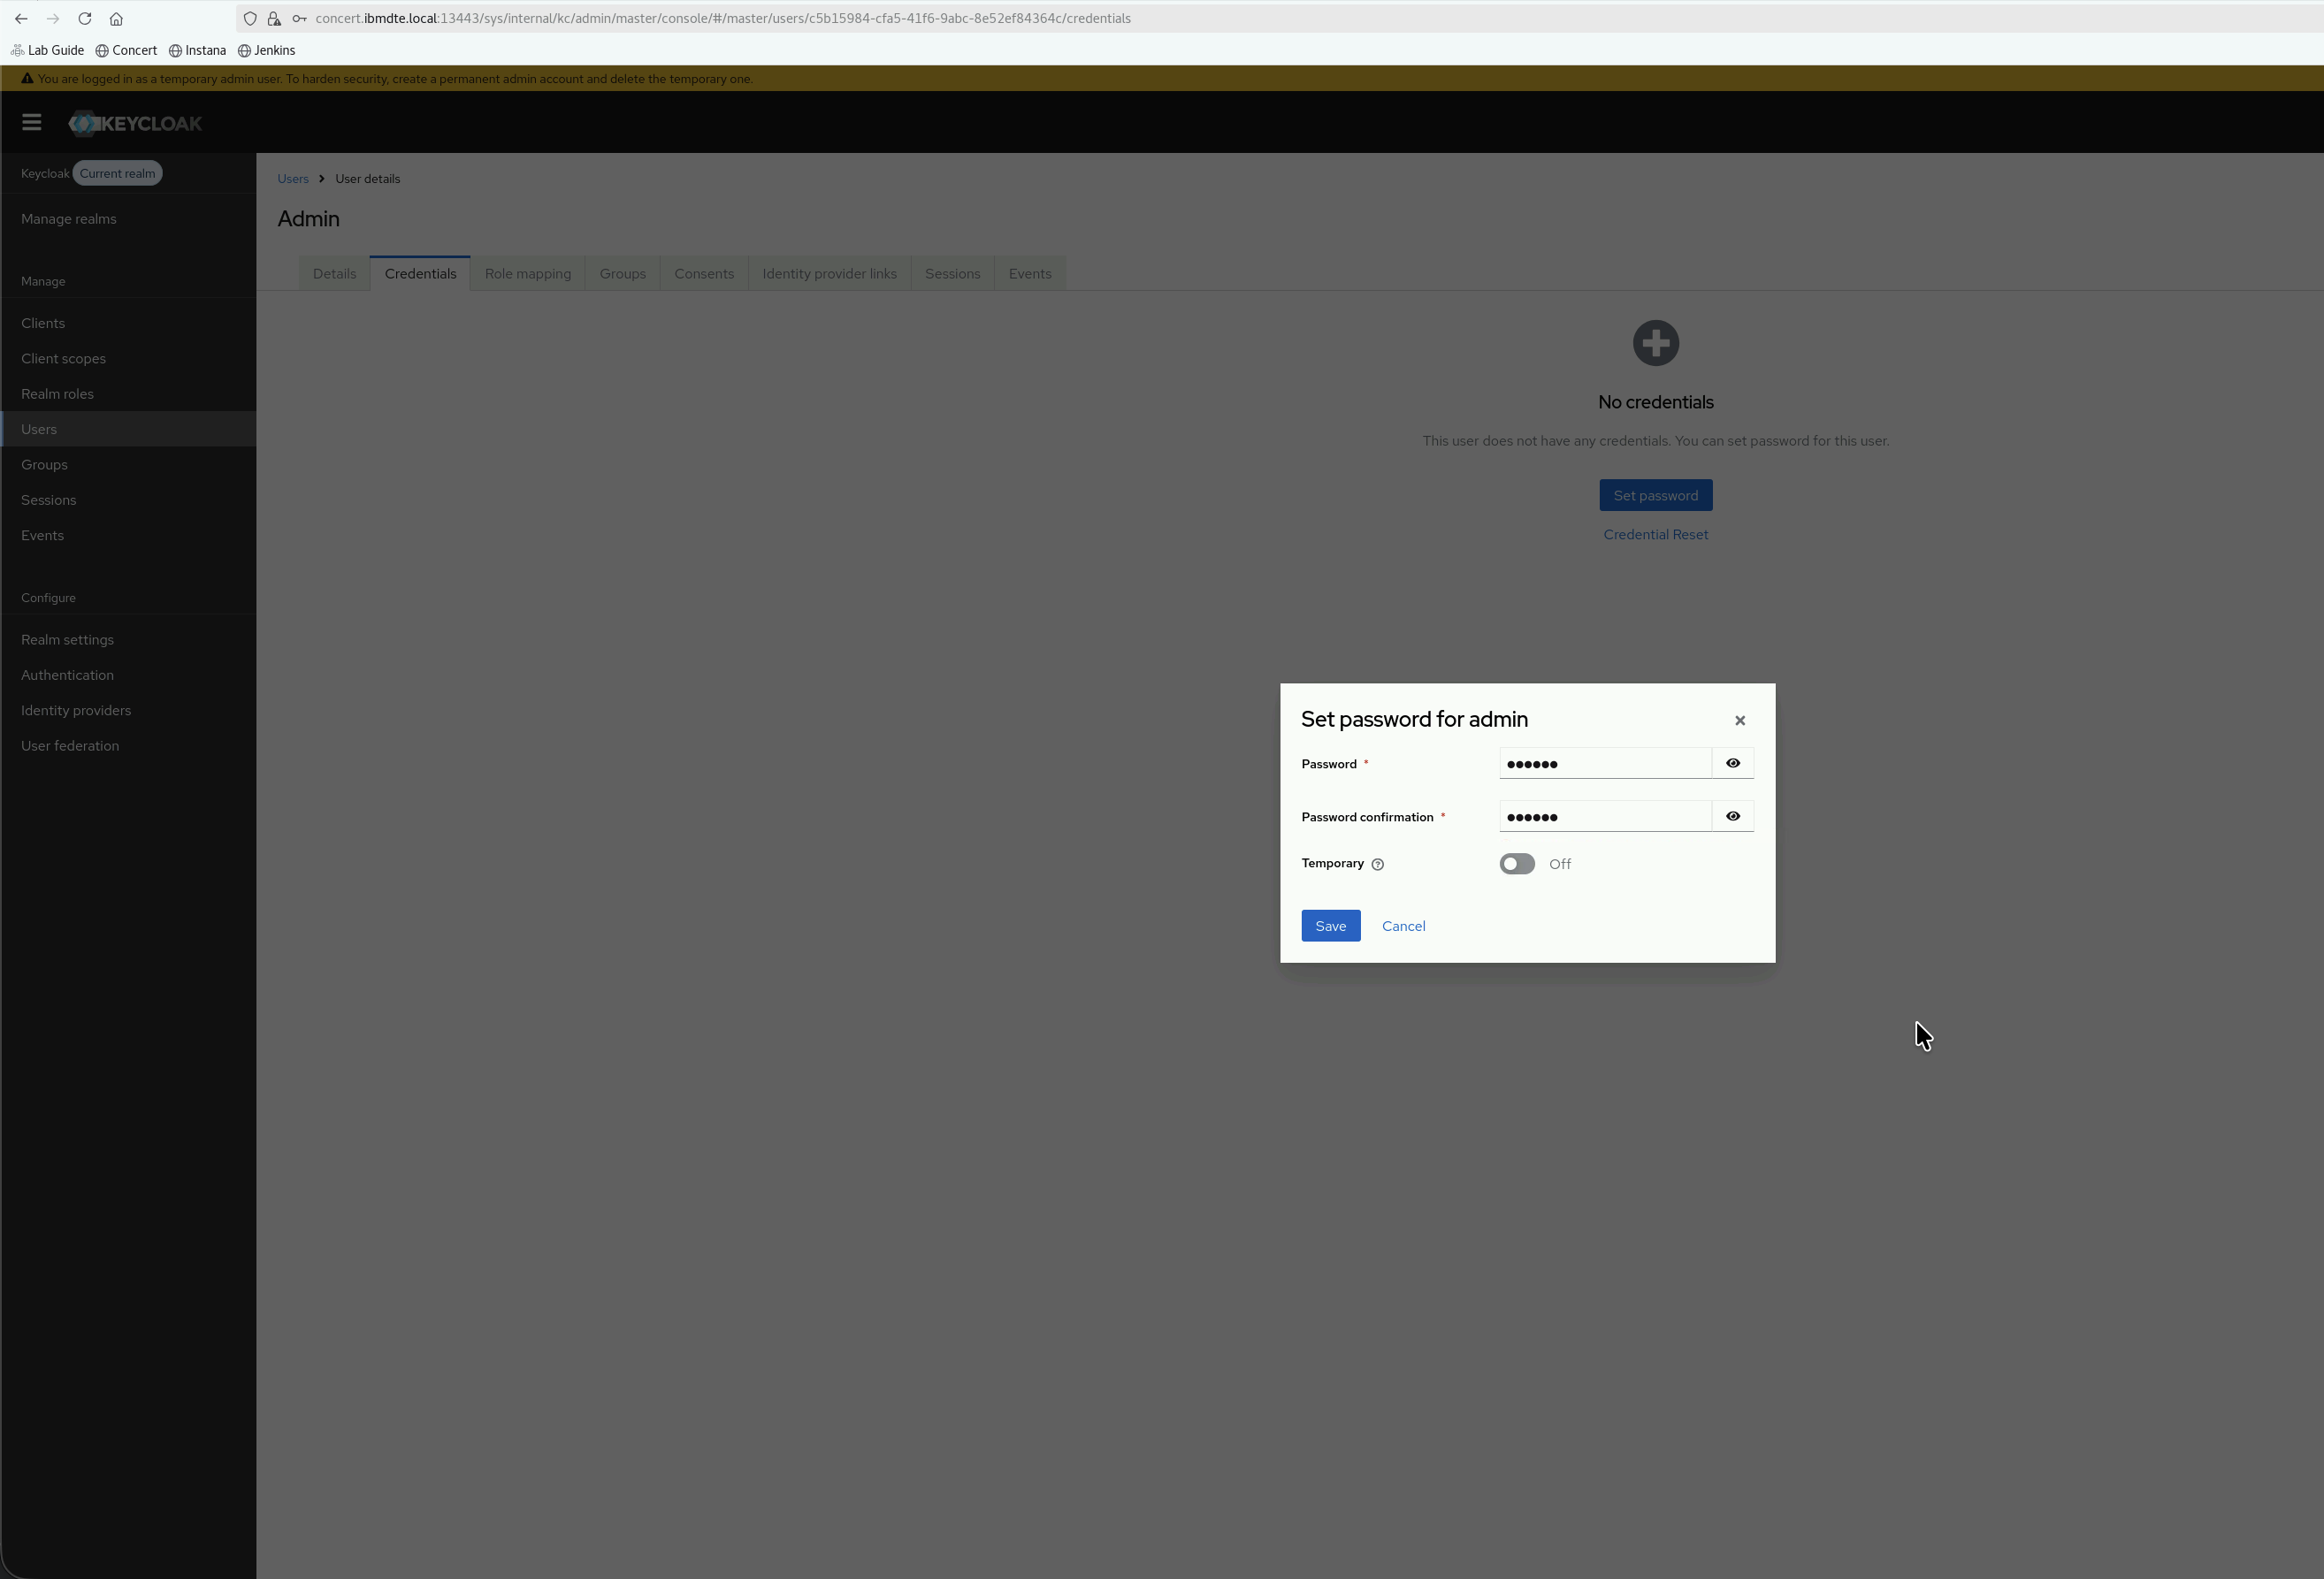
- Enter the following details:
- Password:
secret - Password confirmation:
secret - Temporary: Toggle to OFF
- Password:
- Copy the new admin username and admin password displayed and update your
credentials.txtfile:
keycloak_admin_username: admin
keycloak_admin_password: secret
Now, you have successfully created the admin user and password. Keep the admin user and password.
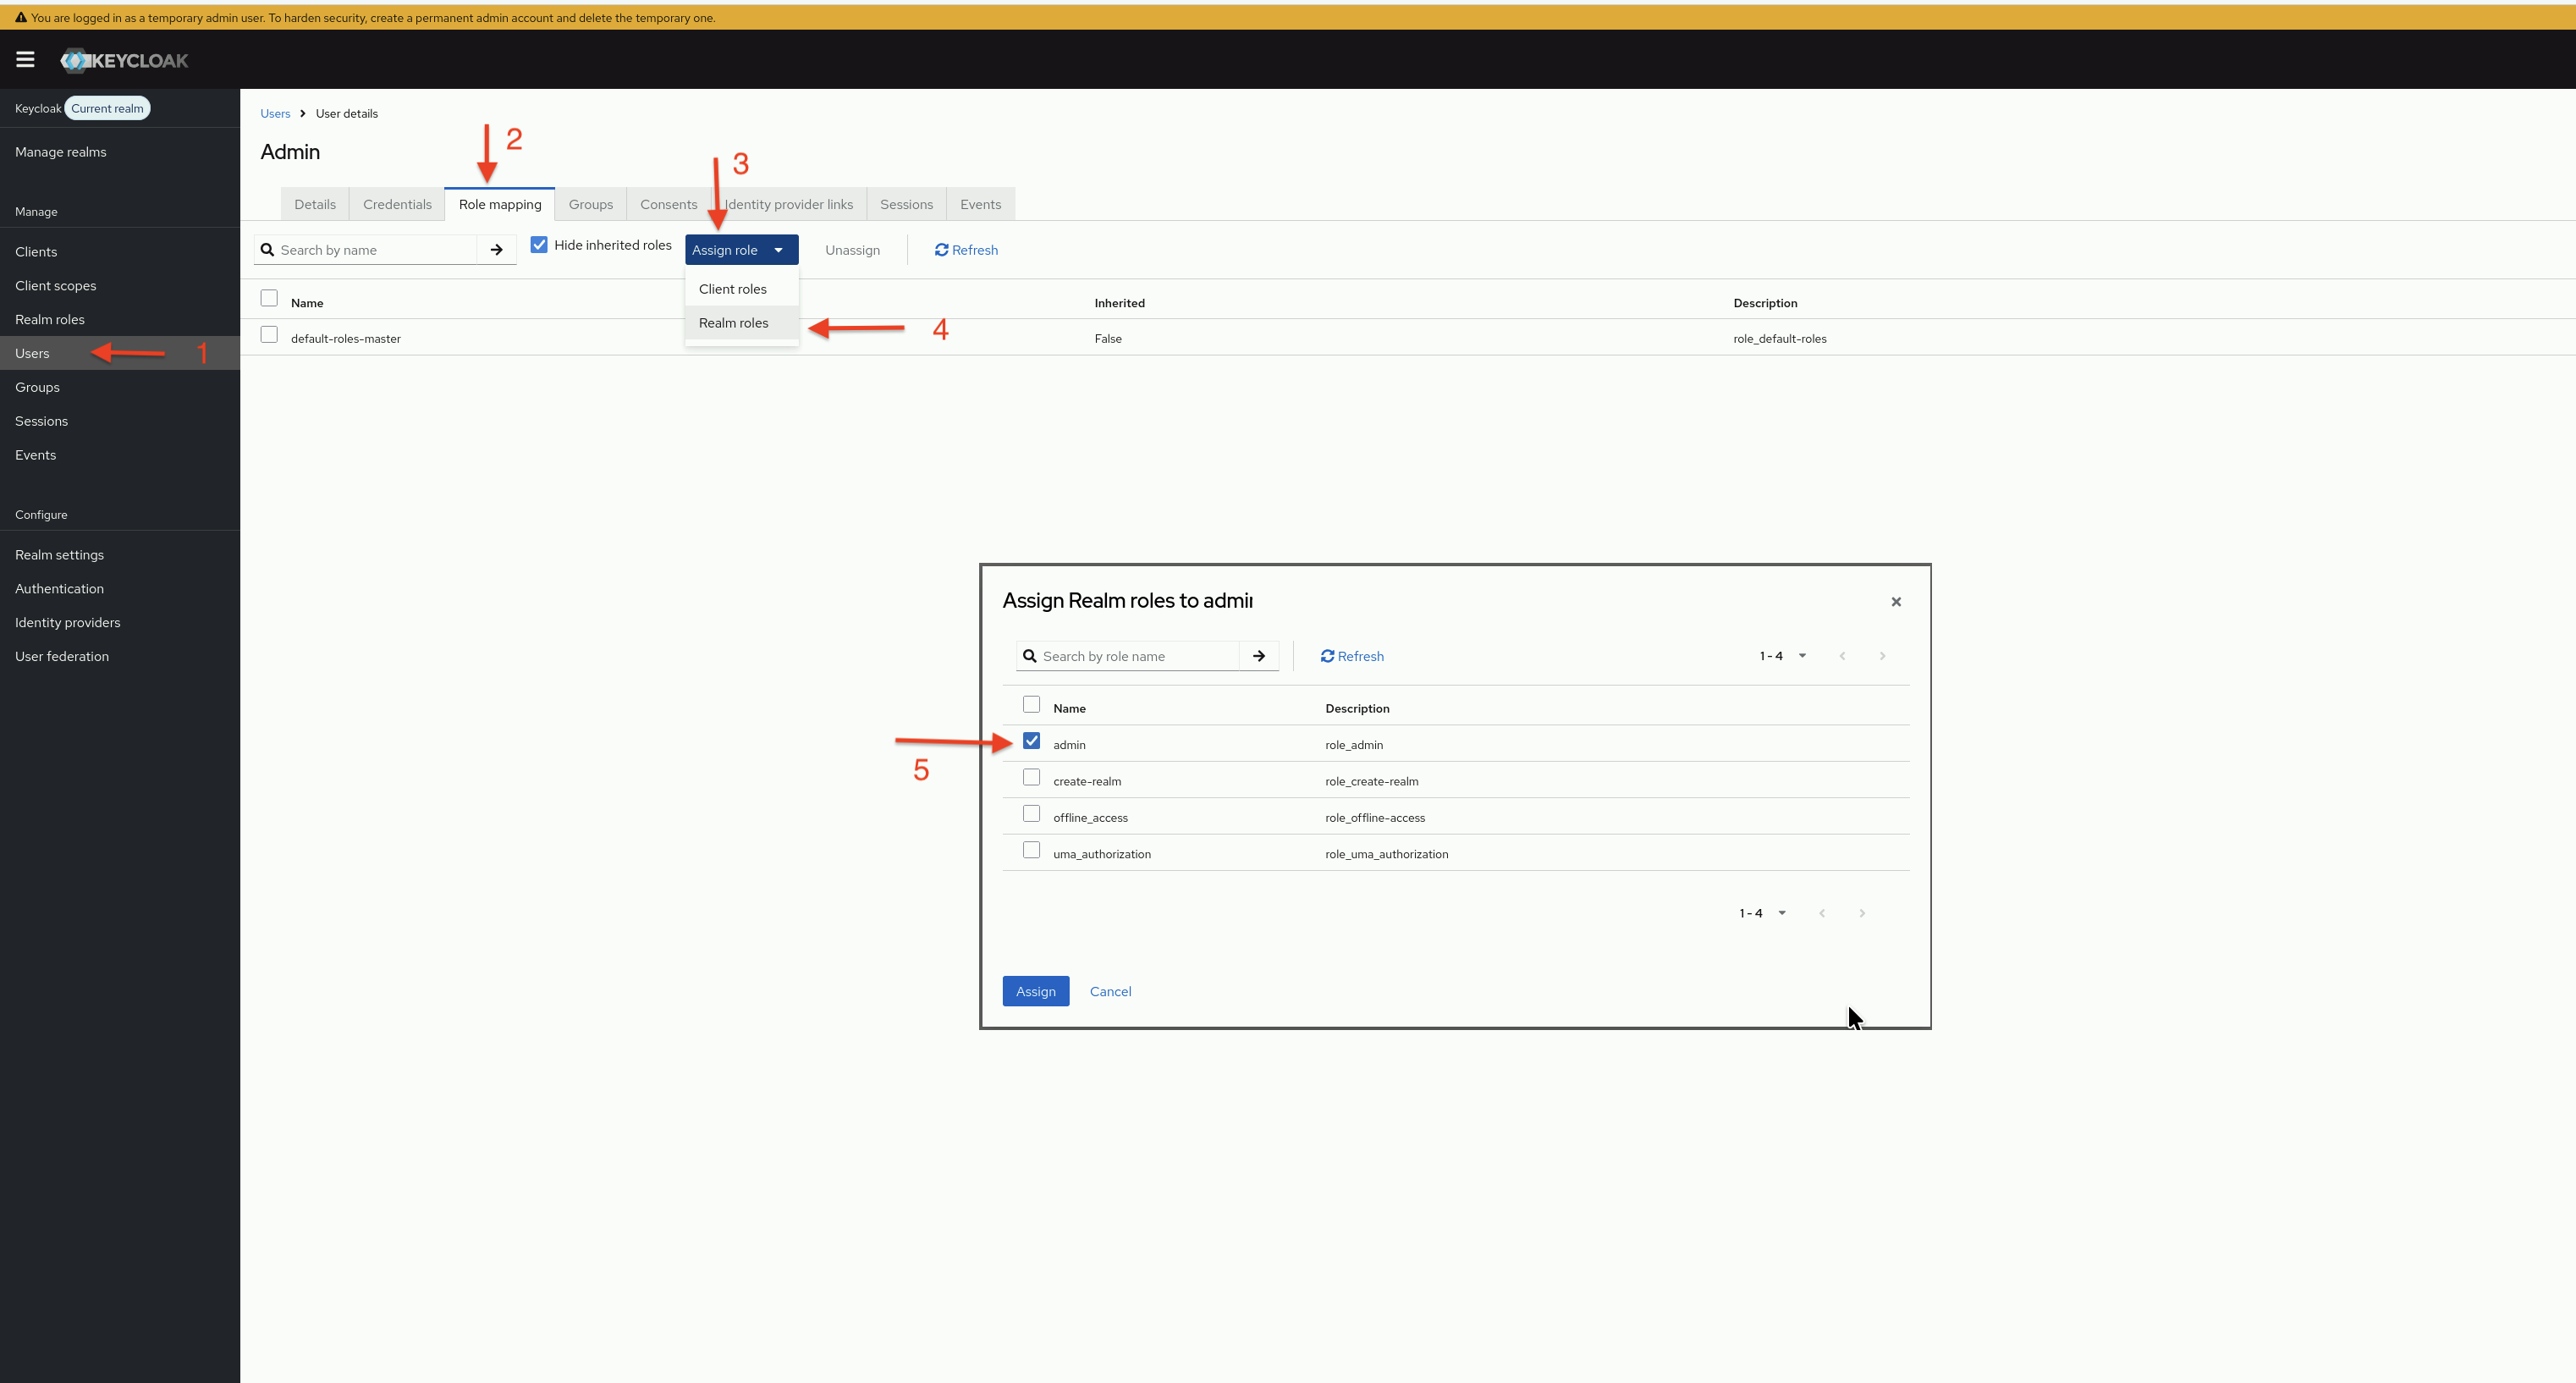
- Assign a role to the admin user. Under
Usersin the left side navigation, selectRole mappingtab. ClickAssign roledrop down list and pickRealm role. Assignadminrole to the admin user.
- Sign out from Keycloak UI. Re-login to Keycloak UI using the new admin username and password.
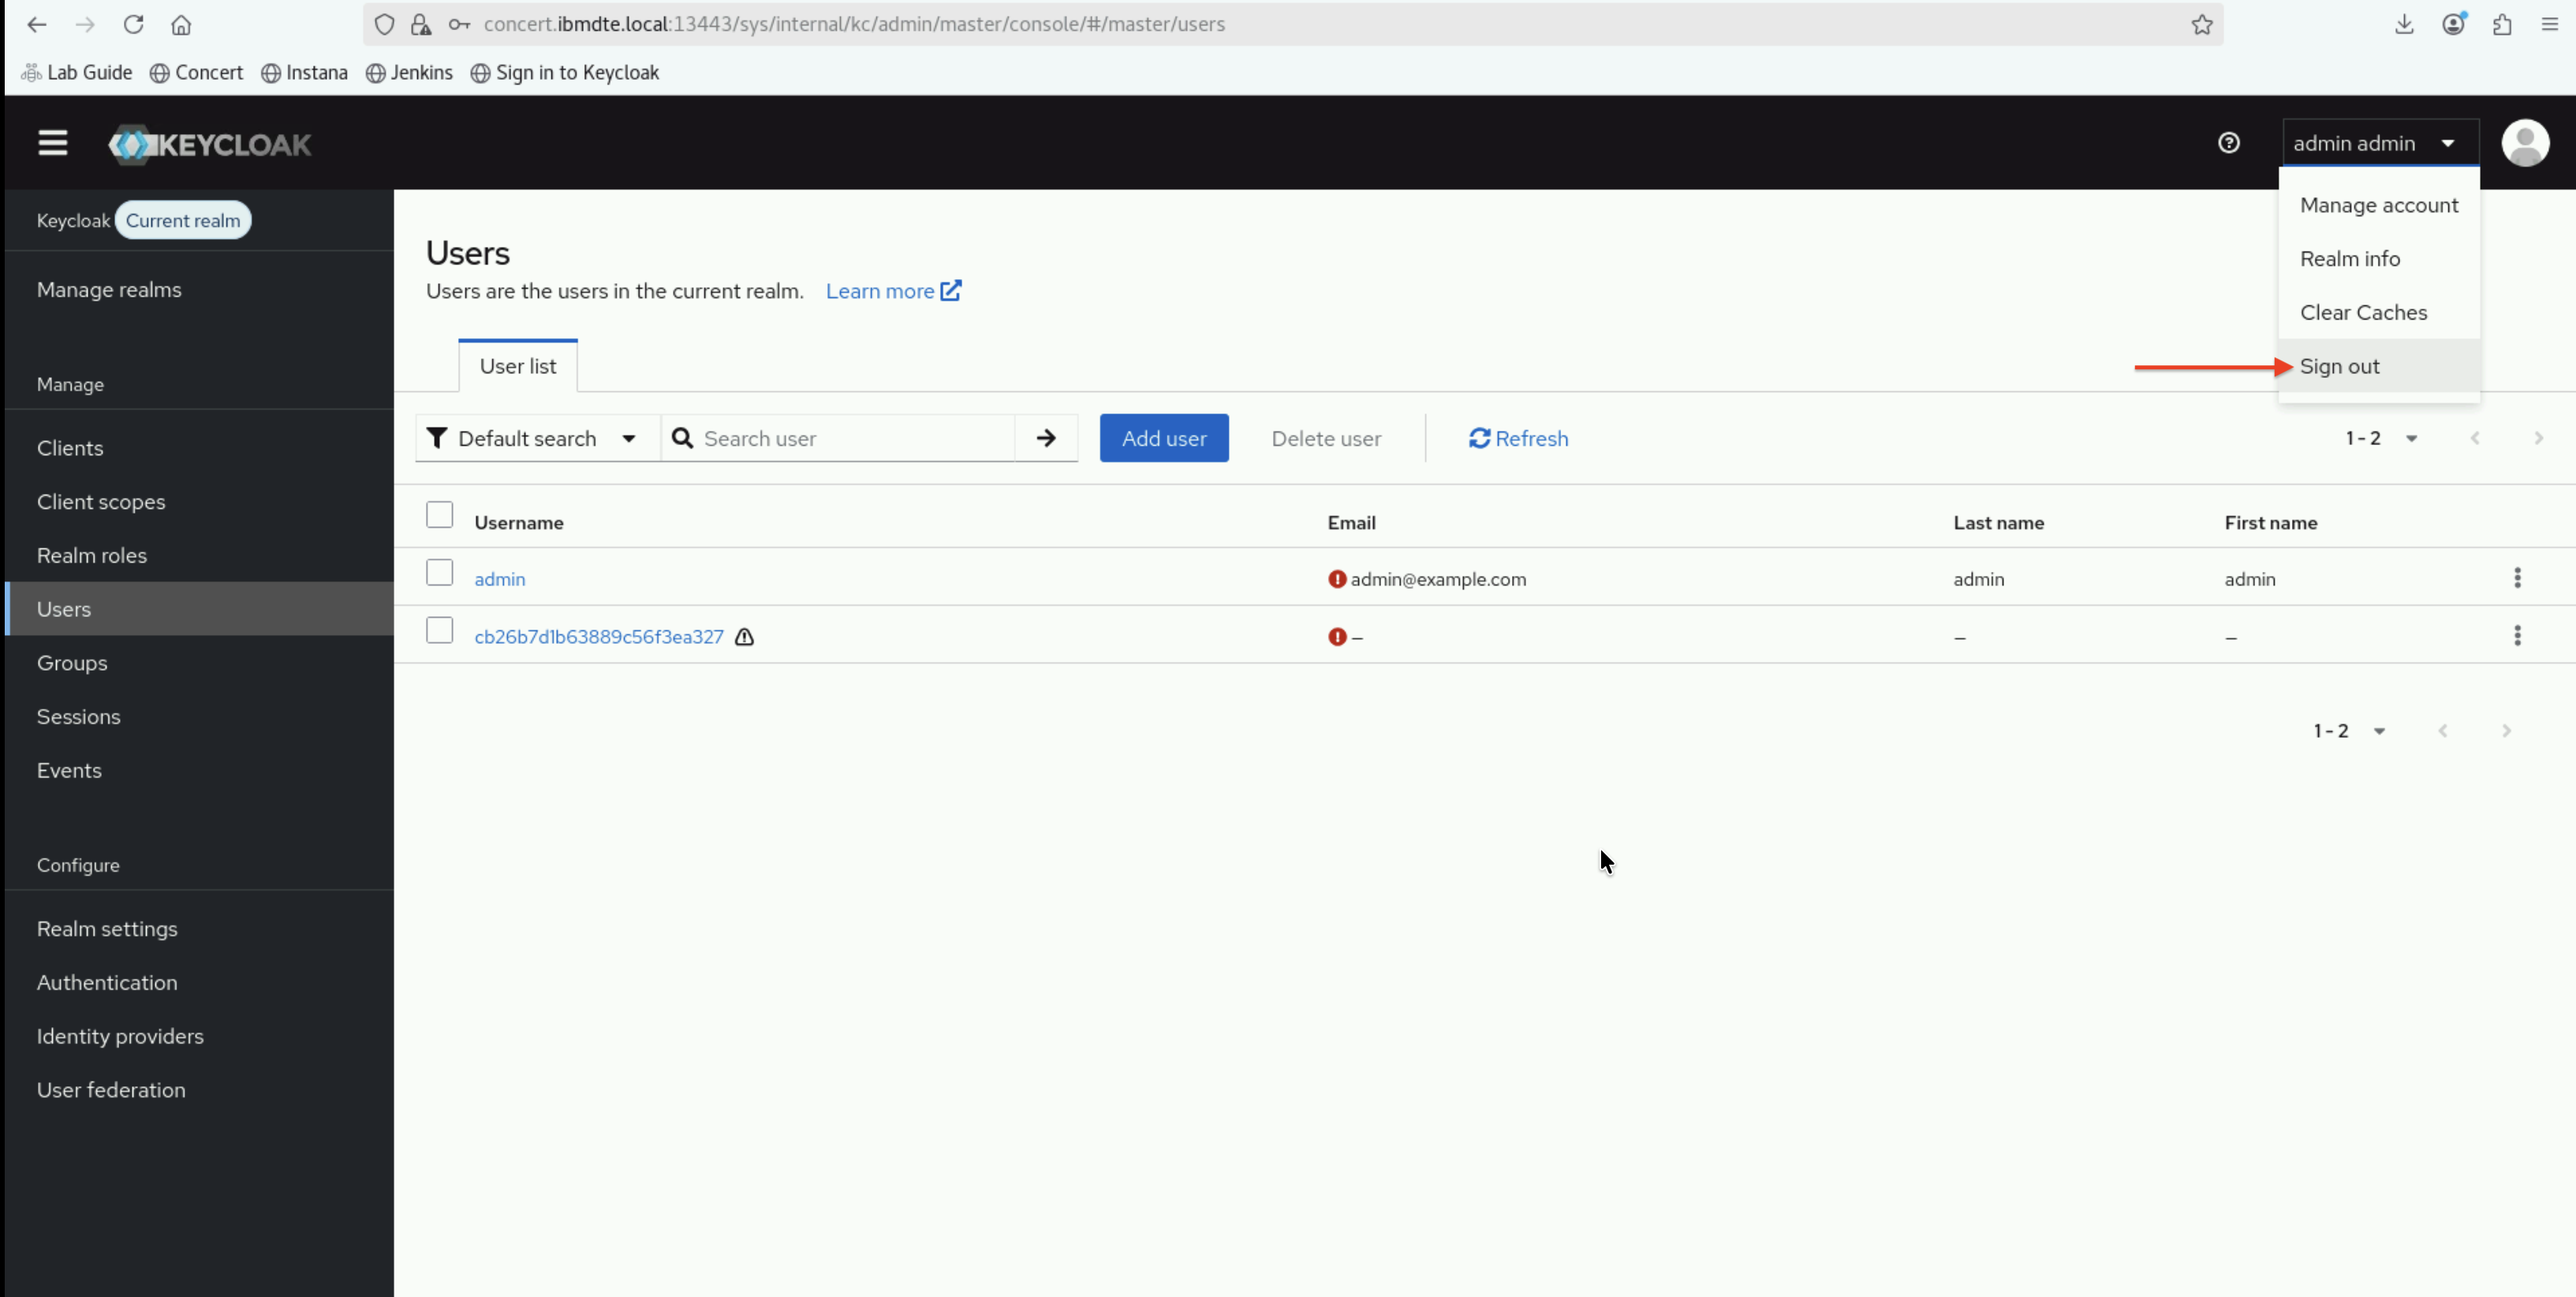
We will use the new admin username and password from this point onward.
3.7: Verify OpenLDAP Installation
Before proceeding with user configuration, verify that OpenLDAP is installed on bluebox.ibmdte.local virtual machine. By default, the OpenLDAP service is stopped.
Let's bring up OpenLDAP service for this lab activity and check its connection from bastion-gym-lan.ibmdte.local.
By default, OpenLDAP slapd service is stopped to minimize compute resources on bluebox.ibmdte.local virtual machine.
3.7.1: Check OpenLDAP Service Status
- Connect to the bluebox via SSH:
# Connect to OpenLDAP host
ssh jammer@bluebox
- Check slapd service and bring it up for next lab:
# Check if slapd service is running
sudo systemctl status slapd

# Bring up OpenLDAP service
sudo systemctl start slapd

# Verify LDAP is listening on port 389
sudo netstat -tlnp | grep 389

# Exit back to Bastion
exit
Expected output:
- Service status should show active (running)
- Port 389 should be in LISTEN state
3.7.2: Test LDAP Connectivity
- Connect to the bluebox via SSH:
# Connect to bluebox
ssh jammer@bluebox
- Do LDAP search to verify connectivity and authentication:
# Test LDAP search from bluebox
ldapsearch -x -H ldap://bluebox.ibmdte.local:389 -b "dc=example,dc=com" \
              -D "cn=admin,dc=example,dc=com" -w secret

# Exit back to Bastion
exit
Expected output:
- Should return the base DN entry
- No errors about connection refused or authentication failure
# extended LDIF
#
# LDAPv3
# base <dc=example,dc=com> with scope subtree
# filter: (objectclass=*)
# requesting: ALL
#

# example.com
dn: dc=example,dc=com
objectClass: top
objectClass: dcObject
objectClass: organization
o: Example Organization
dc: example

# admin, example.com
dn: cn=admin,dc=example,dc=com
objectClass: organizationalRole
cn: admin
description: LDAP Administrator

# users, example.com
dn: ou=users,dc=example,dc=com
objectClass: organizationalUnit
ou: users

# groups, example.com
dn: ou=groups,dc=example,dc=com
objectClass: organizationalUnit
ou: groups

# search result
search: 2
result: 0 Success

# numResponses: 5
# numEntries: 4
If you encounter connection errors, verify:
- OpenLDAP service is running on the openldap host
- You're using the correct admin password
3.8: Access Concert UI
Verify that you can access the Concert user interface.
3.8.1: Steps to Access Concert
- From the Bastion Remote Desktop, open Firefox browser.
- Click on the Concert bookmark to open the Concert UI. Or navigate to:
https://concert.ibmdte.local:12443/concert/ - Accept the certificate warning if prompted.
- Login to the Concert UI with the credentials recorded in the credentials file (concert_username: and concert_password:).
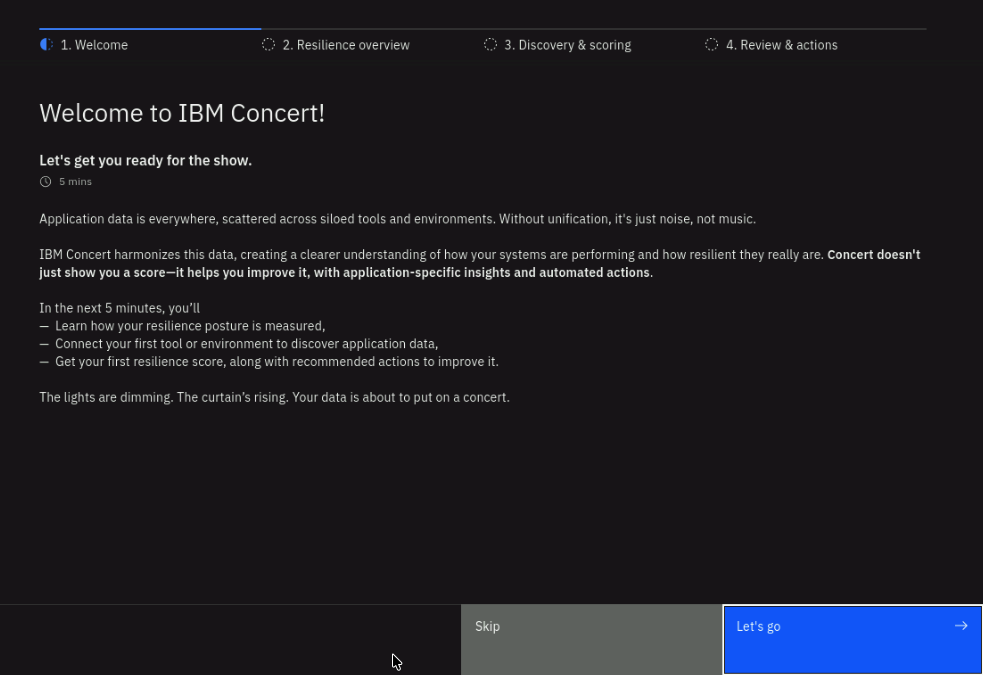
If prompted with the Welcome to IBM Concert dialog, choose Skip to bypass the setup wizard.
3.8.2: Verify Concert Access
After logging in, you should see:
- Concert dashboard with navigation menu
- No error messages
- Ability to navigate to different sections
At this stage, SSO is not yet configured. You're logging in with the default concert_username and concert_password. After completing the lab, you'll be able to log in via SSO with LDAP users.
3.9: Access Keycloak Admin Console
Verify that you can access the Keycloak Admin Console.
3.9.1: Steps to Access Keycloak
- From the Bastion Remote Desktop, open Firefox browser.
- Click on the Keycloak bookmark to open the Keycloak UI. Or navigate to:
https://concert.ibmdte.local:13443/sys/internal/kc/ - Accept the certificate warning if prompted.
- Log in with the Keycloak admin credentials from your credentials file:
- Username:
admin - Password:
secret
- Username:
3.9.2: Verify Keycloak Access
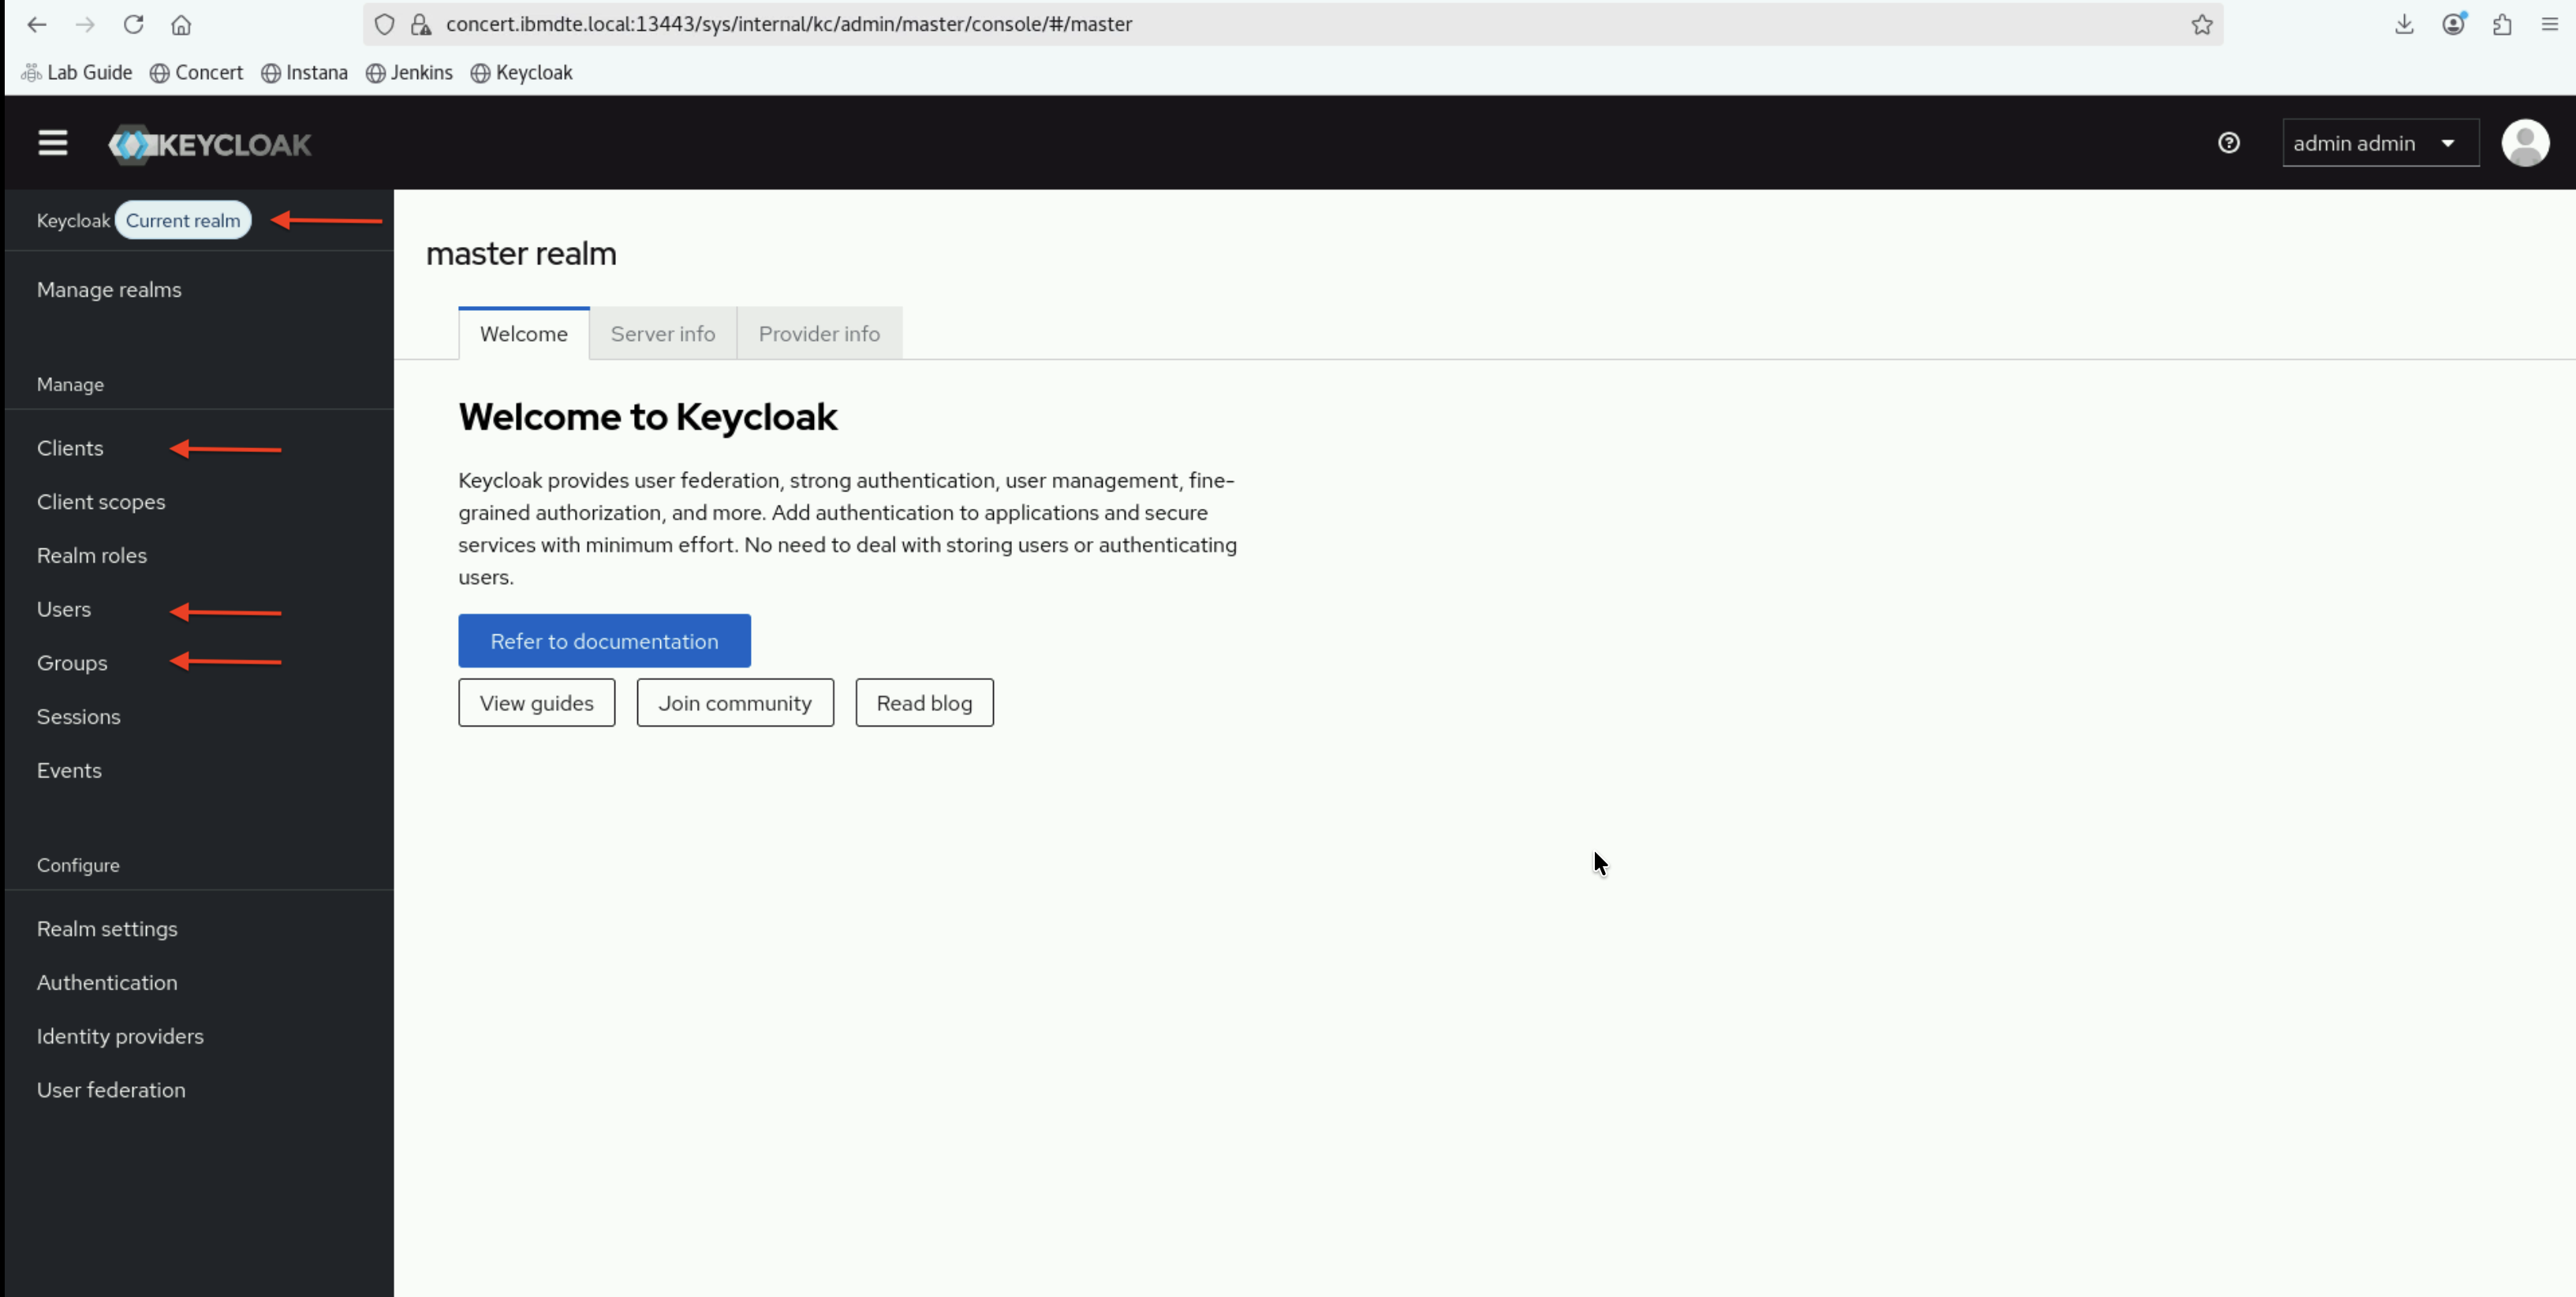
After logging in, you should see:
- Keycloak Admin Console interface
- Master realm selected by default
- Left navigation menu with options like Users, Groups, Clients, etc.
Keep both Concert and Keycloak tabs open in Firefox. You'll switch between them frequently during the lab exercises.
3.10: Verify Lab Tools
Ensure that necessary command-line tools are available on the Bastion Host.
- Connect to the bluebox via SSH:
# Connect to OpenLDAP host
ssh jammer@bluebox
# Verify LDAP client tools are installed
which ldapsearch
which ldapadd
which ldapmodify

# Verify OpenSSL is available
which openssl

# Verify curl is available
which curl

# Exit back to Bastion
exit
All commands should return a path (e.g., /usr/bin/ldapsearch).
3.11: Preparation Checklist
Before proceeding to the next section, verify that you have completed all preparation steps:
- Created and saved
credentials.txtfile - Retrieved and recorded Concert host IP address
- Retrieved and recorded OpenLDAP host IP address
- Retrieved and recorded Keycloak admin password
- Retrieved and recorded OpenLDAP admin password
- Verified OpenLDAP service is running
- Successfully tested LDAP connectivity
- Successfully logged into Concert UI
- Successfully logged into Keycloak Admin Console
- Verified LDAP client tools are installed
If you've completed all items in the checklist, you're ready to proceed to the next section where you'll configure OpenLDAP with Concert users and groups.
Troubleshooting
This section provides basic troubleshooting steps in case you encounter any issues while performing the steps above. These steps are optional and only need to be followed if you run into problems.
Cannot Retrieve Keycloak Password
Problem: The podman exec -it ibm-solis-embedded-keycloak env | grep KC_BOOT command fails or returns an error.
Solutions:
- Verify you're on the Concert host:
hostnameshould returnconcert - Check if you have proper permissions as jammer user:
whoami - Verify that KC_BOOTSTRAP_ADMIN_USERNAME and KC_BOOTSTRAP_ADMIN_PASSWORD exist from :
podman exec -it ibm-solis-embedded-keycloak env | grep KC_BOOTcommand output, refer to Section 3.5
Cannot Connect to OpenLDAP
Problem: ldapsearch command fails with "Can't contact LDAP server"
Solutions:
- Verify OpenLDAP service is running:
ssh jammer@bluebox 'sudo systemctl status slapd' - Check network connectivity:
ping bluebox.ibmdte.local - Verify firewall rules allow LDAP traffic
- Try using IP address instead of hostname
Cannot Access Concert or Keycloak UI
Problem: Browser shows connection error or timeout
Solutions:
- Verify you're using Firefox on the Bastion Host (not your local browser)
- Check the URL is correct (https://)
- Accept certificate warnings
- Verify services are running on Concert host
- Try clearing browser cache and cookies
- Restart Firefox
Credentials File Lost
Problem: Accidentally closed the credentials file
Solutions:
- Open Text Editor again
- Navigate to the file location (usually in home directory)
- If file is lost, recreate it using the template in section 3.3
- Re-retrieve passwords following sections 3.5 and 3.6
Keep your credentials.txt file open and updated throughout the lab. It will be your primary reference for all configuration values.