MODULE 4 | SCALE & EXTEND
BOB SHELL
i. Moving beyond the IDE
Everything so far has lived inside the IDE. Bob Shell brings the same core capabilities to a terminal — a keyboard-driven, command-line form factor installed separately from the VS Code extension and runnable in any standard terminal. For developers who live in the terminal, it unlocks workflows that are difficult or impossible in the IDE: headless automation, scripting, and running several Bob instances in parallel.
This is what taking Bob to enterprise scale looks like in practice.
ADDITIONAL DOCUMENTATION
Heads-up: completing this lesson may require additional guidance from IBM Bob's full product documentation to install Bob Shell. Detailed documentation is available from IBM.com
ii. Why this matters
The Bob IDE and Bob Shell are complementary vectors for working with IBM Bob. In practice, you will discover that many workflows run both the Bob IDE and Bob Shell side-by-side. Some additional points of comparison on where and when to leverage either (or both) interfaces:
| USE CASE | BOB IDE | BOB SHELL |
|---|---|---|
| Visual file exploration | Better | Limited |
| Keyboard-driven workflows | Good | Excellent |
| Automation and scripting | Not supported | Supported (headless mode) |
| Parallel instances | Difficult | Trivial |
| Getting started | Easier | Steeper learning curve |
iii. Three reasons to reach for Bob Shell
-
Keyboard efficiency. Bob Shell removes mouse-driven interaction entirely — navigating files, issuing commands, reviewing output, and prompting Bob all happen through the keyboard. For developers who have internalized terminal workflows, the path from thought to action is faster, and the efficiency compounds; many adopt Bob Shell as a full daily-driver replacement for the IDE once it's familiar.
-
Parallelization. Because Bob Shell runs in a terminal, multiple independent instances can run at once — one per tab, pane, or multiplexer window — which is trivial to set up compared with any IDE-based approach. You might run the IDE sidebar for exploratory work while one shell instance implements a backend change, another writes tests for a separate component, and a third generates documentation. Tasks with no shared state are the ideal candidates.
-
Headless mode. Bob Shell supports a headless mode where input is piped directly to Bob rather than entered interactively. This single capability turns Bob into a programmable component rather than just an interactive assistant. Pipe compiler output to it for diagnosis, pipe log files to it for incident triage, generate summaries or reports as part of a script, or let it attempt minor fixes autonomously and escalate the complex ones. For example:
A NOTE ON SAFETY
Governance, as always, is paramount. By default, Bob Shell applies stricter auto-approval settings than the Bob IDE. For example, file writes and shell commands require explicit confirmation by the user. The stricter default behavior is deliberate given that Bob Shell is often used in environments (servers, continuous integration pipelines, or scripts) where unreviewed changes can carry broader consequences, compared to within the constraints of a local IDE session.
QUIZ QUESTION - IBM BOB LEVEL 4
If you are planning to pursue IBM Bob Level 4 accreditation, what is rendered on-screen or returned within a console as a result of this step are likely referenced as part of a multiple-choice question. It is strongly recommend that you record to a notebook (for reference later) details about how the Bob Shell being used from a script with no interactive session at all.
iv. Getting started and navigation tips
Once installed, invoke Bob Shell by running:
On first use, Shell prompts for IBM login credentials. After successfully authenticating, it behaves much like the Bob IDE Chat interface: you type natural-language prompts directly at into the Shell prompt, with Bob reading and modifying files in the current working directory based upon those requests.
INVOKING REGULAR (NON-BOB) SHELL COMMANDS
Within a Bob Shell session, prefix any command with ! to invoke regular (non-Bob) shell commands. For example:
QUIZ QUESTION - IBM BOB LEVEL 4
If you are planning to pursue IBM Bob Level 4 accreditation, what is rendered on-screen or returned within a console as a result of this step are likely referenced as part of a multiple-choice question. It is strongly recommend that you record to a notebook (for reference later) details about what character you use to prefix any Bob Shell commands.
The net result for the developer (you) is being able to alternate between AI-assisted workflows (with Bob Shell) and standard bash shell operations seamlessly, without needing to leave or create a separate session.
v. Hands-on: Installing and using Bob Shell
Follow the video for a full walkthrough: Chapter 4.2: Bob Shell [IBM Bob L3]
To begin, you will first need to follow the directions below for setting up Bob Shell within your Windows or MacOS environment. Follow the instruction set specific to your operating system.
Afterwards, you will go hands-on with using Bob Shell to programmatically send a prompt, drop into Shell Mode, and explore various commands.
-
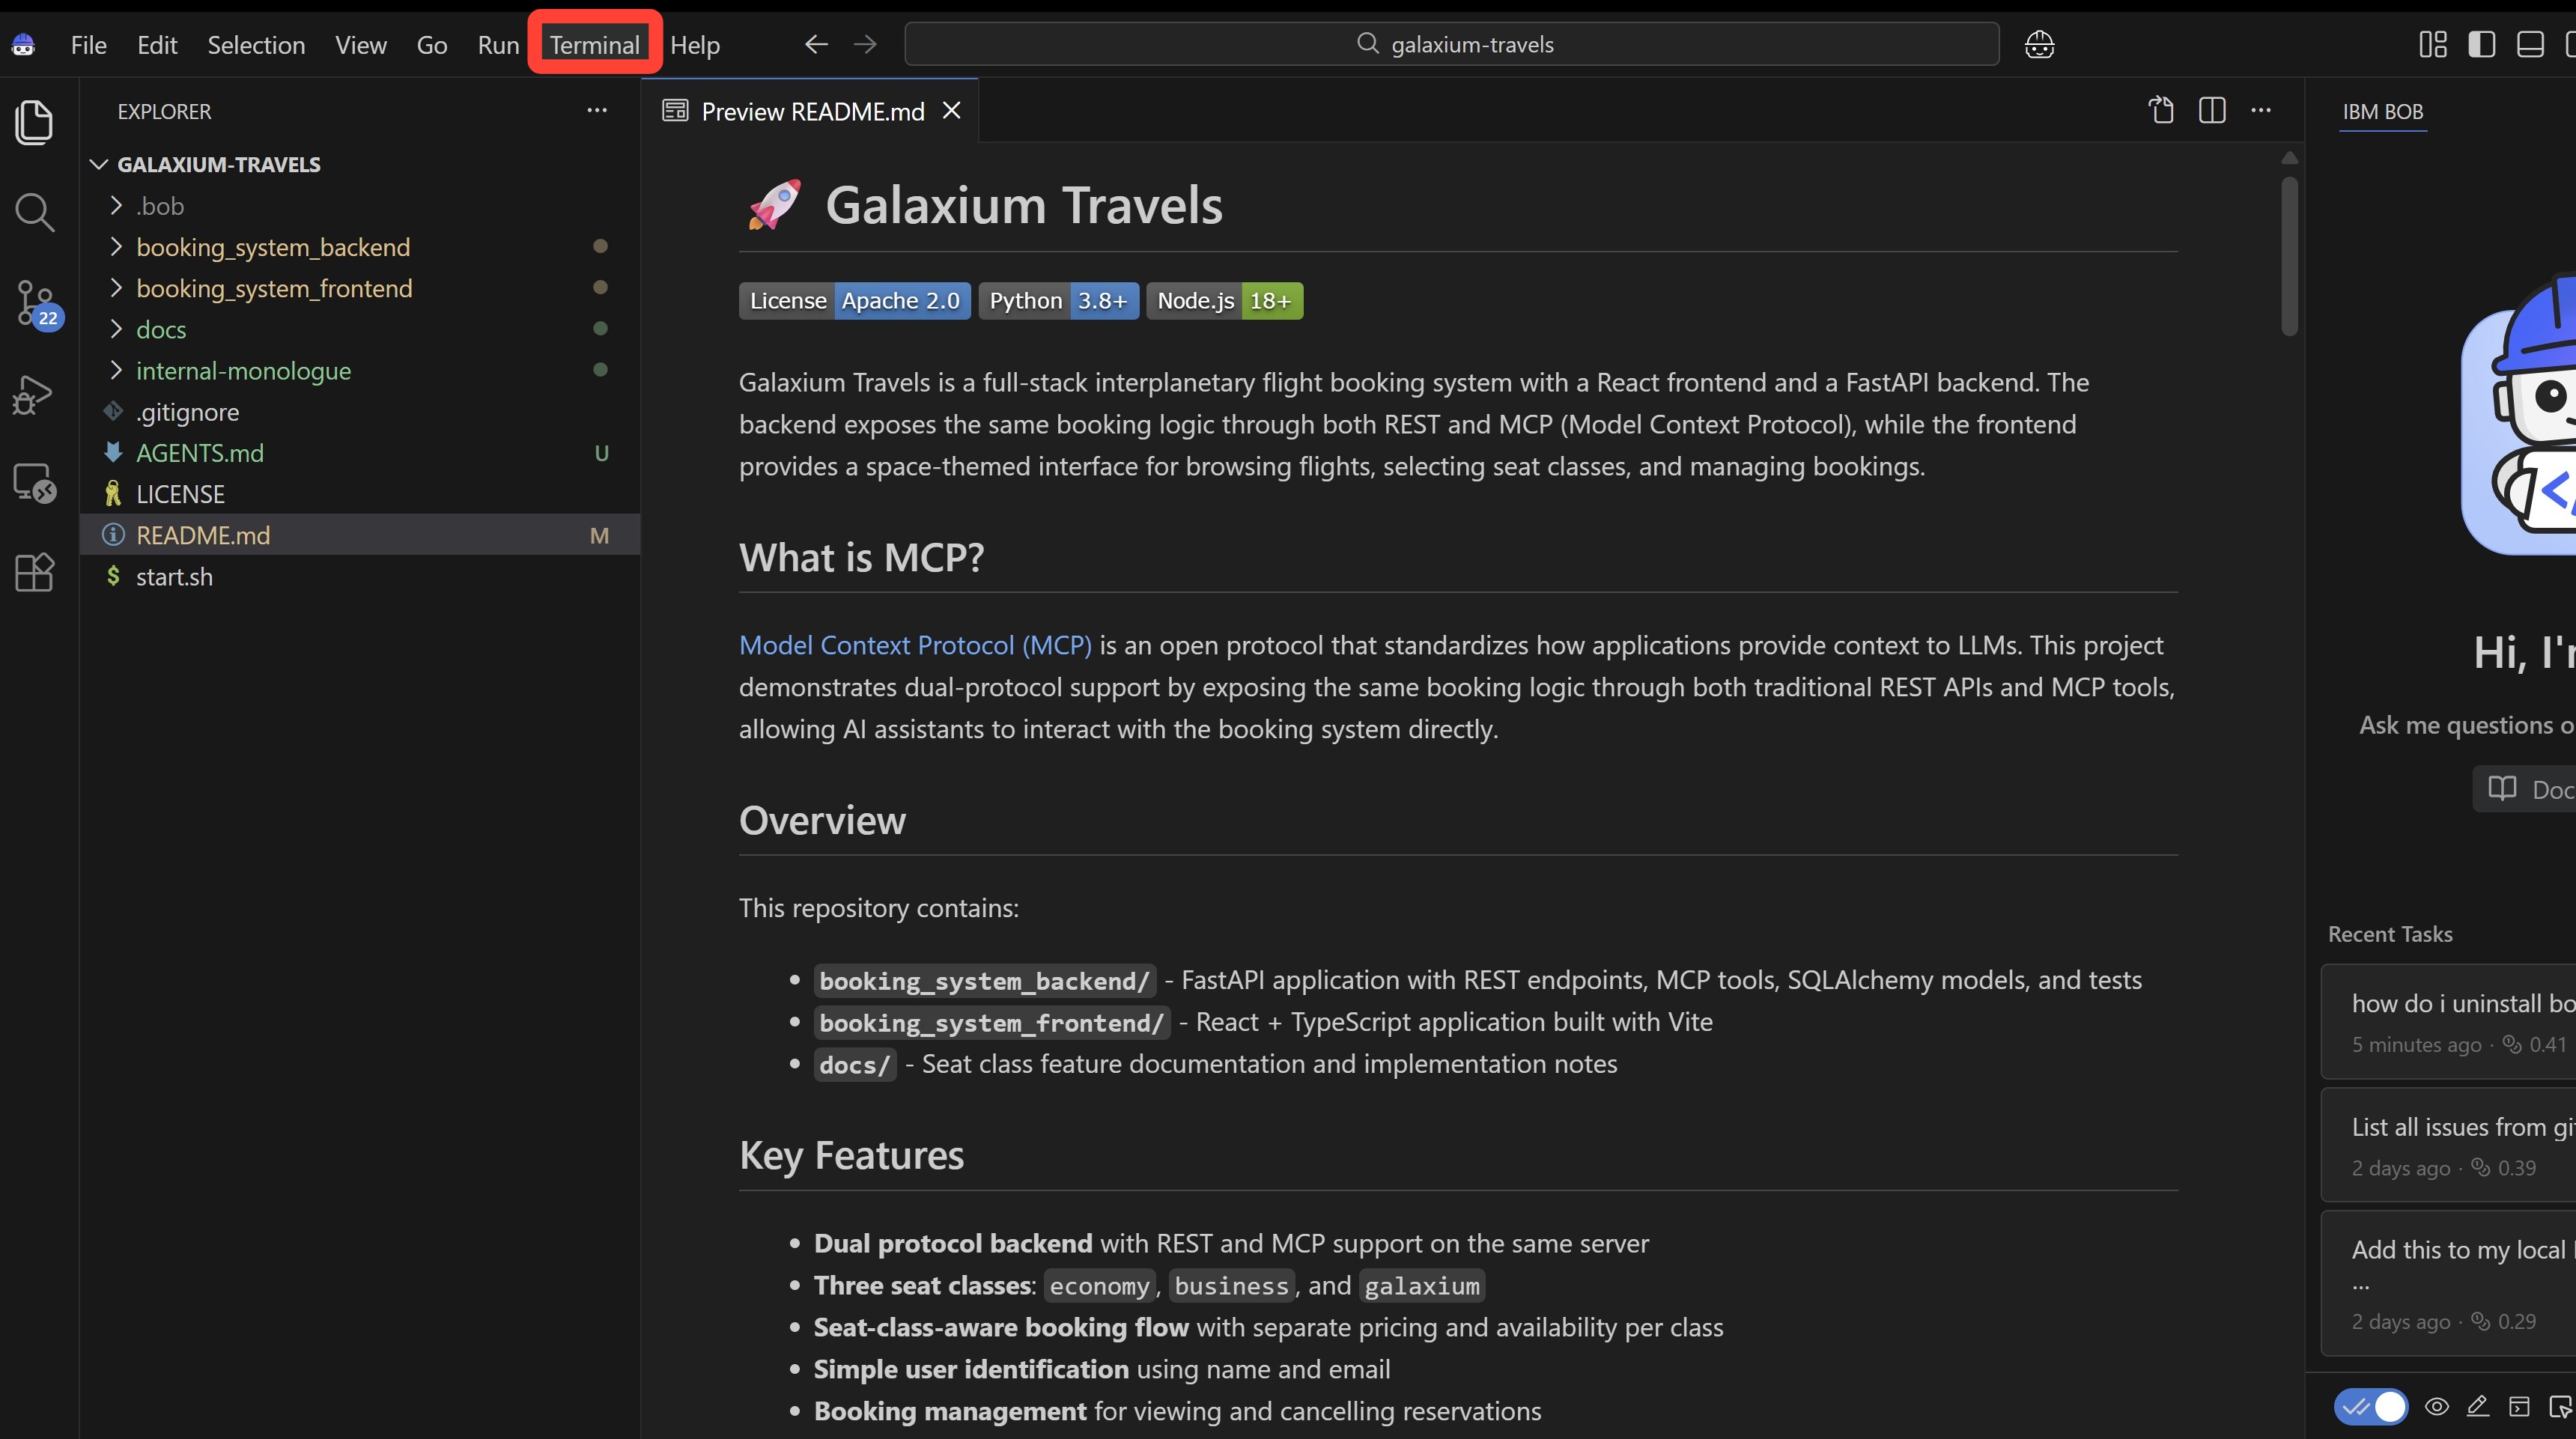
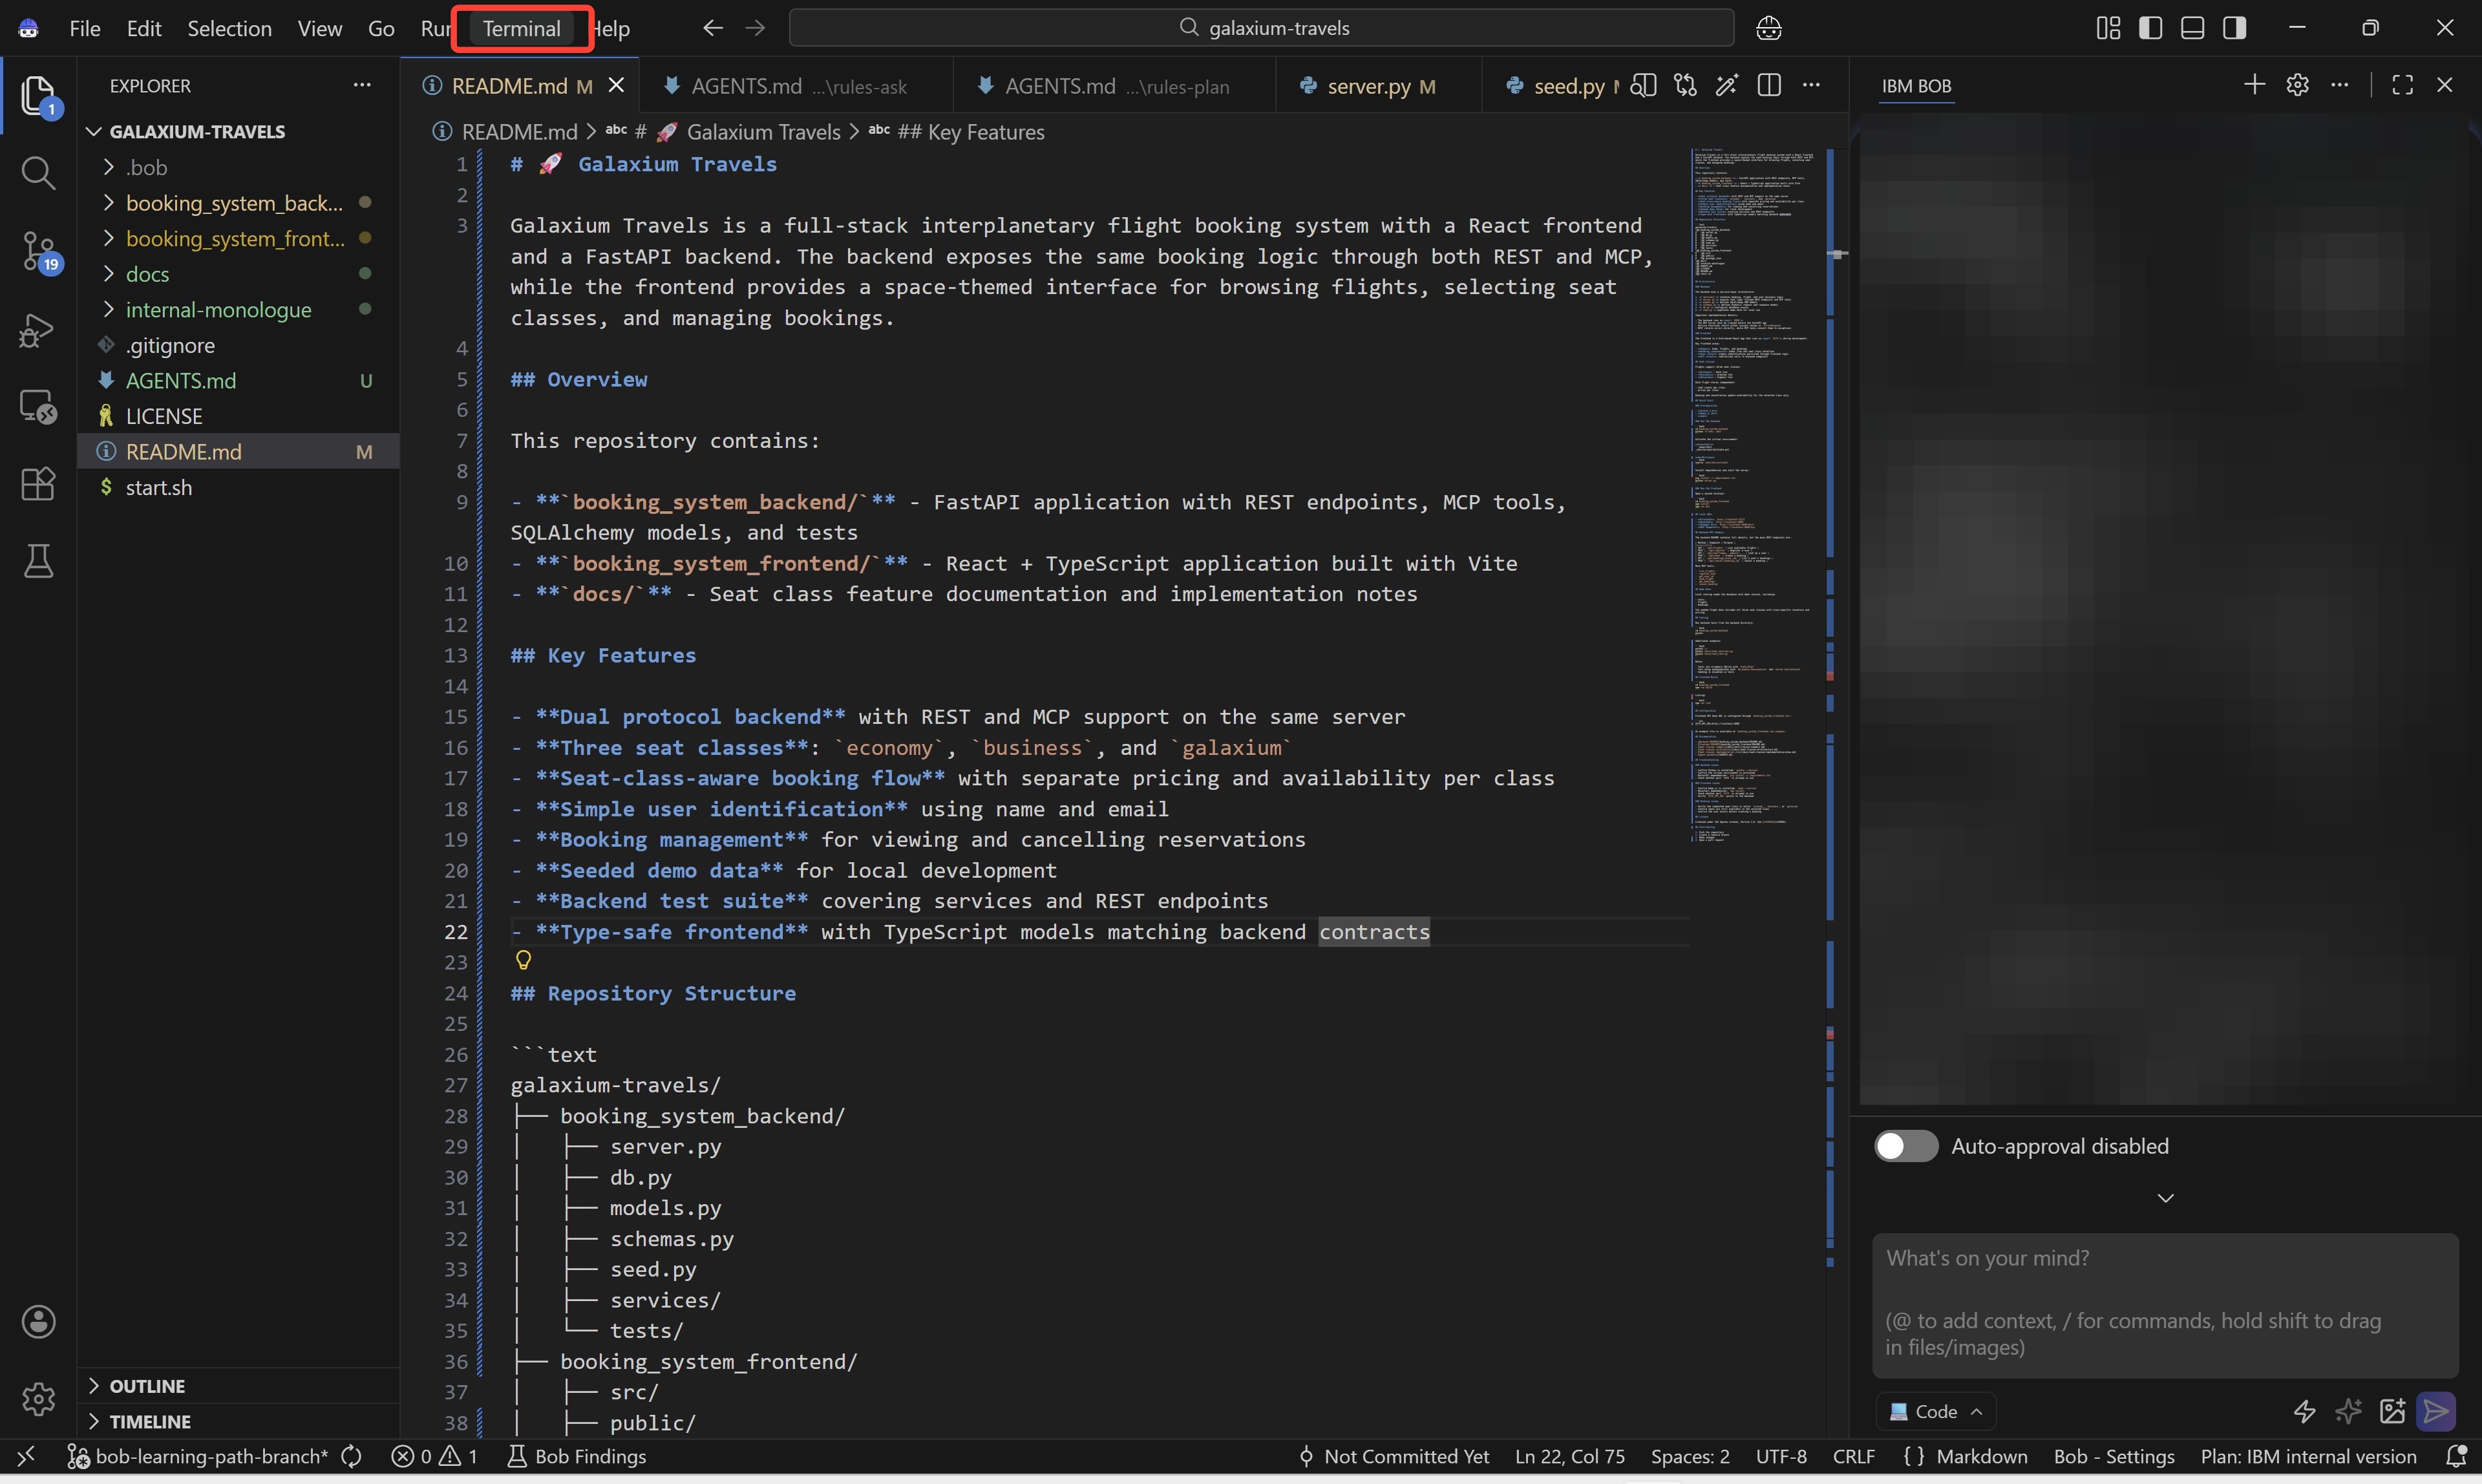
Open a new Terminal window by pressing the Terminal button at the top of Bob IDE.
Alternatively, you can use the Terminal application on MacOS or the PowerShell application on Windows.
-
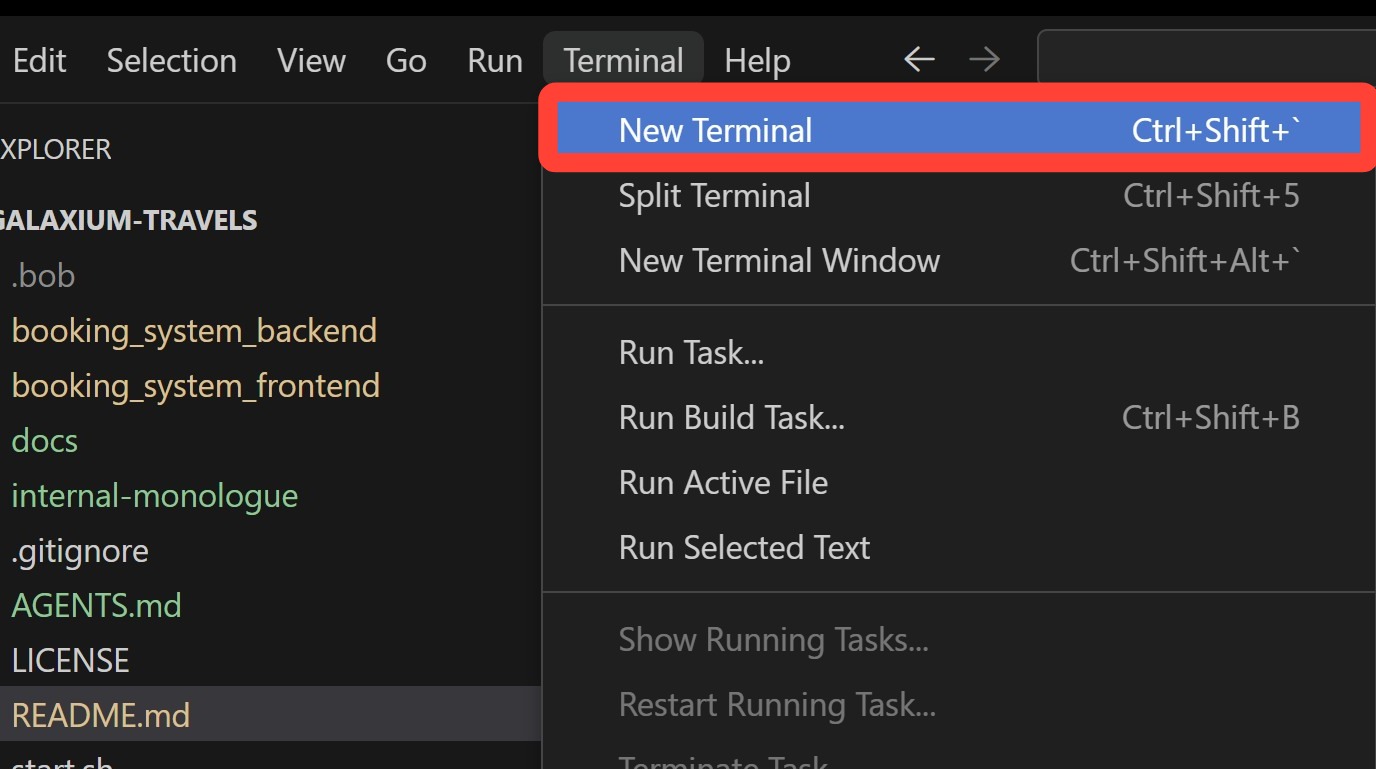
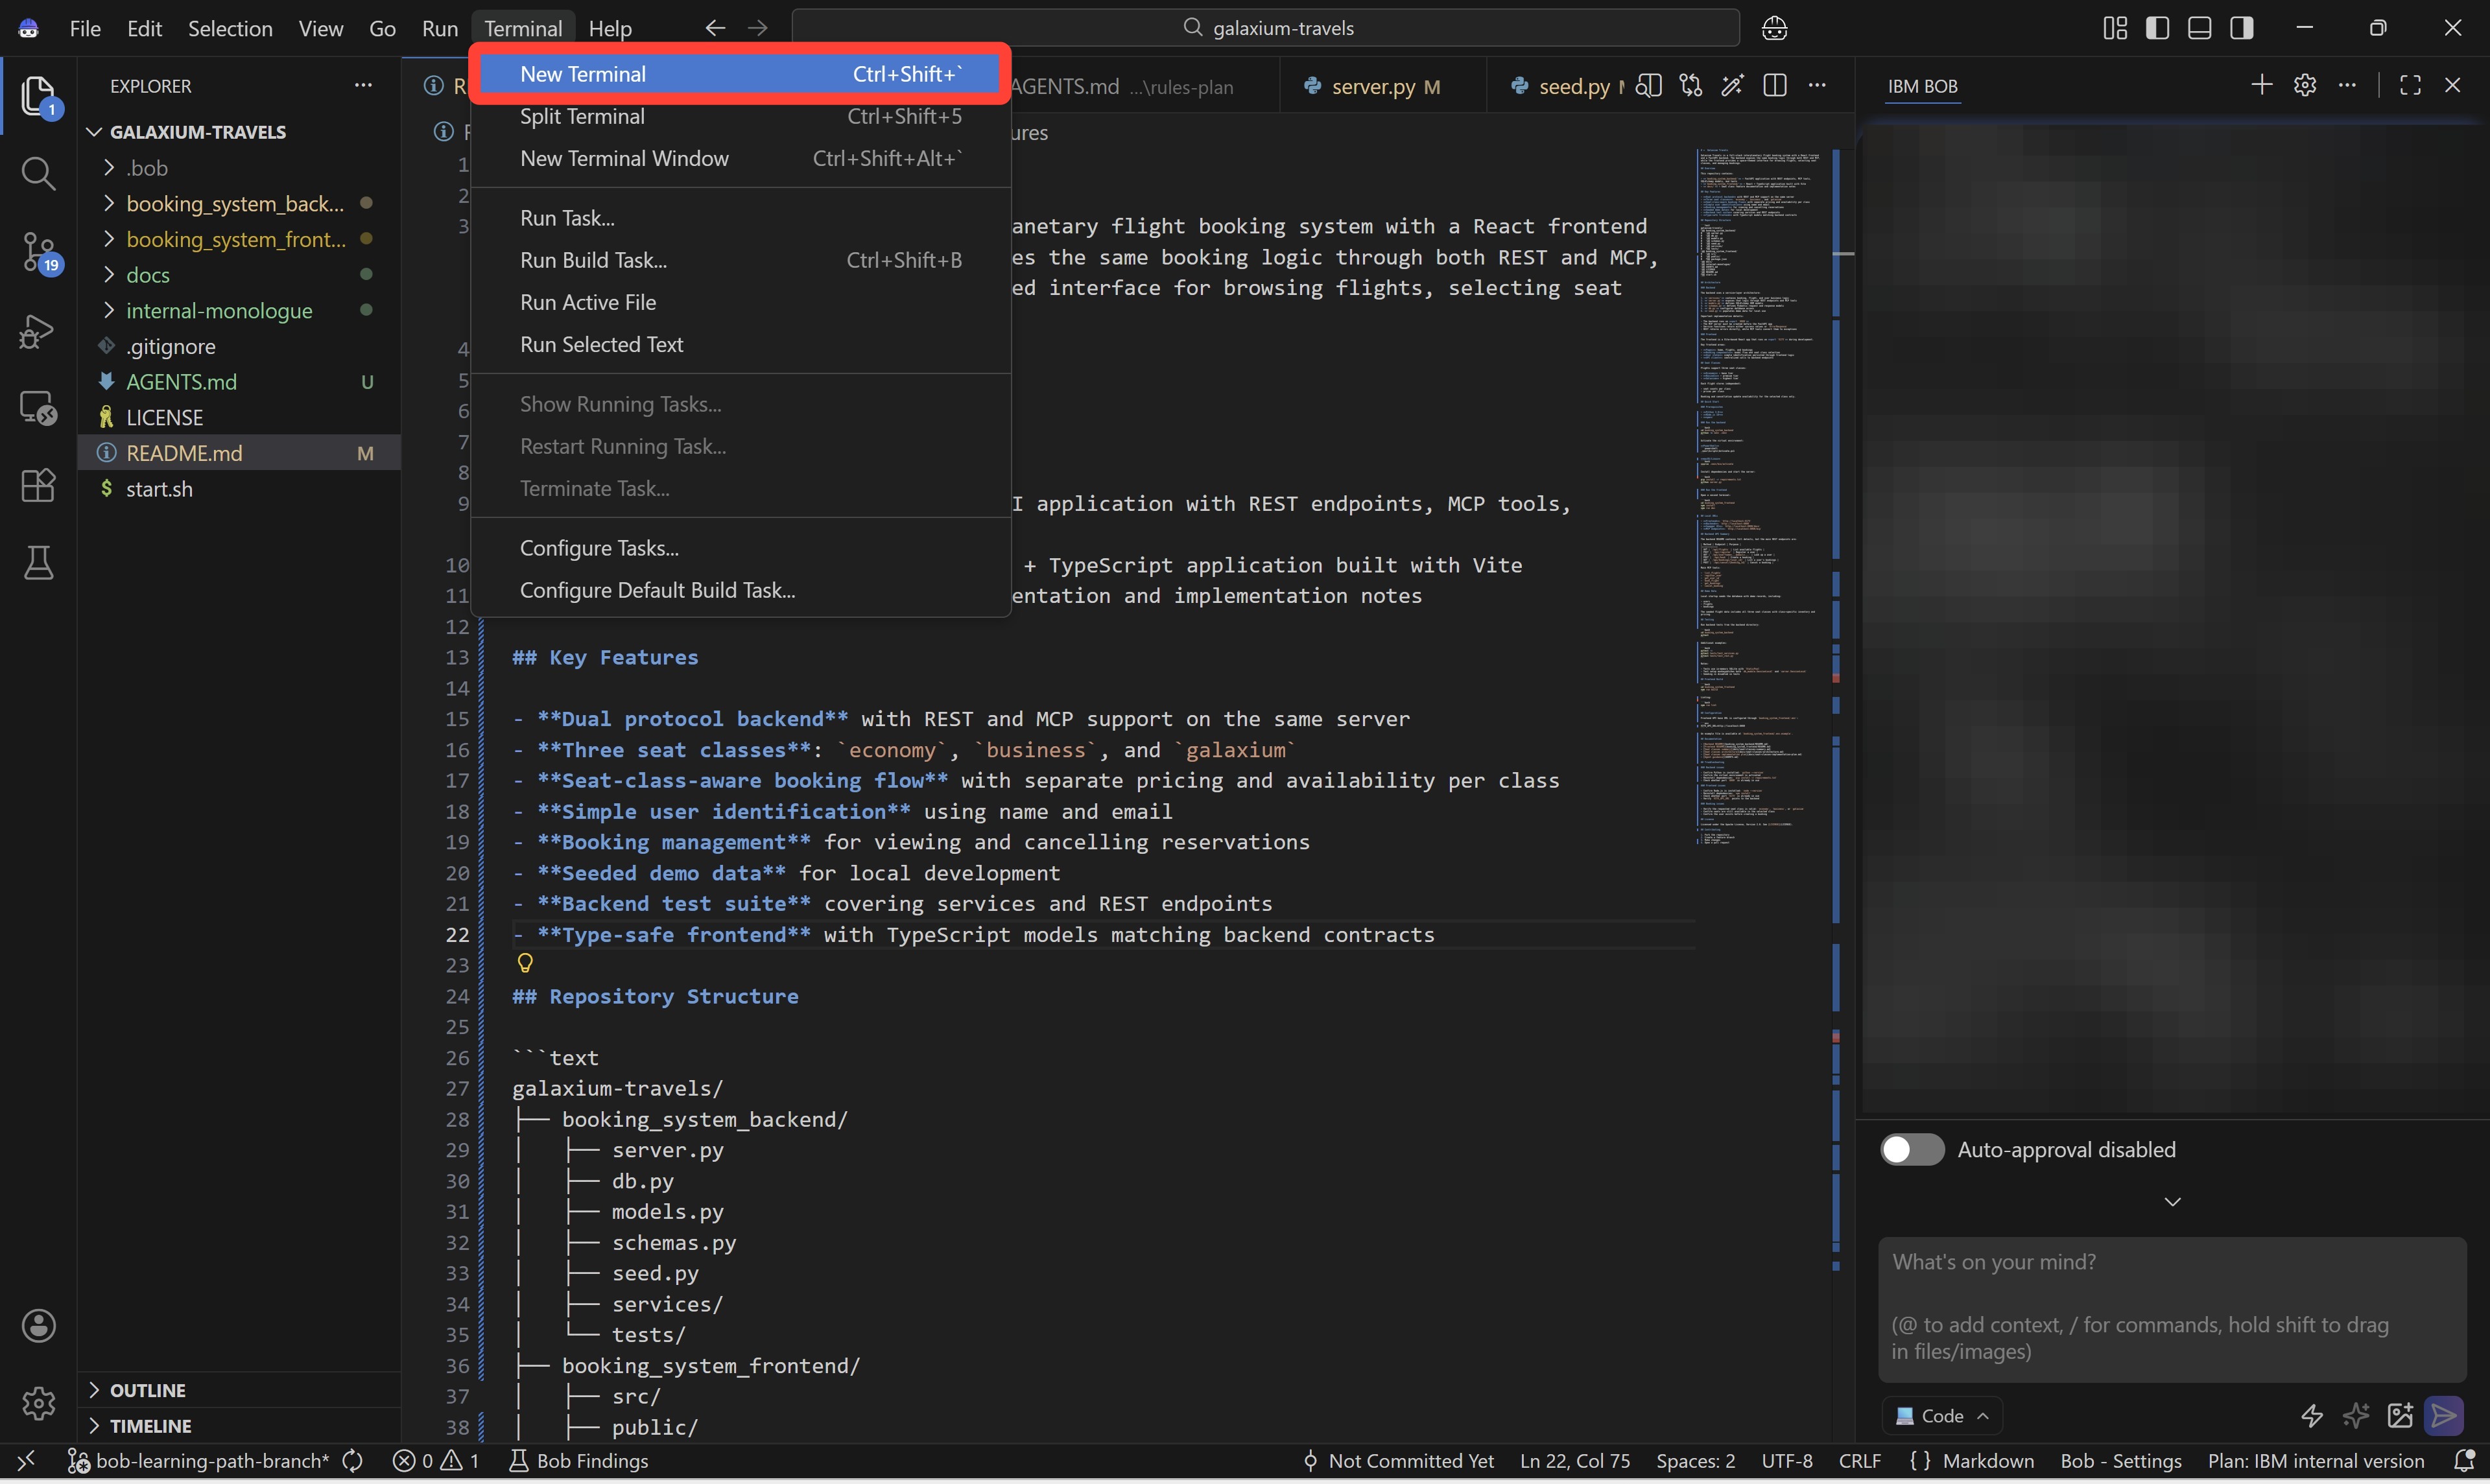
Click New Terminal to launch a new console instance.
-
To download the Bob Shell to your local machine, follow the instruction set below that matches your machine's operating system.
MAC OR LINUX
-
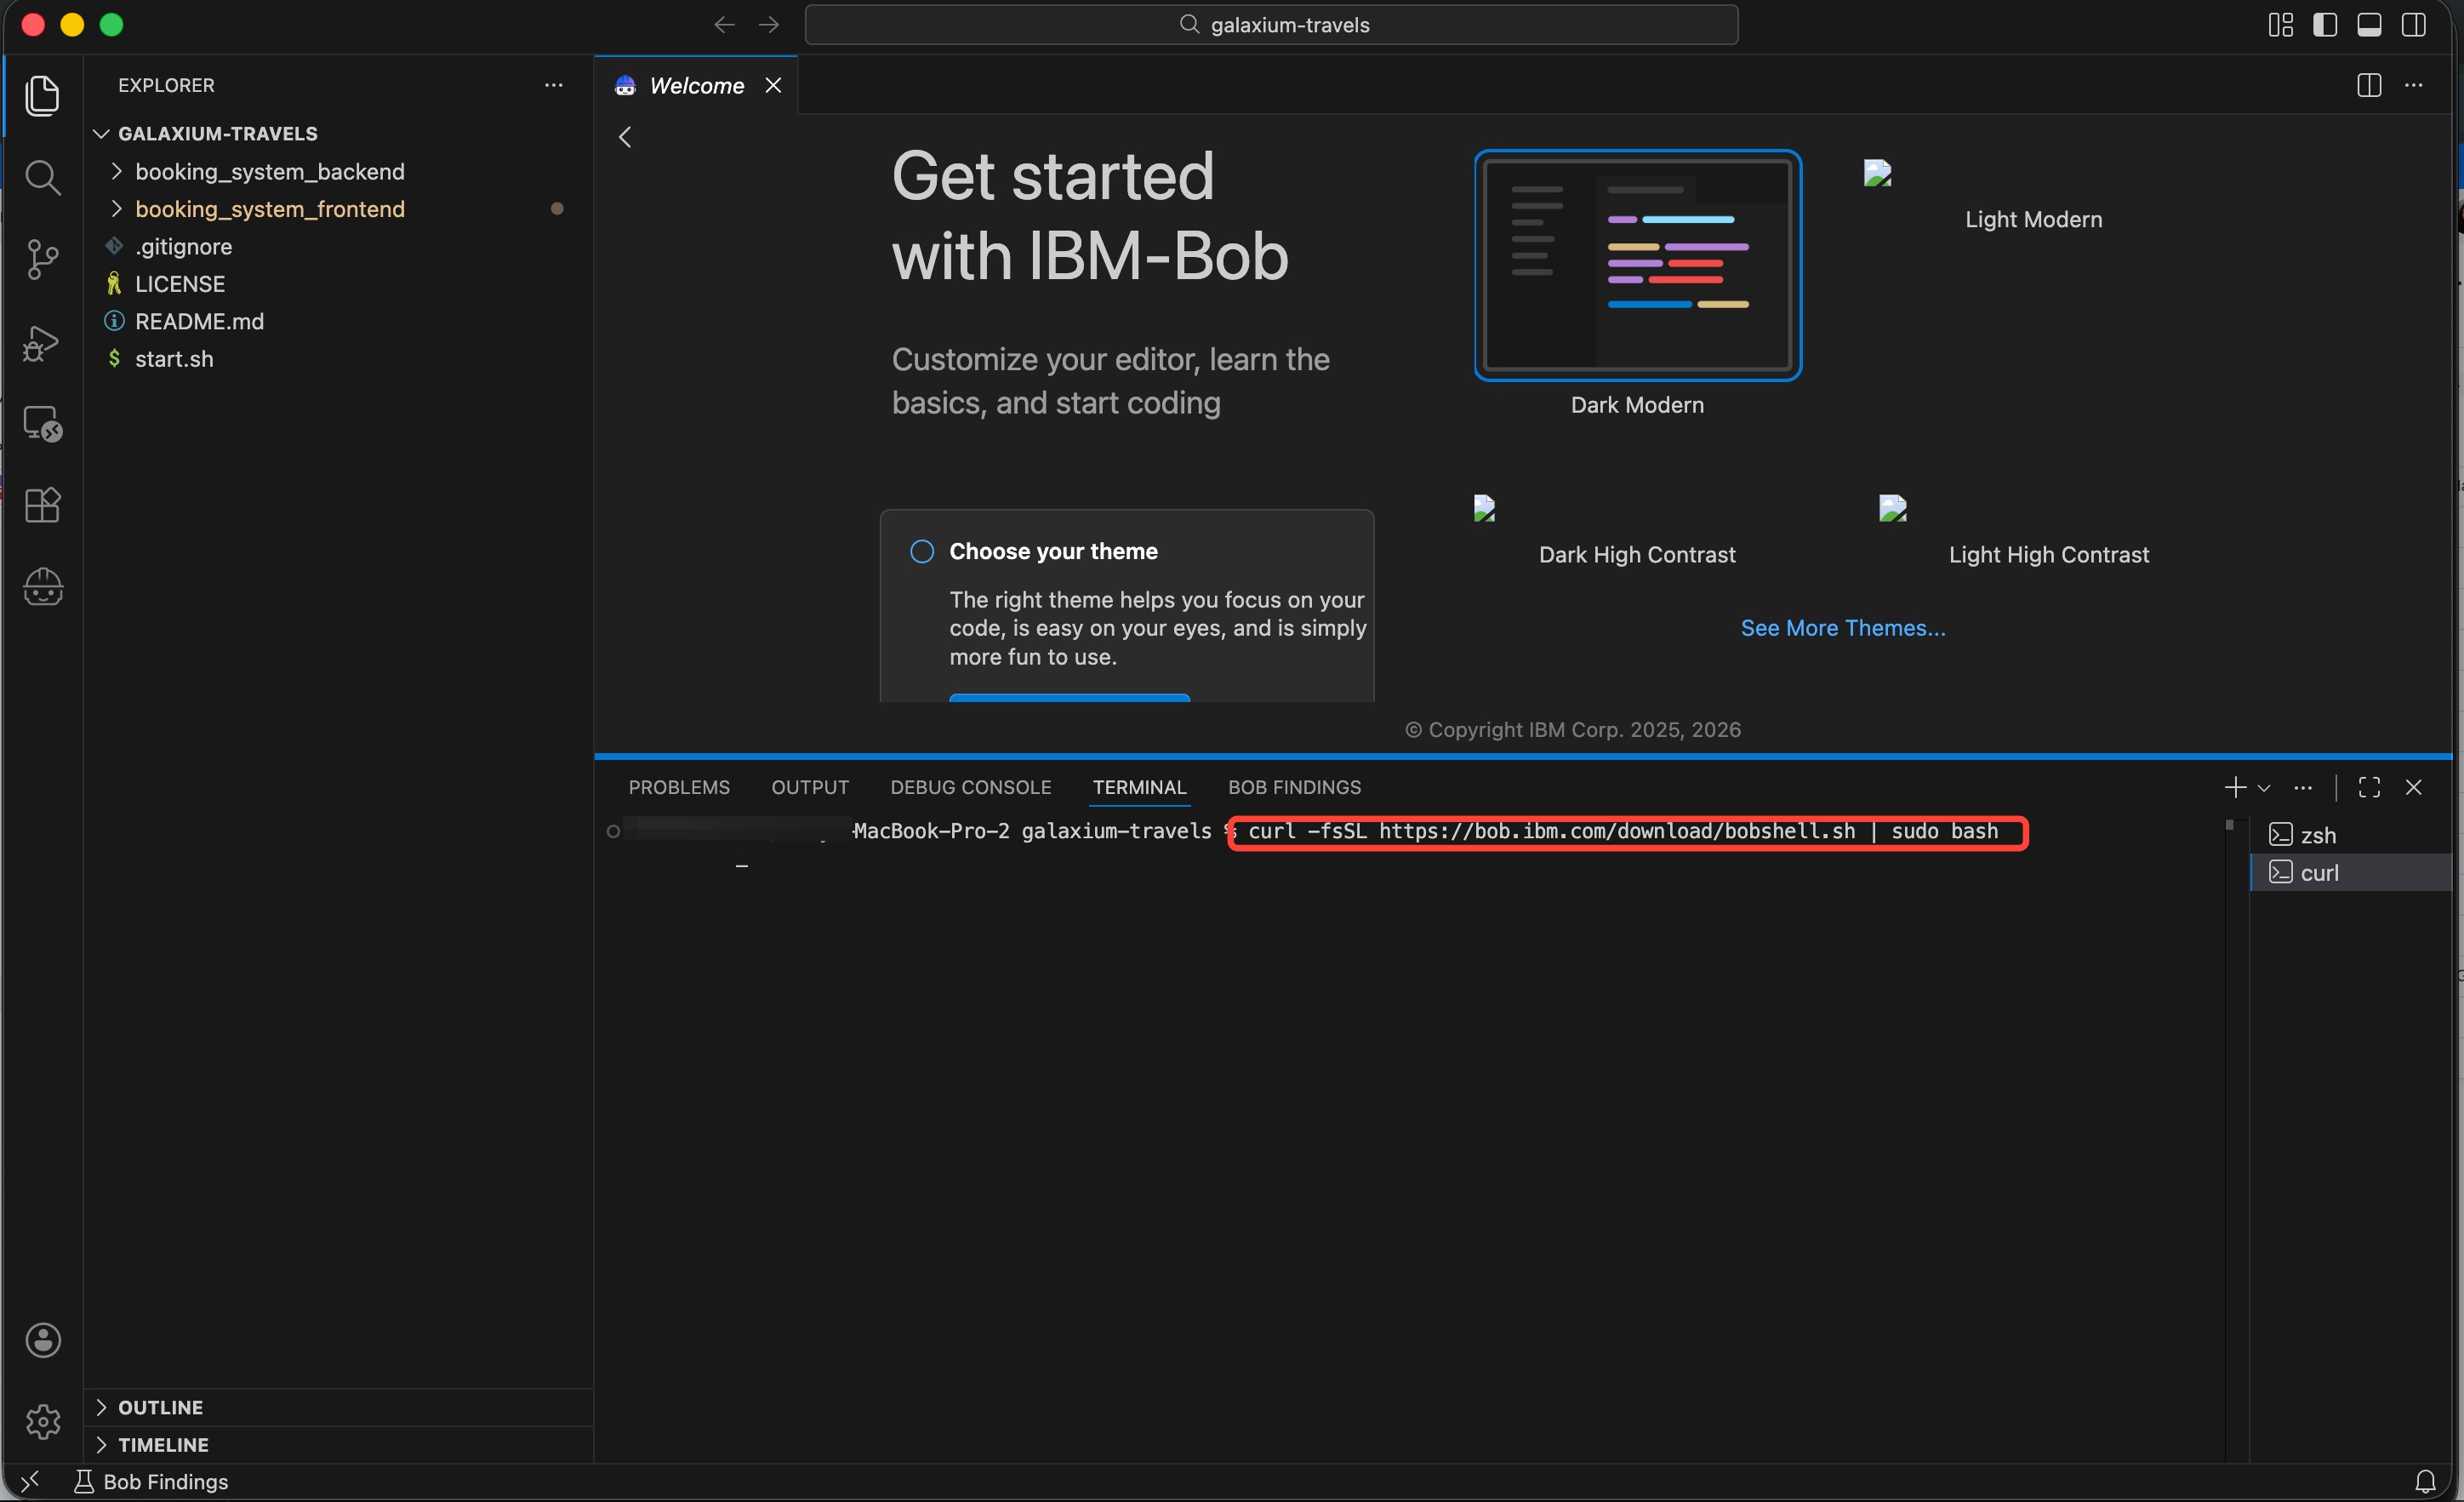
Copy the following command and paste into the Terminal console, then hit Enter to execute:
-
You will be prompted for your machine's system password to complete the install. For security, no characters appear on screen as you type — but your input is being registered.
-
Wait for the Terminal console to report back a successful installation of the Bob Shell. The message should look similar to the following:
-
When ready, proceed to Step 4.
WINDOWS OS
-
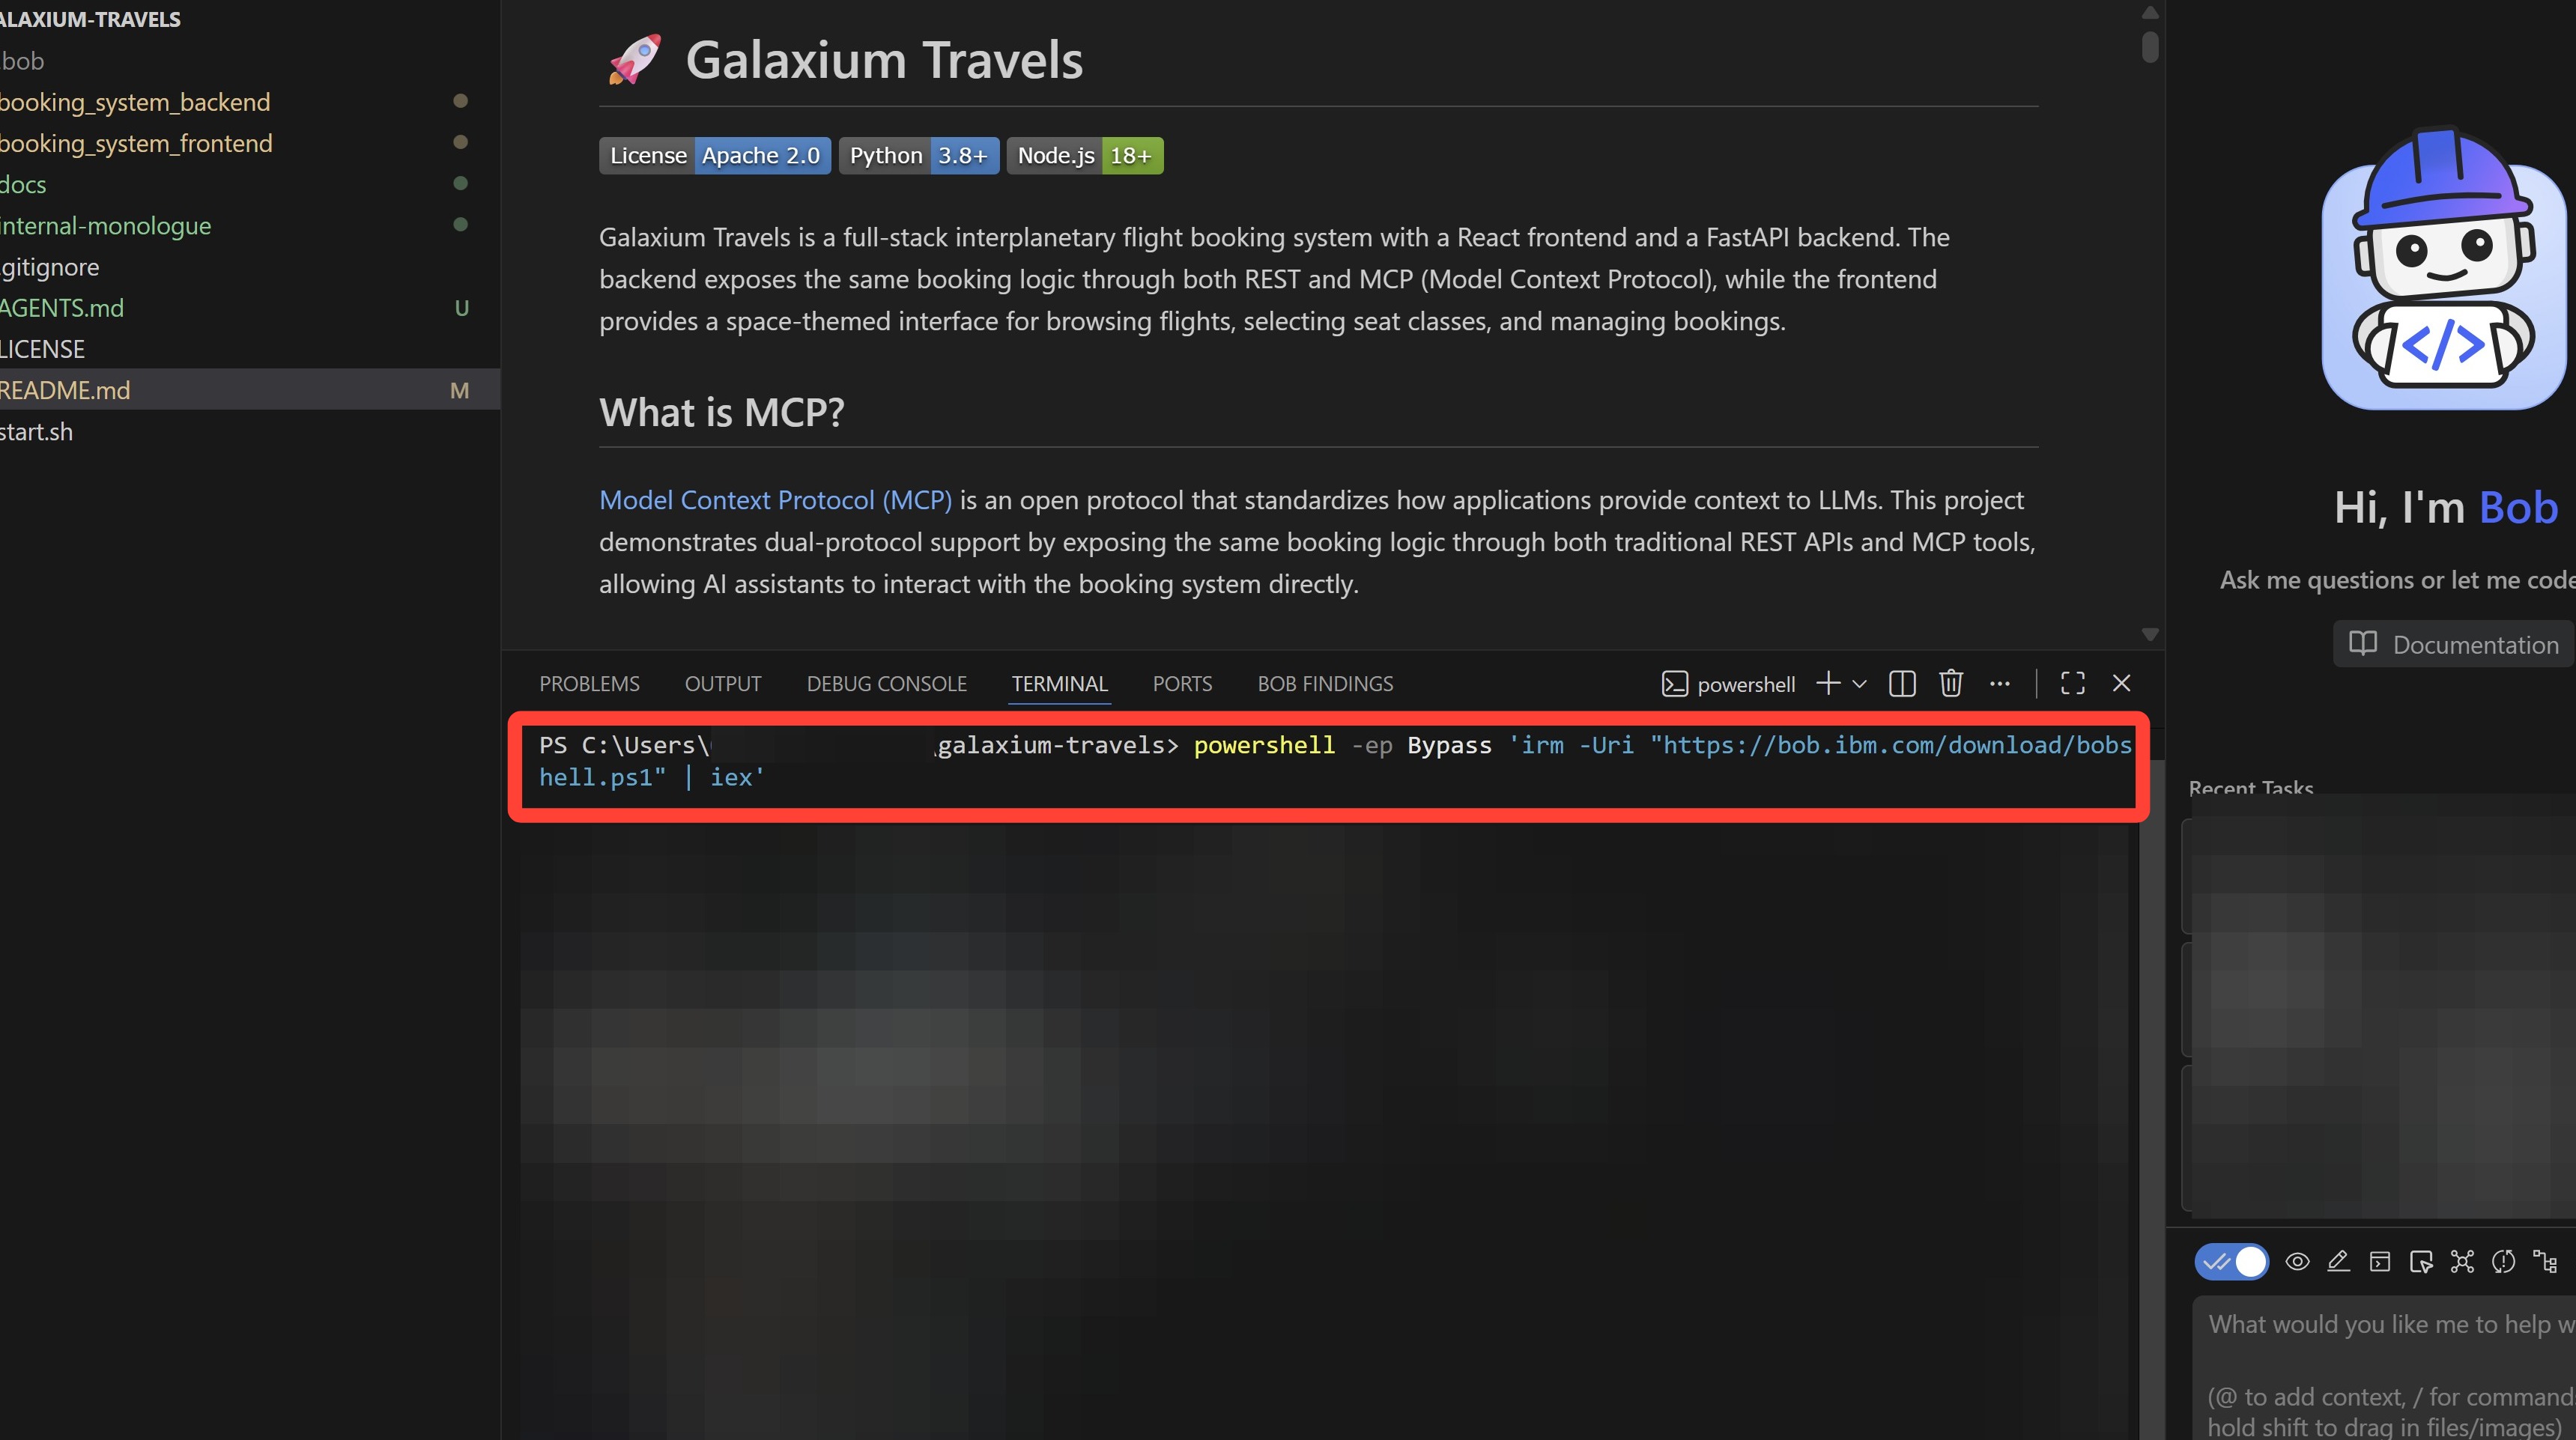
Copy the following command and paste into the PowerShell console, then hit Enter to execute:
-
Wait for the PowerShell console to report back a successful installation of the Bob Shell. The message should look similar to the following:
-
When ready, proceed to Step 4.
-
-
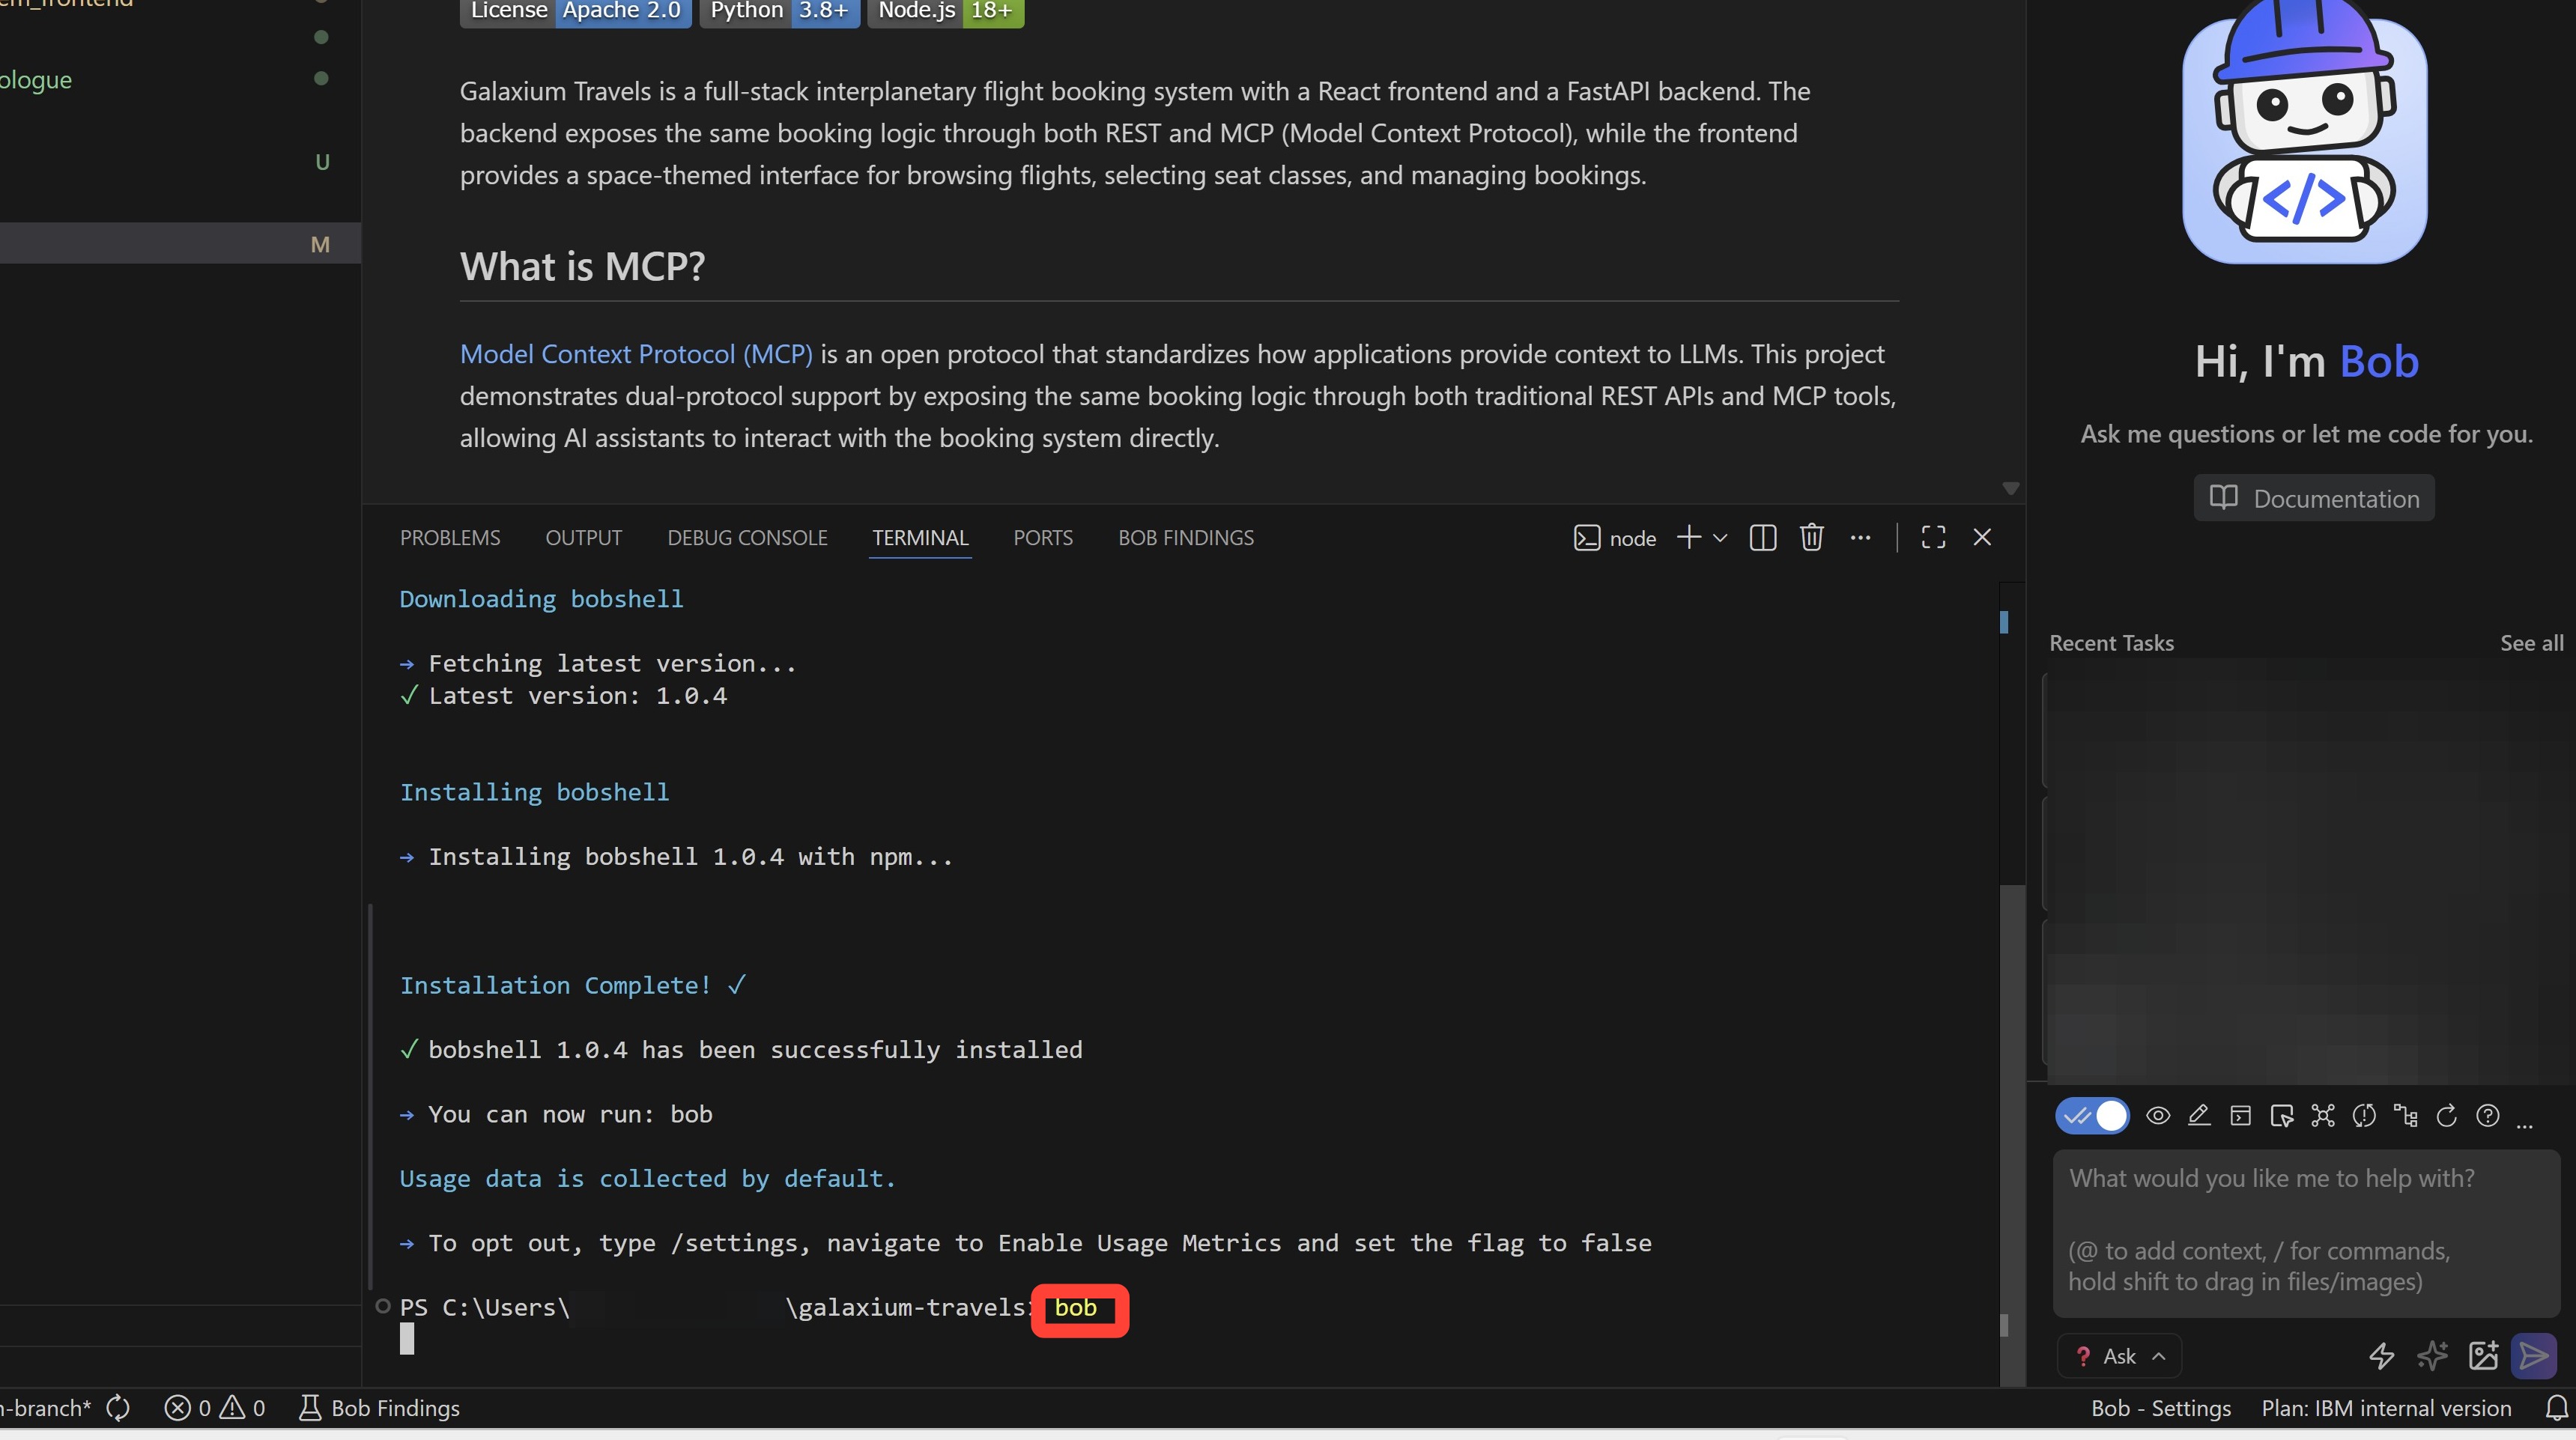
With the Bob Shell now successfully installed, copy and paste the following instruction into the console and hit Enter:
-
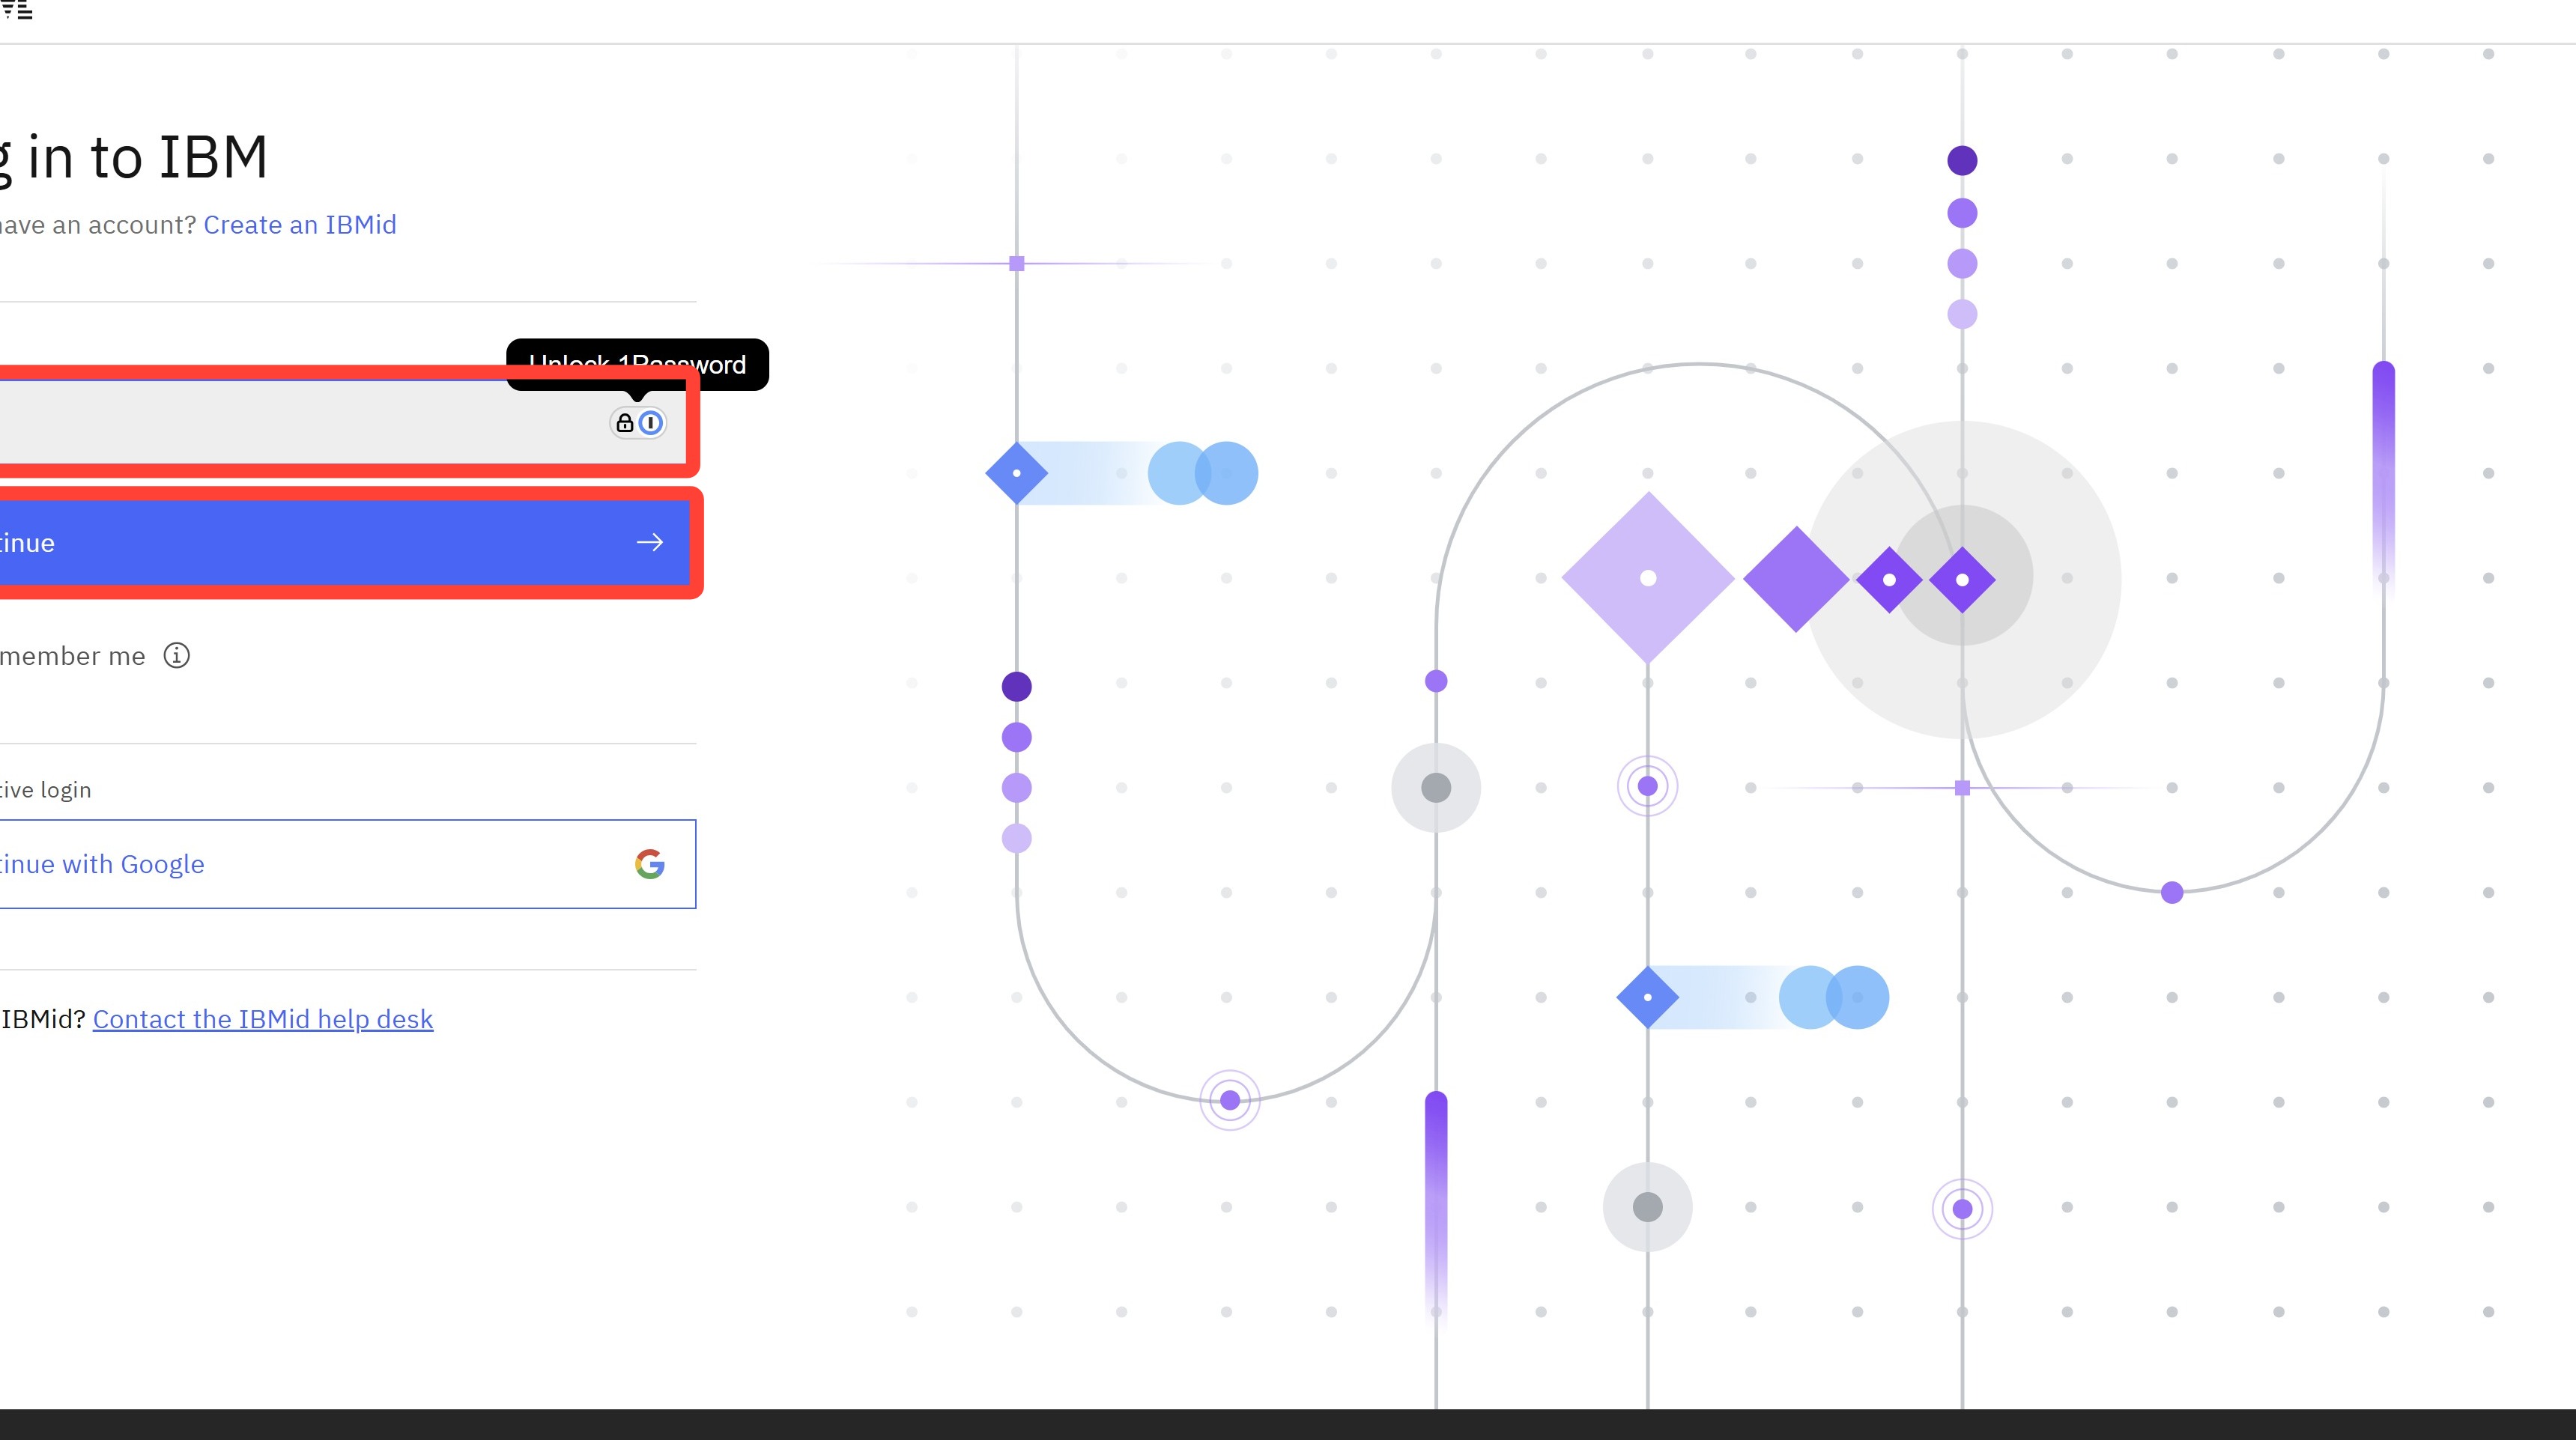
The console will launch an external "Log in to IBM" page via your web browser.
Complete the SSO sign-in using your w3ID credentials (also tied to your IBM Bob account.)
-
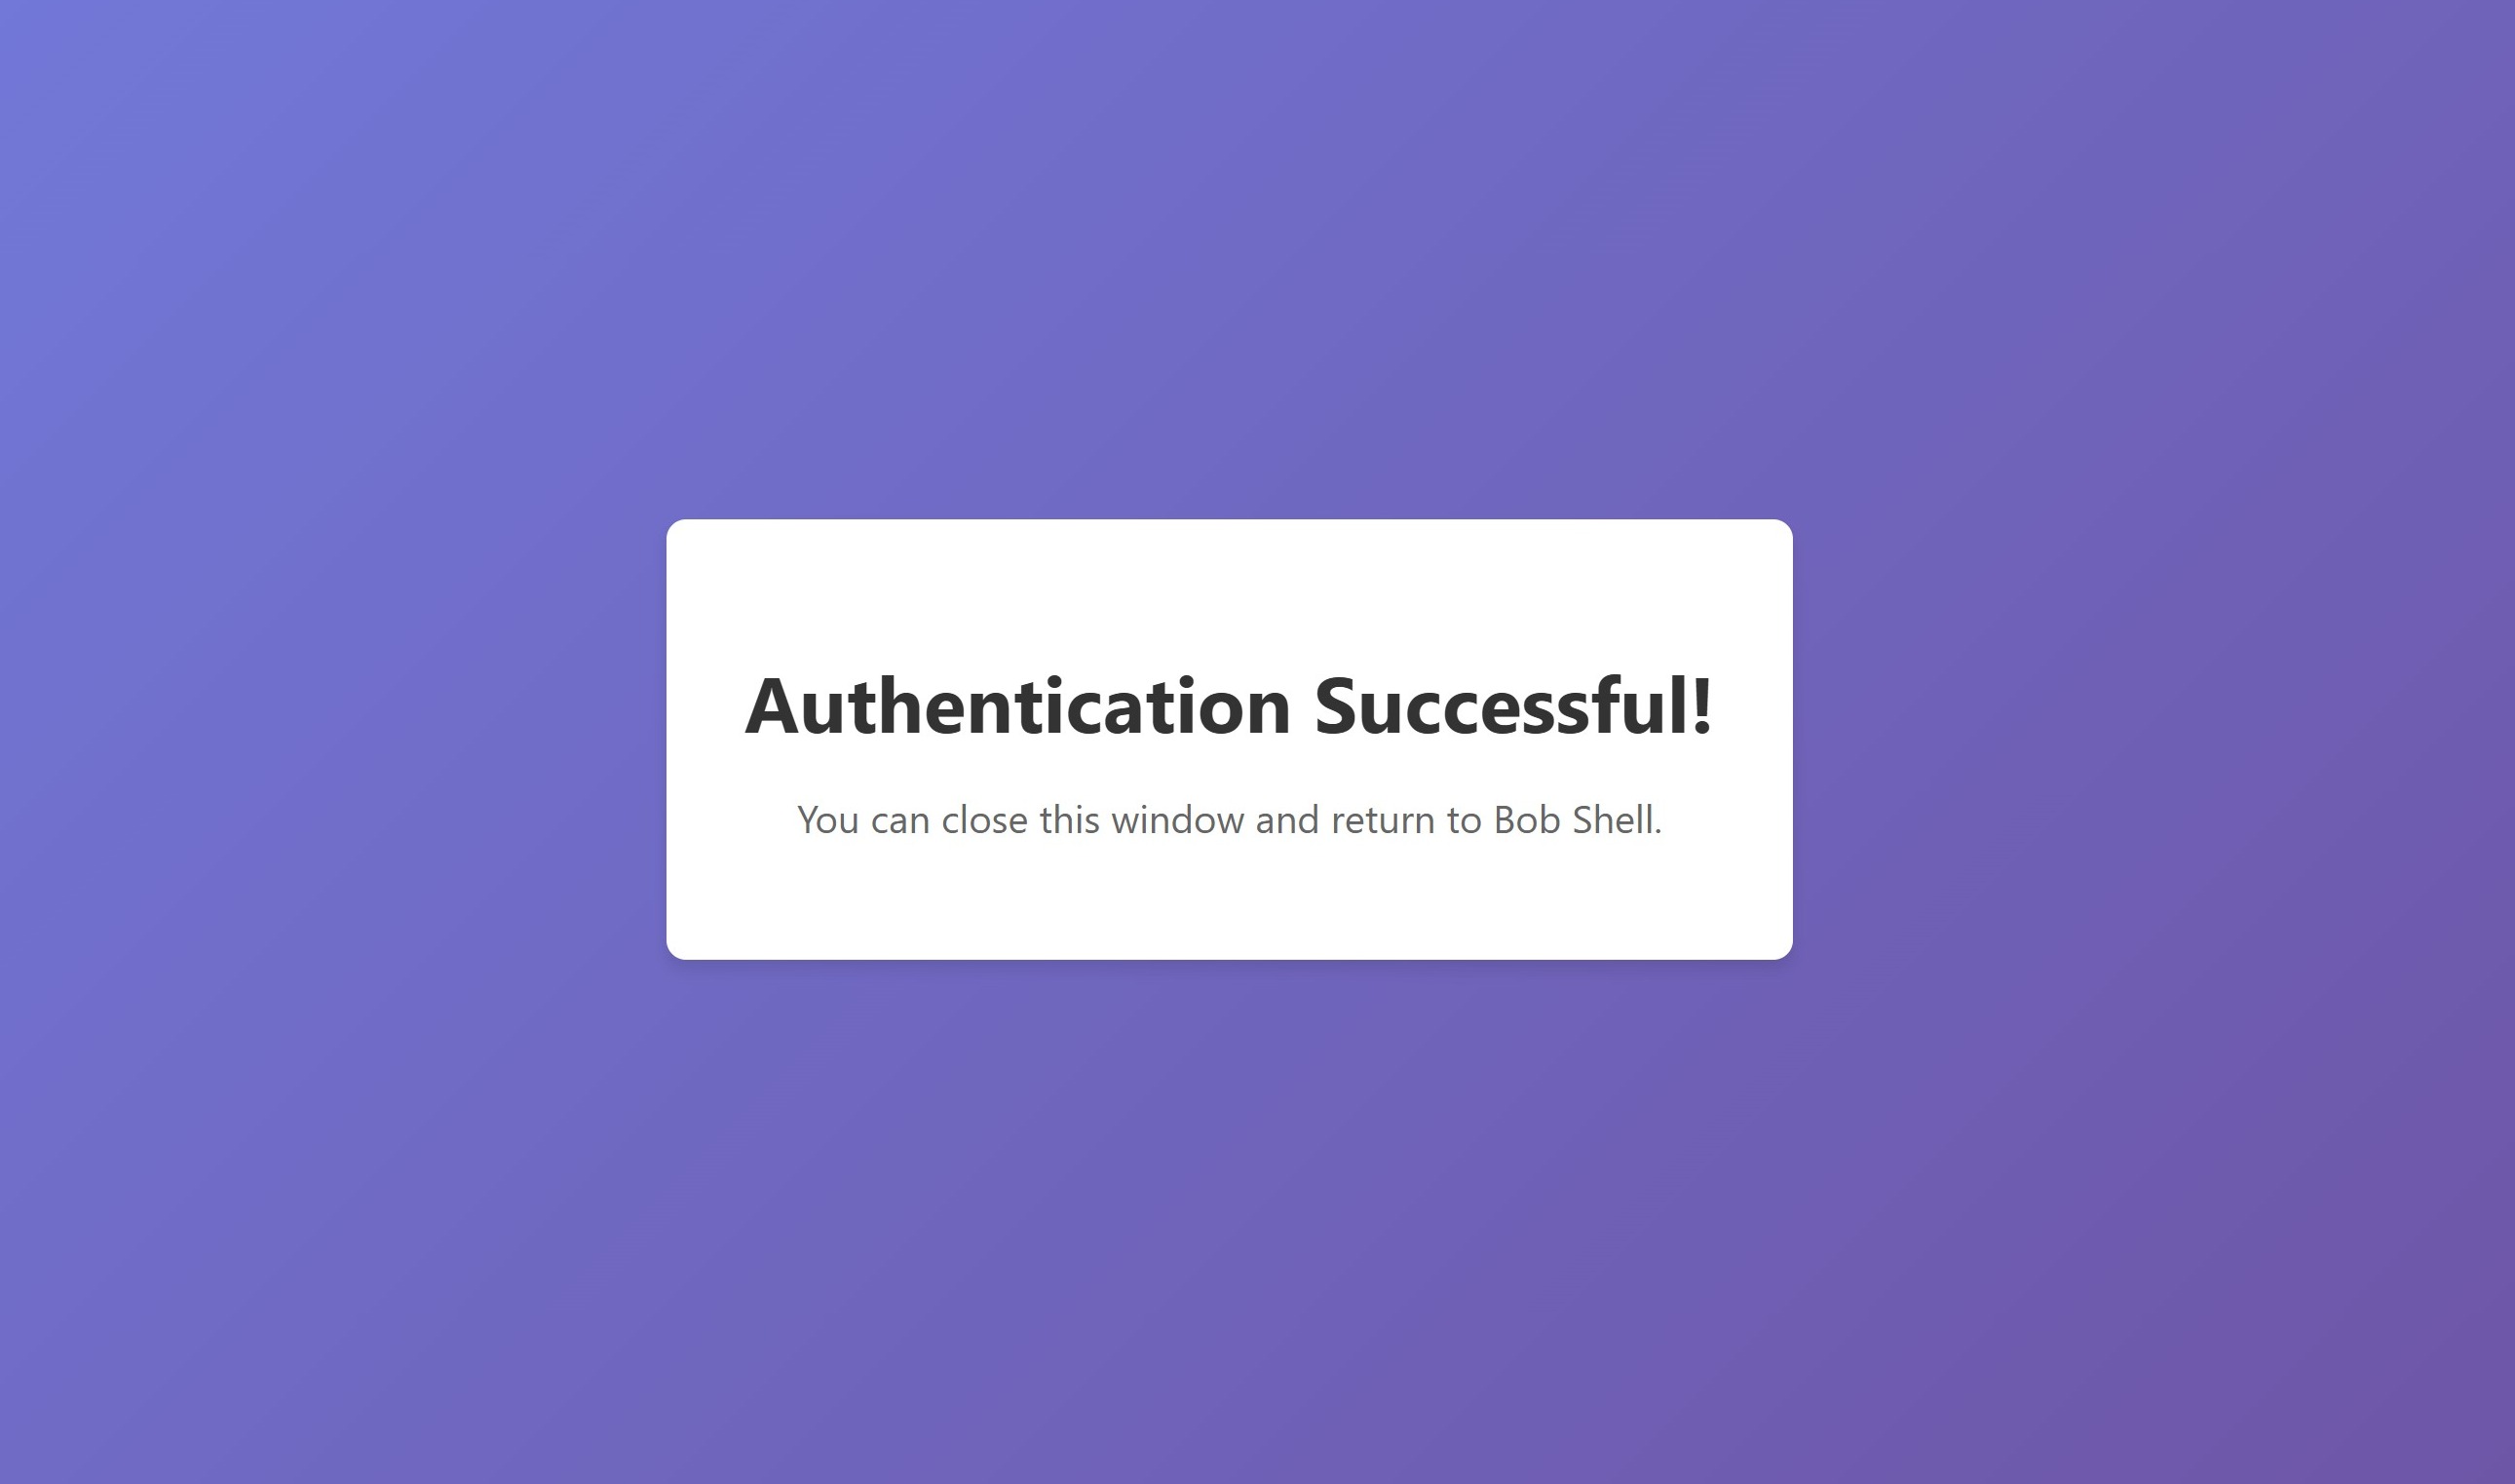
Once signed in, you will be redirected to an "Authentication Successful!" page.
You may safely close the web browser at this time.
-
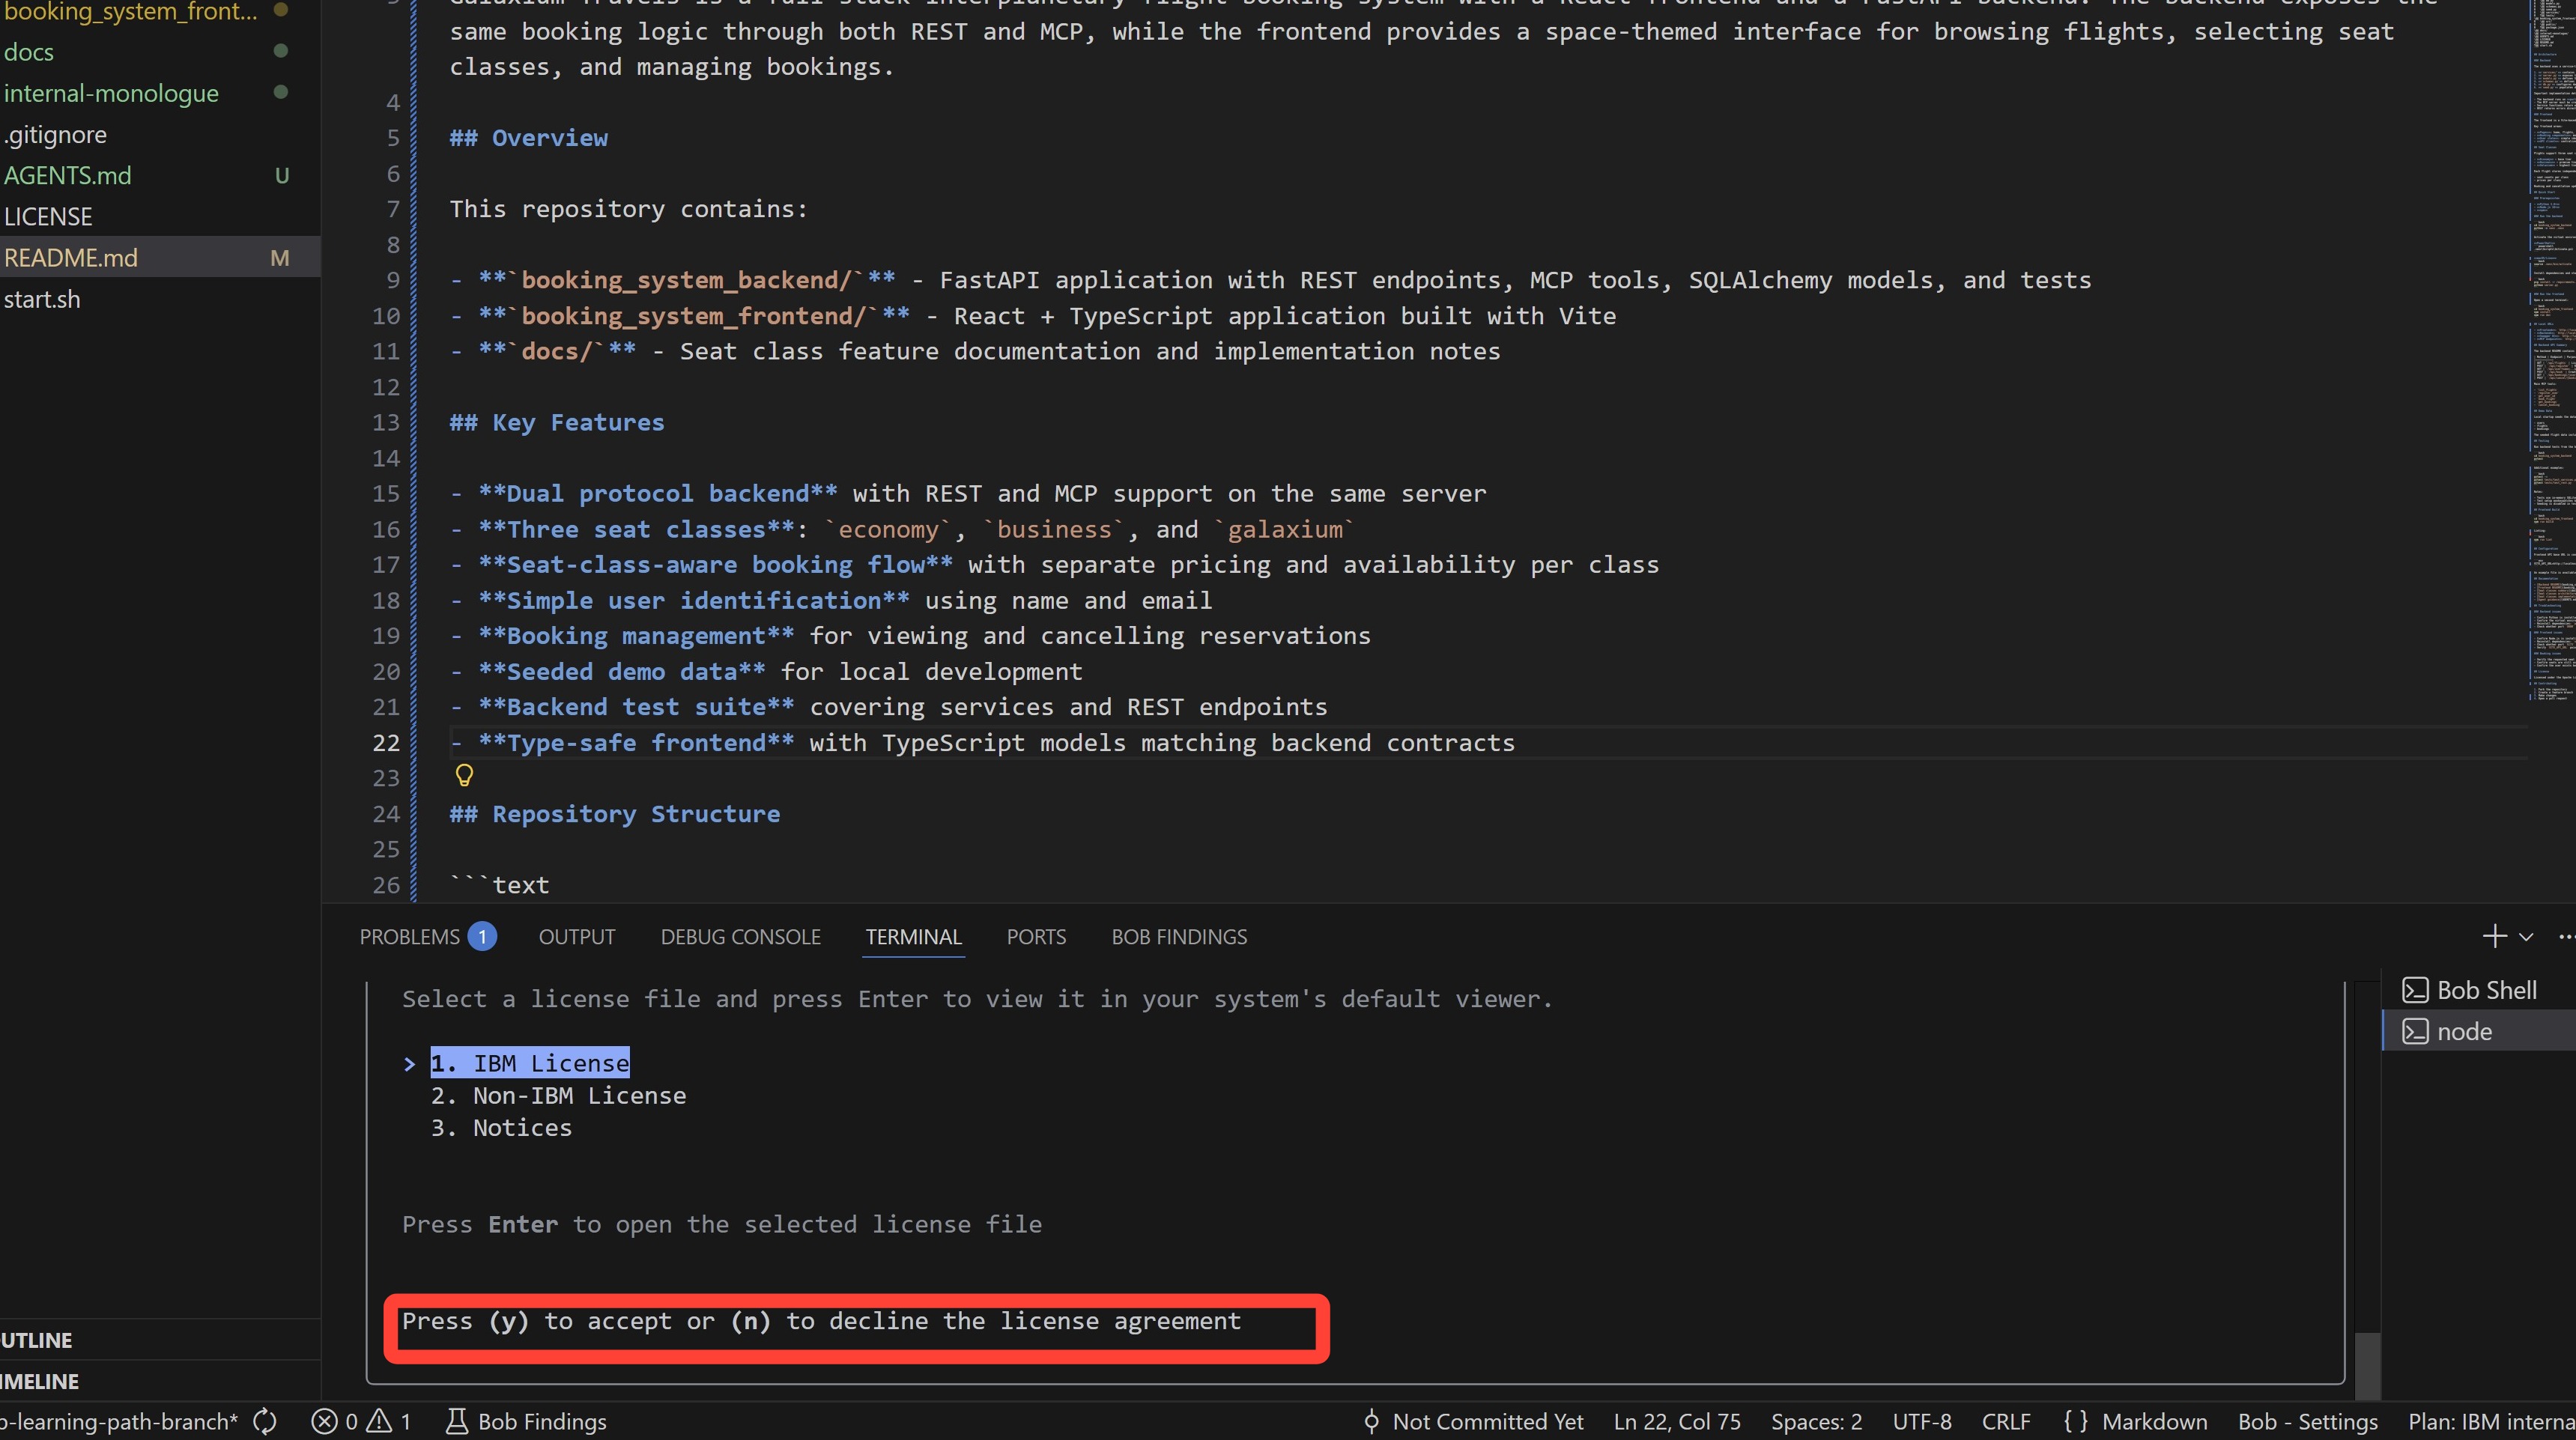
If this is your first time using Bob Shell, there's a small amount of configuration and bookkeeping to do beforehand.
If prompted to accept the license agreement, review the contents and then type Y (followed by Enter) if you agree to the terms and conditions.
-
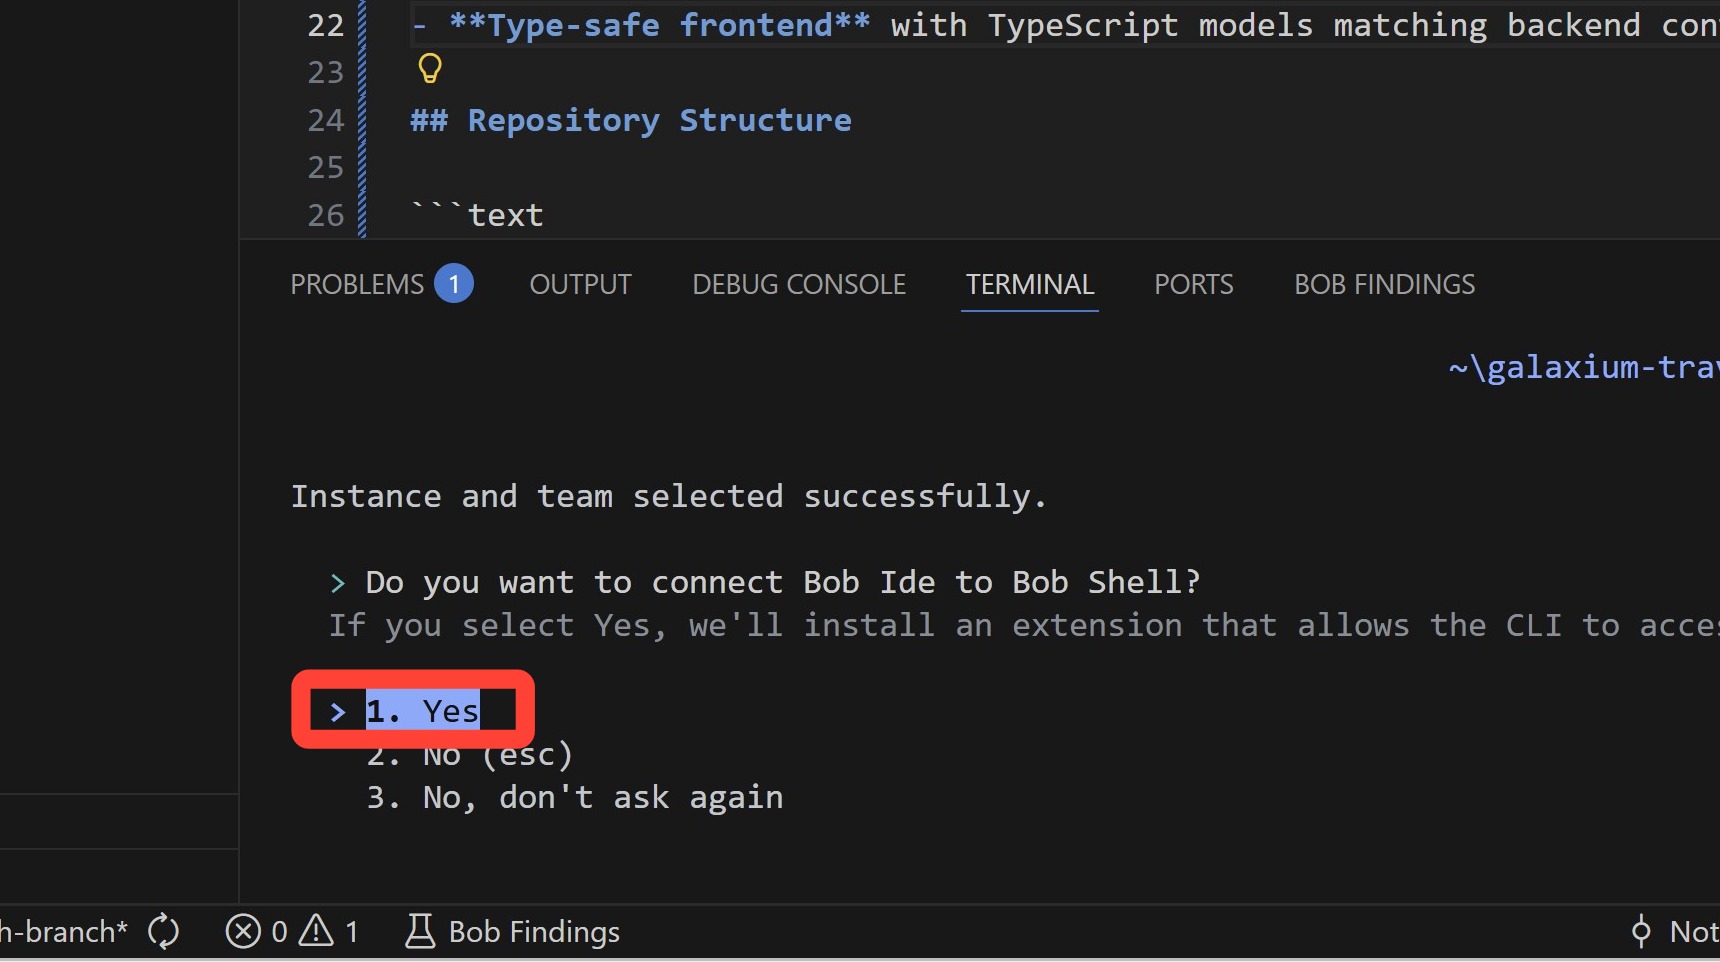
When prompted to connect the Bob IDE to Bob Shell, use the arrow keys to highlight option 1. Yes (or type 1), and then press Enter to execute the command.
ERROR: Failed to automatically enable IDE integration...
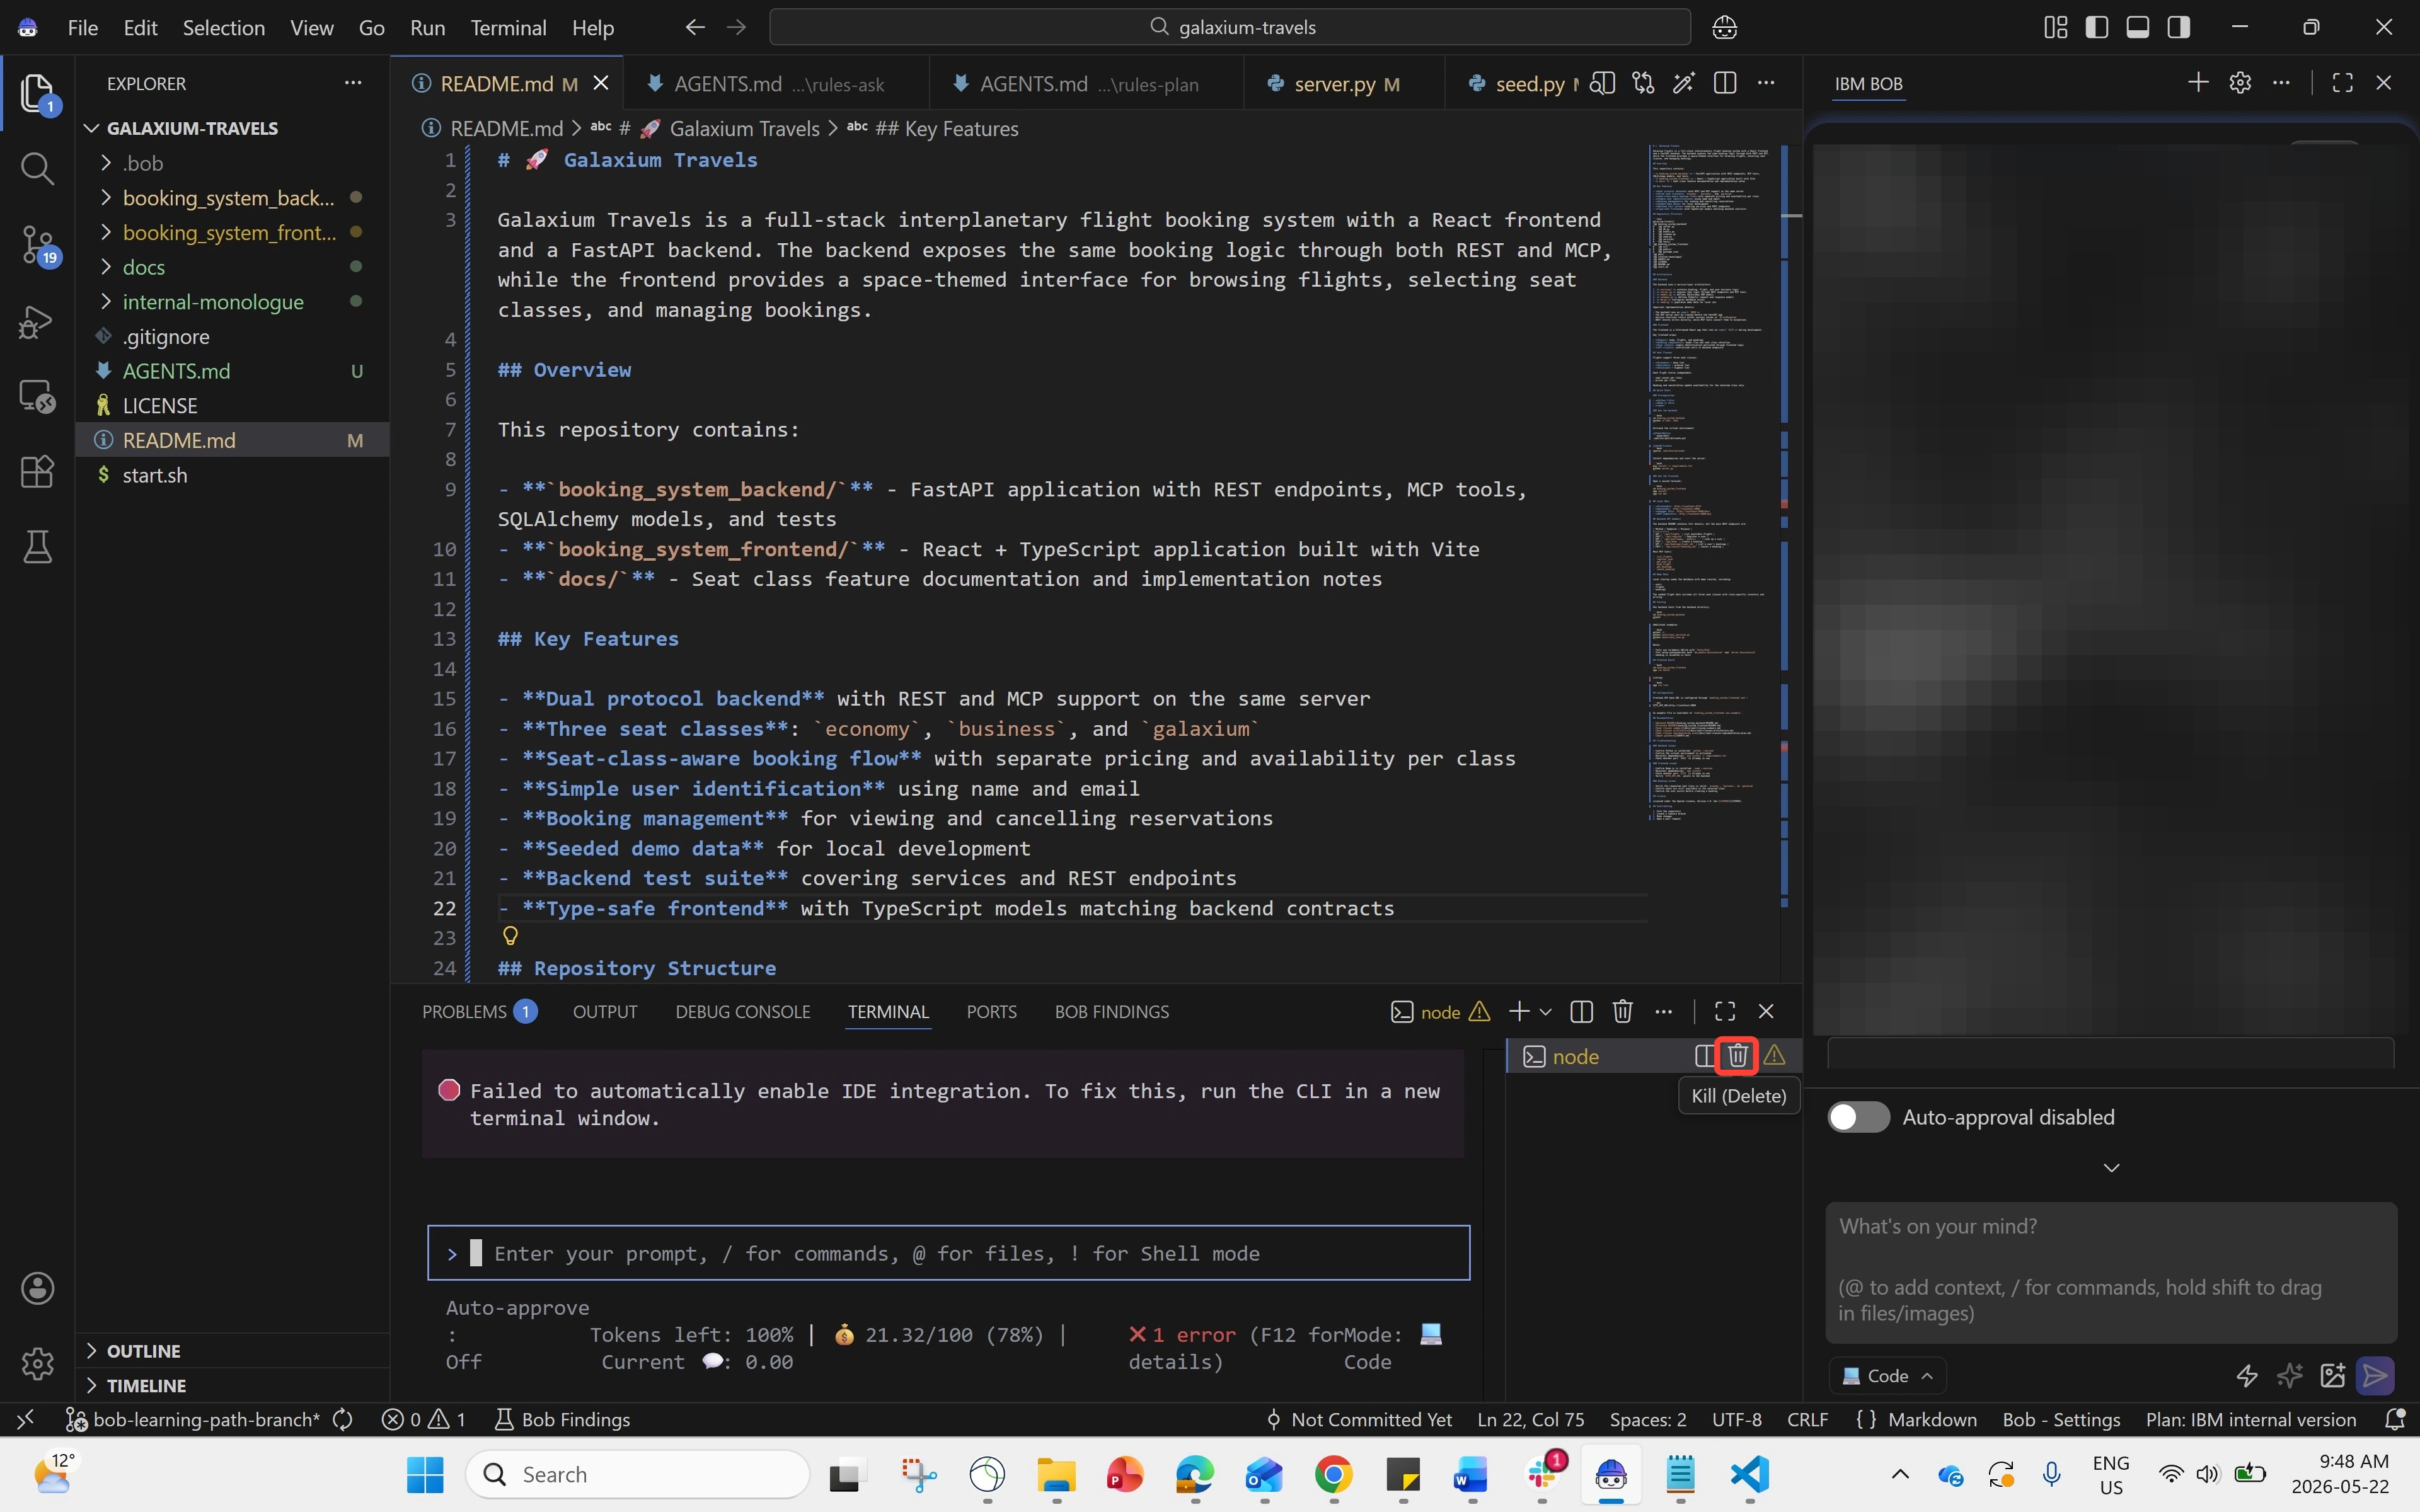
If you receive this error:
- Locate the currently-running process within the Terminal sidebar and press the bin icon to terminate it
- Create a new Terminal console selecting Terminal > New Terminal from the top-line menu bar
- Return to Step 4 and execute the steps a second time
-
Within the Terminal console, a
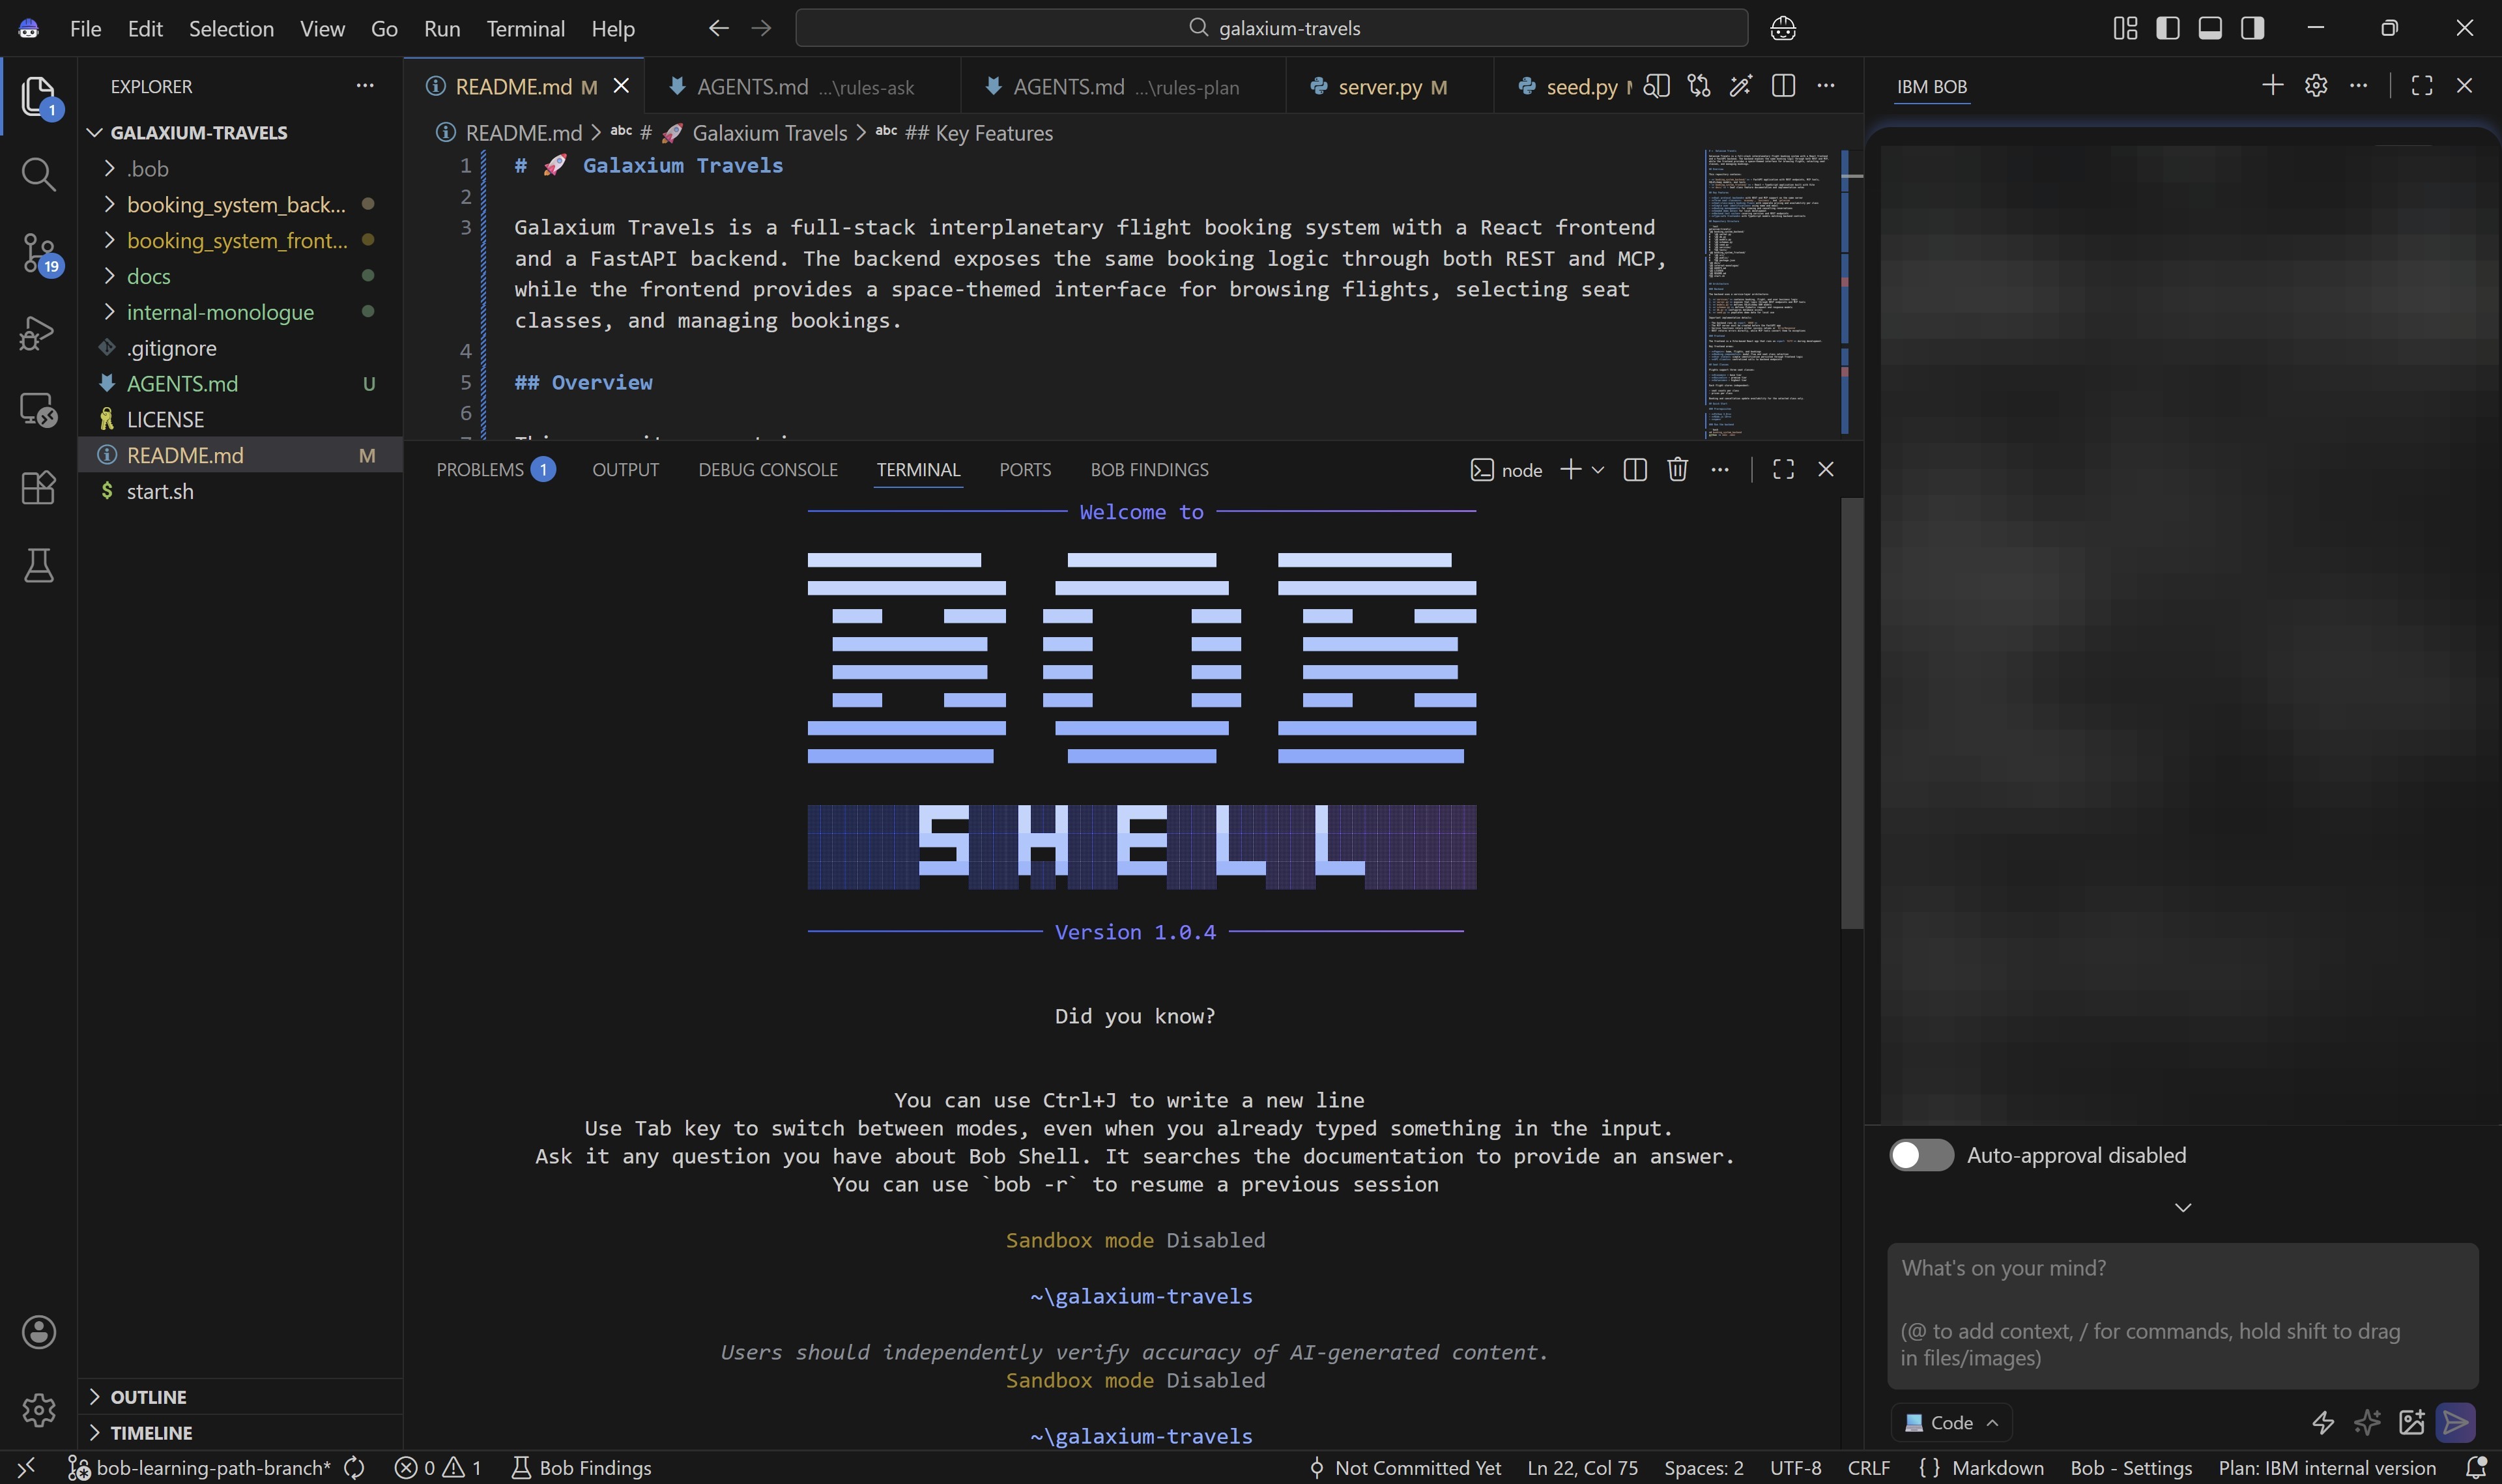
Welcome to Bob Shellsplash screen will appear to confirm a successful connection has been established to the service.Scroll down until you reach the input field, denoted by the > ("greater than") brace.
-
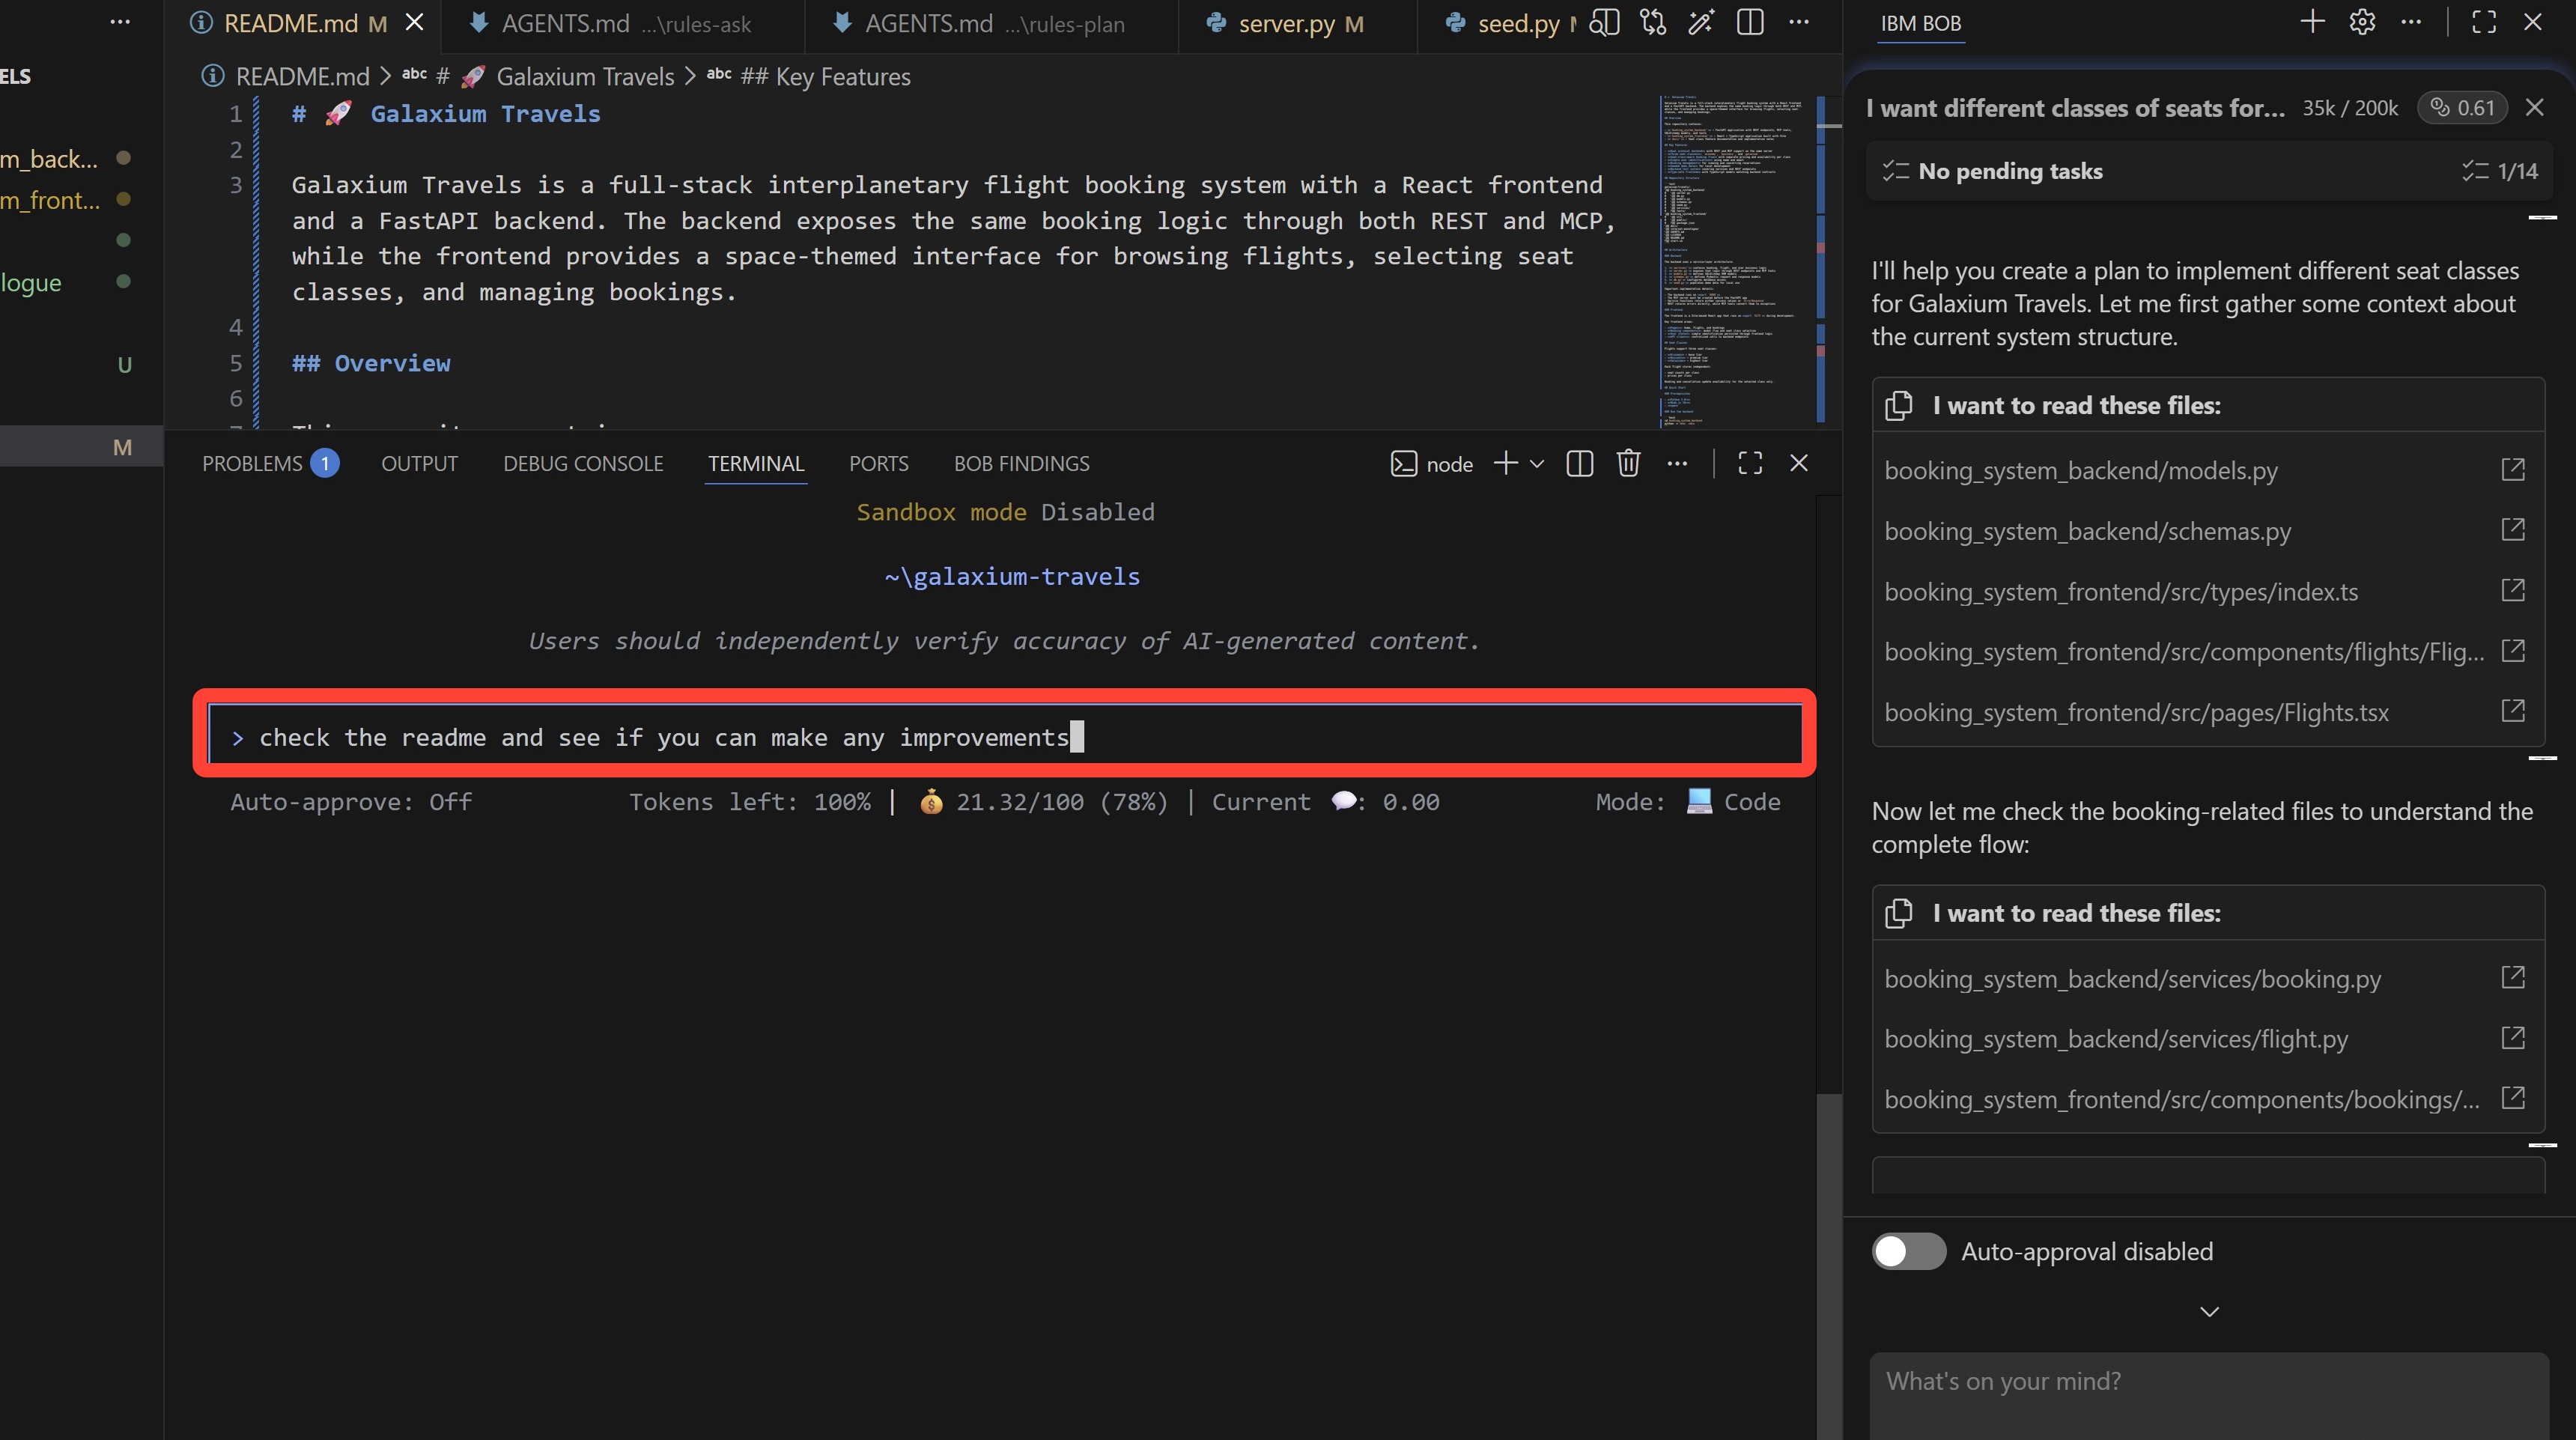
To test functionality, copy and paste the following prompt into the input field, then hit Enter to execute:
-
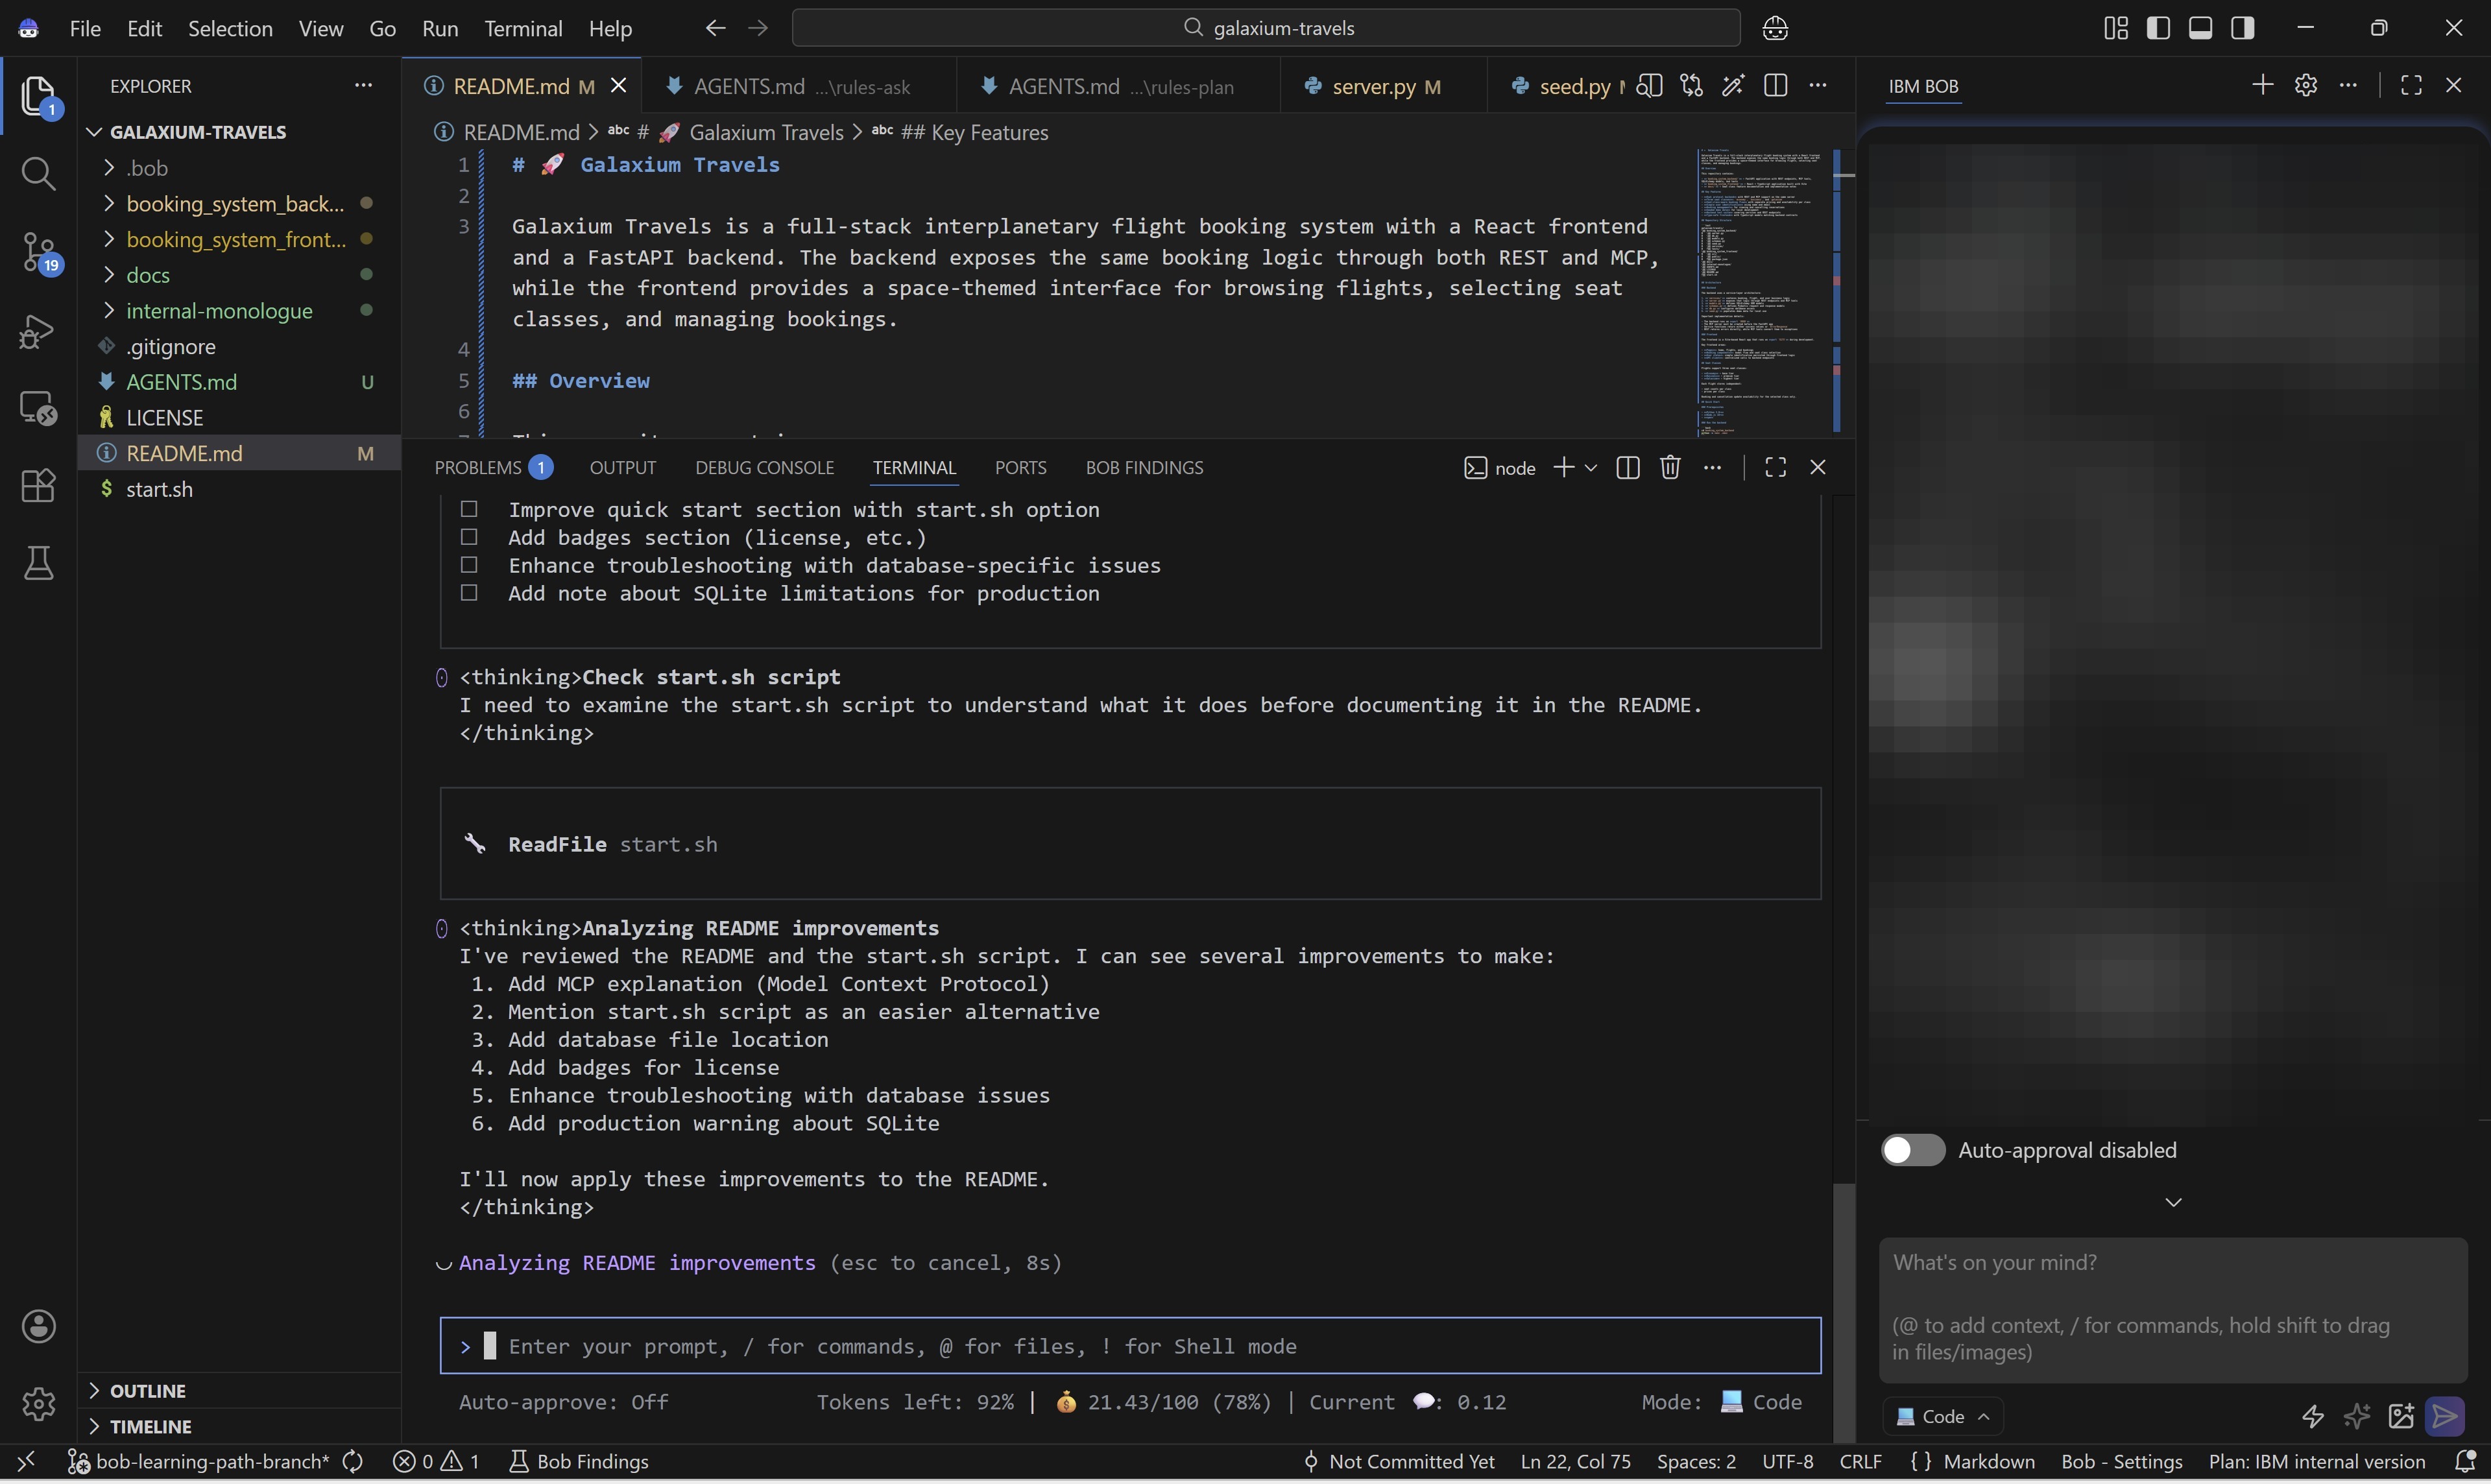
In the same way that it did using the Agentic Sidebar within the Bob IDE, the Bob Shell narrates its progression through a Todo List as it executes upon the work.
- Occasionally, Bob will ask for approval to complete tasks or actions as operates
- The difference with Bob Shell is such check-ins with the human-in-the-loop happen via the Terminal console
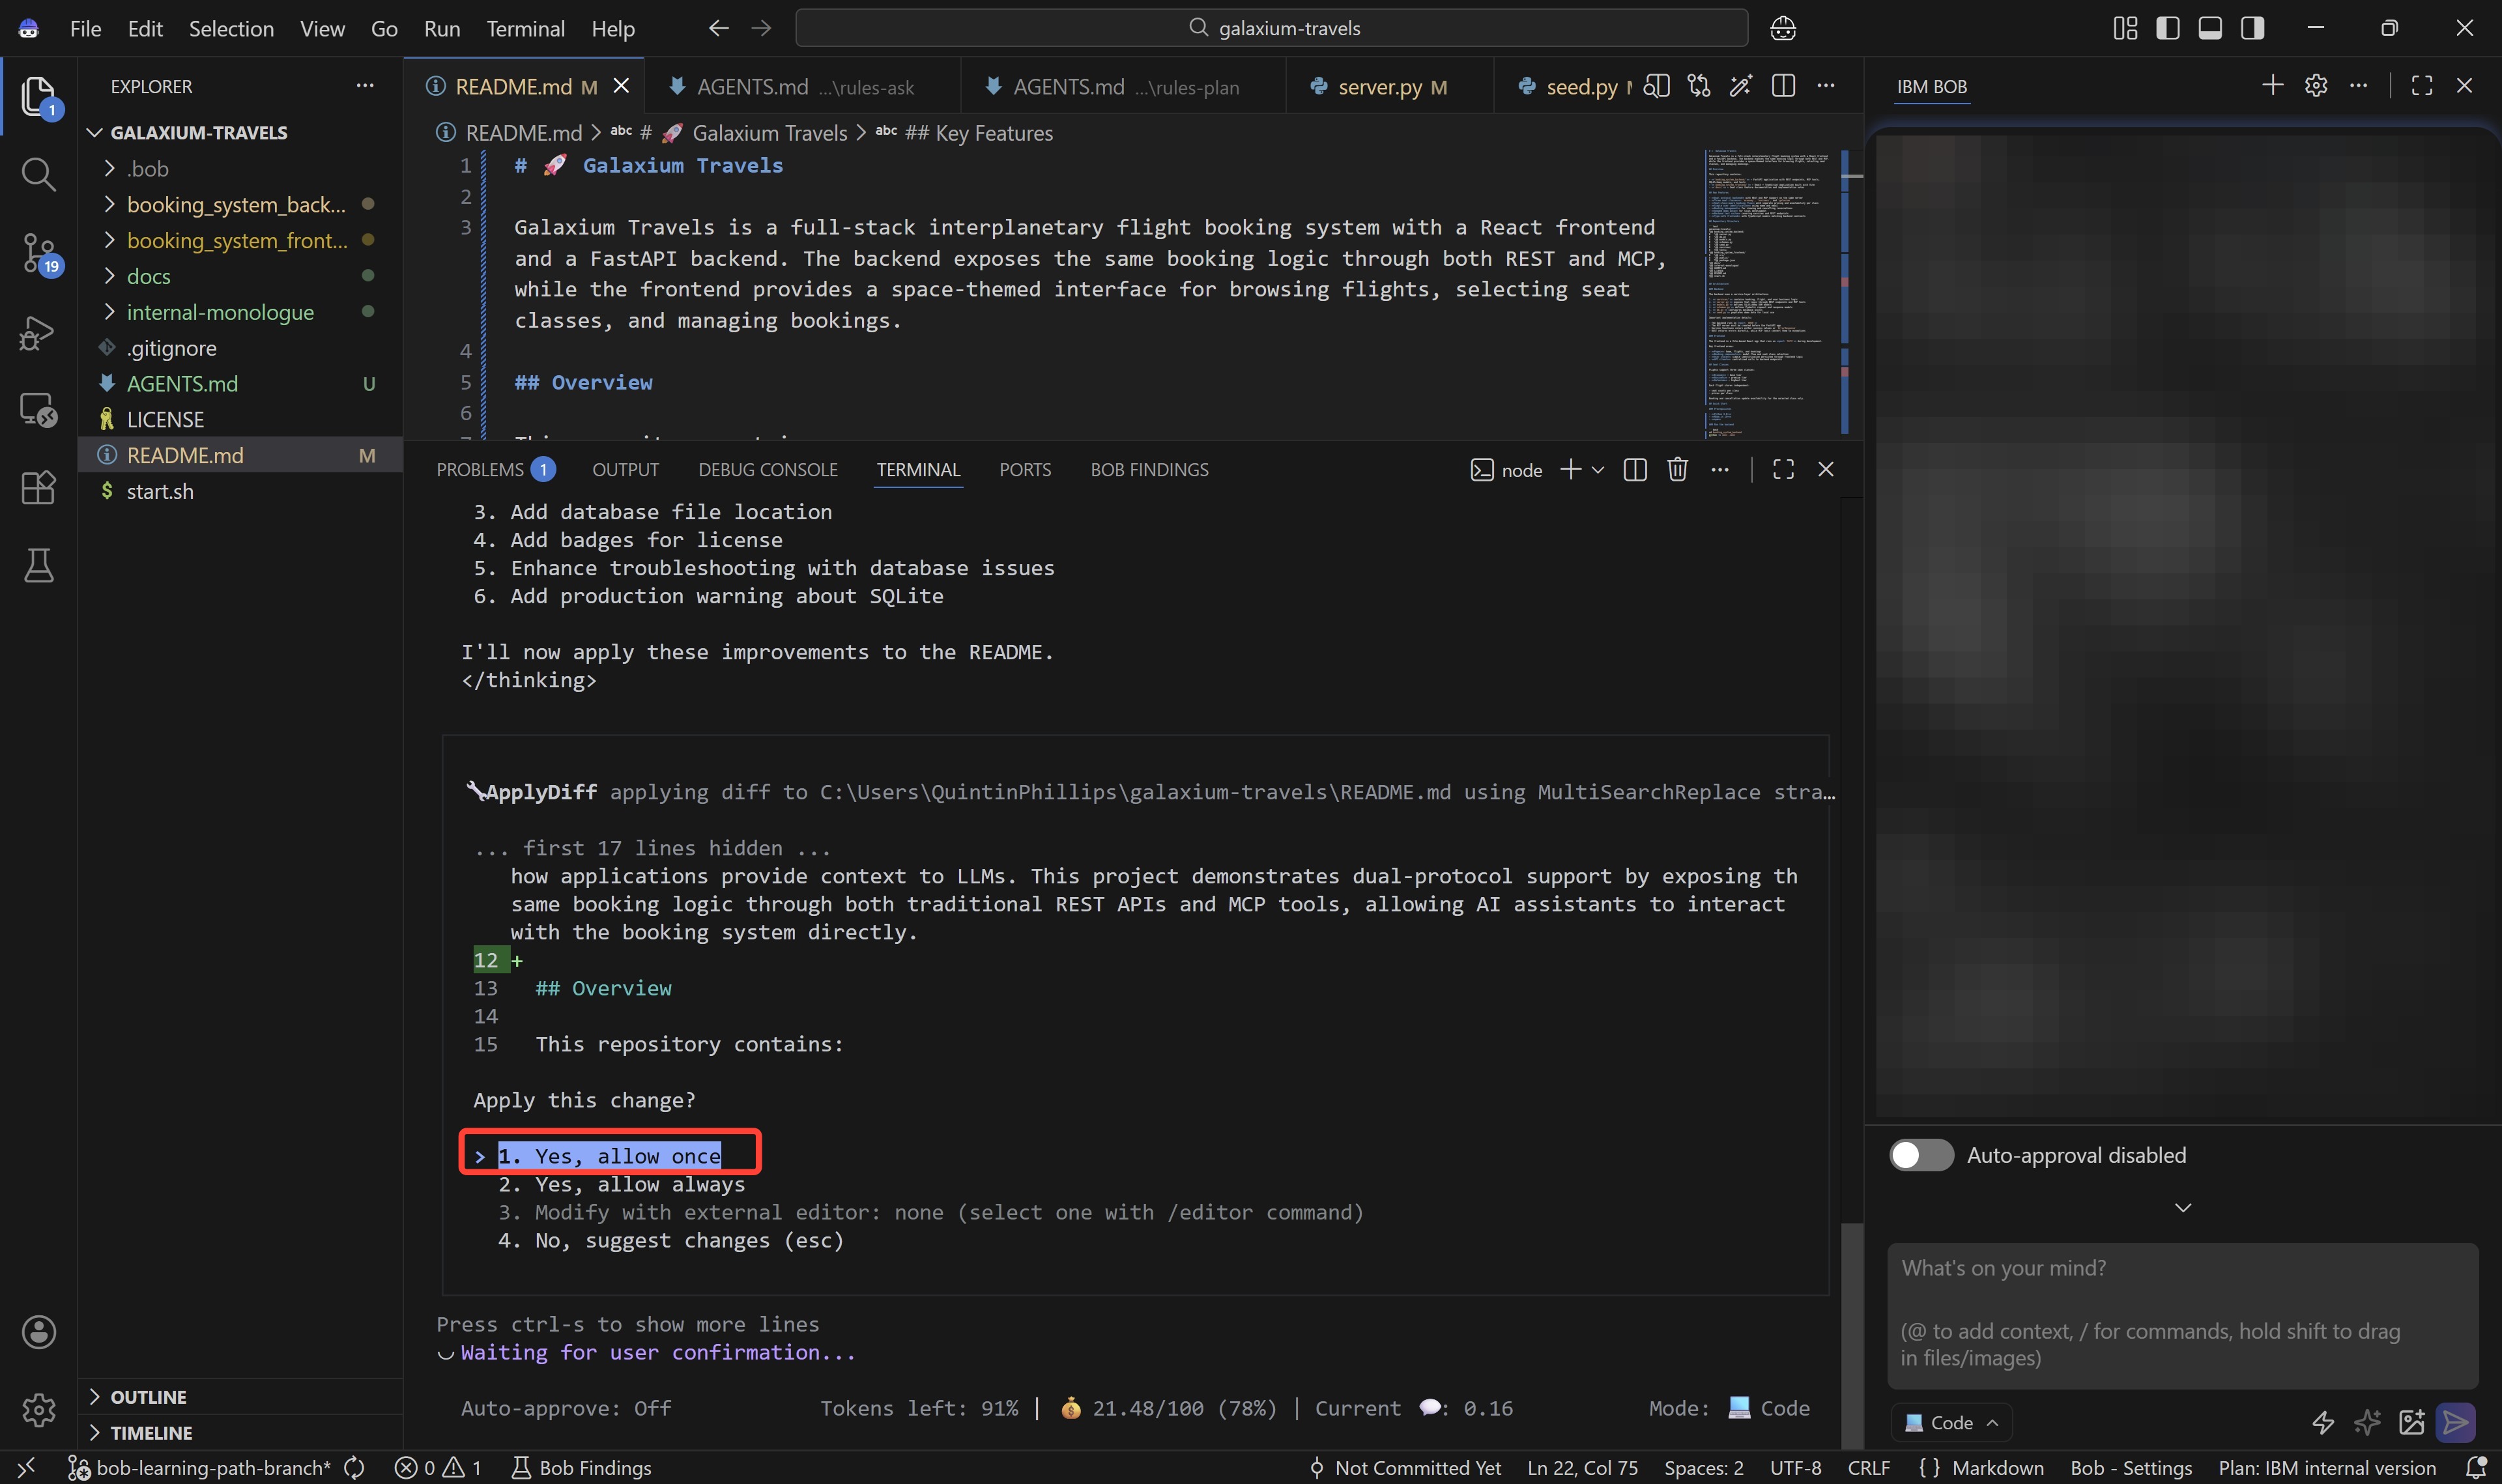
- If asked for approvals, Bob Shell will present you with a numerated list as you saw previously.
- Either use the arrows on your keyboard to move up and down the list, or press the corresponding number on your keyboard, to highlight one of the options
- Confirm the selection by hitting Enter
- Recommended that in all cases (for the hands-on lab) you opt for:
-
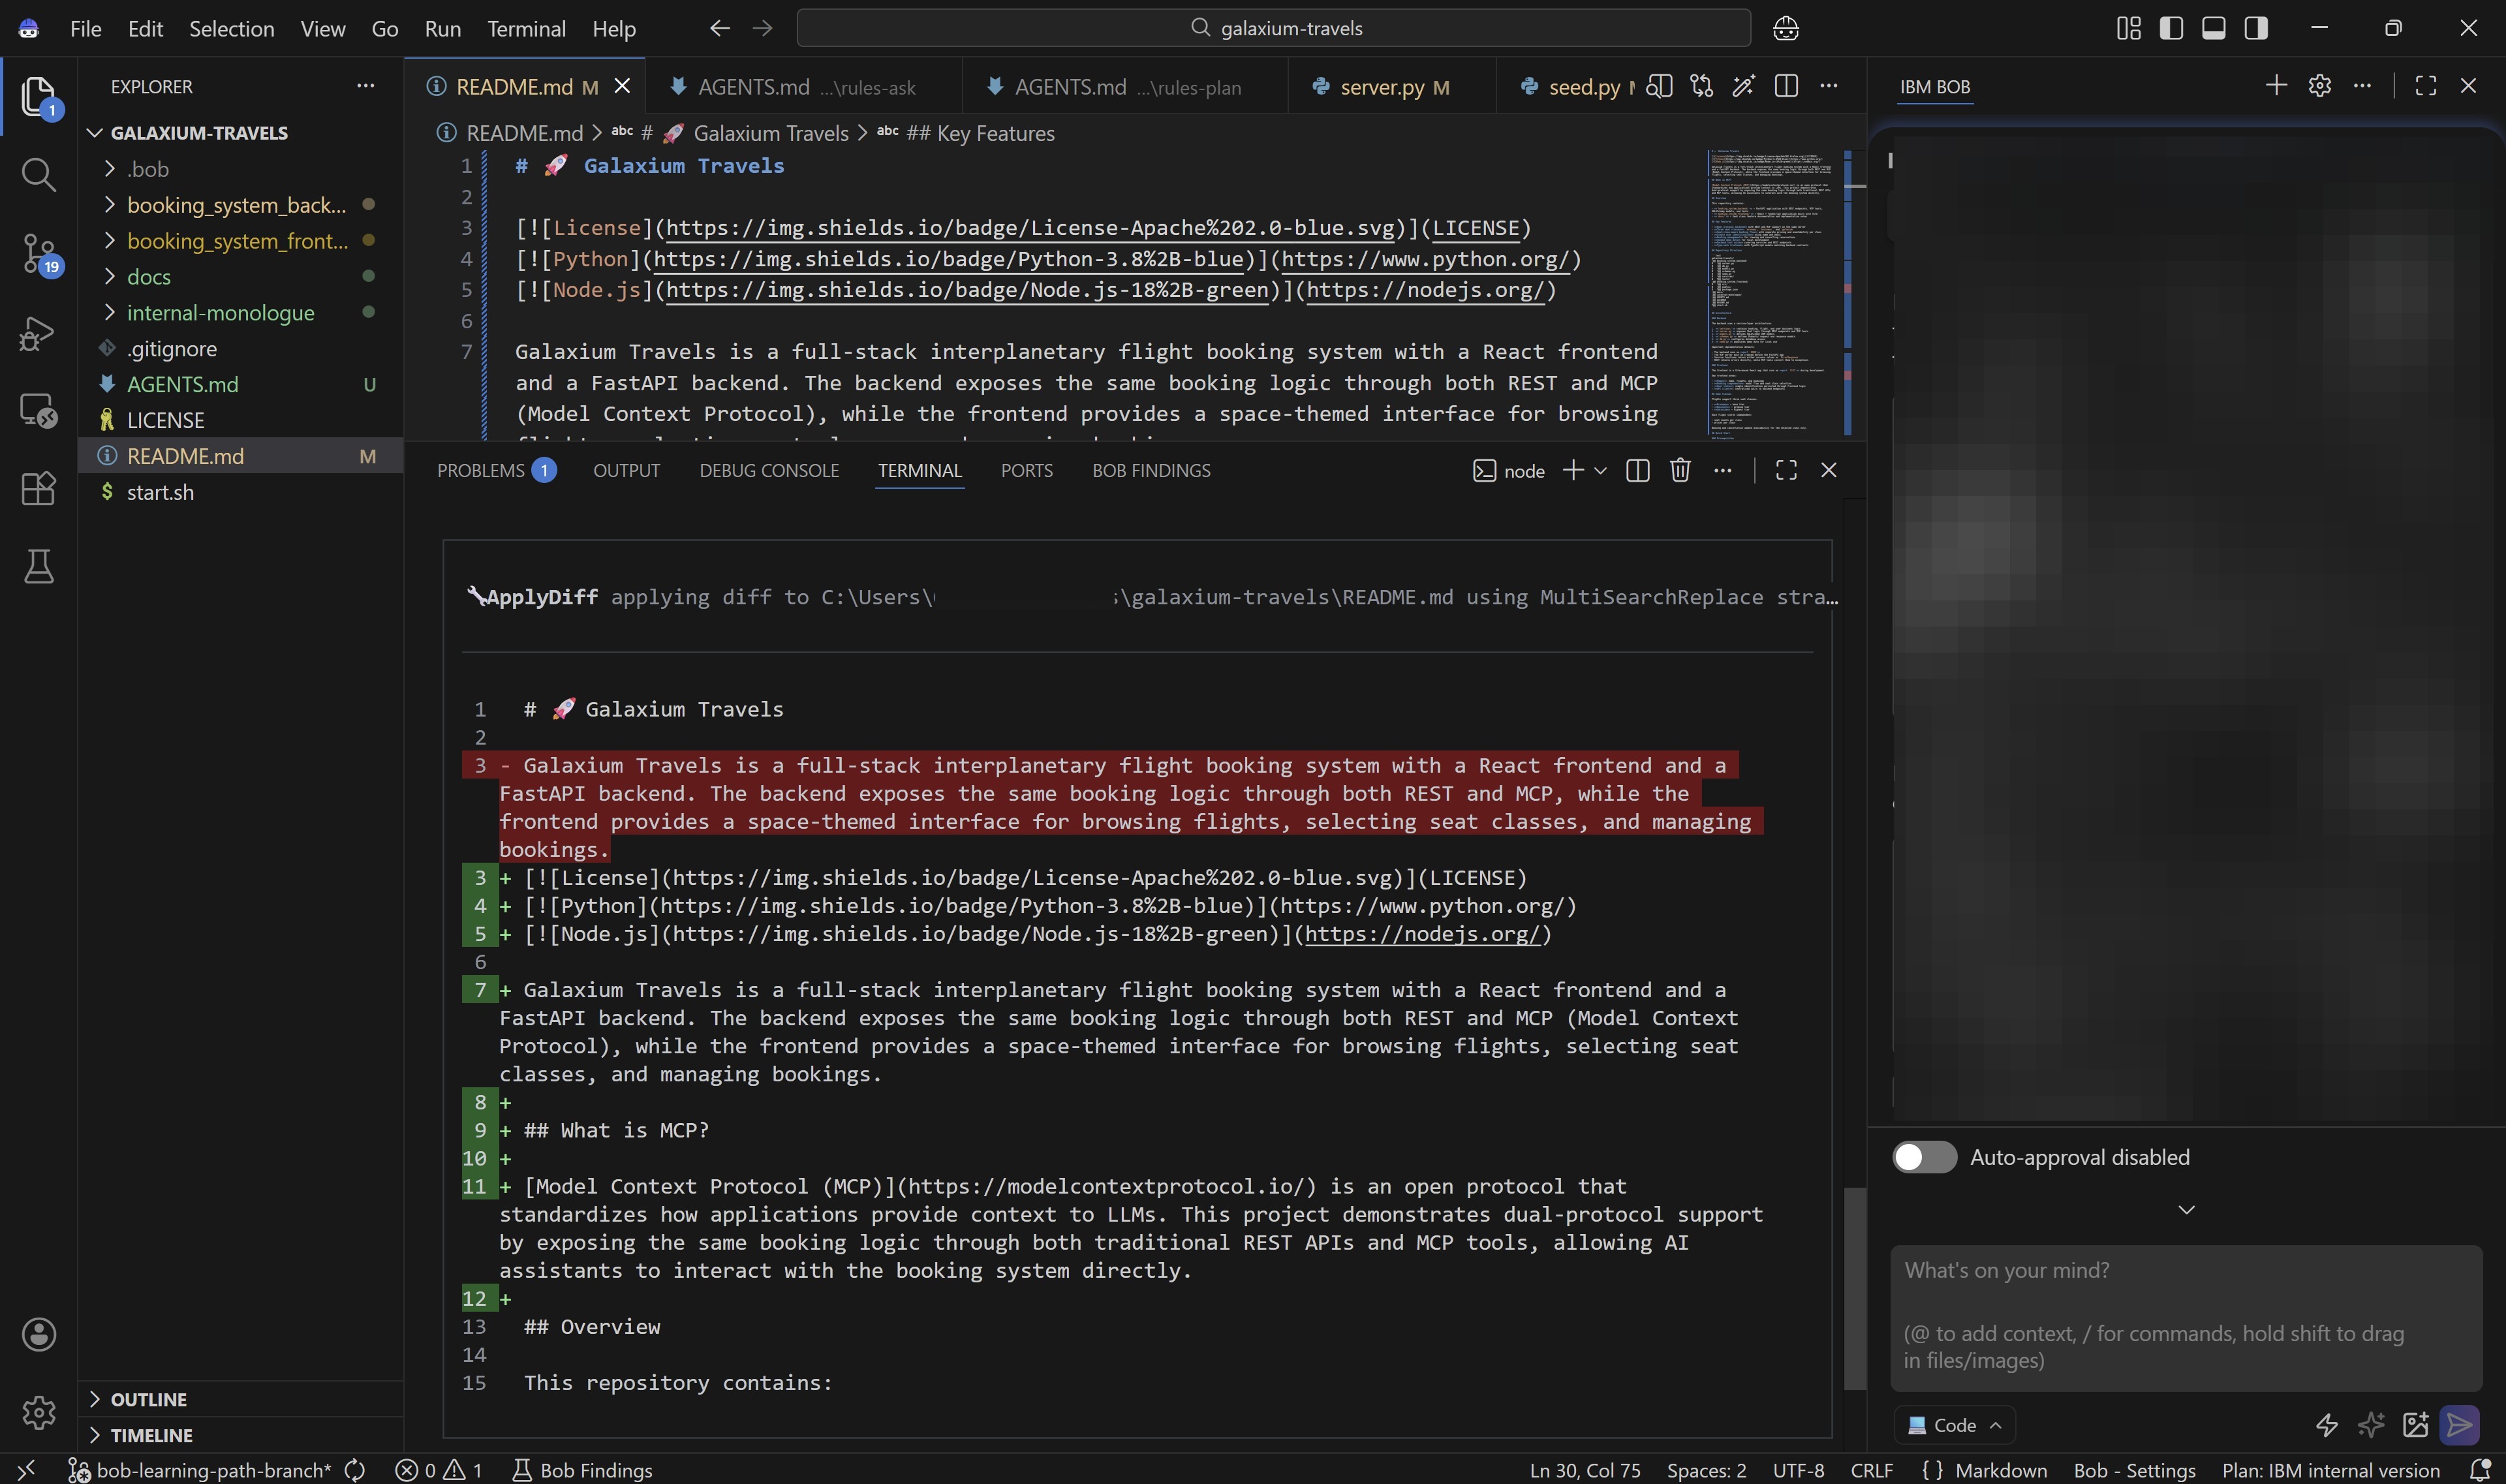
The diff view captured in the screenshot below highlights Bob's proposed updates to the
README.mdfile.As before: red highlights denote content marked for removal; green highlights denote content scheduled to be added.
-
Prefixing any input into the Bob Shell console with an exclamation mark ! drops Bob Shell into shell mode (akin to a
bashshell), where you can run ordinary shell commands.Test this by copy and pasting the following command into the Terminal console, then hit Enter to execute.
The
cat(concatenate) command is used to view, create, and combine file contents directly from the console.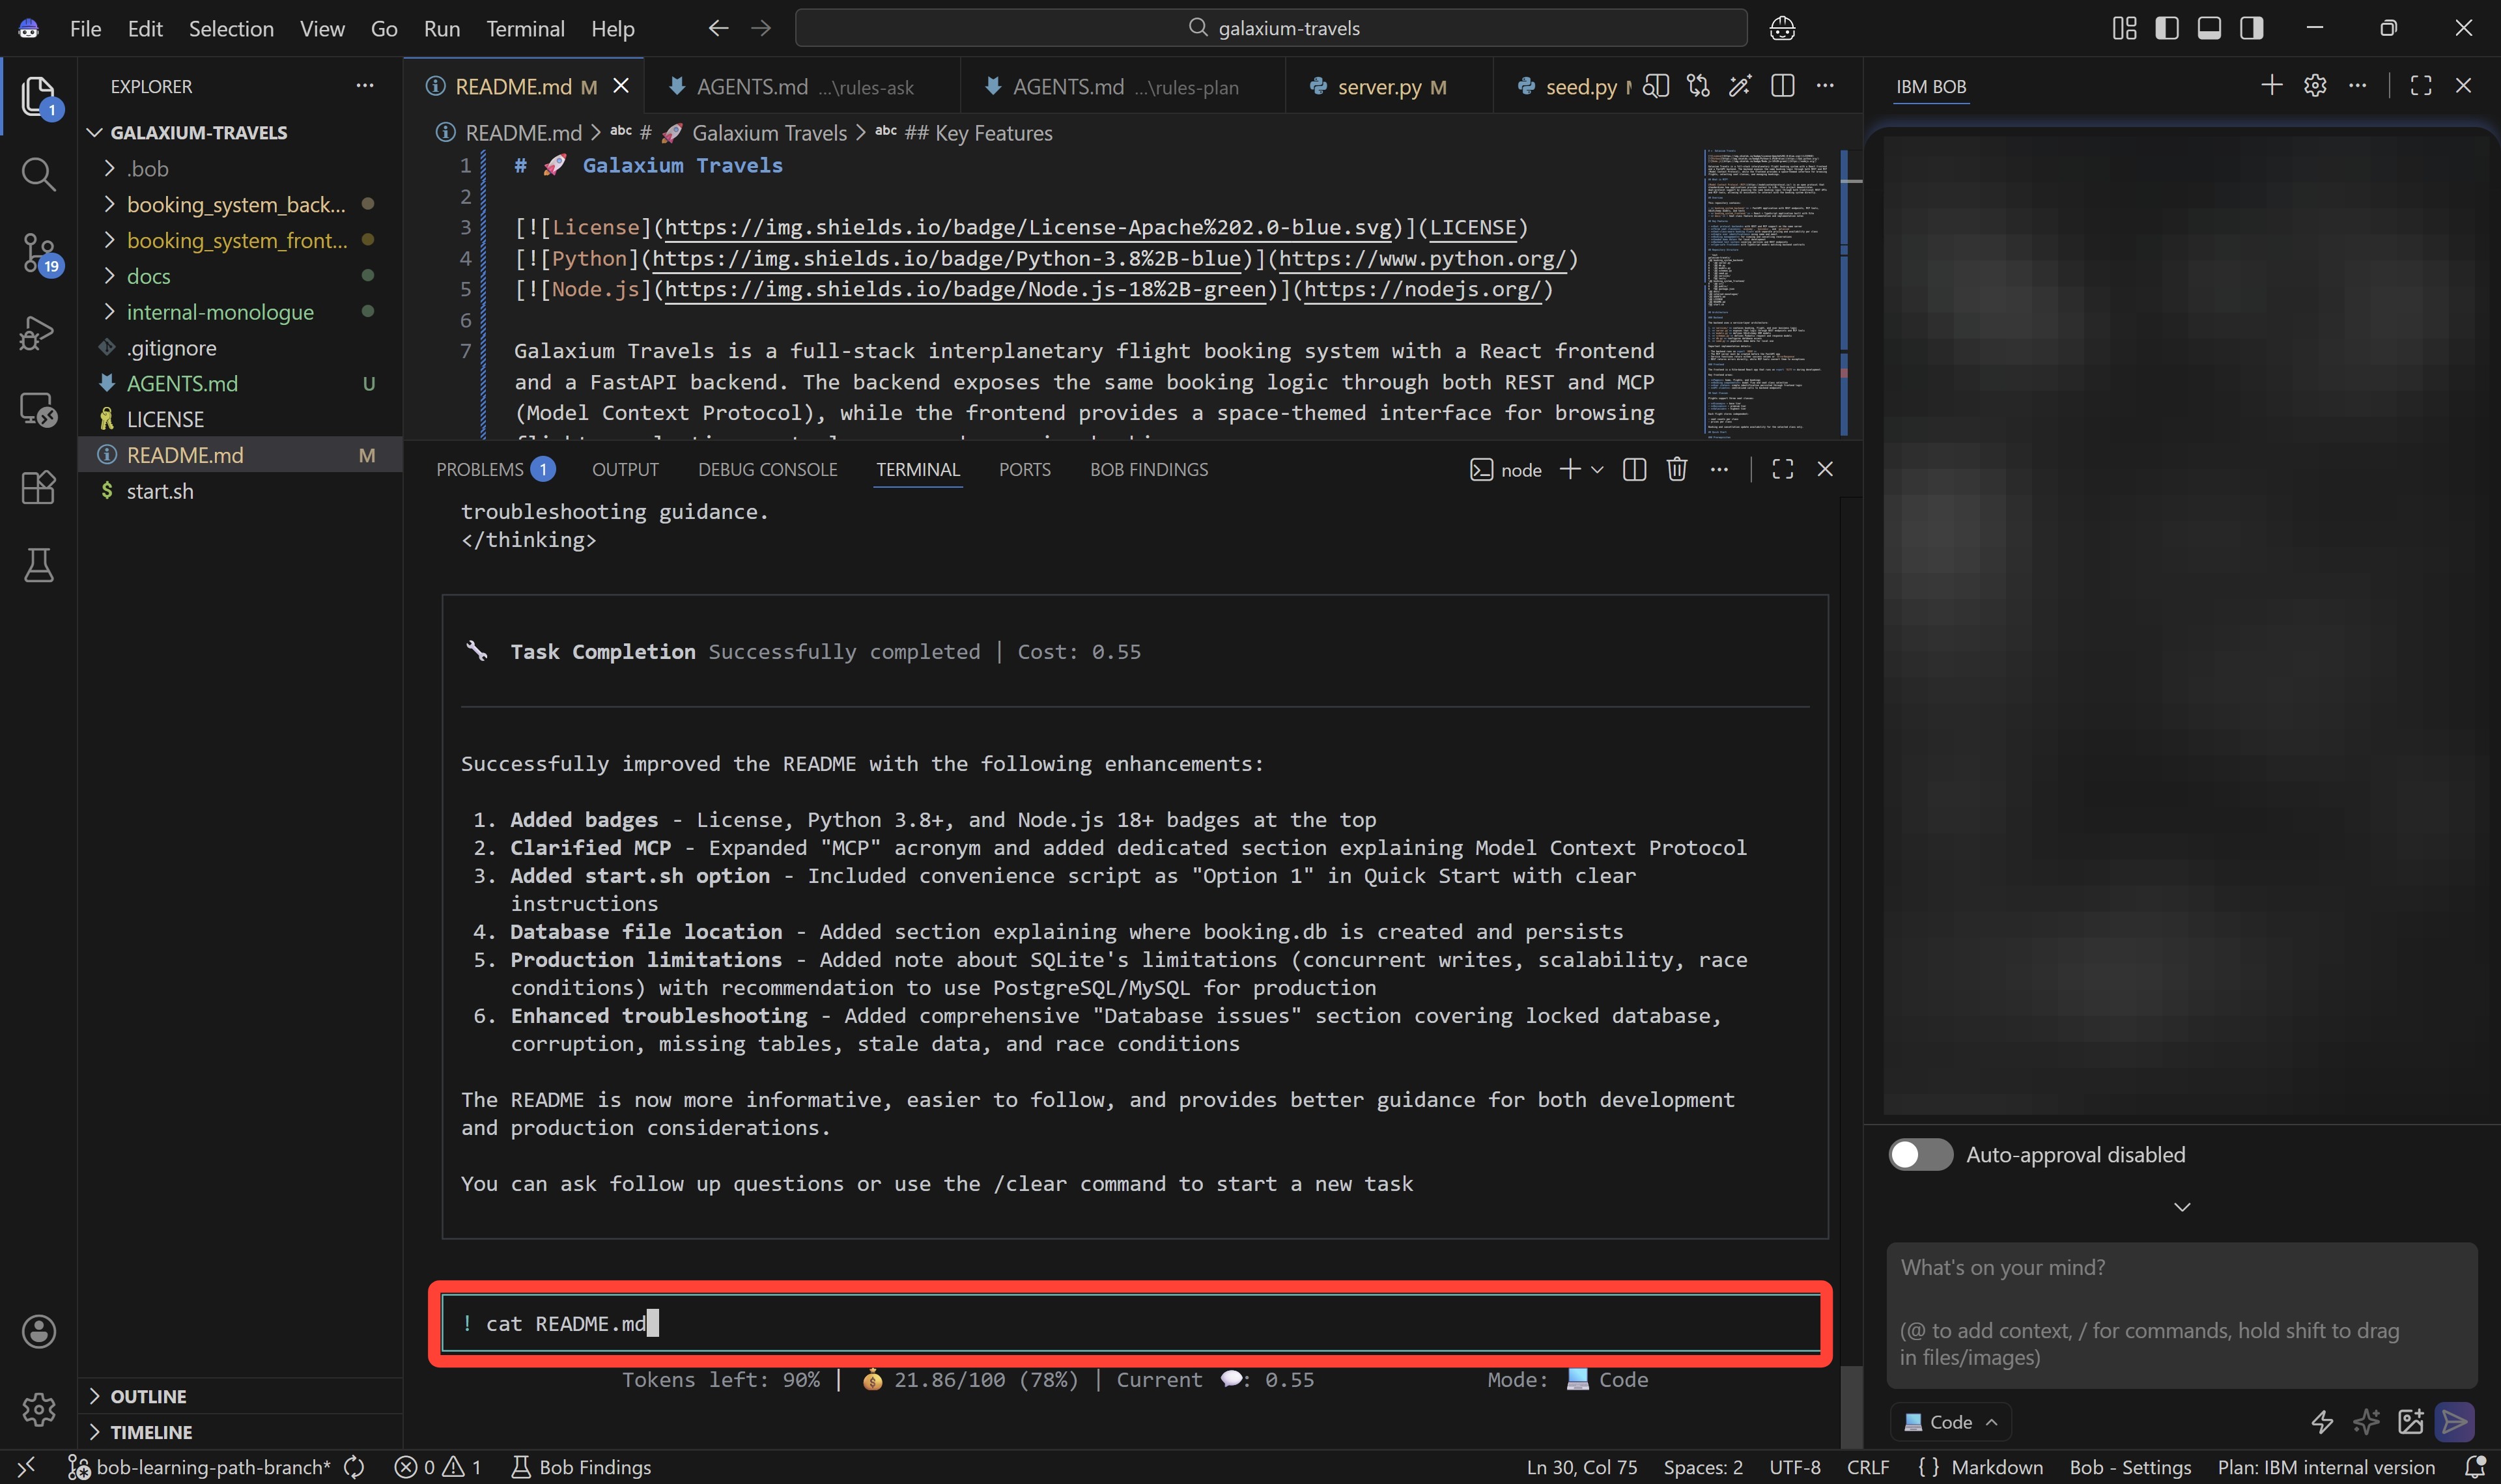
-
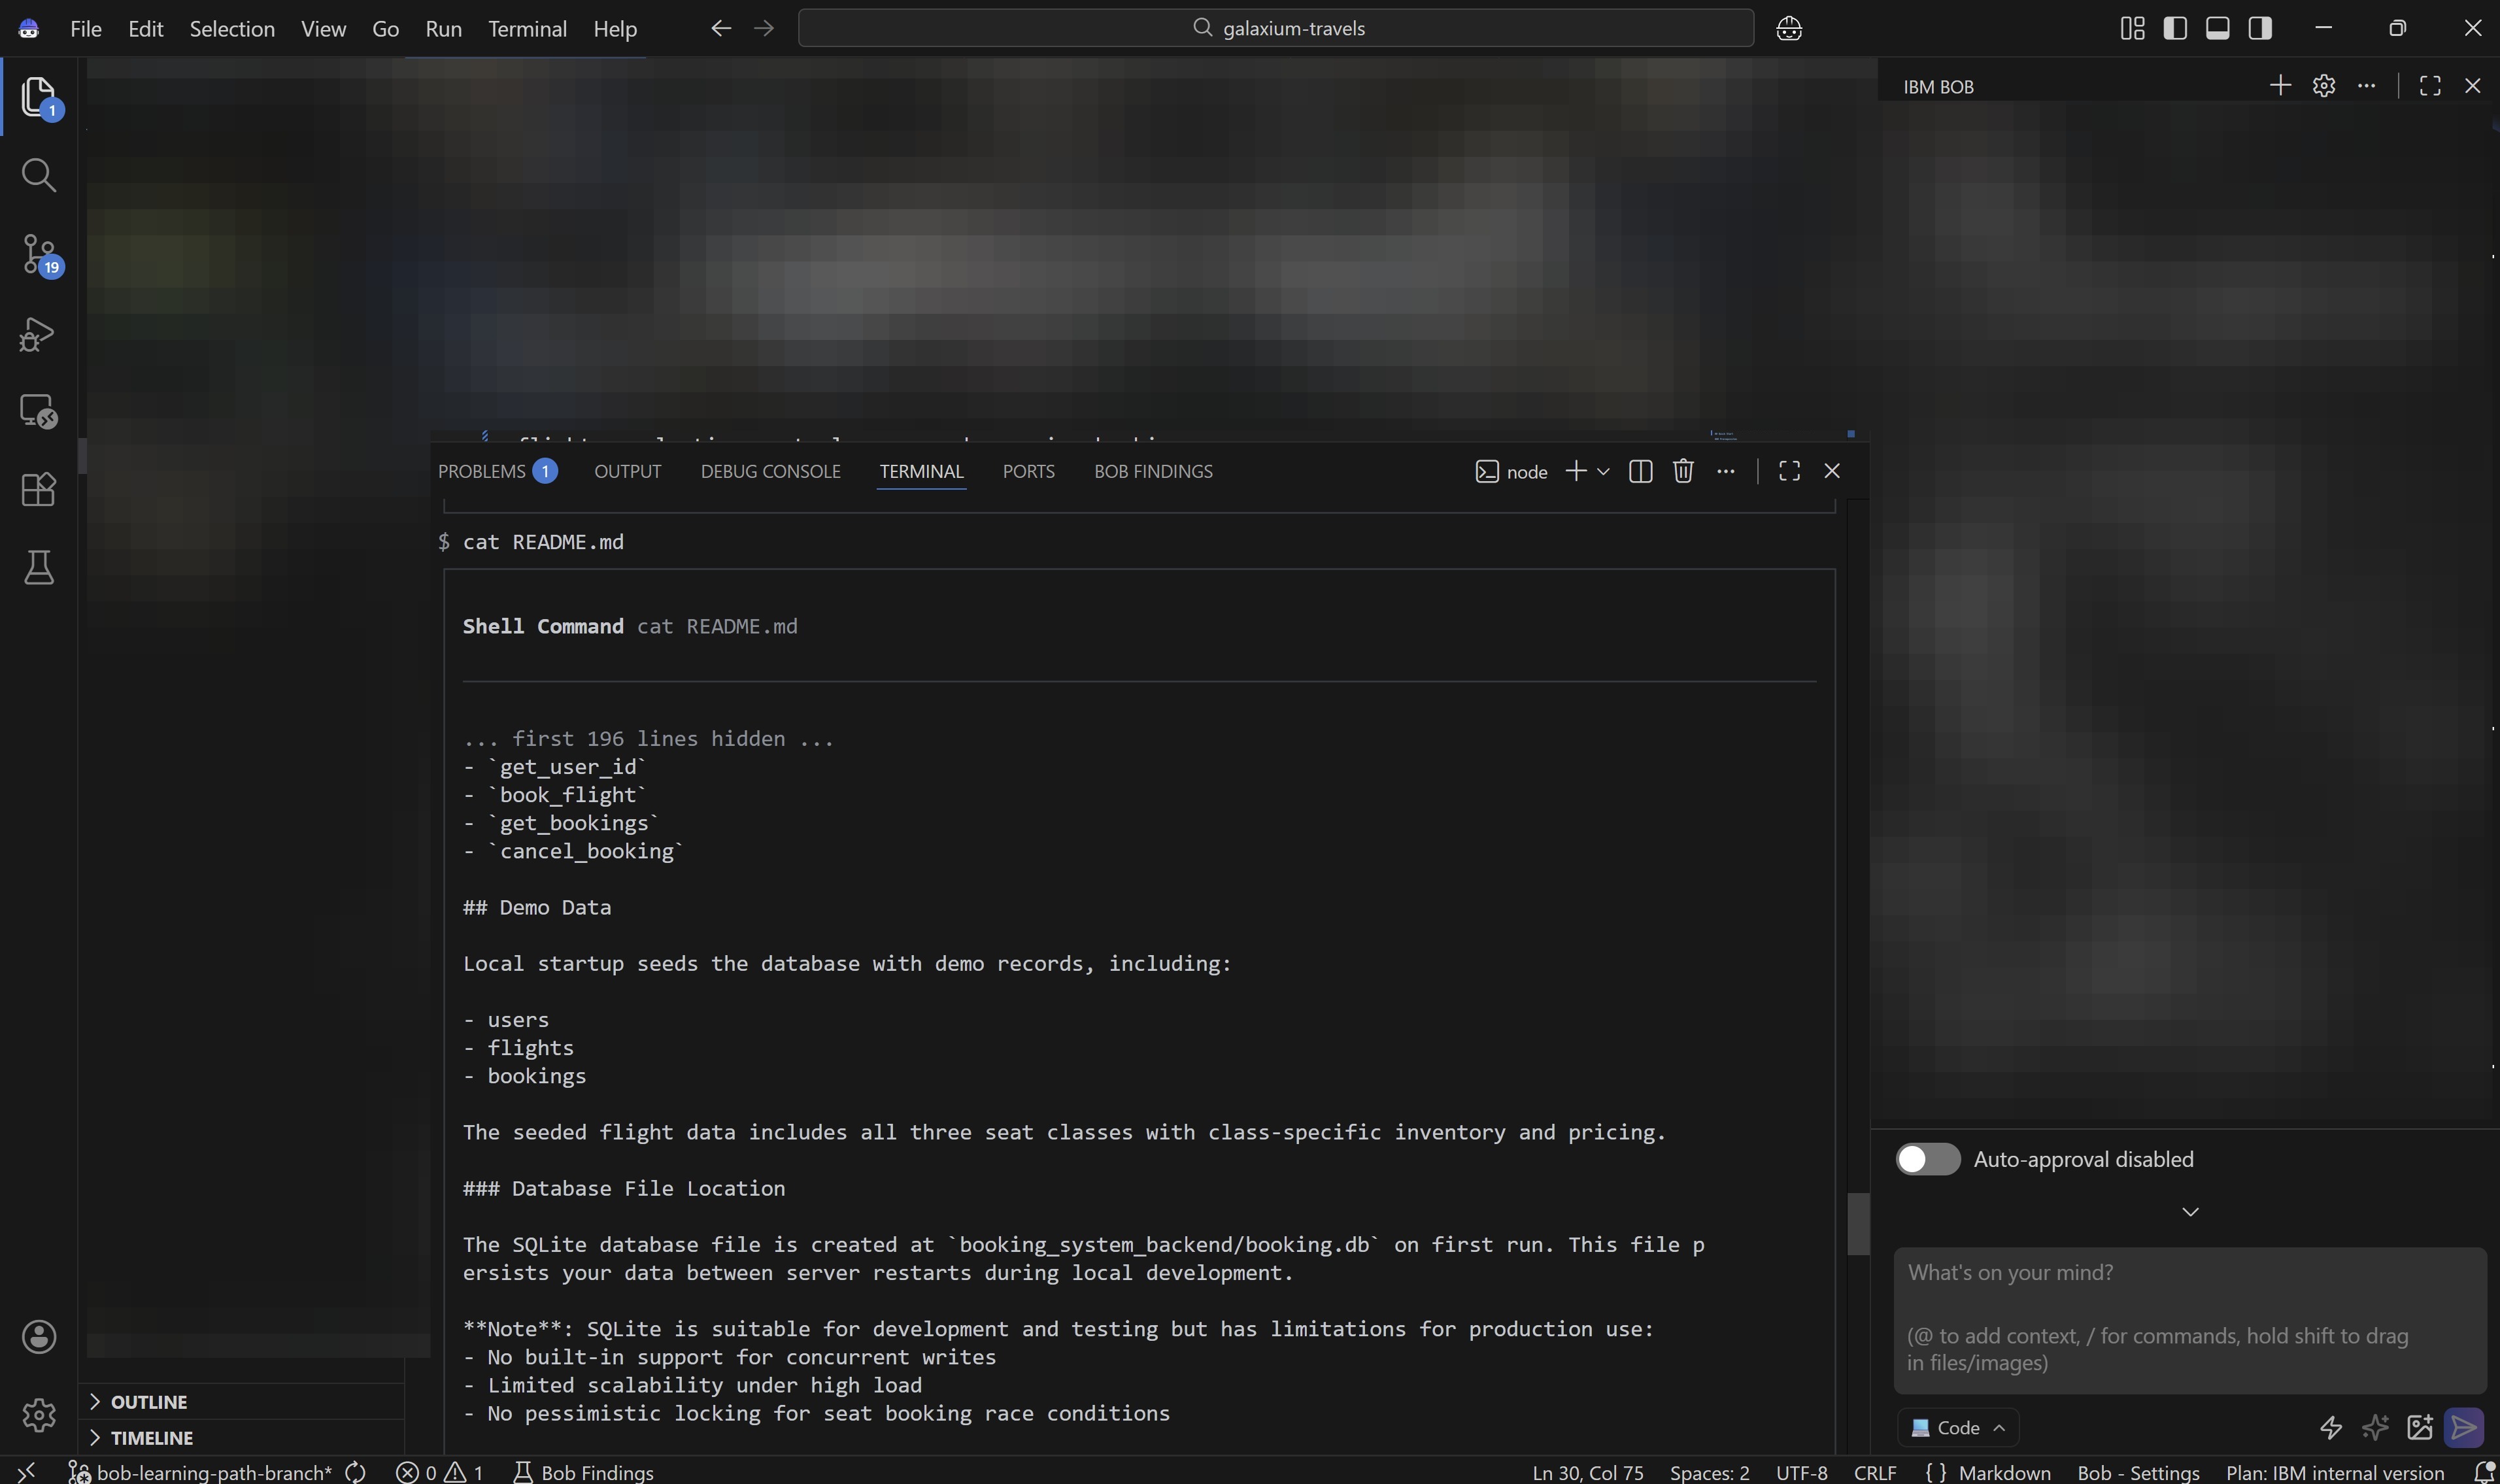
As a result of executing the
catcommand, the Terminal console simply prints theREADME.mdcontents to the window.EXITING ! SHELL MODE
Note that the ! exclamation marker remains on the left-hand side of the Terminal console. This indicates that the console remains in the generic shell mode.
To exit generic shell mode, and return to the Bob Shell, press Esc at any time.
-
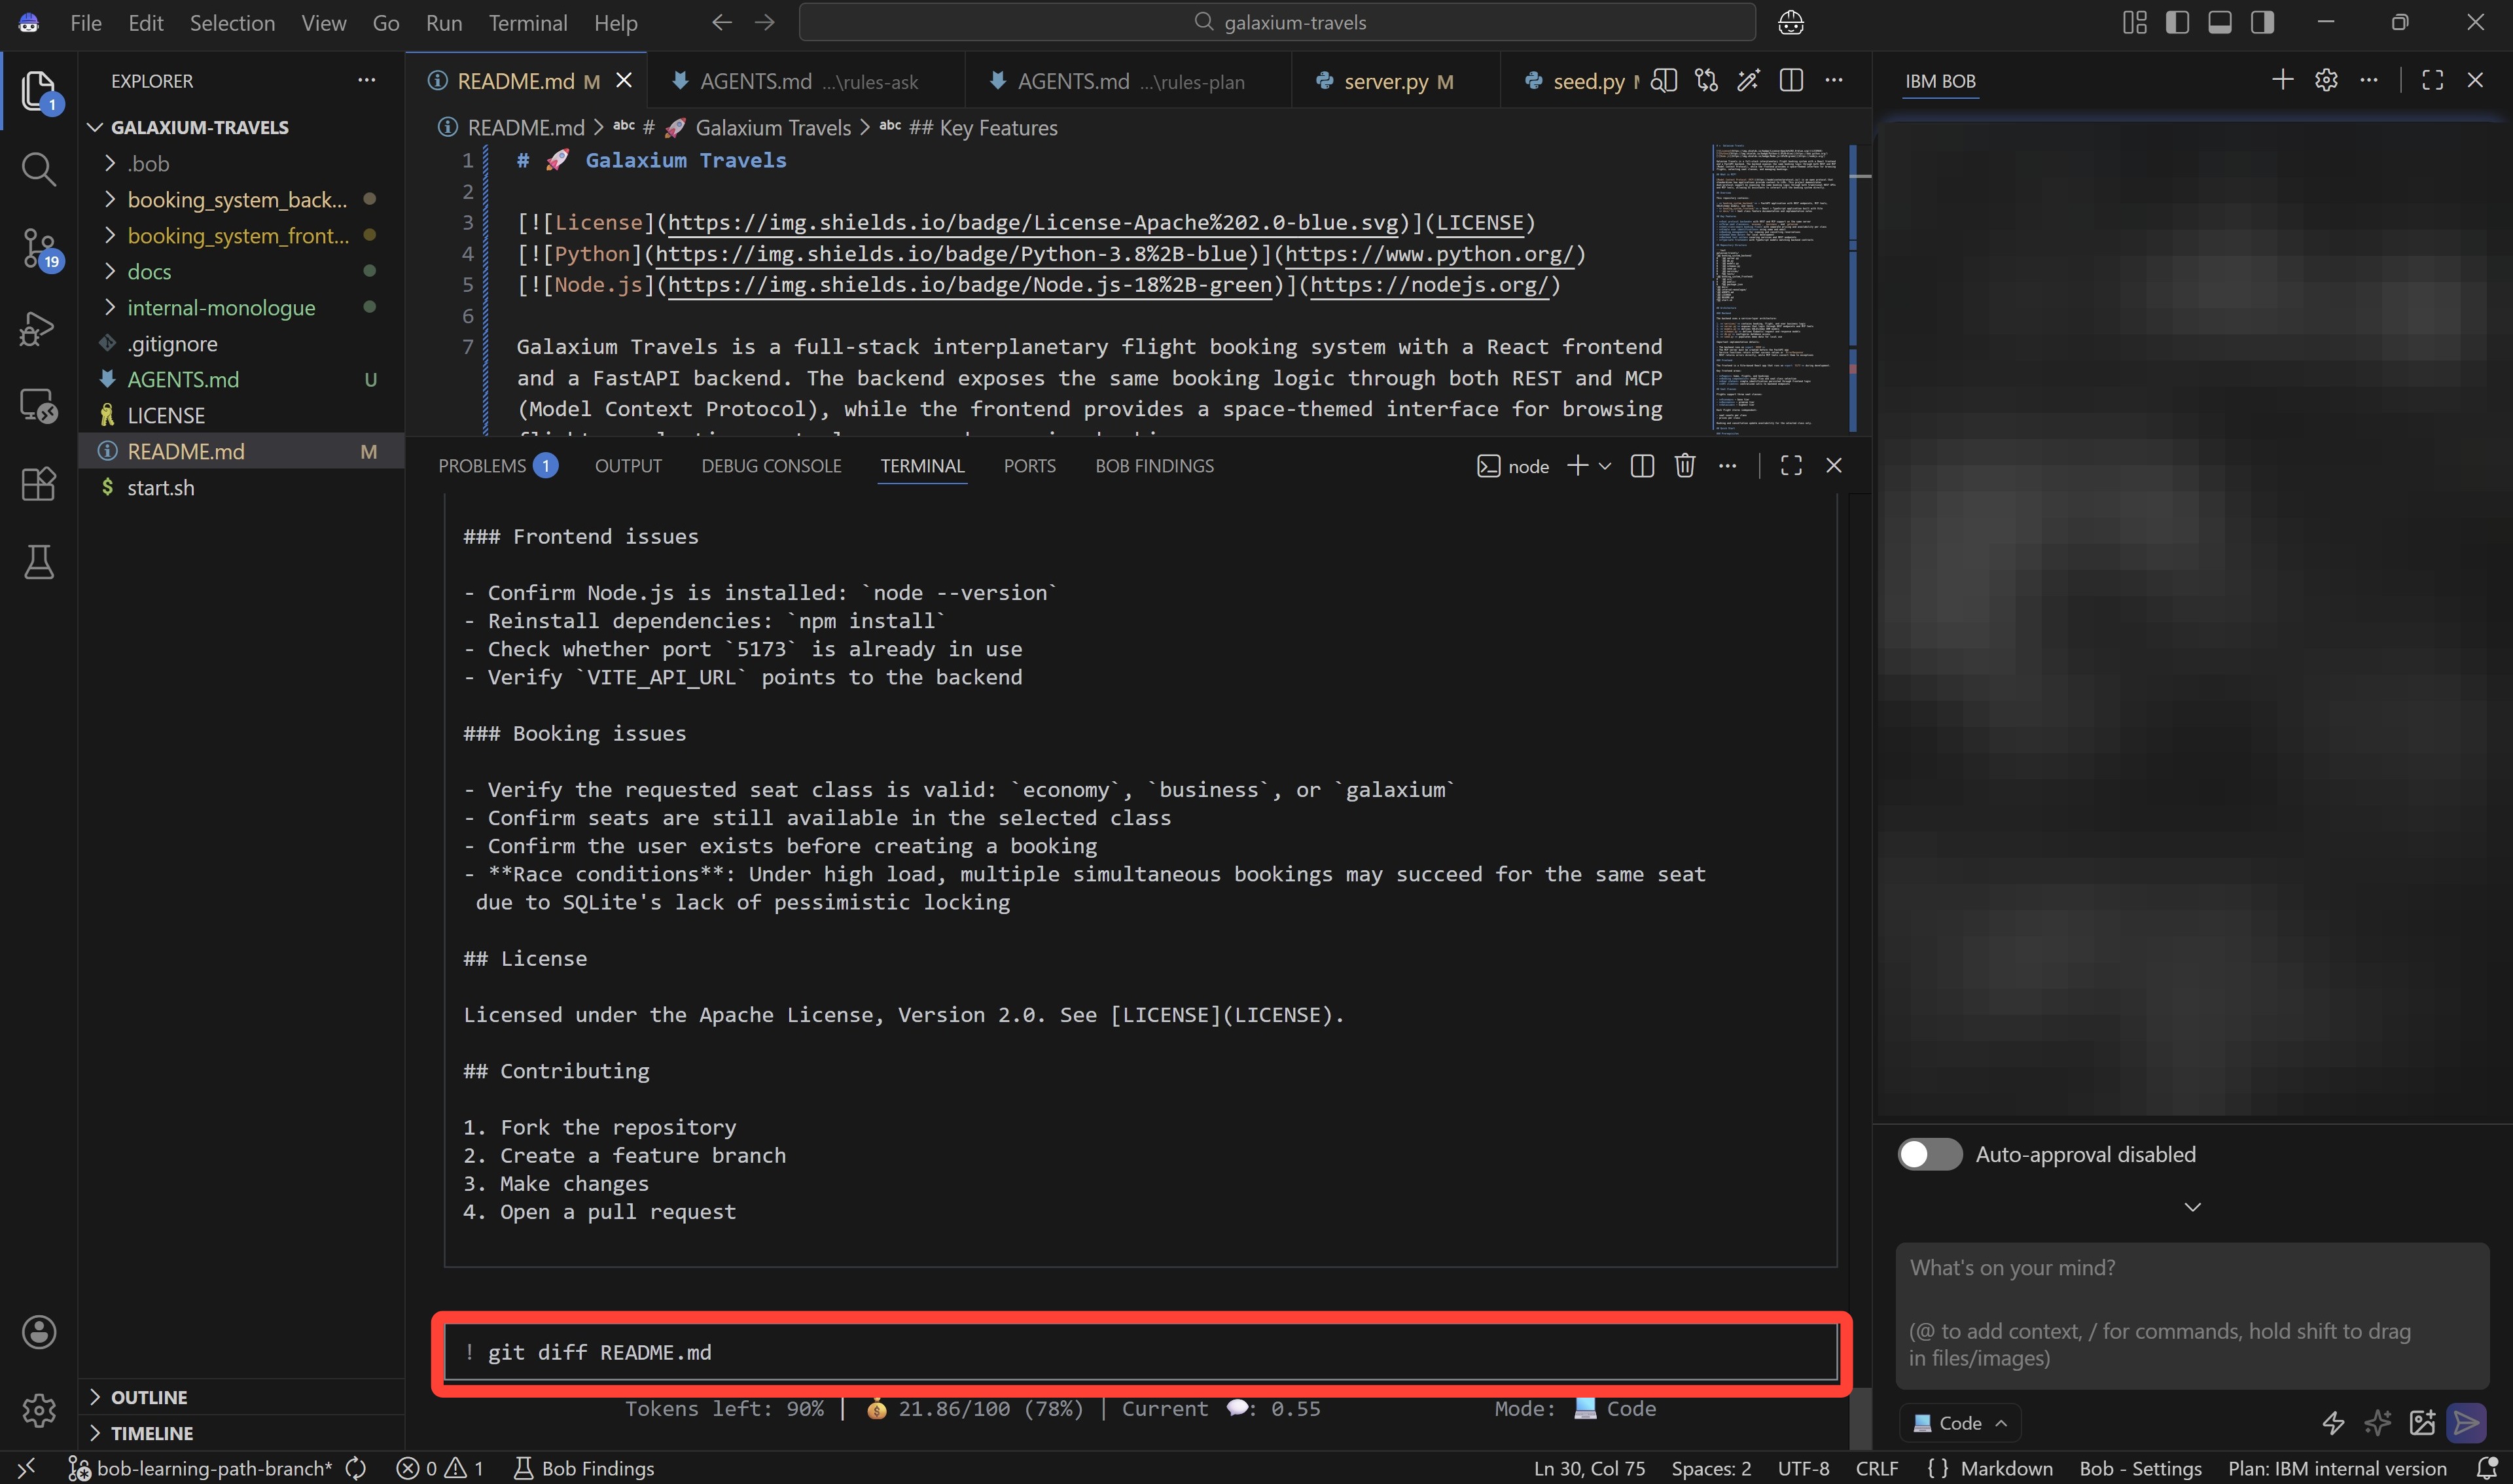
Next, try using the
git diff ...command to compare differences across the working copy ofREADME.md(on your machine) and the version tracked within the local Git repository (typically the last commit.)Copy and paste the following instruction into the console, then press Enter to execute.
Take note of the + and - symbols on the left-side edge of each line: these denote changed lines between the two versions (indicating a new line added or existing line removed, respectively.)
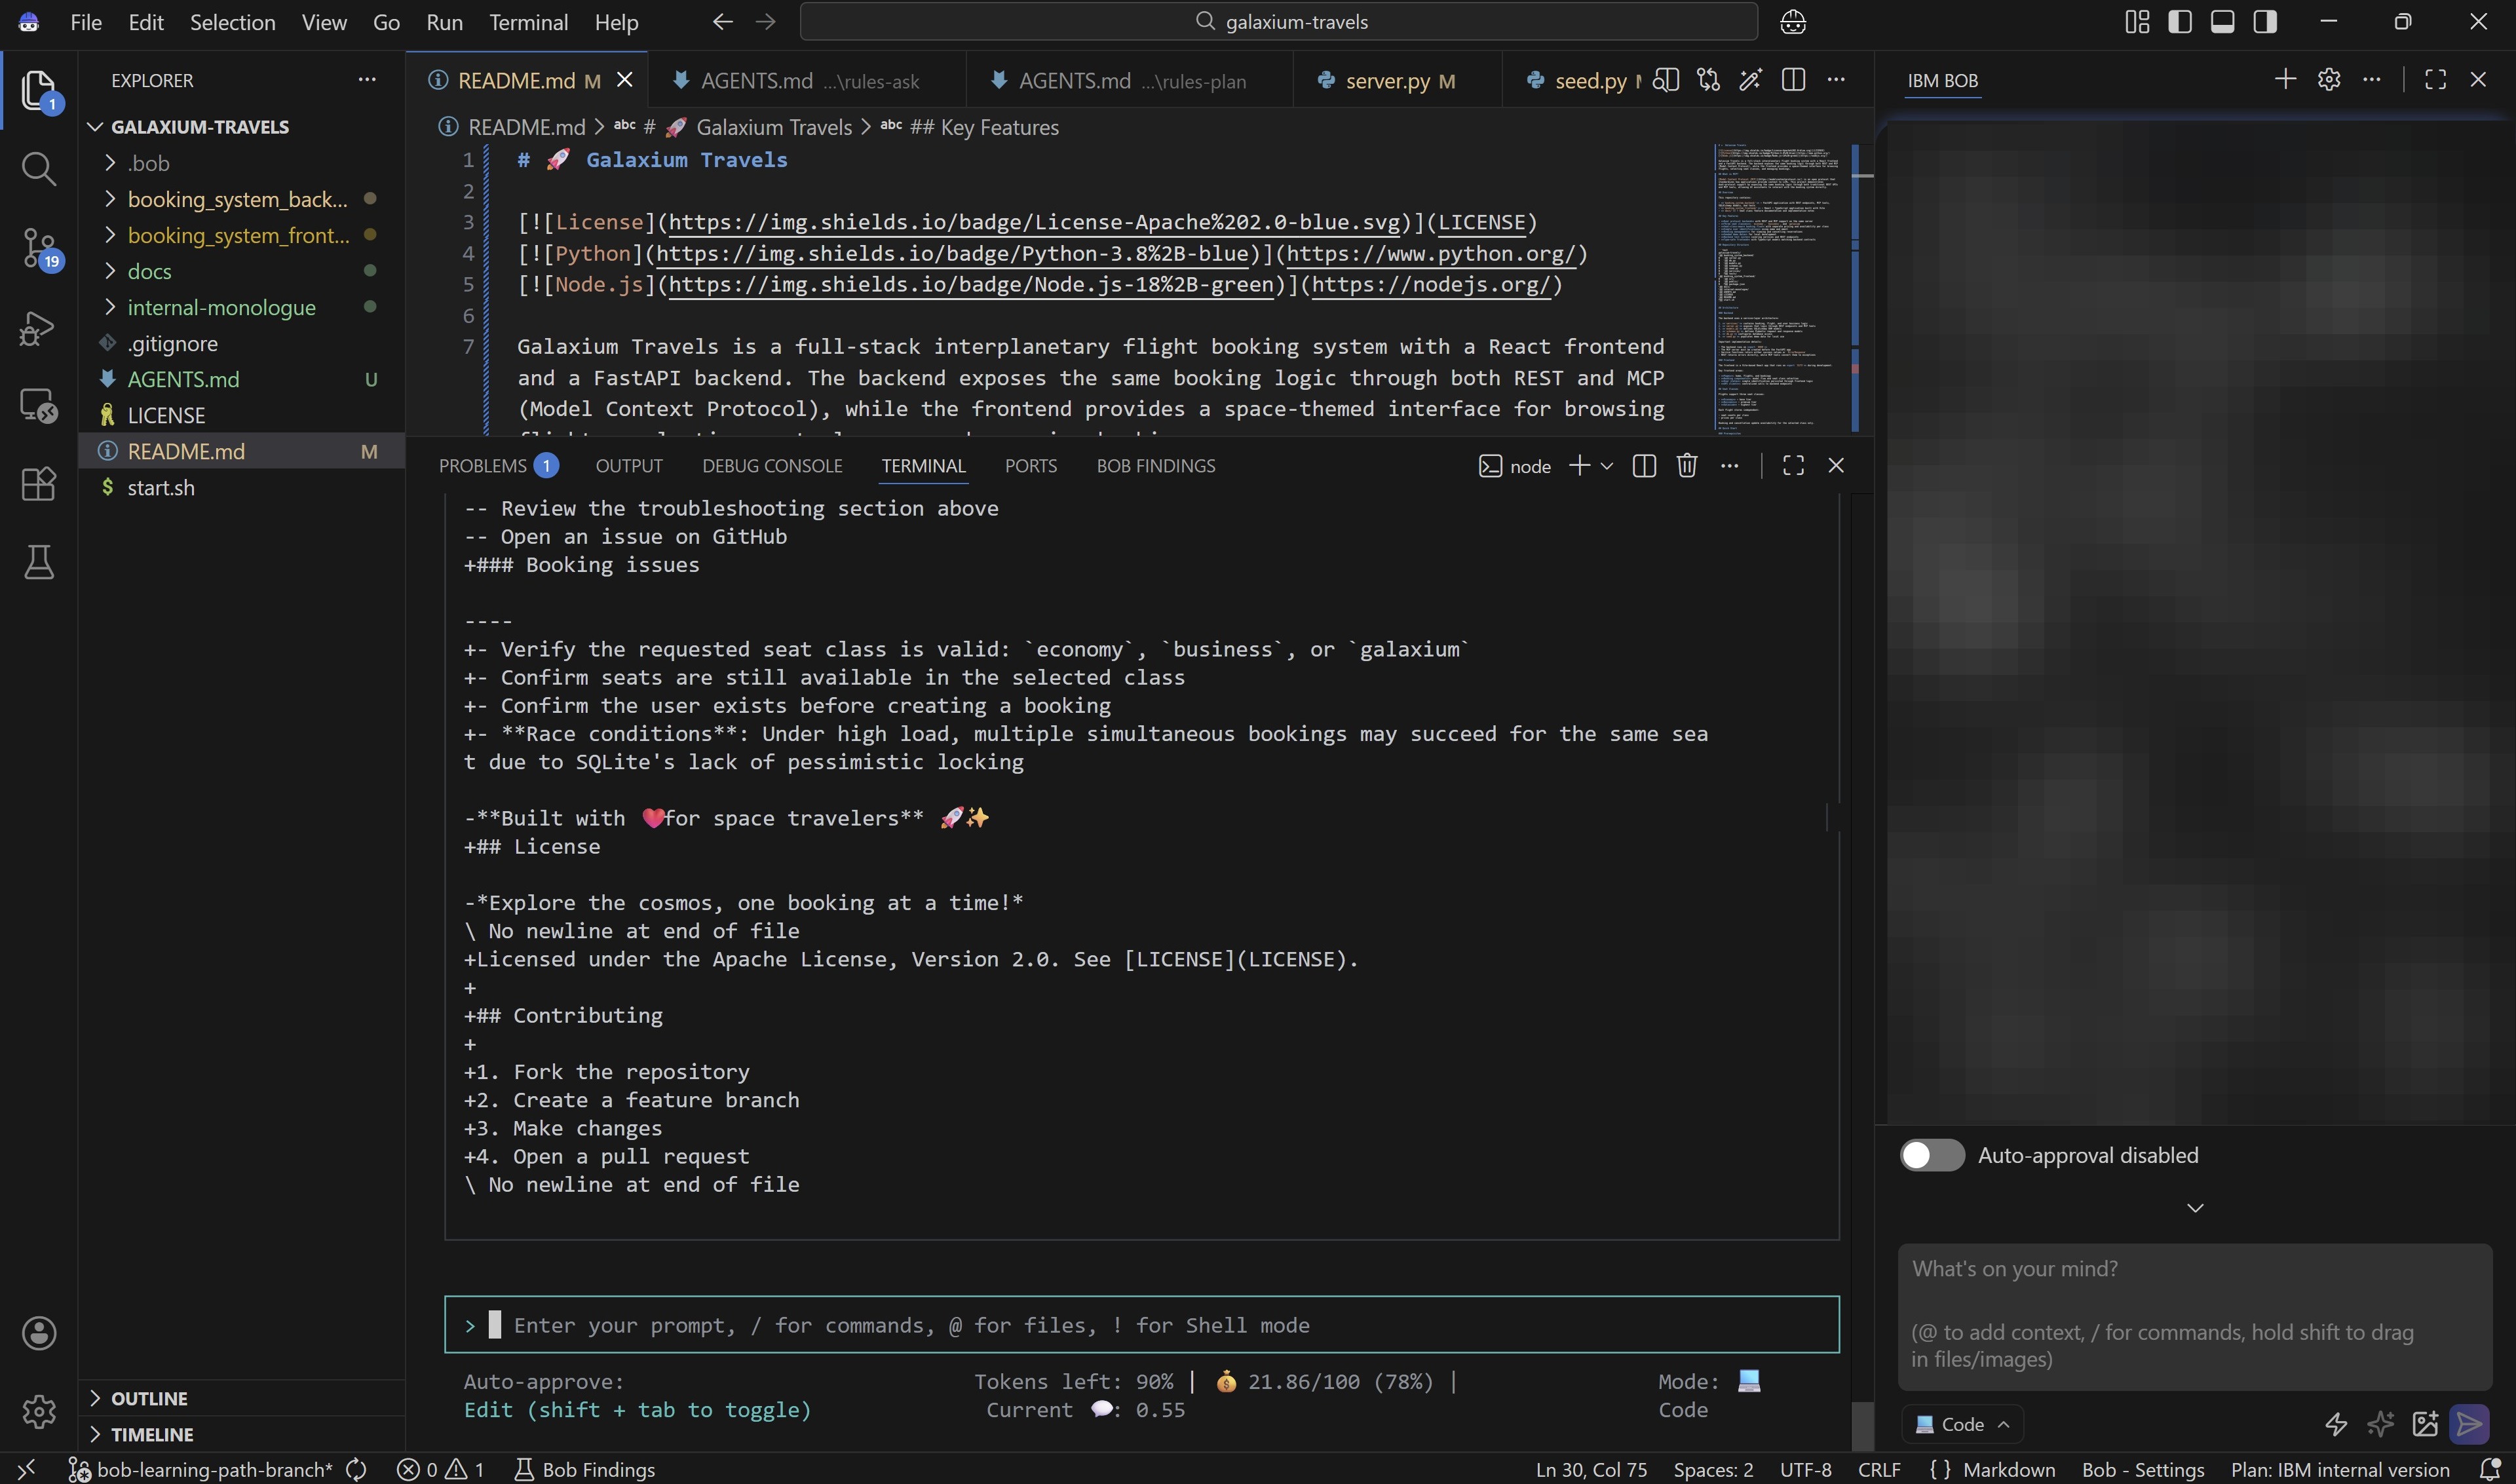
-
To exit generic shell mode, and return to the Bob Shell, press Esc at any time.
Press Esc now to return to the Bob Shell, where you will investigate more of the commands available before progressing to the next chapter.
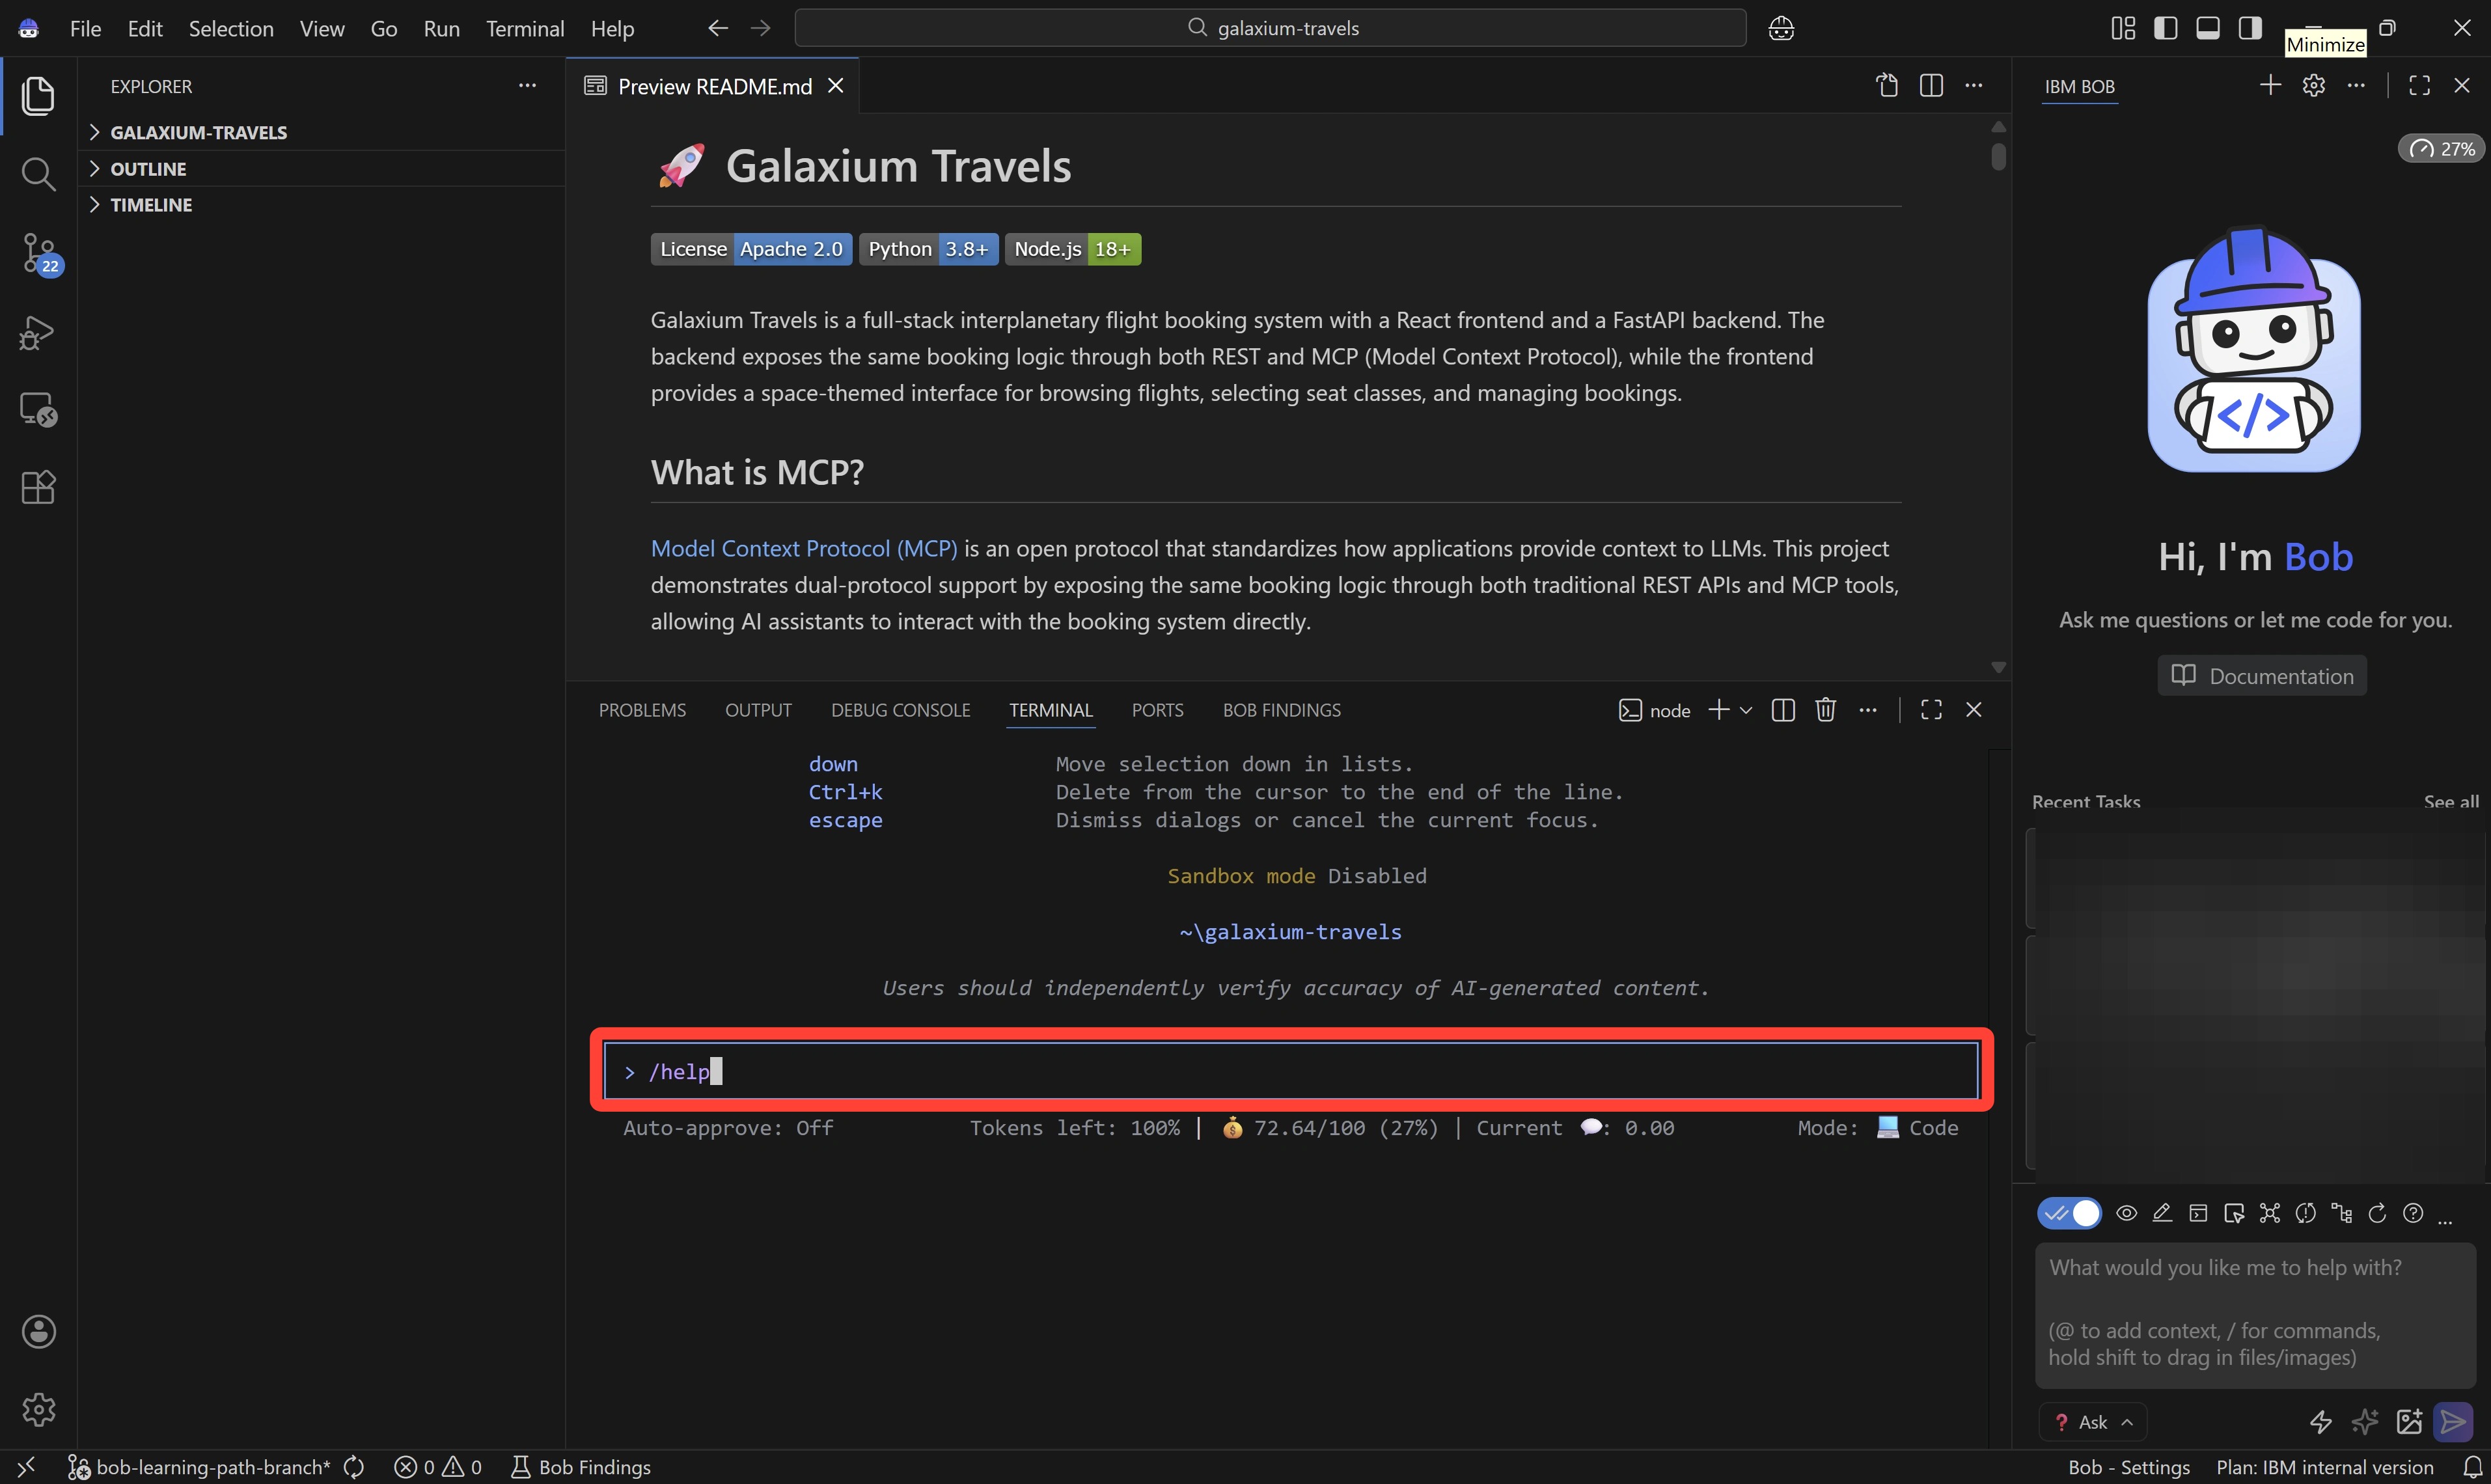
-
There are a multitude of commands and operations you can perform using the Bob Shell, which we have just barely scratched the surface of here.
Copy and paste the following command, followed by Enter, to display a full list of ways that you can interact with the Bob Shell:
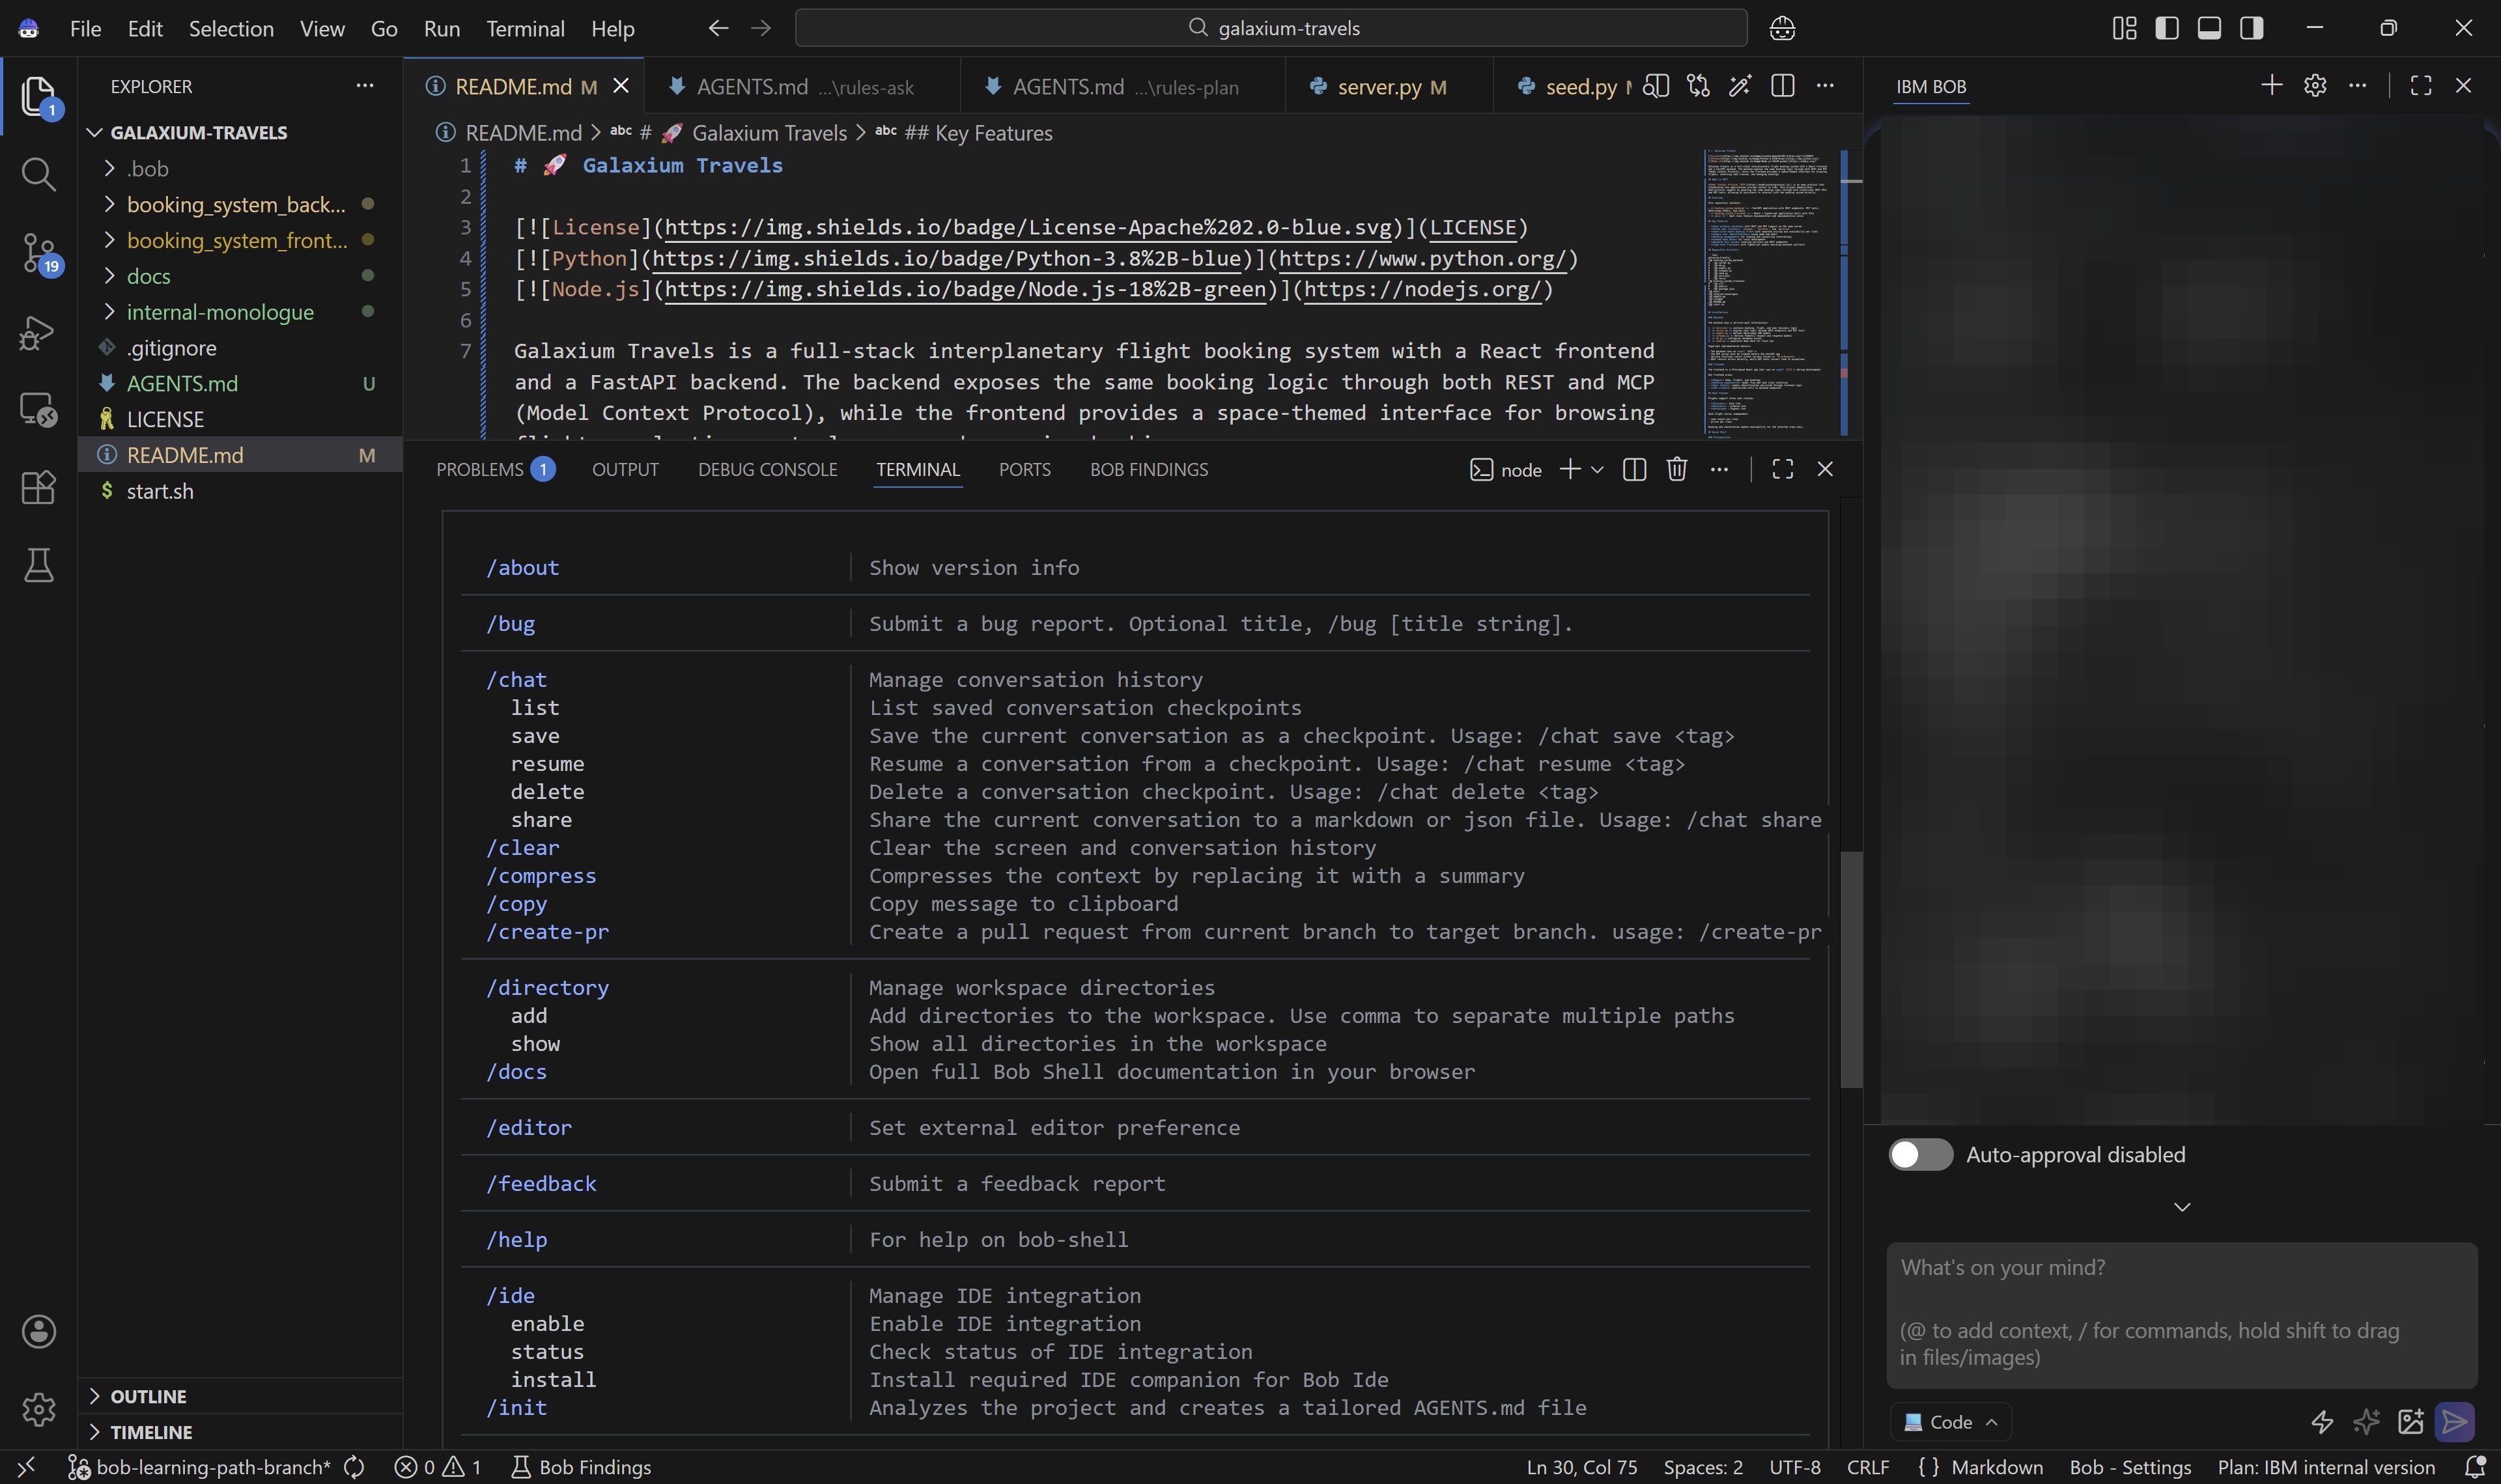
vi. Key takeaways
- Bob Shell provides the same capabilities as Bob IDE, but via a programmatic console
- Invoke the Bob Shell with
bob; use the!prefix for normal shell commands within a session - Exit the normal shell (!) shell mode and return to Bob Shell by typing Esc
- Auto-approval is strict by default in Bob Shell, requiring you to confirm actions as prompted
CORE BENEFITS OF BOB SHELL
- Keyboard efficiency: faster for Terminal-native developers once the interface is learned
- Headless mode:
cat file | bob "prompt"enables automation, pipeline integration, and scripted workflows - Parallelization: multiple Bob Shell instances can run simultaneously for independent tasks
To conclude the hands-on modules, you will next examine Bob's open standards Model Context Protocol (MCP) as a means for connecting Bob to everything else within your enterprise.