GETTING STARTED
REGISTRATION & SETUP
i. Before you begin
Before diving into the hands-on modules, complete the following registration and setup steps to prepare your machine with an authenticated IBM Bob account and a local copy of the Galaxium Travels demo application, which every module in this Level 3 courseware builds upon. Afterwards, you will be ready to begin Module 1 | Assist.
ii. Choosing how to access Bob
Before installing the demo application, you need an authenticated IBM Bob account. There are two registration paths to obtain one— as well as a shortcut if you already have access —and the few minutes you spend now, choosing the right one, can save you a great deal of time later.
| TRIAL | INTERNAL | |
|---|---|---|
| Audience | Anyone, including Business Partners (and IBMers using a personal email) | IBMers only |
| Approval time | Under 10 minutes | 24+ hours |
| Access duration | 1 month | Indefinite |
| Bobcoin balance | 40 Bobcoins | 100 Bobcoins (tied to your w3id) |
| Registration email | Must use a non-IBM email address | Your IBM w3id |
WHICH PATH SHOULD I CHOOSE?
- IBM REGULAR EMPLOYEES: "Internal" registration
- BUSINESS PARTNERS: "Trial" registration
Trial account registration is the right choice if you are under time constraints, are a Business Partner, or have previously maxed out your Bobcoin balance. (IBMers may use the Trial as well, though Internal is the official recommendation.) Its 40 Bobcoins are more than enough to complete this lab, and access lasts a month — ample time, and easily renewed by creating another Trial account.
Internal account registration is the right choice if you are an IBMer, aren't in a rush, and would like to keep exploring Bob beyond this lab. Note that the 100-Bobcoin balance is tied to your w3id, so if you have exhausted it elsewhere, that limit still applies here.
Already have IBM Bob? Skip both registration paths entirely and jump ahead to Installing the COBOL demo app. This assumes you have already installed and authenticated IBM Bob prior to this course.
iii. IBMers: Internal registration
The Internal registration path is the appropriate route for IBM regular employees to register for IBM Bob access.
-
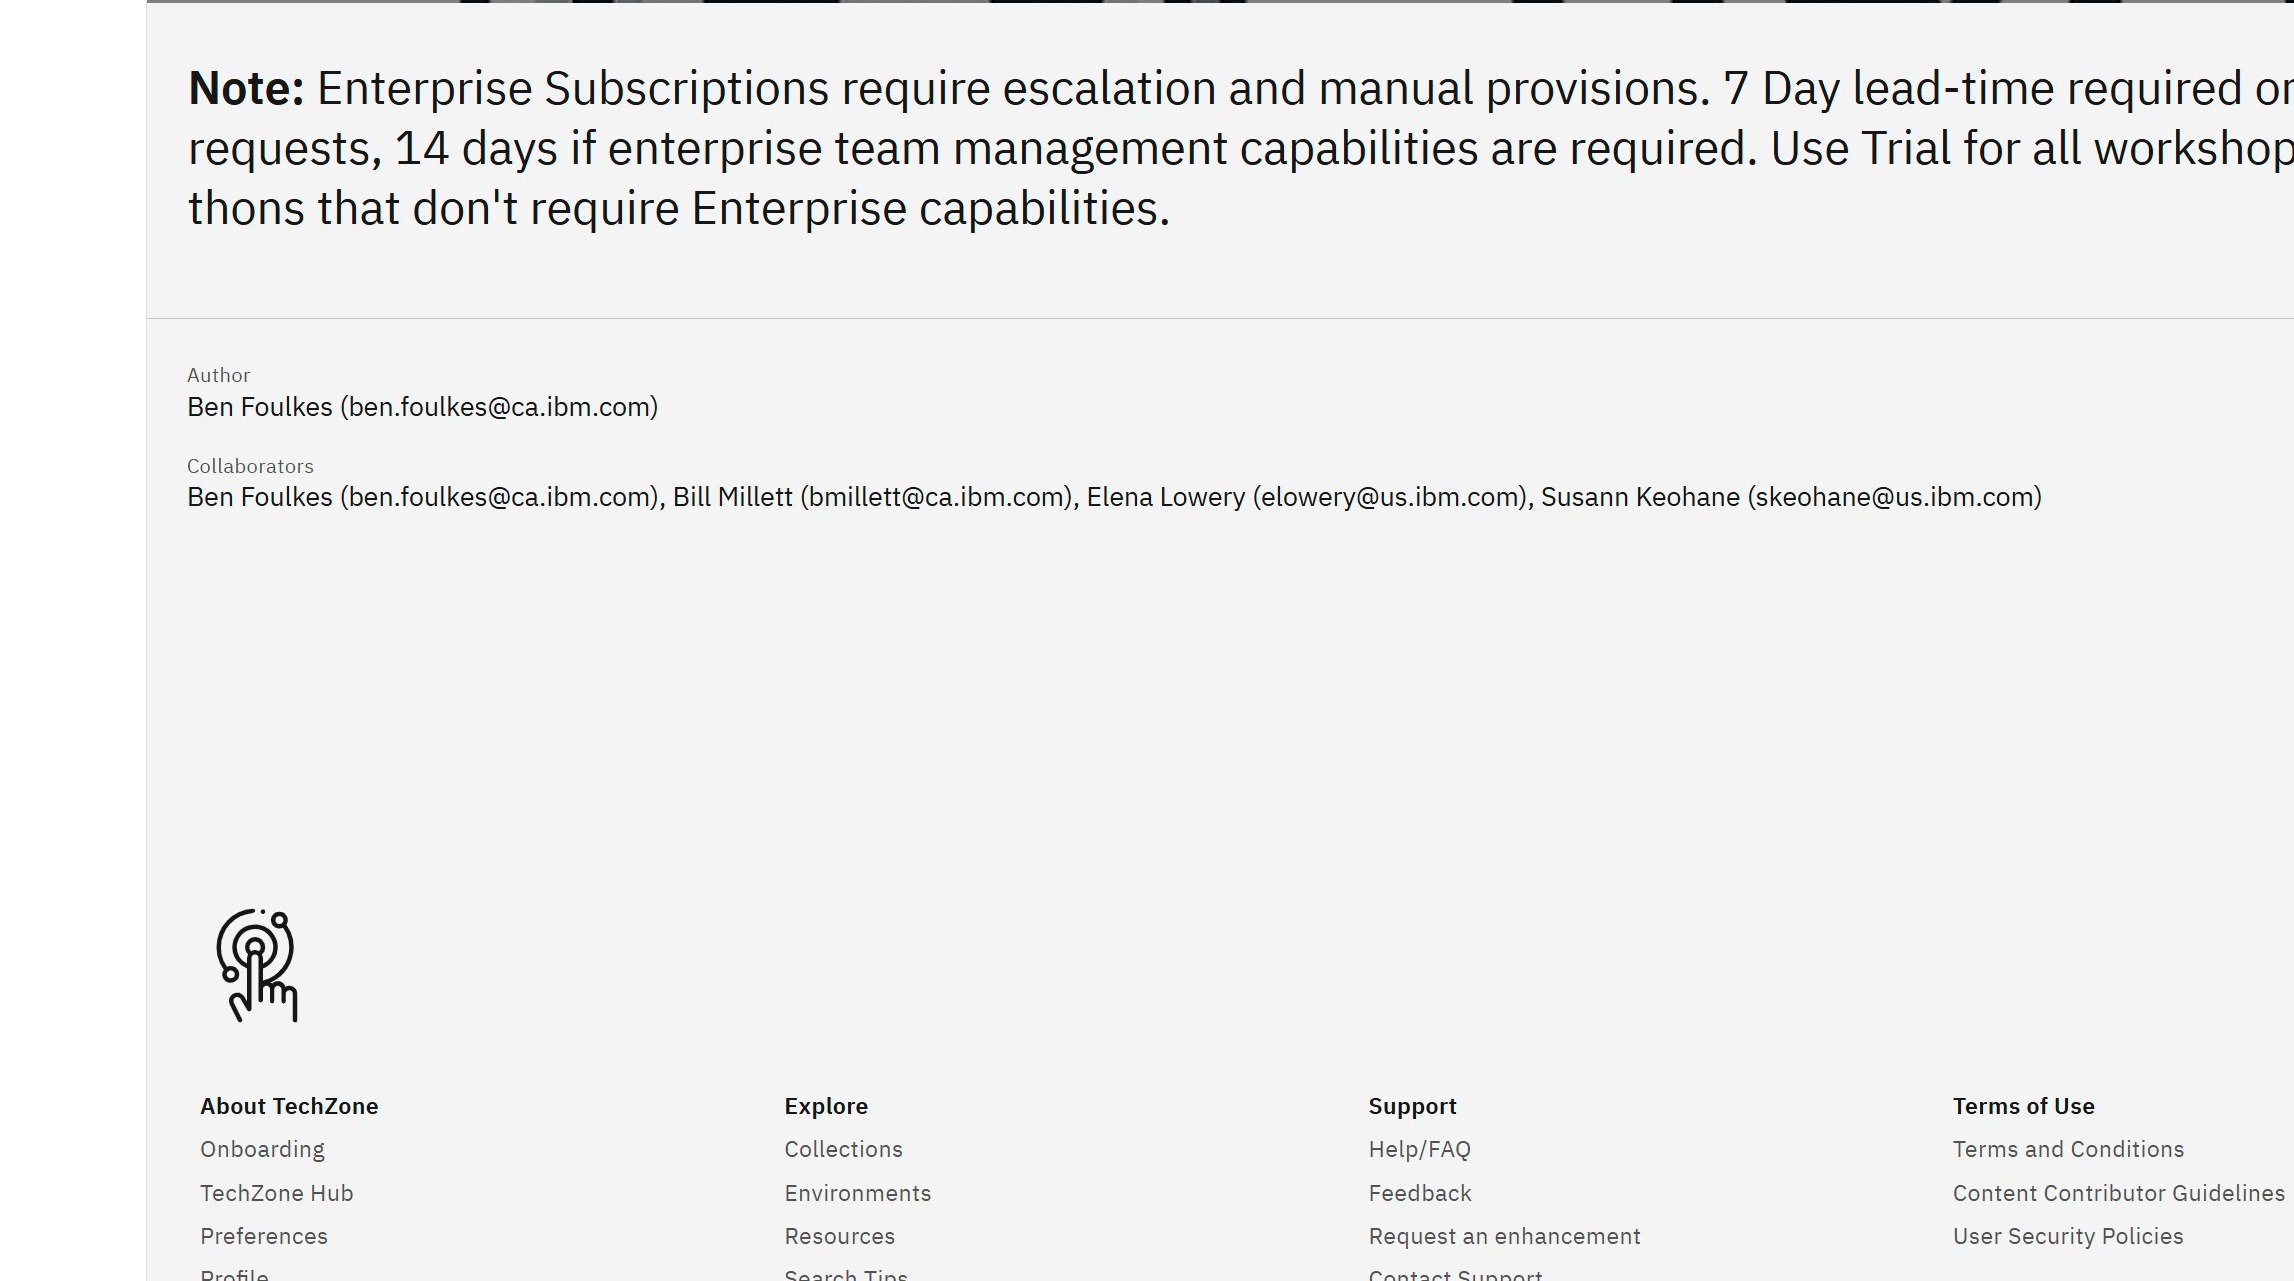
Begin at the Bob Enterprise Sales Assets page.
Once there, click Technical Resources in the left sidebar.
-
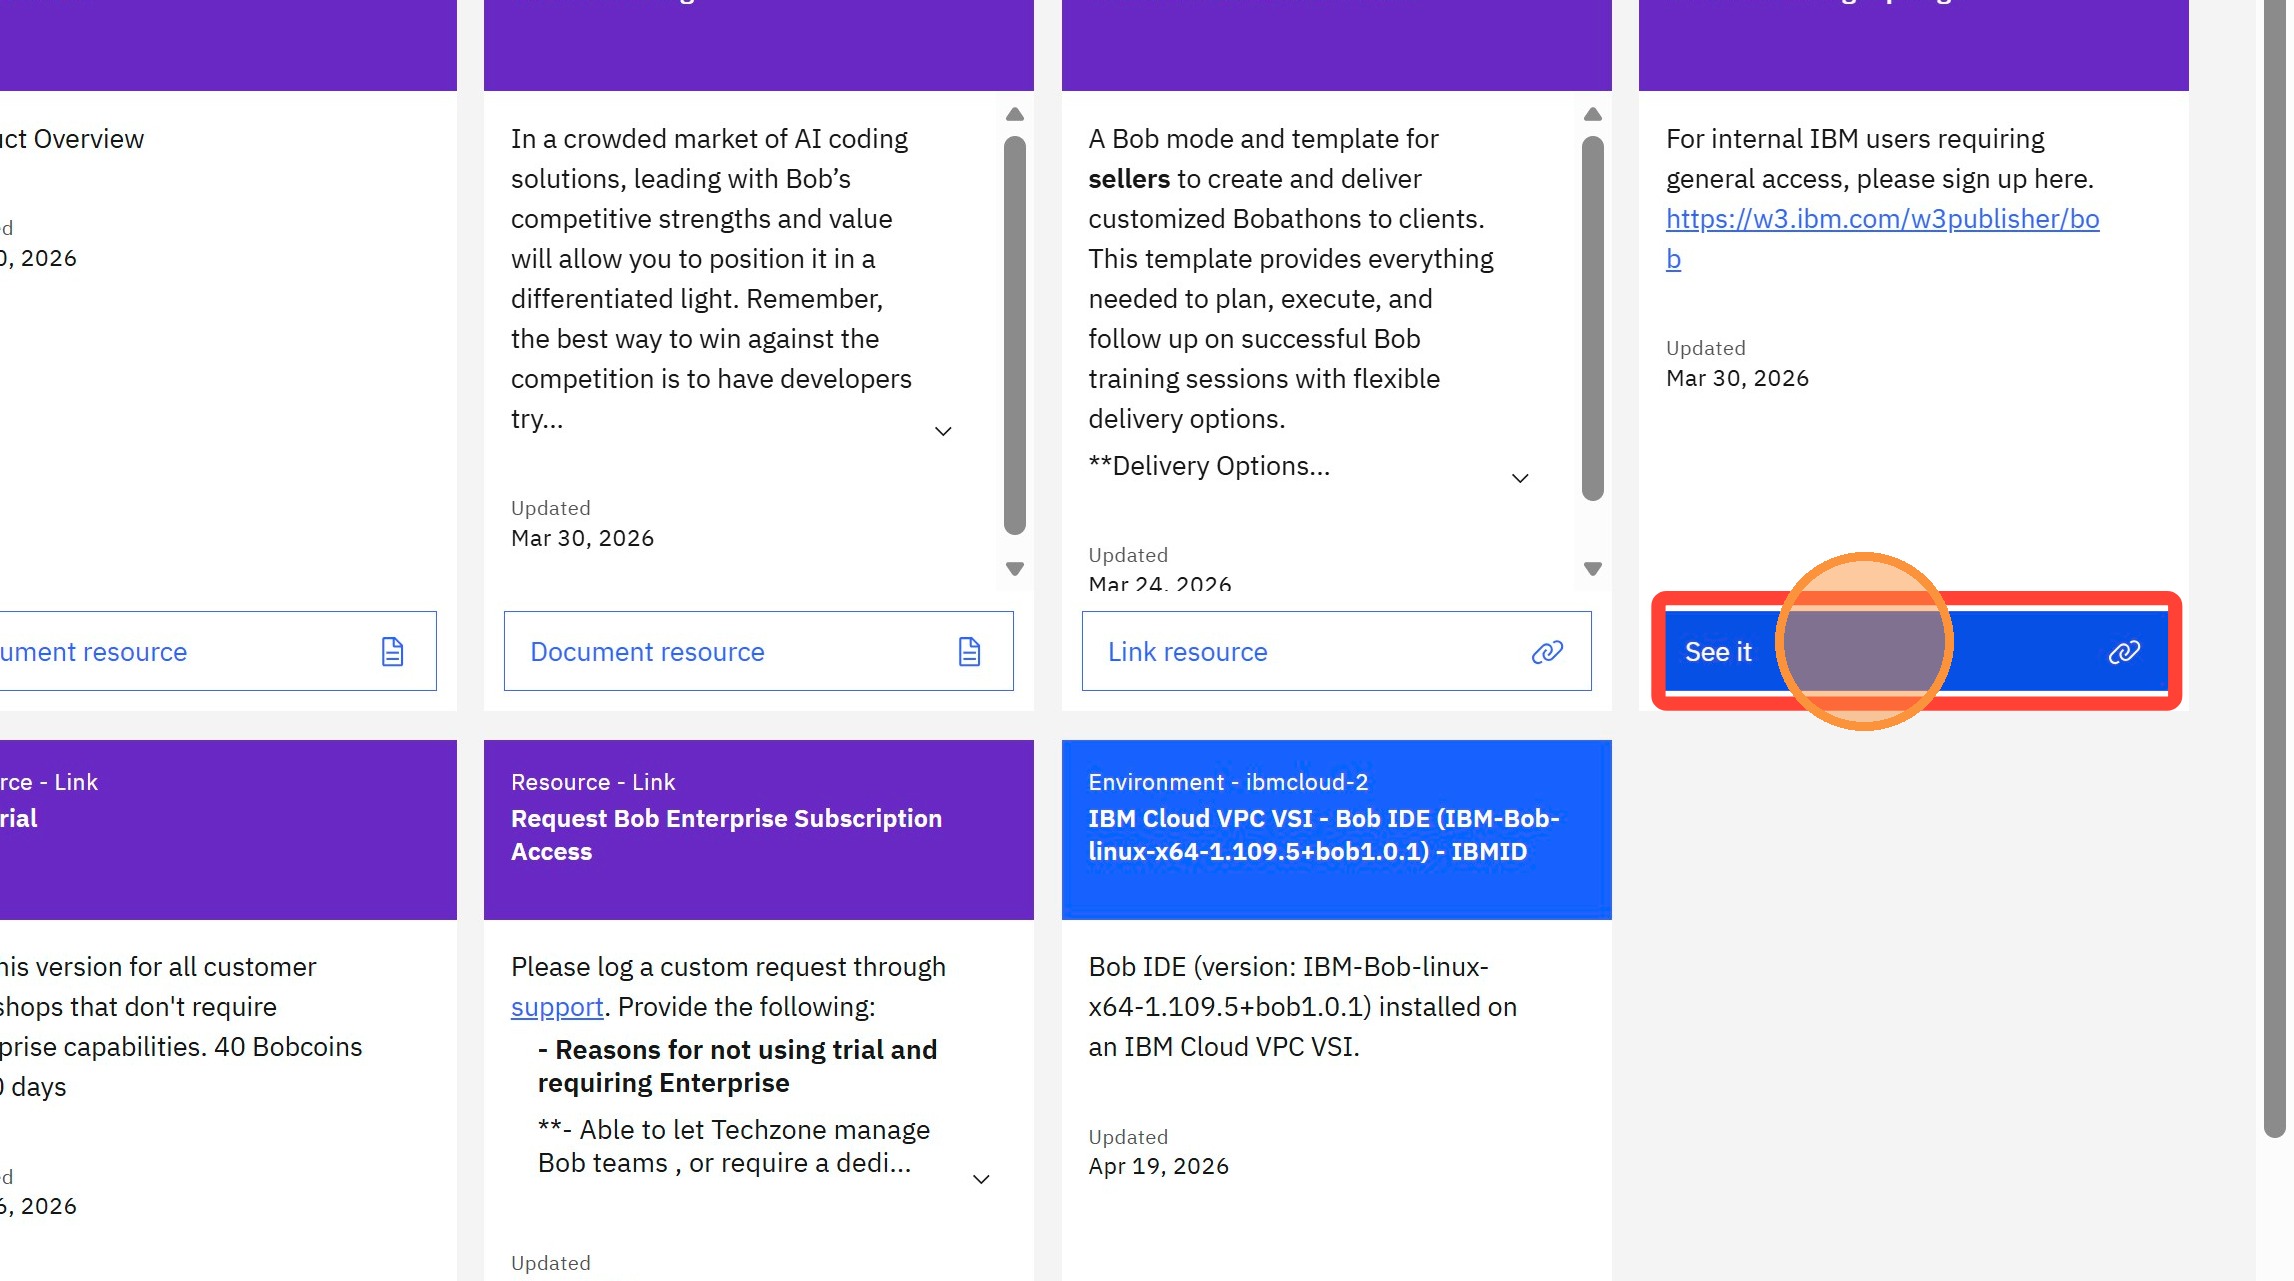
Click See it under the "Internal Bob Sign Up" tile.
-
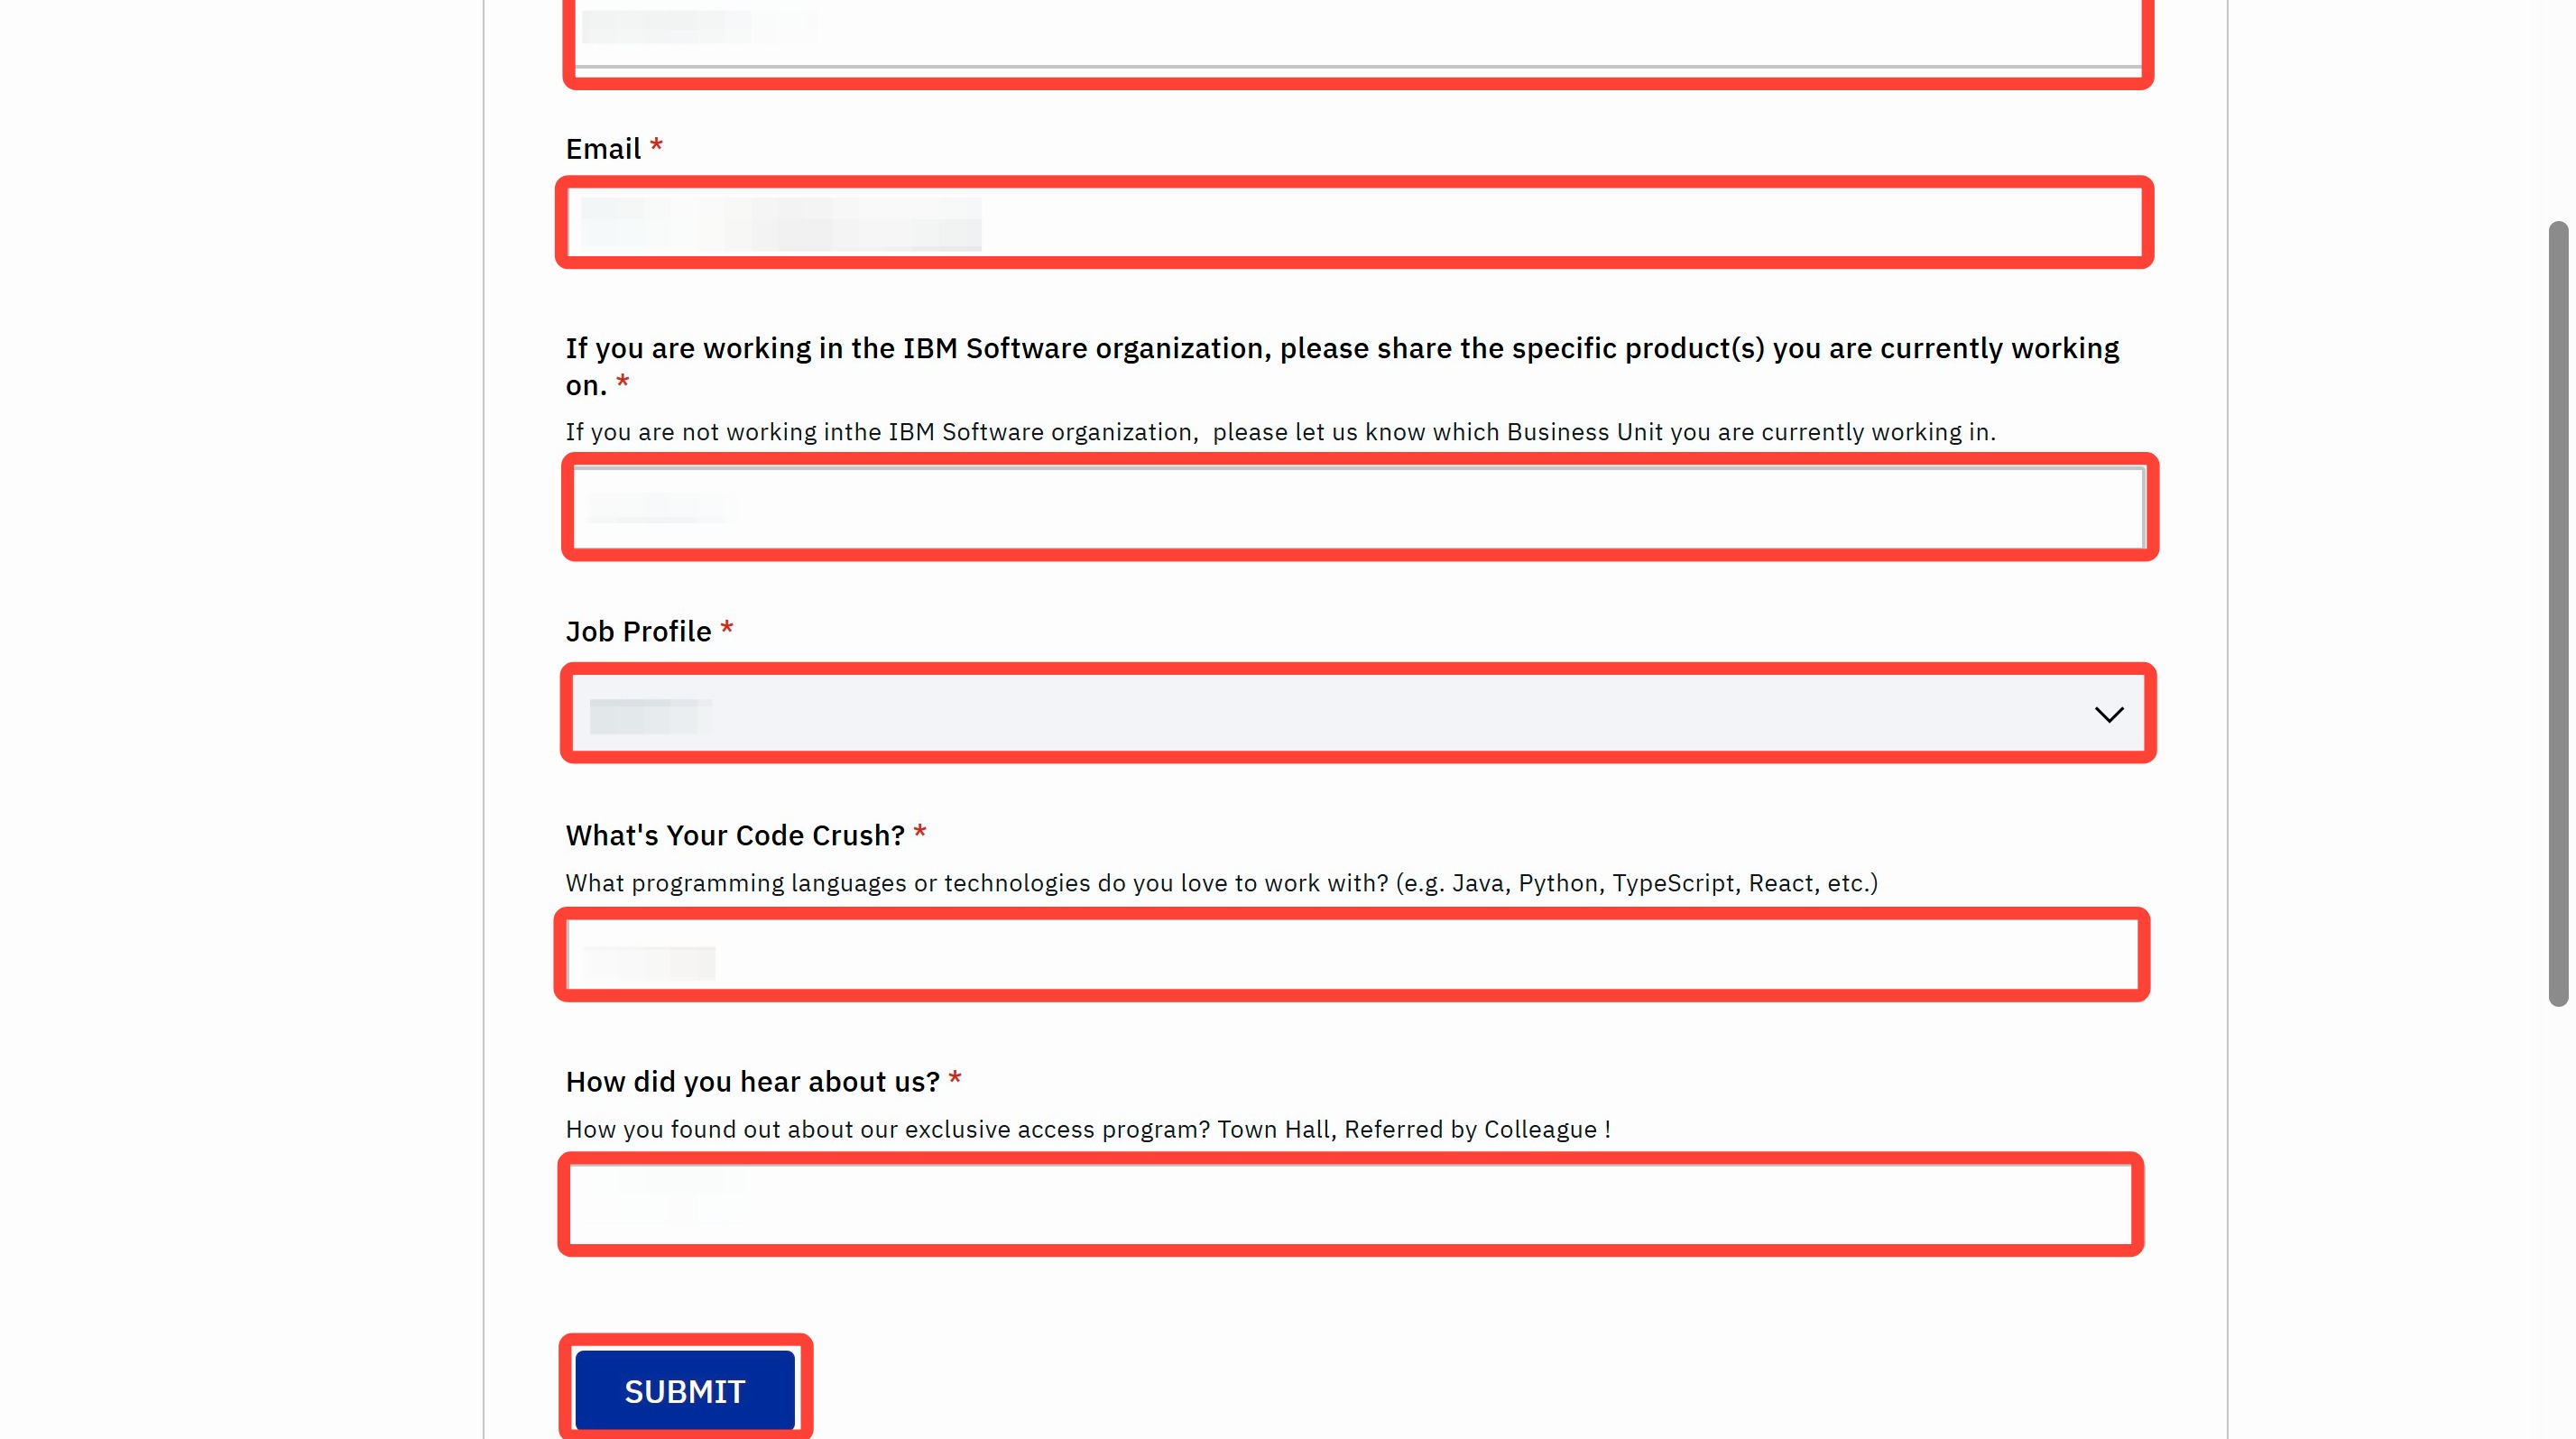
You will be redirected to a sign-up form. Enter all of the requested information and press Submit.
-
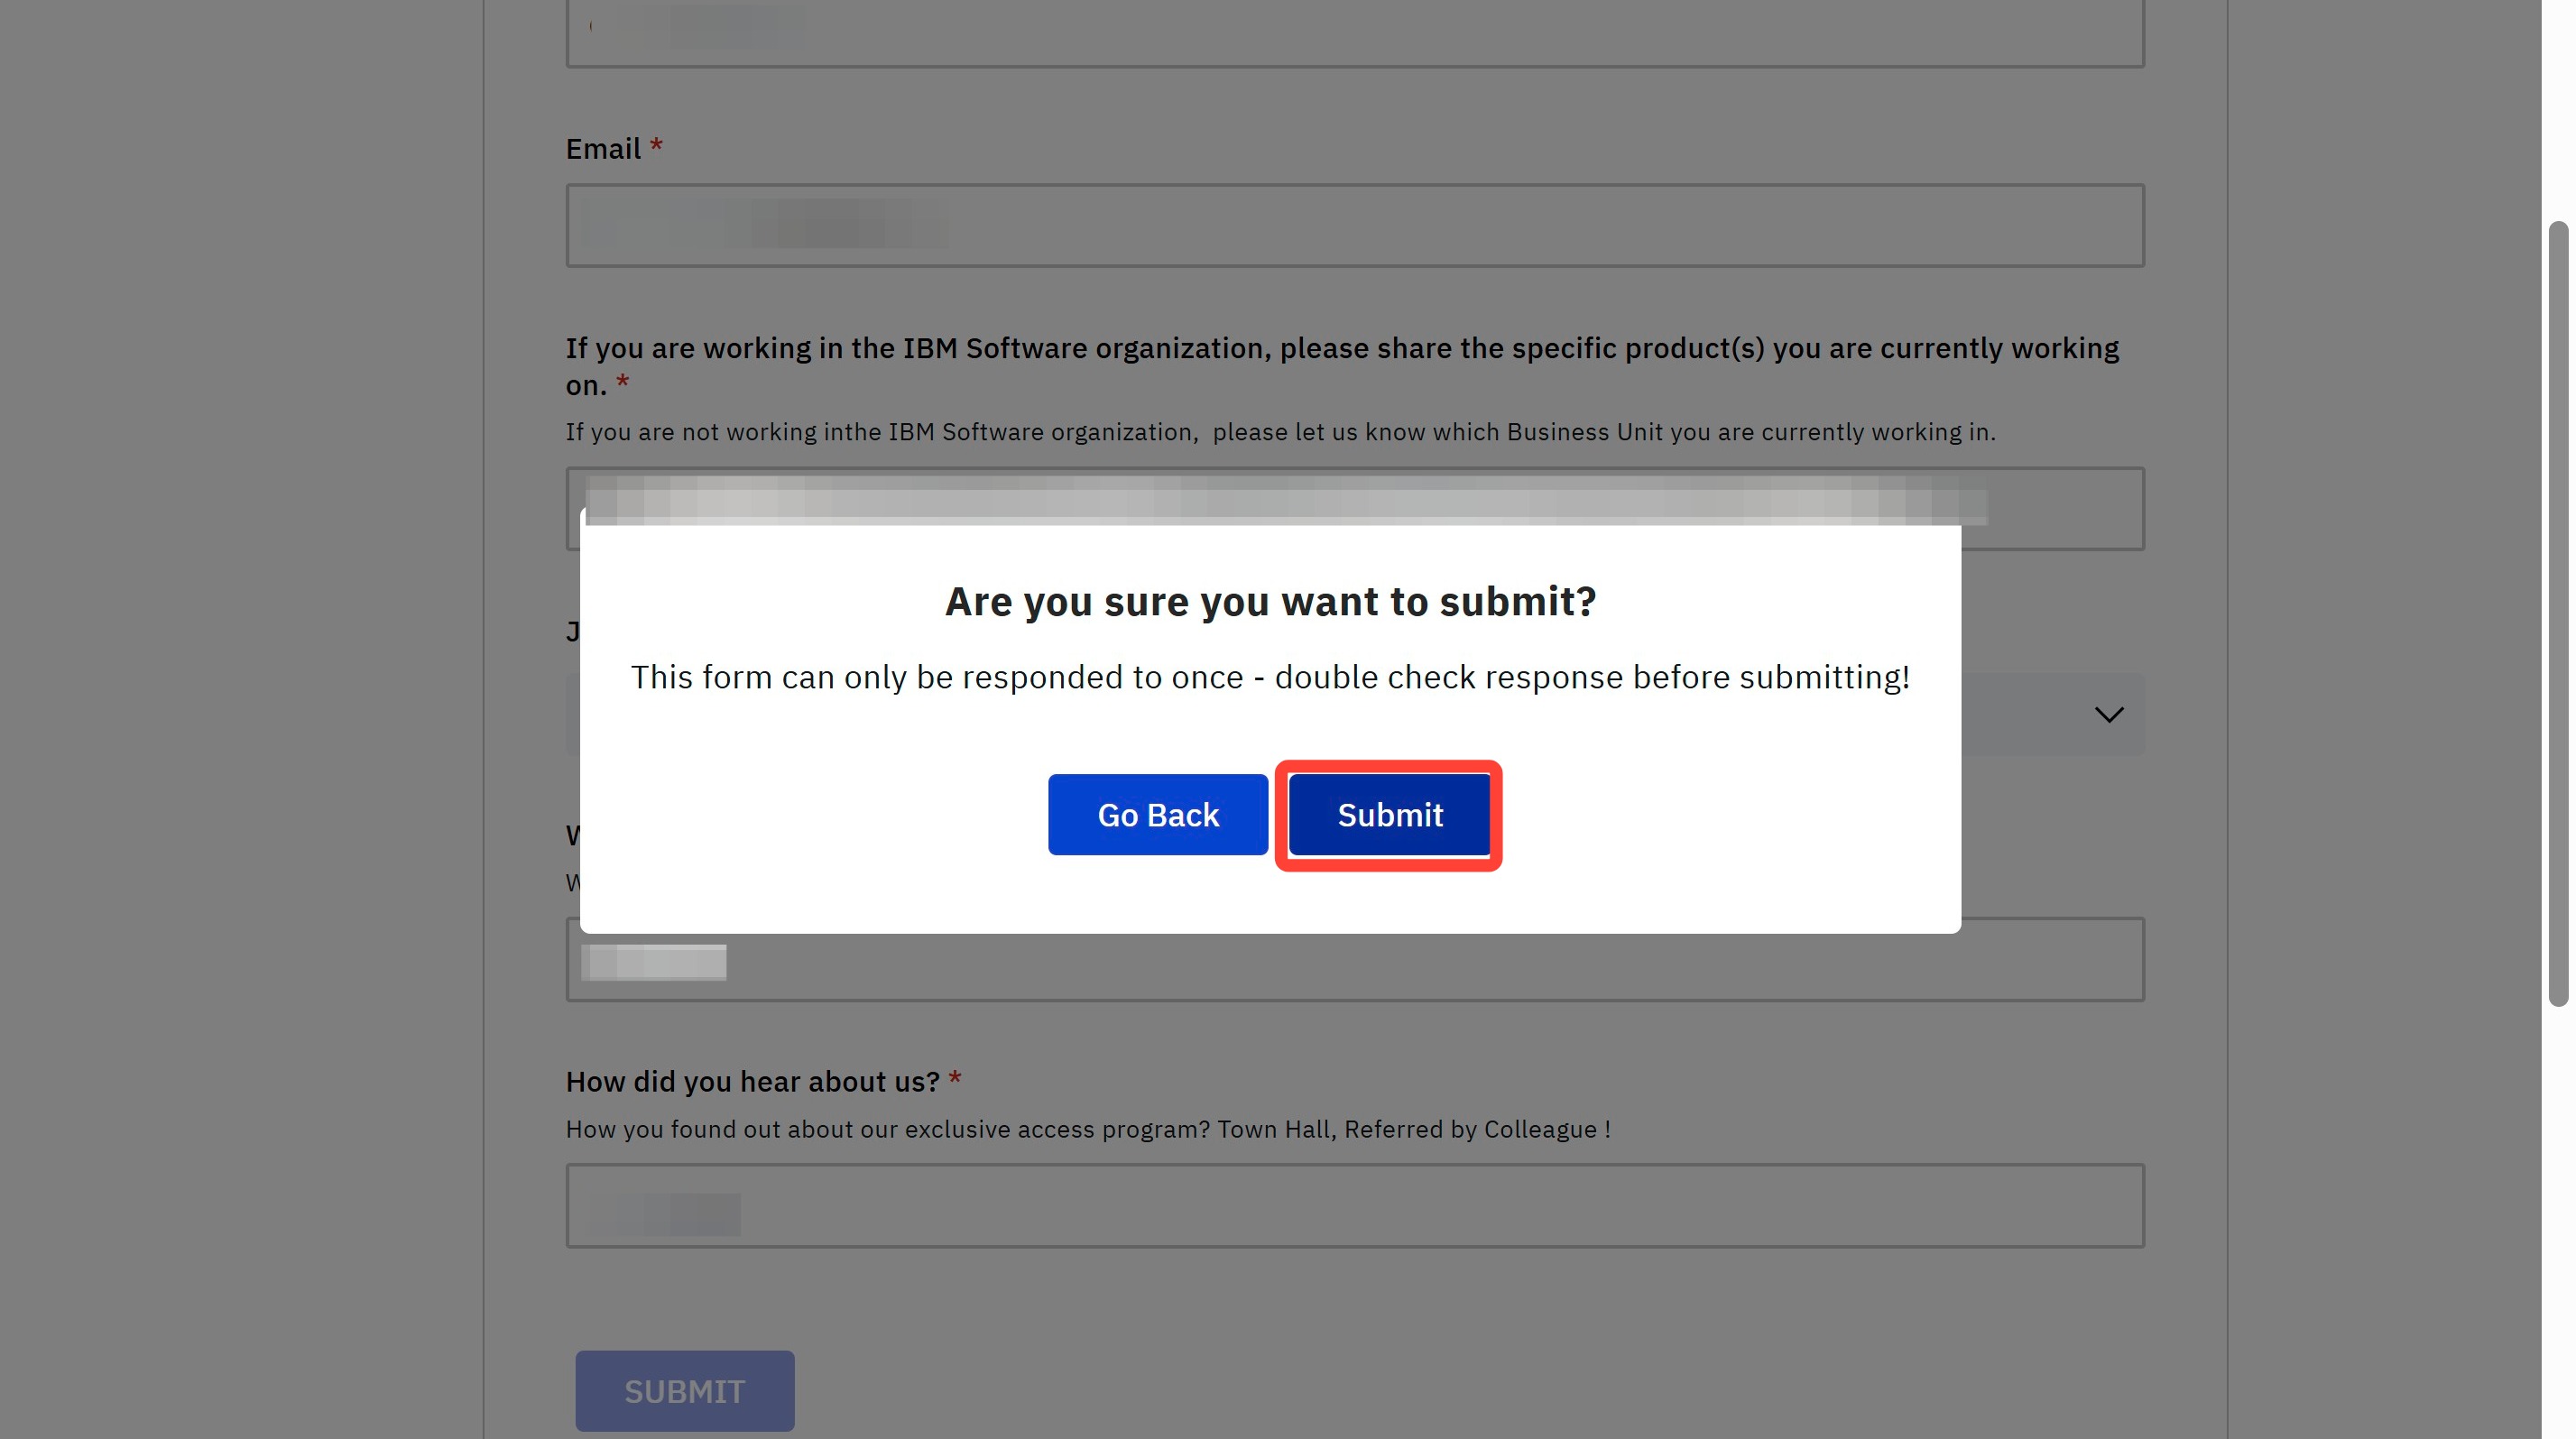
Review your responses if you like, then confirm by clicking Submit once more in the pop-up window.
There will be a "Thank you" pop-up that appears afterward — you can simply dismiss it.
-
After submission, you will receive a confirmation email.
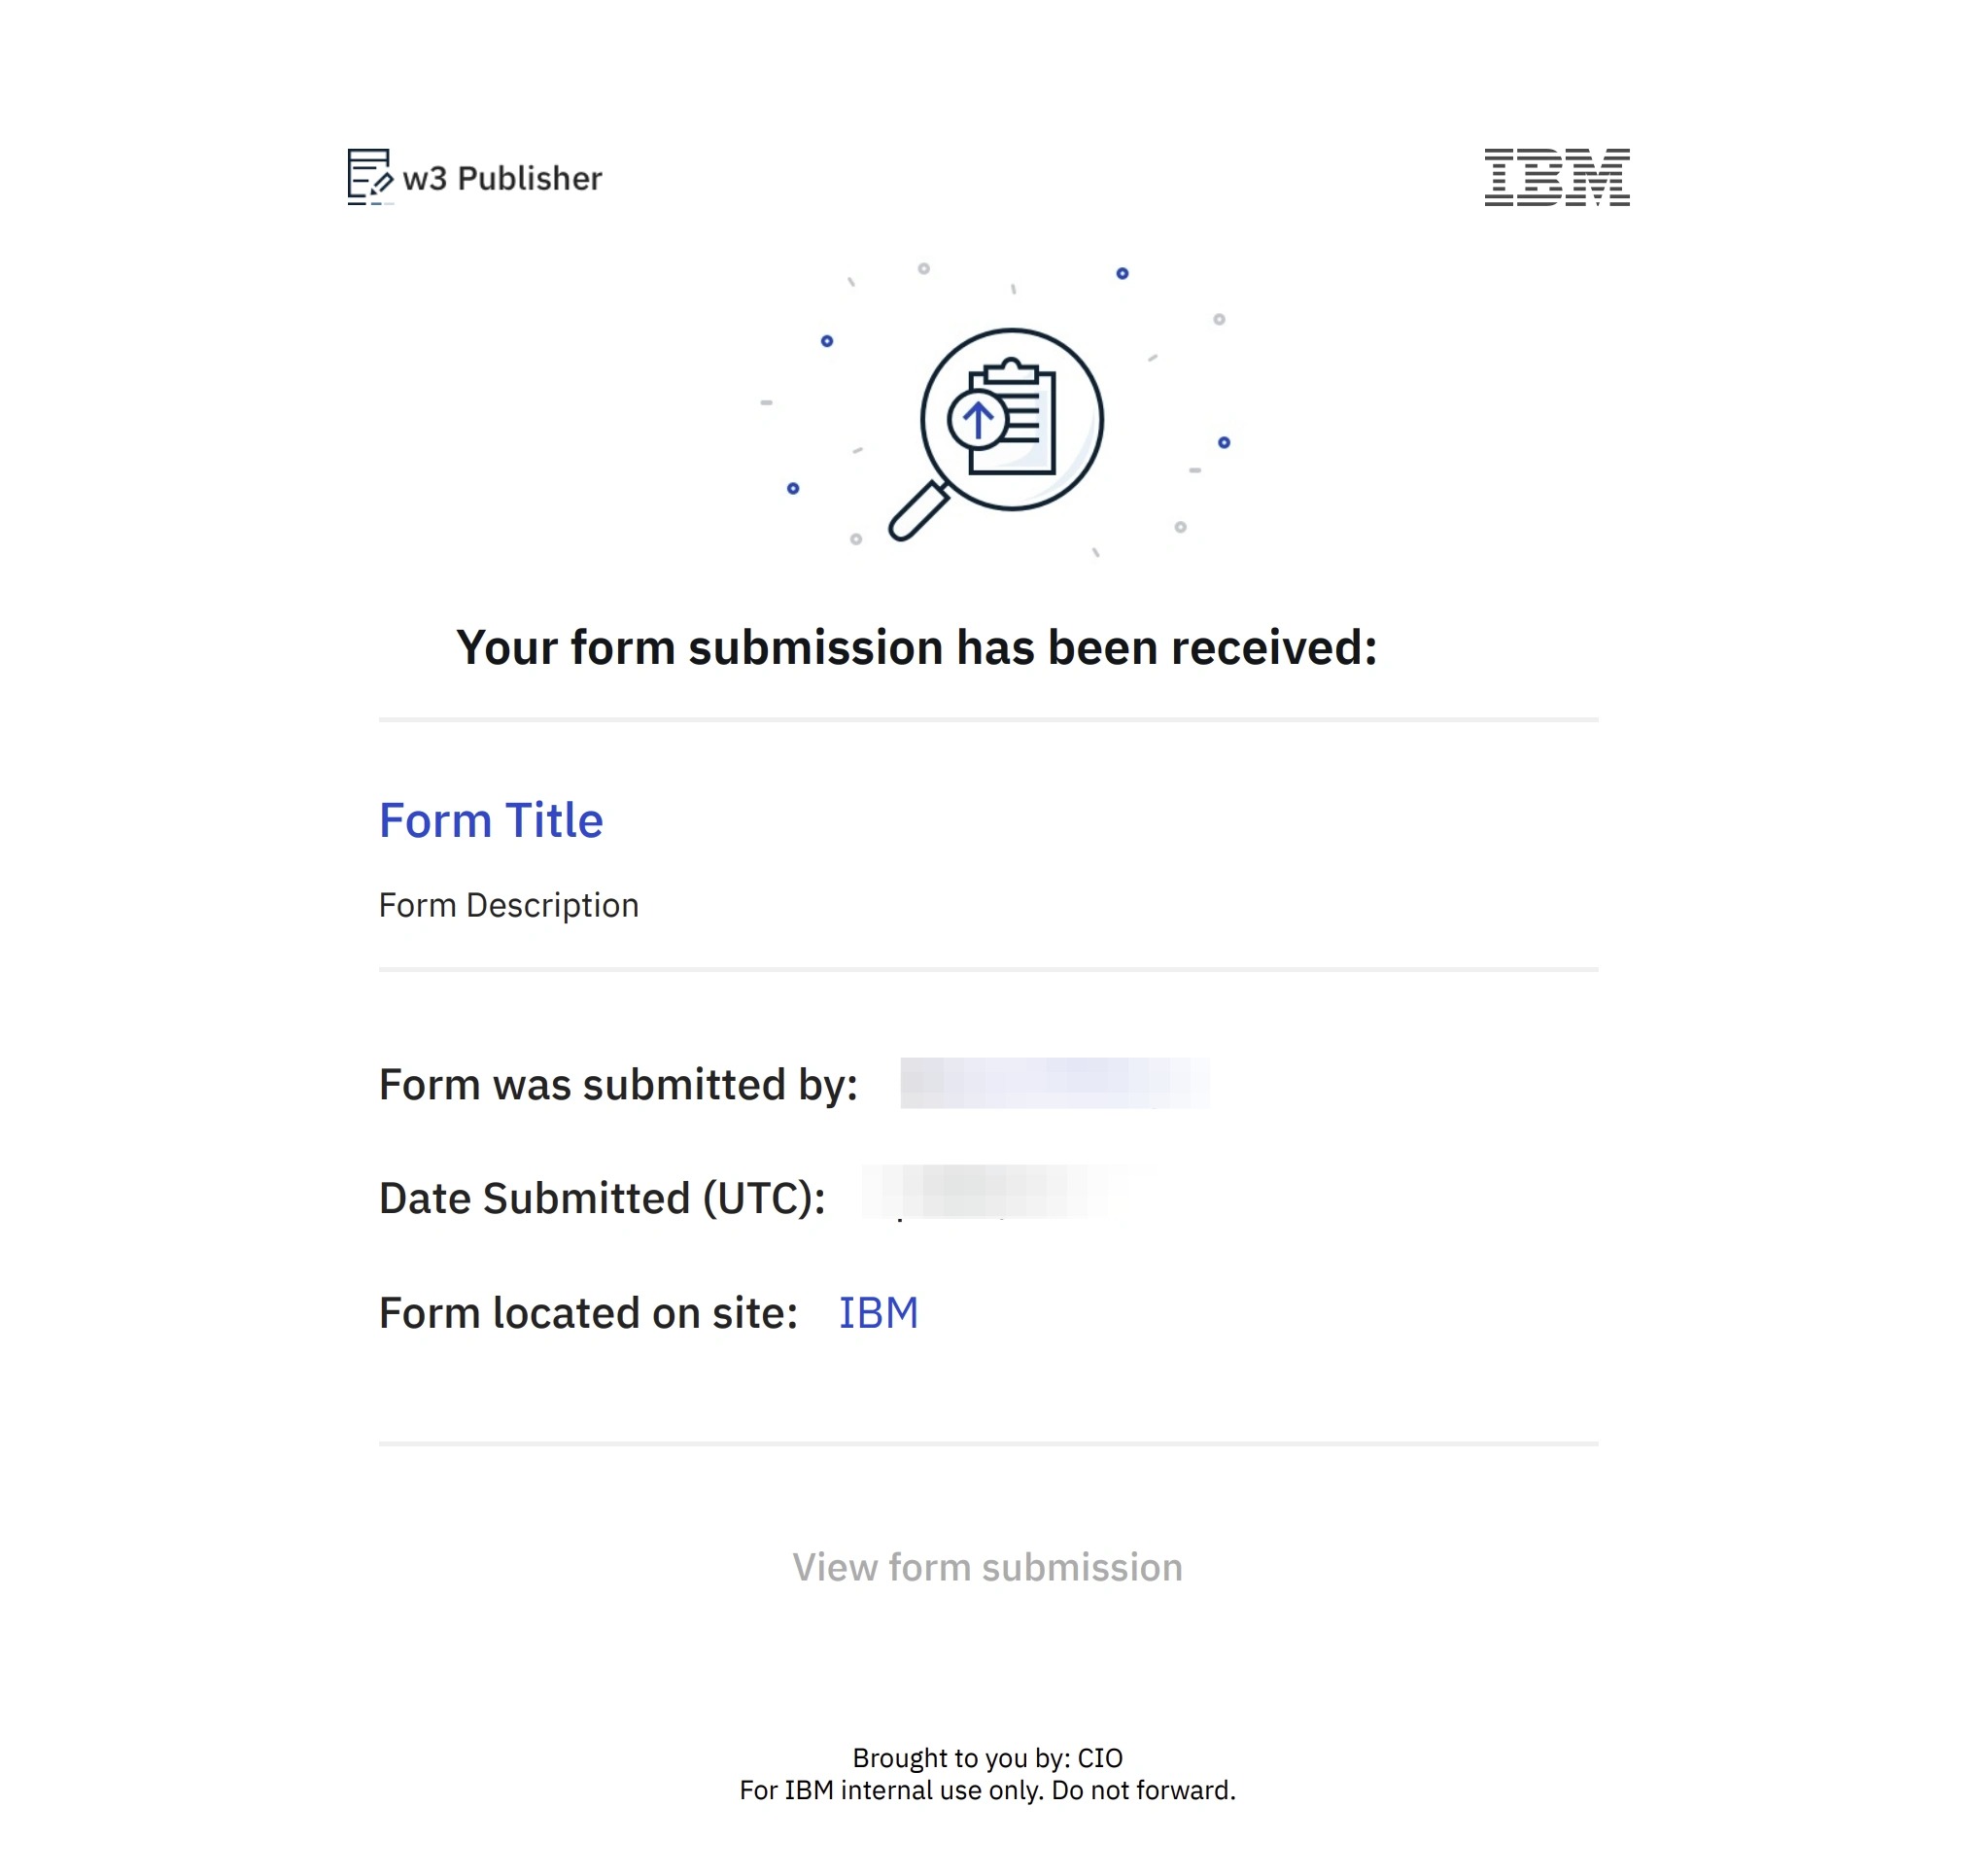
-
At this point you will need to wait — as noted, approval typically takes at least 24 hours.
Once approved, you will receive an email — follow the Download Bob hyperlink within it.
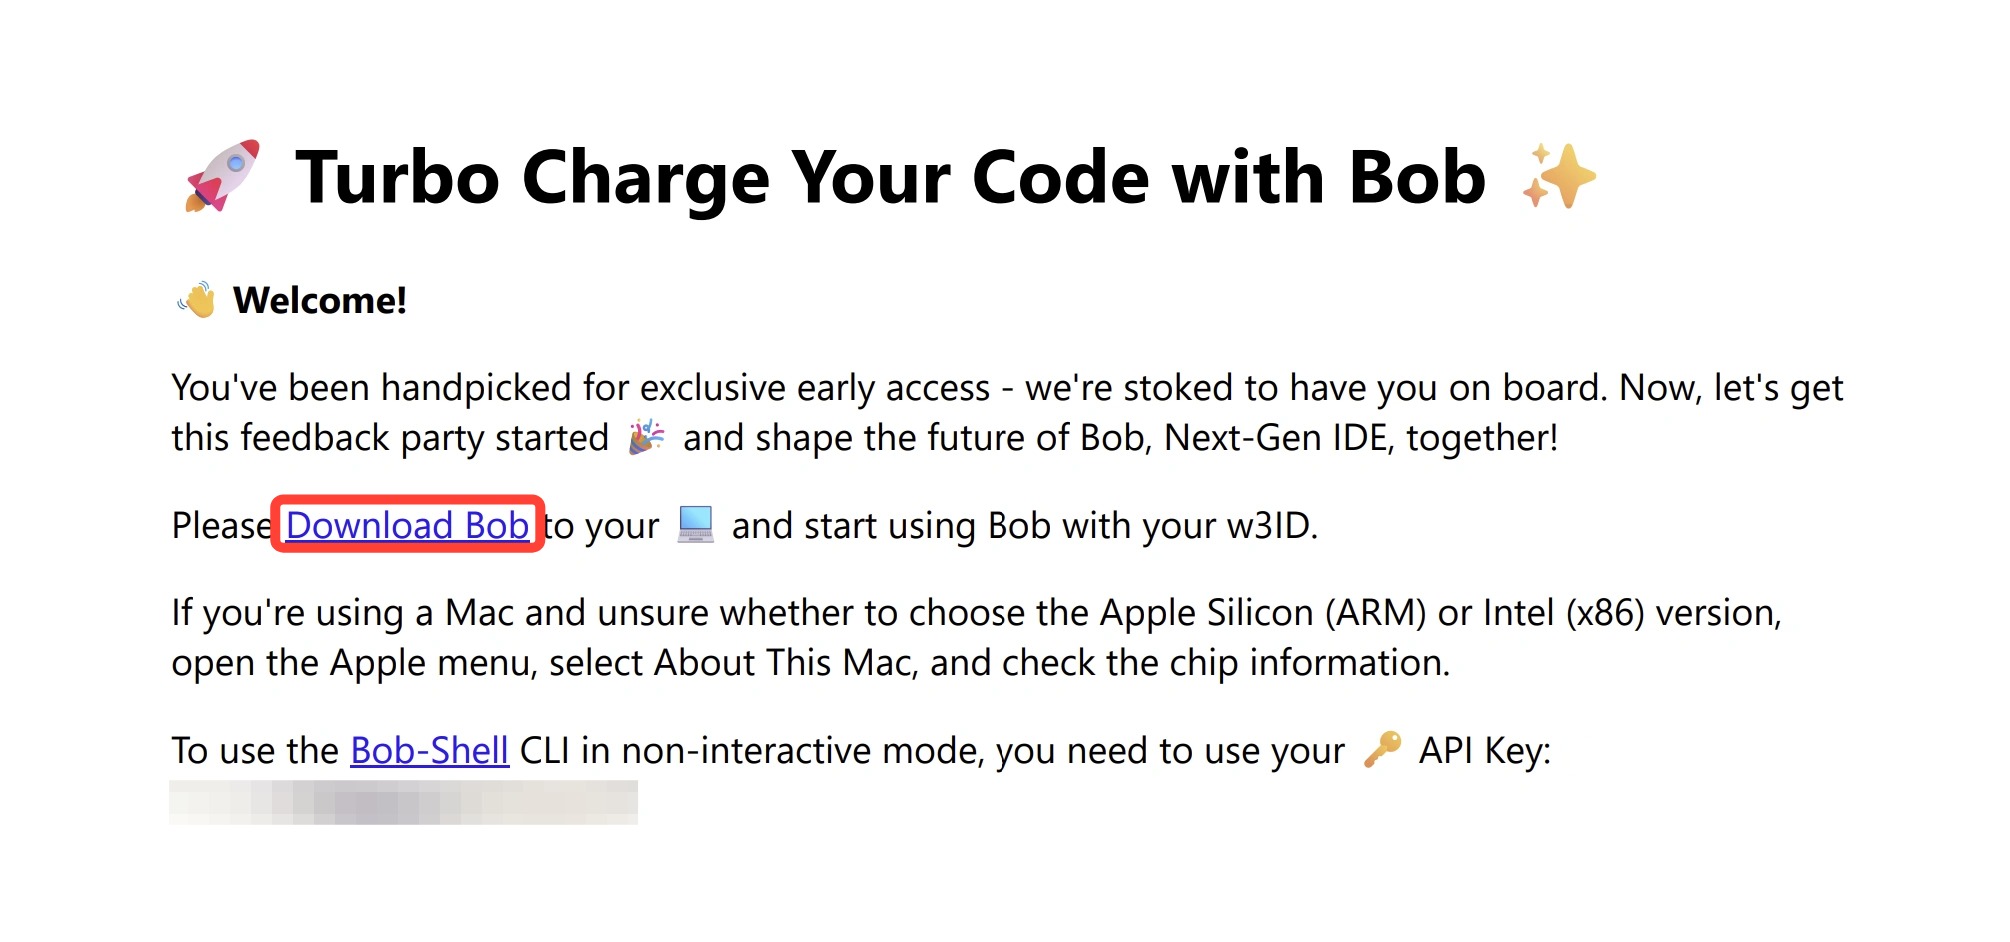
-
The Download Bob link opens a Box folder containing download links for various operating systems. Locate the version appropriate for your OS and click it.
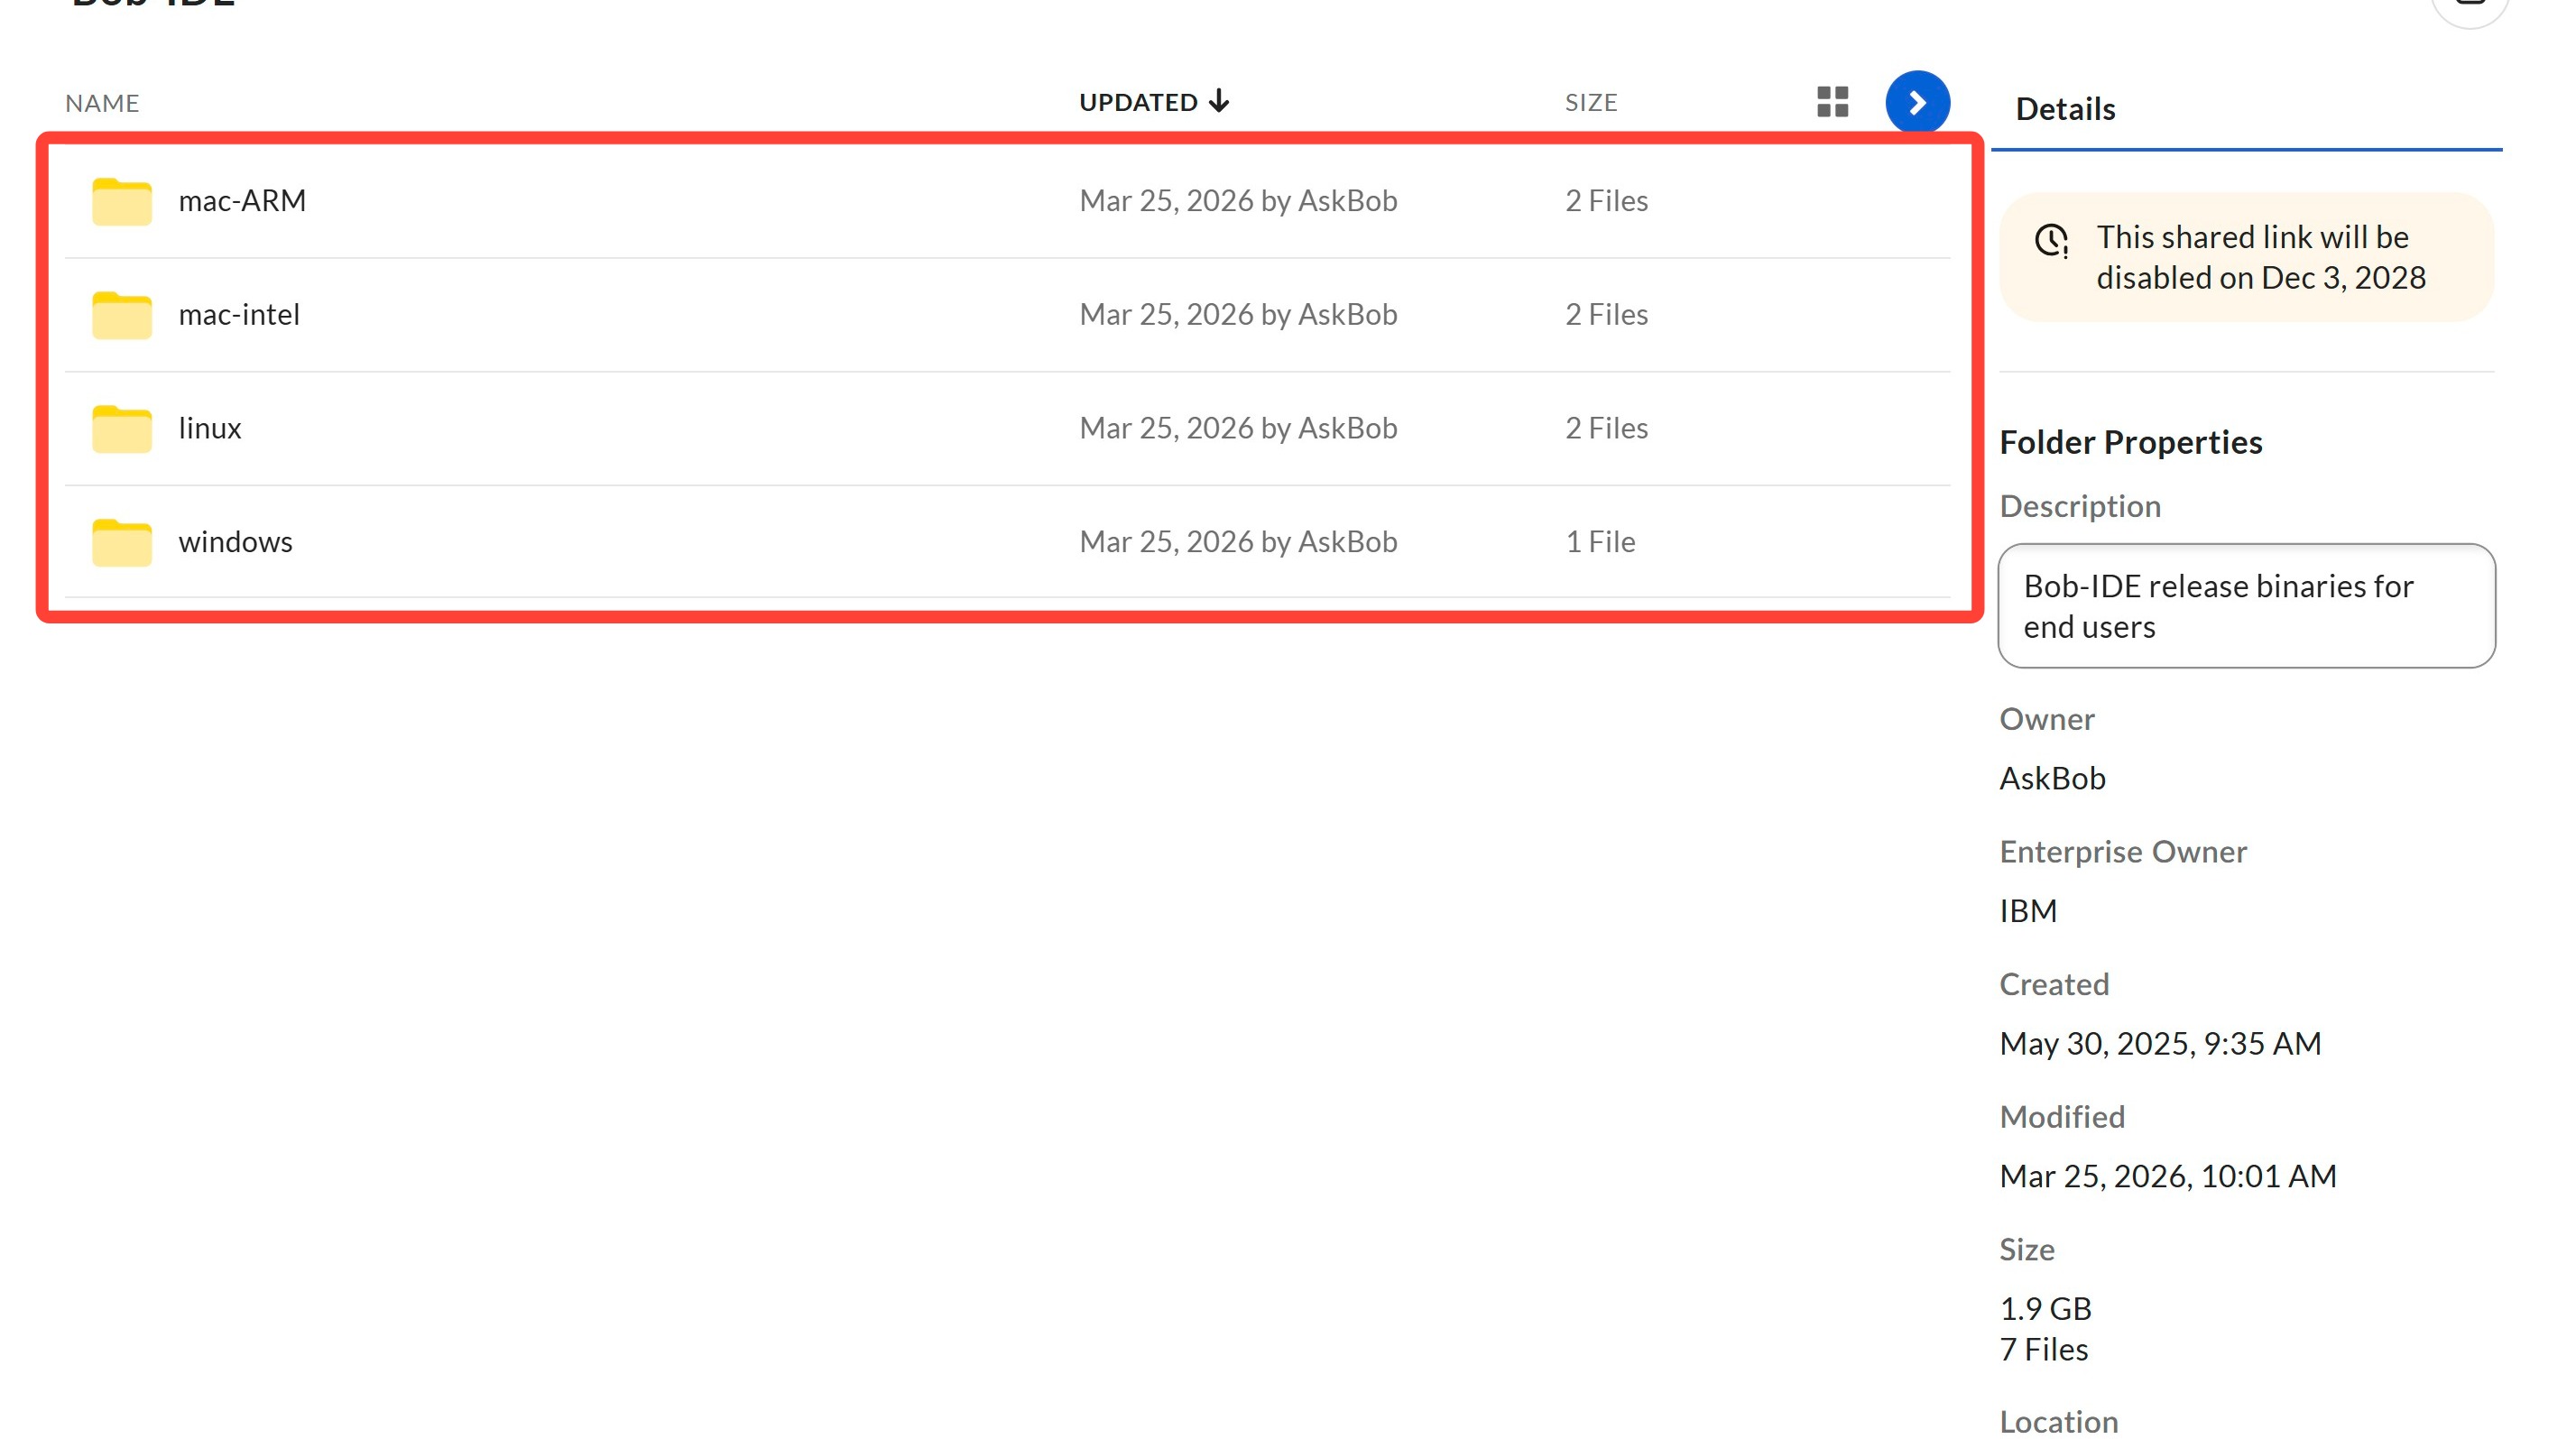
-
Click the appropriate file within the folder.
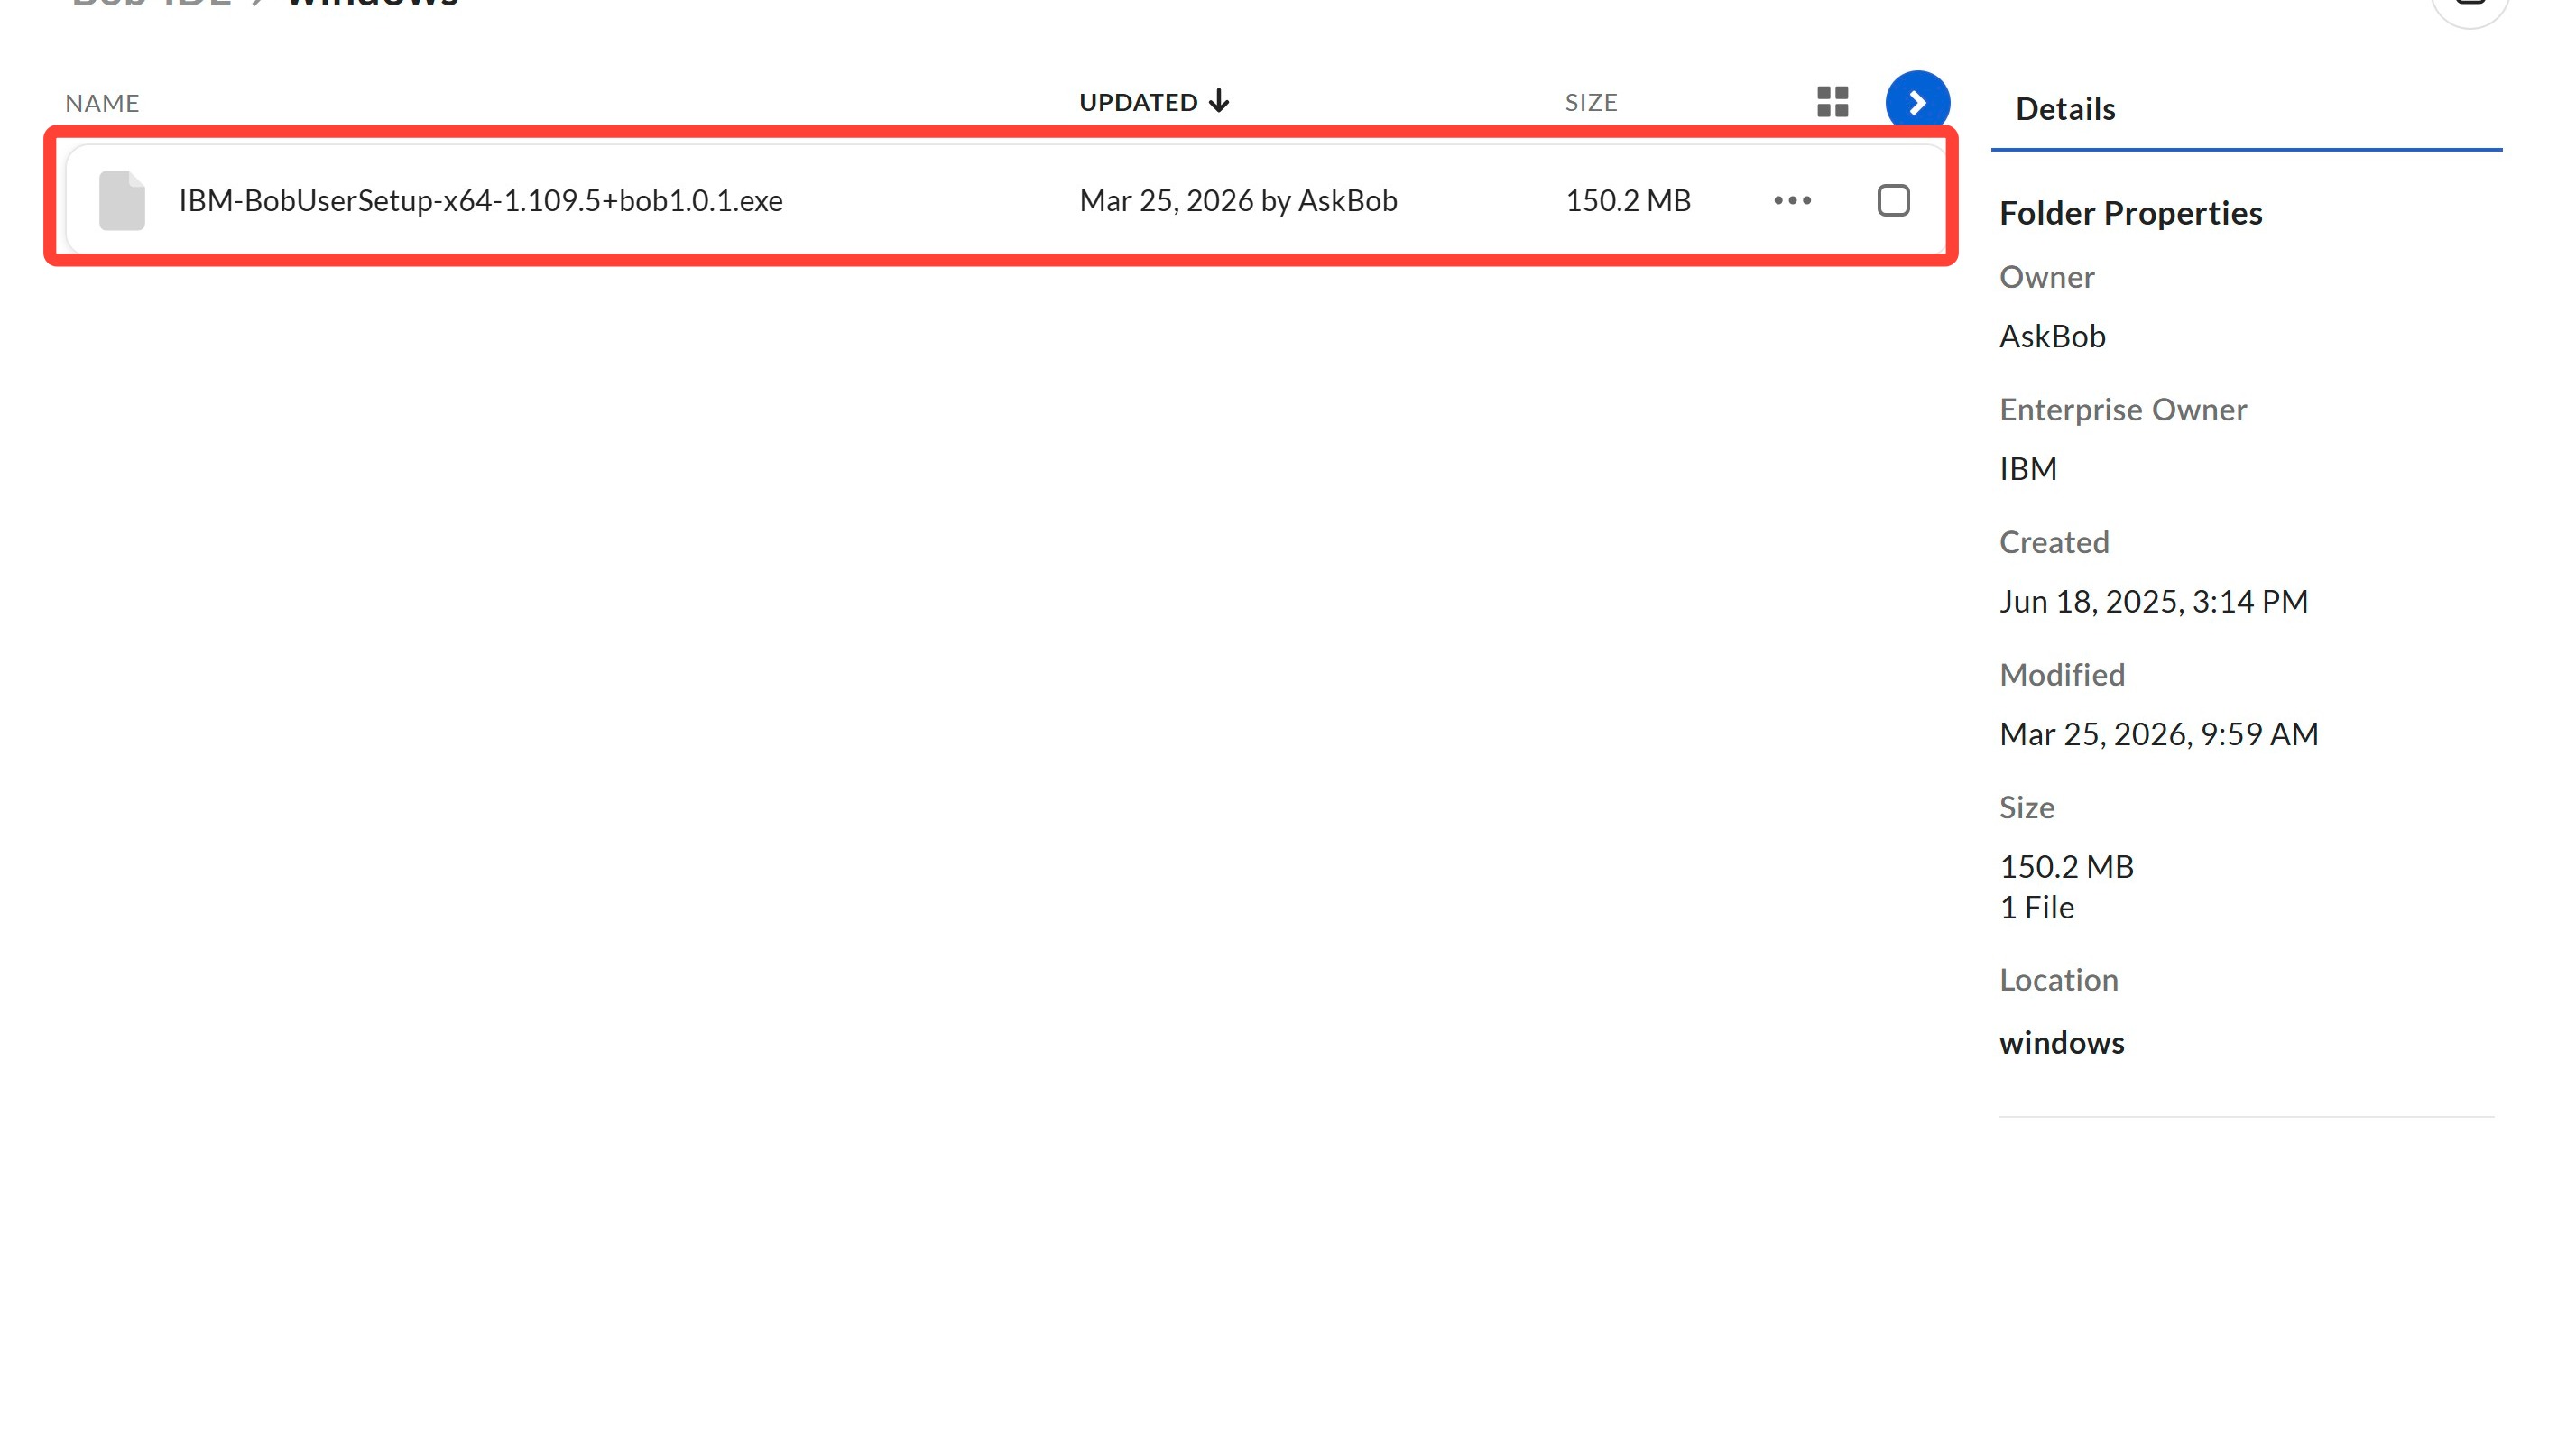
-
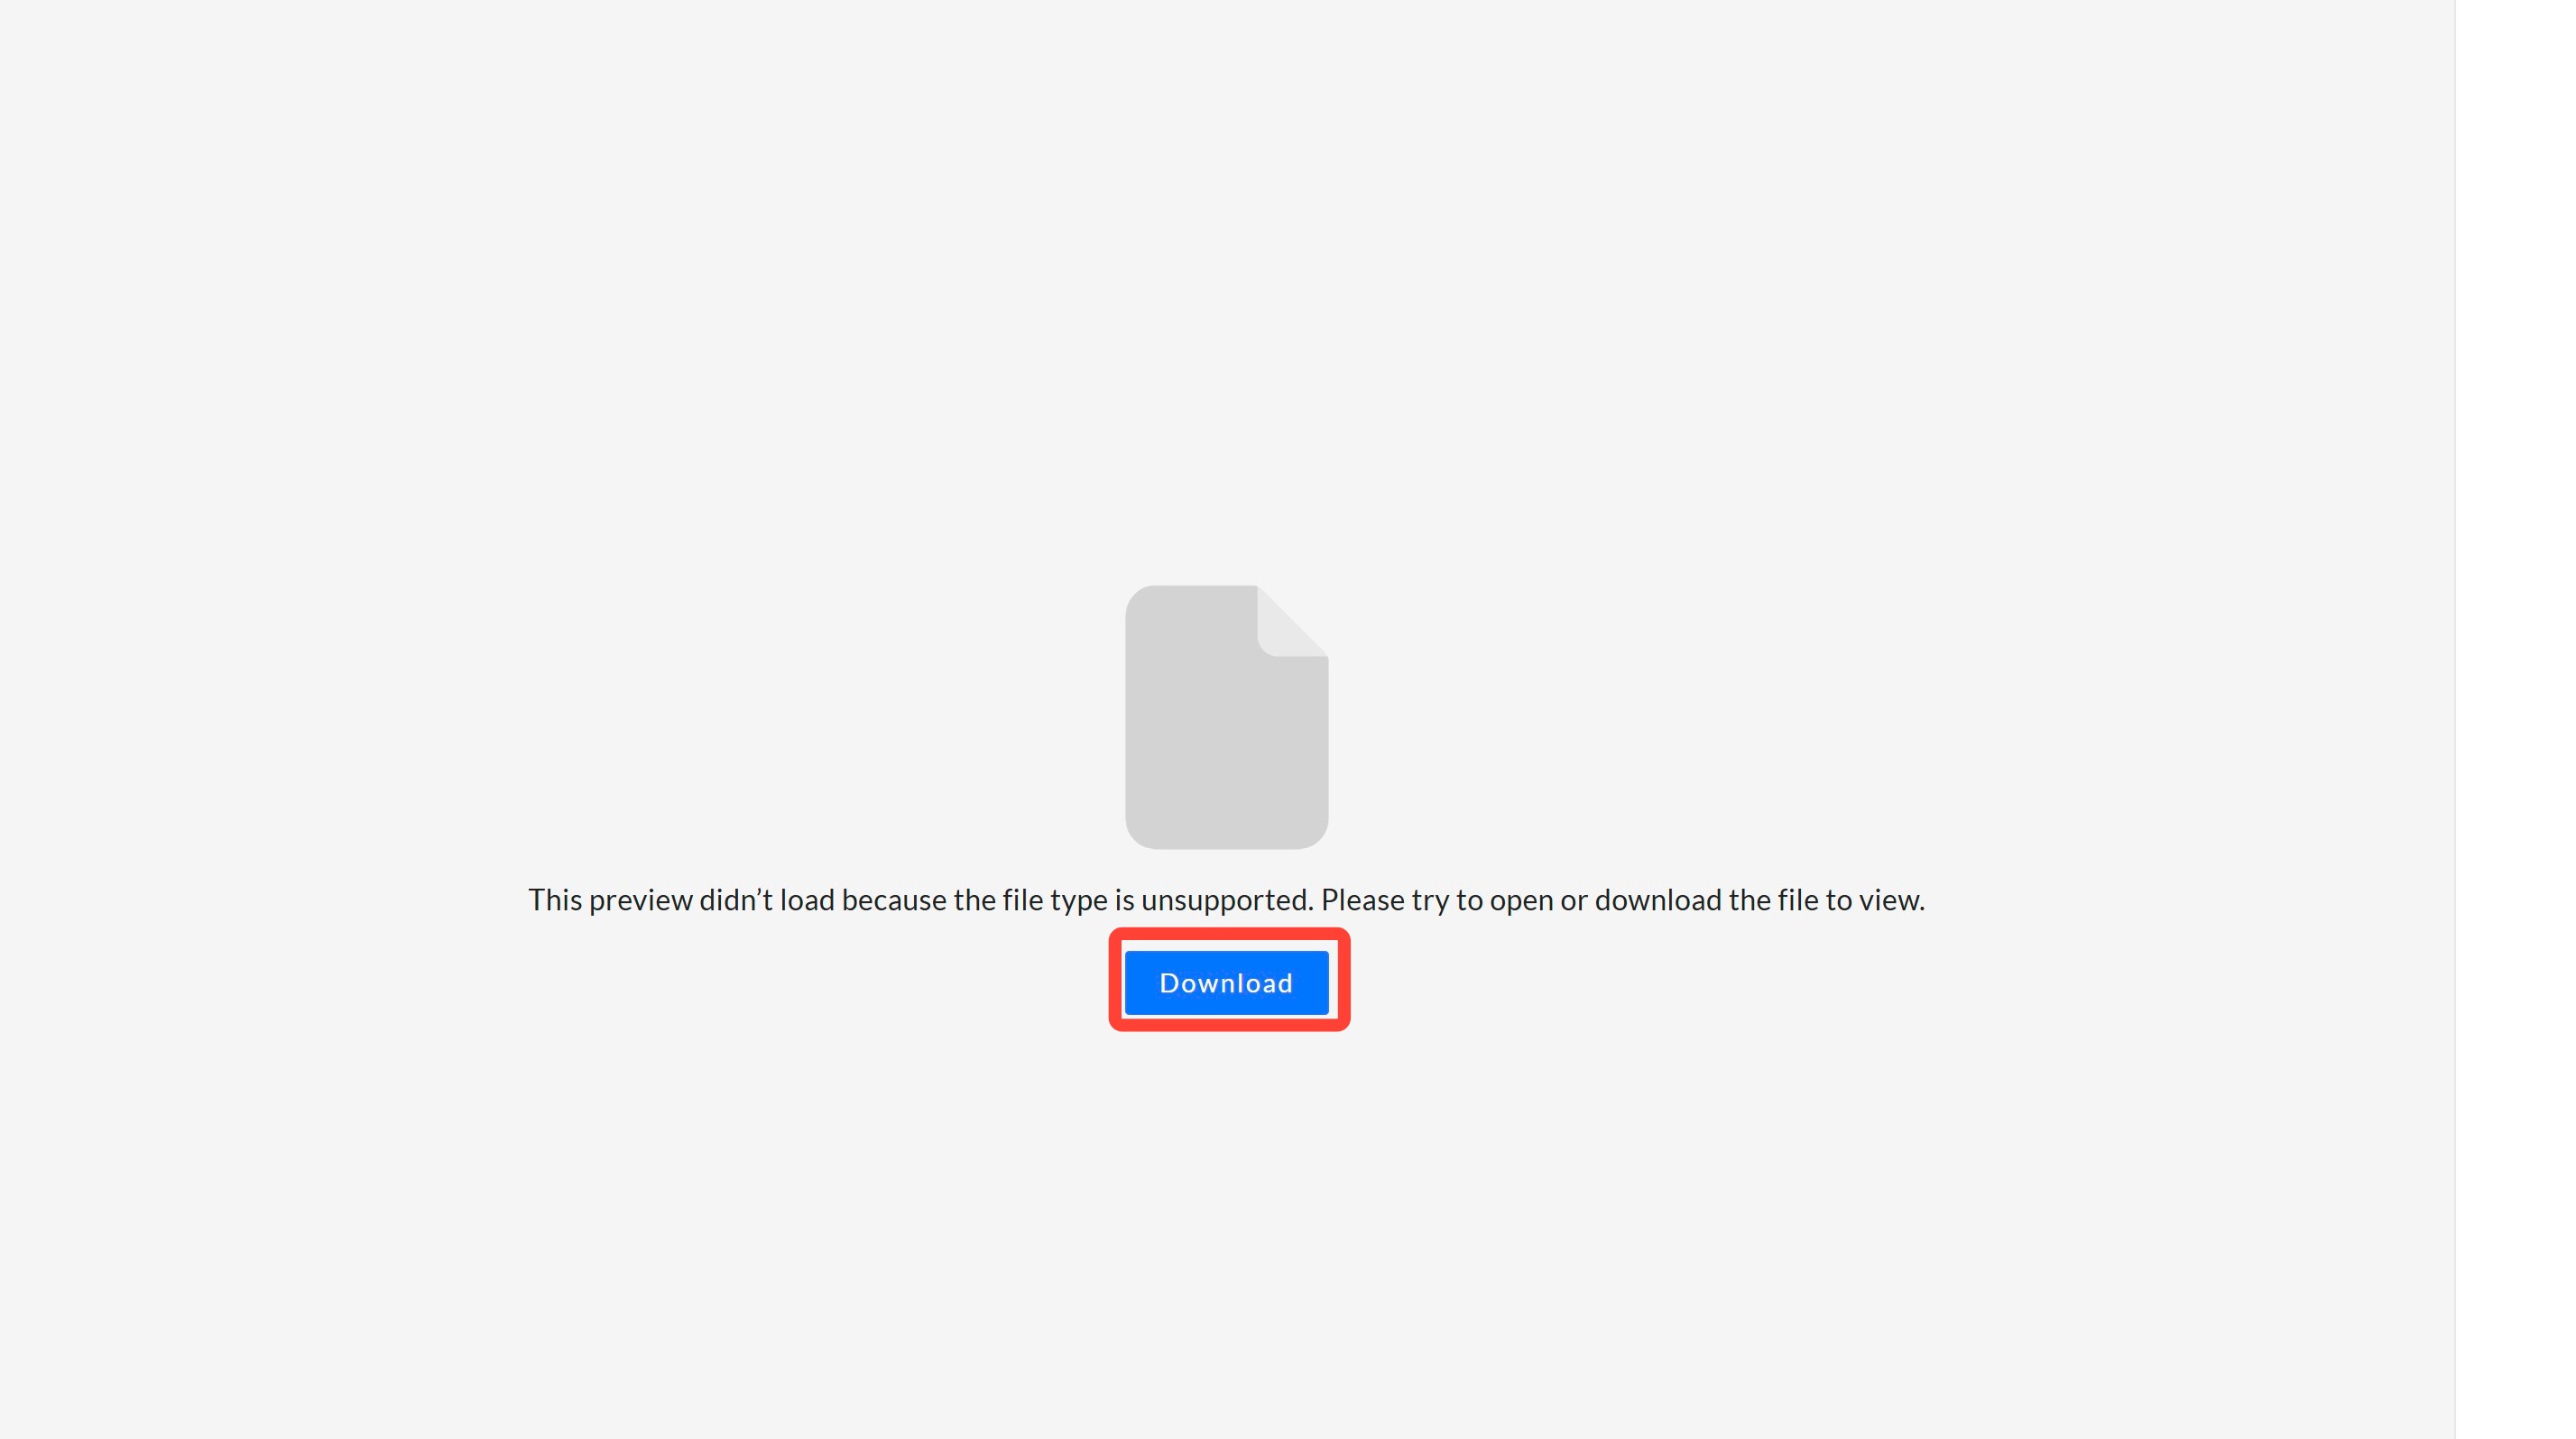
Click Download.
-
Review the License Agreement, and if you accept its terms and conditions, toggle
I accept the agreementand press Next.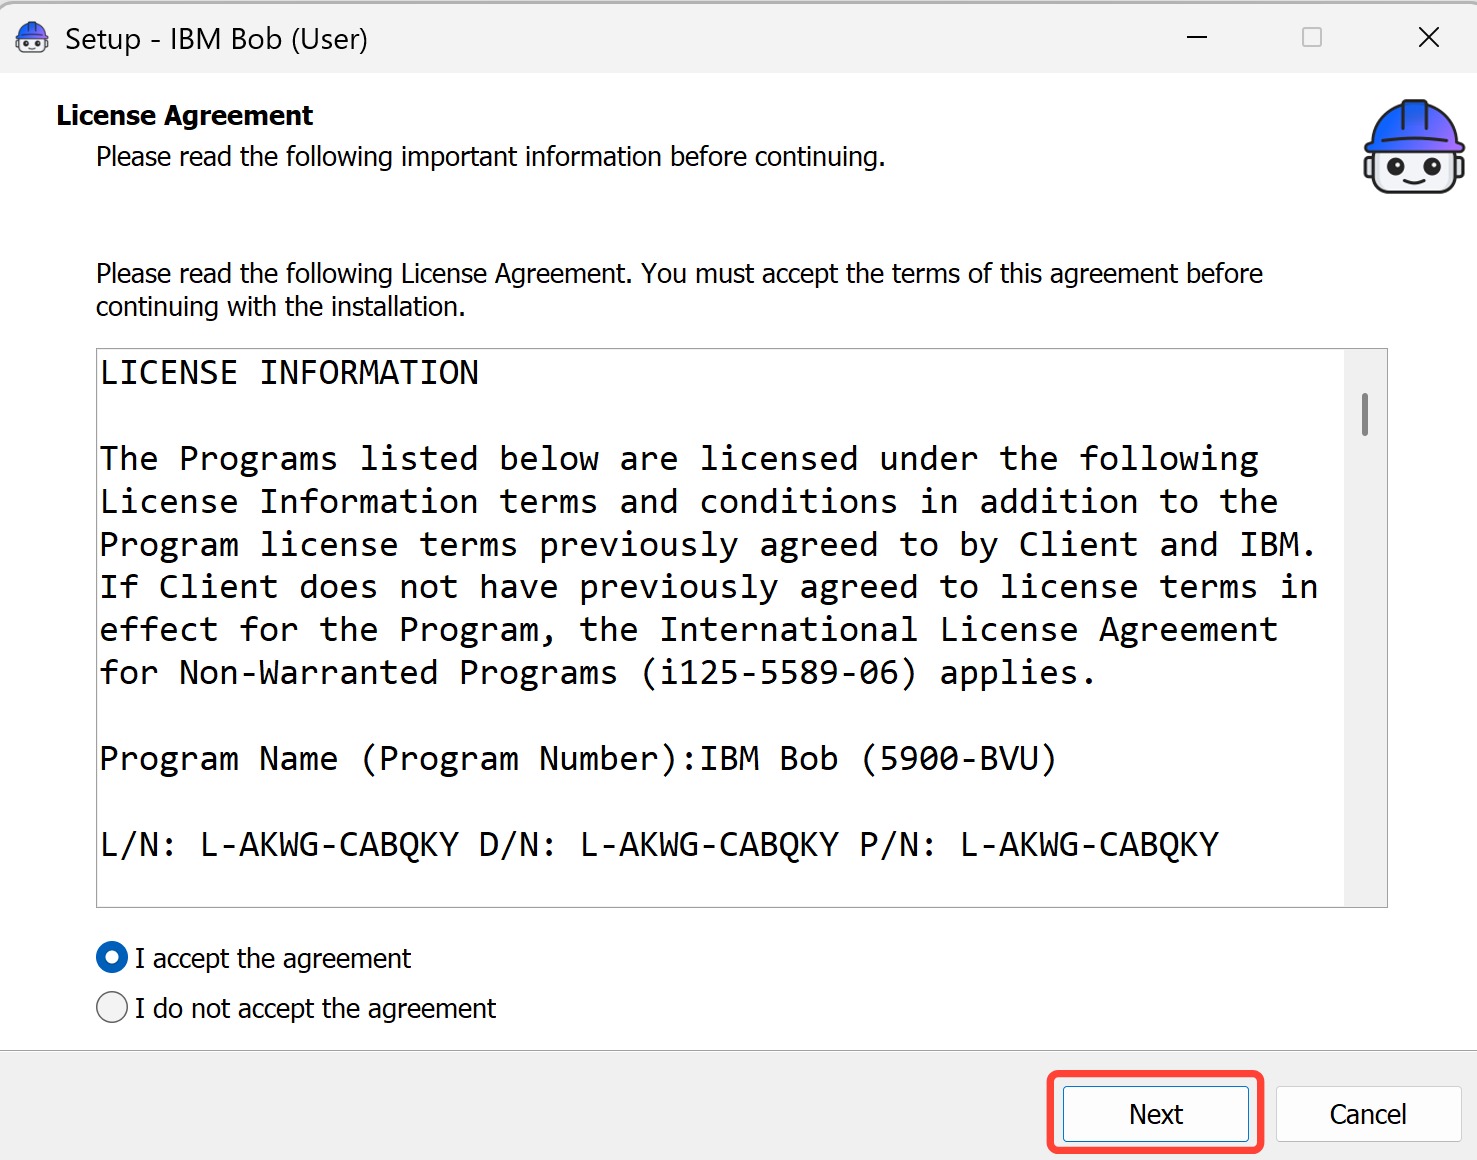
-
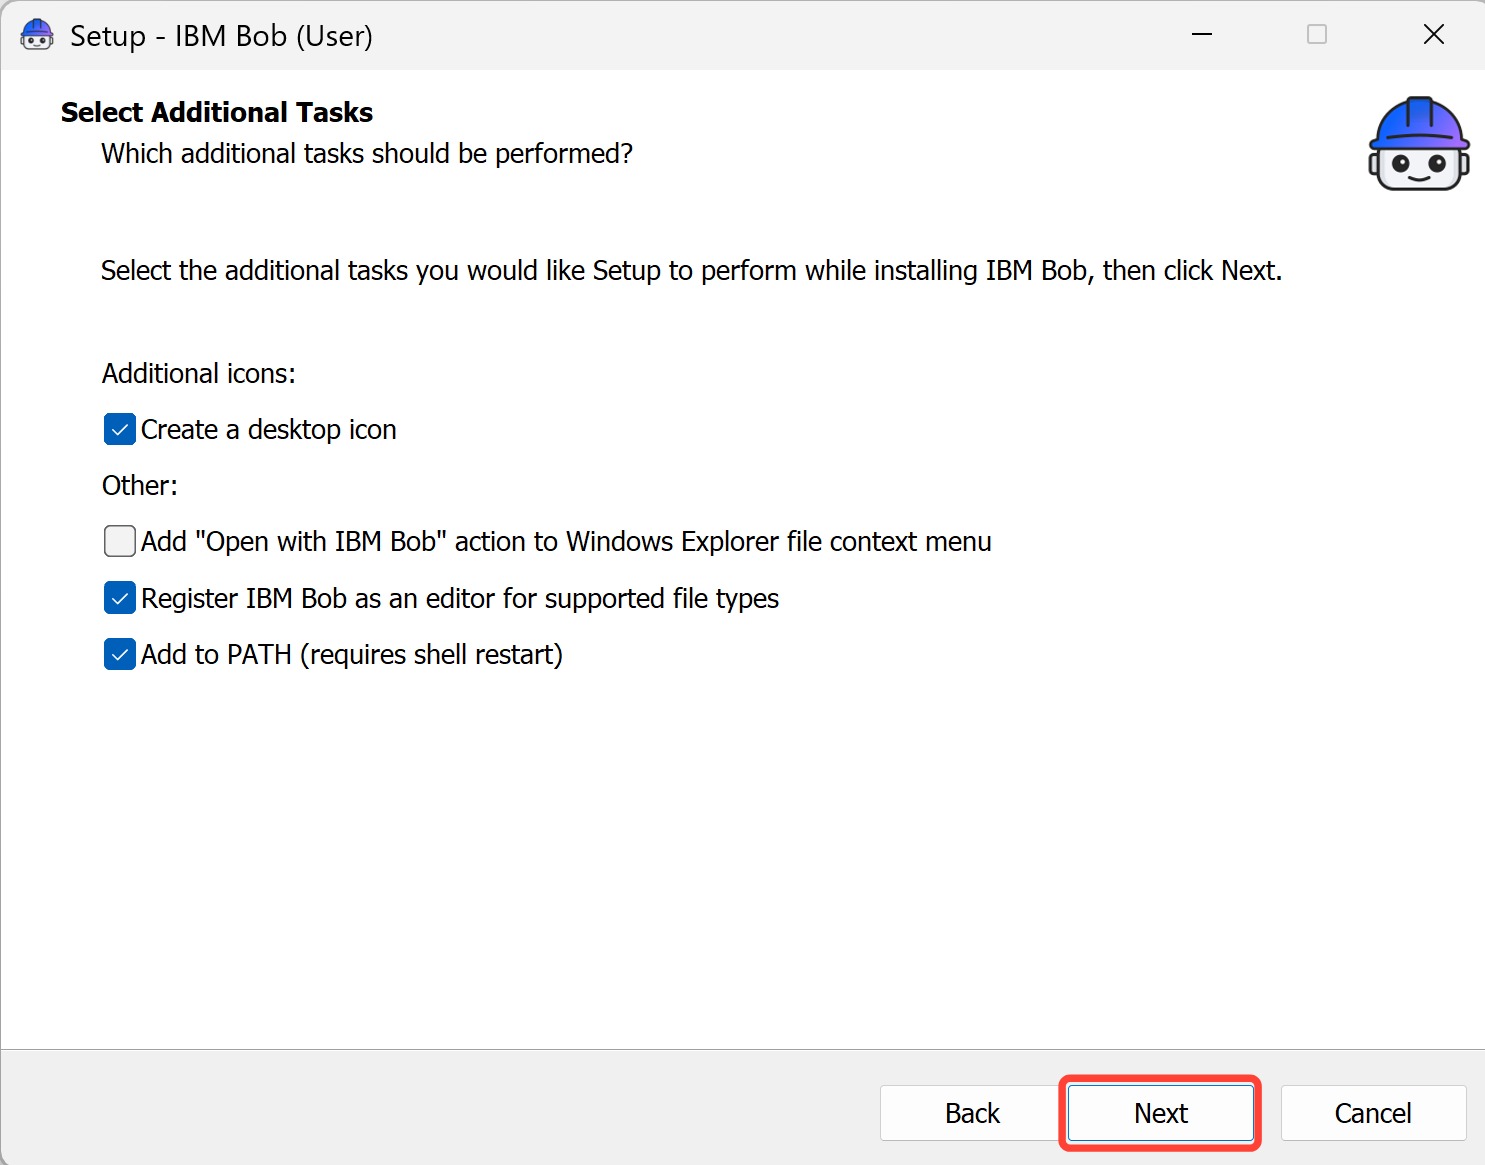
Continue through the GUI-based install process common to most desktop software — review the instructions on each Setup page to configure Bob to your liking, and press Next to proceed.
-
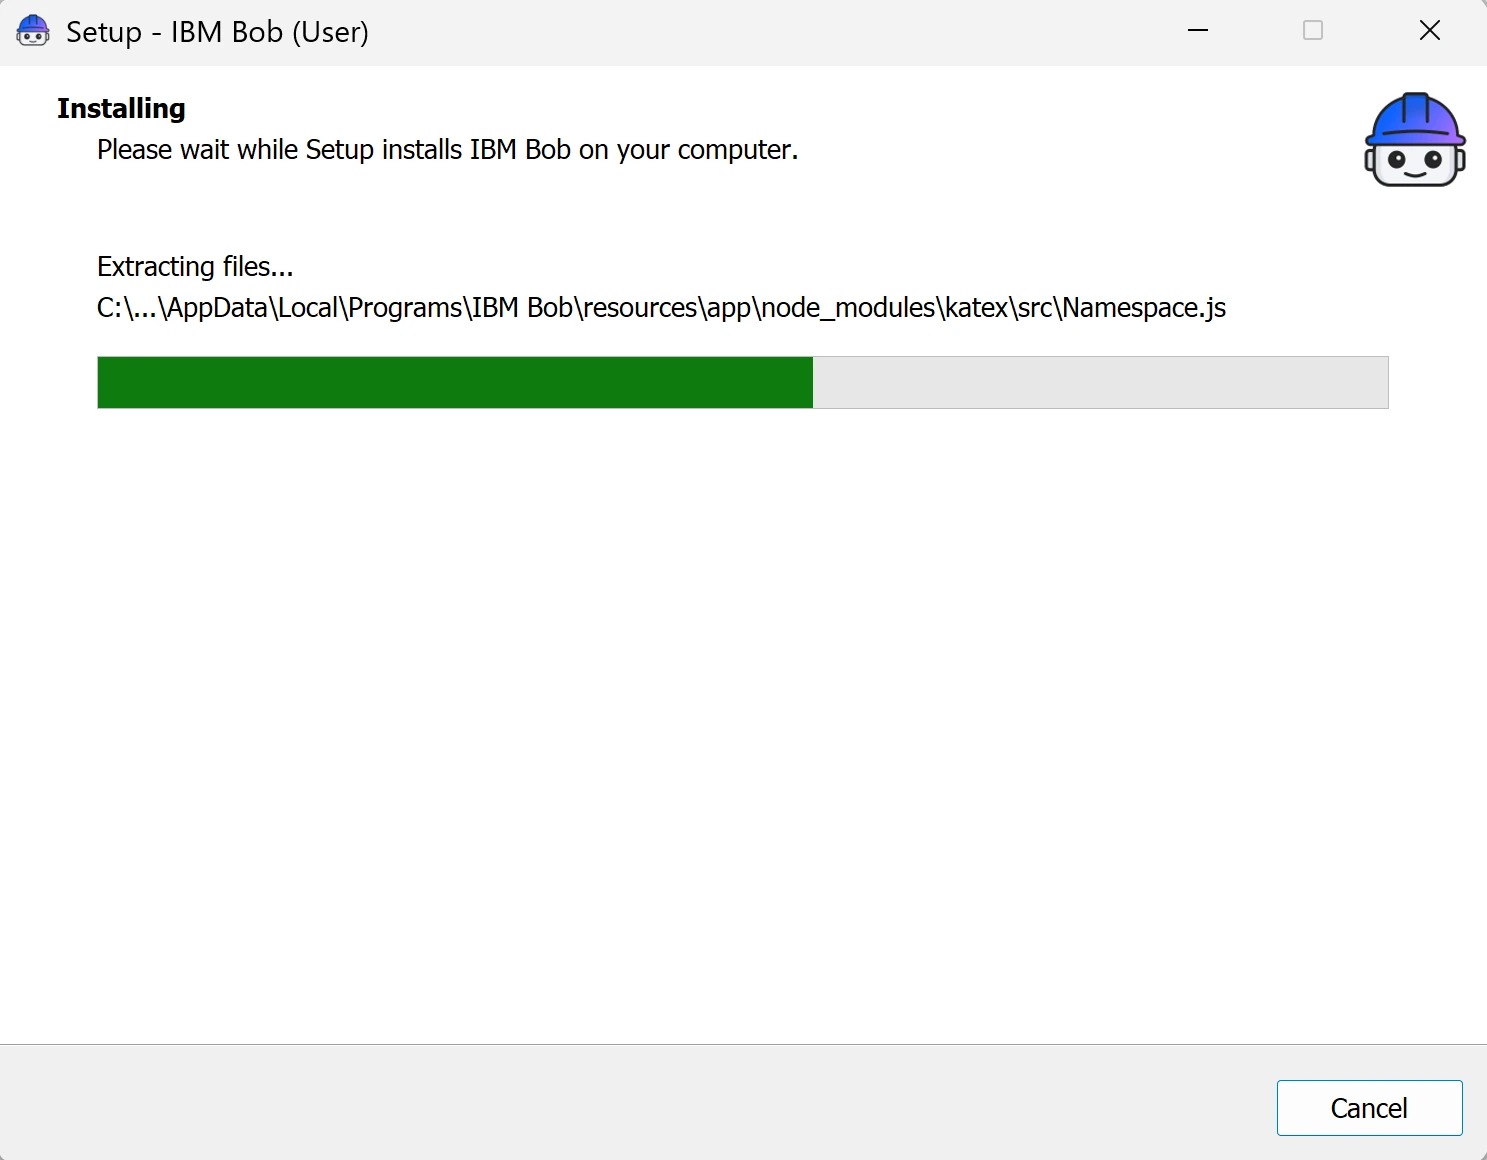
Installation should take roughly 5–10 minutes.
-
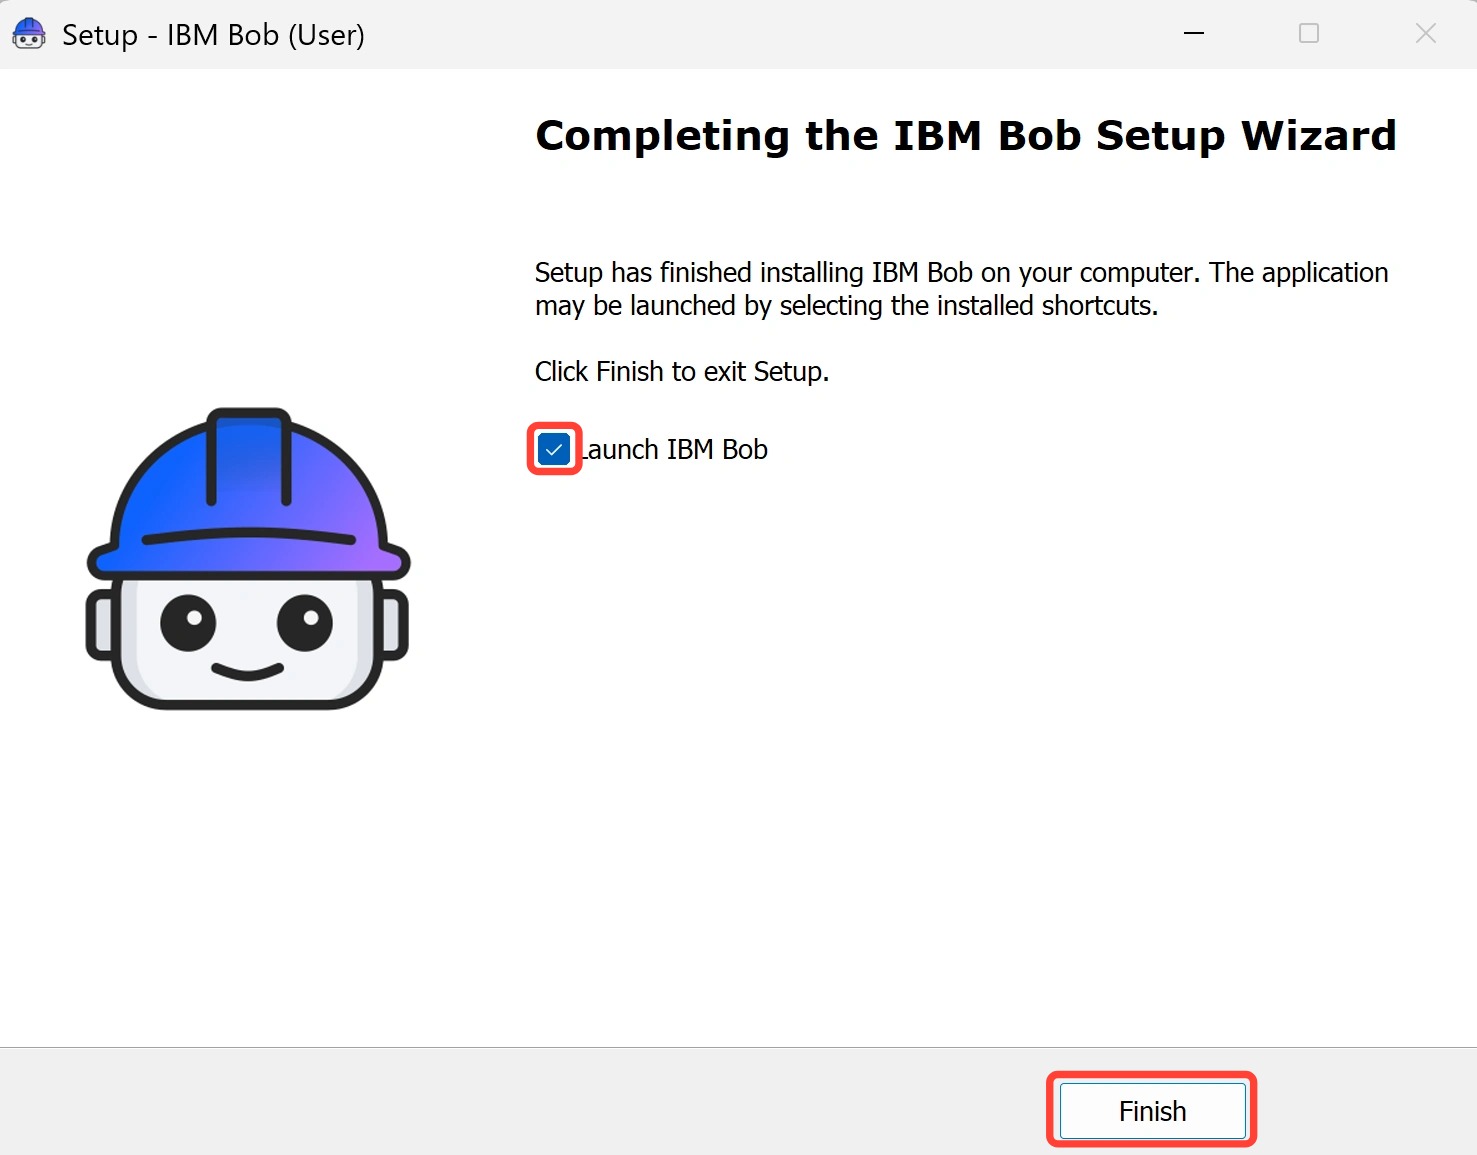
A completion pop-up appears.
Tick Launch IBM Bob (if it is not already checked) and press Finish.
-
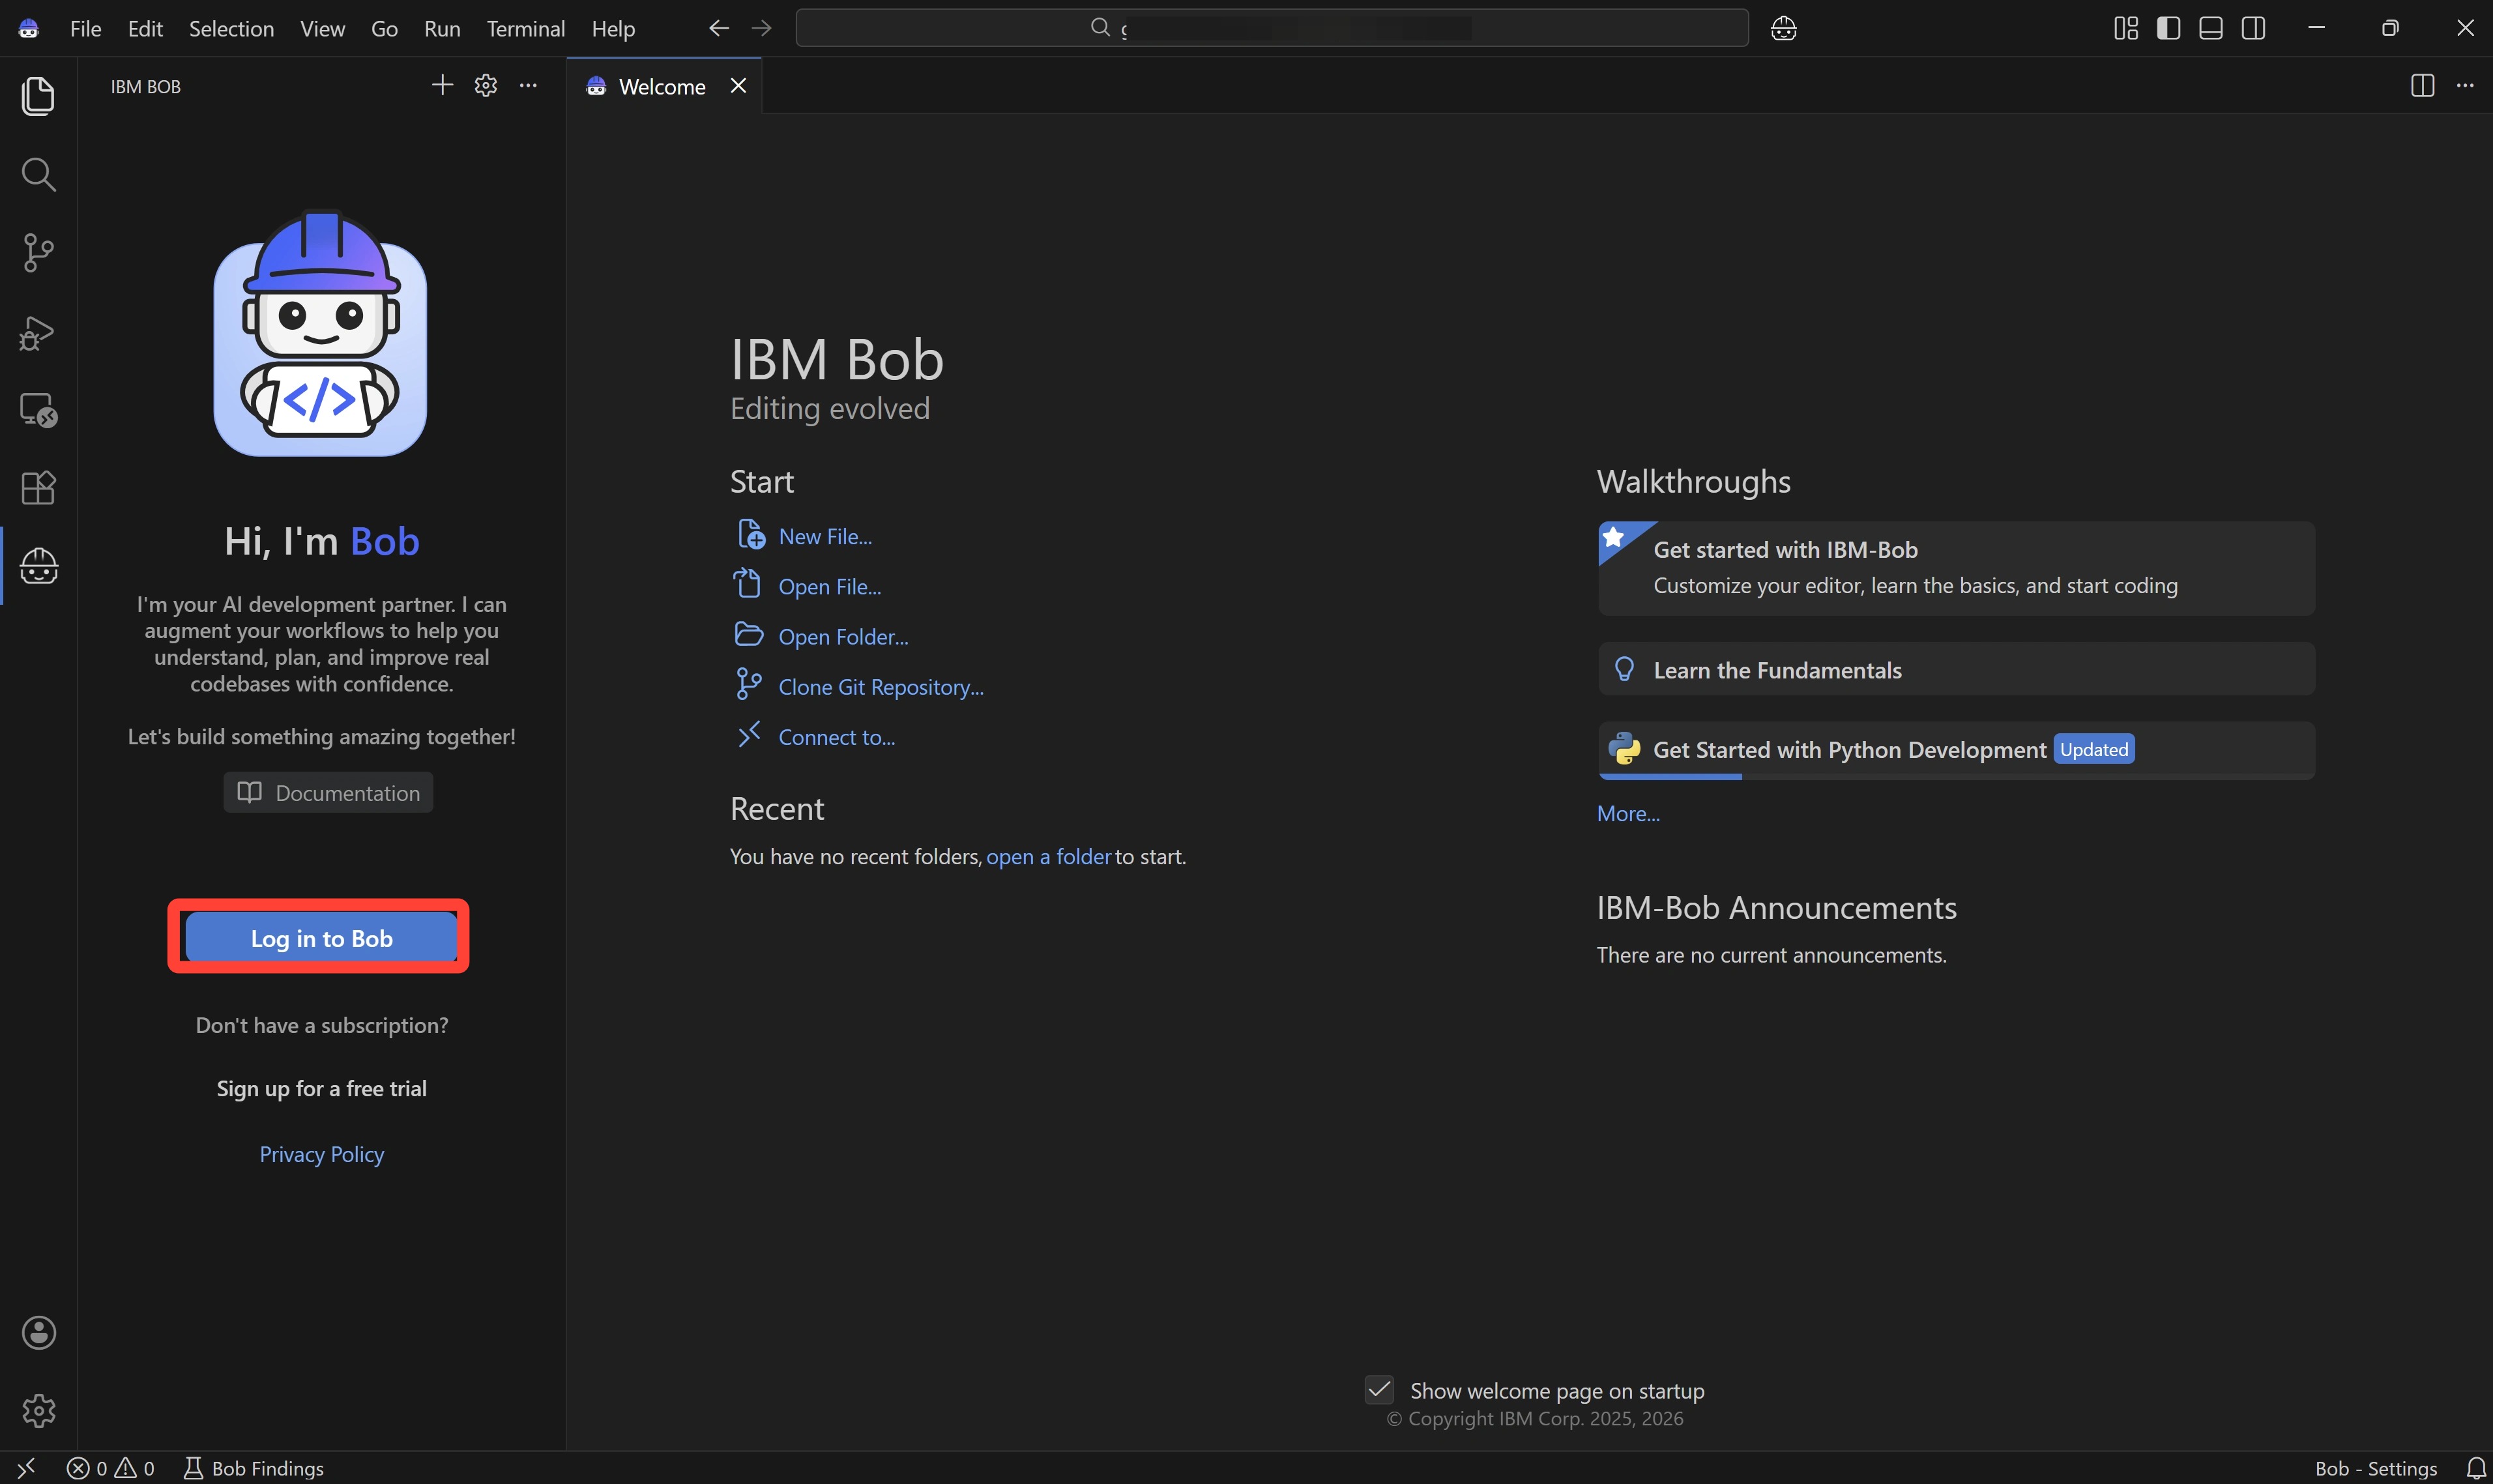
IBM Bob opens. Click Log in to Bob.
-
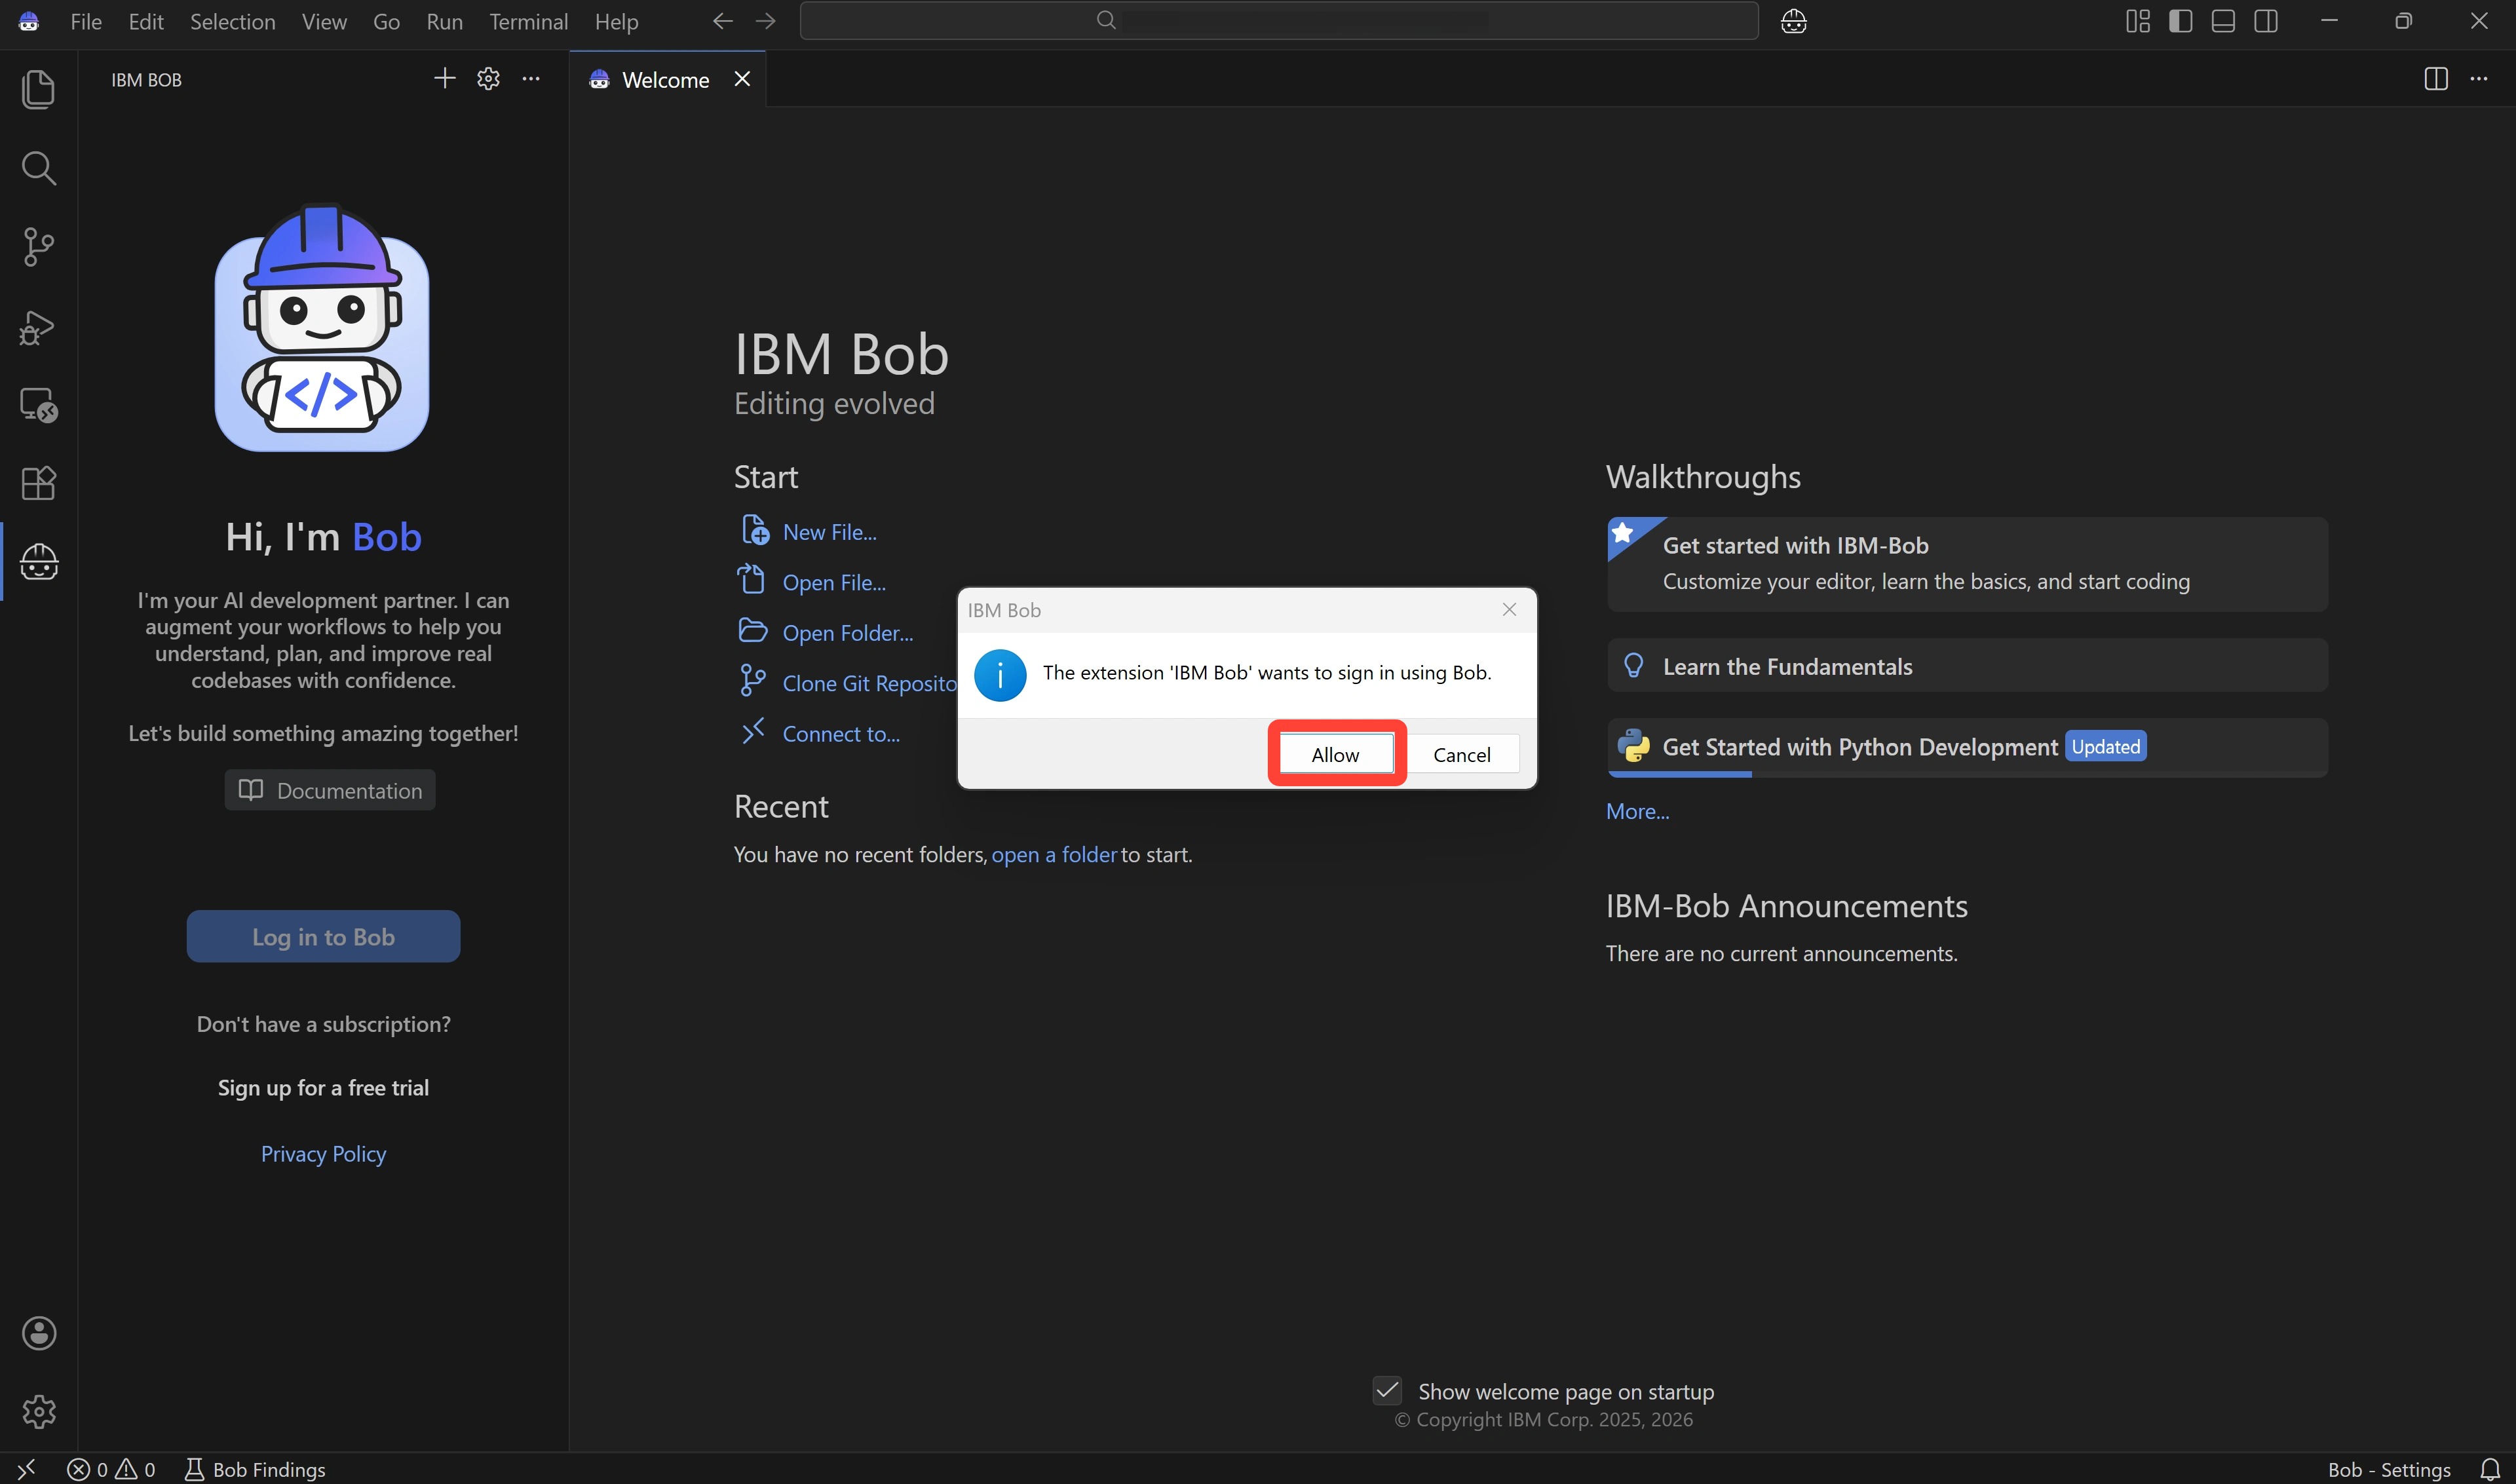
When prompted The extension IBM Bob wants to sign in using Bob., click Allow to launch a web browser for authentication.
Log in within the browser using your IBMid and password - those which are linked to the IBM Bob account you registered for in the previous steps.
-
A few additional prompts may arise before authentication can complete:
- If asked "Do you want to allow this website to open IBM Bob?", click Yes
- Wait until the web browser refreshes to read Authentication Successful! before closing the browser window
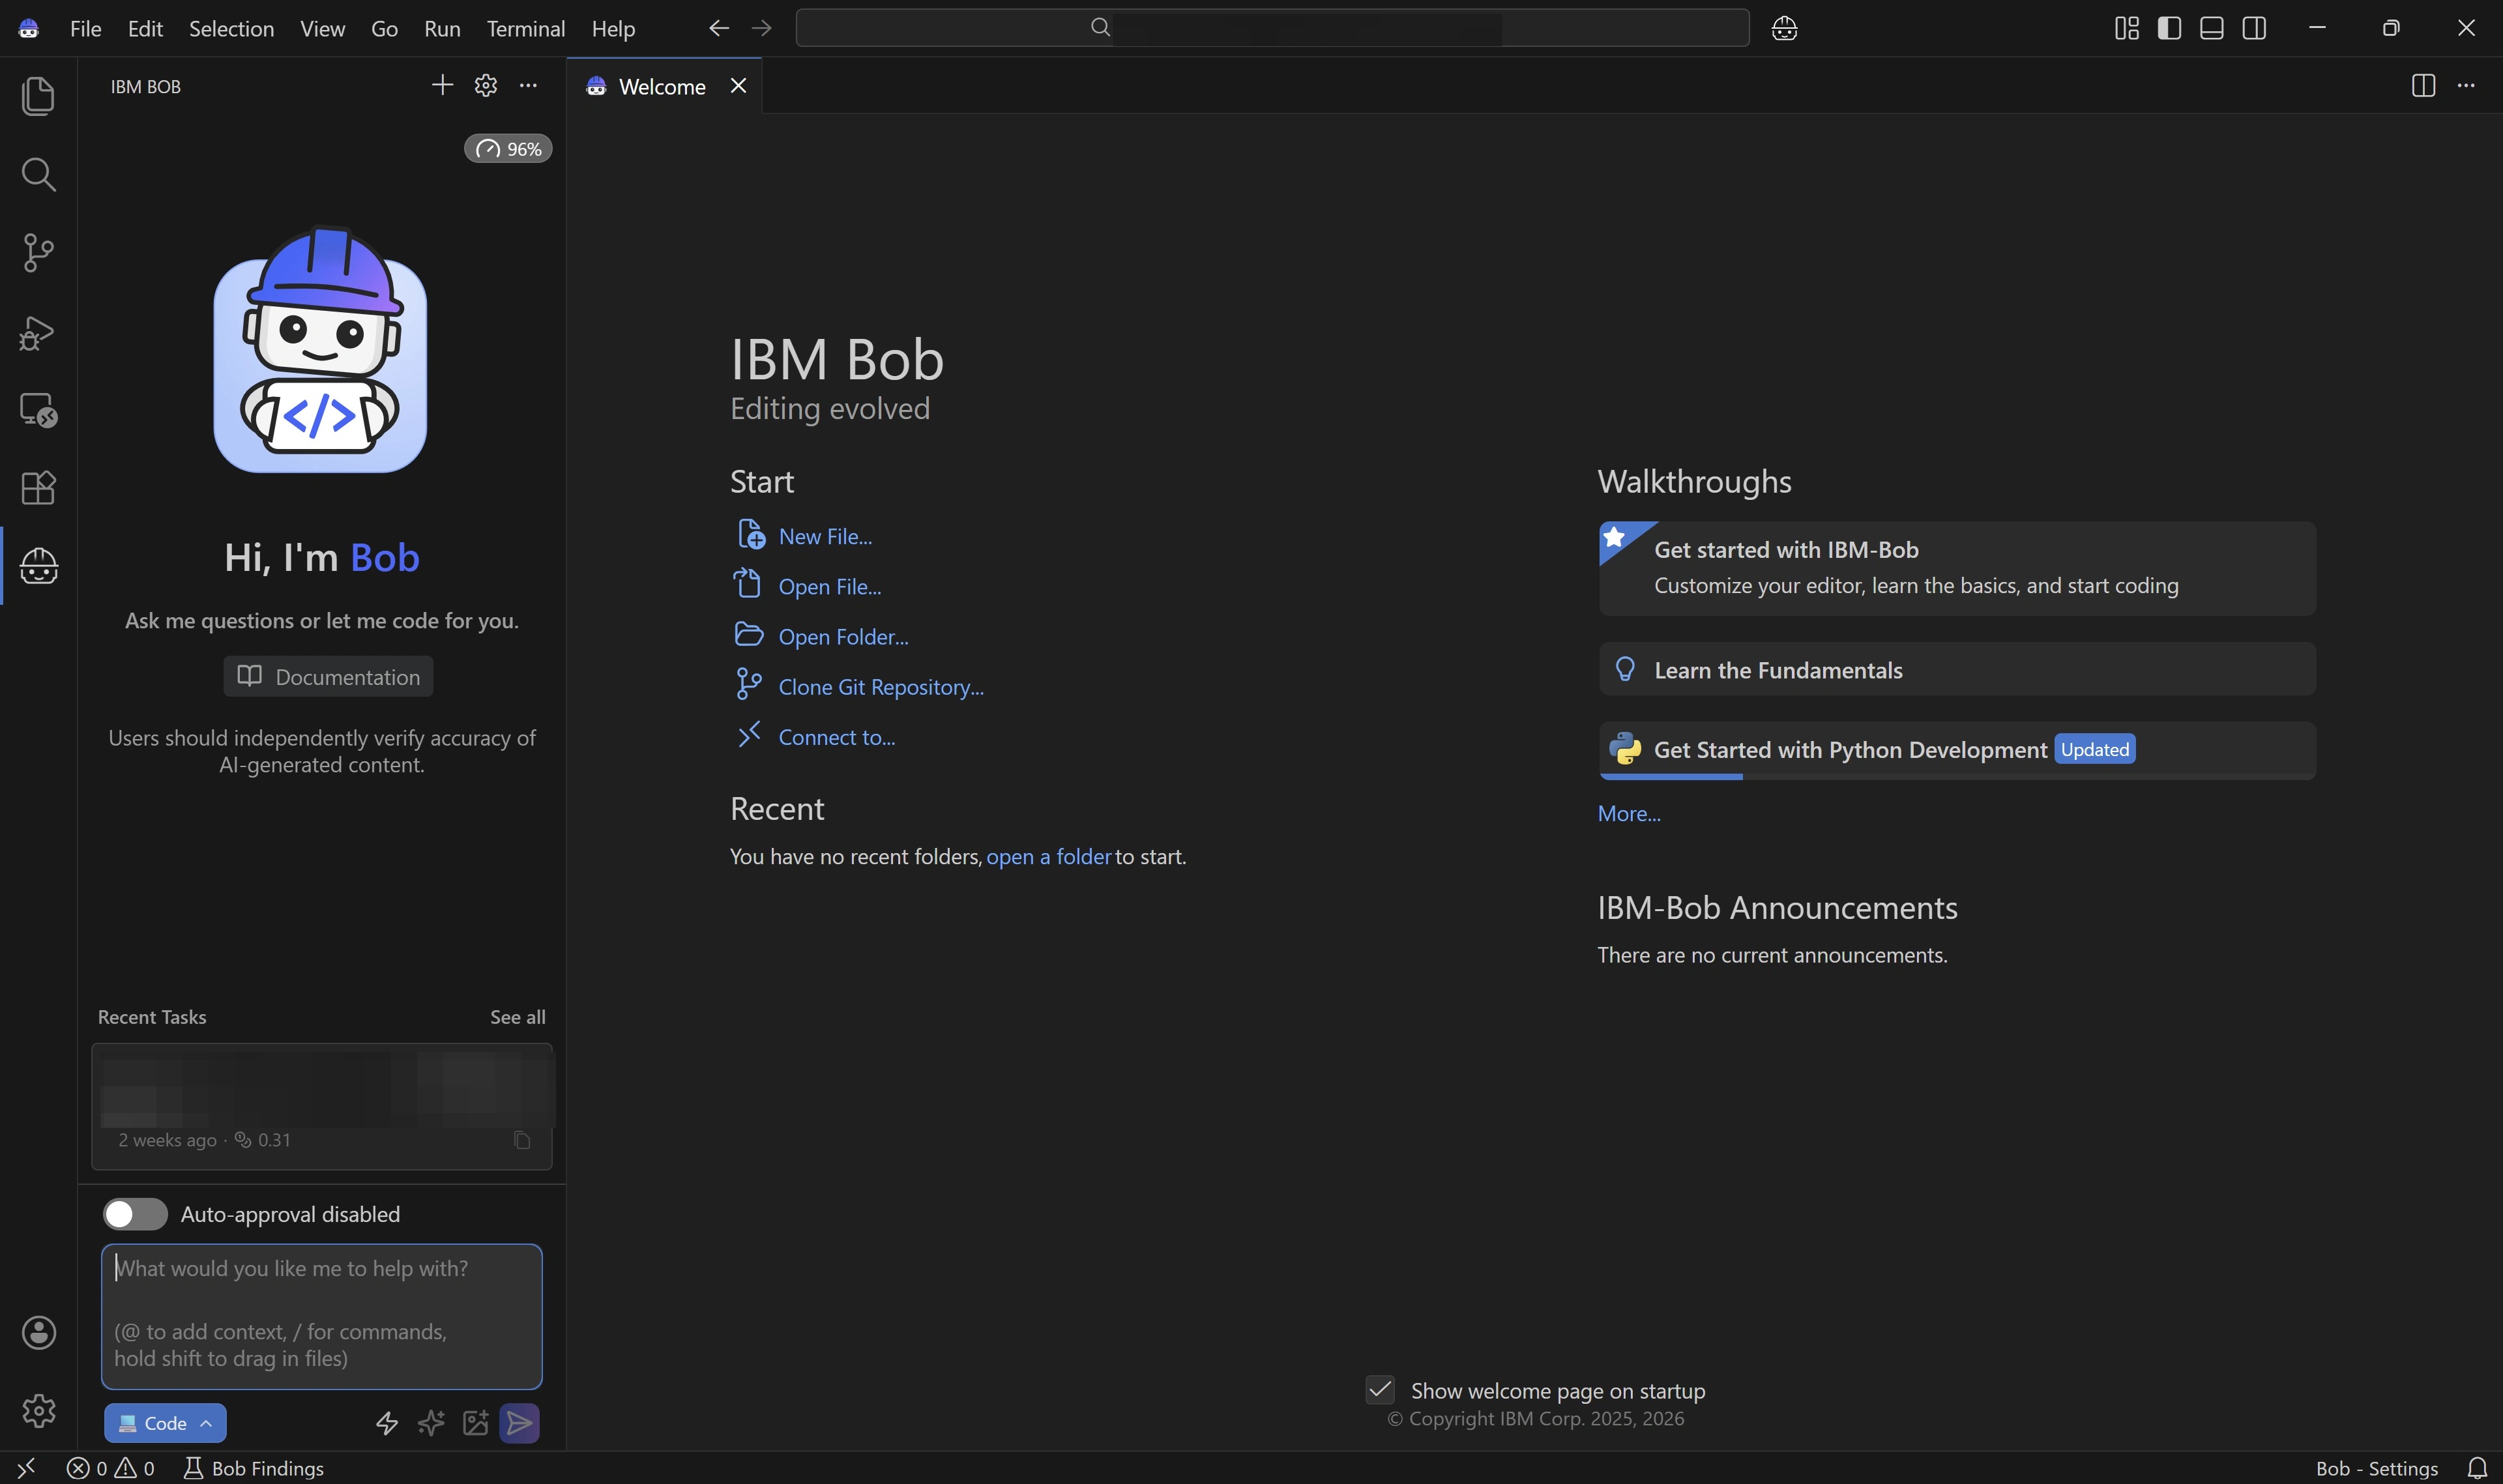
- Return to the Bob IDE, which has now been successfully authenticated and connected to the IBM Bob service
iv. Business Partners: Trial registration
The Trial path provides fast access, a fresh balance of 40 Bobcoins, and is open to the widest audience (Business Partners included). Access lapses after one month, which is more than enough time to complete this lab.
-
Begin at the Free Trial sign-up page:
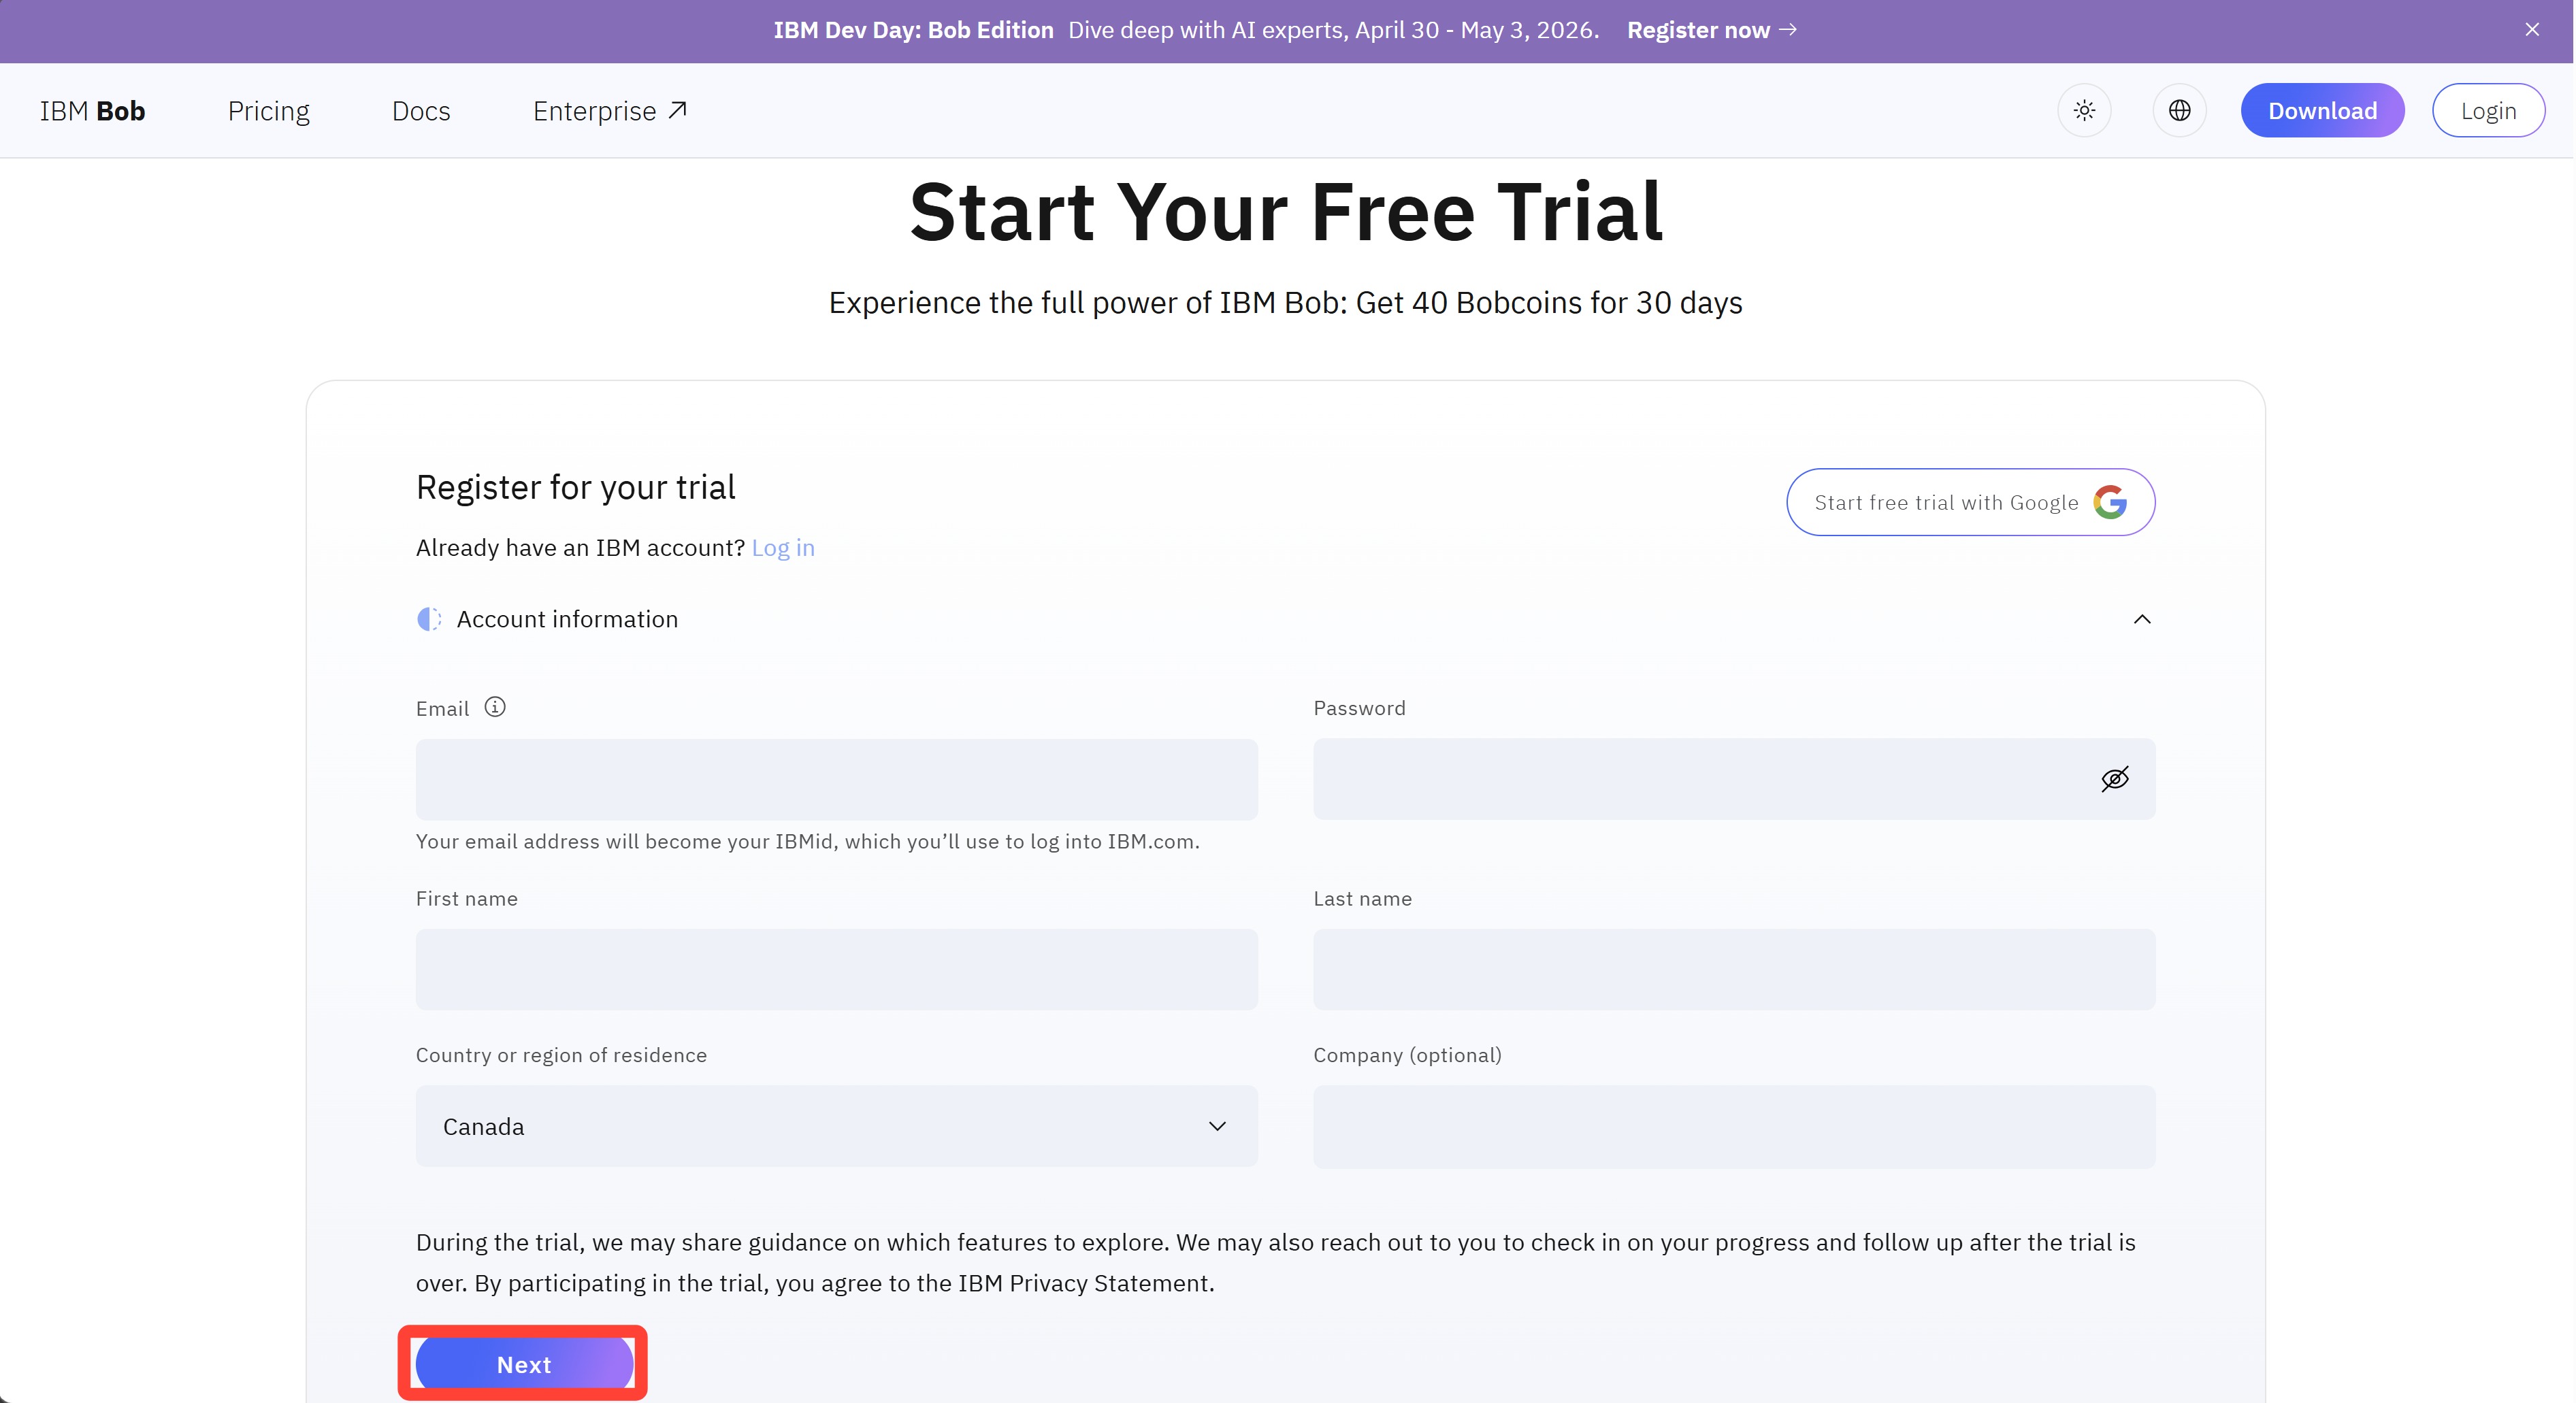
-
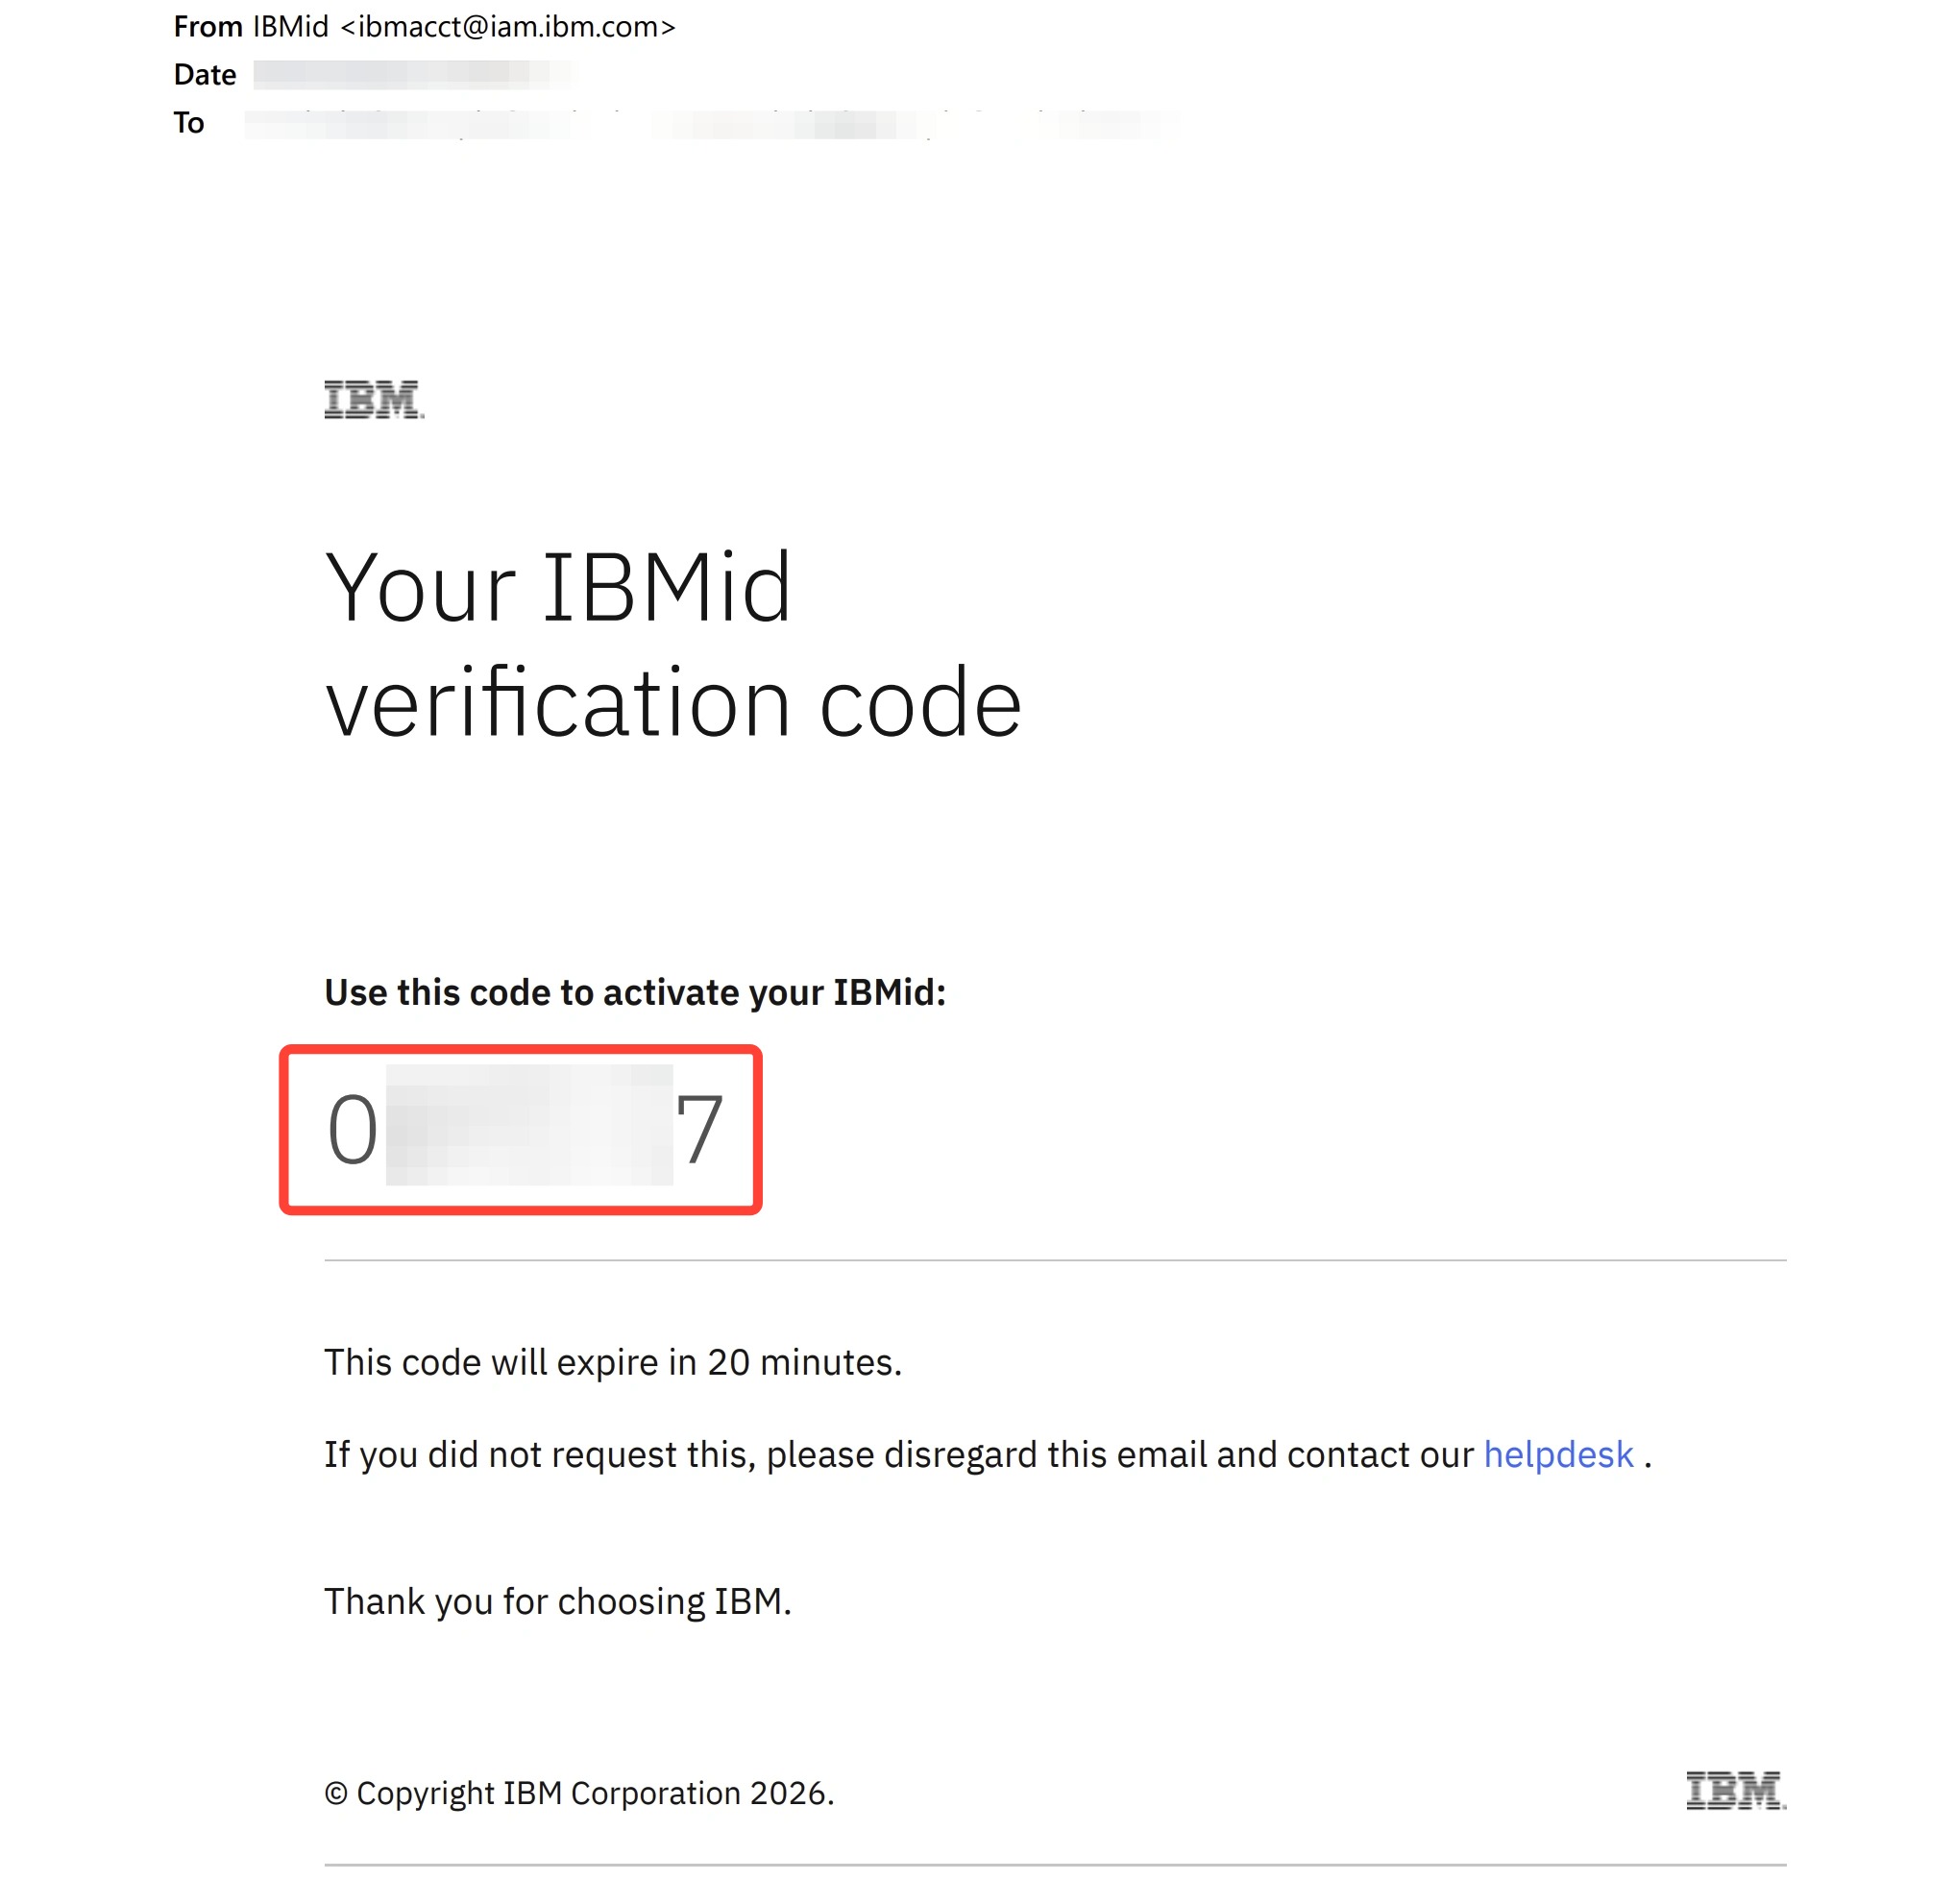
Check the inbox of the email you registered with, which should arrive nearly instantly.
Copy the 7-digit verification code and return to the open IBM Bob Free Trial tab.
-
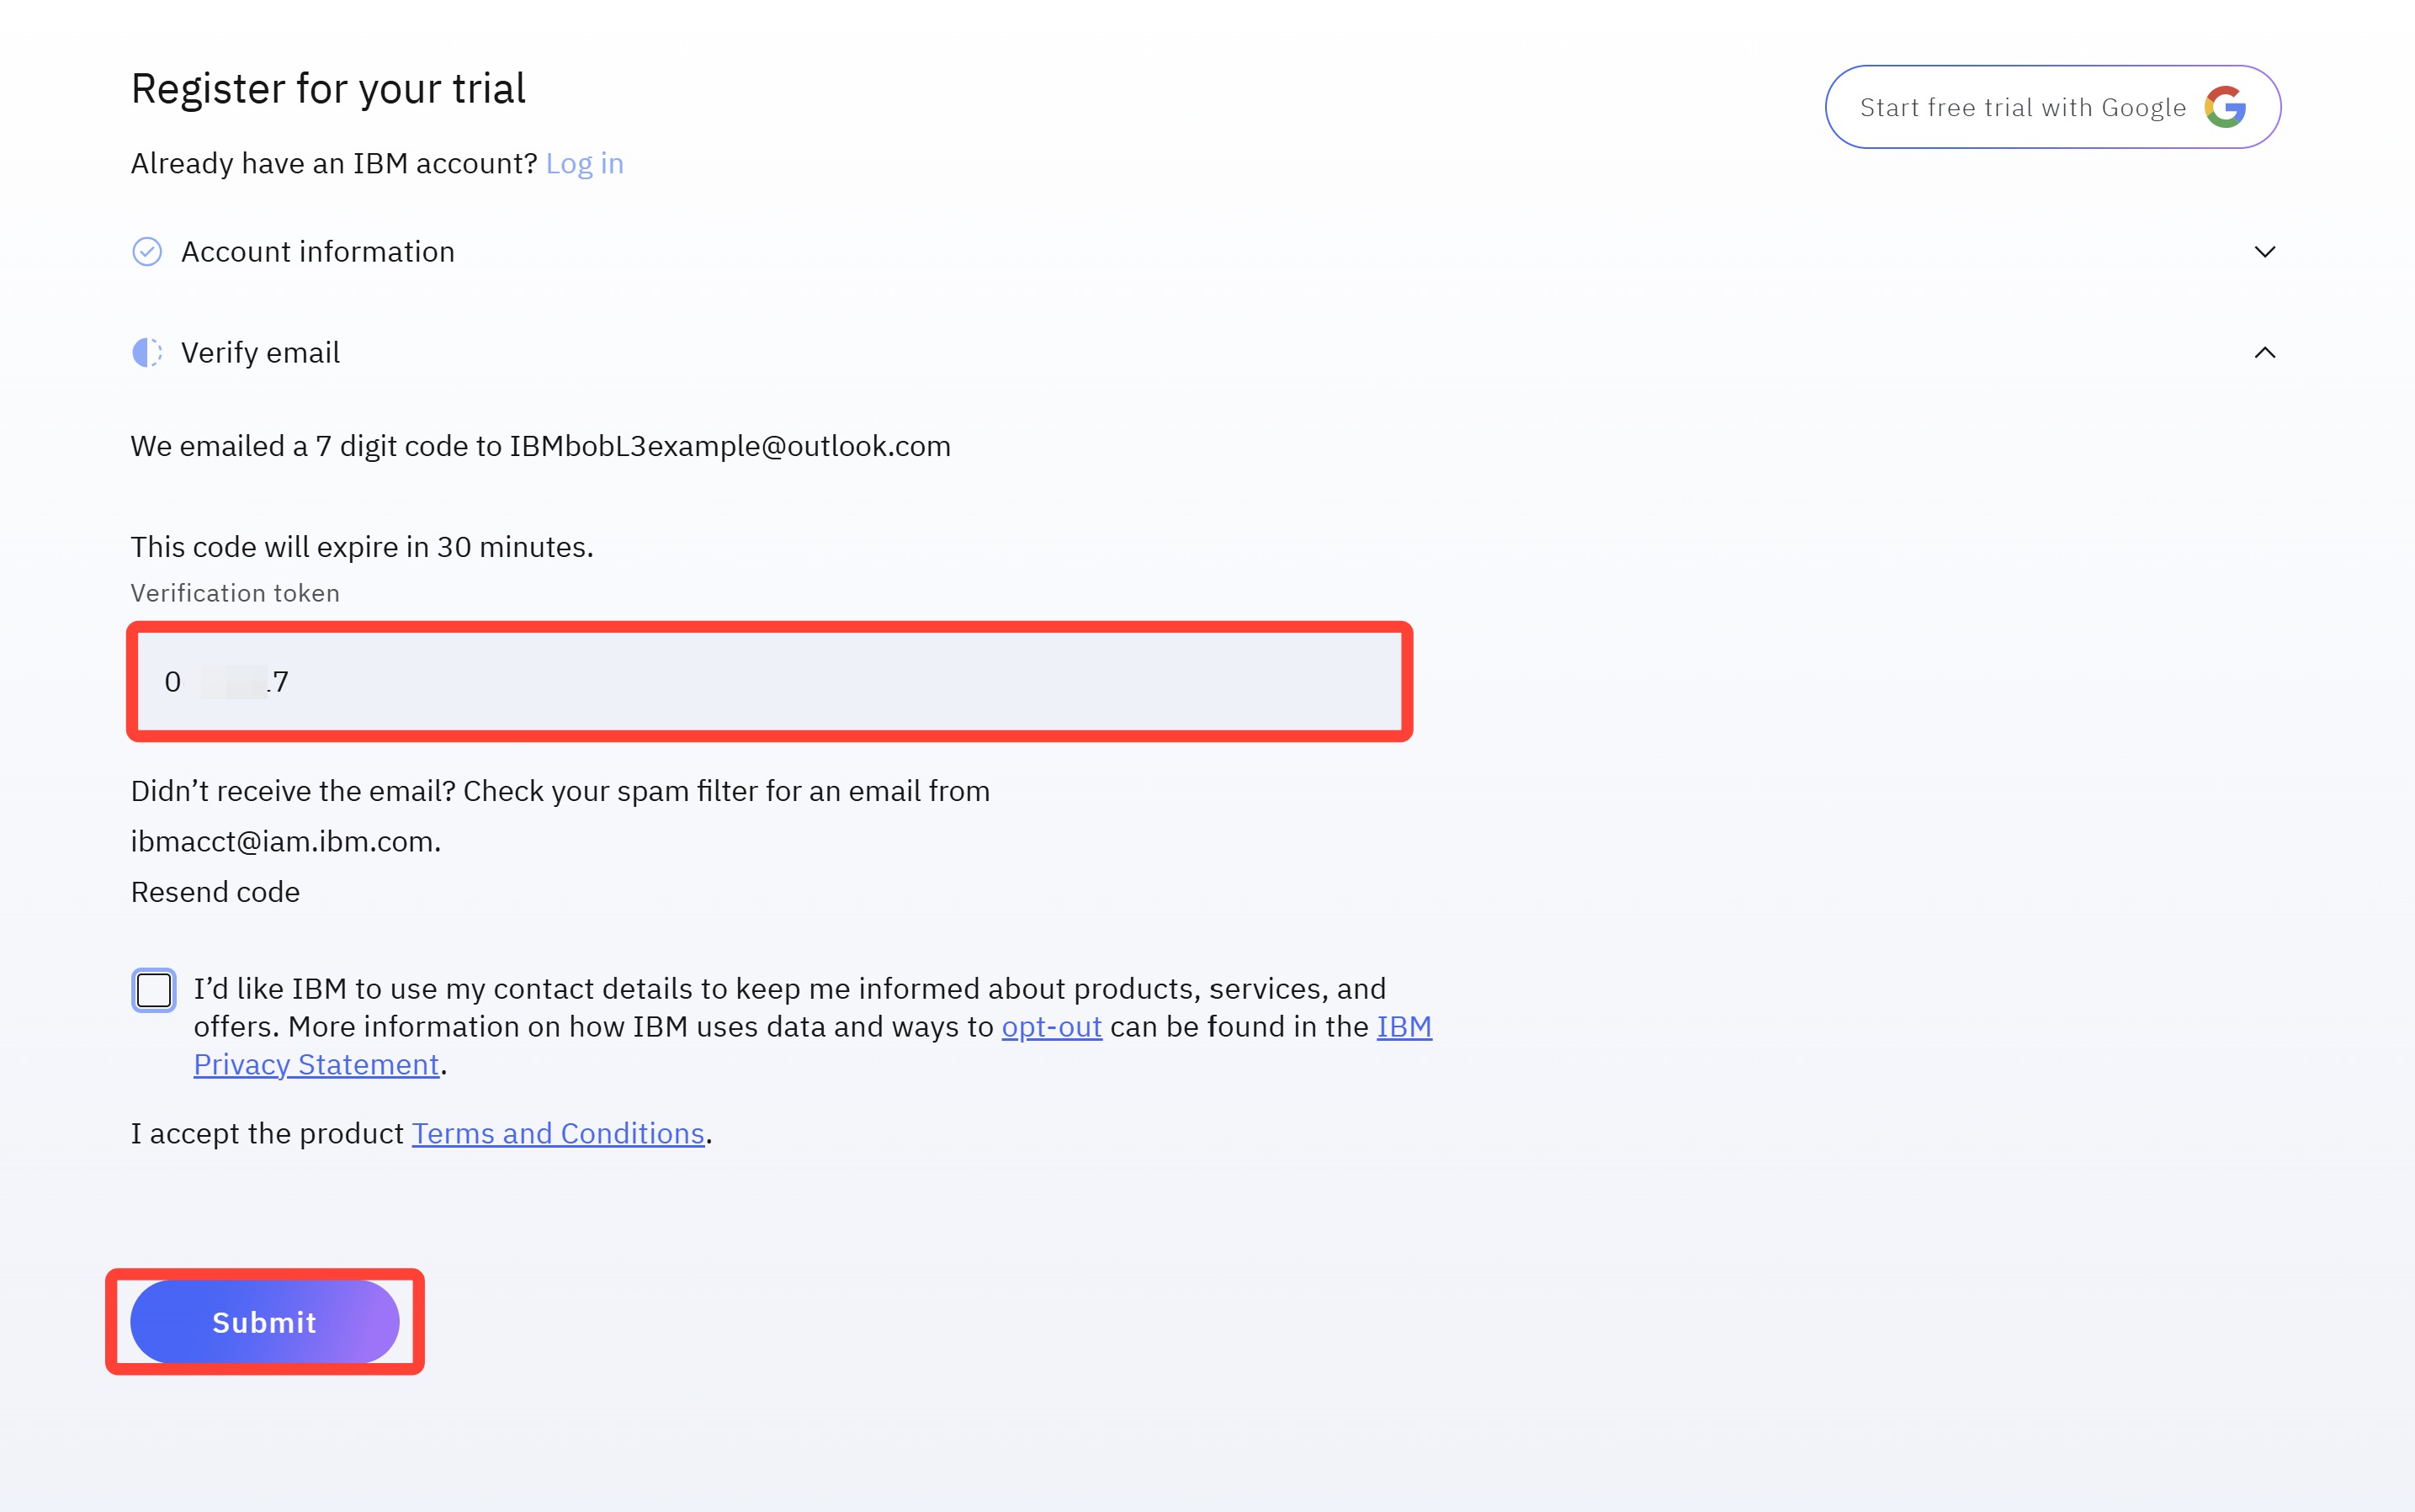
Enter the 7-digit verification code and press Submit.
-
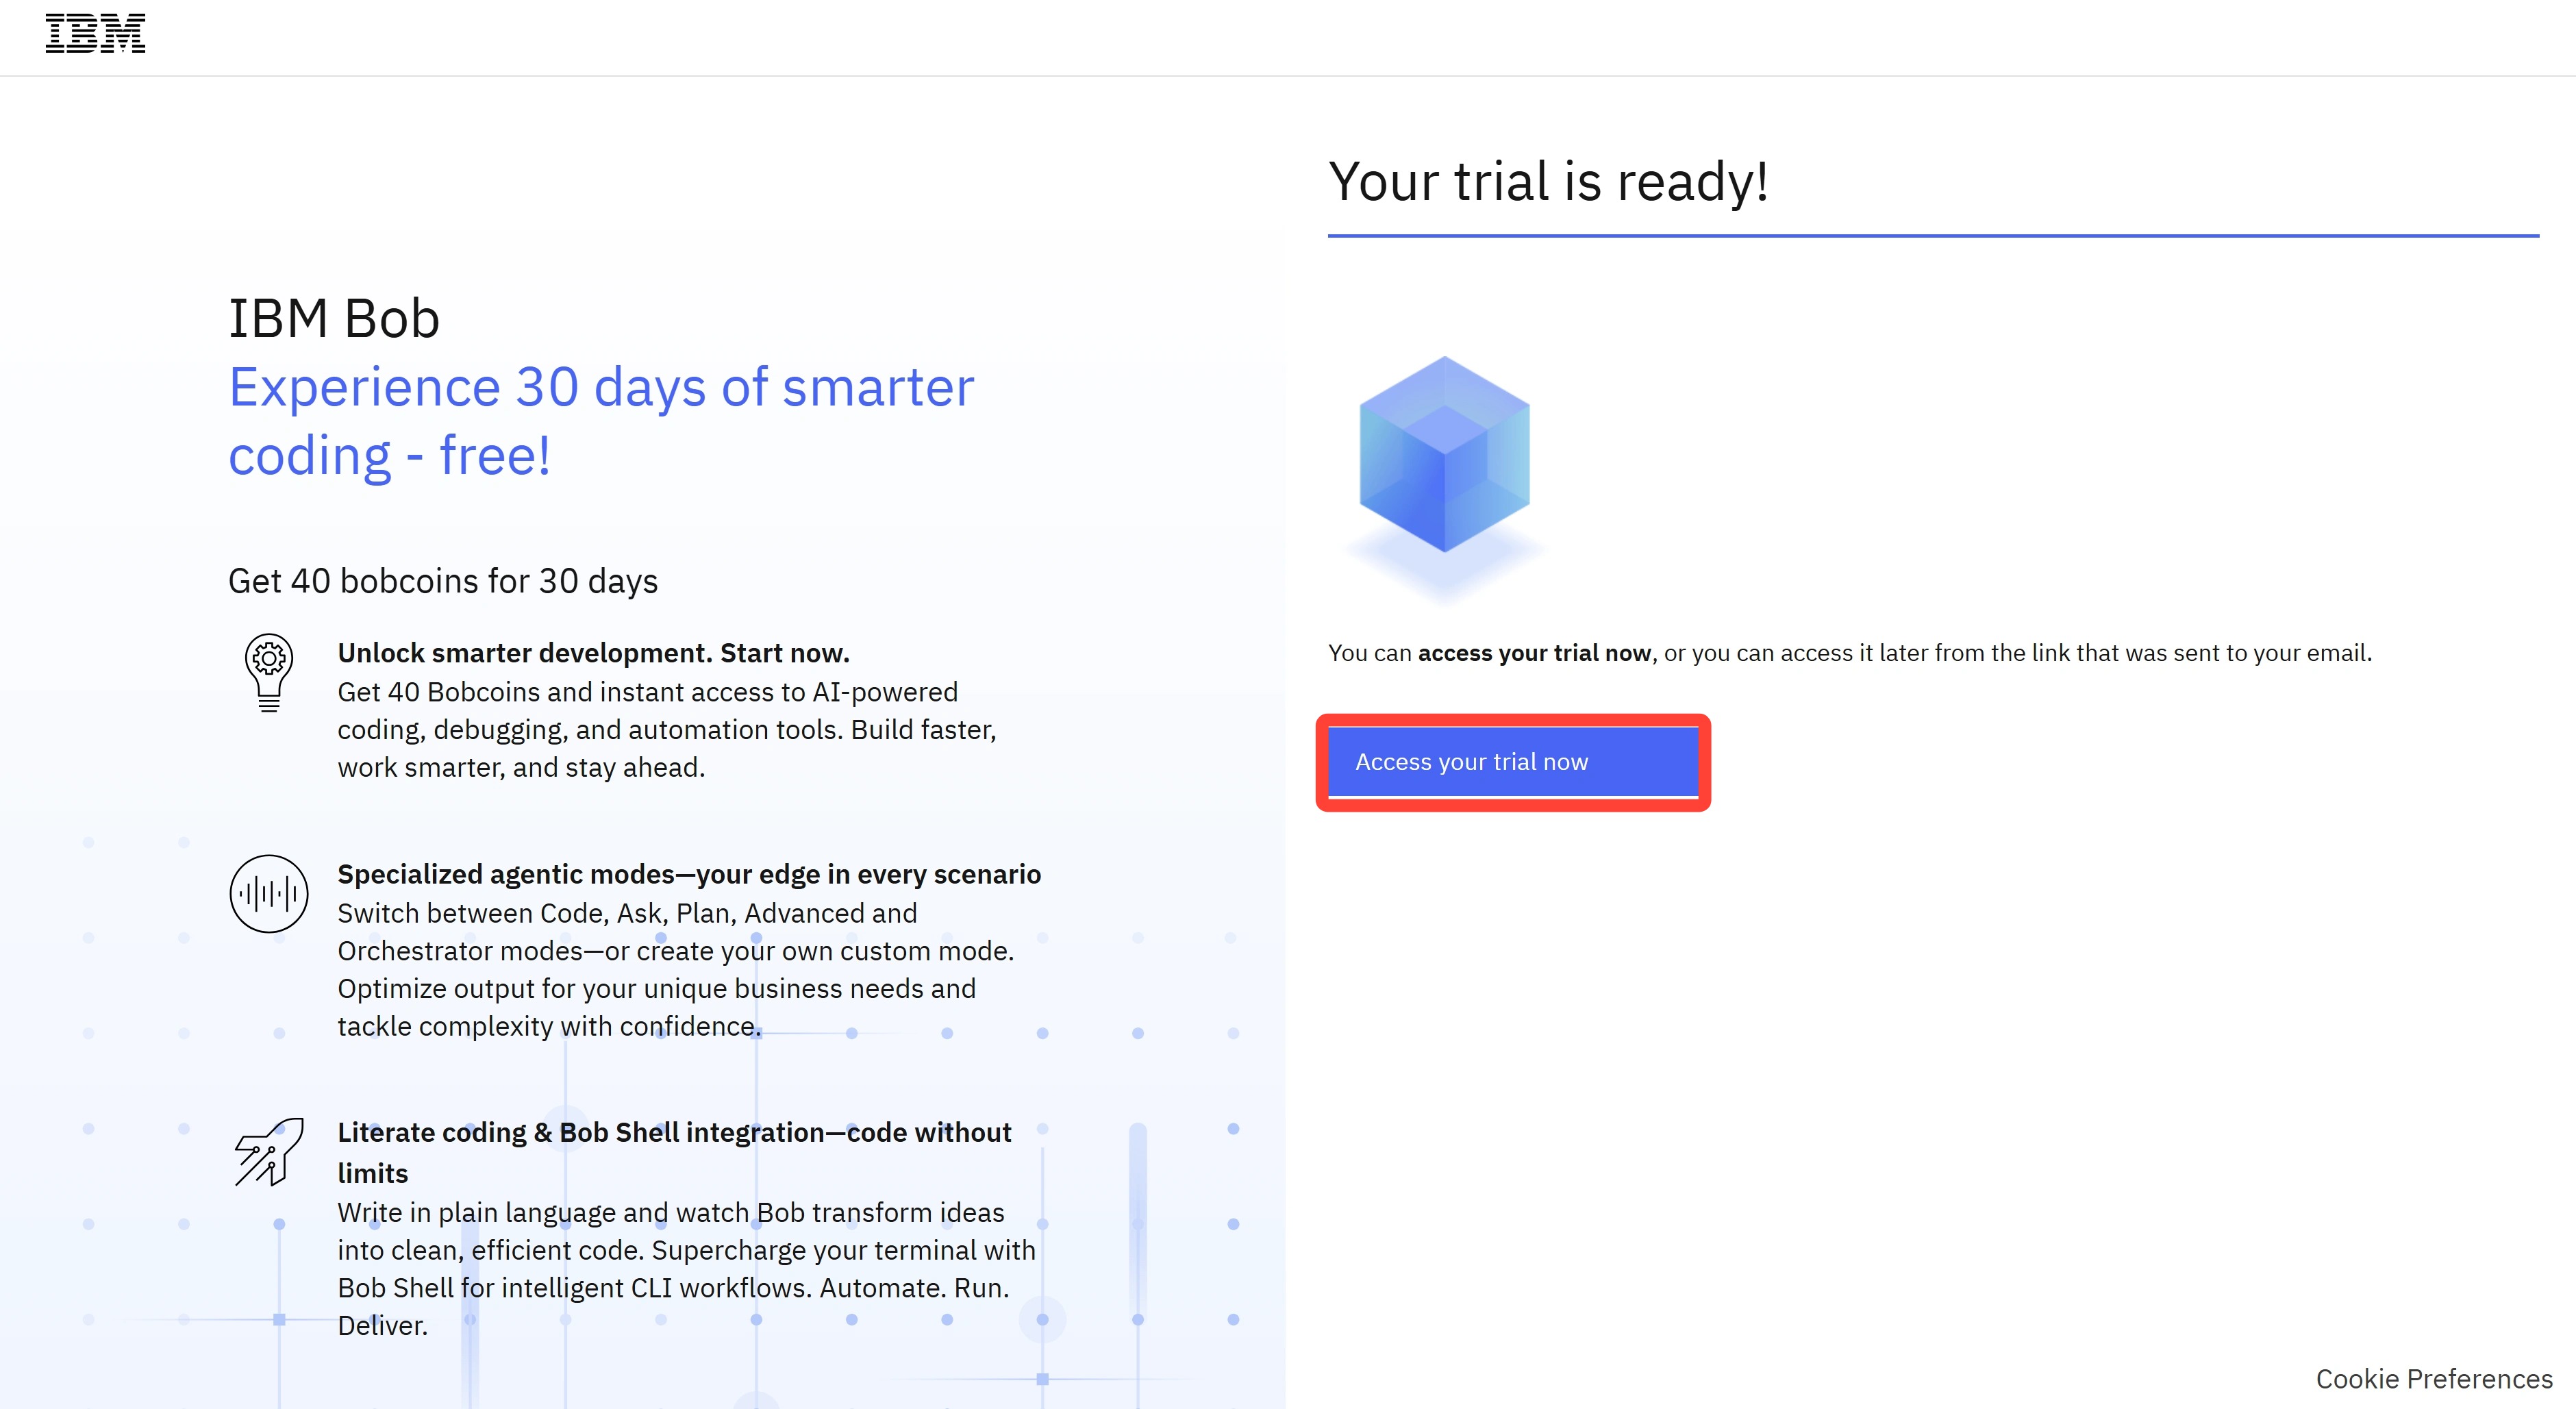
After submitting, you will be redirected to a confirmation page. Wait a few seconds until "Your trial is ready!" appears, then press Access your trial now.
-
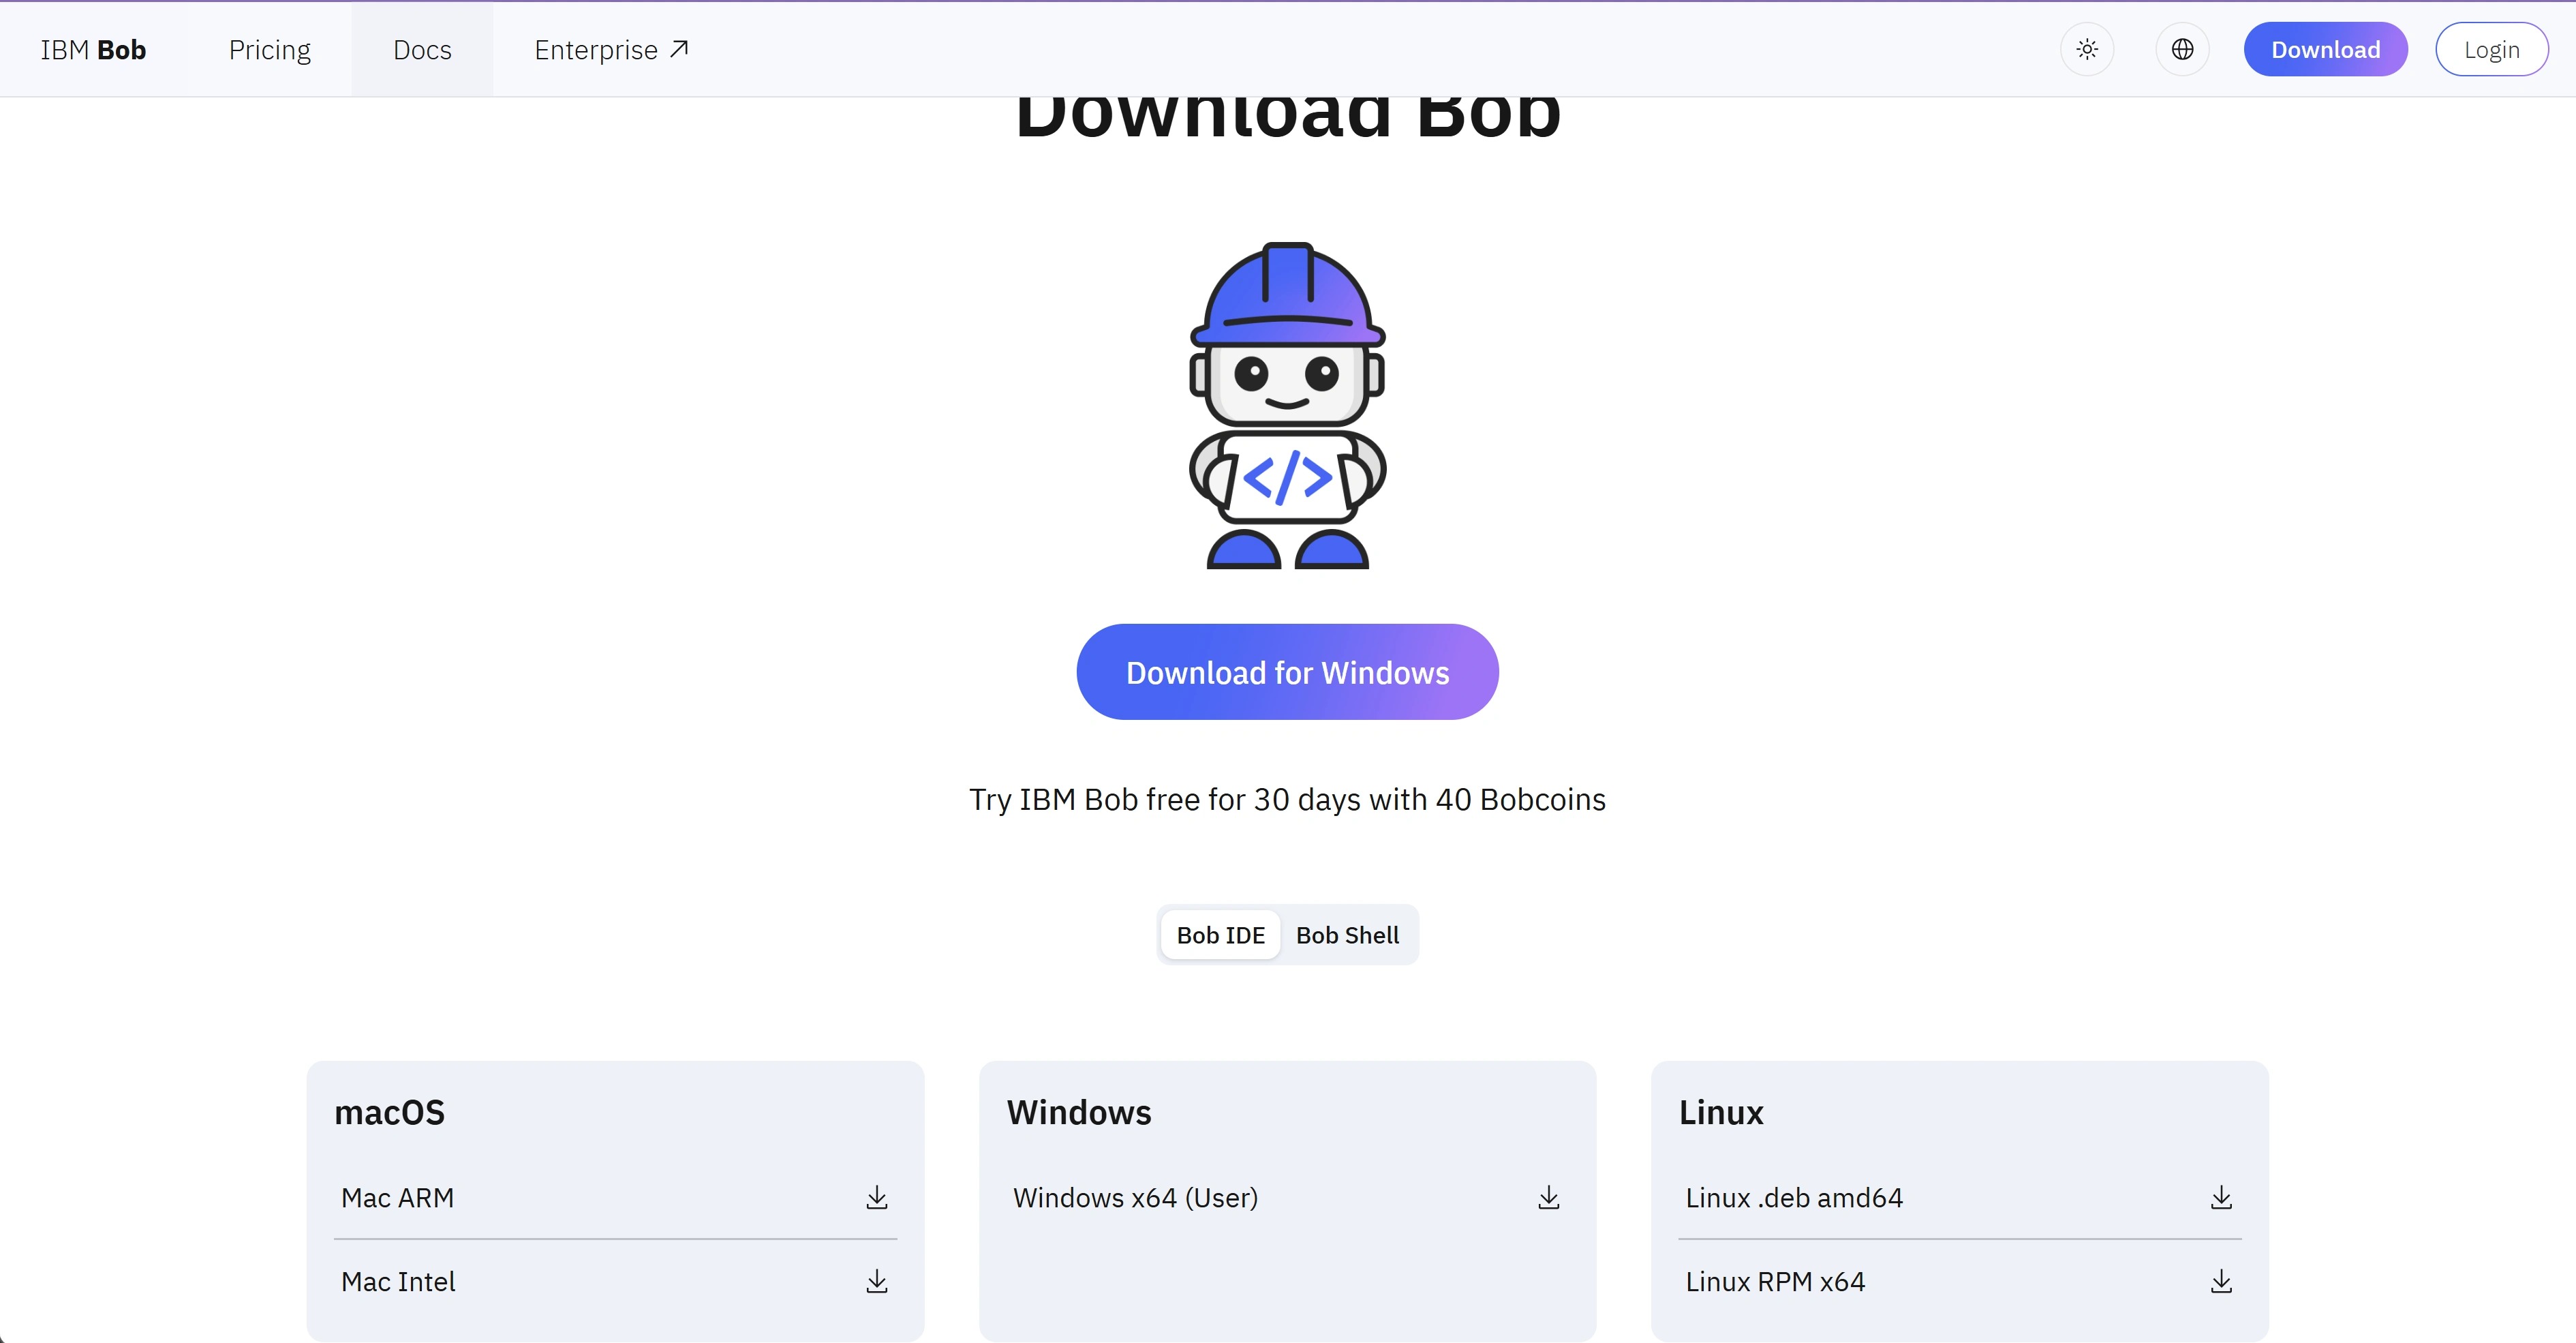
You will land on the "Download Bob" page. Download IBM Bob for your respective operating system. It follows the simple GUI-based install process you would expect of most desktop applications.
-
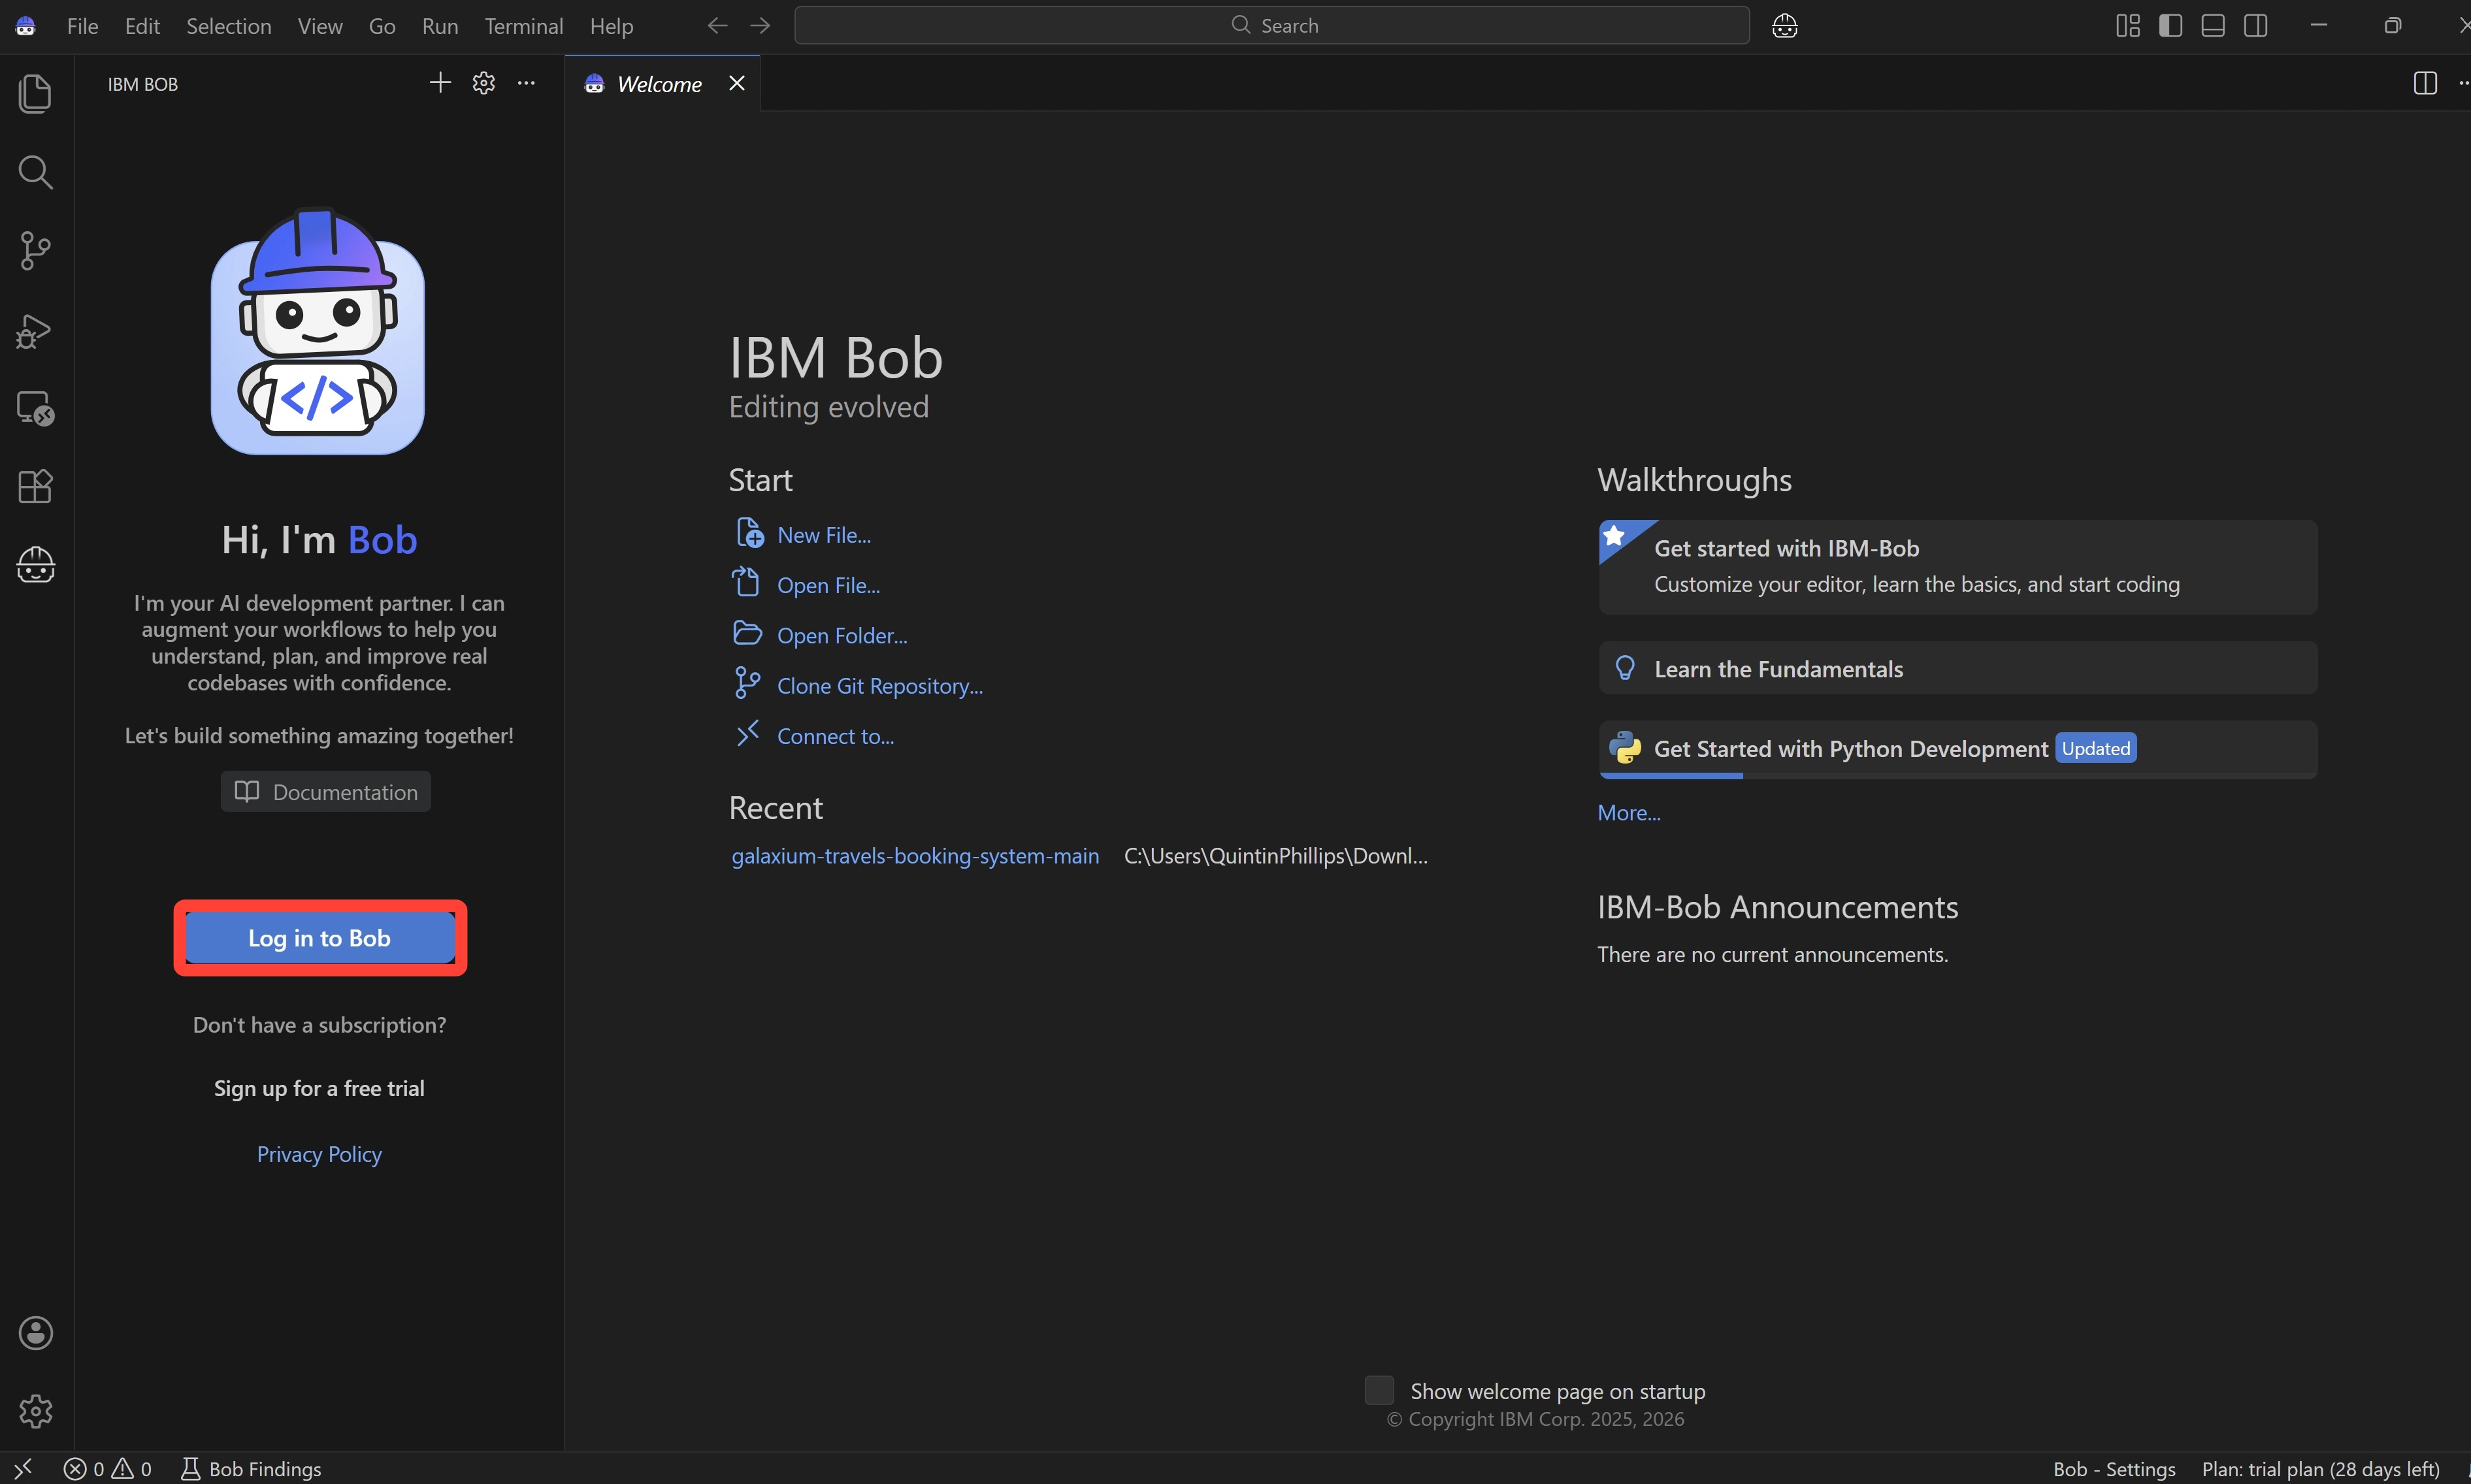
Once IBM Bob has finished installing, open IBM Bob (if it has not opened already).
Then press Log in to Bob.
-
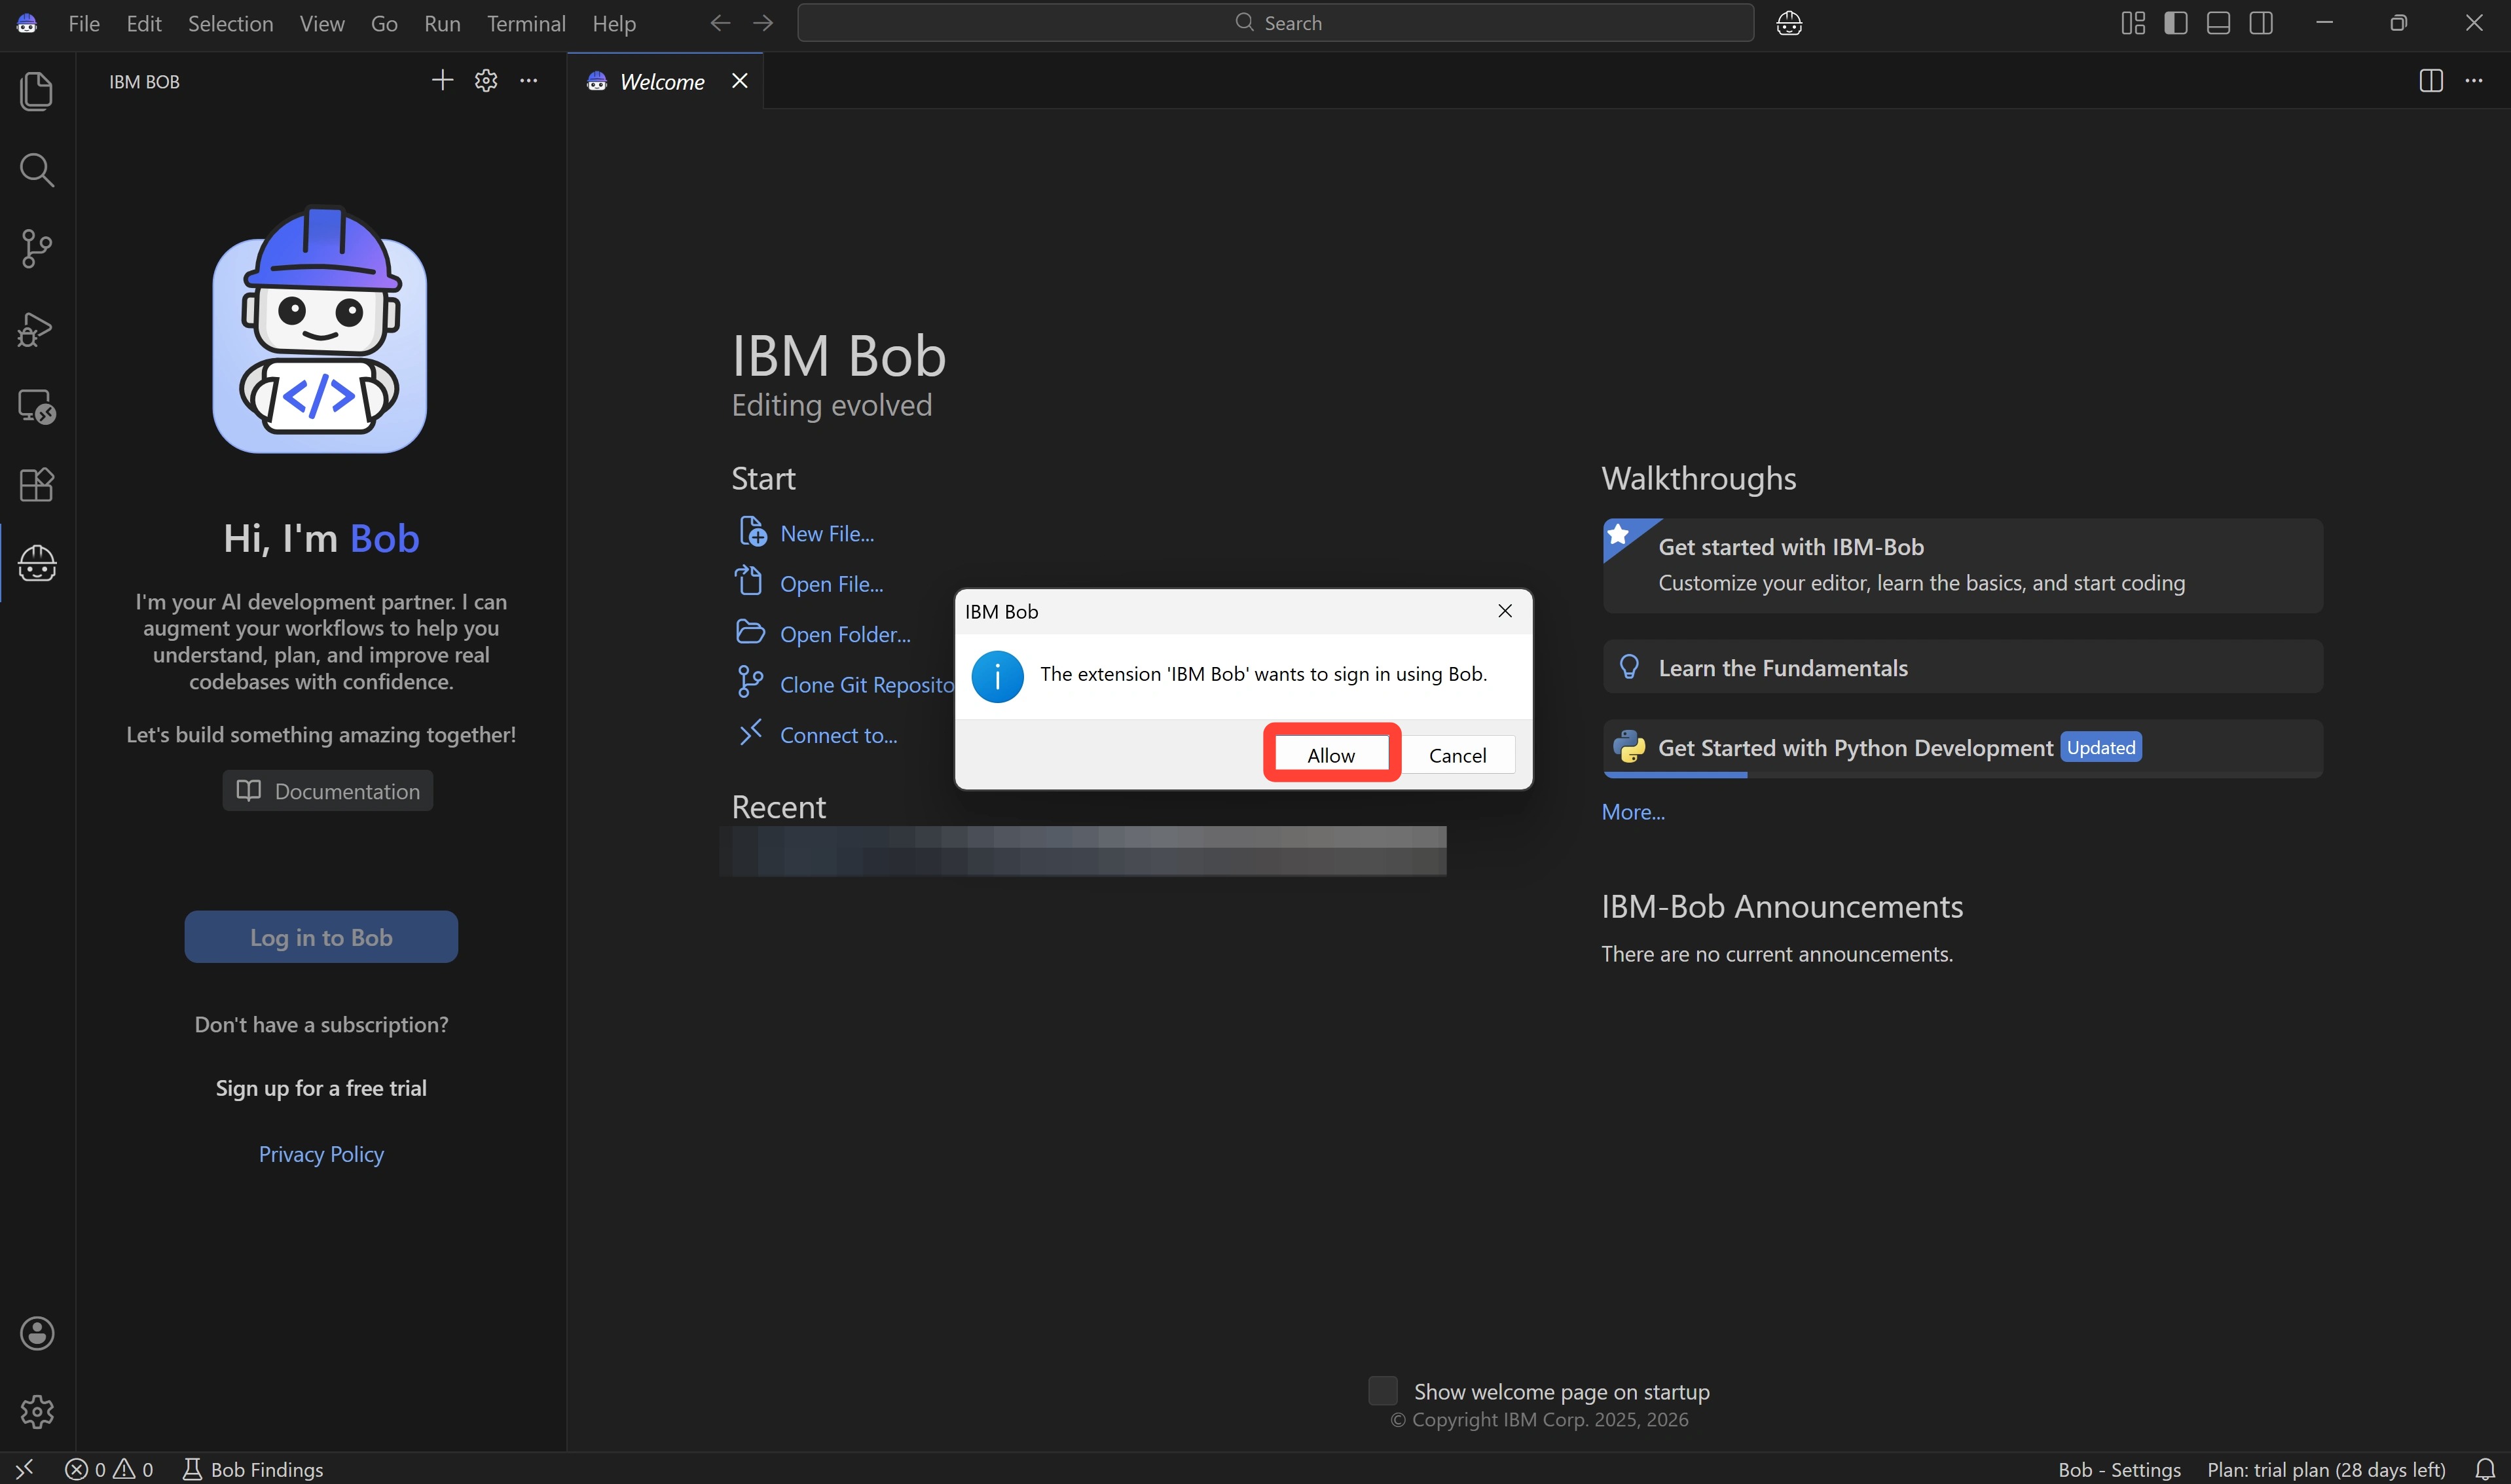
Press Allow on the pop-up window.
-
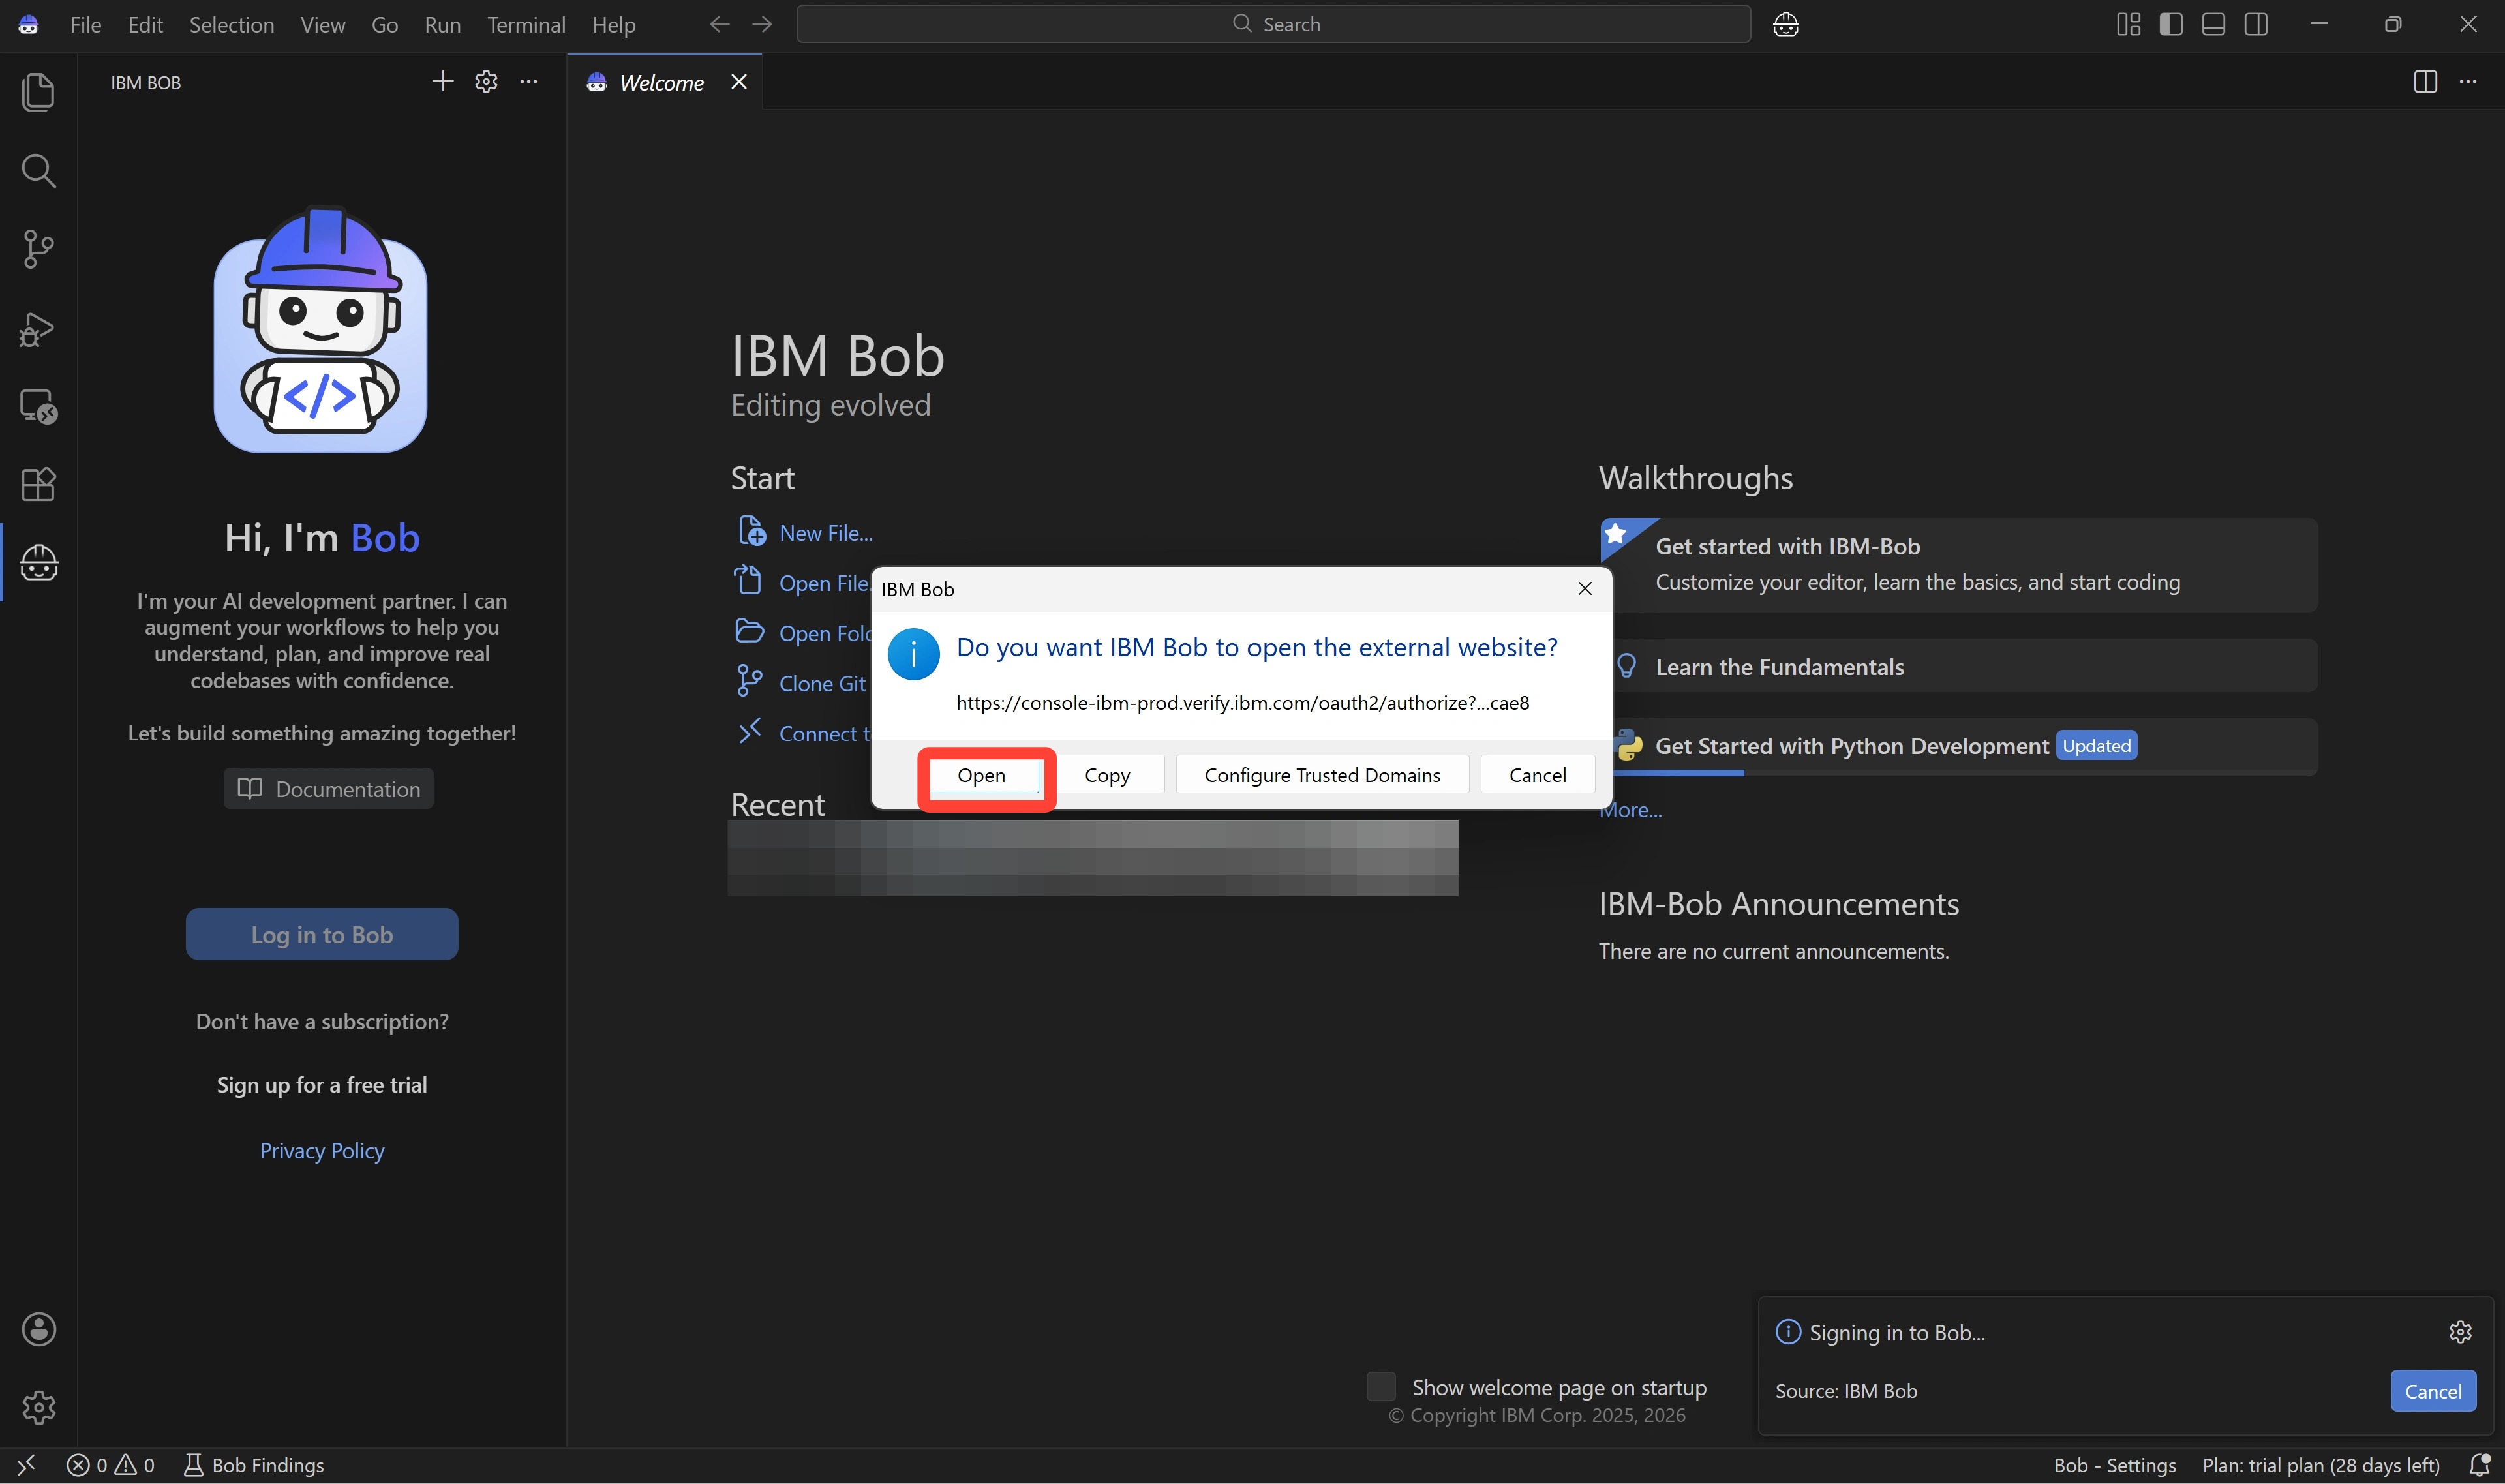
Press Open on the subsequent pop-up window.
-
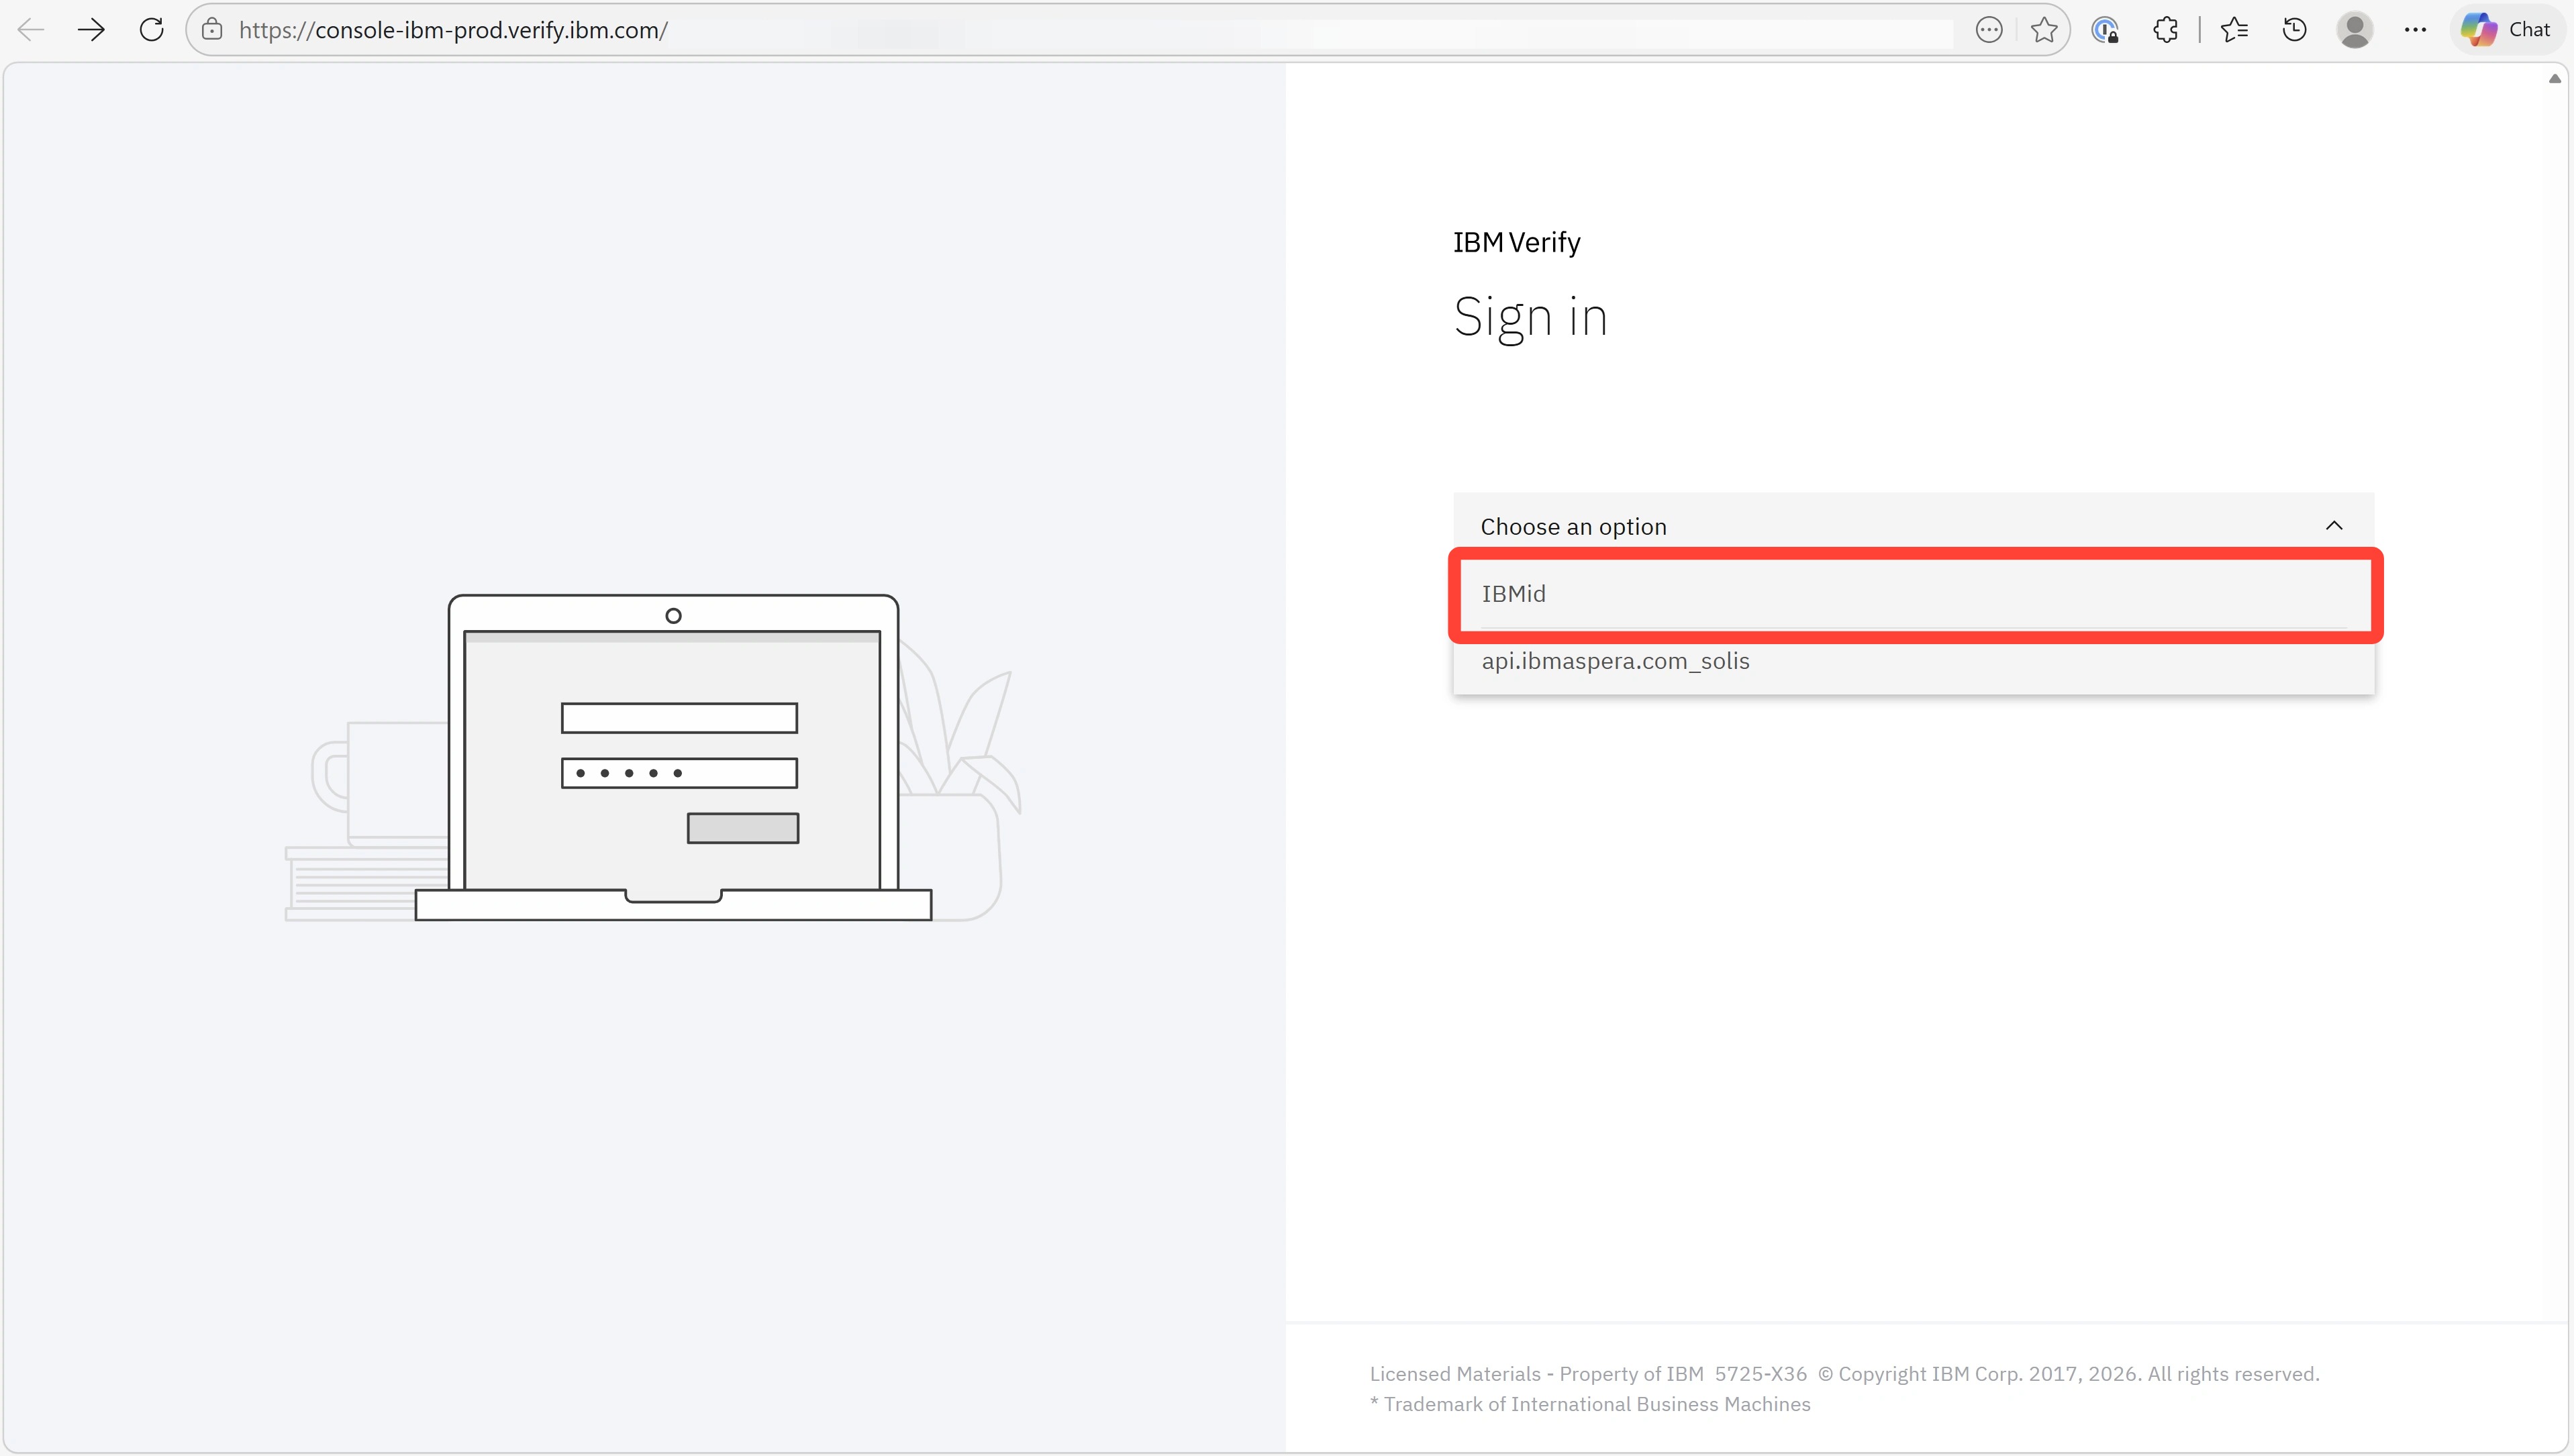
On the IBM Verify sign-in page, expand the "Choose an option" drop-down and press IBMid.
-
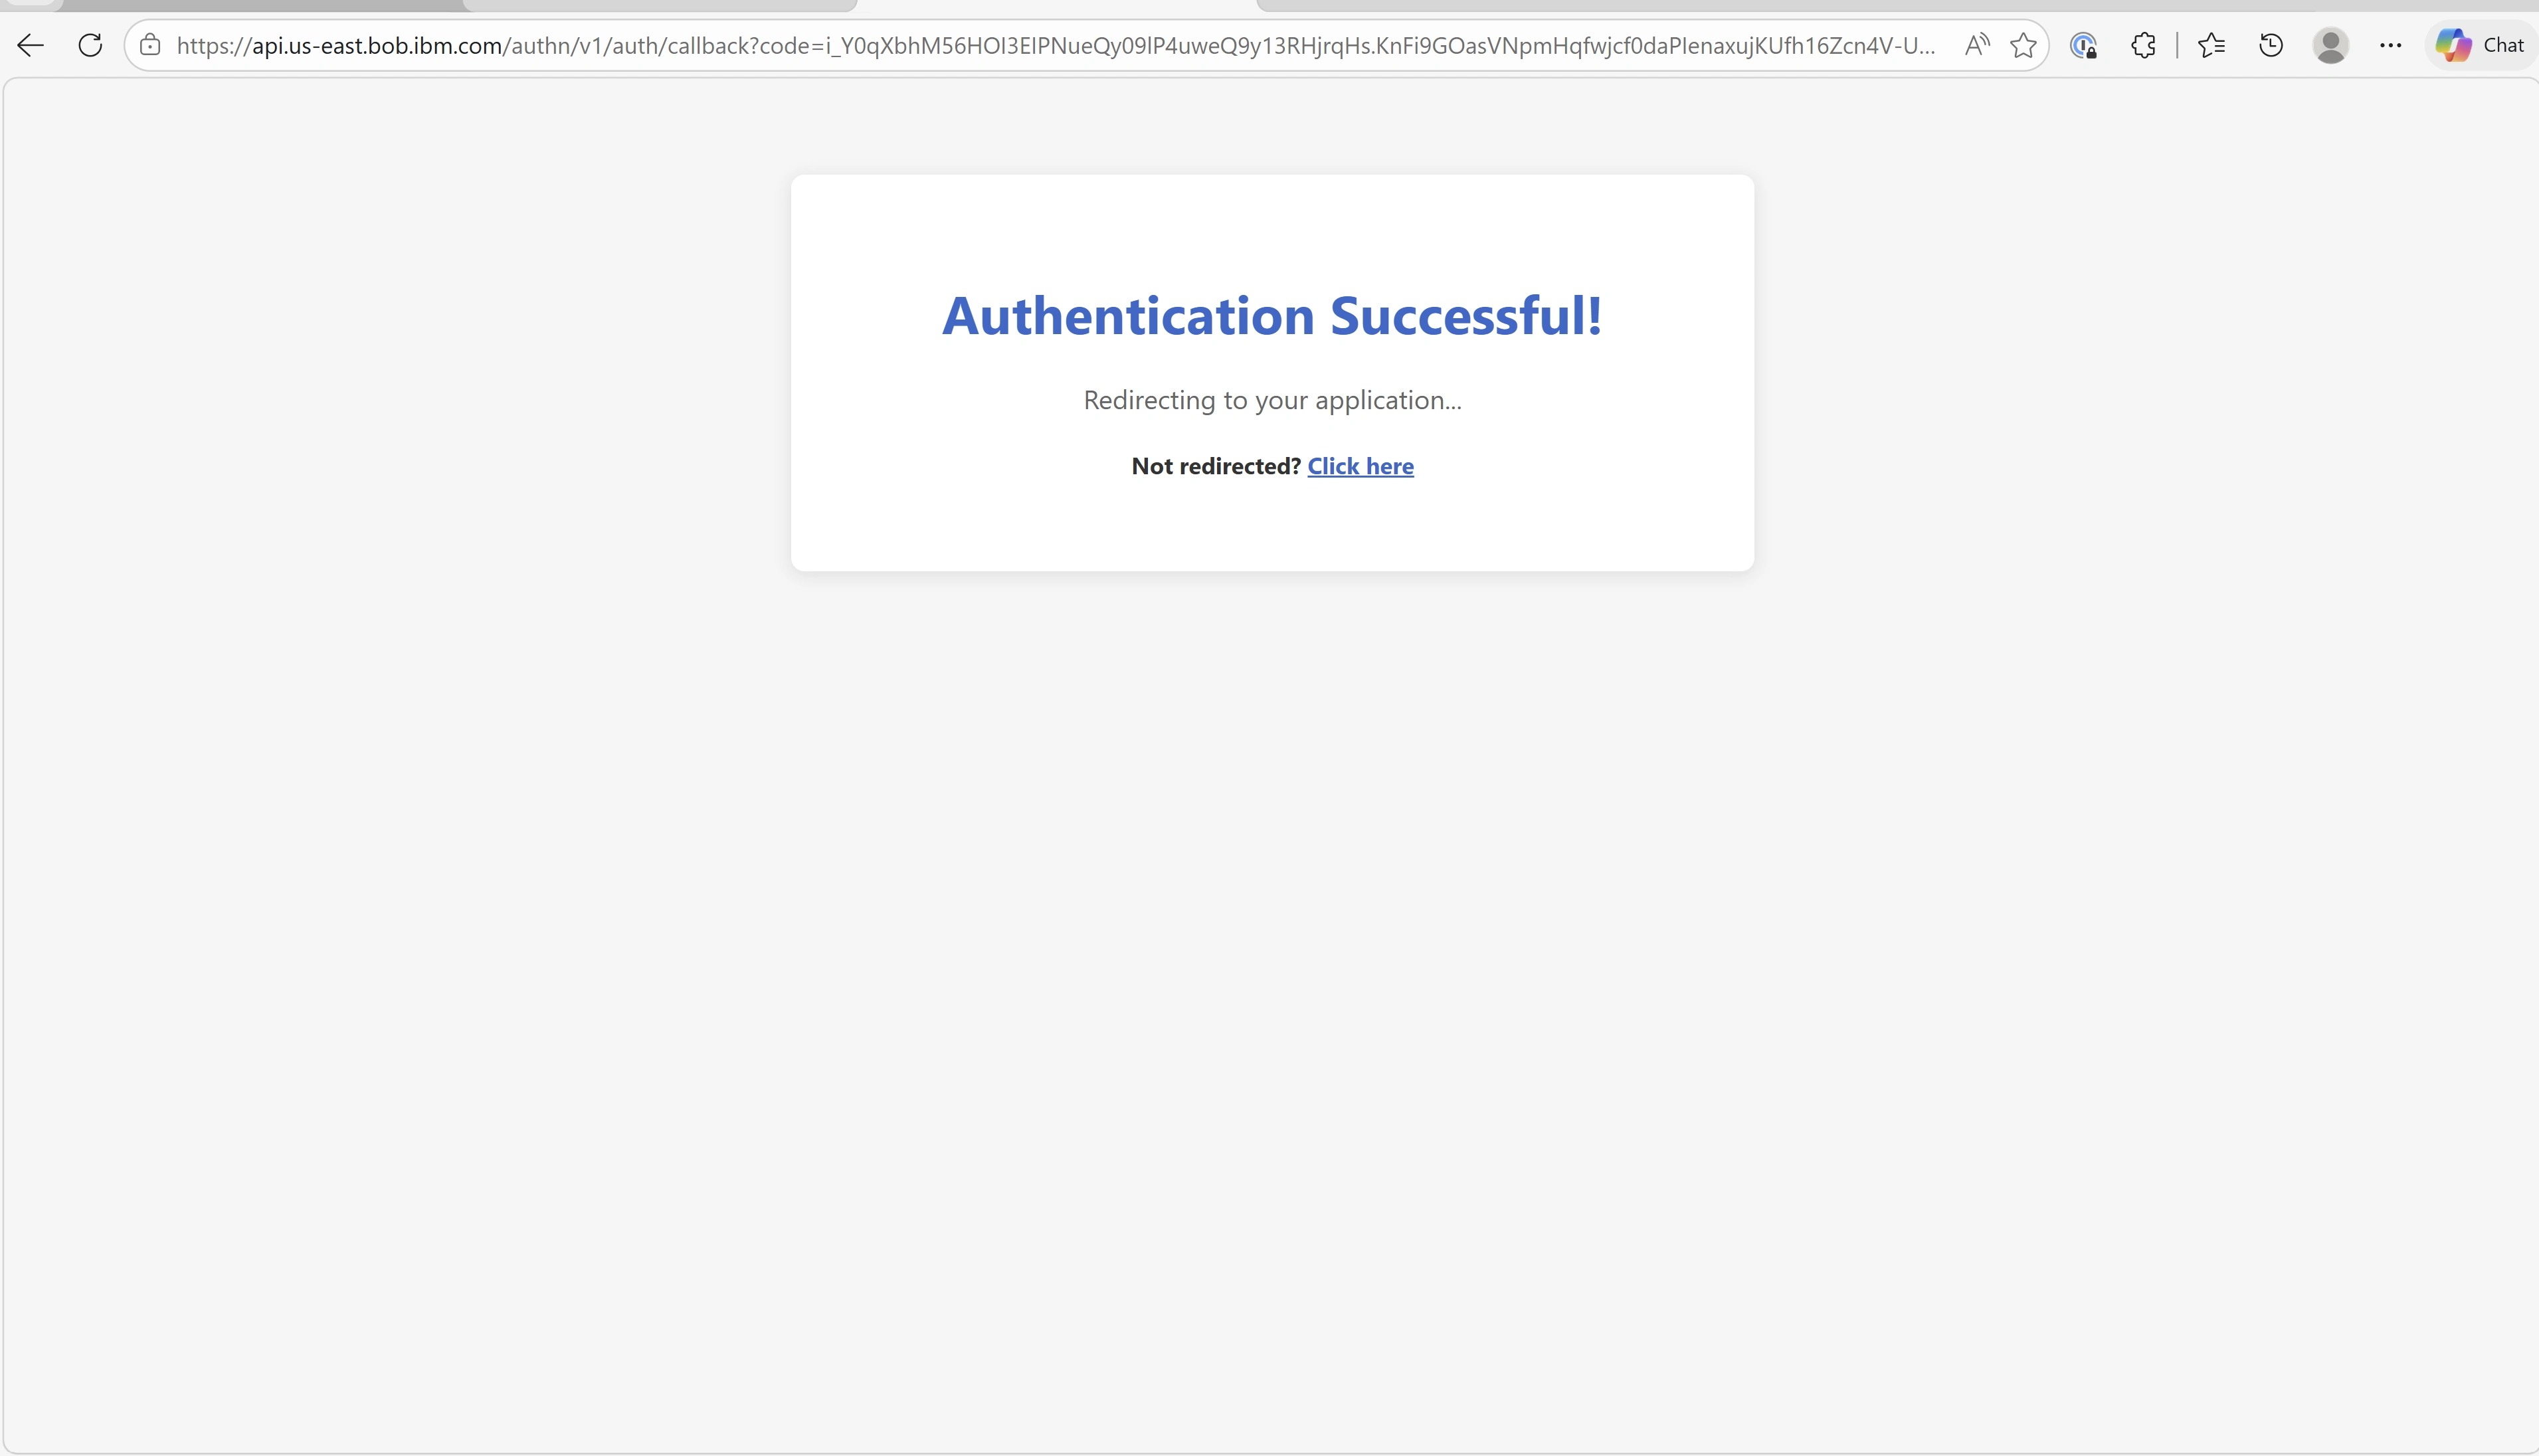
You should be redirected to an "Authentication Successful!" screen.
Afterward, return to the tab with IBM Bob open.
-
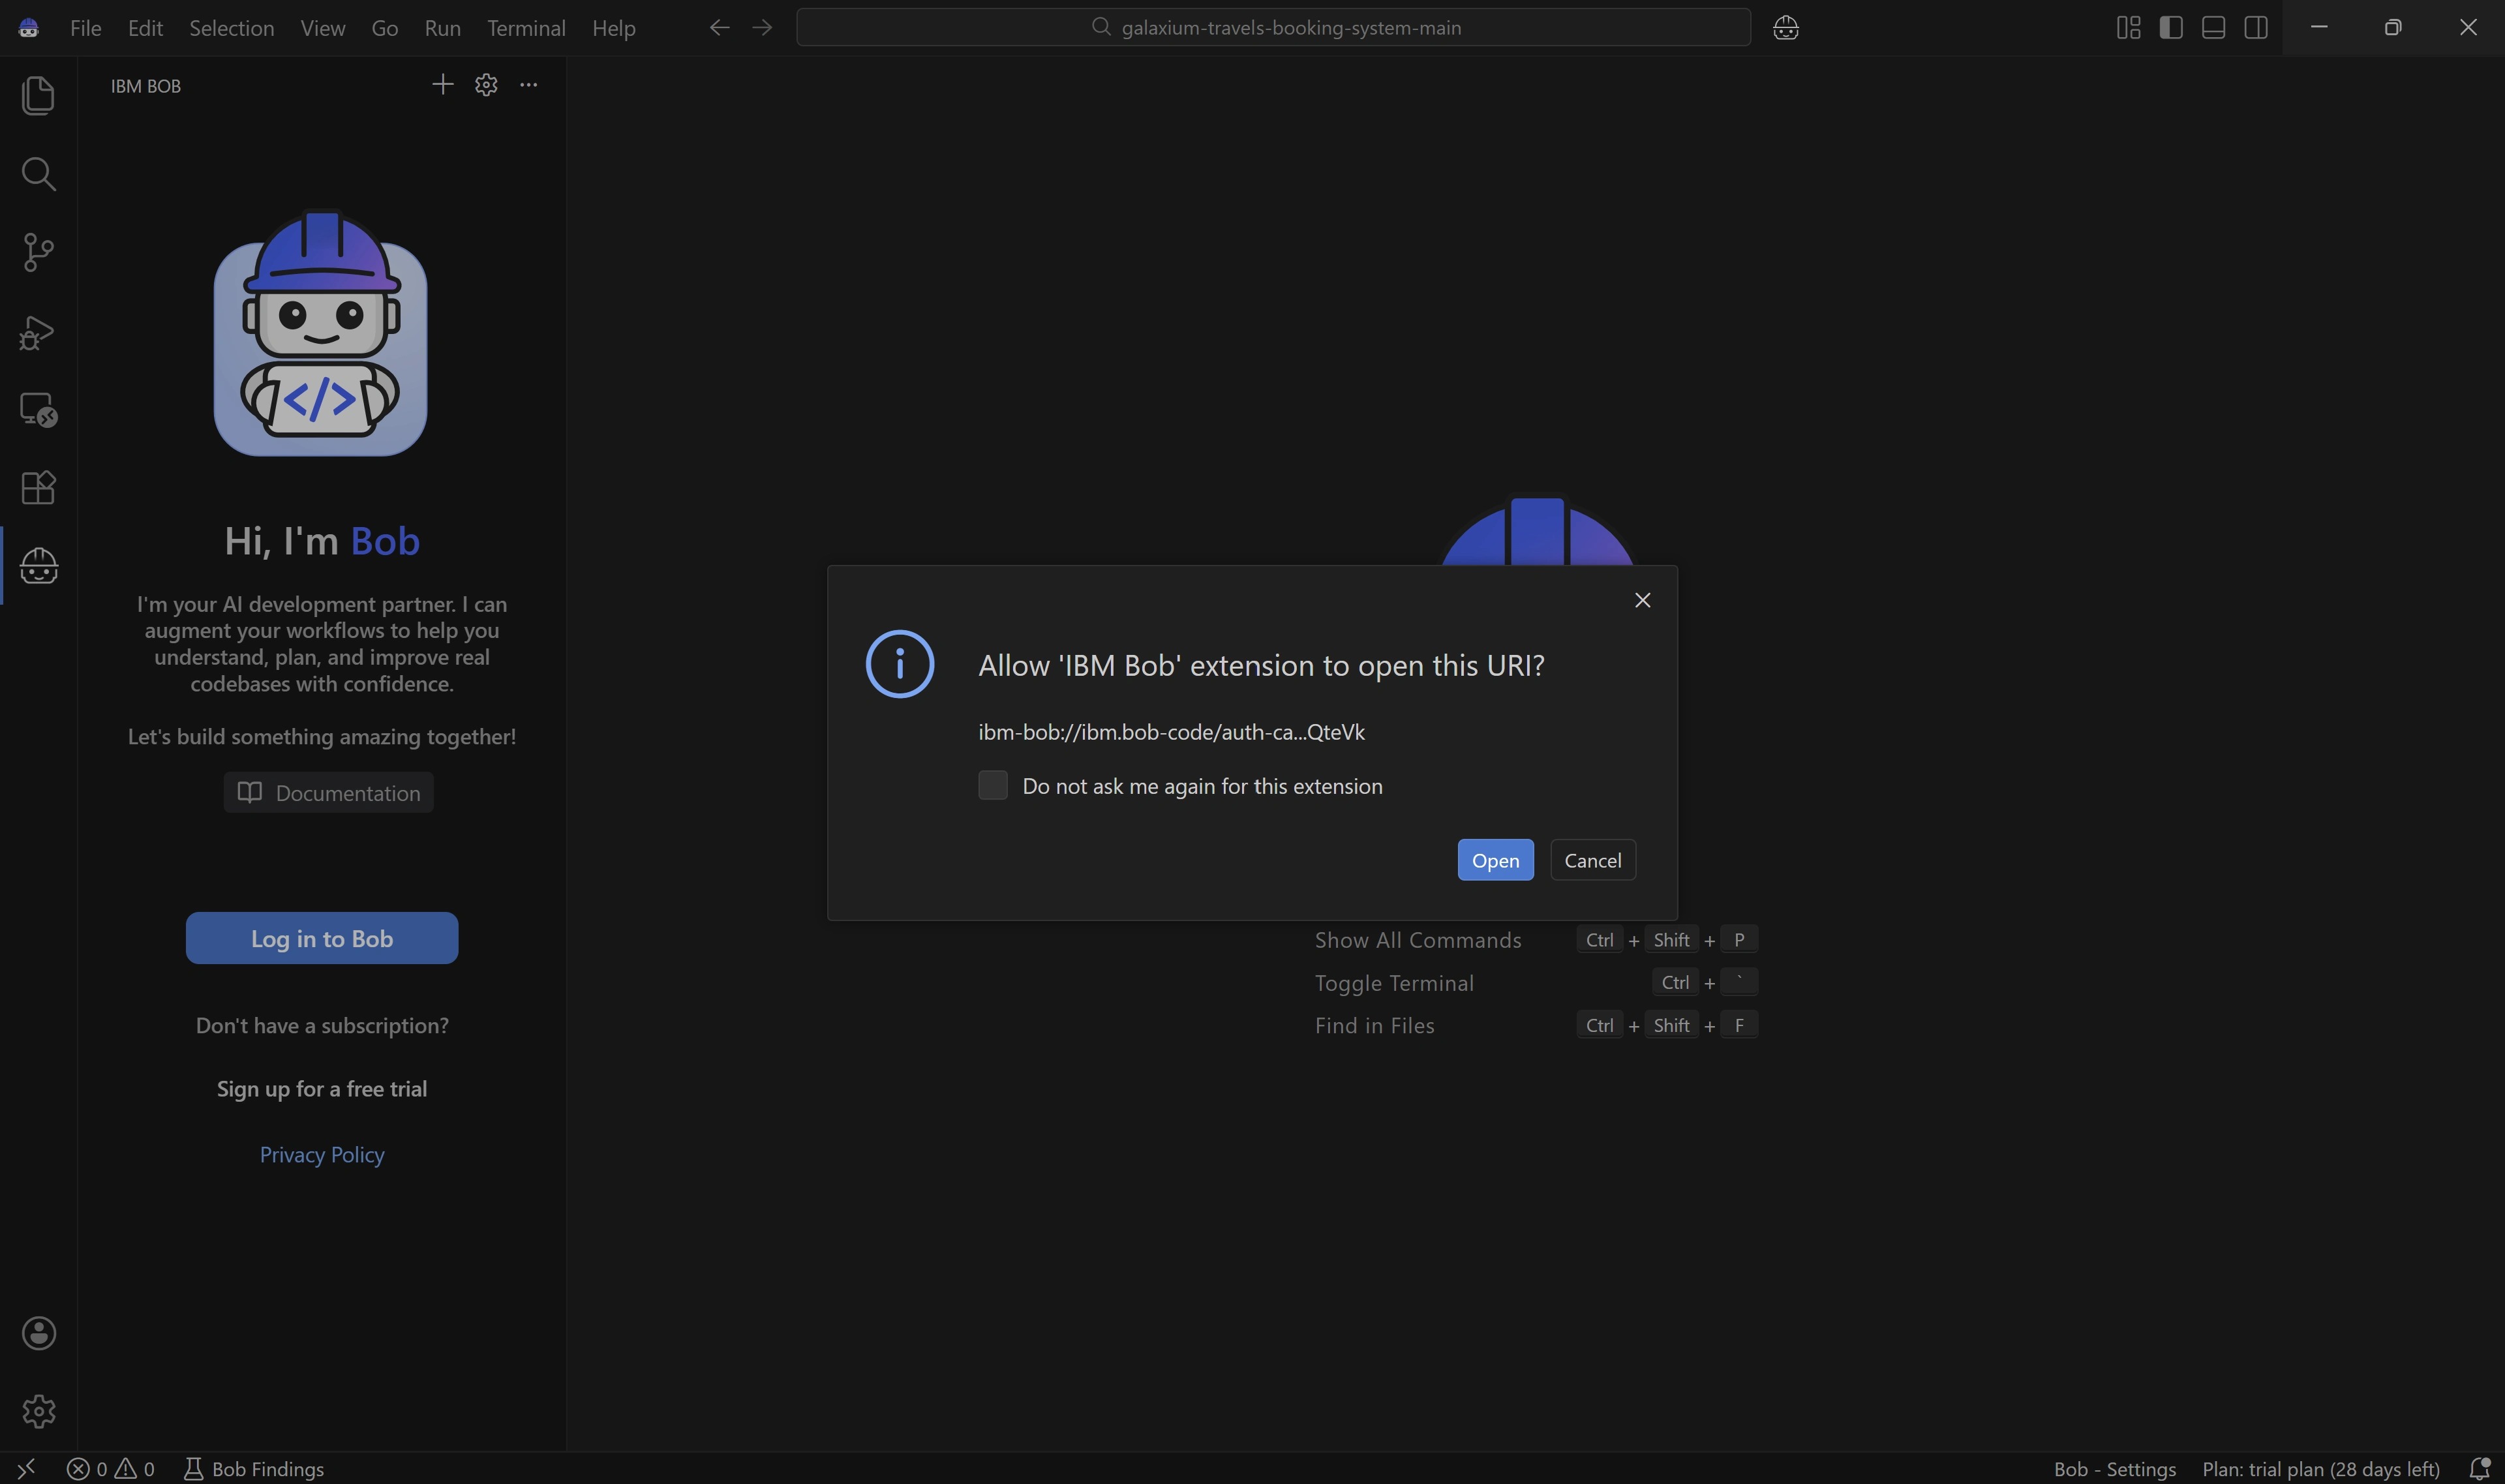
Press Open on the new window that has appeared on the IBM Bob screen.
-
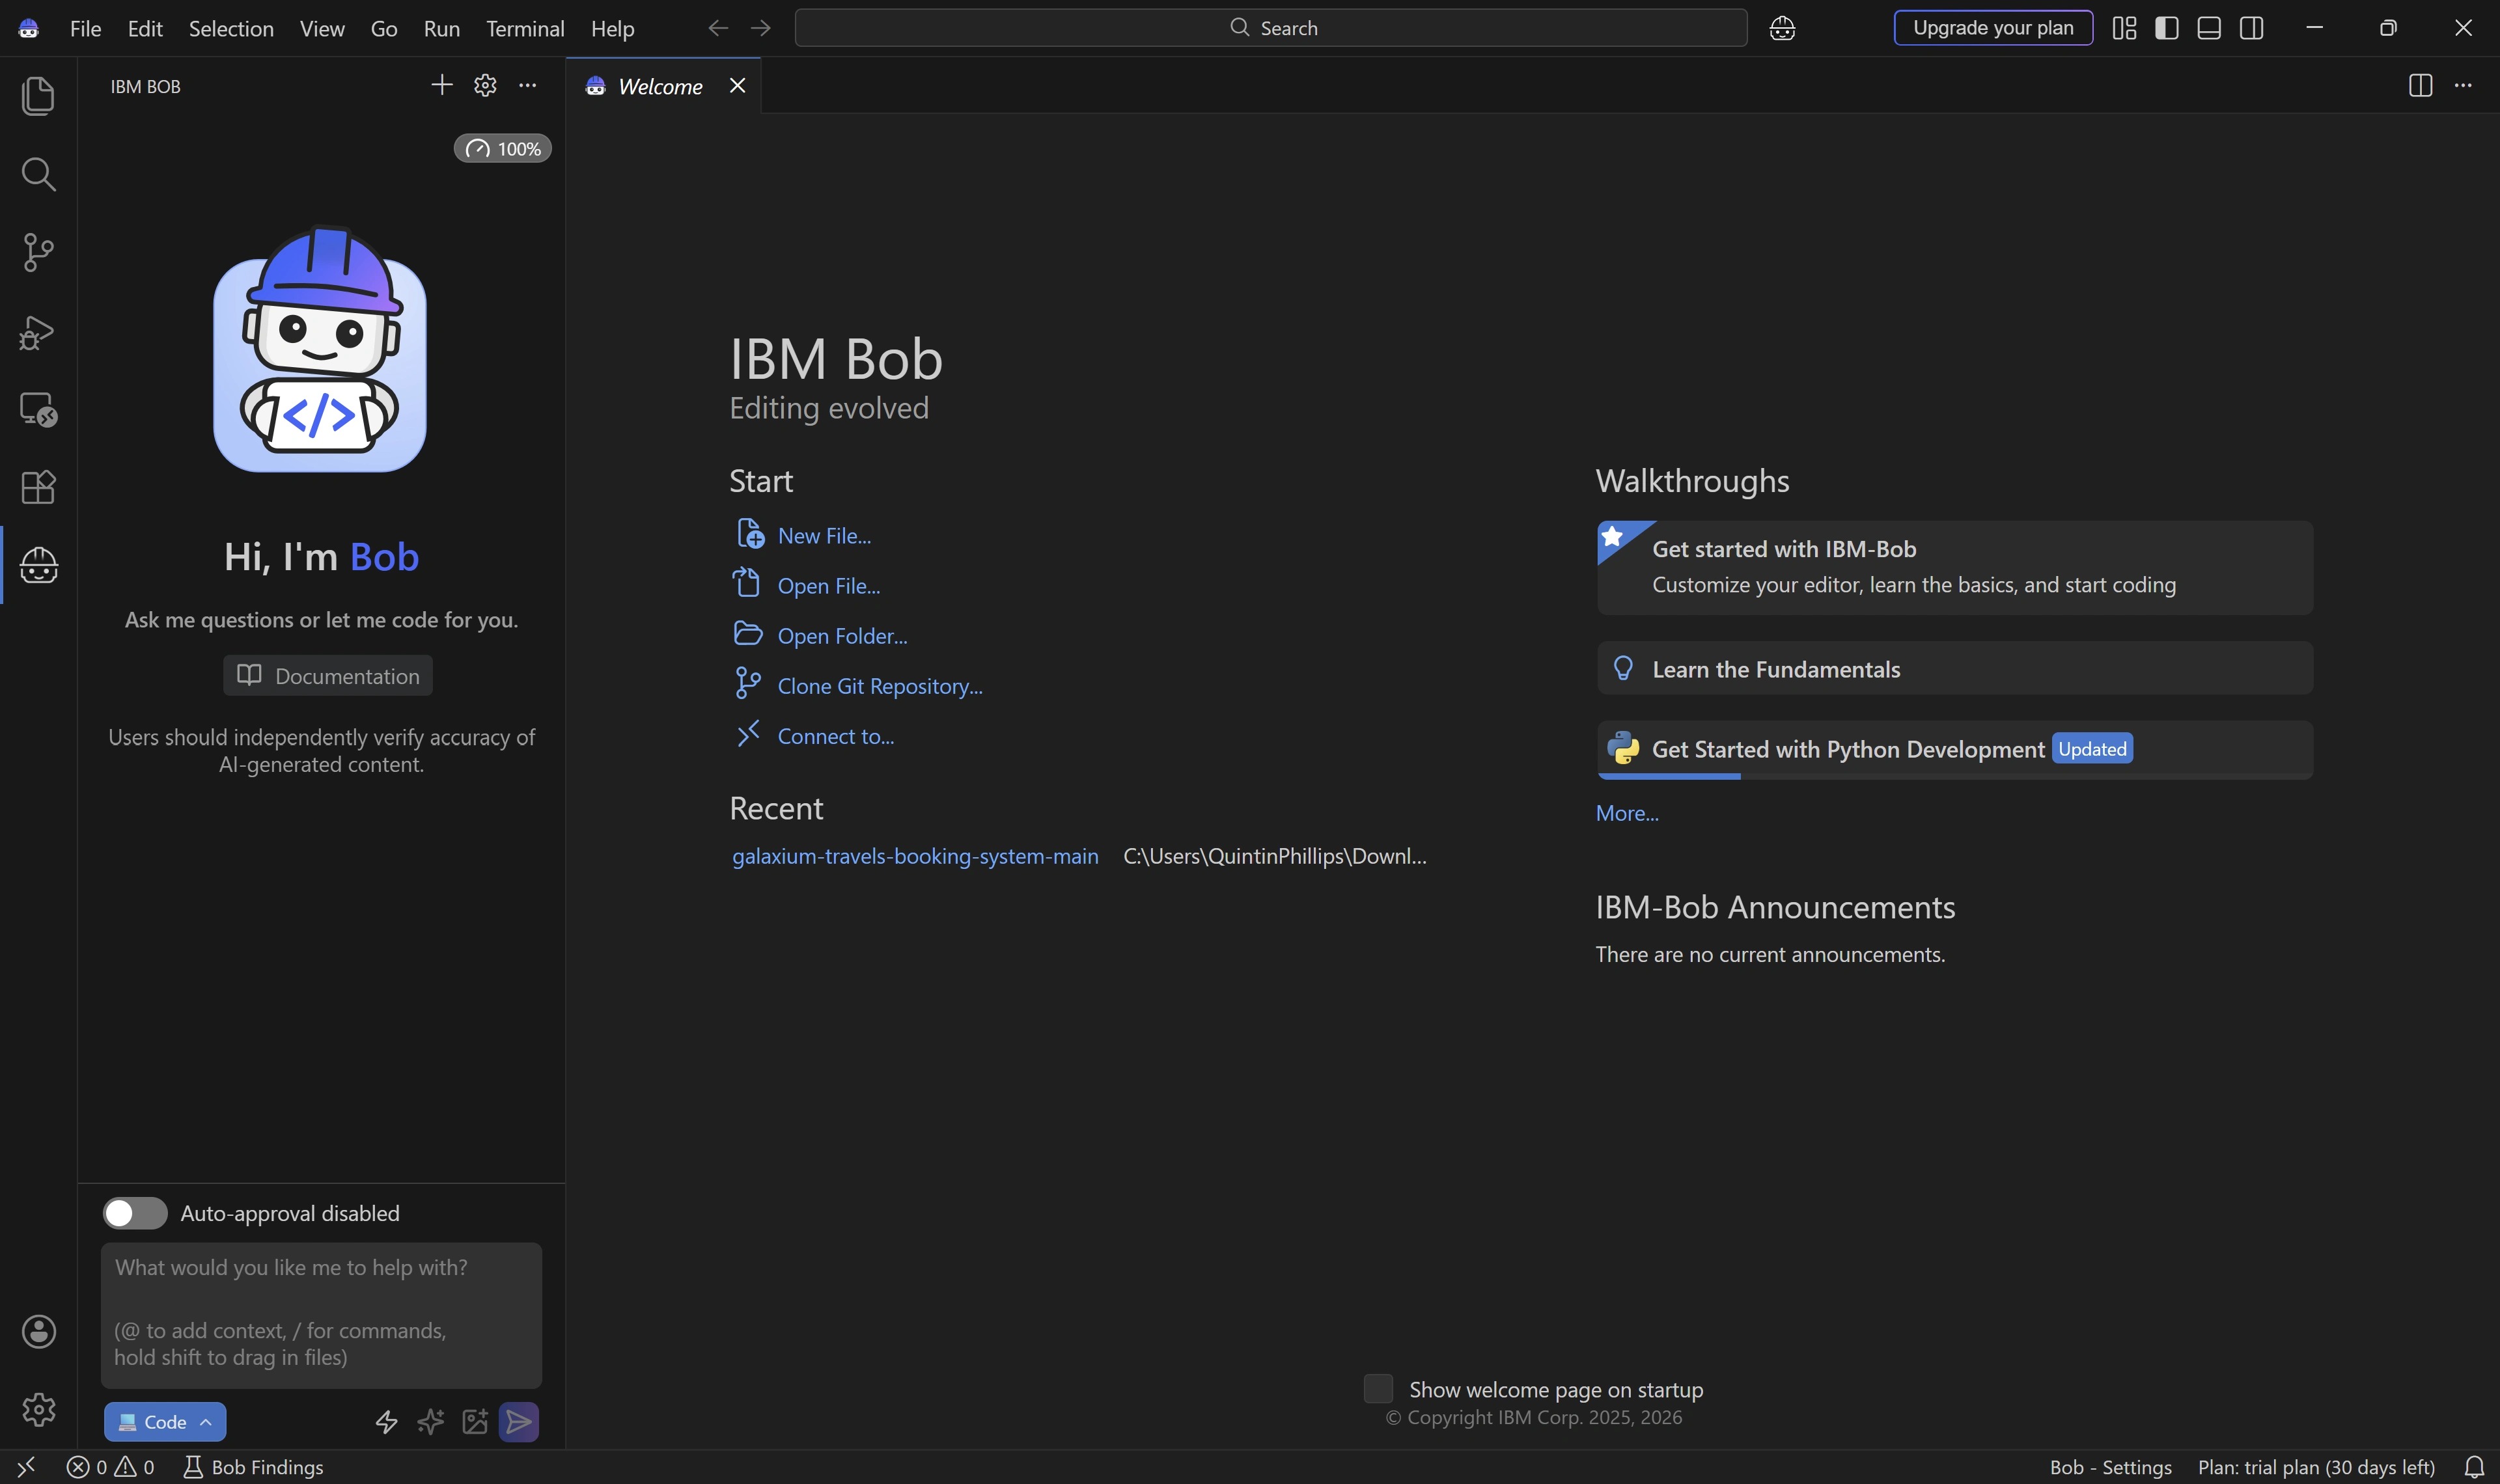
Look to the Agentic Sidebar — the window for entering prompts has opened. You have now successfully accessed your authenticated IBM Bob account.
v. Download the lab assets
With IBM Bob authenticated, the final piece of setup is a local copy of the Galaxium Travels repository — the single, production-style application that every module in this lab builds upon.
PREREQUISITES
If you do not already have them installed, you will need the following. npm is bundled with Node.js.
TROUBLESHOOTING: Node.js Installation on Windows
Some users have reported challenges with installing Node.js on Windows operating system machines, particularly with regards to admin-level system access. Should you encounter such difficulties, try the following instructions within a PowerShell or VS Code terminal console:
-
Set the policy (if it asks Y/N, type Y and Enter):
-
Install Scoop:
-
Install Node:
-
Verify that Node.js is now installed and operational:
-
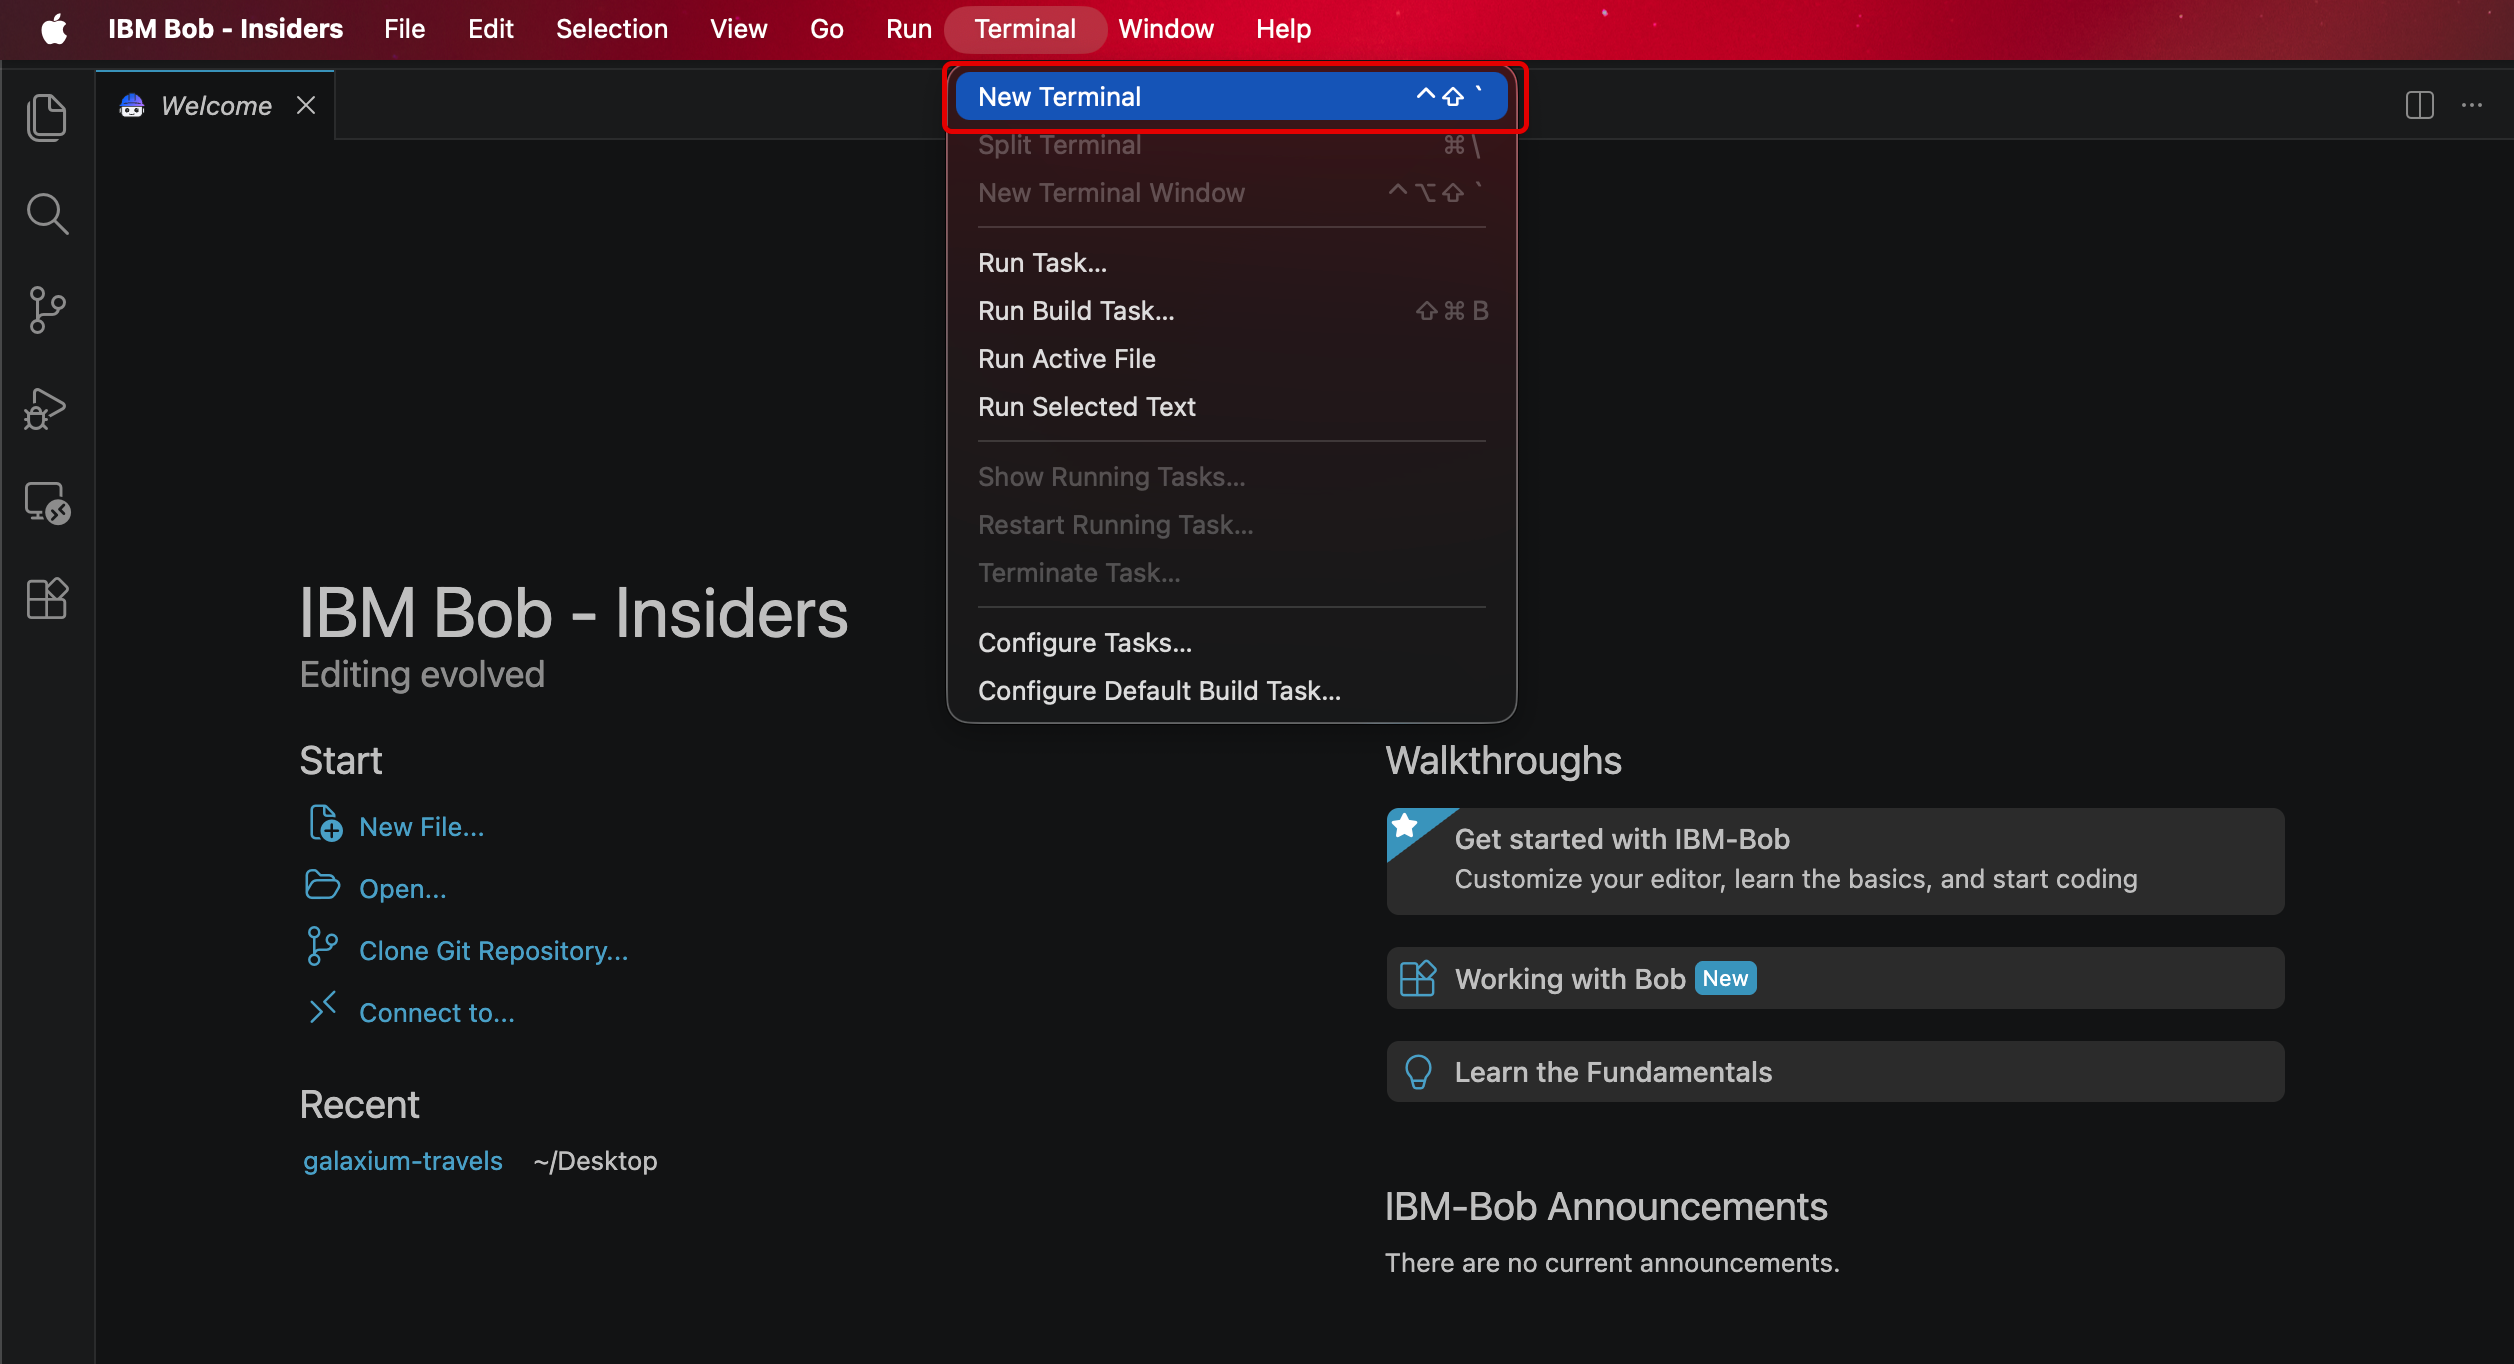
Open a Terminal window by clicking Terminal > New Terminal from the menu at the top of the interface, or press Ctrl+Shift+` as a shortcut.
Before executing this instruction to clone the repository to your machine, you may want to use the
cdcommand to move the Terminal pointer to a more familiar, readily accessible directory (e.g.cd Desktop).Copy and paste the following command into the Terminal console:
Press Enter to clone the GitHub repository to your local machine. To view the contents within a Finder window, execute
open .within the Terminal console.TROUBLESHOOTING: Unable to access GitHub
If you are unable to clone the repository from GitHub, or want to skip linking your personal GitHub account to the IBM enterprise GitHub organization, you can download and extract the same assets from Seismic:
URL: https://ibm.seismic.com/Link/Content/DCbdPFH42h9bp8HC9RH3jT6HWCCj
-
Next, move into the
galaxium-travelsdirectory by copying & pasting into the Terminal console the command that matches your operating system, then press Enter to execute: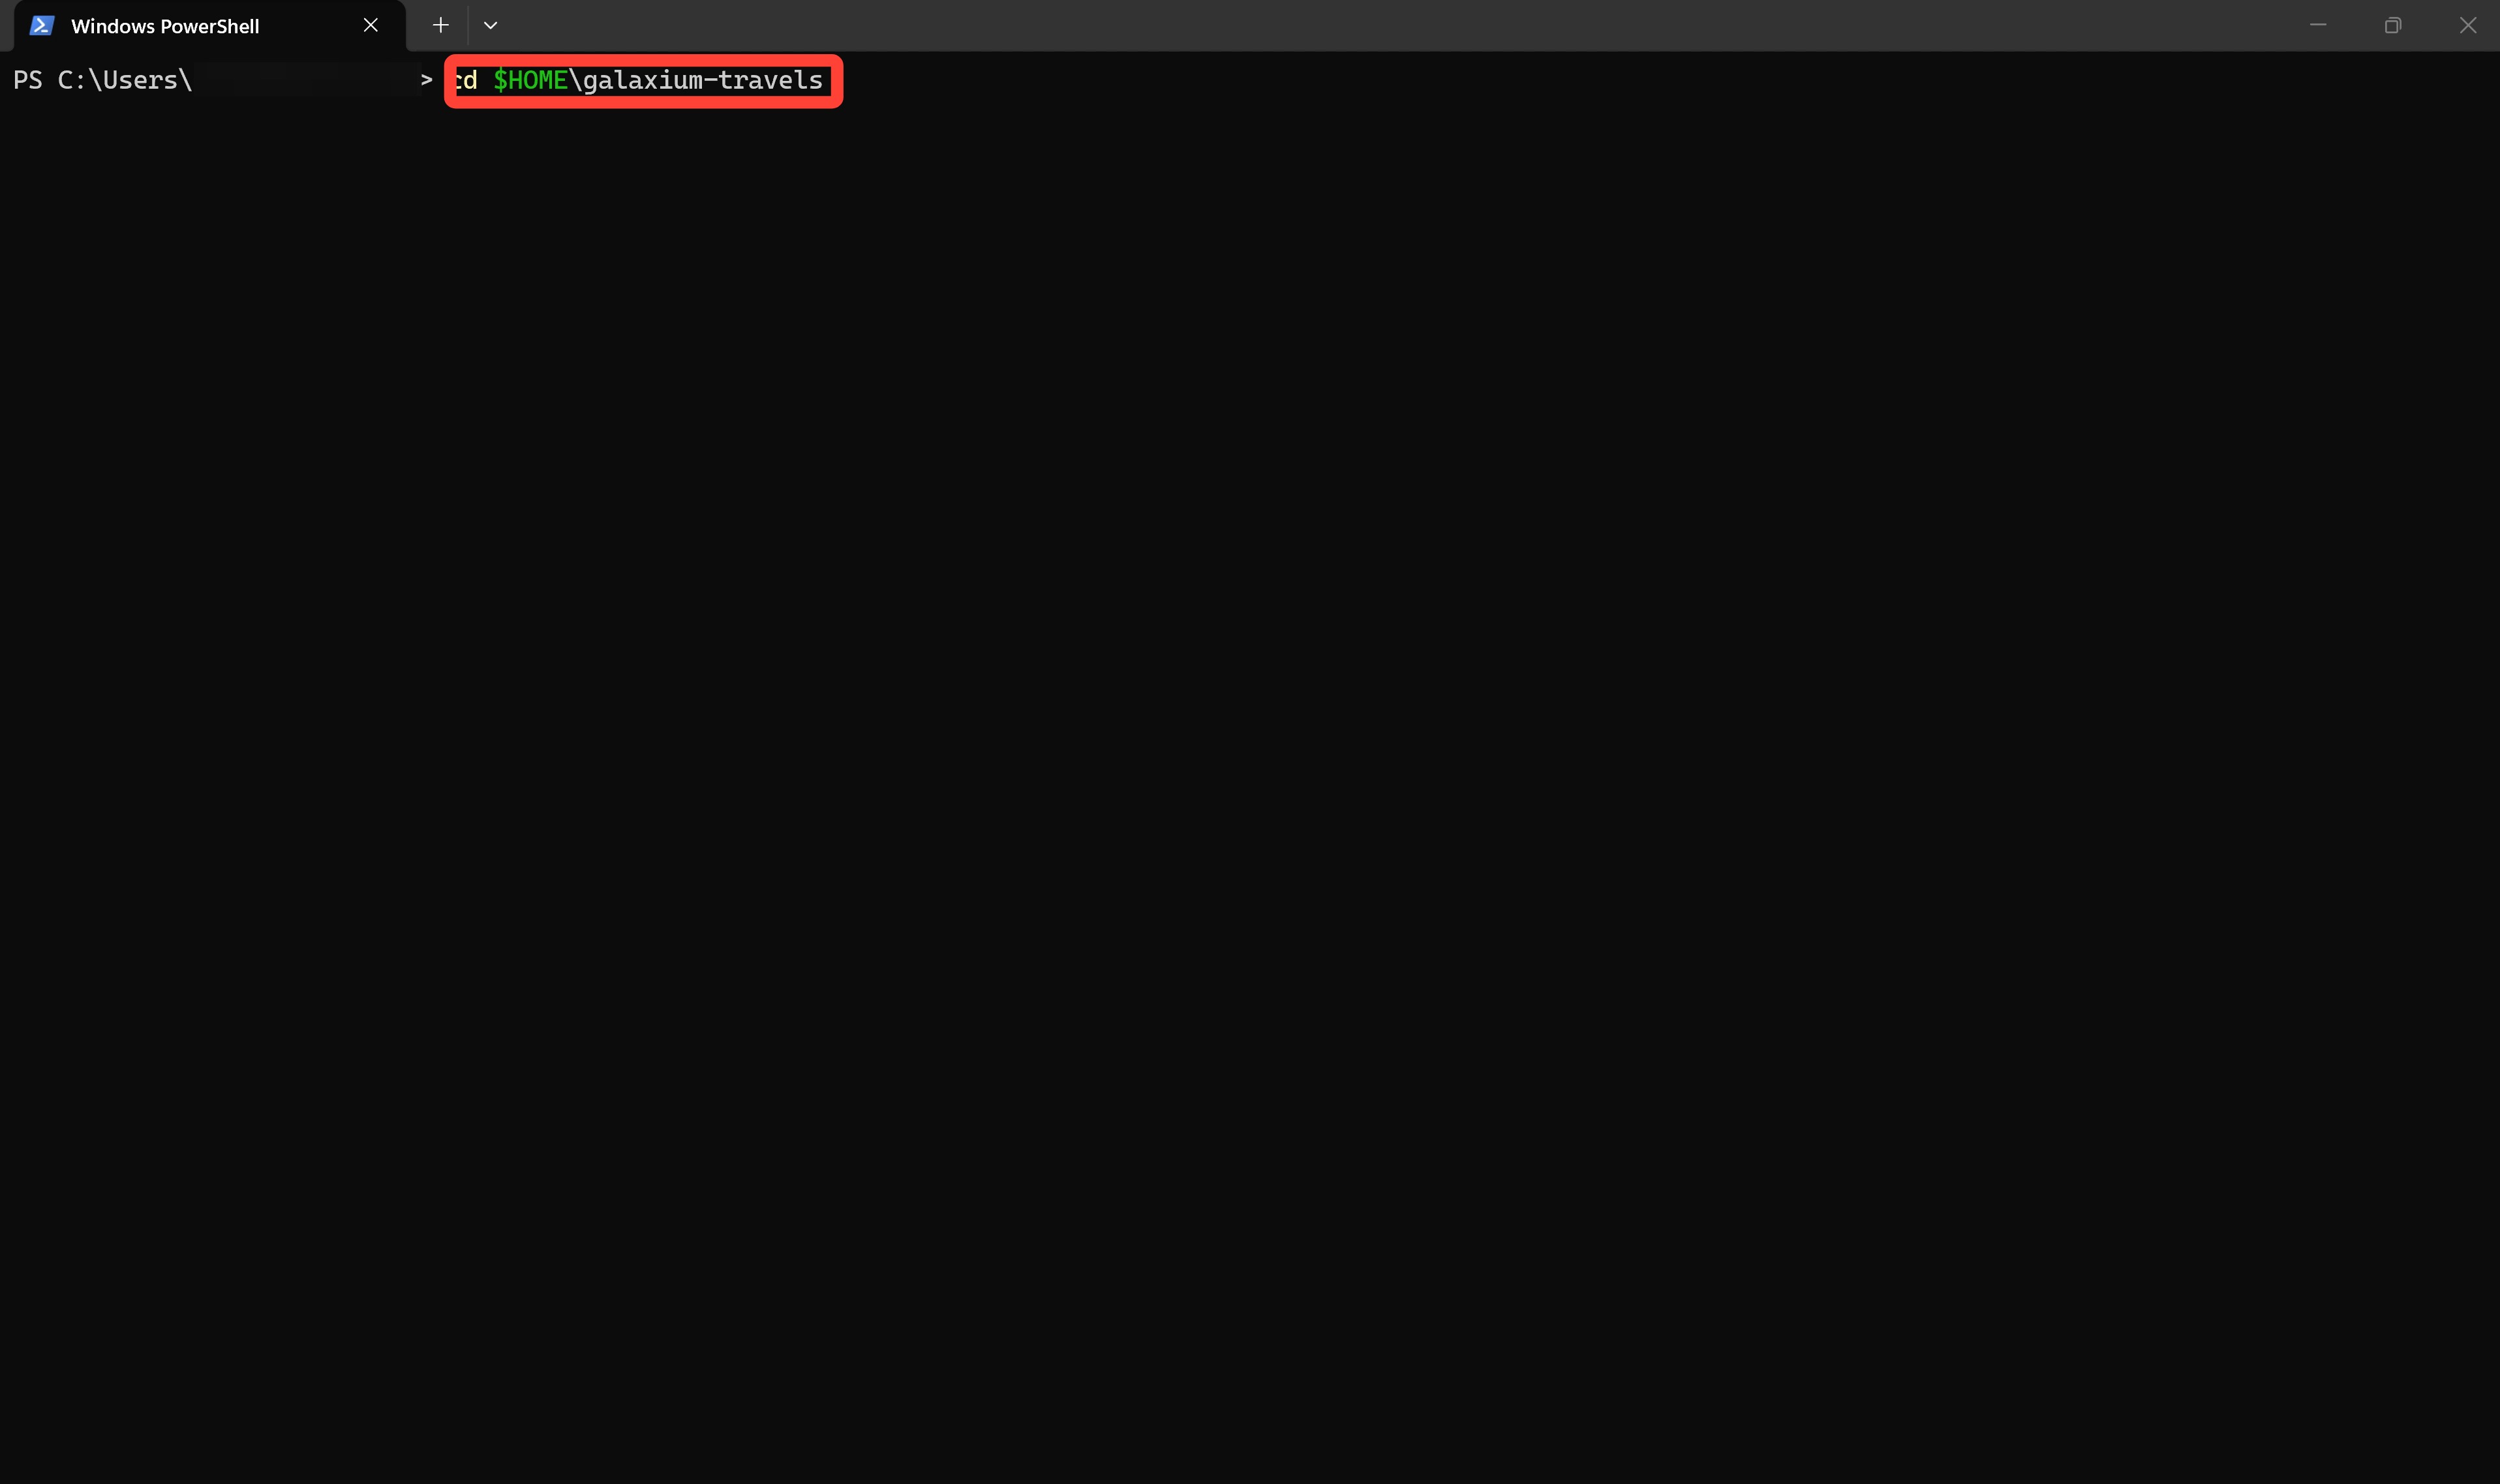
vi. Launch the application
The commands to be issued to the Terminal console, in order to start the Galaxium Travels application, vary according to the operating system your machine is running upon.
From the expandable options below, follow and execute the instructions aligned to your machine's OS (either Mac/Linux or Windows). After completing the instructions within the appropriate tab, proceed to the next step in the lab guide.
MAC OR LINUX
Starting the application on macOS and Linux is straightforward: a single script brings up both the backend and the frontend.
-
Within the Terminal, copy and paste the following start-up script and press Enter to execute:
ONE-LINE STARTUP NOT WORKING? (MANUAL PROCESS)
Execute each command separately, opening a new Terminal window where directed (for the frontend start-up).
Start the backend:
cd booking_system_backend
python -m venv .venv
source .venv/bin/activate  # On Windows: .venv\Scripts\activate
pip install -r requirements.txt
python server.py
Start the frontend (in a new Terminal window):
-
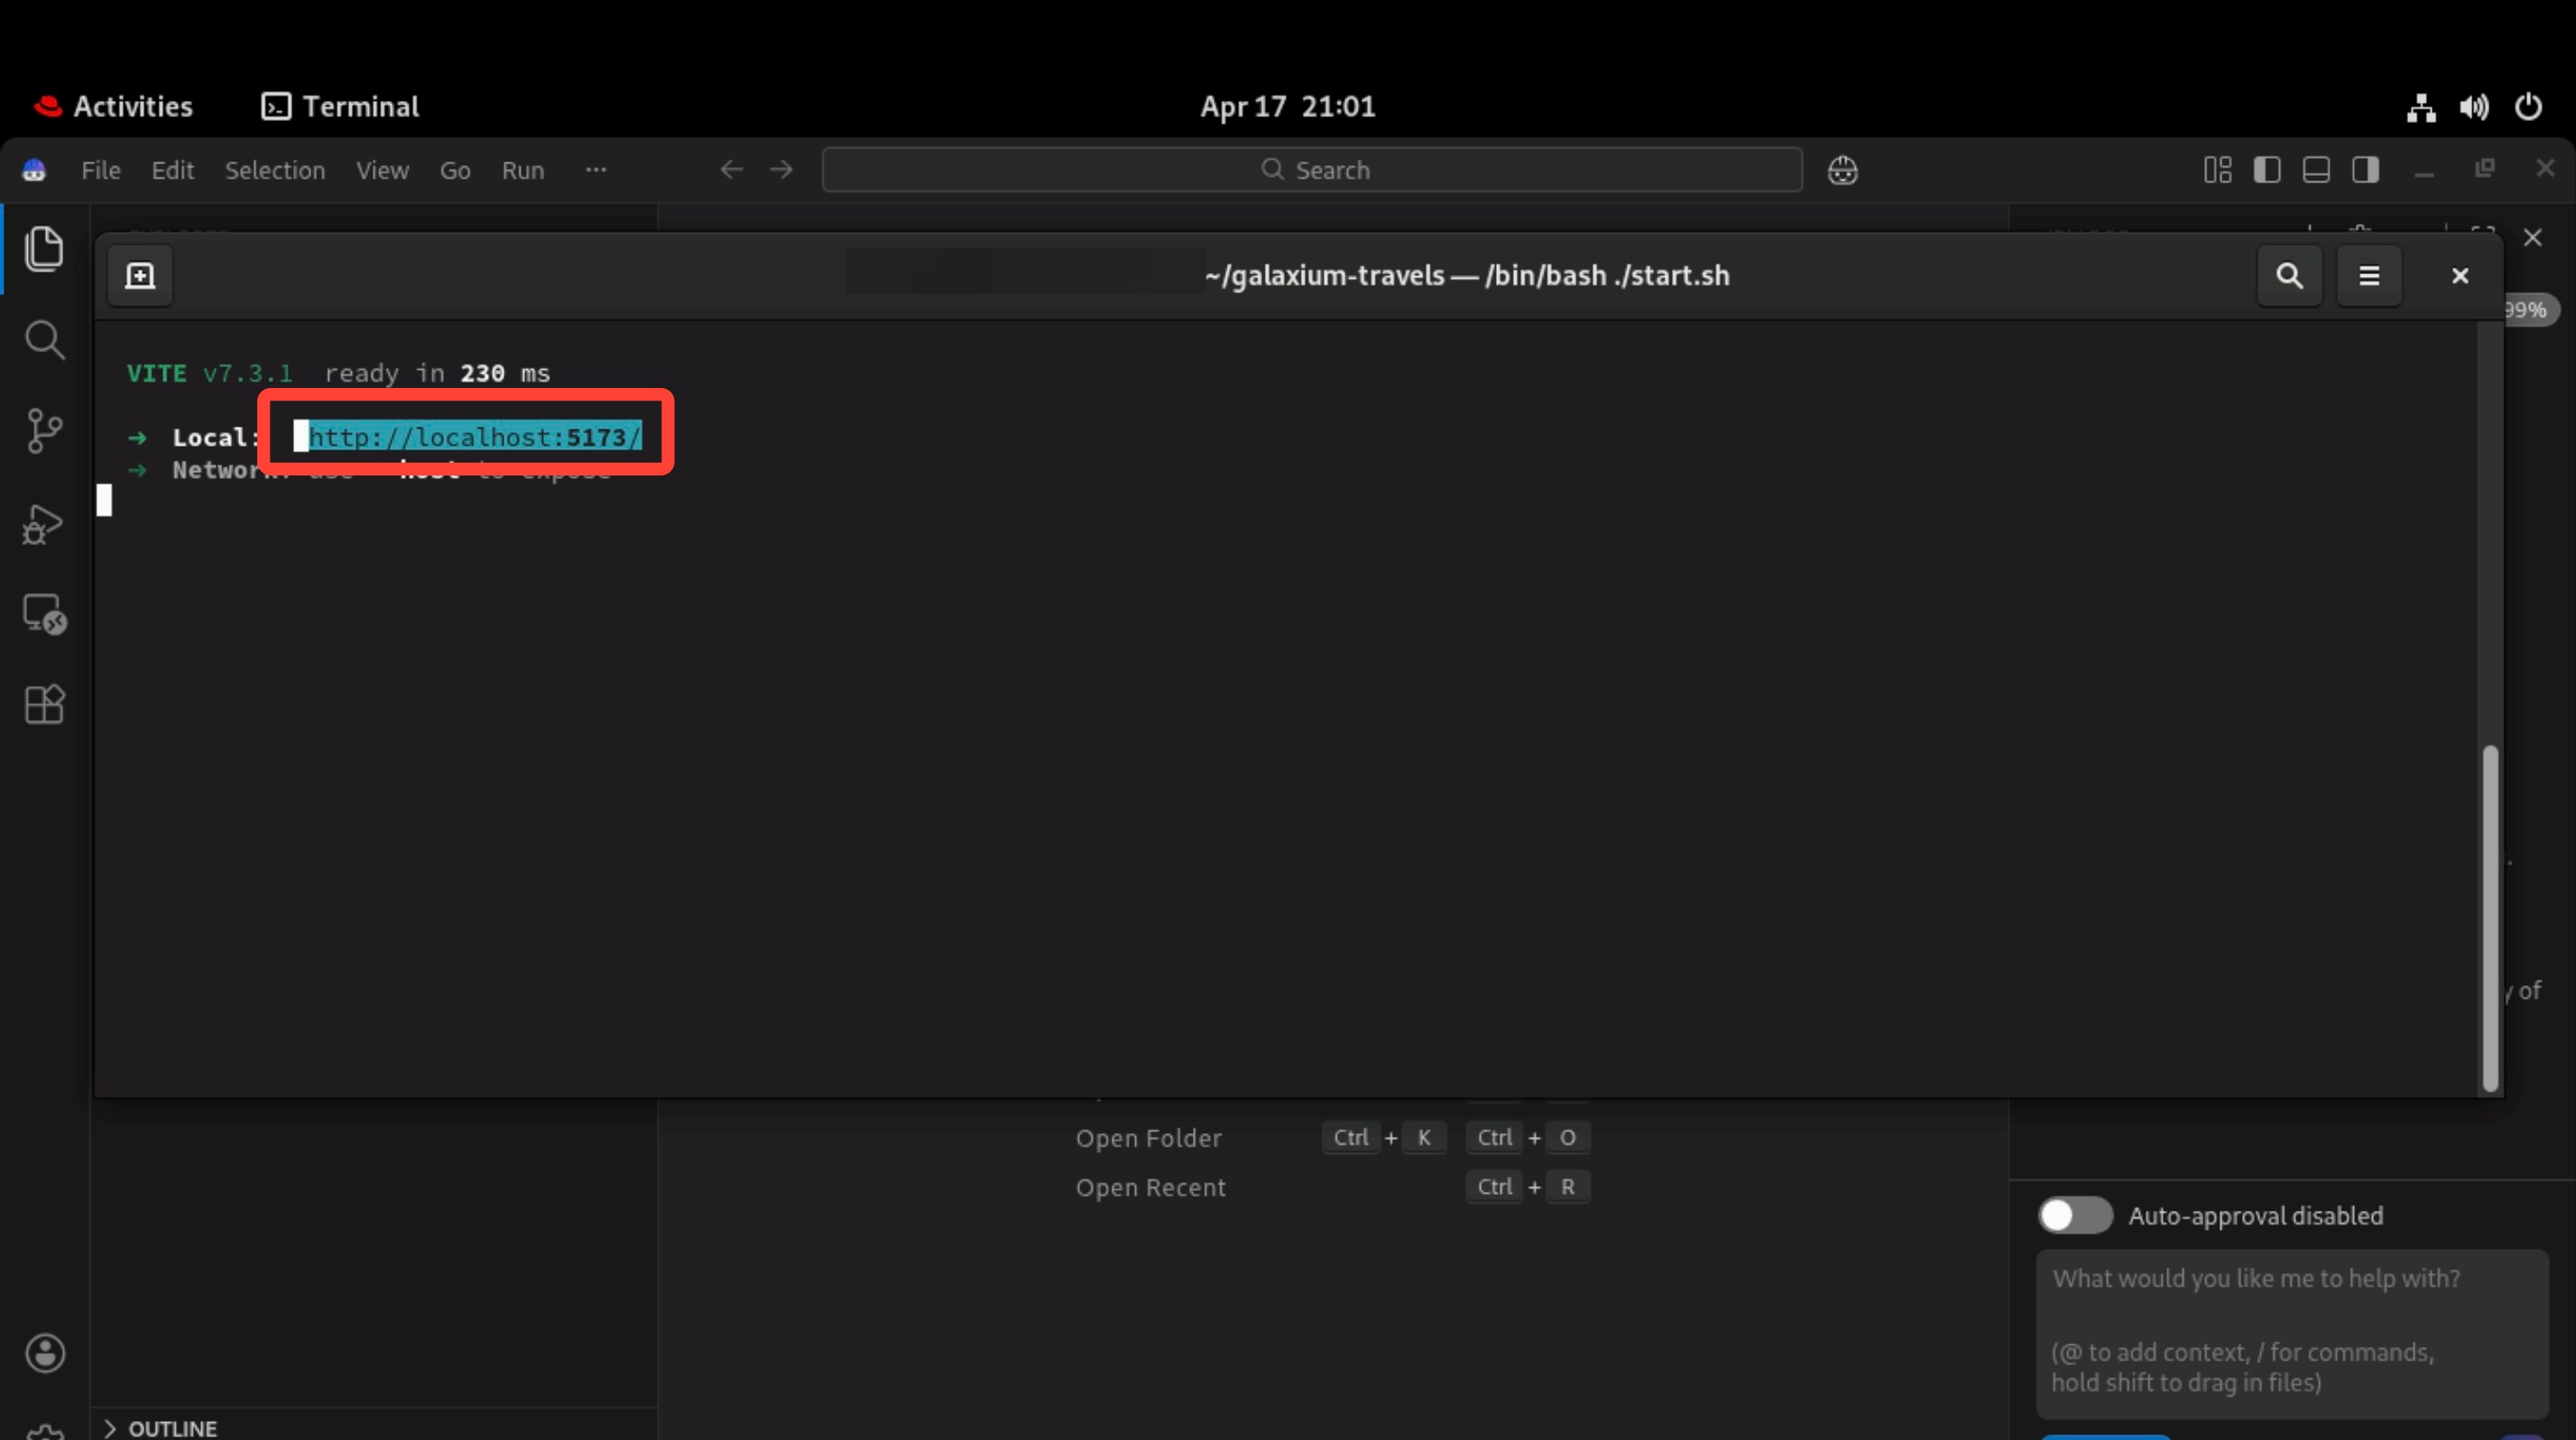
The app has started successfully. To reach the frontend, copy the local URL it reports — it should resemble the following address:
WEB BROWSER
http://localhost:5173/
-
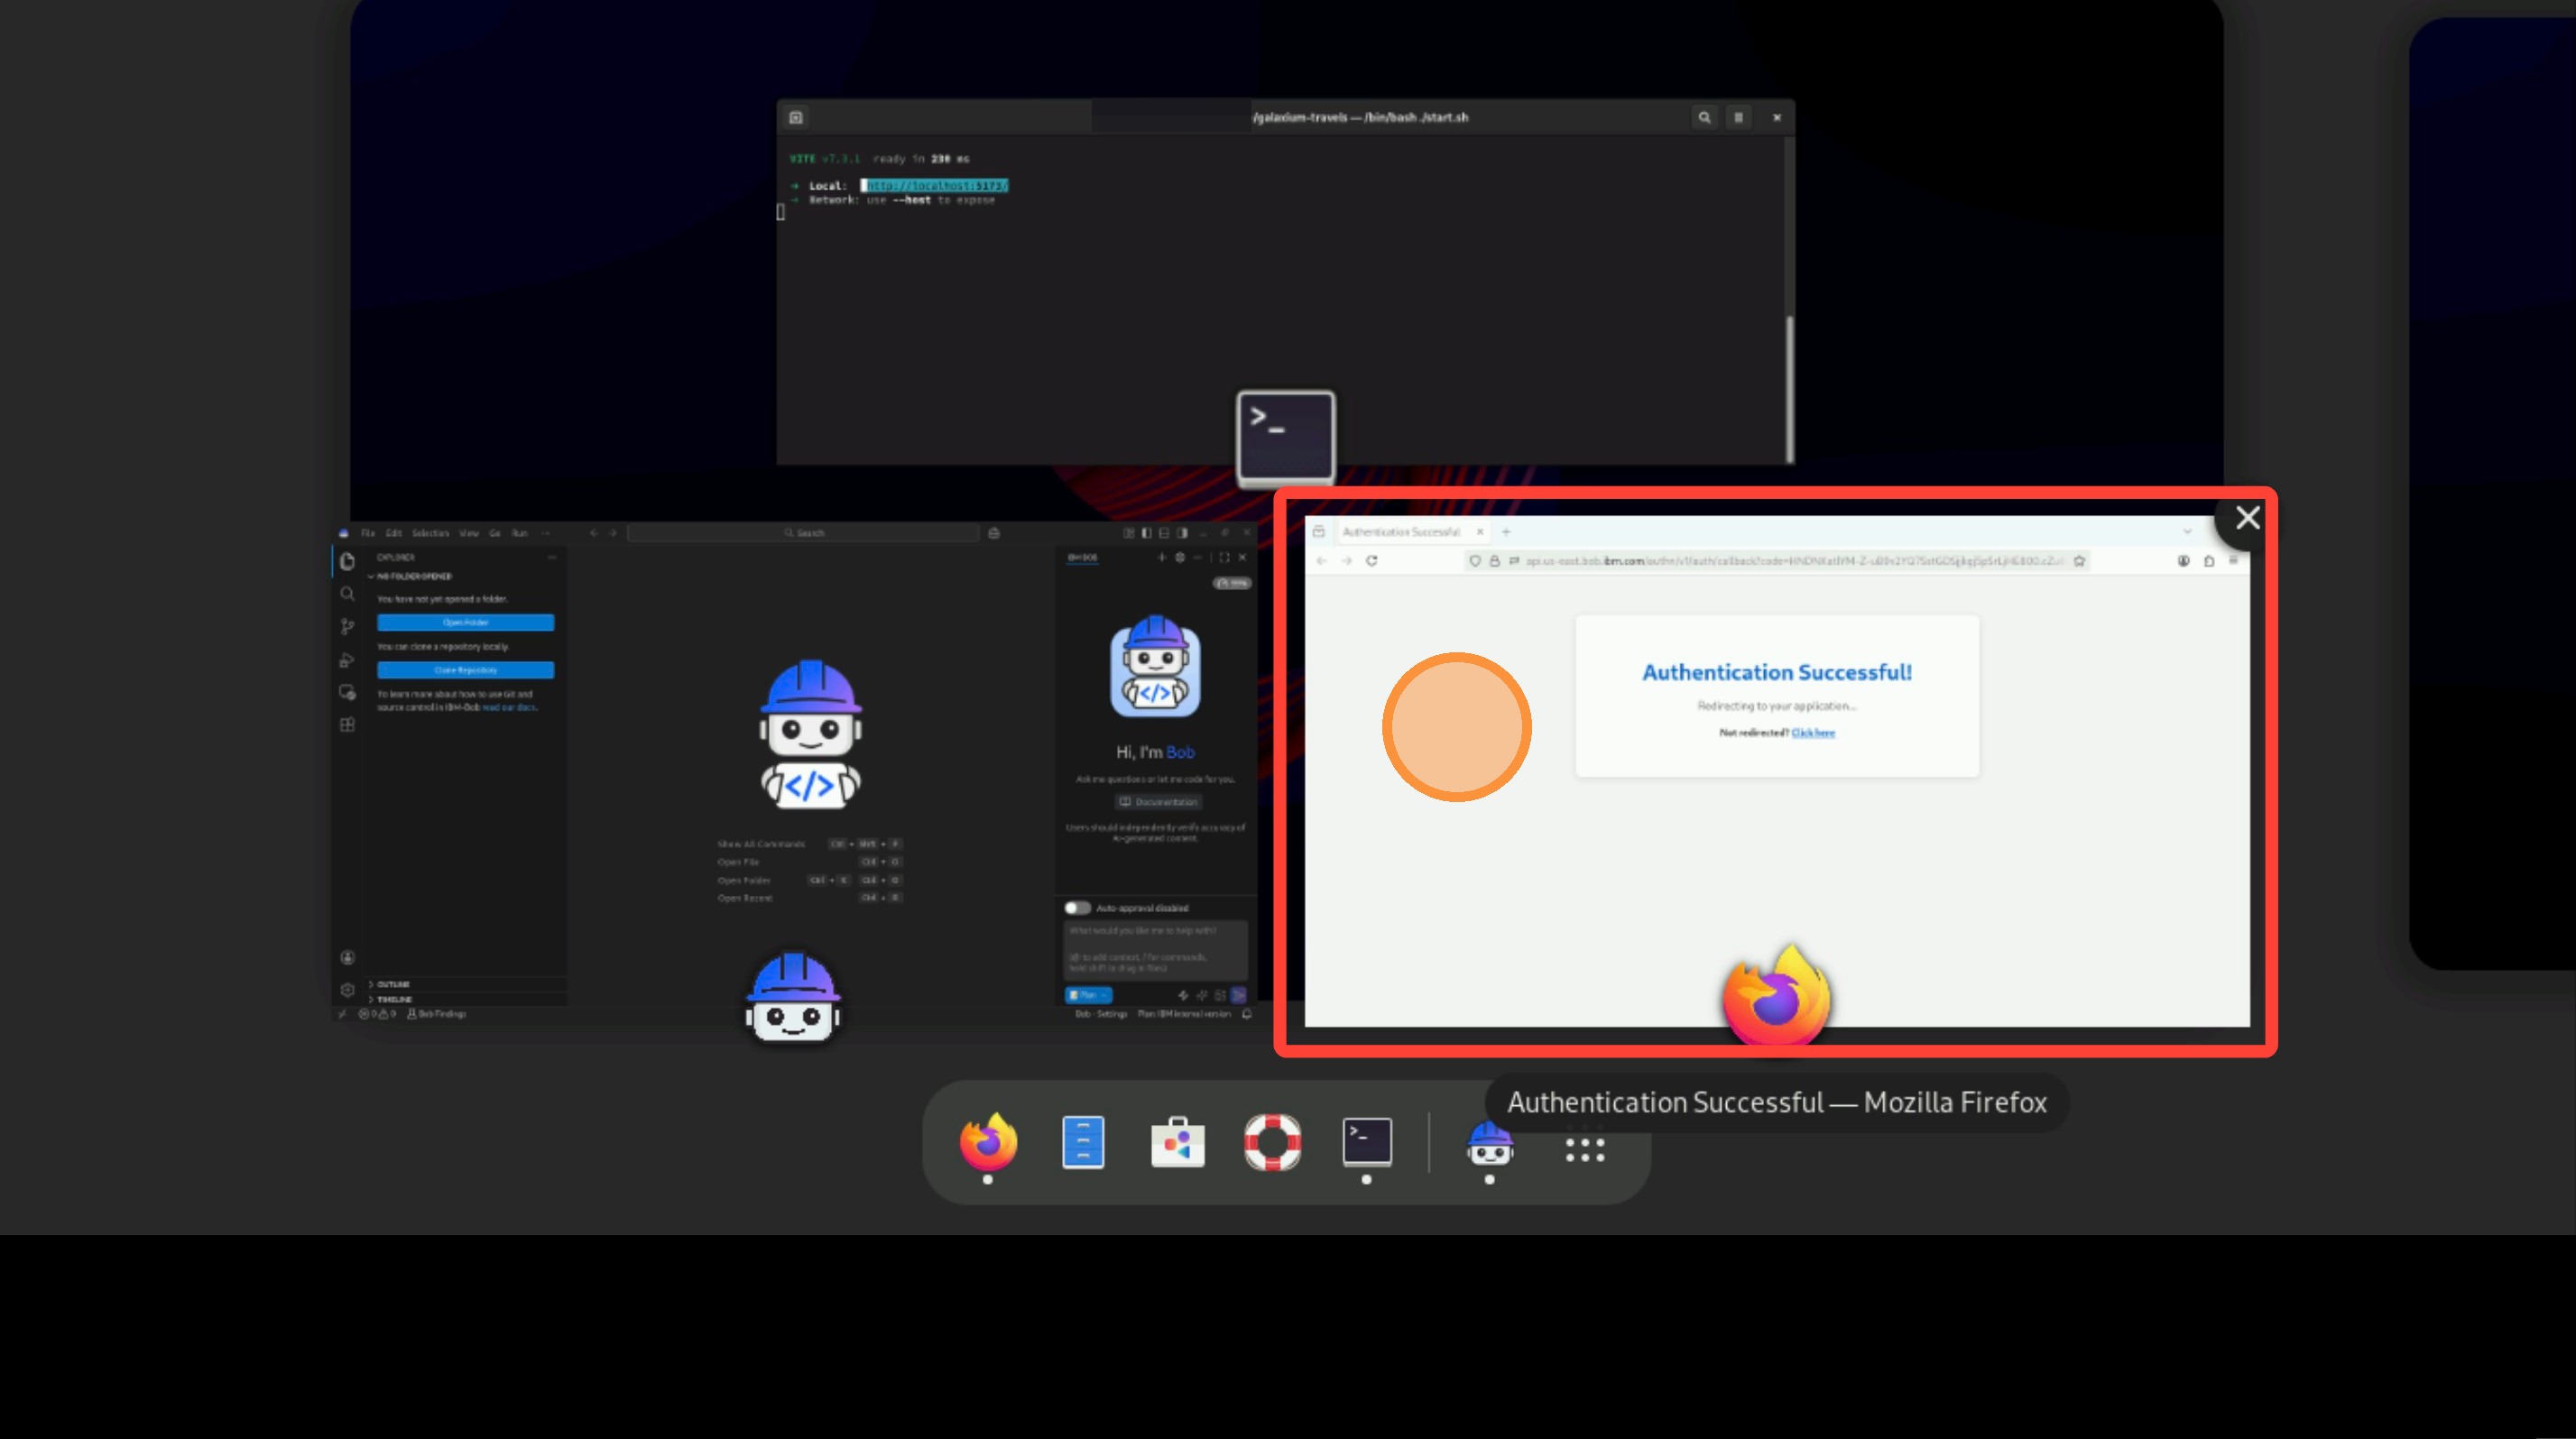
Switch back to your web browser.
-
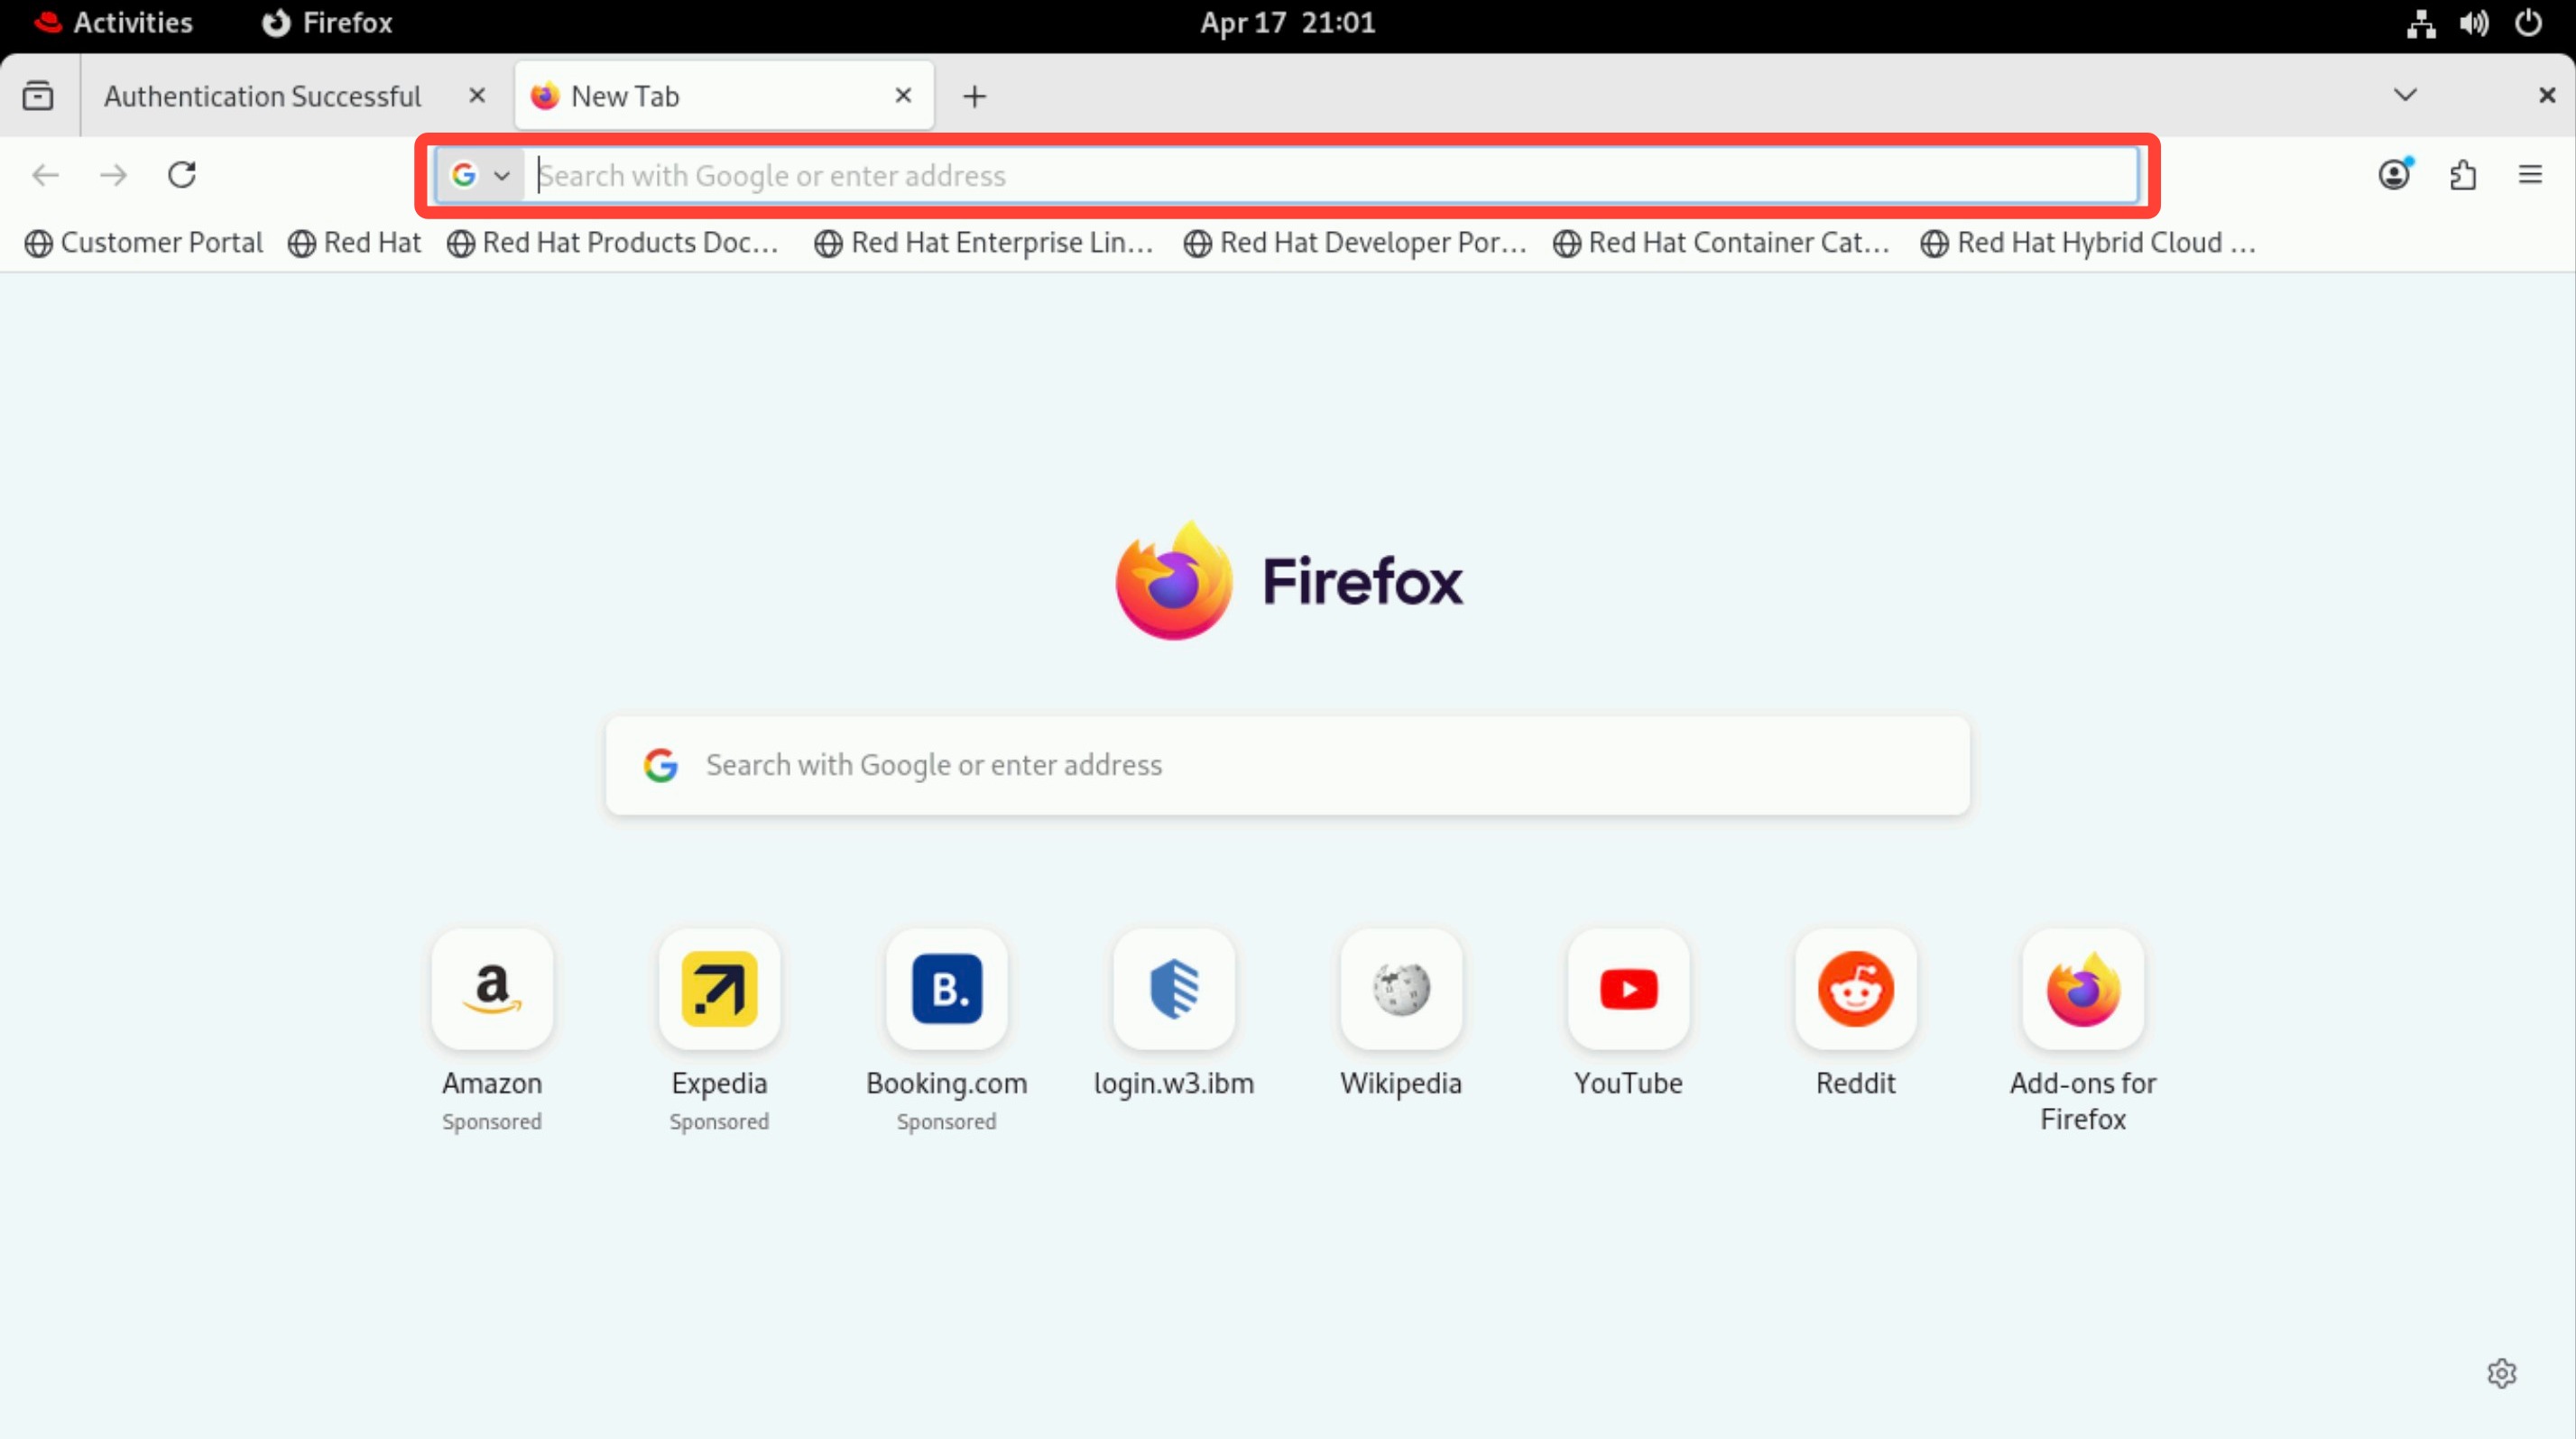
Paste the address you just copied into the search bar and press Enter to open the page:
WEB BROWSER
http://localhost:5173/
-
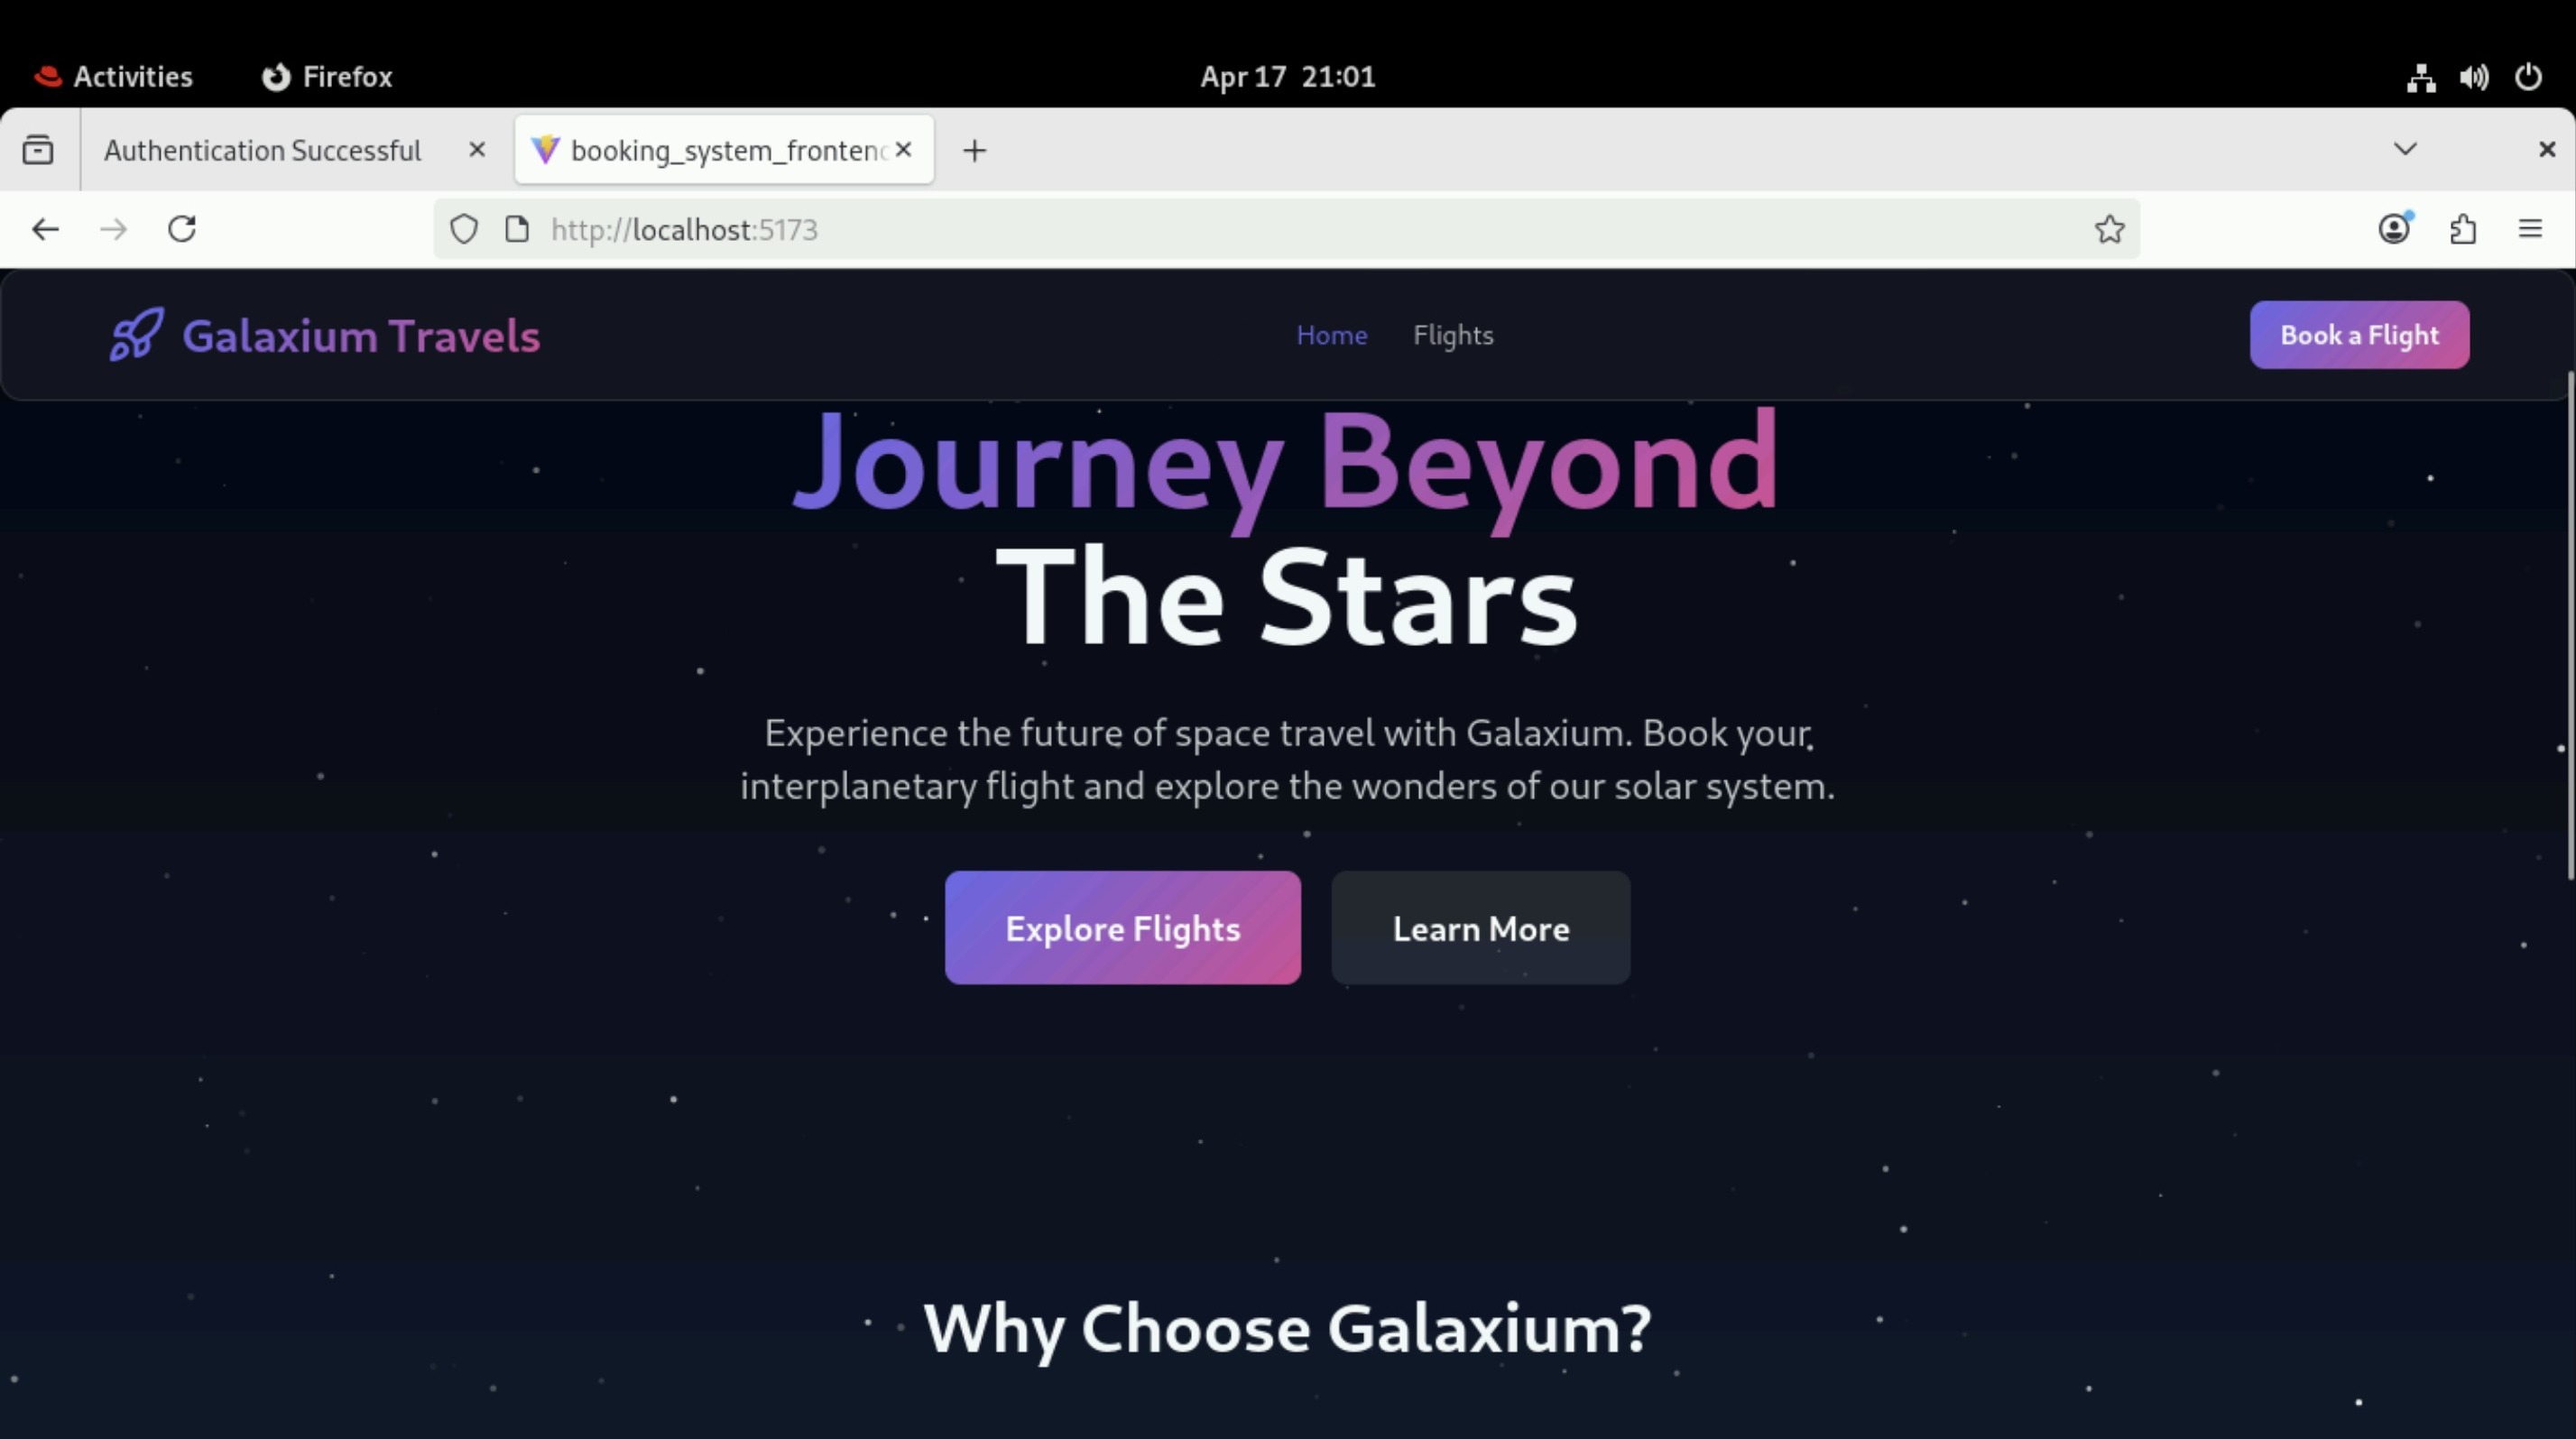
You have now successfully reached the frontend of the Galaxium Travels demo application.
KEEP THIS WINDOW OR TAB OPEN
You will return to the Galaxium Travels application within the web browser frequently during these lab exercises.
-
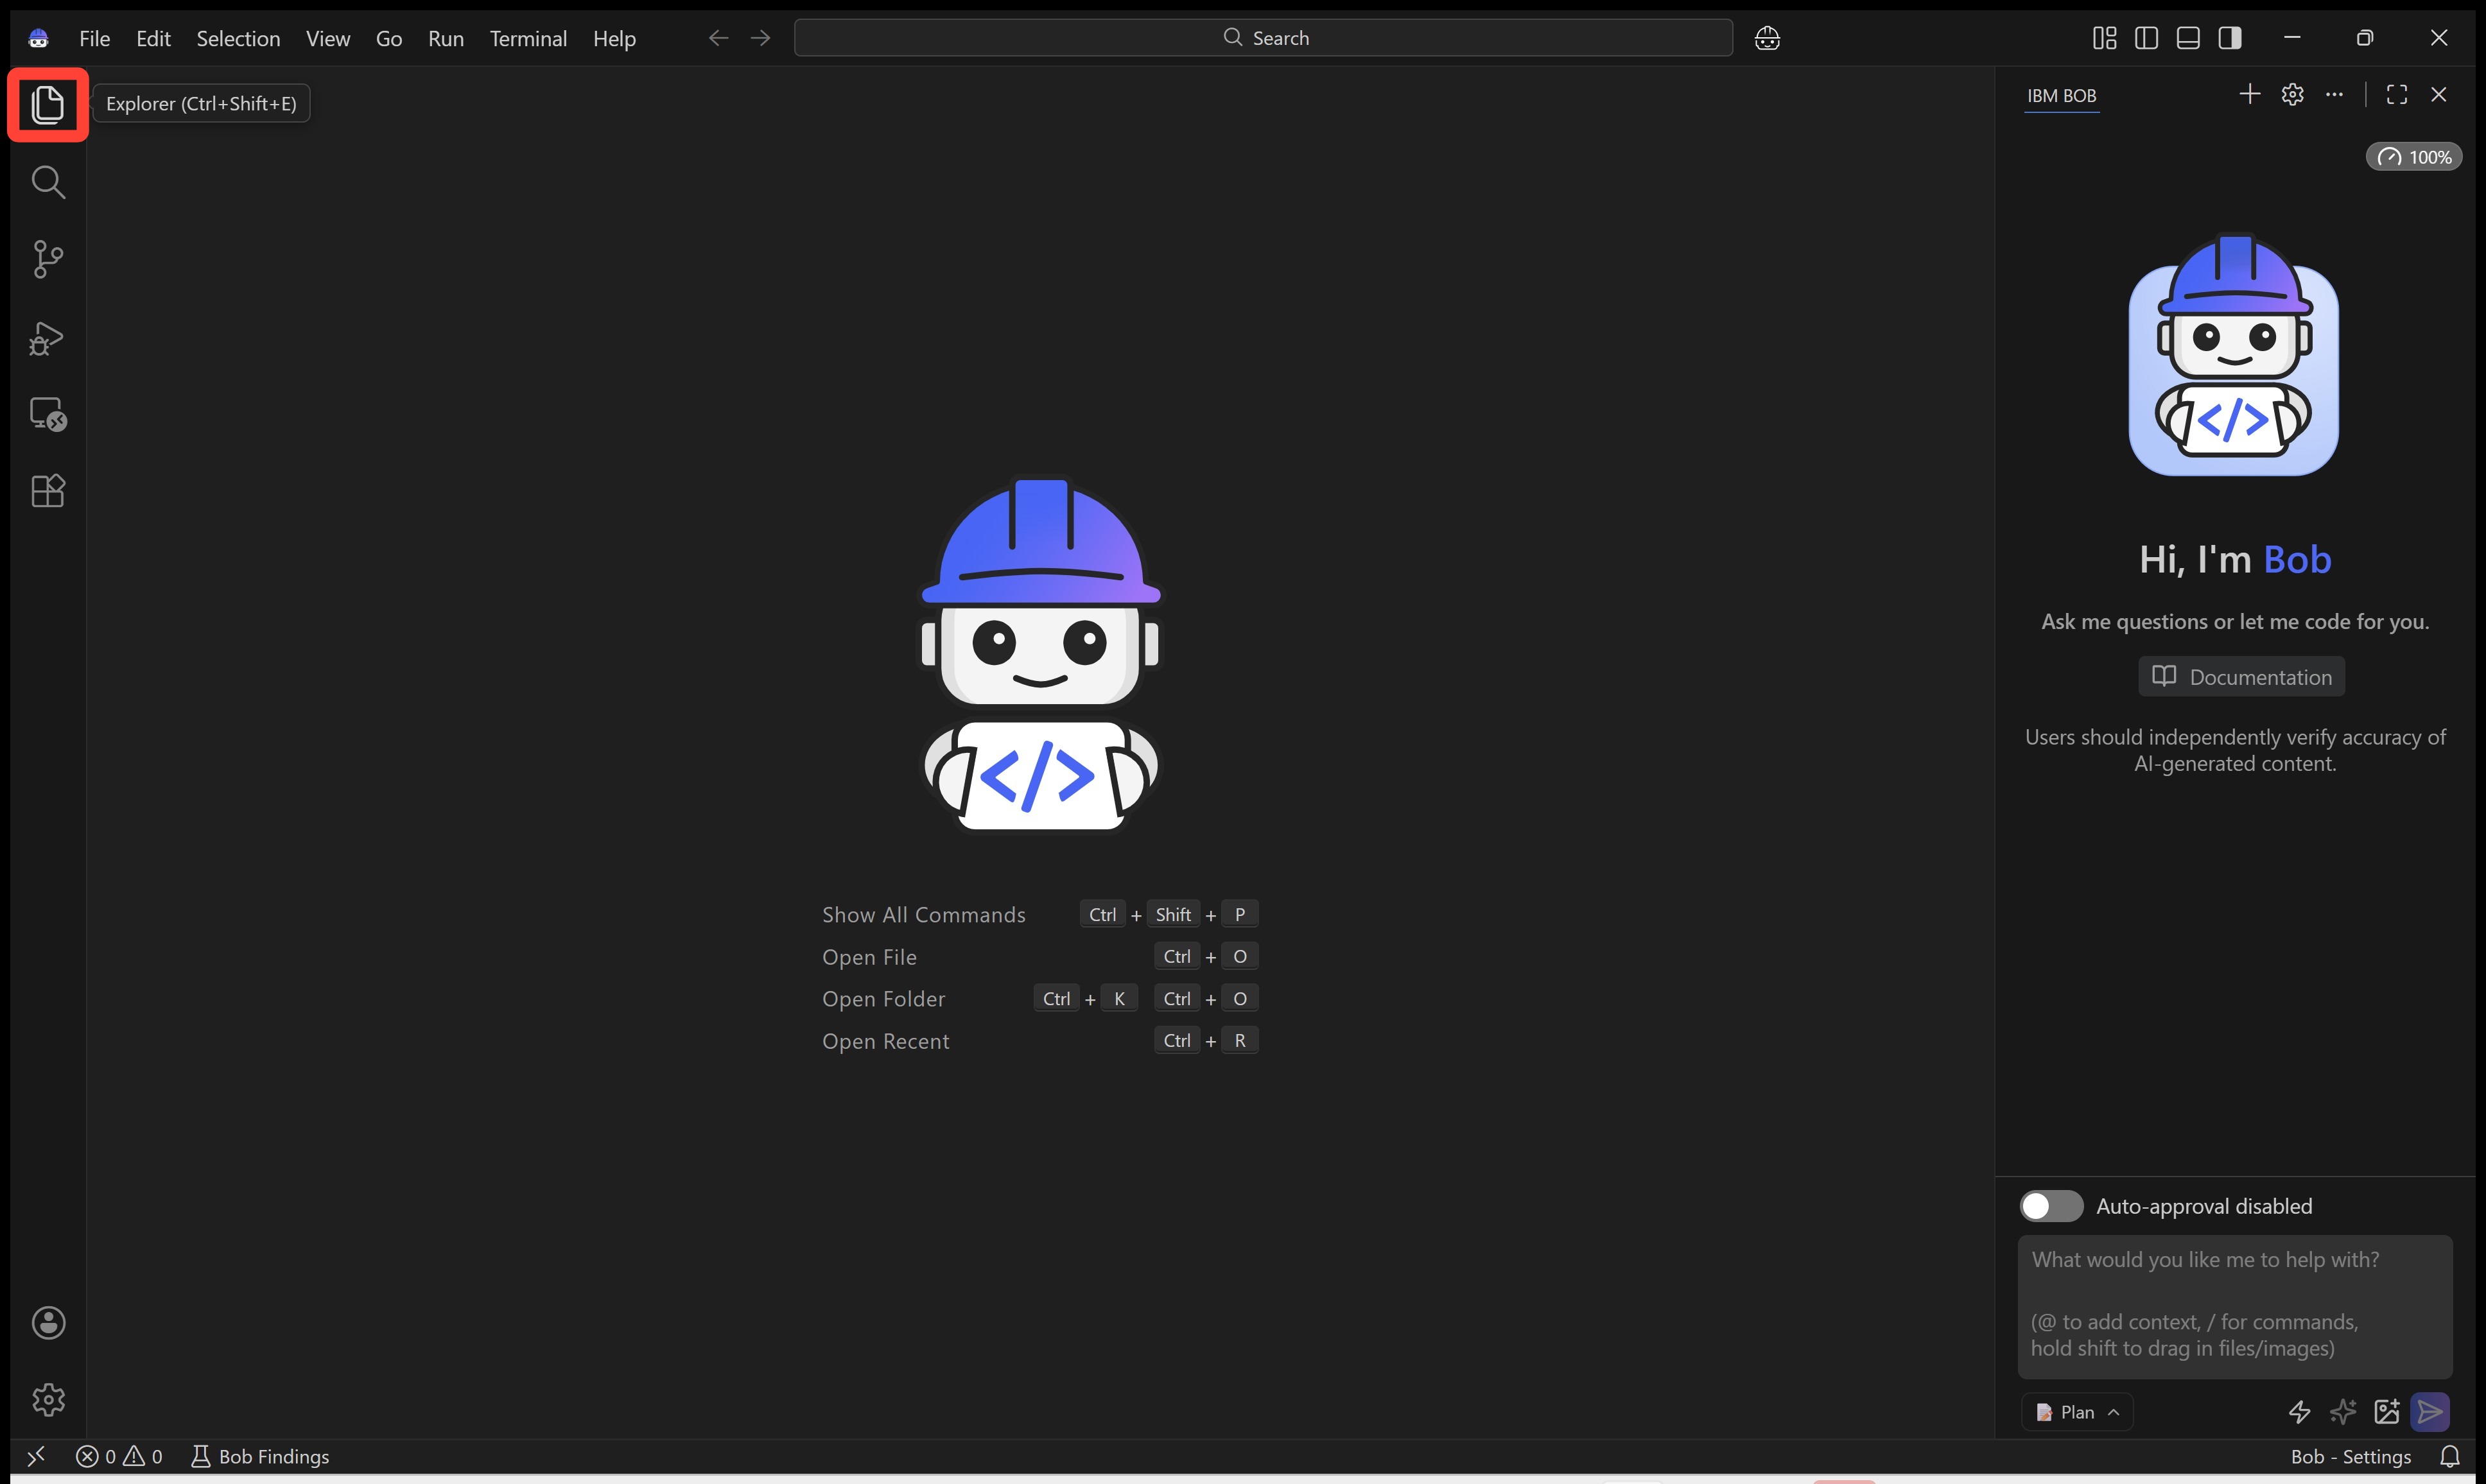
Return to IBM Bob and click Explorer (or press Ctrl+Shift+E).
-
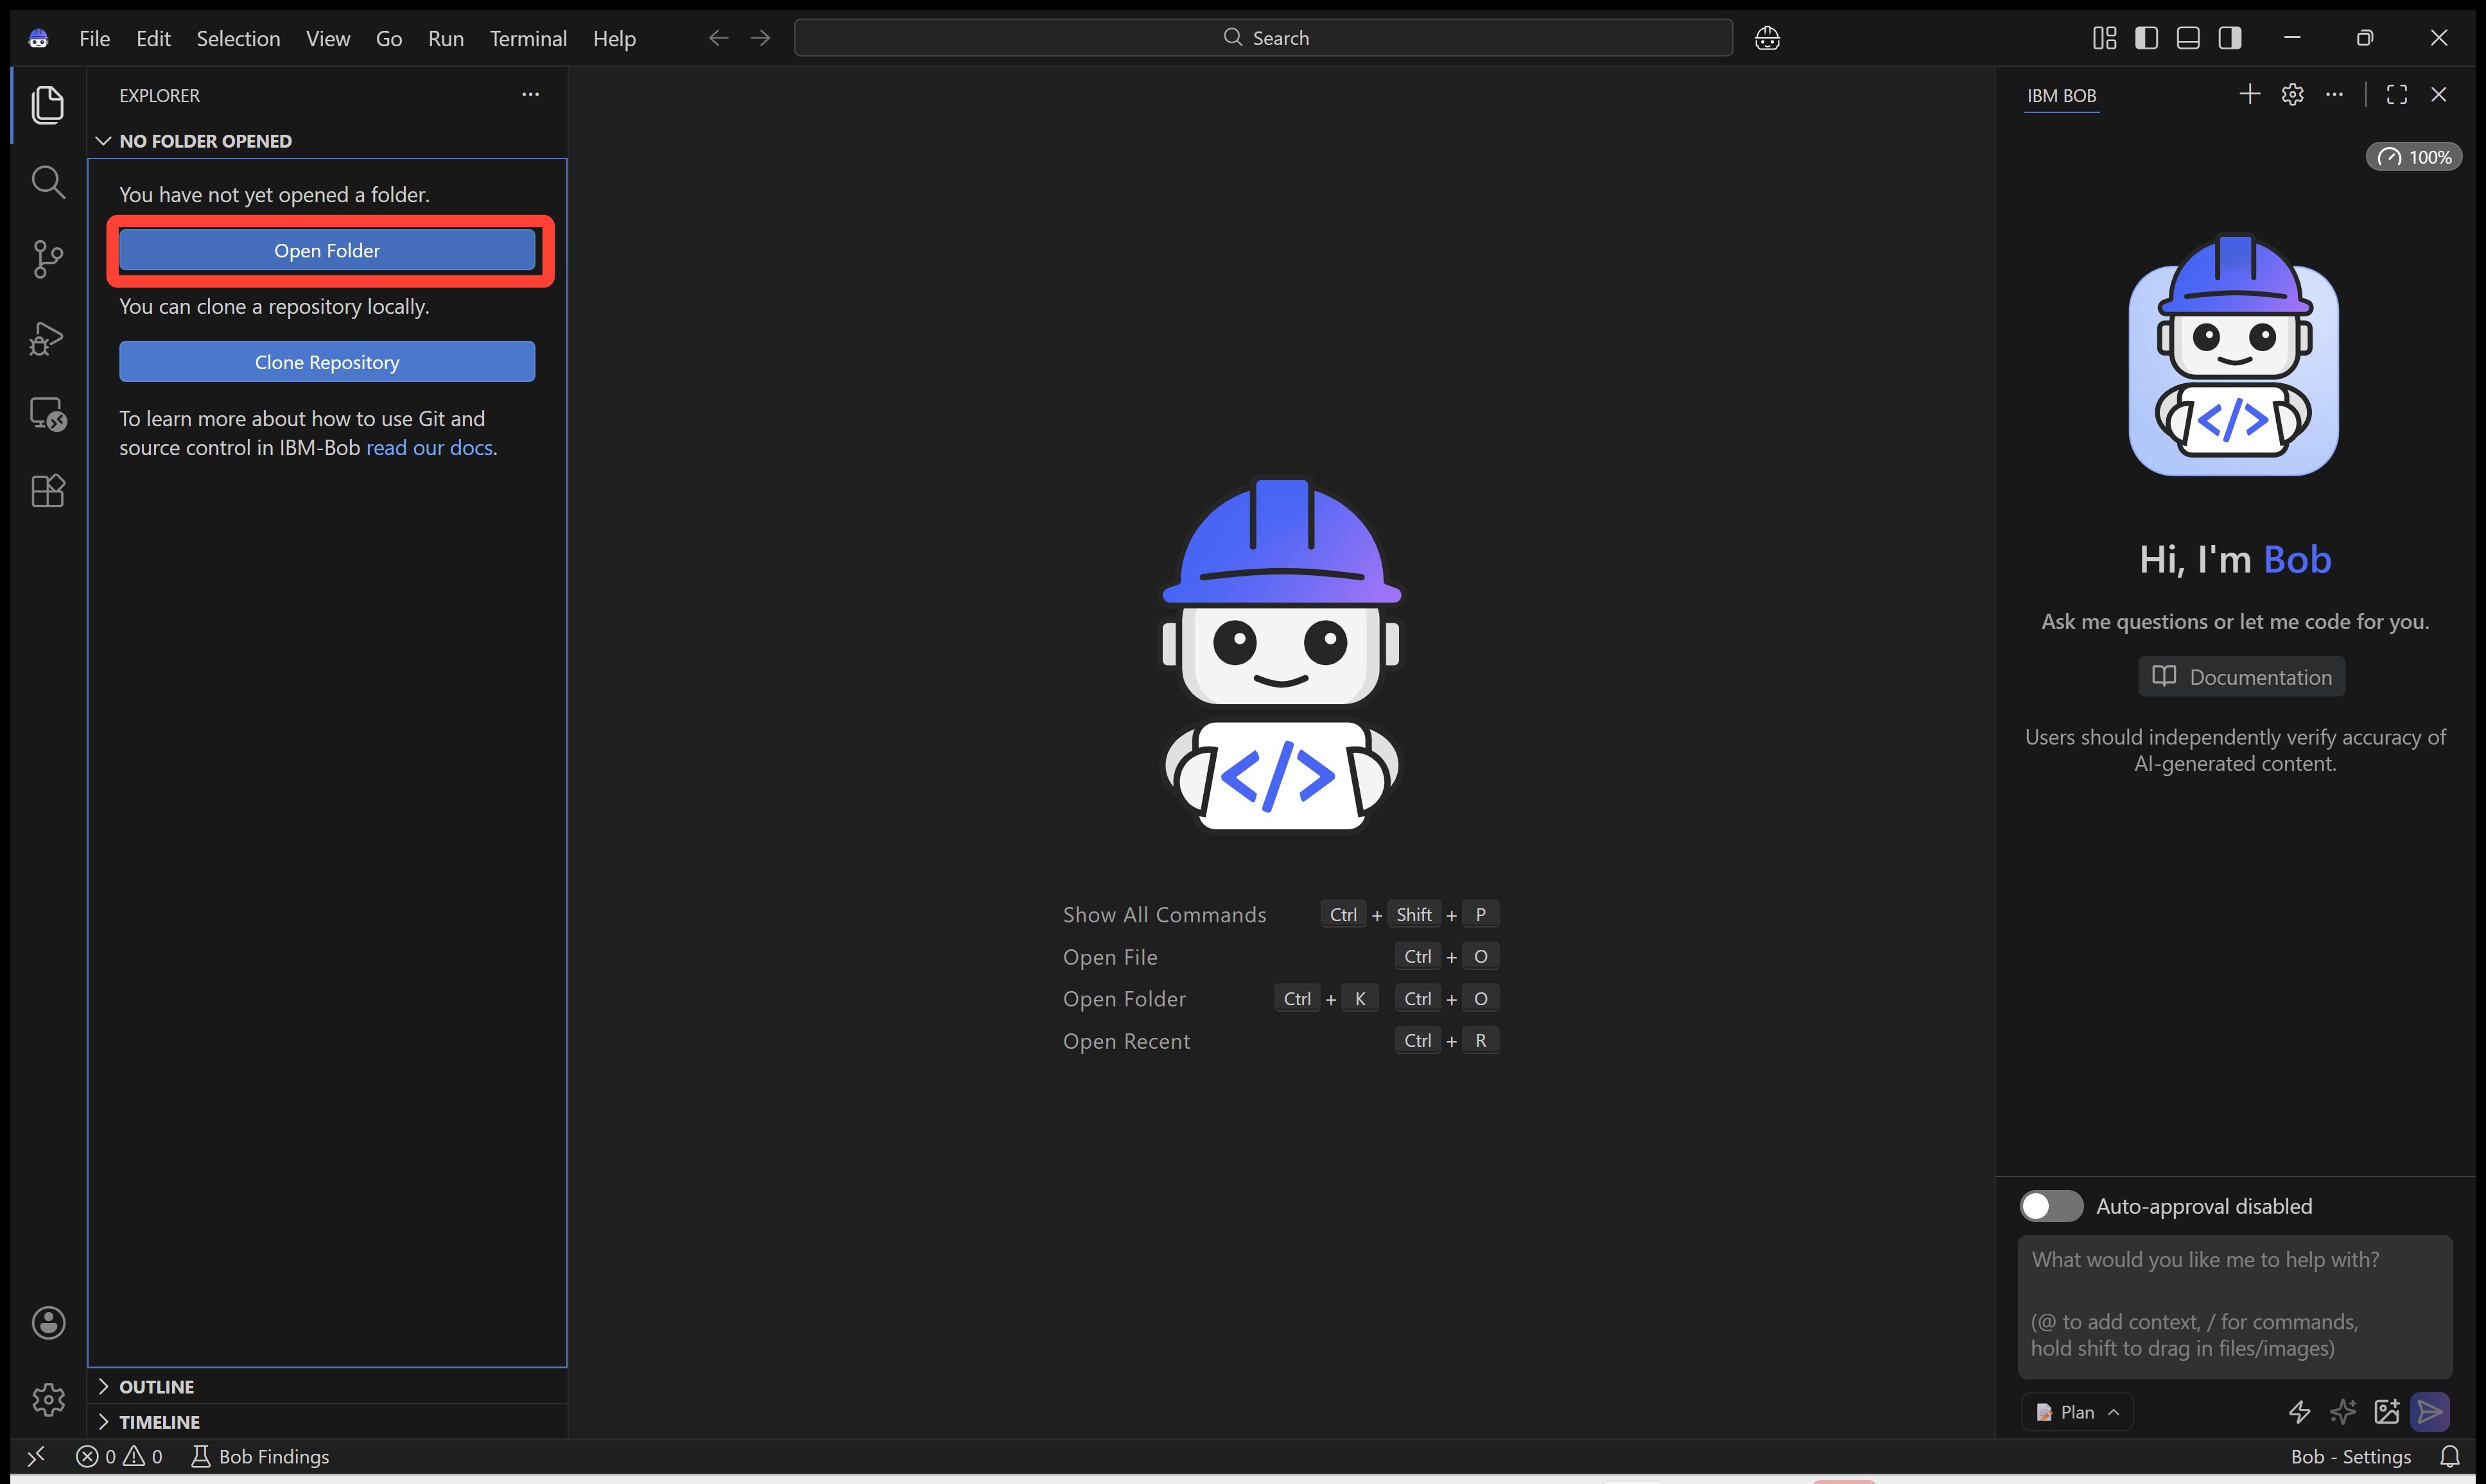
Click Open Folder.
-
Navigate to the location of the
galaxium-travelsfolder, then select galaxium-travels.This is whatever directory you were in when you ran the
git clonecommand — most likely yourhome/user-profiledirectory.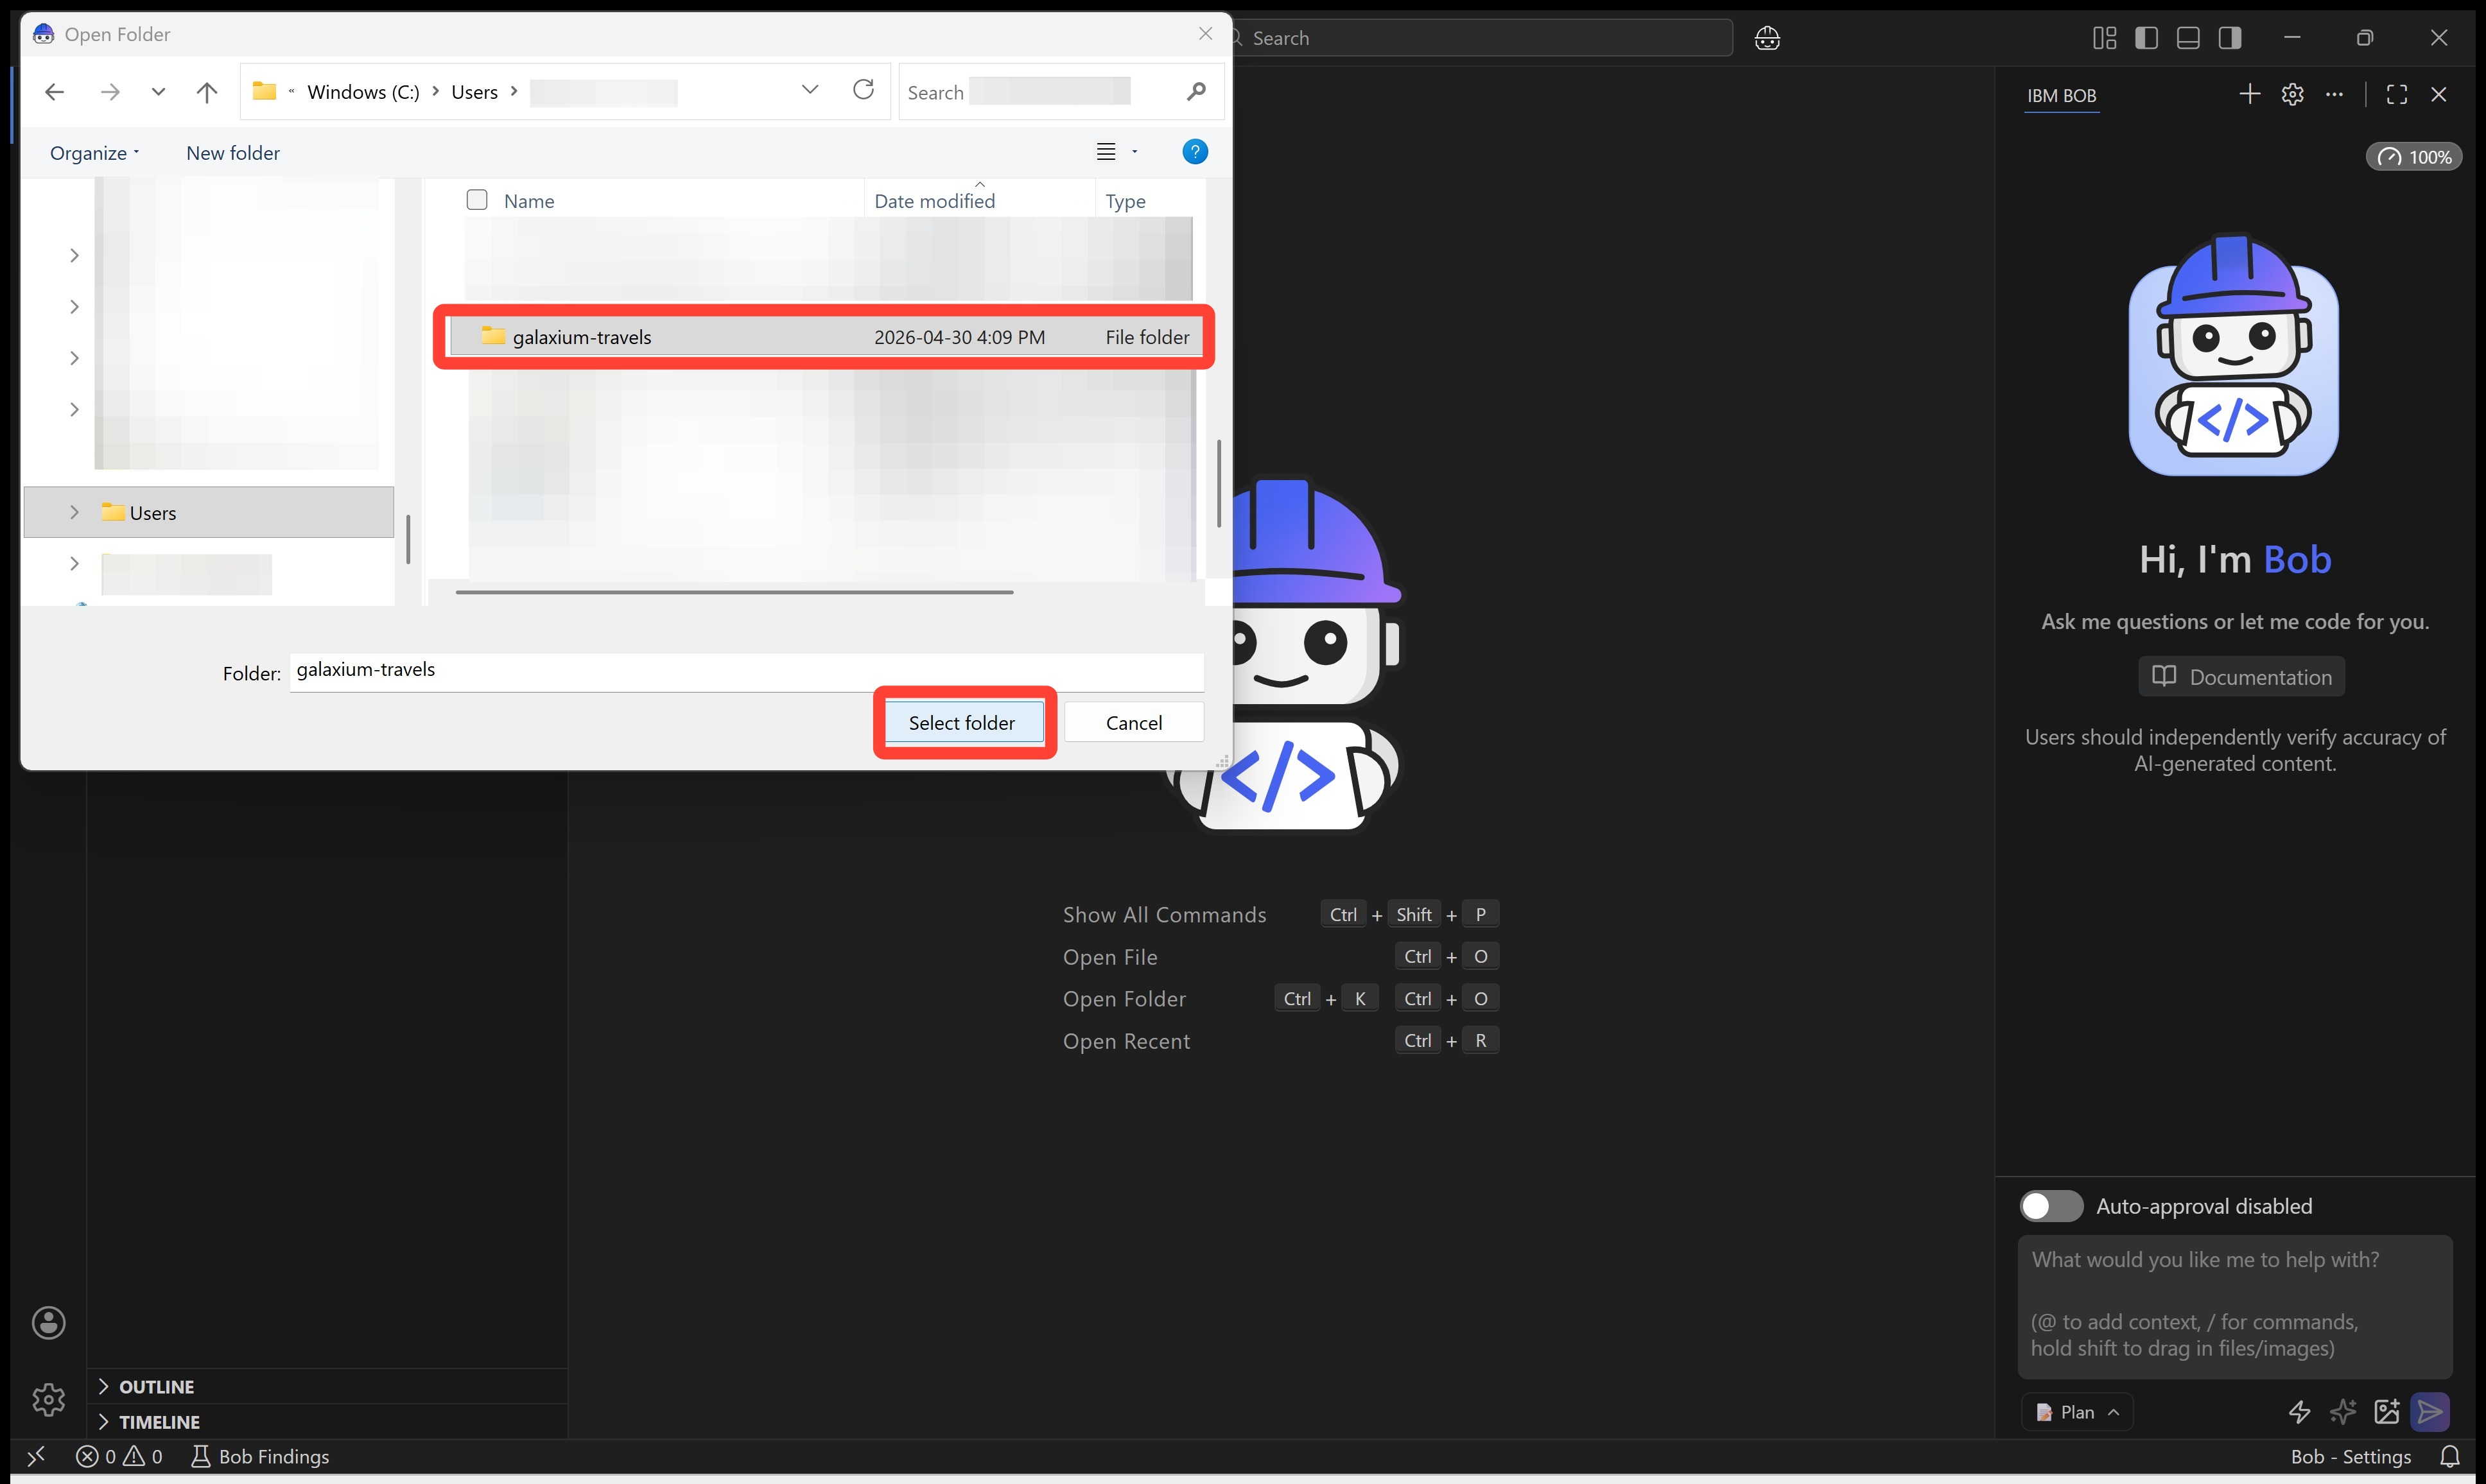
-
With the
galaxium-travelsfolder open, expand the drop-down arrow to reveal additional options.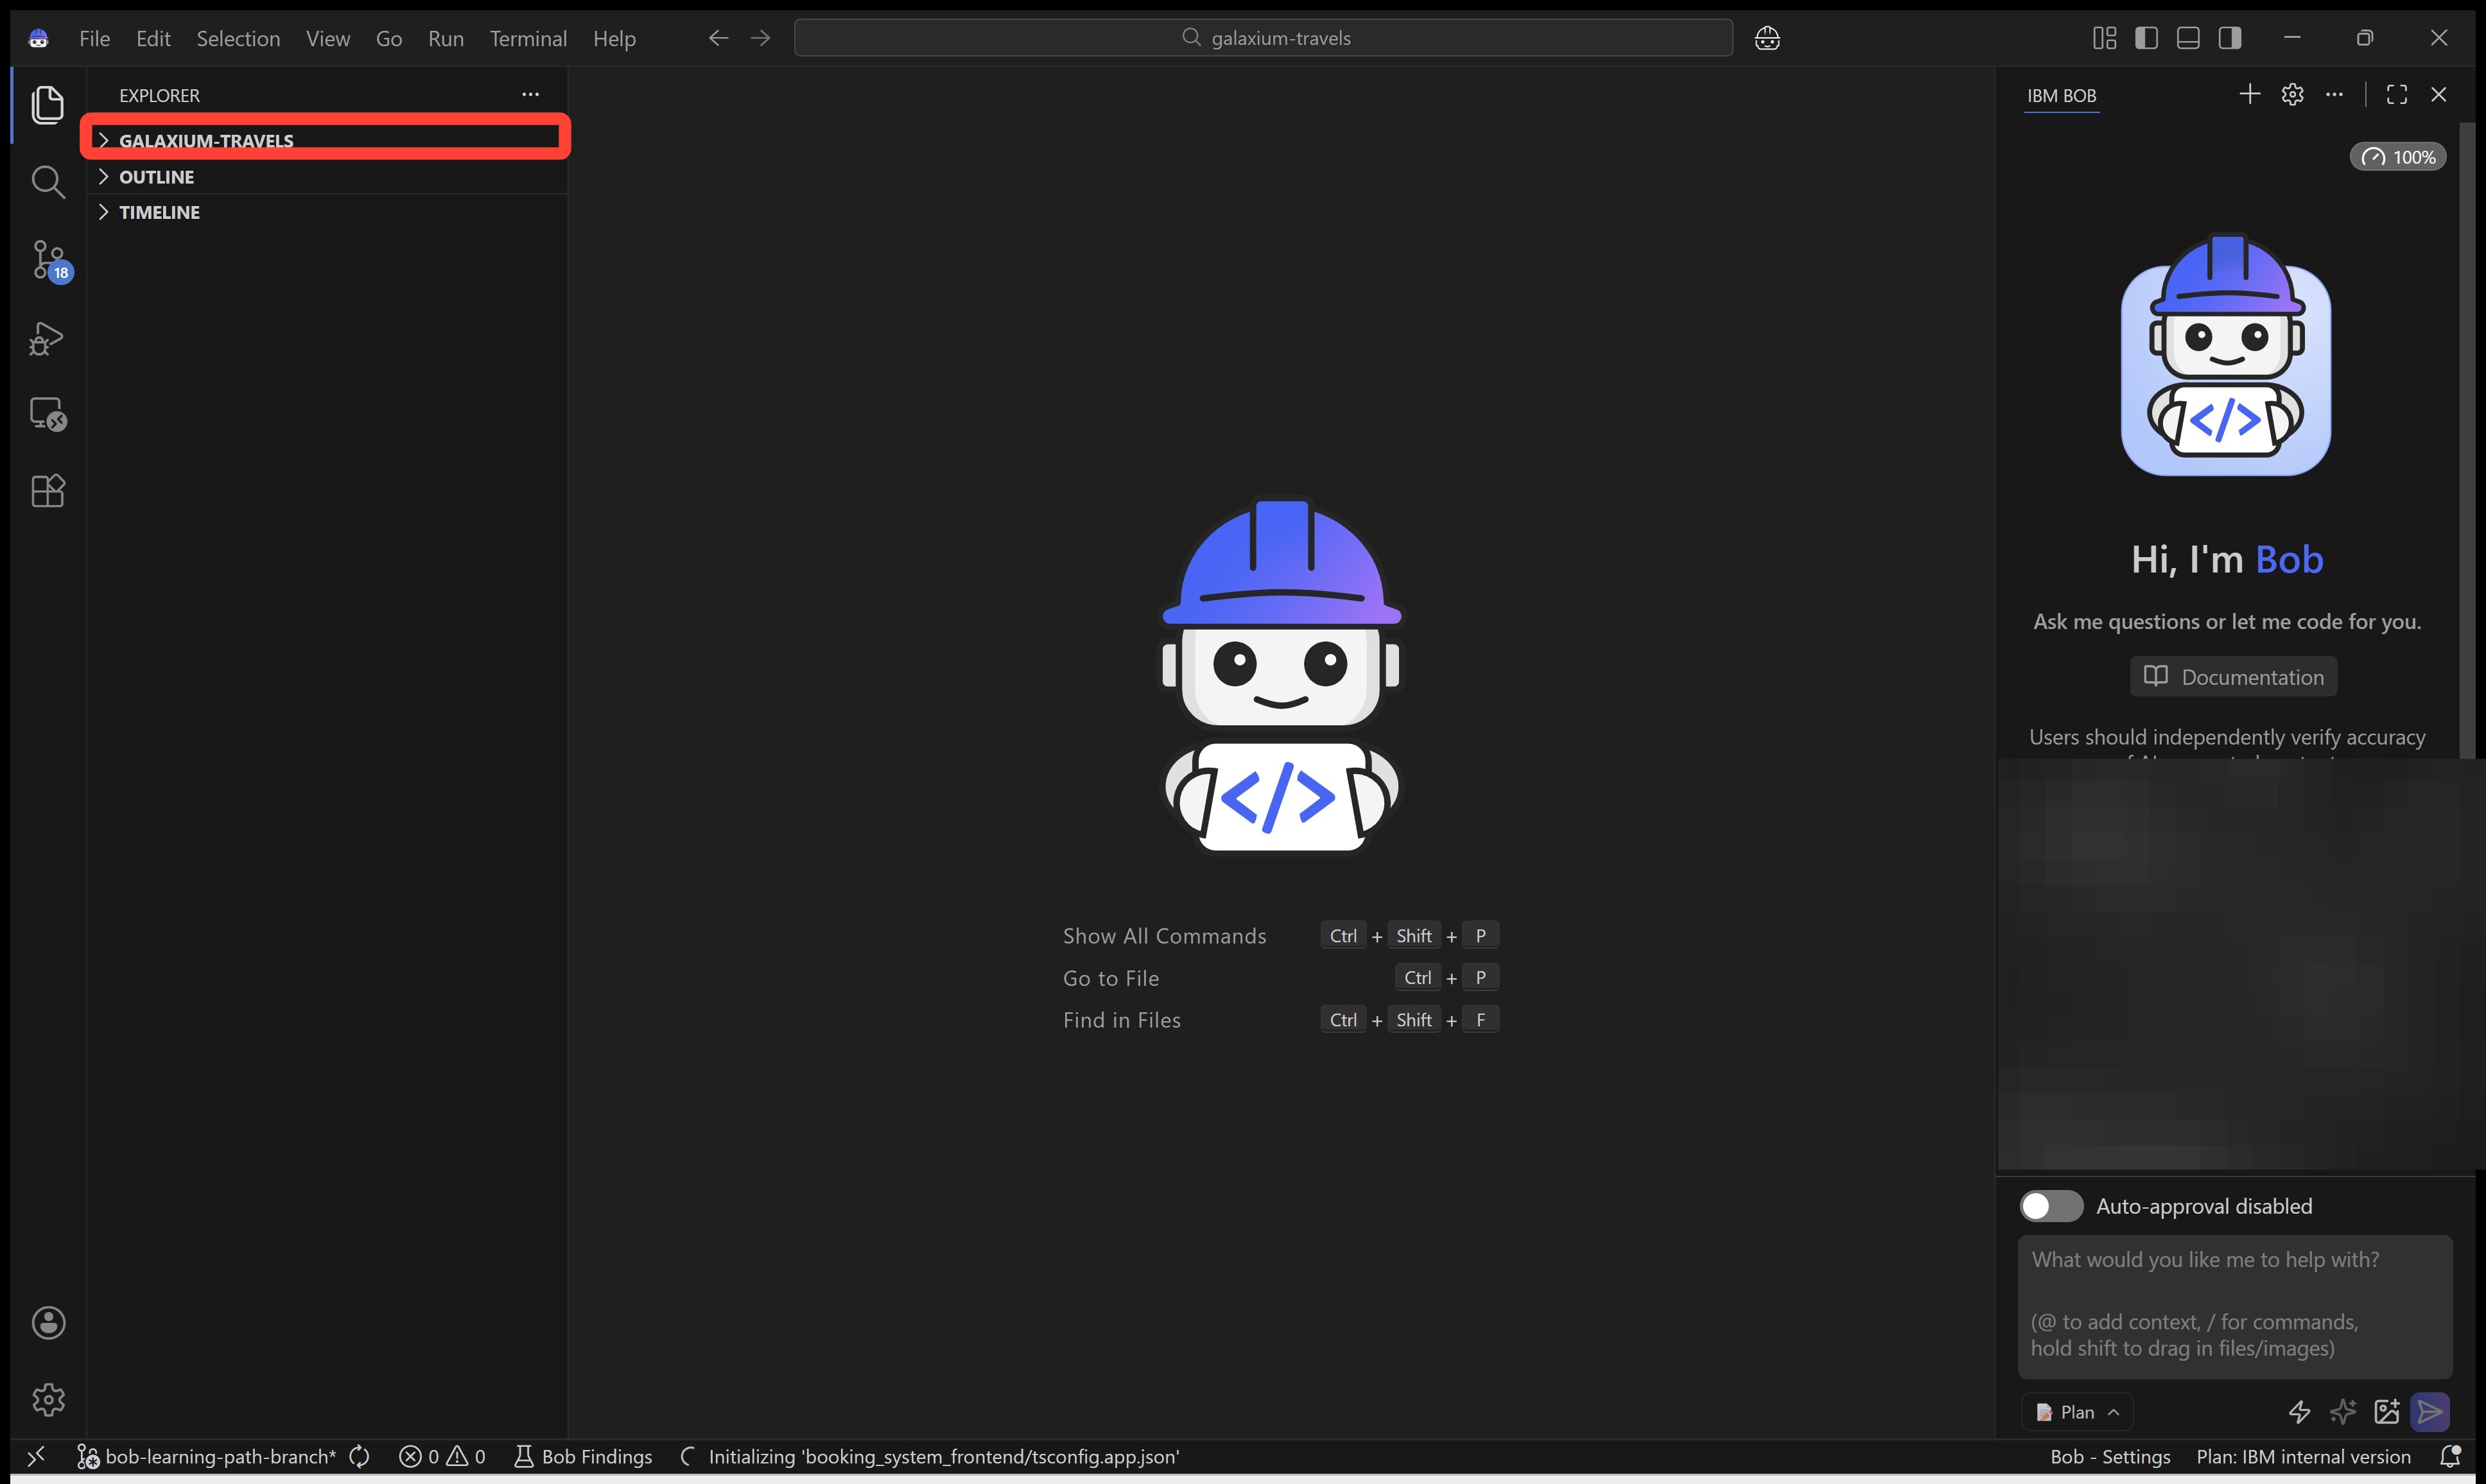
-
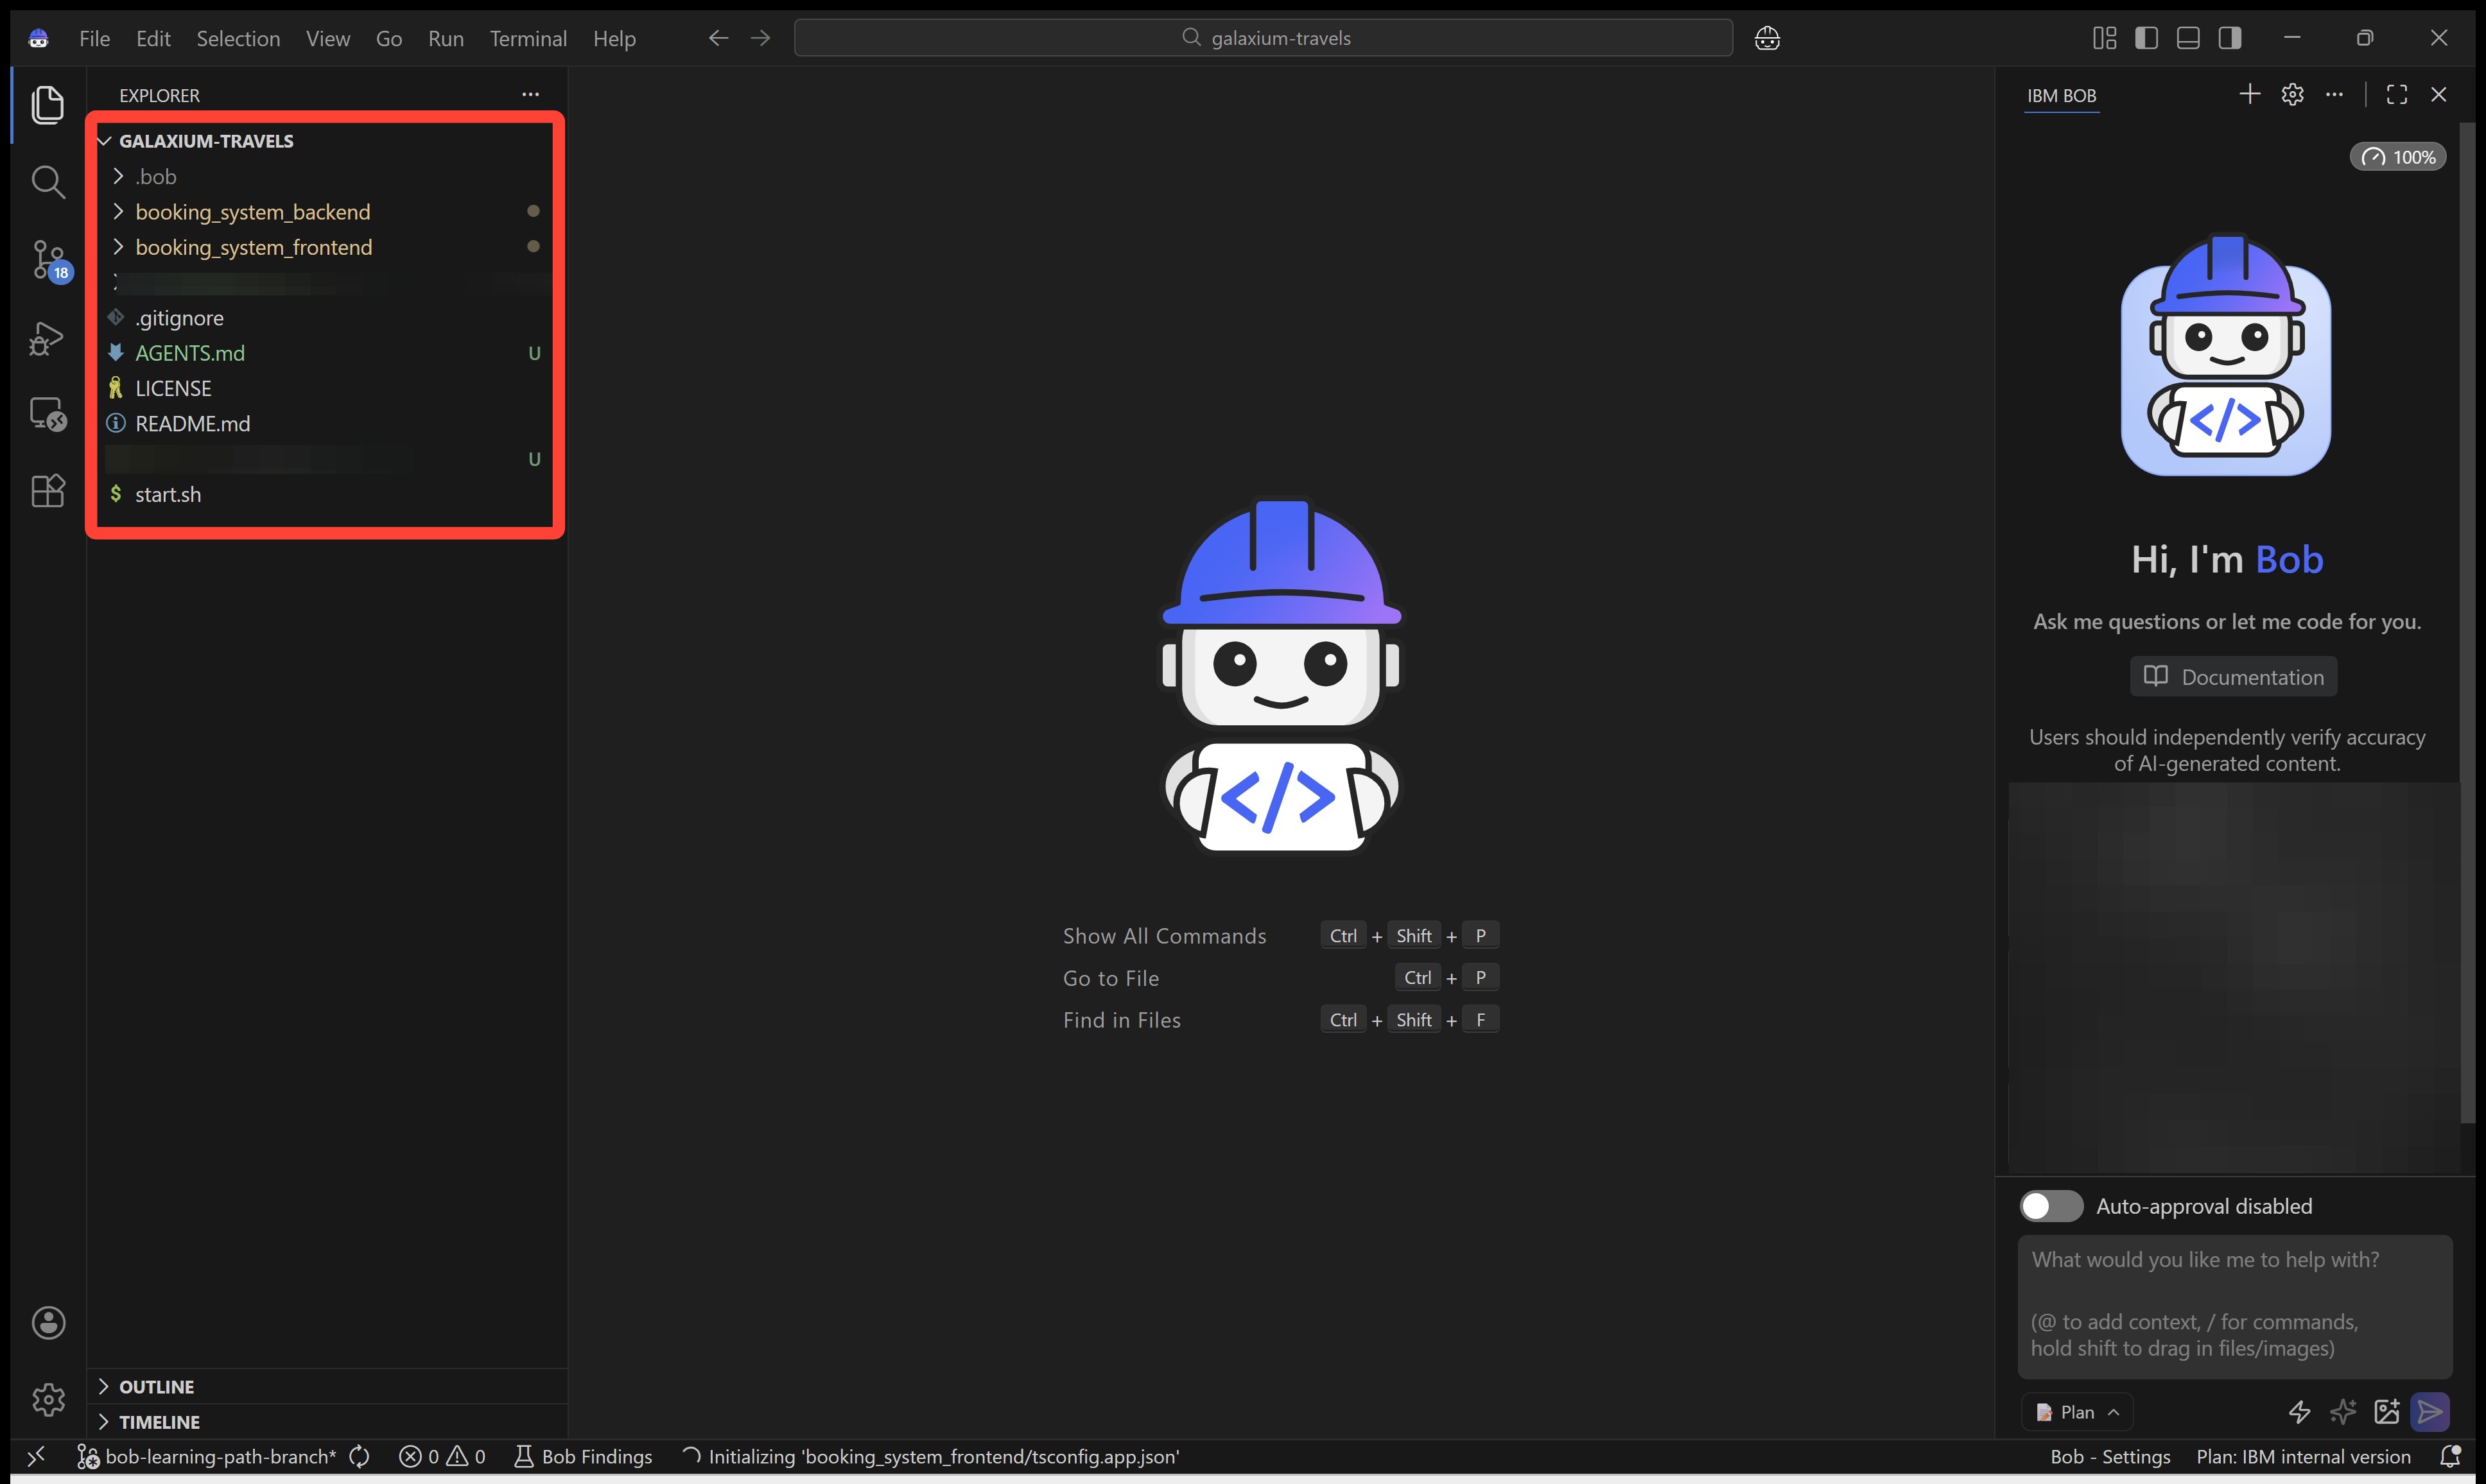
You can now see the sub-folders that make up the web app.
This is where you will modify the code to demonstrate IBM Bob's capabilities throughout the lab.
SETUP COMPLETE
With the app running and the project open in Bob, your local environment is ready — continue to section vii.
WINDOWS OS
On Windows, bringing the app up takes a little more manual effort.
-
In a Terminal window, paste and execute each of the following commands one at a time, pressing Enter after each:
Step 1:
Step 2: Step 3: Step 4: Step 5:After the
pip installcommand, the requirements will begin installing — this takes roughly 5–10 minutes to complete.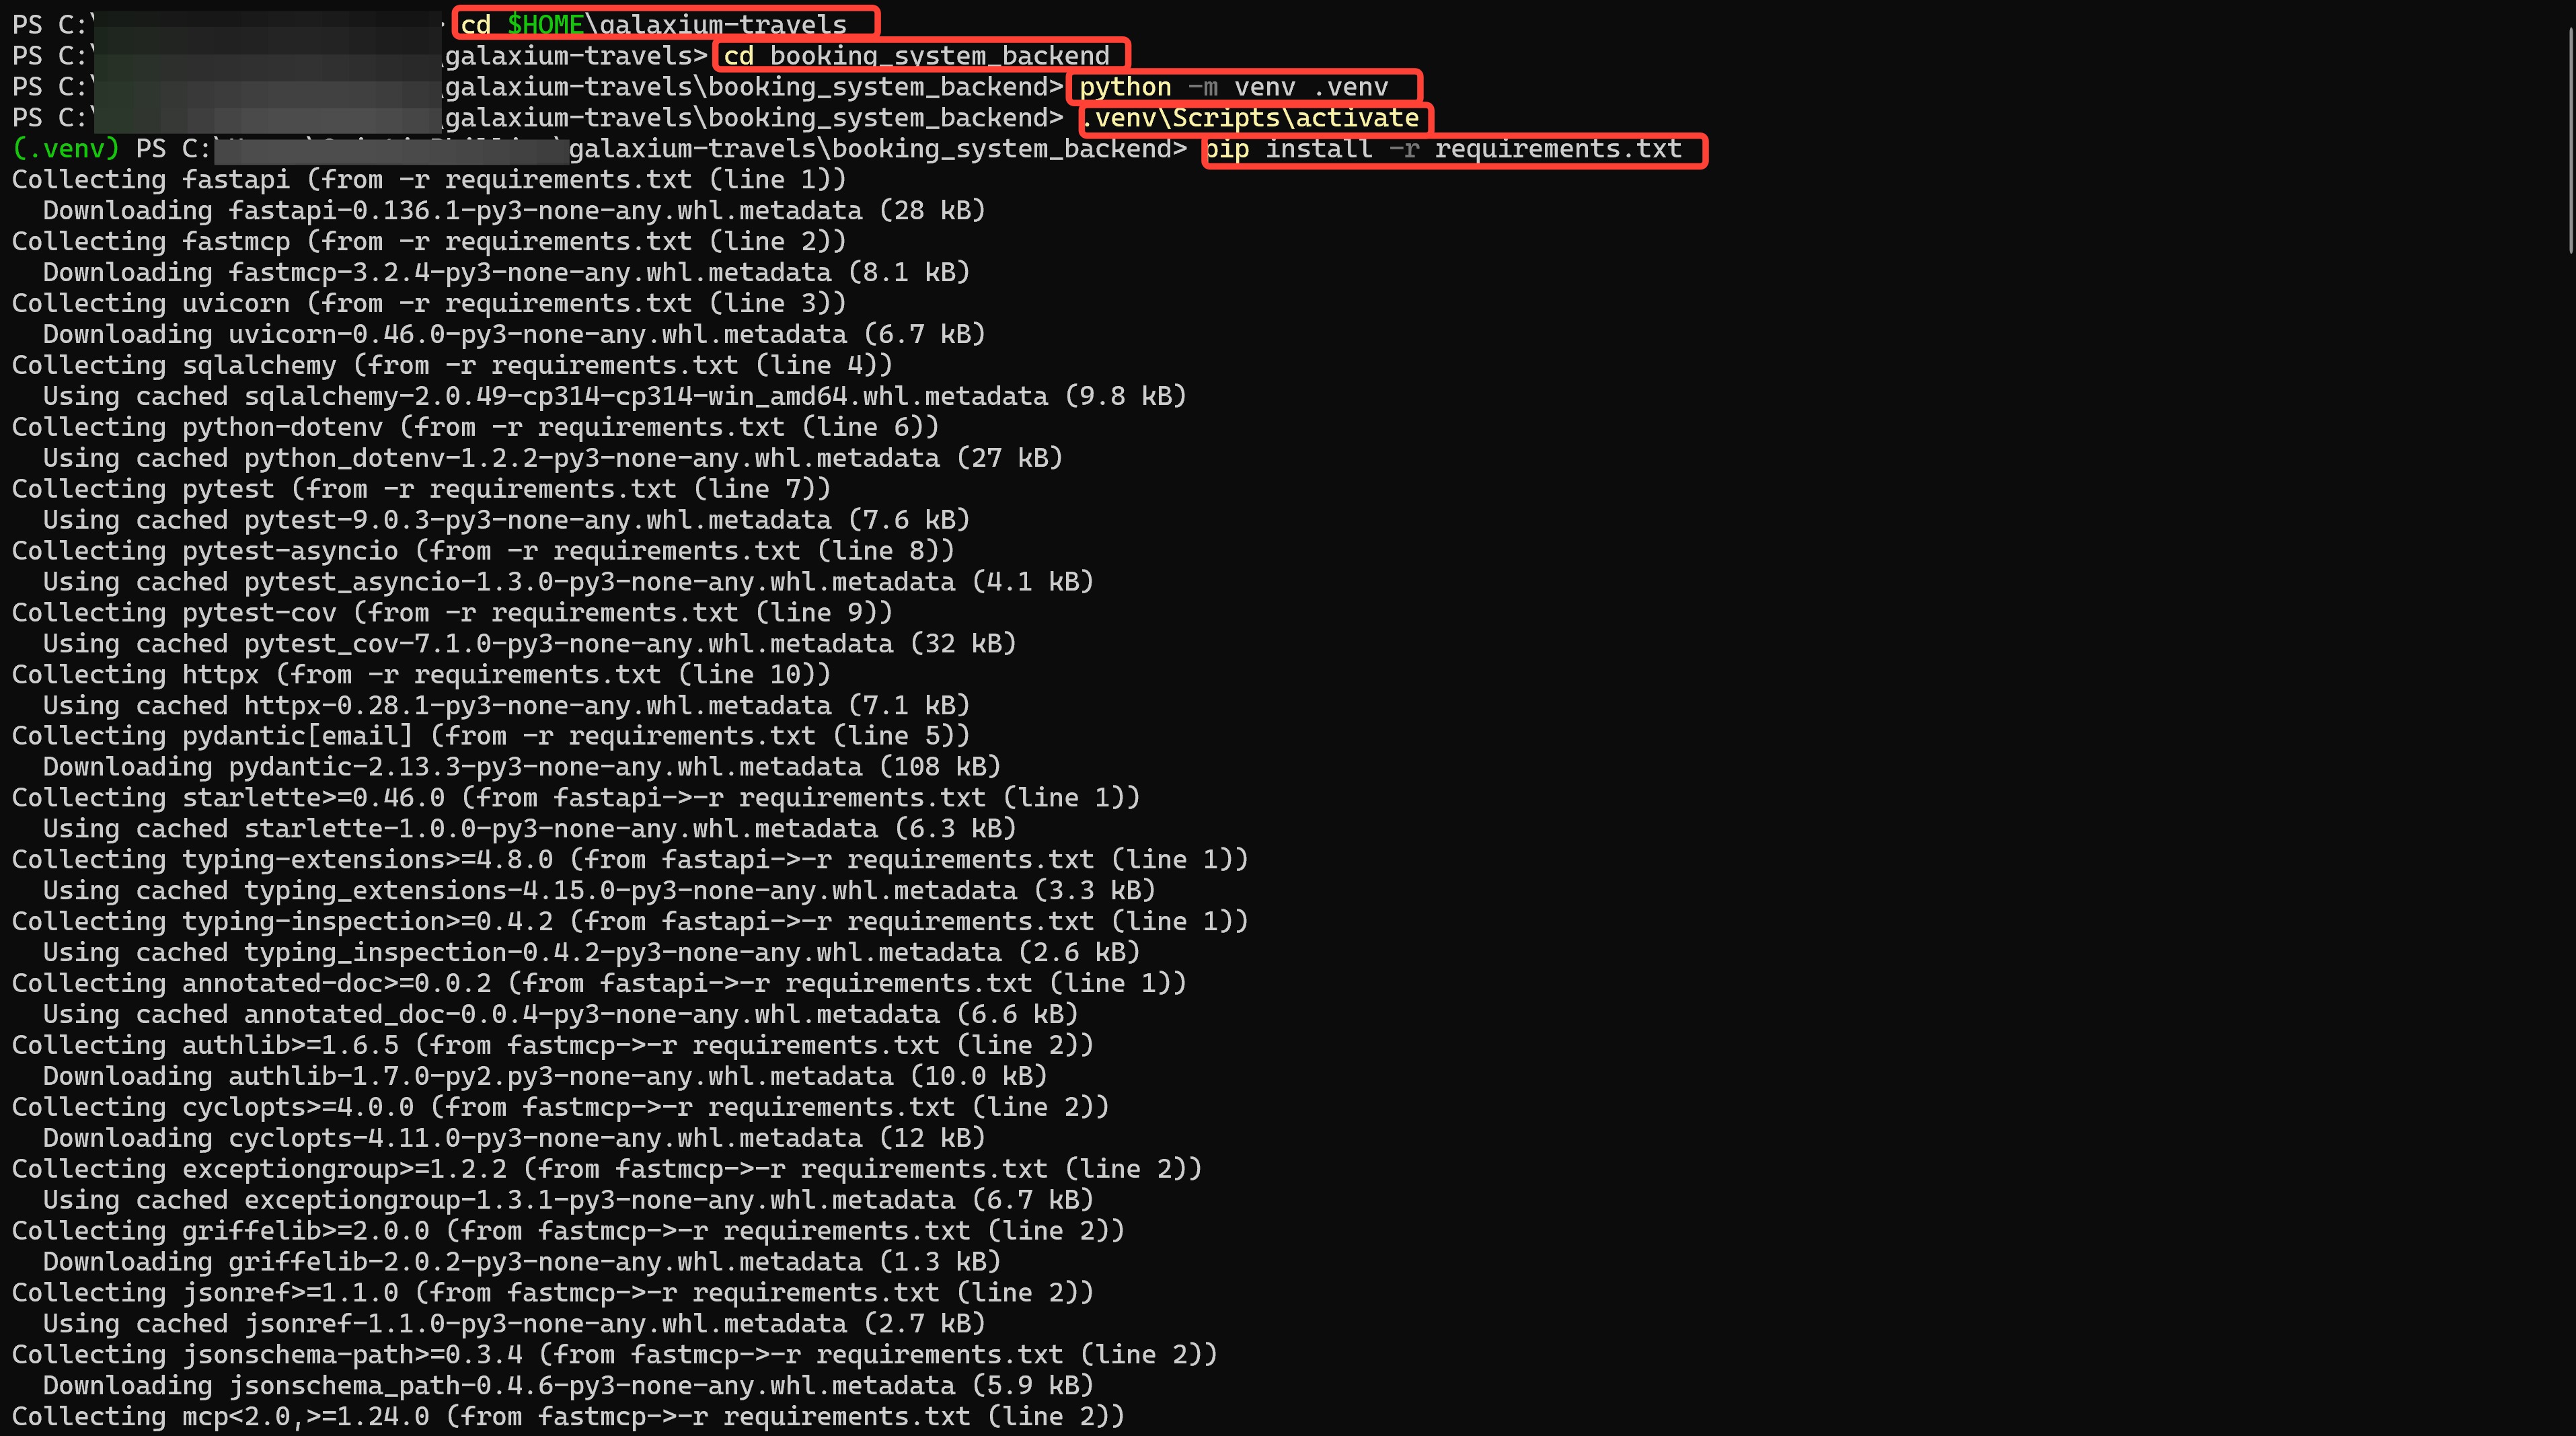
-
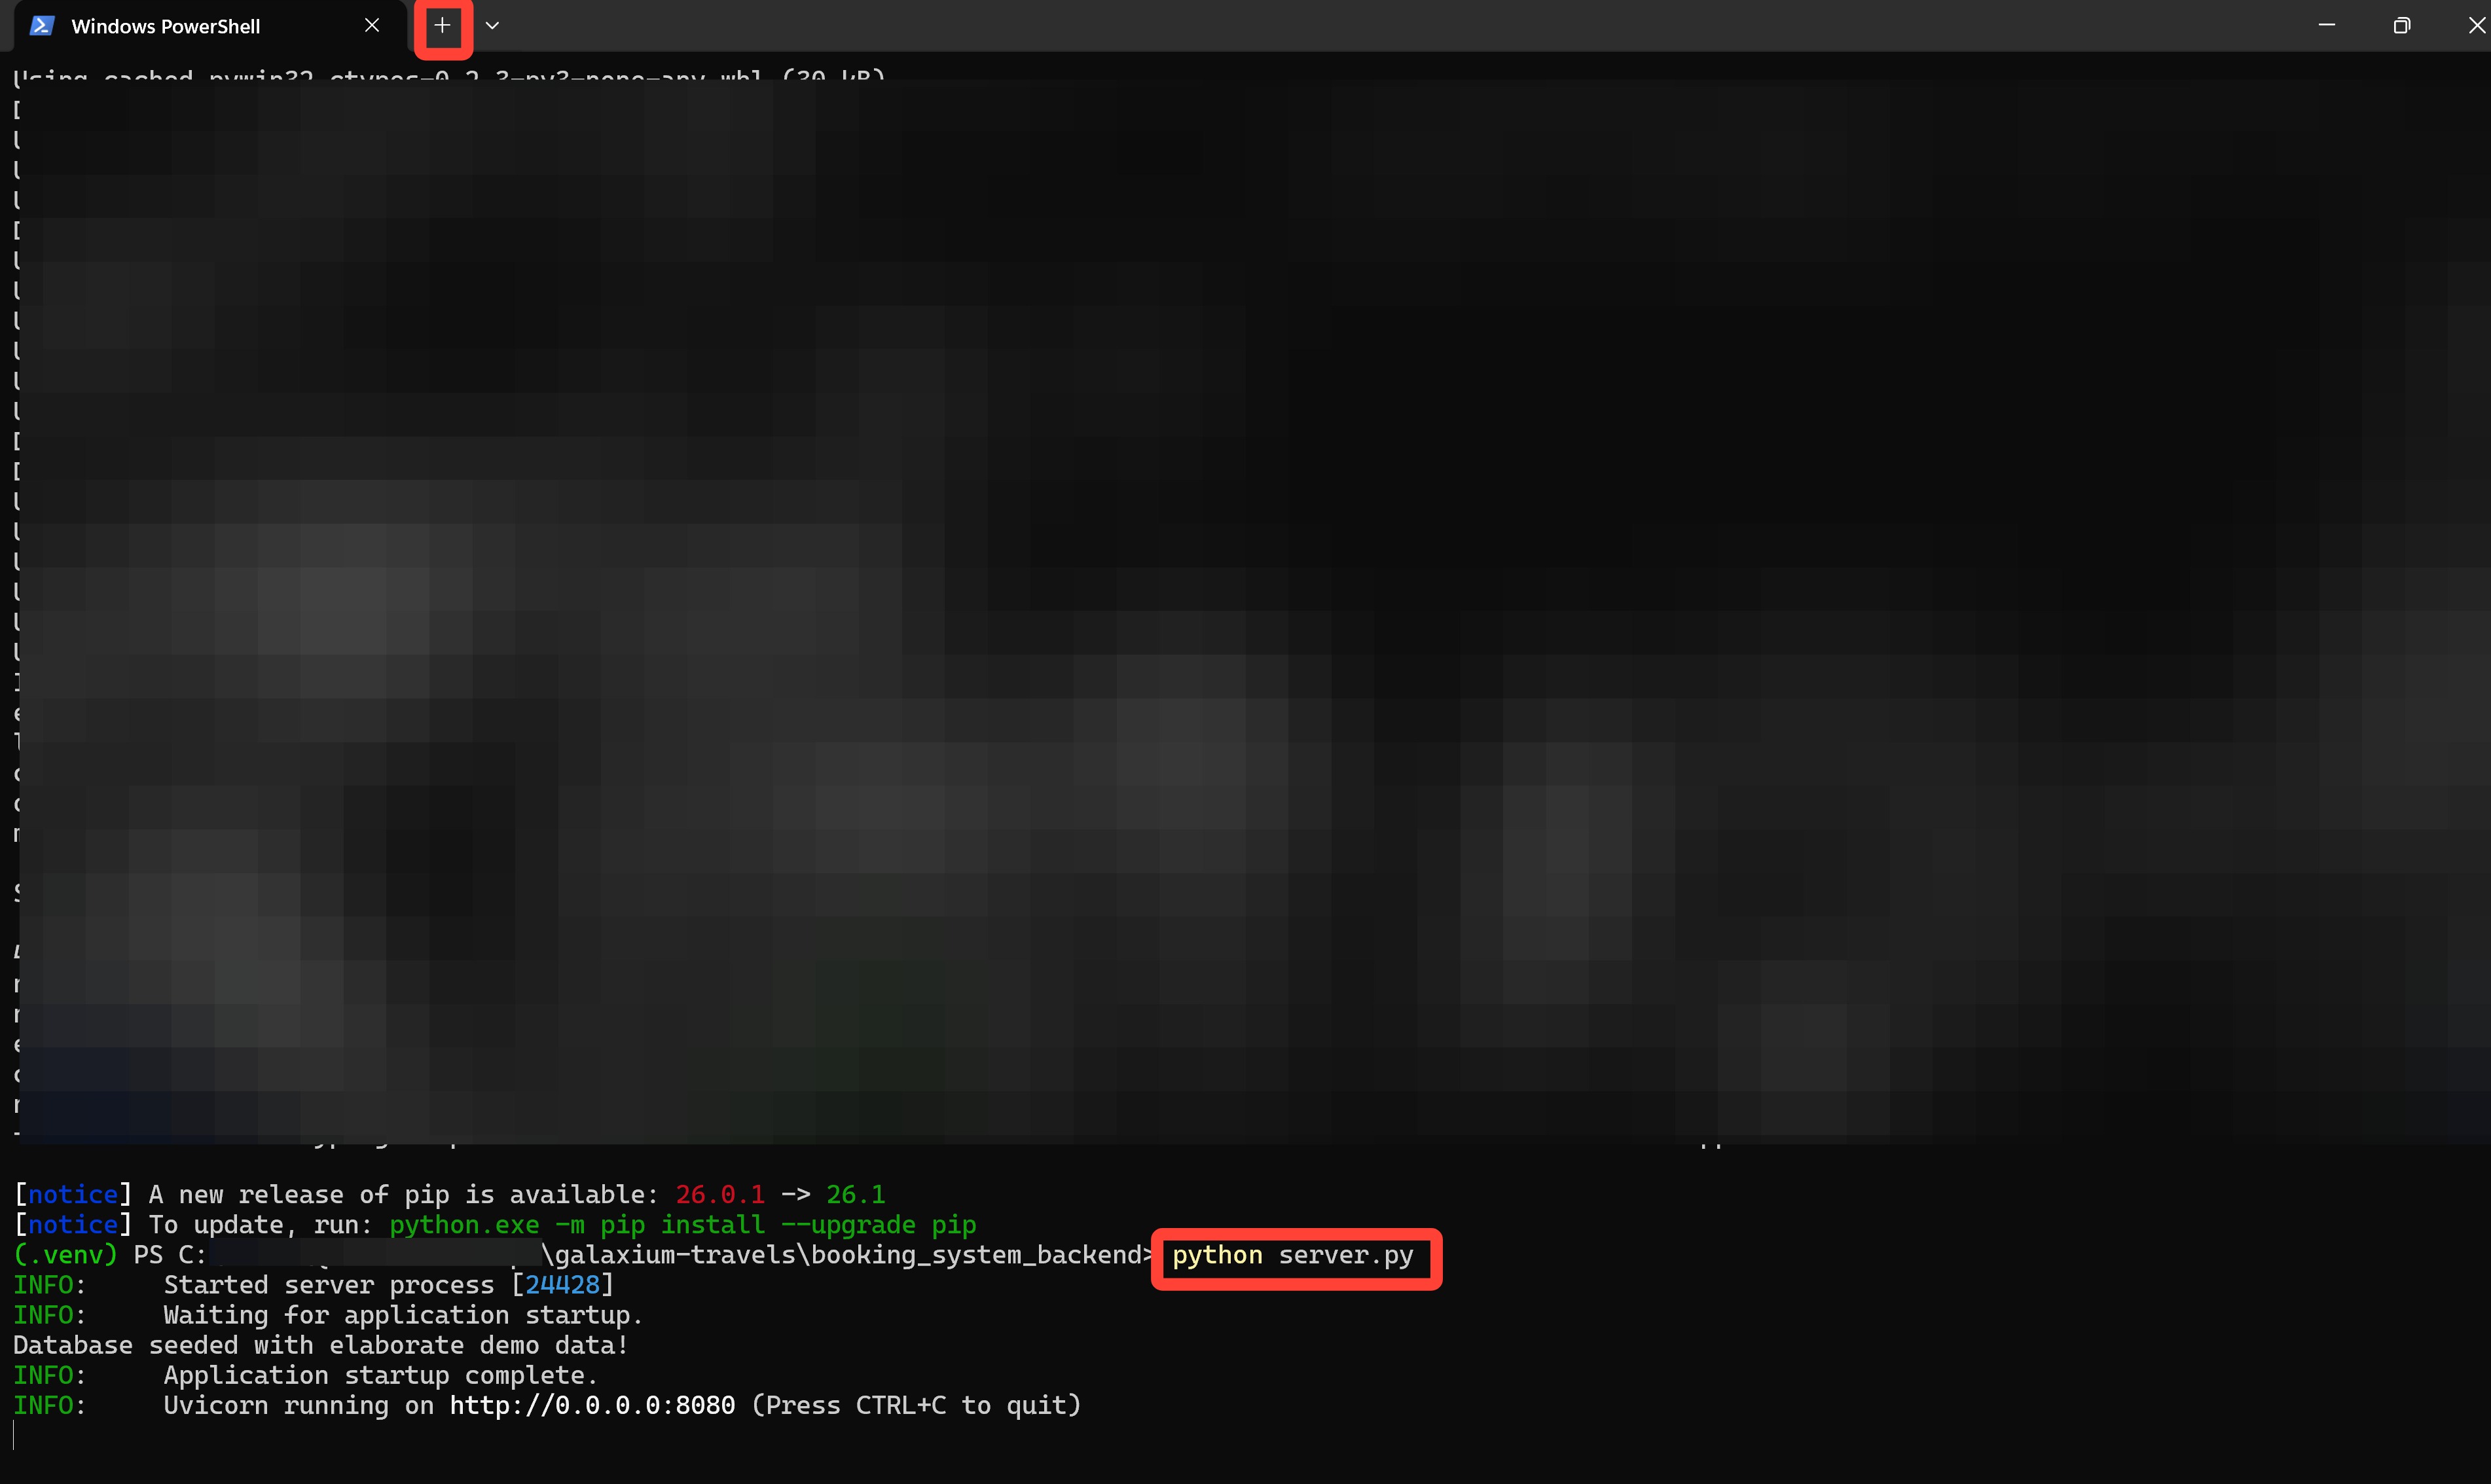
In the same Terminal window, paste and execute:
Afterward, open a new Terminal window by pressing the Plus (+) button.
-
In the new Terminal window, run the following commands in sequence:
Step 1:
Step 2: Step 3: Step 4: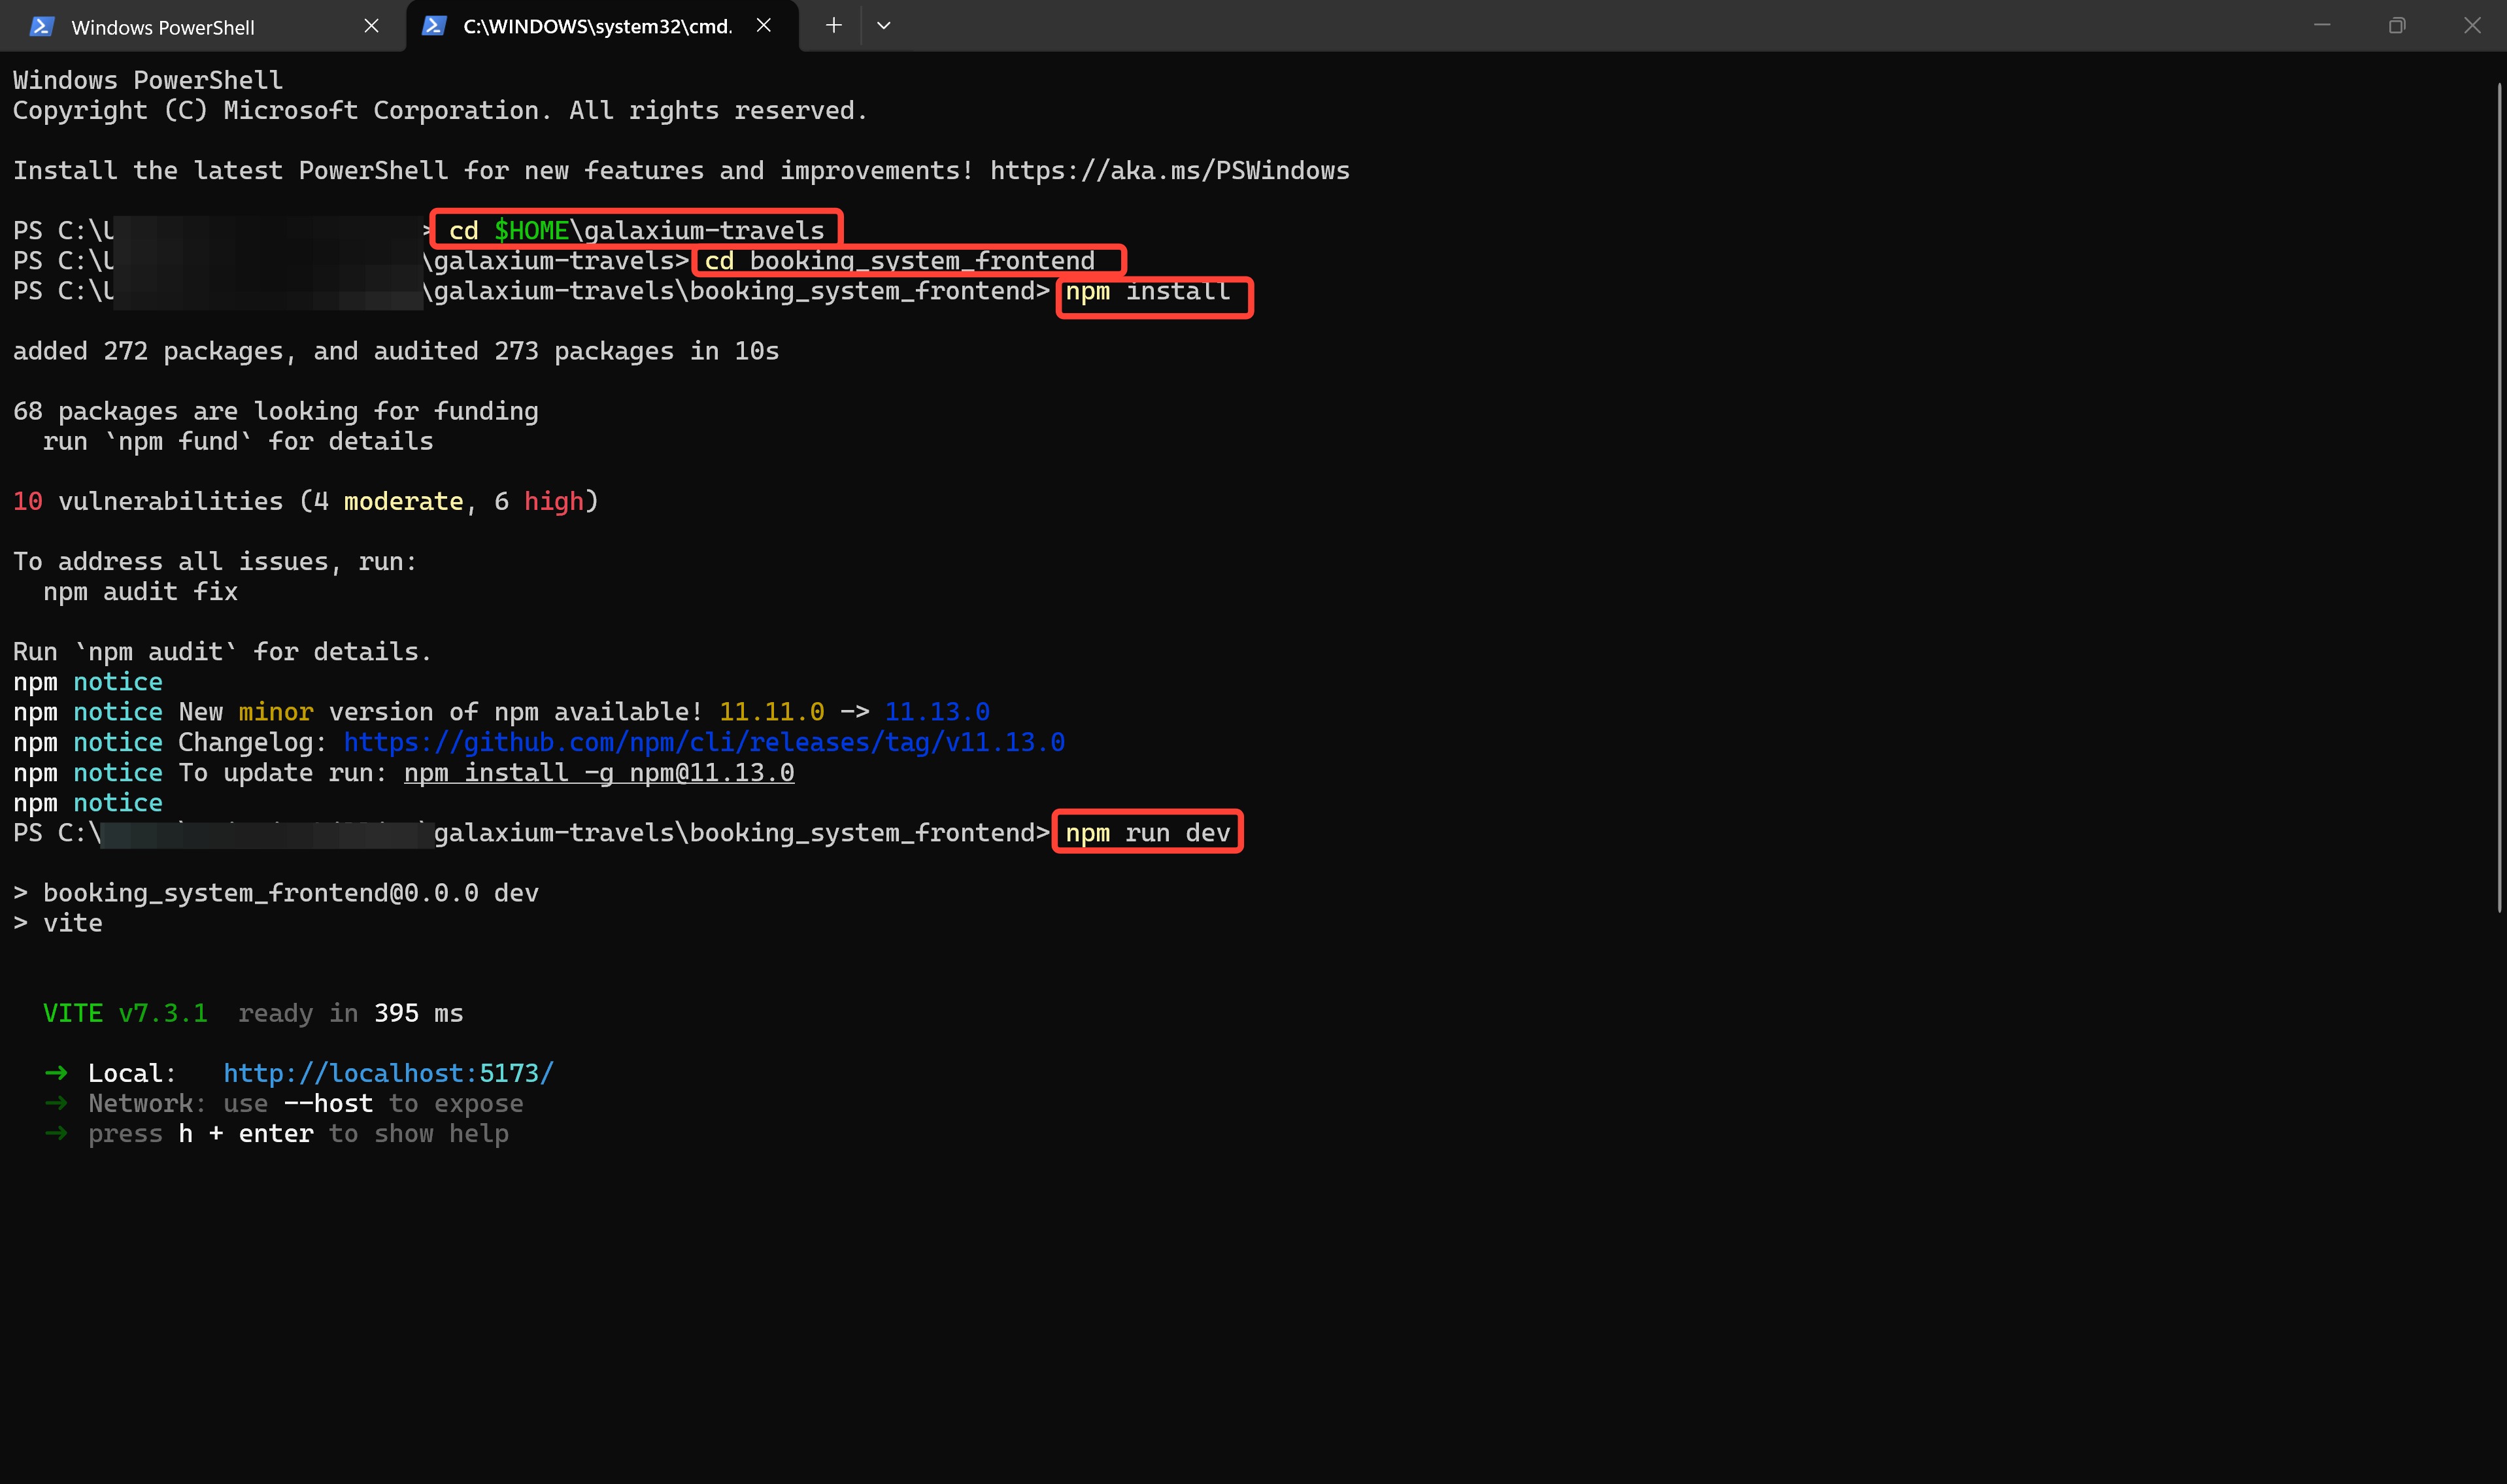
-
After running the commands (whether
./start.shon macOS/Linux or the manual Windows steps above), you will see Vite — ready in ___ ms.You will also see a localhost URL — most likely
http://localhost:5173/. Copy this link.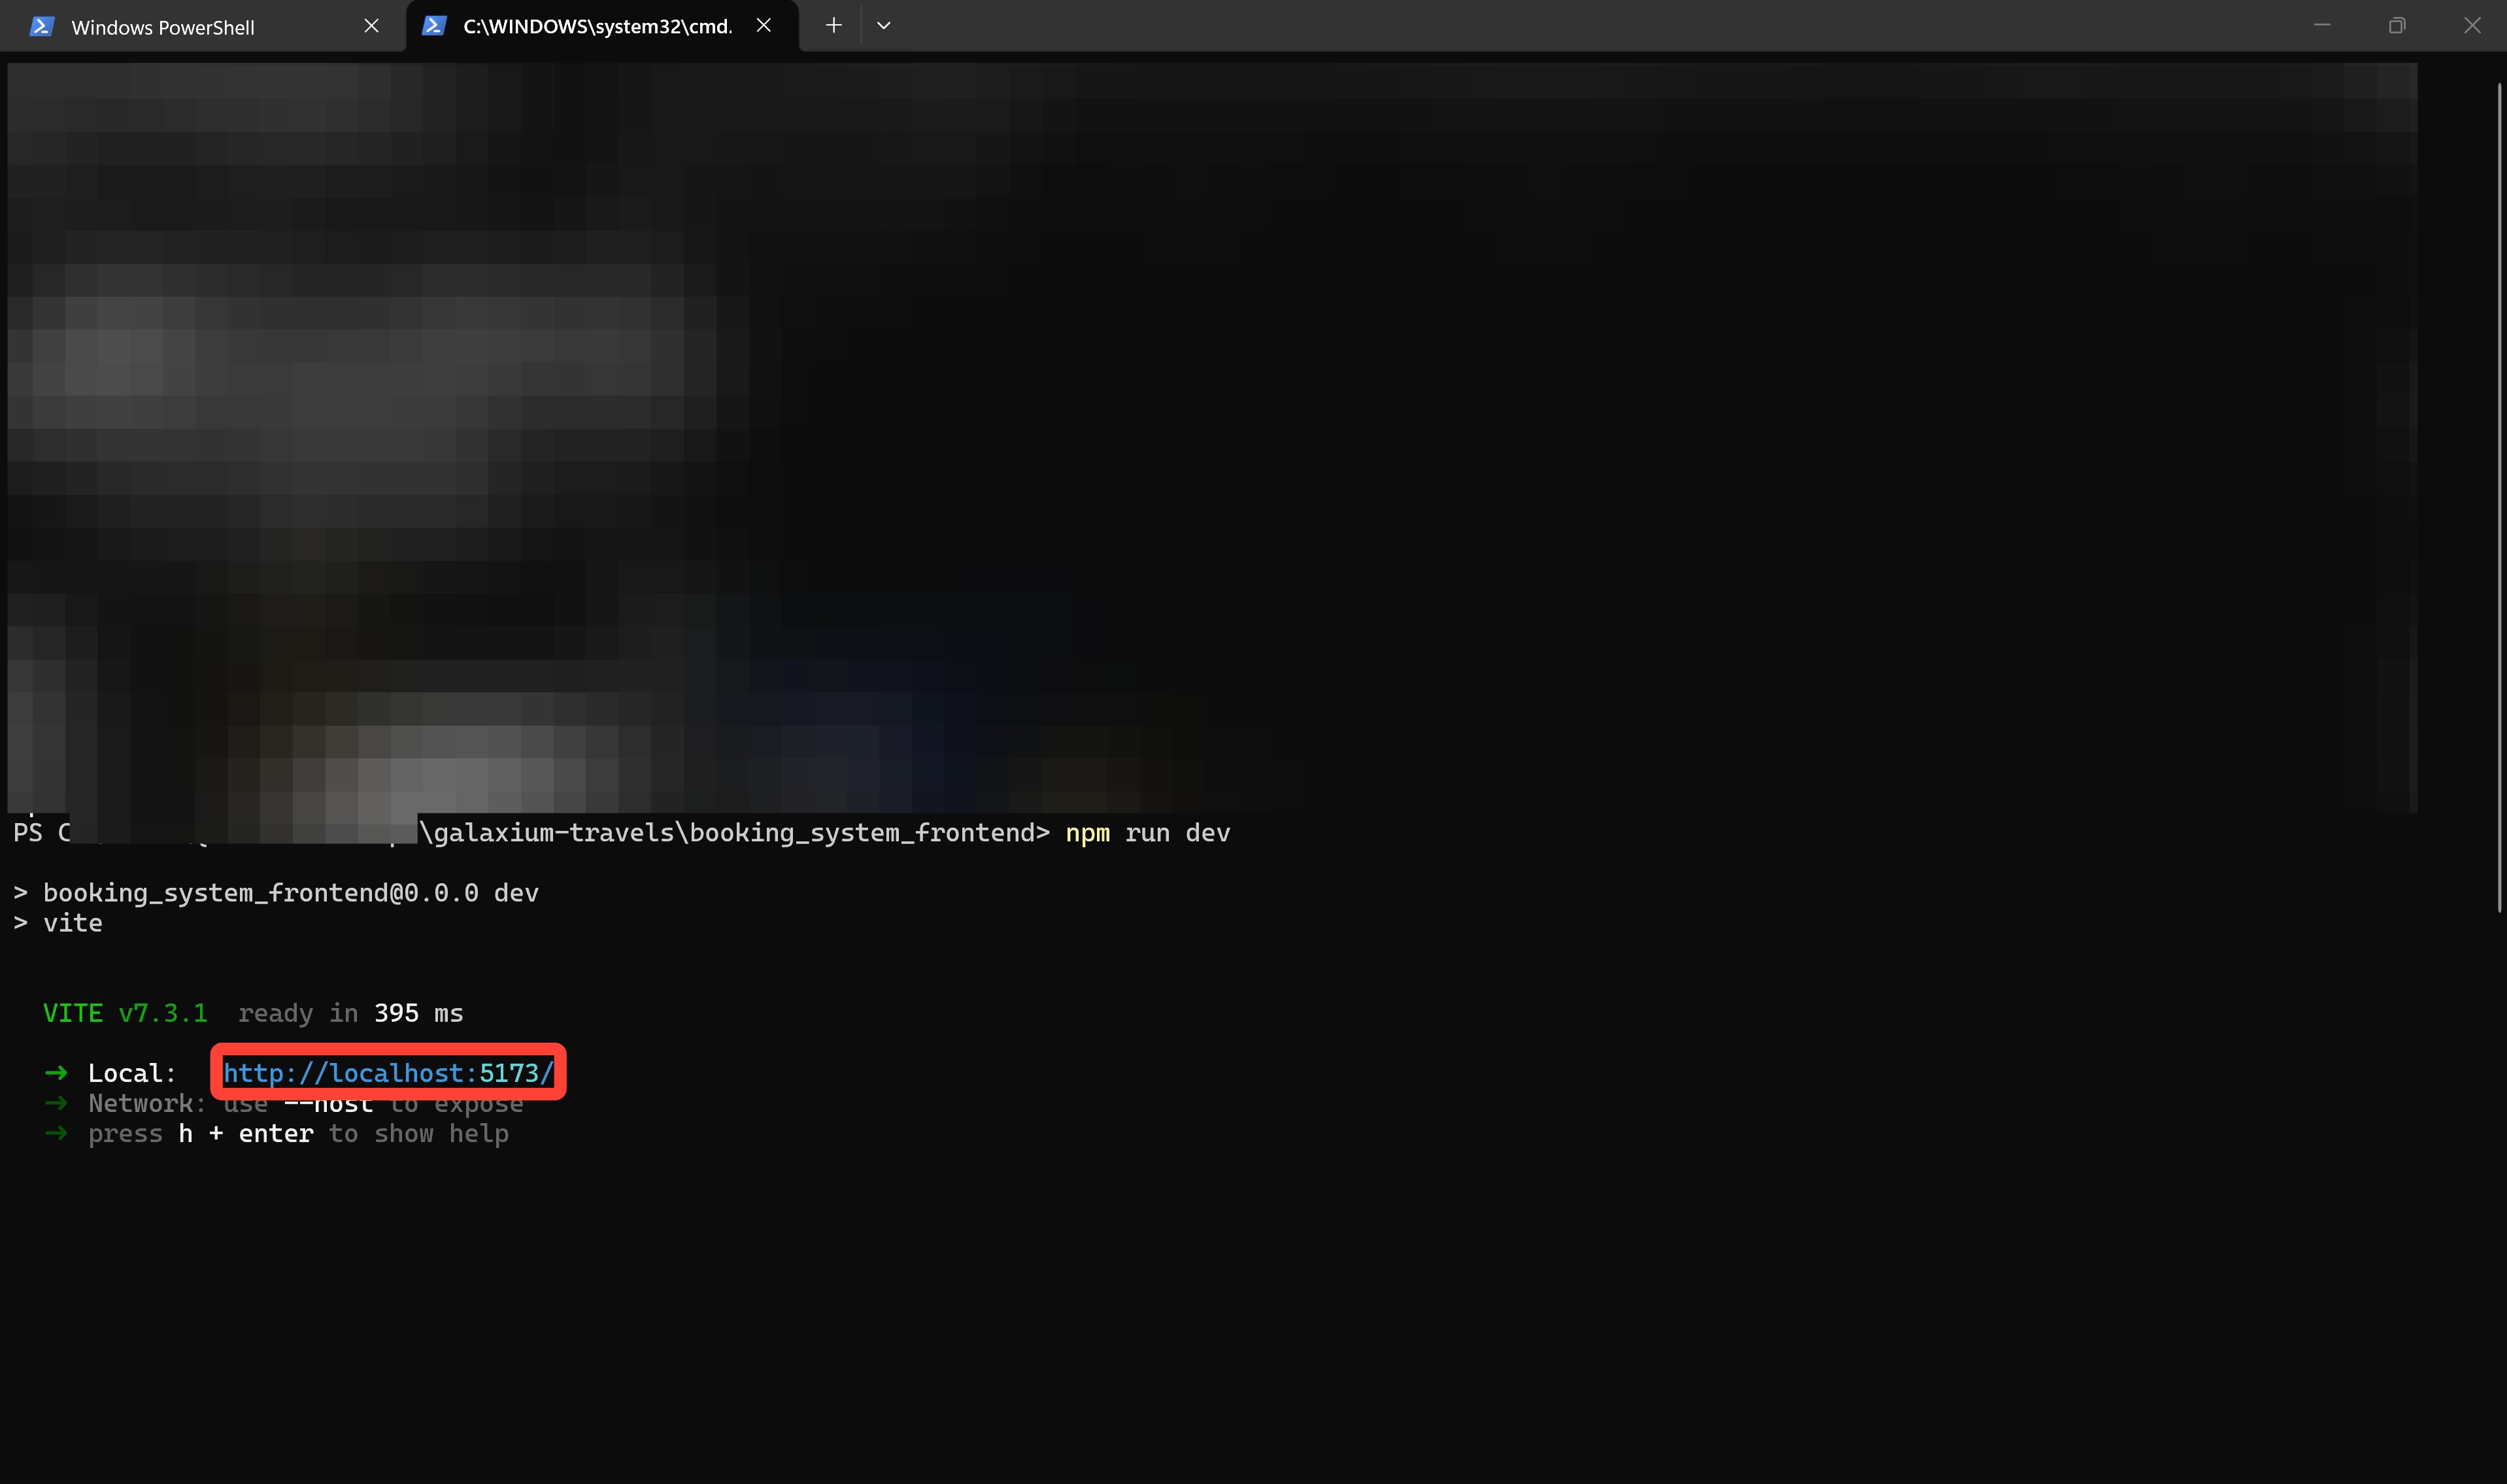
-
Open your web browser and paste the URL you saw — as noted, this is most likely
http://localhost:5173/(unless another instance of Vite is already running).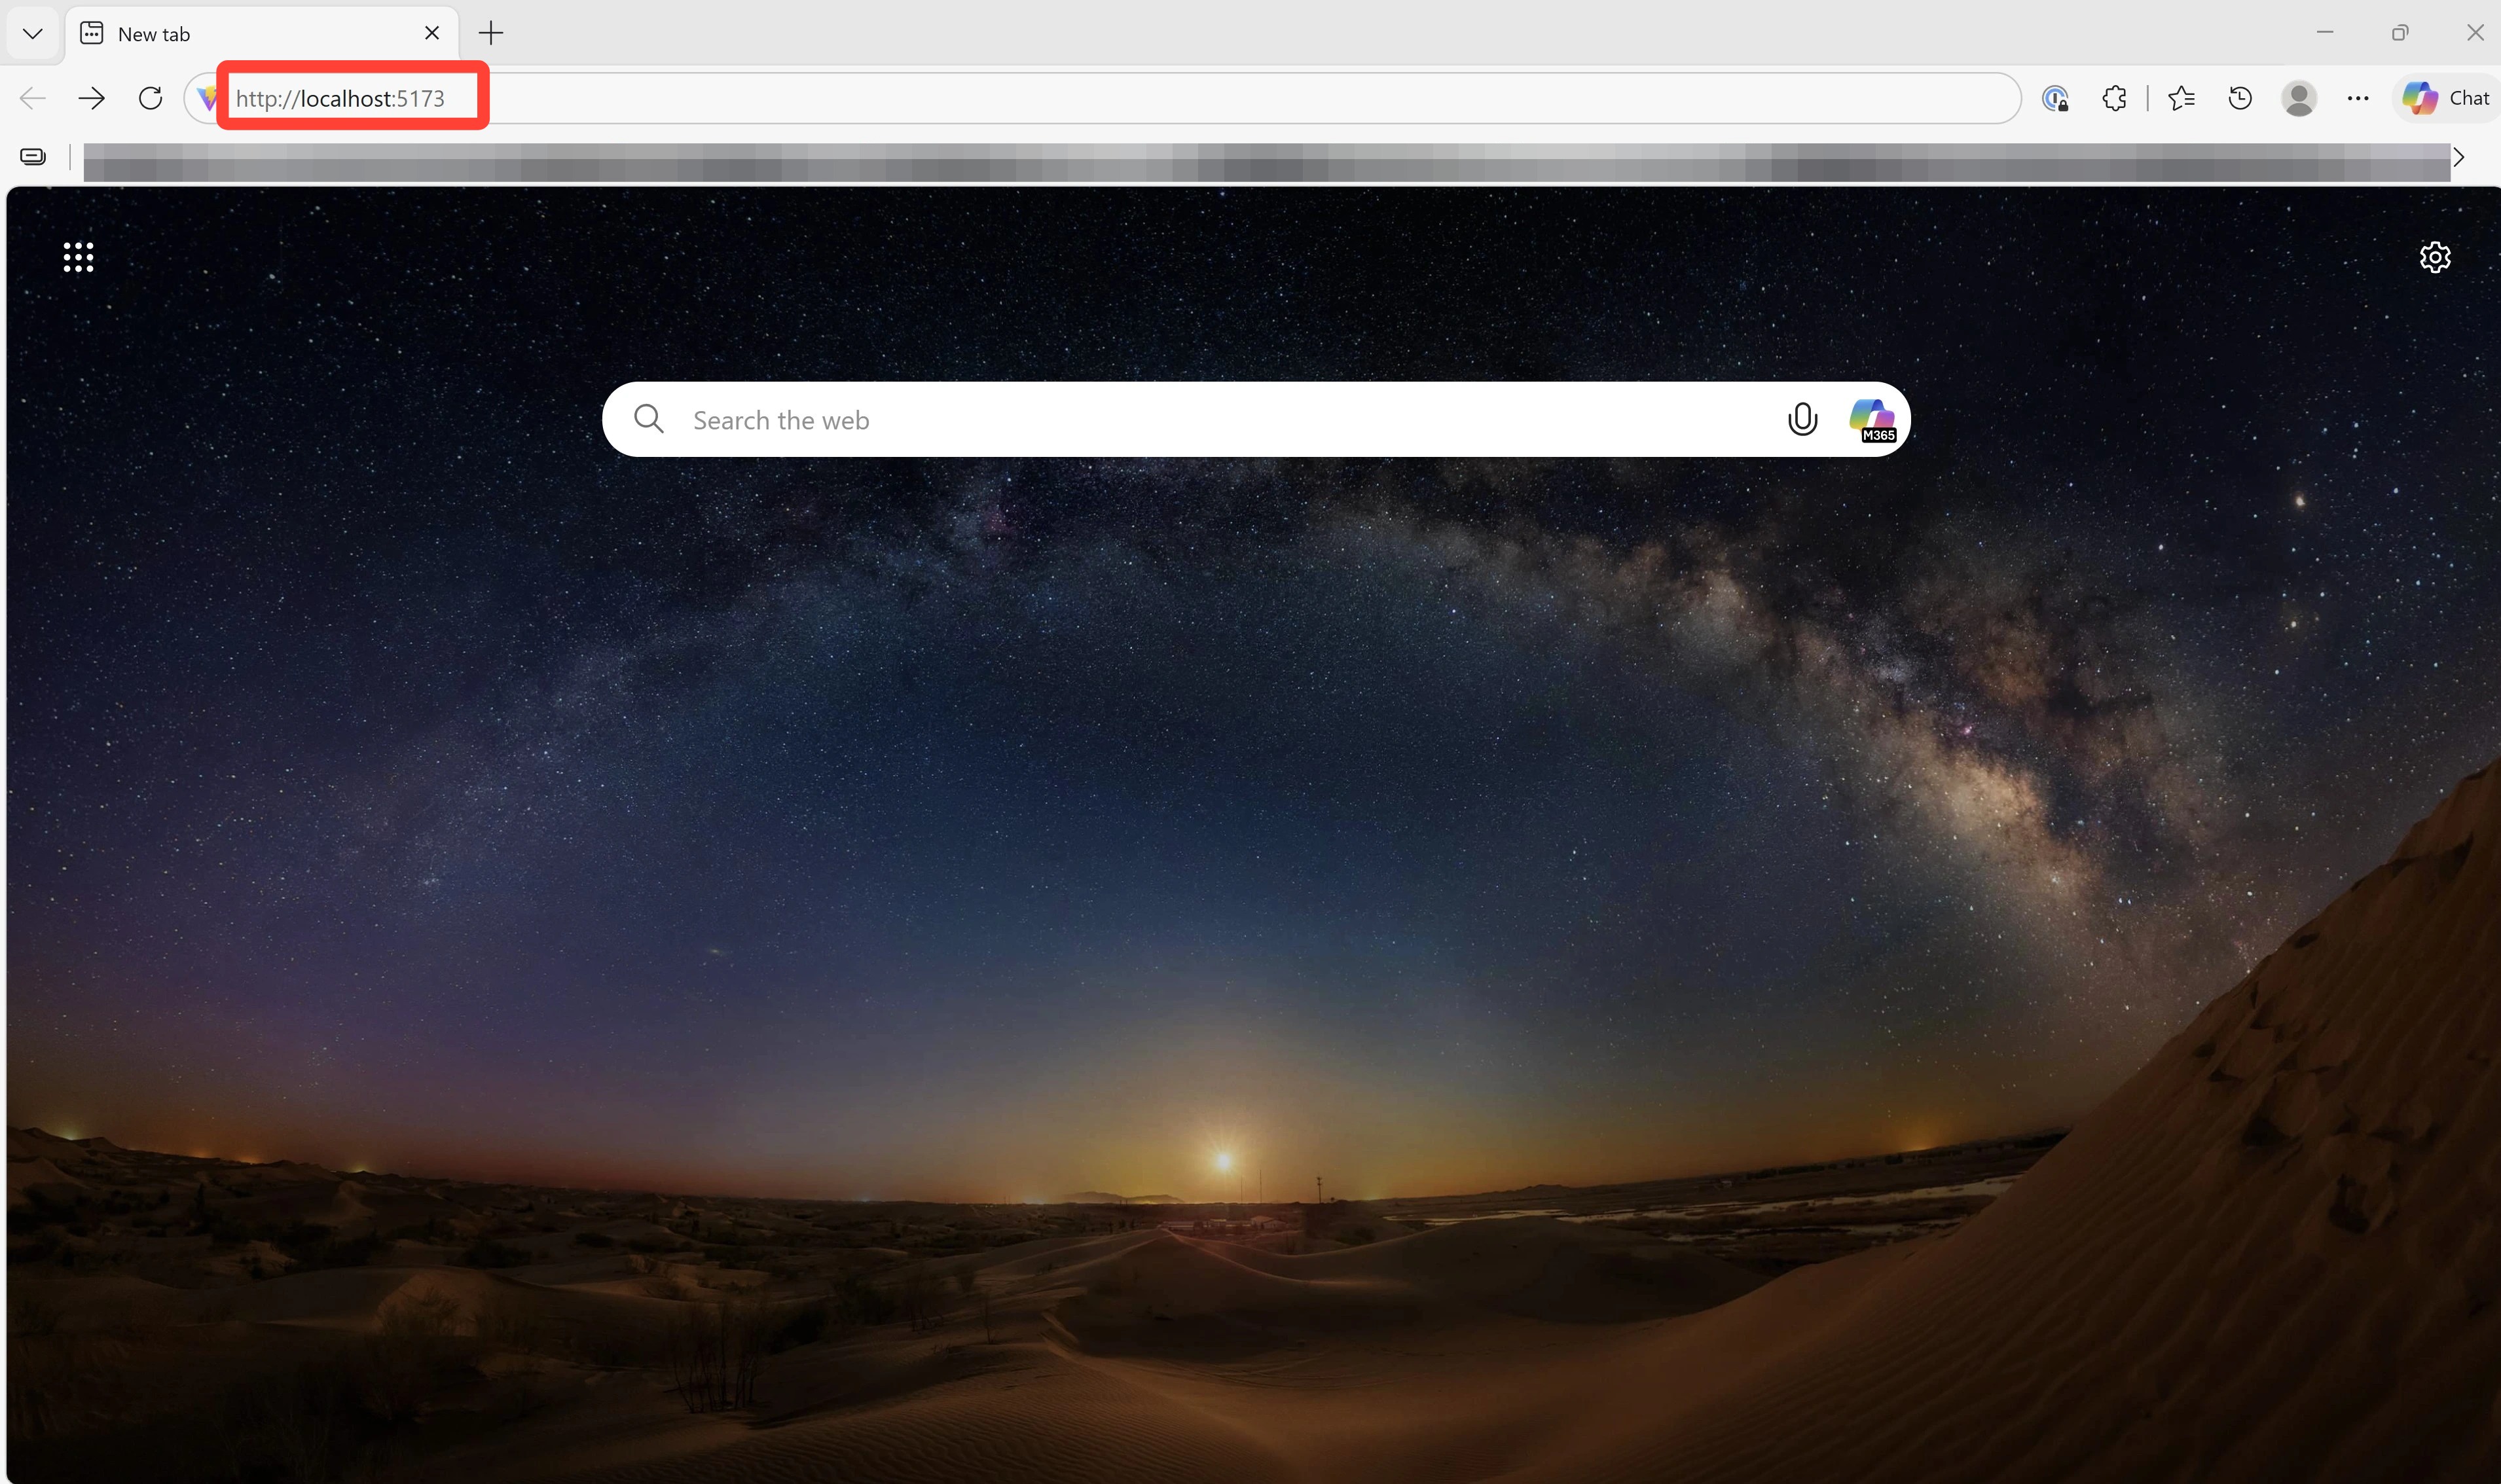
-
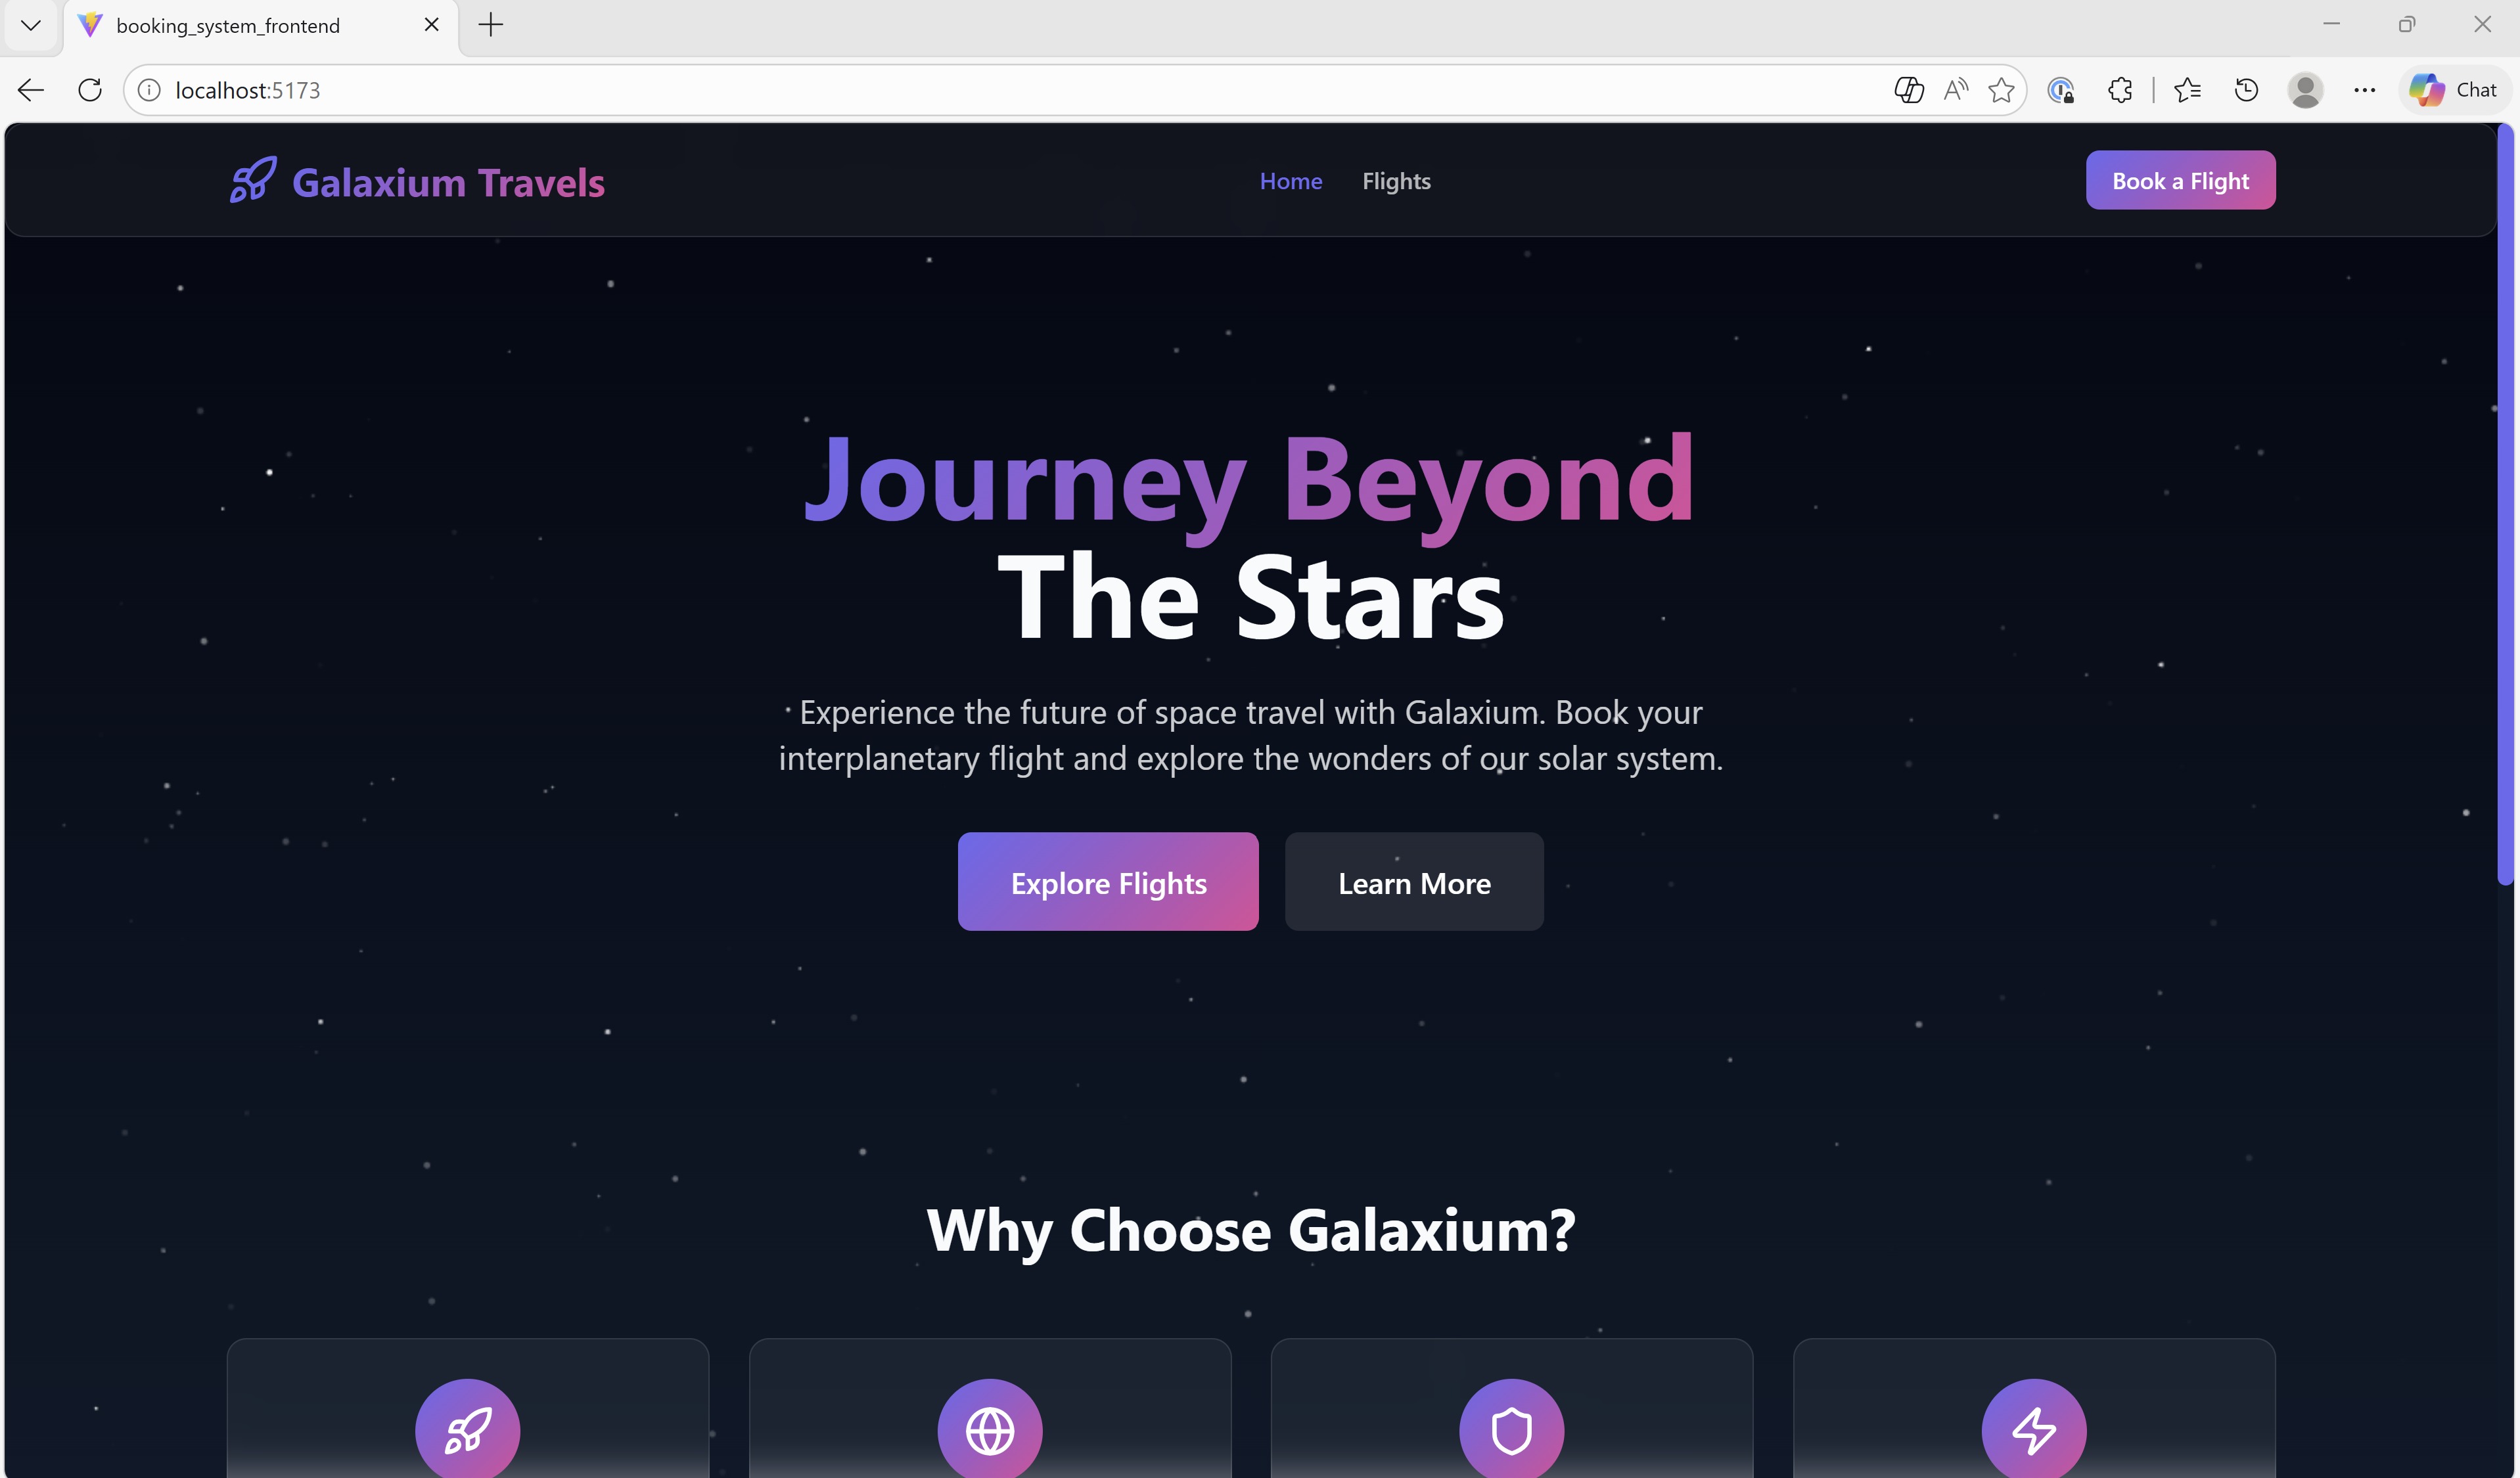
You are now successfully connected to the Galaxium Travels demo app.
KEEP THIS WINDOW OR TAB OPEN
You will return to the Galaxium Travels application within the web browser frequently during these lab exercises.
-
Return to IBM Bob and click Explorer (or press Ctrl+Shift+E).
-
Click Open Folder.
-
Navigate to the location of the
galaxium-travelsfolder, then select galaxium-travels.This is whatever directory you were in when you ran the
git clonecommand — most likely your home / user-profile directory.
-
With the
galaxium-travelsfolder open, expand the drop-down arrow.
-
You can now see the sub-folders that make up the web app — this is where you will modify the code to demonstrate IBM Bob's capabilities throughout the lab.
SETUP COMPLETE
With the app running and the project open in Bob, your local environment is ready — continue to section viii.
viii. Next steps
Setup is complete: IBM Bob is authenticated, the Galaxium Travels application is running locally, and the project is open within the Bob IDE. You are ready to begin the hands-on work and watch Bob operate inside a production-style codebase, exactly as it would within a client's real project.
Onward to Module 1 | Assist, where you'll begin at the gentlest stage of the AI Maturity Curve: Bob working shoulder to shoulder with you inside the editor.