Getting started
This topic guides you through the initial setup, configuration, and basic usage of IBM Db2 Developer Extension.
Prerequisites
Before you begin, ensure that the following software is installed:
- Visual Studio Code version
1.103.0or later - Java Runtime Environment (JRE) version
17or later
Installing the Extension
- Open Visual Studio Code.
- Click Extensions.
- Search for IBM Db2 Developer Extension.
- Select the extension and click Install.
The IBM Db2 Developer Extension icon (![]() ) appears in the Activity Bar.
) appears in the Activity Bar.
Configuring IBM Db2 Developer Extension
- Open Visual Studio Code and click the gear icon (
 ) and then Settings.
 - Go to Extensions in the left sidebar and select IBM Db2 Developer Extension Settings.
-
Configure the following settings as required:
- Db2service: Max Rows Set the maximum number of rows to fetch in query results (default is 1000).
- Db2service: Service Port Enter the port number for the Db2 service (default is 9000).
- Click Backup and Sync Settings to save your settings.
Using the IBM Db2 Developer Extension
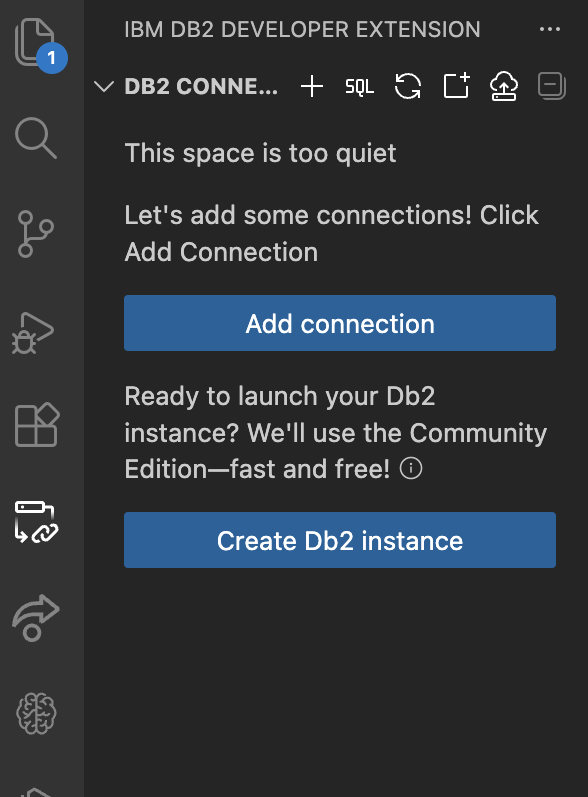
When you open the Db2 Developer Extension, you can see the DB2 CONNECTIONS pane.
If you already have a Db2 instance:
Click Add connection button or Add connection icon (![]() ) in the DB2 CONNECTIONS pane and follow the steps here to create a database connection.
) in the DB2 CONNECTIONS pane and follow the steps here to create a database connection.
If you do not have a Db2 instance:
Click Create Db2 instance button or Create Db2 instance icon (![]() ) in the DB2 CONNECTIONS pane and follow the steps here to create one.
) in the DB2 CONNECTIONS pane and follow the steps here to create one.
DB2 CONNECTIONS pane
You can see the following icons on the DB2 CONNECTIONS pane.
| Icon | Icon name | Description |
|---|---|---|
| Add connection | Add a database connection. | |
| Open SQL Editor | Open a new SQL Editor to write and run queries. | |
| Refresh Db2 explorer | Reload schemas and objects to reflect the latest changes. | |
| Create new SQL file | Open a new editor tab where you can write and run SQL queries. | |
| Create Db2 instance | Create a new Db2 instance by using the Community Edition license. After you create a new Db2 instance, the icon label automatically changes from Create Db2 instance to Update Db2 instance. | |
| Collapse All | Collapse all objects to return to a compact view. |
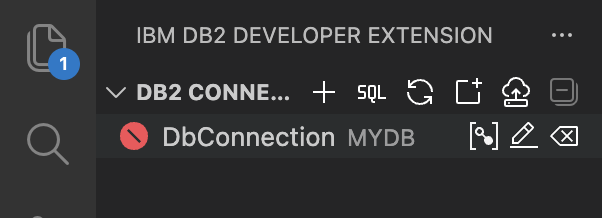
You can see the following icons on each database connection:
| Icon | Icon name | Description |
|---|---|---|
| Connect | Connect to a database. | |
| Edit connection | Edit a database connection. | |
| Delete connection | Delete a database connection. | |
| Disconnect | Disconnect a database connection. This icon will be visible only after connecting to the database. |