Optional Lab 4: Use Code Engine to build a container image
In this optional lab we will build and push the web-app container image to the IBM Cloud Registry. The IBM Cloud Registry has a free lite plan with limited resources of Storage (Gigabyte-Months):
- 0.5 GB free per month and pull traffic (Gigabytes)
- 5 GB free per month.
Please visit the IBM Cloud Registry catalog for the current pricing.
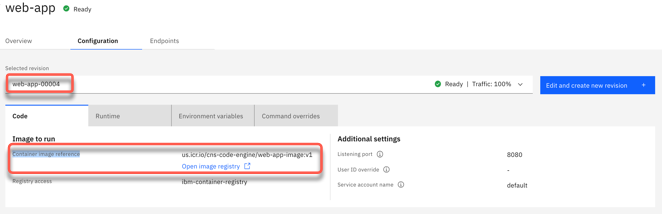
After the creation of the web-app container image and when the image is saved in the IBM Cloud Registry, we can simply replace the Container image reference for the web-app application in Code Engine in a new configuration. The following image shows a new Container image reference value us.icr.io/cns-code-engine/web-app-image:v1 inside a newly created configuration web-app-00004.
Architecture
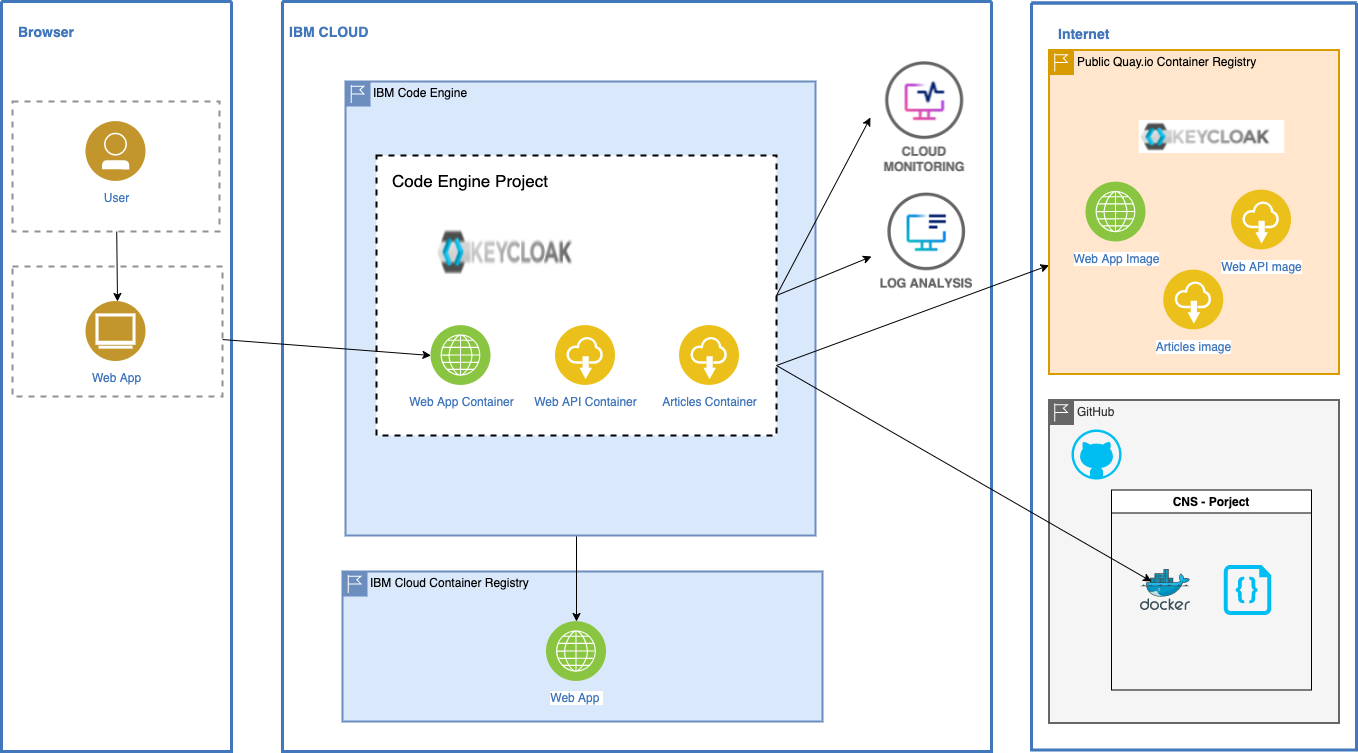
The following simplified architecture diagram show the dependencies of the Code Engine project, the IBM Cloud Container Registry, the Quay Container Registry, the IBM Cloud Logging, the ÌBM Cloud Monitoring and the GitHub project.
Steps
Step 1: Create an IBM Cloud Container image NamespaceOpen the following link:
```sh
https://cloud.ibm.com/registry/namespaces
```
-
Select Location
Dallasand pressCreate -
Enter for Name
cns-code-engineand pressCreate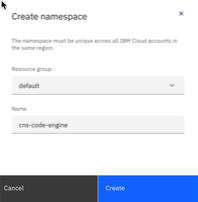
-
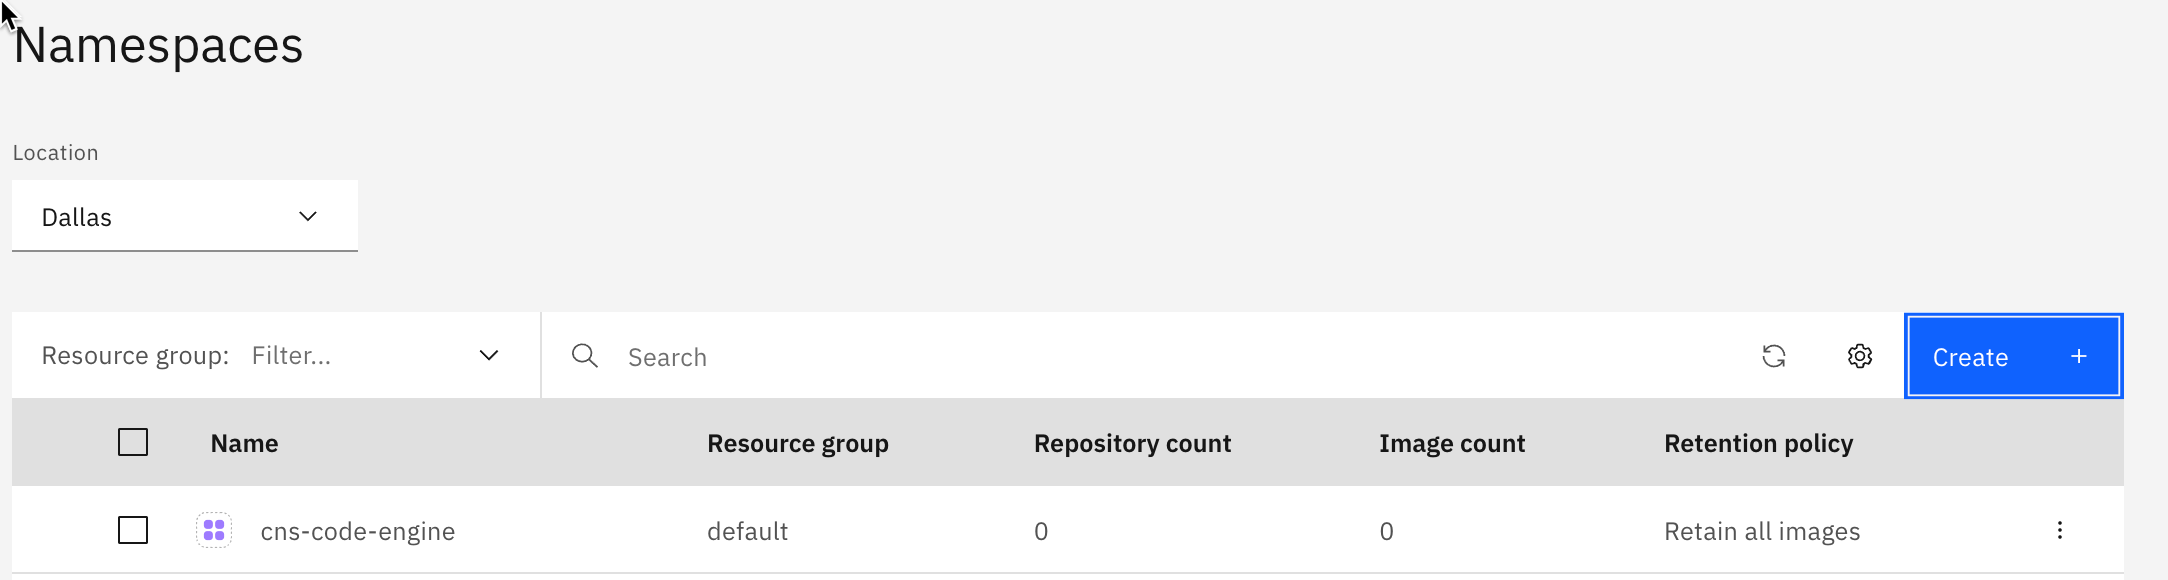
Verify the created Namespace
Step 2: Start to create a Registry access in your Code Engine project
-
Open
Registry accessin your Code Engine project and pressCreate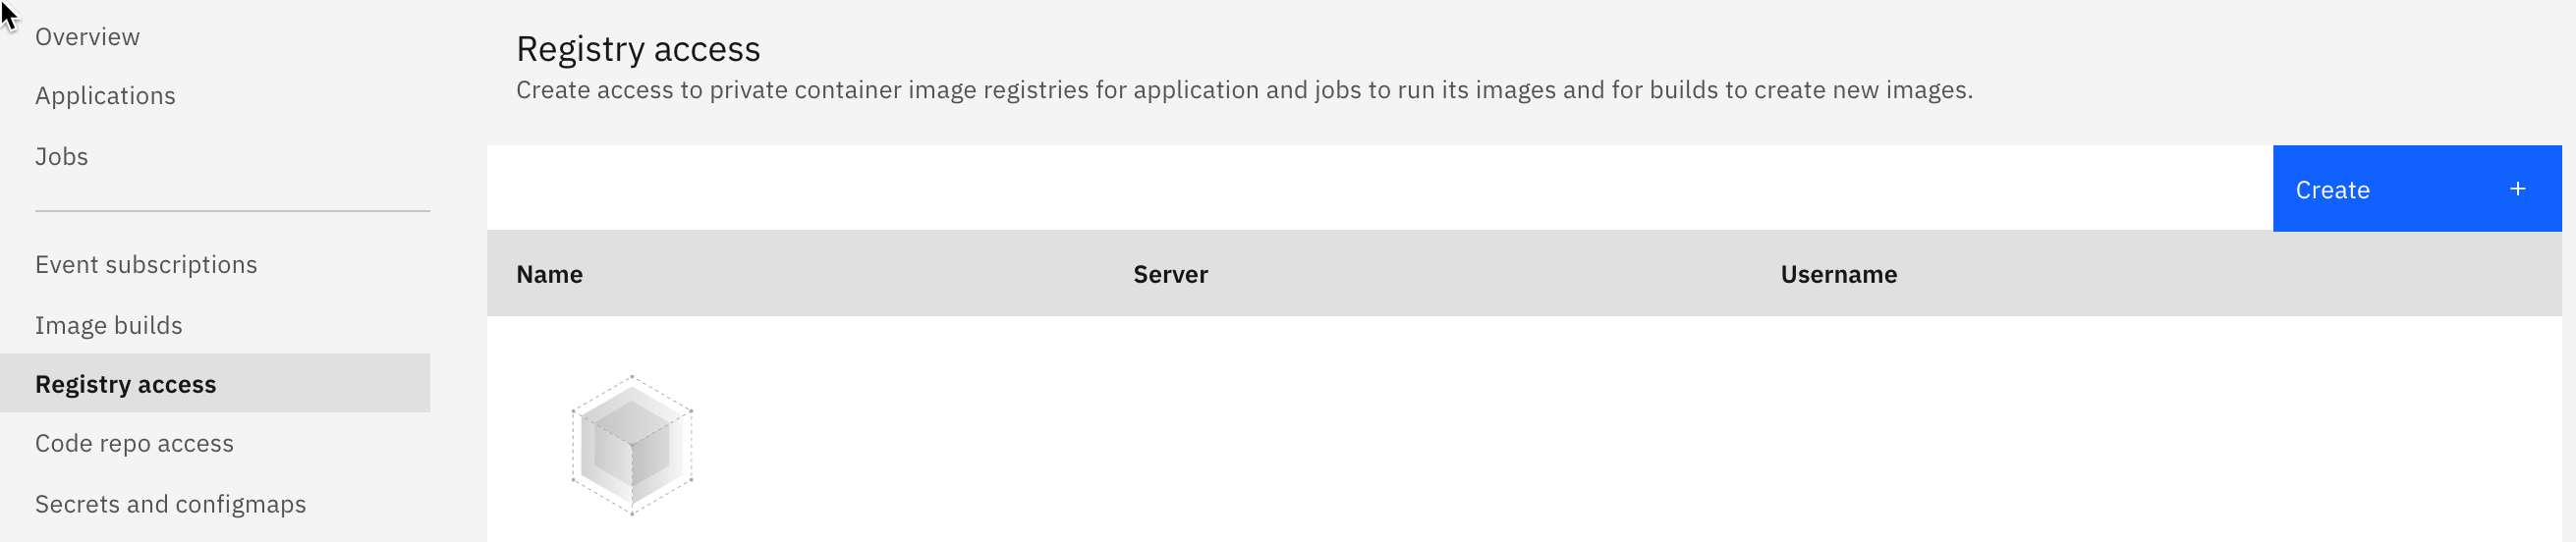
-
Enter and select following values:
- Registry source:
Custom - Registry name:
ibm-container-registry - Registry server:
us.icr.io - As you see, we need an
IAM API Key. So we leave this browser tab open and we create a new browser tab. Open the following link in the new browser tab
https://cloud.ibm.com/iam/apikeys - Registry source:
-
Press
Create an IBM Cloud API key
-
Insert following value and select
Create- Name:
code-engine IBM Cloud API key
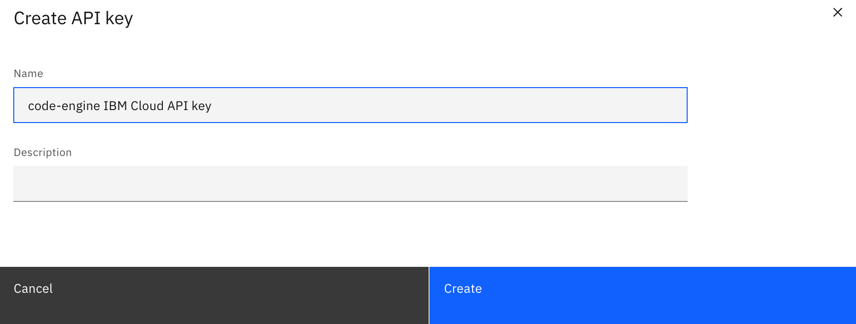
- Name:
-
Copy
IBM Cloud API keyto clipboard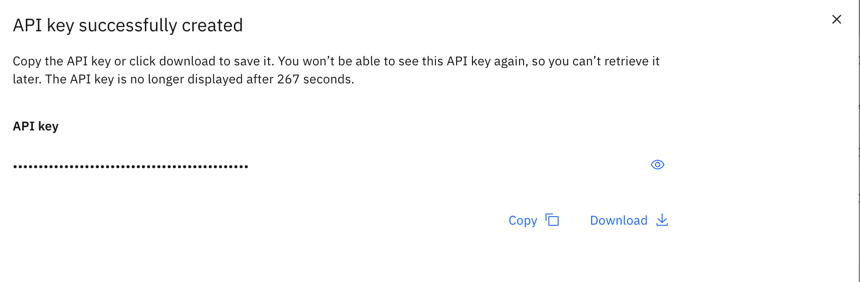
-
Go back to the
Registry accesstab, insert the copiedIBM Cloud API keyand pressCreate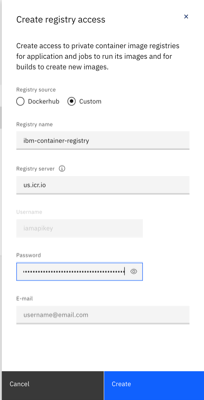
-
Verify the newly created
Registry access
Step 3: Start to create a Image build in your Code Engine project
-
Open
Image buildsin your Code Engine project and pressCreate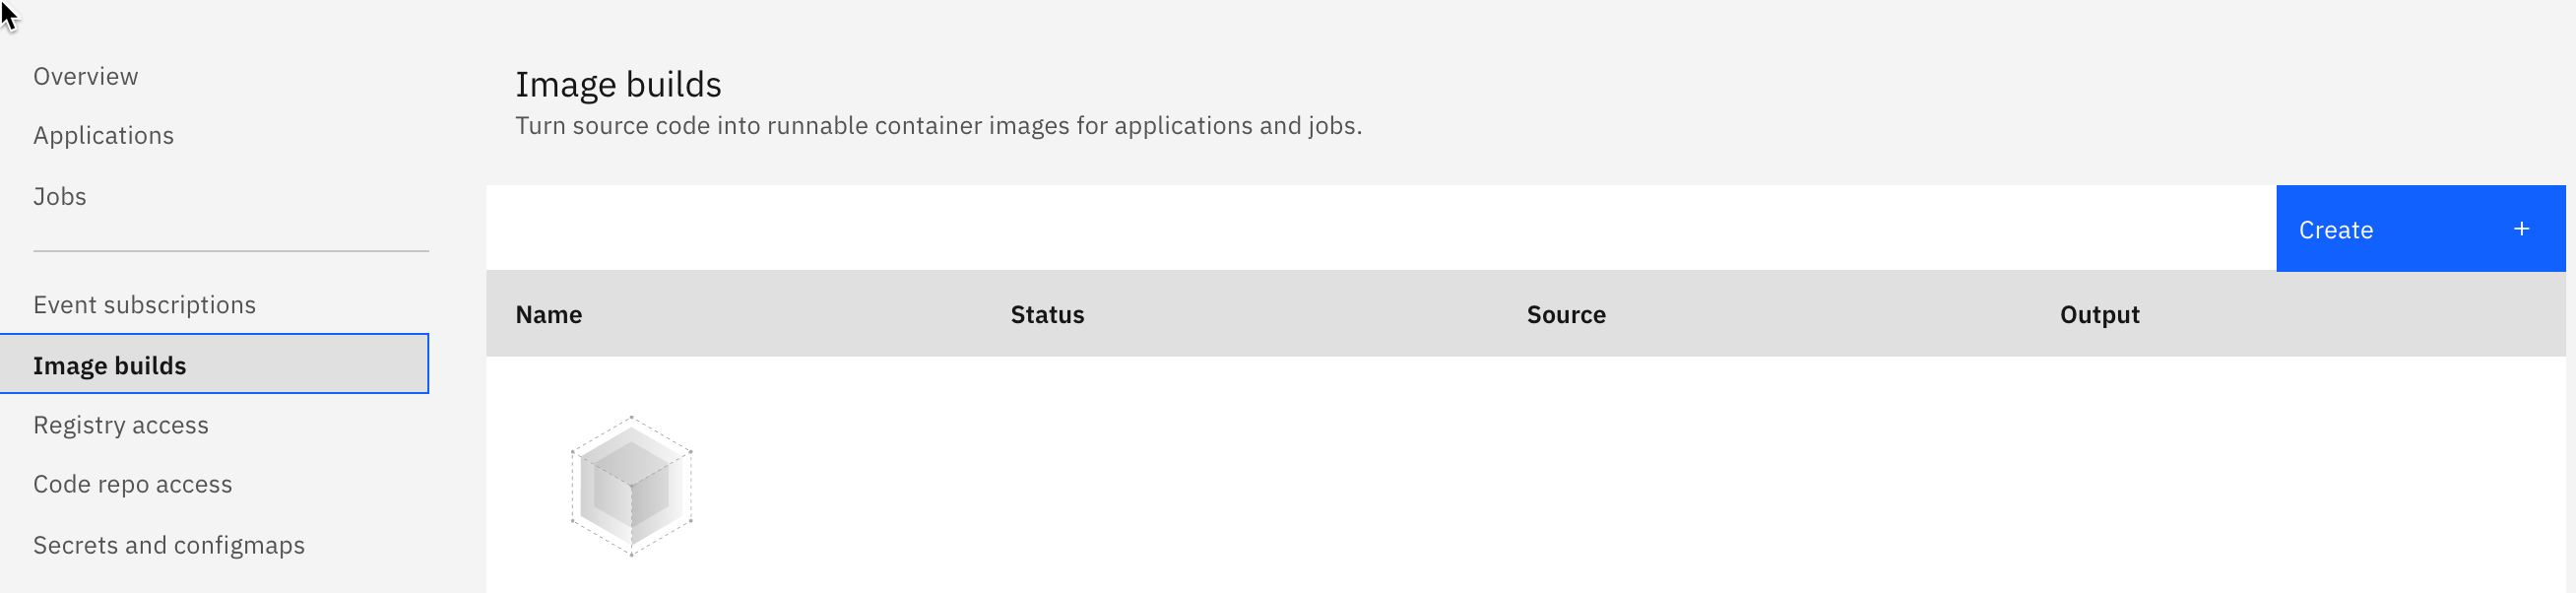
-
The
Specify build detailswizard appears, which contains three stepsSources,StrategyandOutput. -
Insert the following values for
Sourcesand pressNext- Name:
web-app-image - Code repo URL:
https://github.com/IBM/ce-cns - Code repo access:
Public - Branch name:
master - Context directory:
./code/web-app
- Name:
-
Insert or select following values for
Strategyand pressNext- Strategy:
Dockerfile - Dockerfile:
Dockerfile.os4-webapp - Timeout:
10m - Build resources:
Small (0.5 vCPU/ 2 GB)
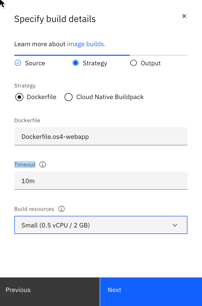
- Strategy:
-
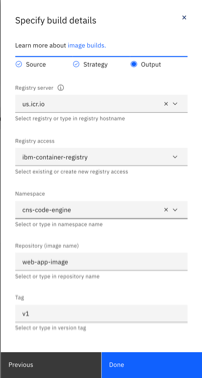
Insert or select the following values for
Outputand pressDone- Registry server:
us.icr.io - Registry access:
ibm-container-registry - Namespace:
cns-code-engine - Repository (image name):
web-app-image - Tag:
v1
- Registry server:
Step 4: Now create the container image
-
Press
Submit build
-
The
Build rundialog appears.Verify the
Output imagevalueus.icr.io/cns-code-engine/web-app-image:v1and pressSubmit buildagain.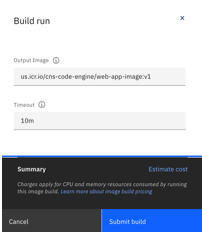
-
Open the current
Build run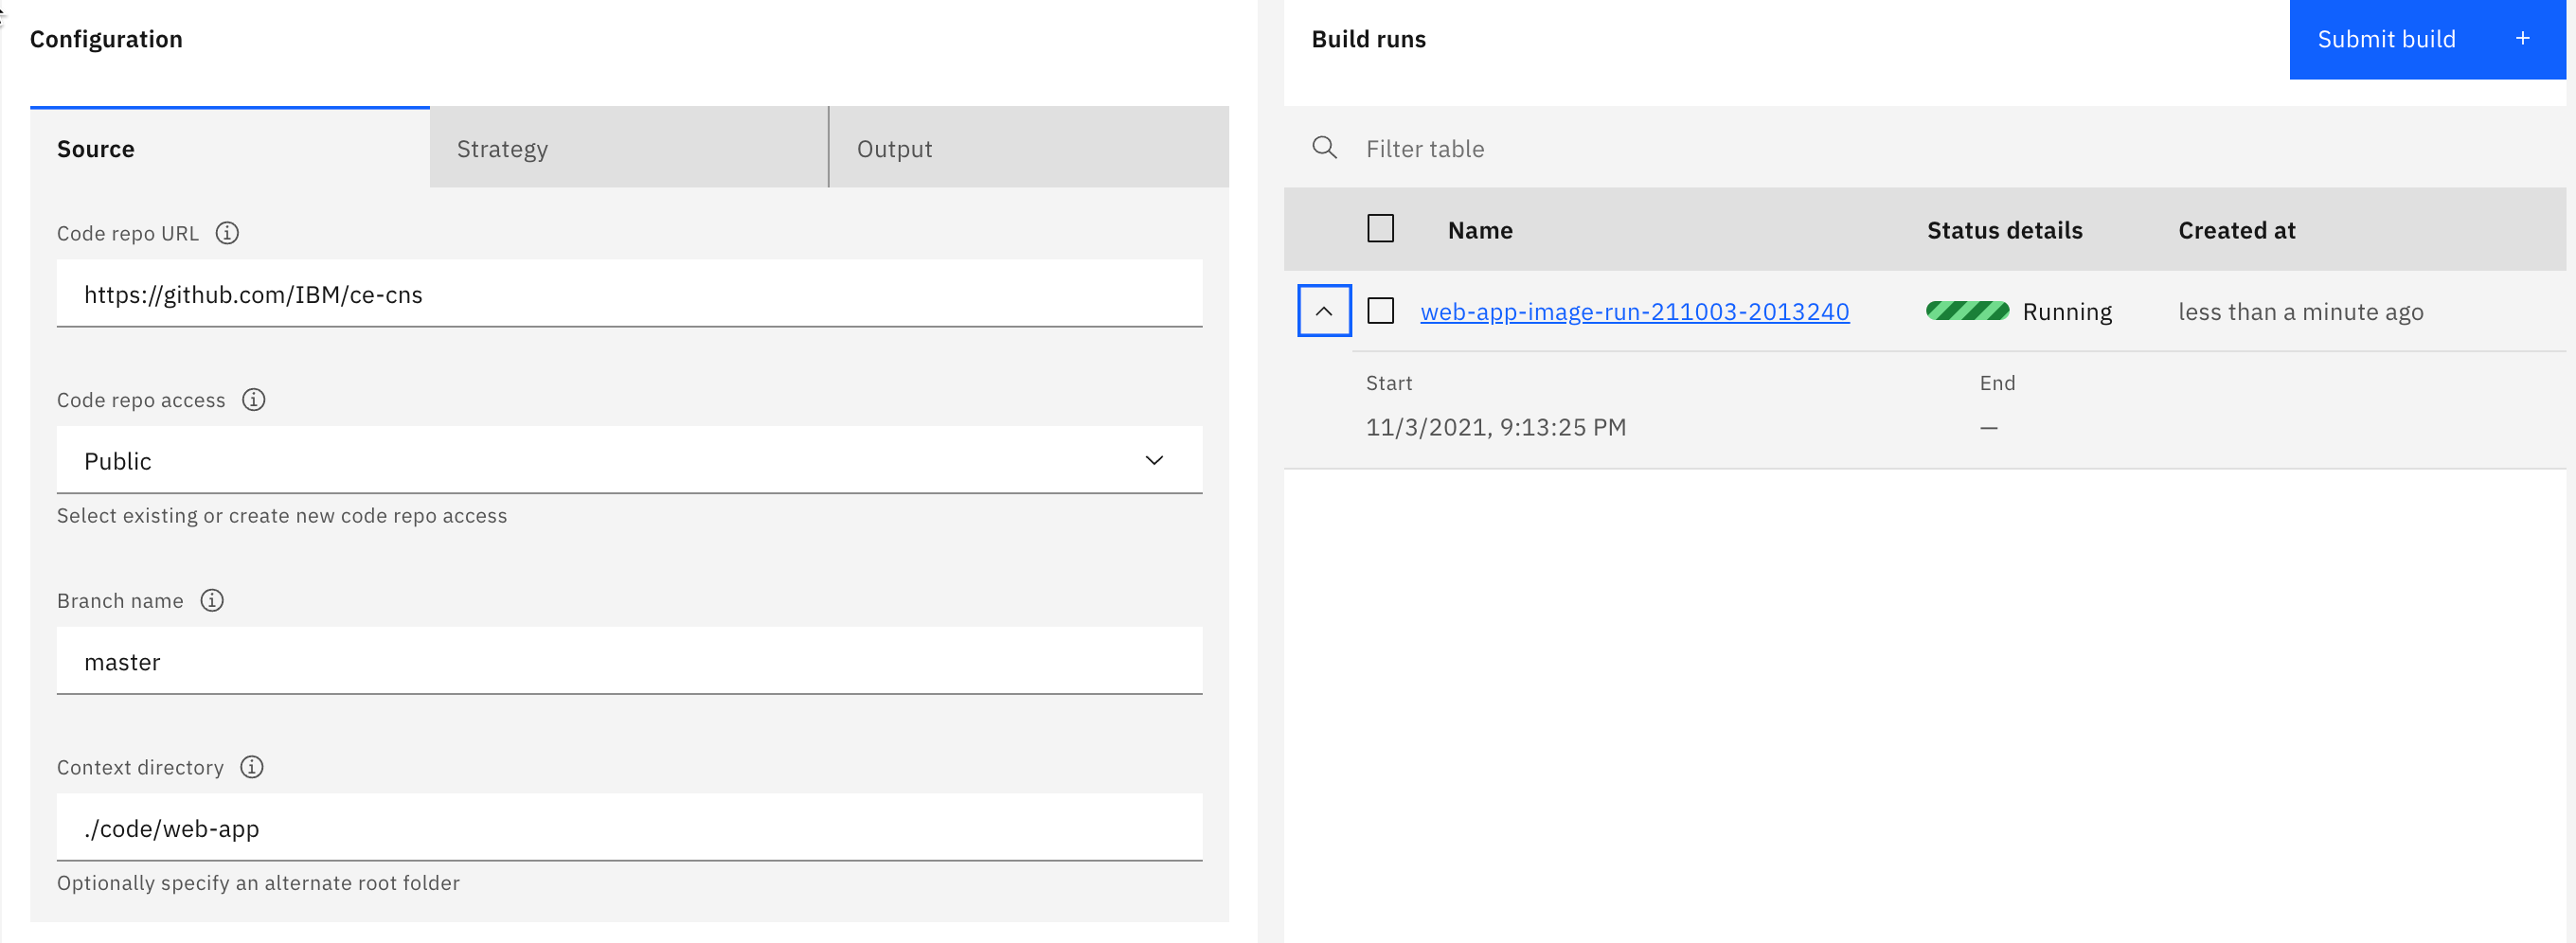
-
Open the current
Build runand observe the progress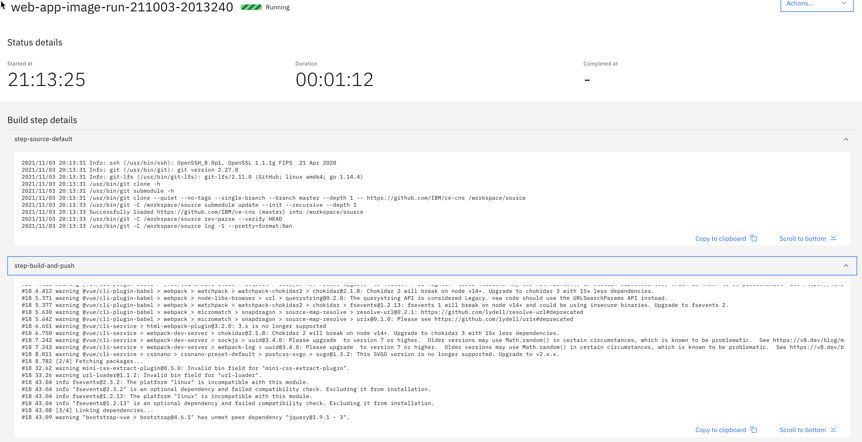
-
Verify the created image

Congratulations, you have successfully completed this optional hands-on lab tasks for
Use Code Engine to build a container imagesection of the workshop. Awesome
