Lab 1: Setup the example application
IBM Cloud Account
Step 1: Create a PayAsYouGo IBM Cloud Account
Open this link and follow the guided steps.
Code Engine has a free tier per month and we expect, if you haven't used that free tier in current month, you can execute the workshop without creating any additional costs. For the monitoring and logging we will use free lite plans for the service instances of IBM Cloud Monitoring and
IBM Cloud Log Analysis.
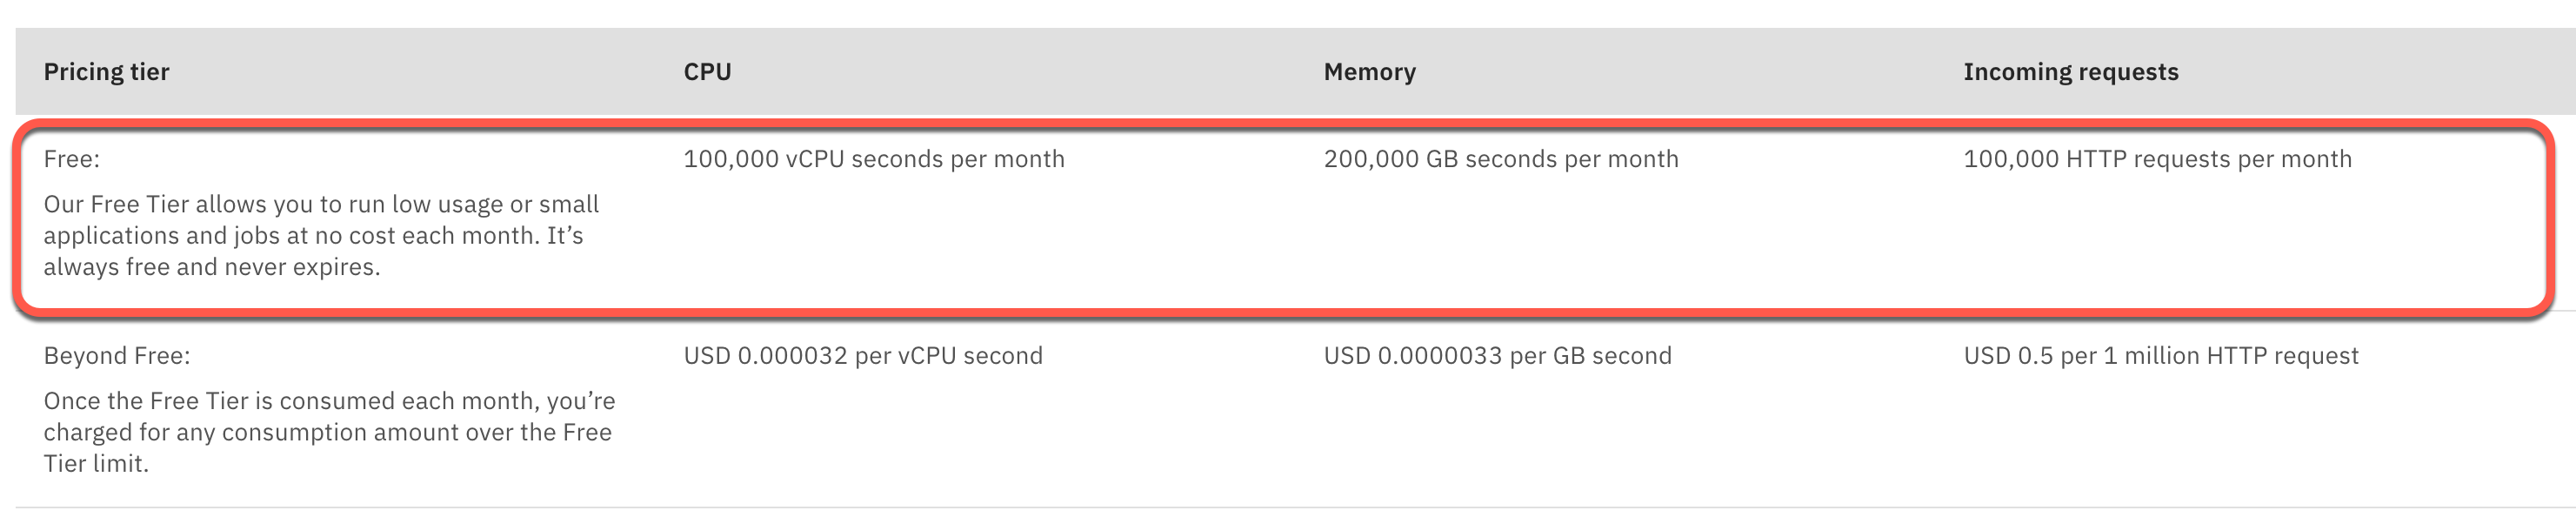
Here you find the actual Code Engine pricing.
The image blow shows a screen shot from 26. May 2021 of the free tier.
Optional: Use TechZone
If you are an IBM Partner or an IBMer you can use TechZone to reserve an IBM Cloud environment for the workshop. You find the details in the additional resources of the workshop documentation for TechZone.
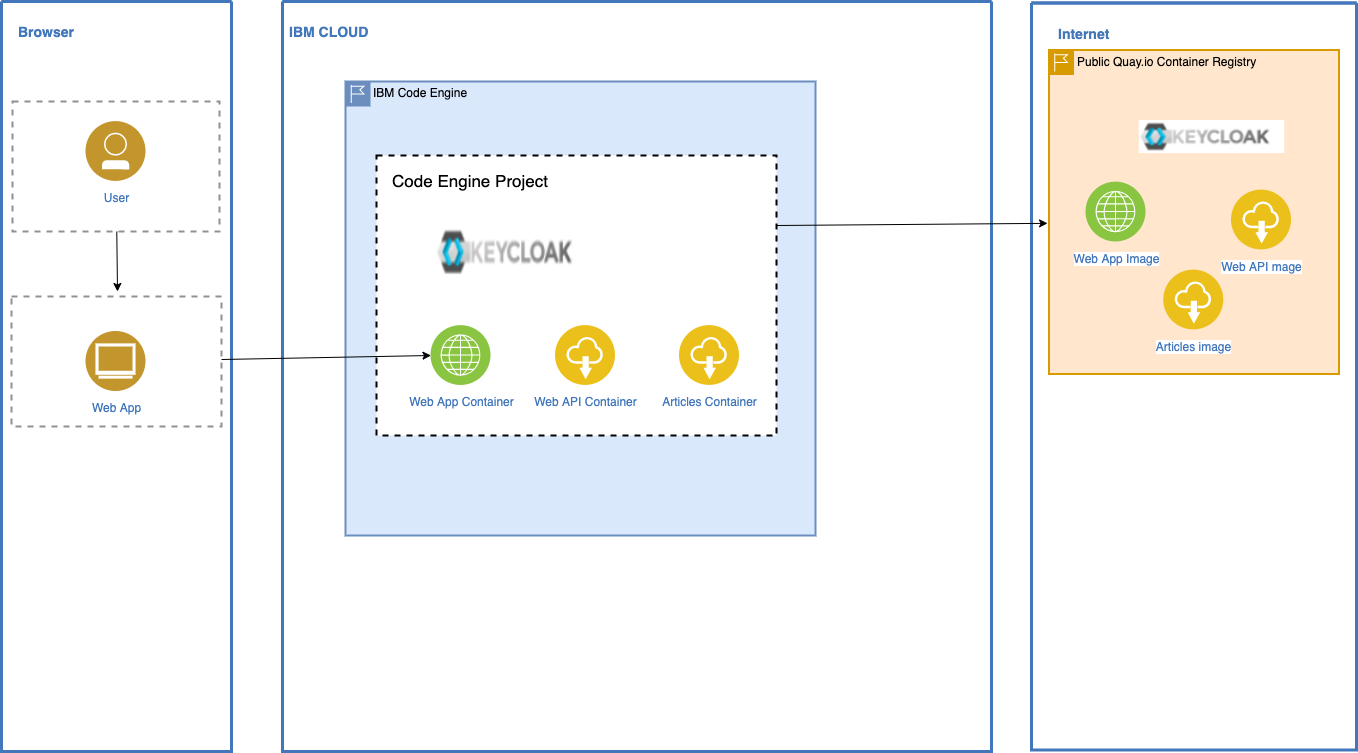
Architecture
The following simplified architecture diagram show the dependencies of the Code Engine project and the Quay Container Registry.
Create Code Engine project
Note: If you are using an
IBM Cloud TechZone Environment, you can skip theCreate Code Engine projectand replace the project name with the specifiedCode Engine project namefor yourIBM Cloud TechZone Environment.
Step 1: Log on to IBM Cloud and navigate to the Code Engine projects
Use following link to directly navigate to the Code Engine projects in IBM Cloud.
https://cloud.ibm.com/codeengine/projects
Step 2: Navigate to Code Engine projects in IBM Cloud and press Create

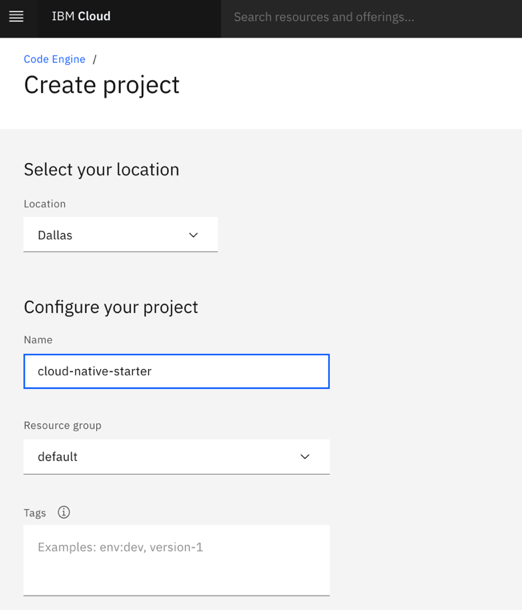
Step 3: Create a Code Engine project called cloud-native-starter-[YOUR-EXTENTION]
Enter following values, select create and wait until your project is created.
- Location :
Dallas - Name :
cloud-native-starter-[YOUR-EXTENTION](The name must be unique in the in Cloud LocationDallas) - Resource group:
default
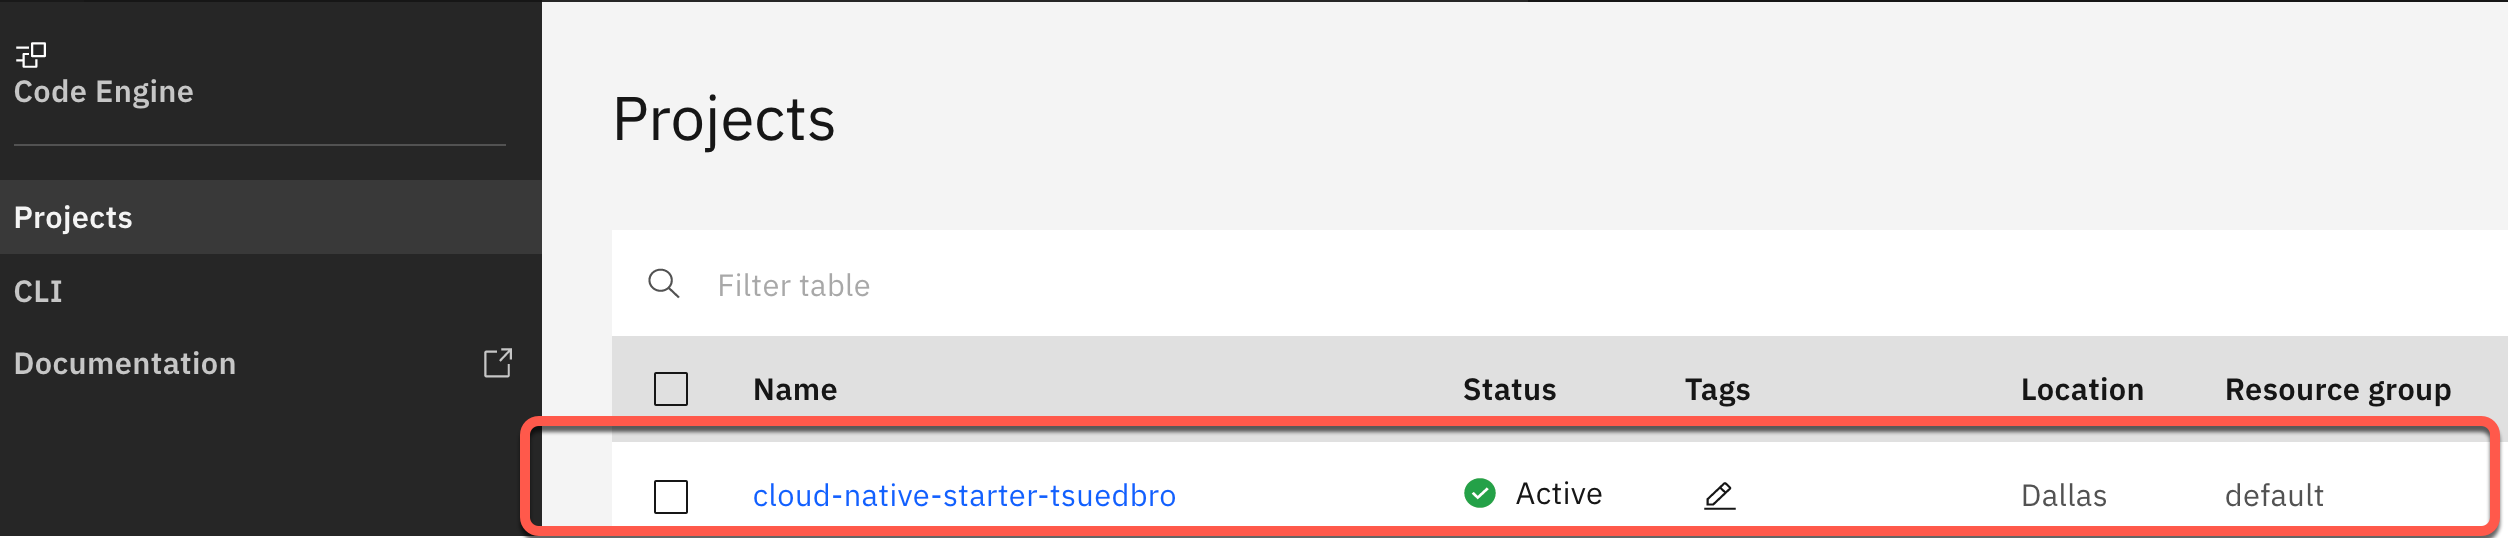
The image below shows the created Code Engine project.
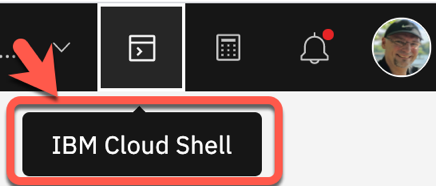
IBM Cloud Shell
Step 1: Open the IBM Cloud Shell
When using the IBM Cloud Shell, no client-side setup is required for this workshop, it comes with all necessary CLIs (command line tools).
Use following link to directly open the IBM Cloud Shell.
In your browser, log in to the IBM Cloud Dashboard and open the IBM Cloud Shell from here:
Note: Your workspace includes 500 MB of temporary storage. This session will close after an hour of inactivity. If you don't have any active sessions for an hour or you reach the 50-hour weekly usage limit, your workspace data is removed.
Step 2: IBM Cloud Shell
Now you are logged on with your IBM Cloud account.

Deploy the example application
Step 1: Clone the GitHub project to the IBM Cloud Shell
Insert these commands to clone the GitHub project to the IBM Cloud Shell.
git clone https://github.com/ibm/ce-cns.git
cd ce-cns
ROOT_FOLDER=$(pwd)
Step 2: Now set the environment variable for later usage
REMEMBER! Your Code Engine project name
cloud-native-starter-[YOUR-EXTENTION]
export MYPROJECT=cloud-native-starter-[YOUR-EXTENTION]
Note: In case you are using an
IBM Cloud TechZone Environment, please execute following commands to set the right environment.
export MYPROJECT=<project from email>
export REGION=<region from email>
export RESOURCE_GROUP=<rg from email>
Step 3: Execute following bash automation
Be patient, because the script may take several minutes (up to 10 min).
cd $ROOT_FOLDER/CE
bash ce-deploy-apps.sh
Note: Here are the
default valuesfor thece-deploy-apps.shscript:
export PROJECT_NAME=$MYPROJECT #your project name
export RESOURCE_GROUP=default #the resource group in IBM Cloud you defined during the creation of the project
export REPOSITORY=tsuedbroecker #the name of the public container repository on Quay
export REGION="us-south" #the region in IBM Cloud that is used. When you choose Dallas as location during the creation of the project the region is "us-south"
If you plan to use a different configuration, you need ajust these variables to your needs. For more details please visit the bash script: ce-deploy-apps.sh. The bash script uses for example the ibmcloud target -g command to target IBM Cloud Resouce Group.
ibmcloud target -g $RESOURCE_GROUP
Step 4: Simplified steps of the bash script
Here are the simplified steps that are carried out in the bash script using mainly the IBM Cloud Code Engine CLI:
- Connect to the
Code Engine projectwith the Code Engine CLI and get the namespace for later usage to define the internal route. - Deploy
web-appto get needed route for the redirect of Keycloak - Deploy
Keycloaksimply as a container (that's the reason why not scale to zero (stateful)) - Configure the
Keycloakrealm json file based on theweb-appurl and create realm. - Deploy
articlesmicroservice which is defined aslocal clusterhere, we need to know thenamespace. (details are related to Knative) - Deploy
web-apiwith the neededKeycloakandarticlesurls as environment variables. - Reconfigure
web-appwith the neededKeycloakand web-api urls as environment variables. - Configure the application scale to zero timeframe using a Knative annotation :
kn service update articles --annotation-revision autoscaling.knative.dev/scaleToZeroPodRetentionPeriod=5m
PS: You can also use the
ce-deploy-apps-secret.shscript, which does create secrets for the user and password for the Keycloak container.
cd $ROOT_FOLDER/CE
bash ce-deploy-apps-secret.sh
Step 5: Inspect the output
The following shows an example execution result of the bash script and the last four lines do contain the routes to the applications.
************************************
 URLs
************************************
 - Keycloak : https://keycloak.9xztp8web0h.us-south.codeengine.appdomain.cloud/auth/admin/master/console/#/realms/quarkus
 - Web-API  : https://web-api.9xztp8web0h.us-south.codeengine.appdomain.cloud
 - Articles : http://articles.9xztp8web0h.svc.cluster.local/articles
 - Web-App  : https://web-app.9xztp8web0h.us-south.codeengine.appdomain.cloud
You can open the example application with the Web-App link. Copy the link and open the link in a browser.
Step 6: Open the example application in your browser and log in
Use user: alice and password: alice for the logon.

Because of scale to zero it could be that the first invocation of the articles cloud take longer. If instead of a Login-Screen you get a "We are sorry, page not found" error, please refer to the known issues page.
Step 7: Verify that the articles are displayed in the browser
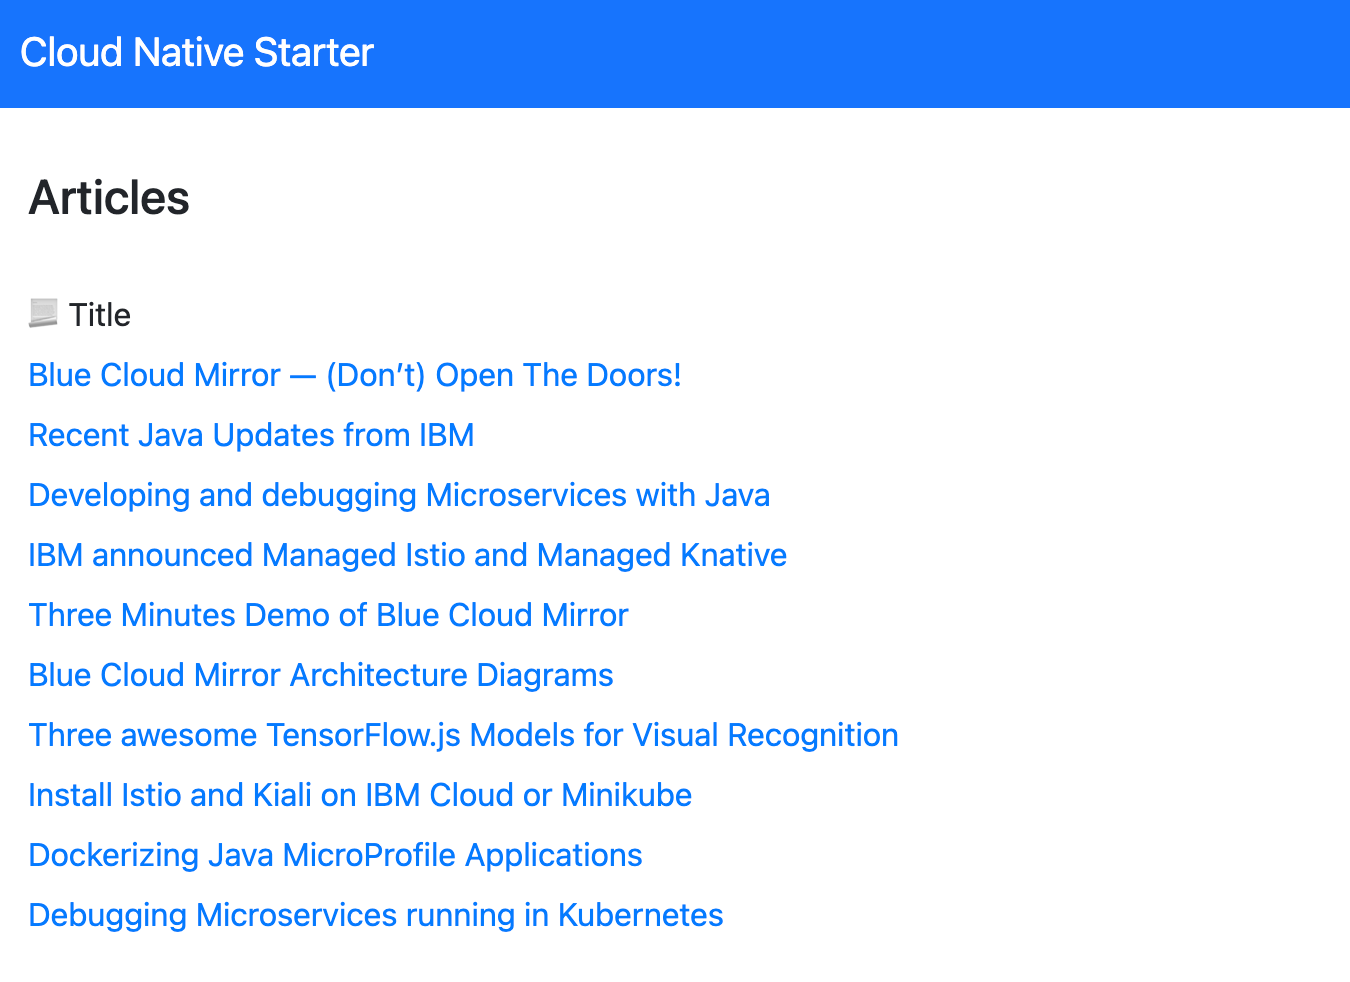
If you see the following page, please reload the browser. Remember, this can take time, because all applications need to be available.
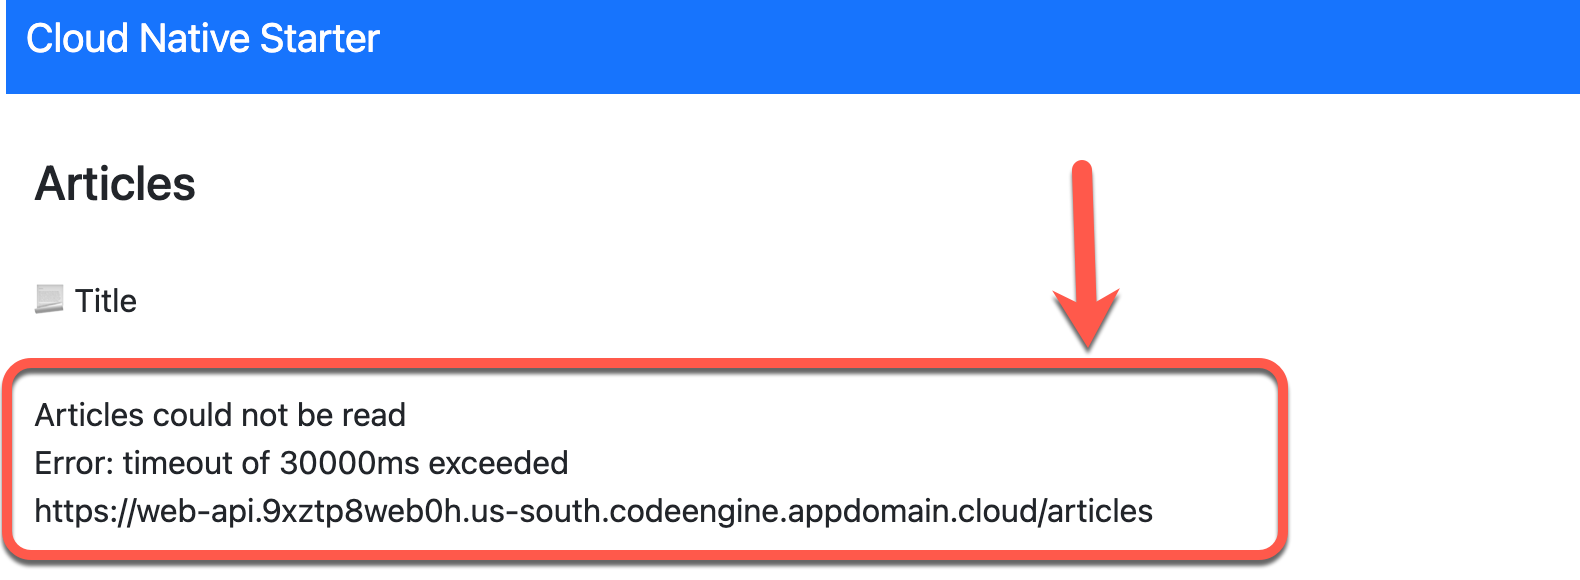
If the issue persists, please refer to the known issues page.
Congratulations, you have successfully completed this hands-on lab
Setup the example applicationof the workshop. Awesome
