Optional Lab 1: Run the example application locally
To run these optional exercises you need to ensure you have installed the following tools on your local machine and you can run them in your terminal sessions.
- git 2.24.1 or higher
- yarn 1.22.4 or higher
- Node.js v14.6.0 or higher
- Apache Maven 3.6.3
- Docker 3.0.4 or higher (running Keycloak locally)
- Java 9 or higher
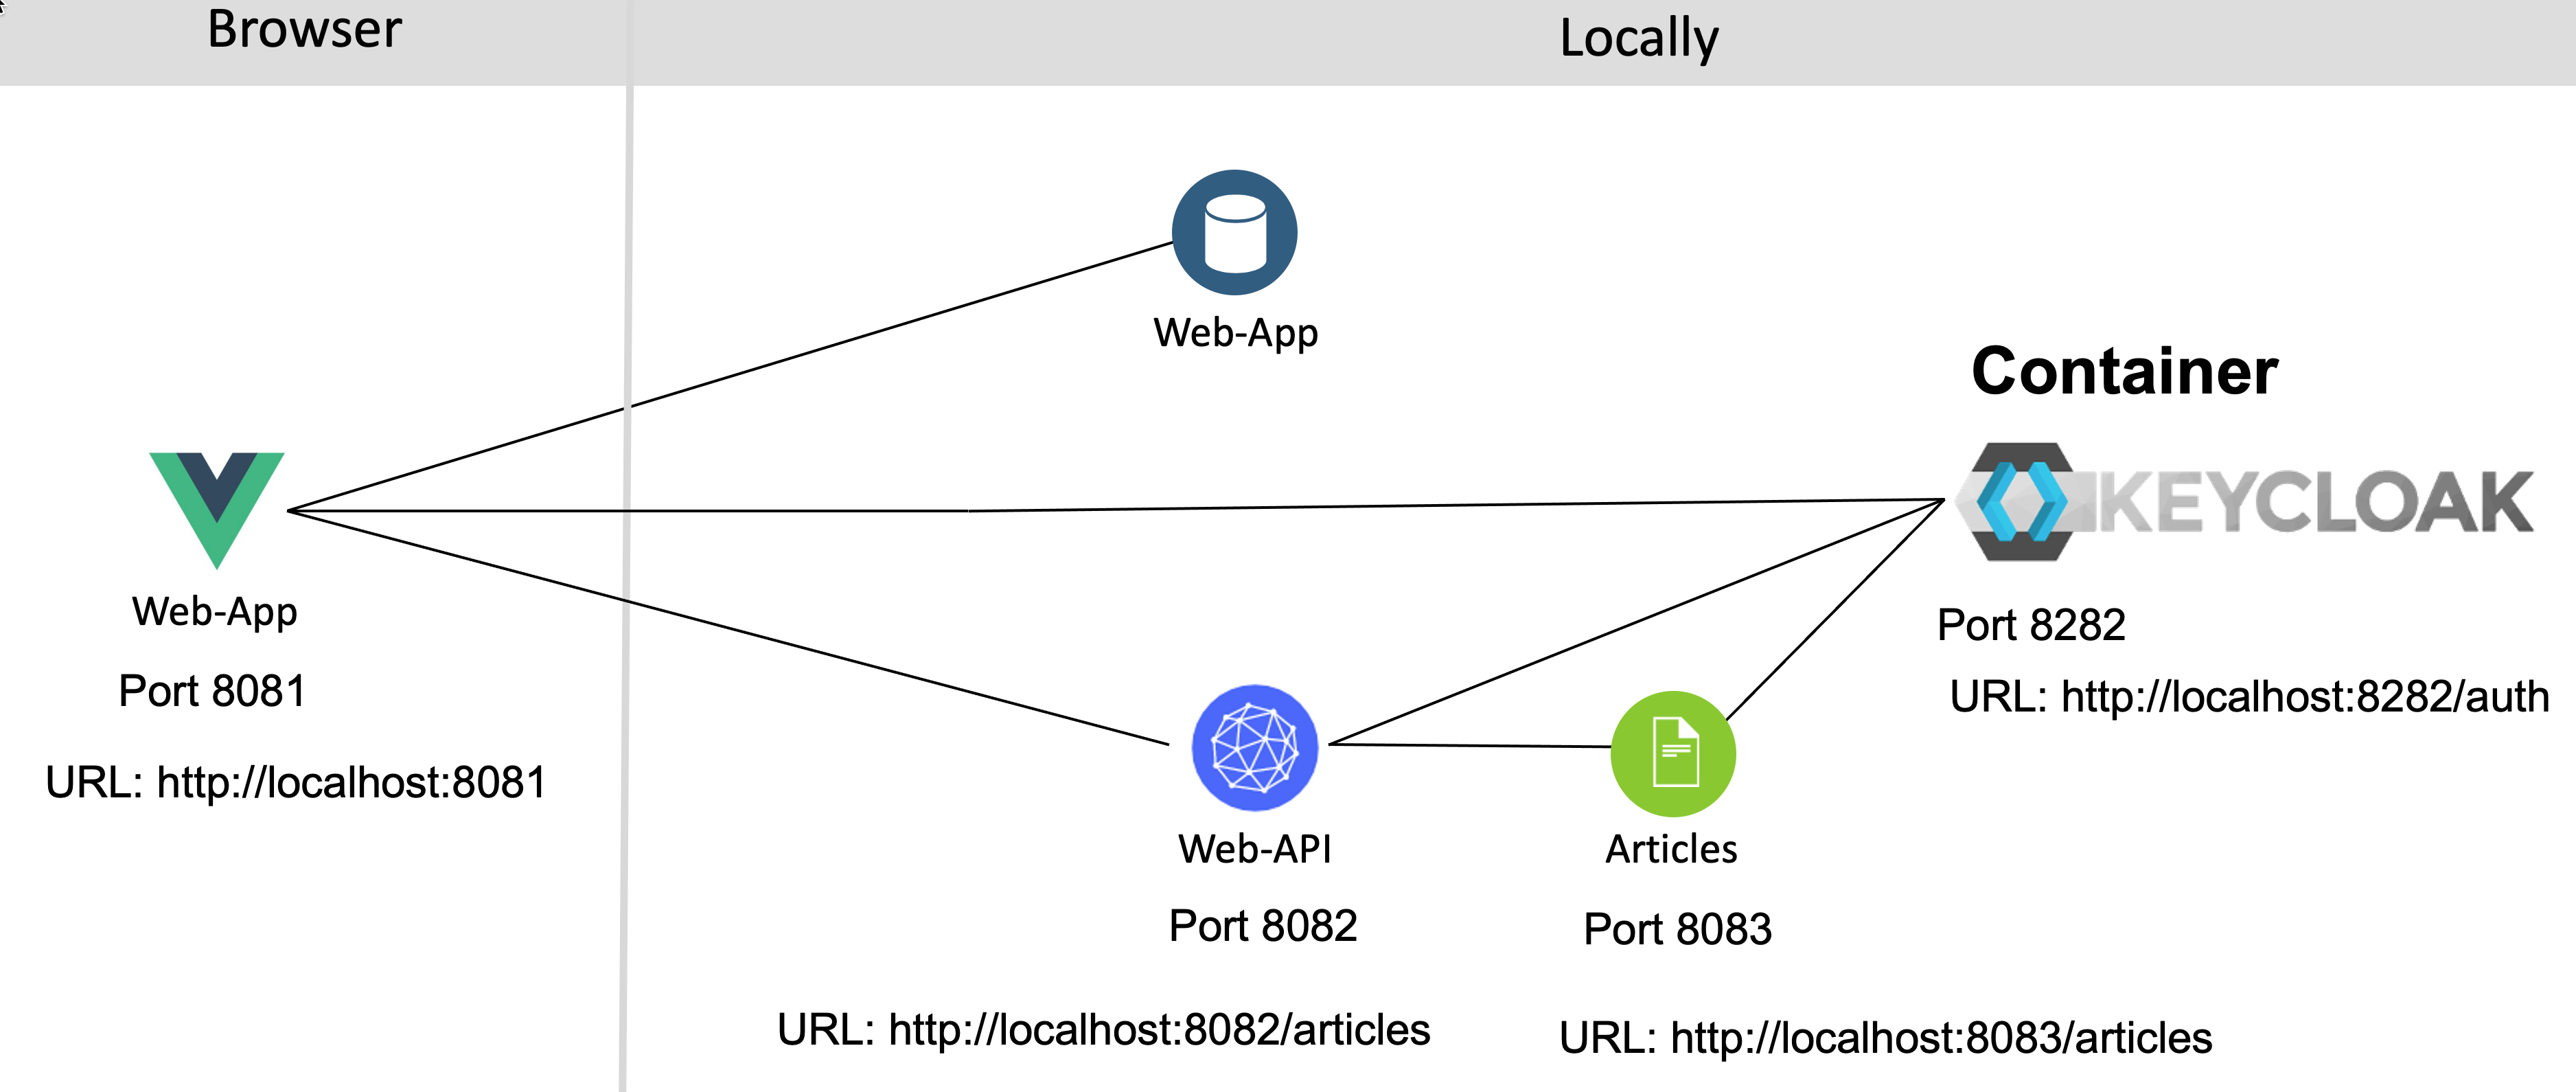
Architecture
Here is the local architecture whichs shows the Web-App and the two microservices Web-API and Articles and Keycloak are running on your local machine in terminal sessions.
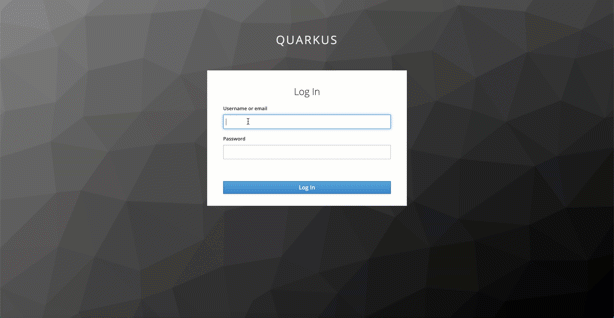
The gif shows the logon to the example web frontend application. This is the simplified sequence which happens in the background:
- When we invoke the web frontend on `http://localhost:8080 we will be routed to login dialog provided by the Keyloak server.
- After the successfull Keycloak authentication we will be redirected to the web frontend and the frontend gets an access-token.
- The access-token contains the needed information for the authorization at the Java microservice Web-API and the user information.
- The web frontend extracts and displays the username.
- Then the web fronted uses the access-token to invoke the Web-API Microservice endpoint to get the articles and displays them.
Step 1: Clone the project to your local machine
git clone https://github.com/thomassuedbroecker/ce-cns.git
cd ce-cns
ROOT_FOLDER=$(pwd)
Setup Keycloak locally
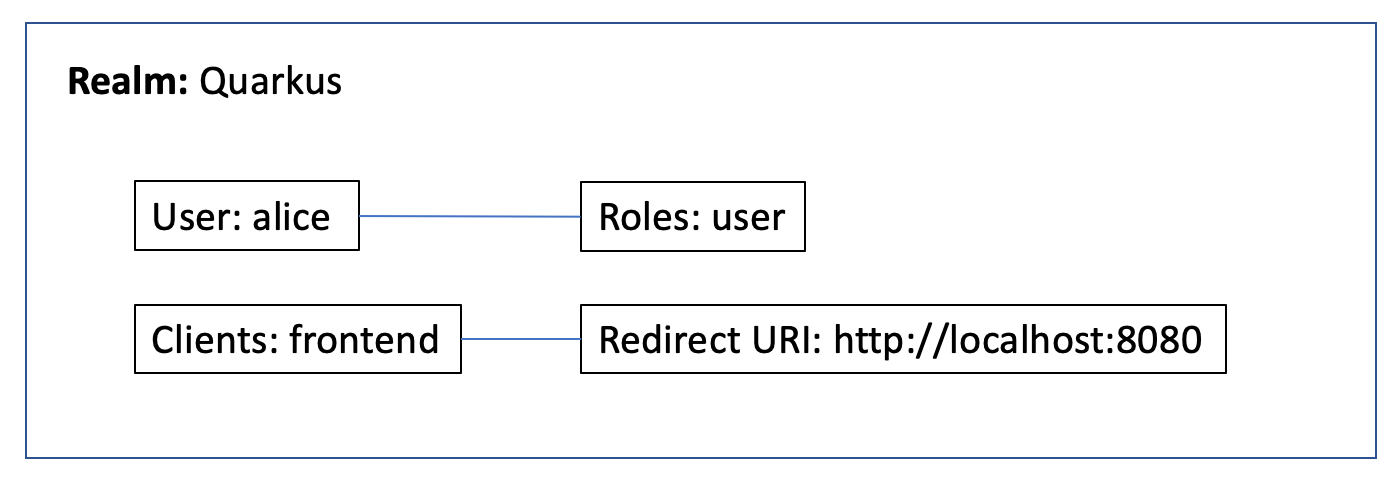
In this part we will setup Keycloak locally. We will run a local Keycloak Docker container and reuse an existing realm configuration.
The image below shows the relevant elements we will use later.
Step 1: Start Keycloak Docker image local
Open the first terminal session and enter following command:
docker run -it -e KEYCLOAK_USER=admin -e KEYCLOAK_PASSWORD=admin -p 8282:8080 jboss/keycloak:9.0.2
Note: We use here
KEYCLOAK_USER=adminKEYCLOAK_PASSWORD=admin8282:8080port forwardingkeycloak:9.0.2container image
Step 2: Import the existing realm configuration
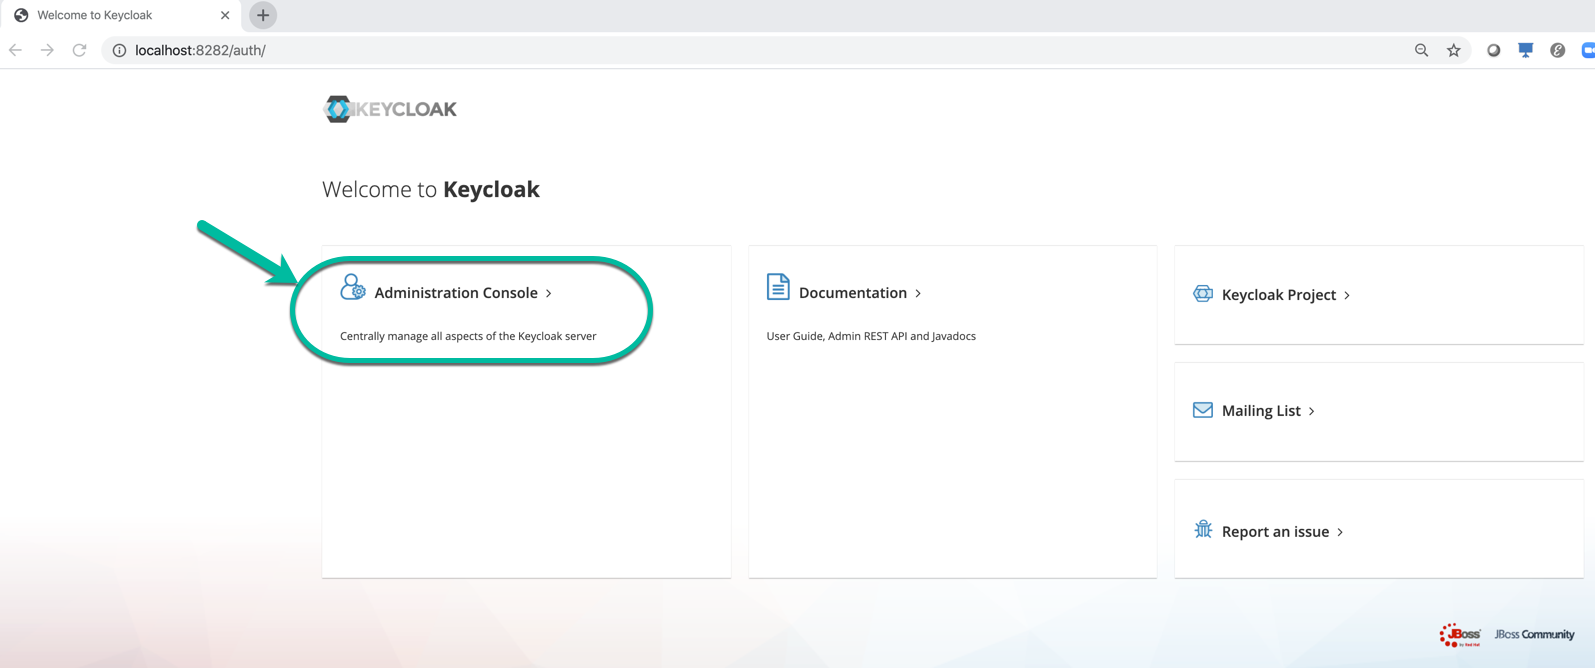
- Open the Keycloak in a browser and select the Administration Console
Use the following URL:
http://localhost:8282/
-
Login to using the URL in your browser with
user/adminandpassword/admin -
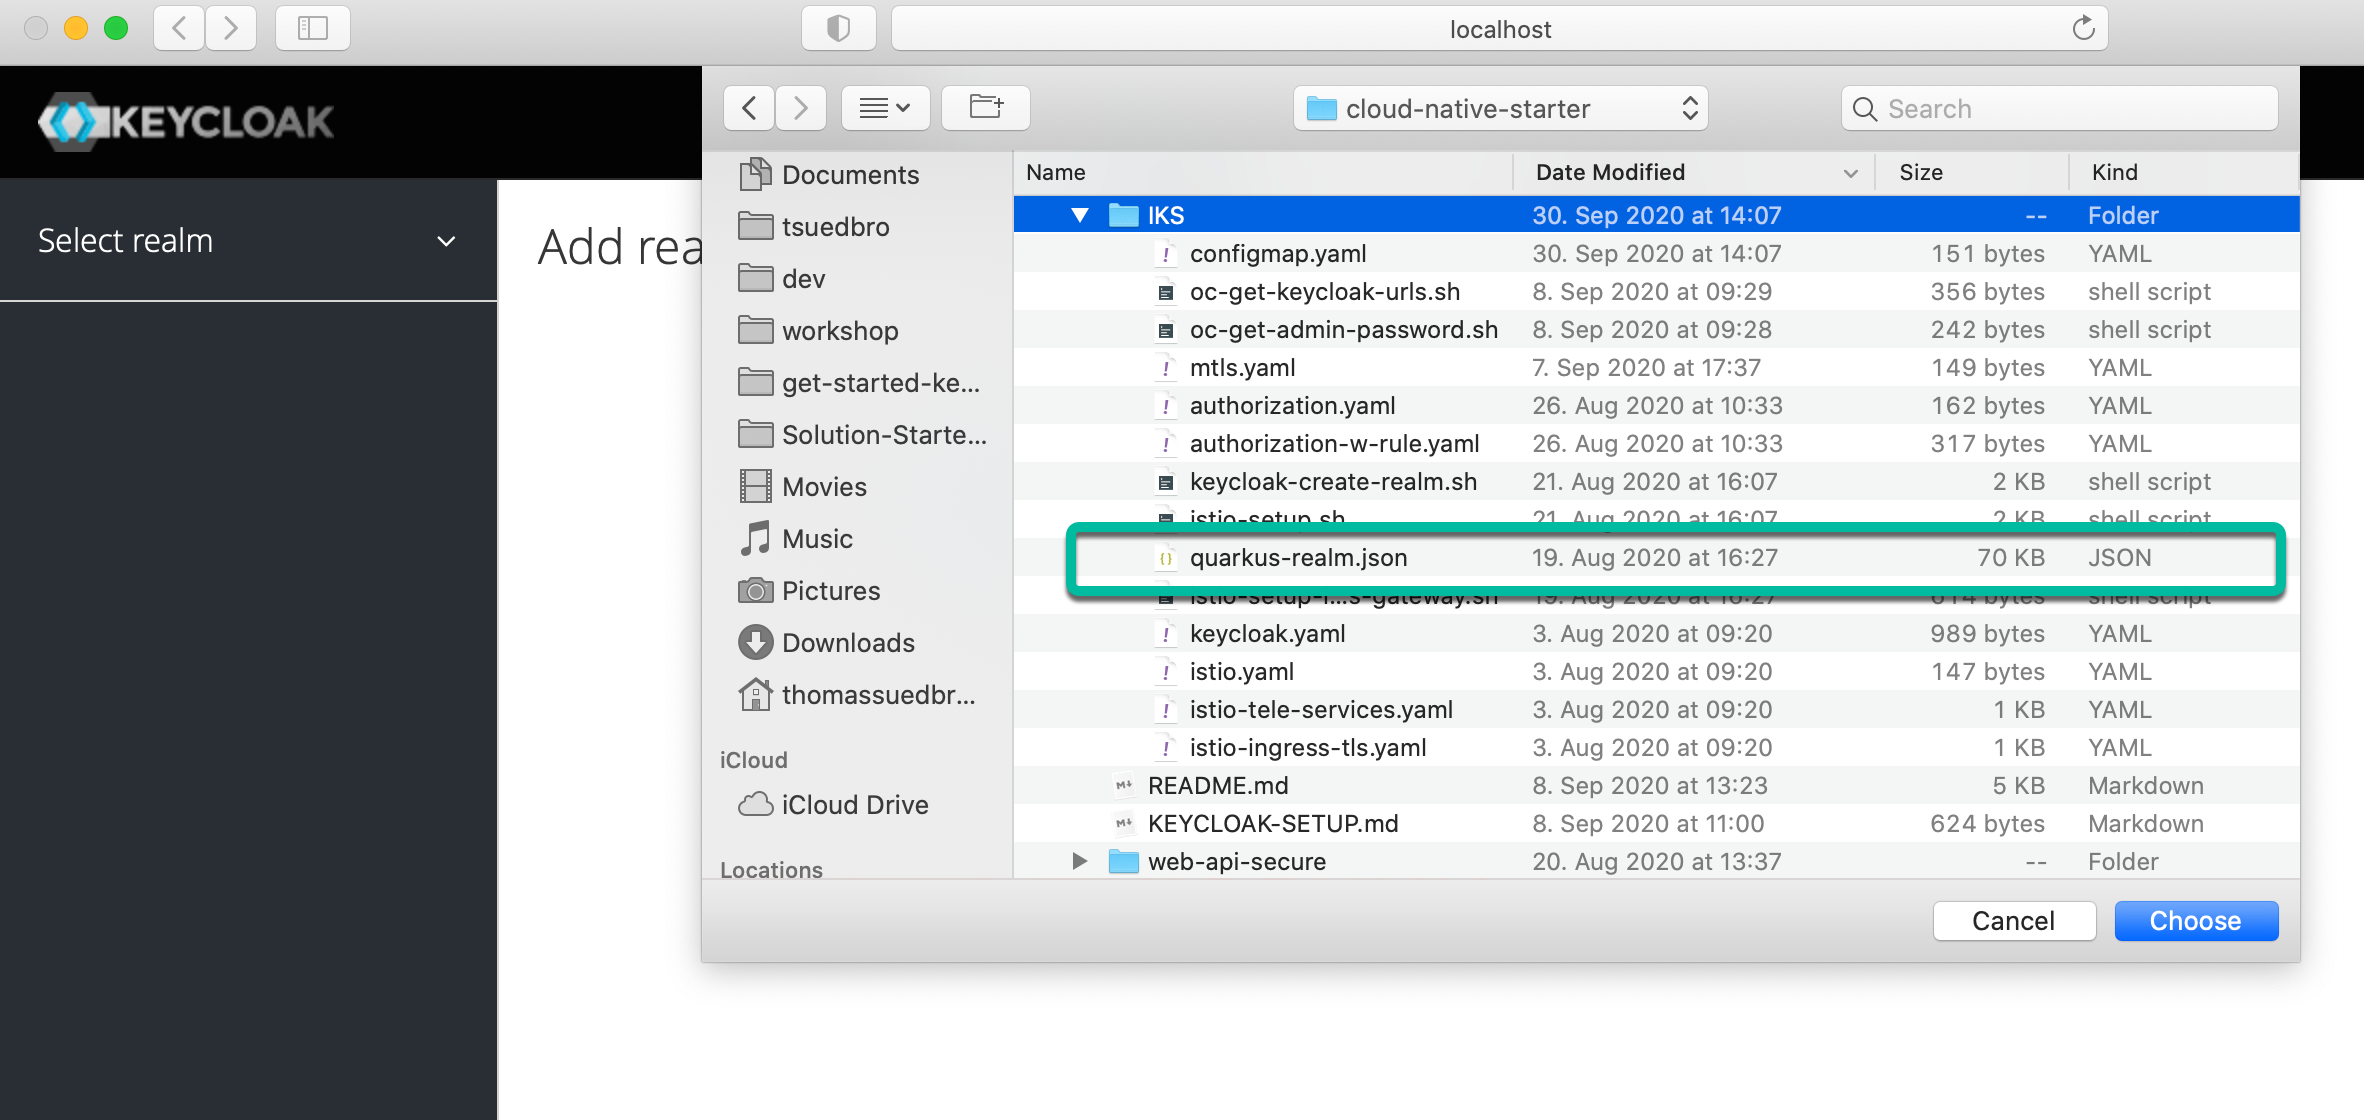
Select Add realm
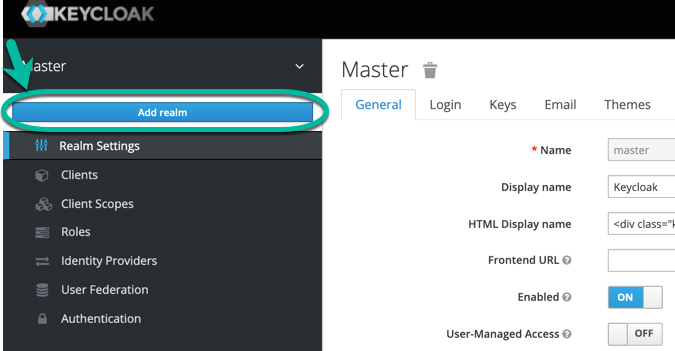
- Choose for import Select file and open the
cns-realm.json.
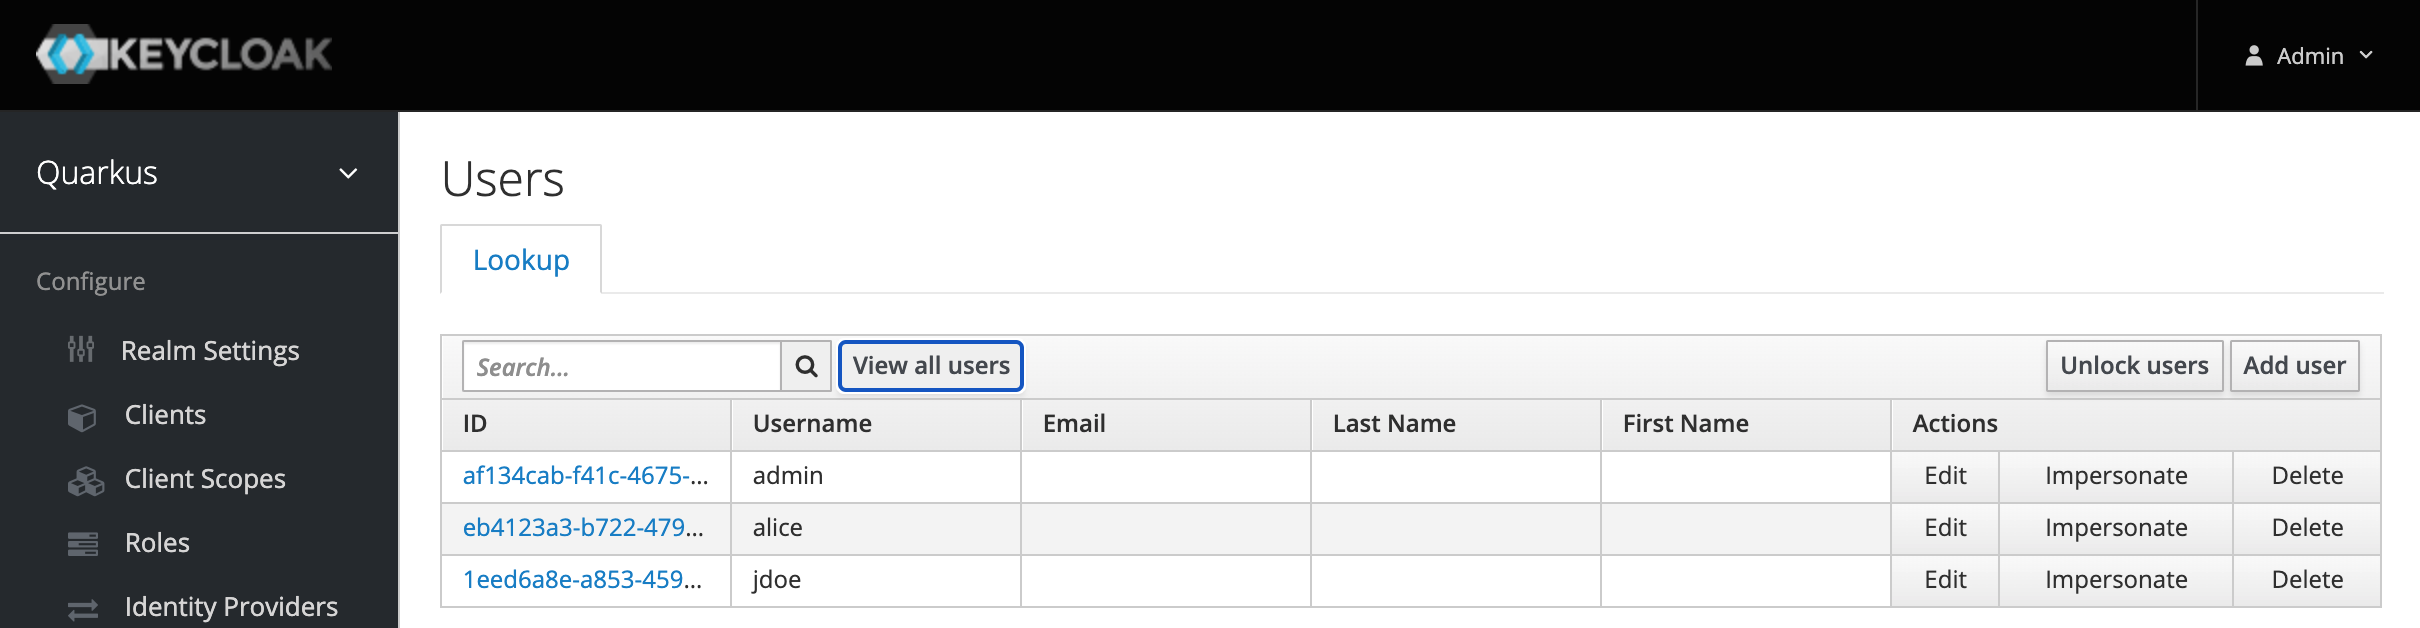
Step 3: Press view all users
You should see the following users: admin, alice, jdoe
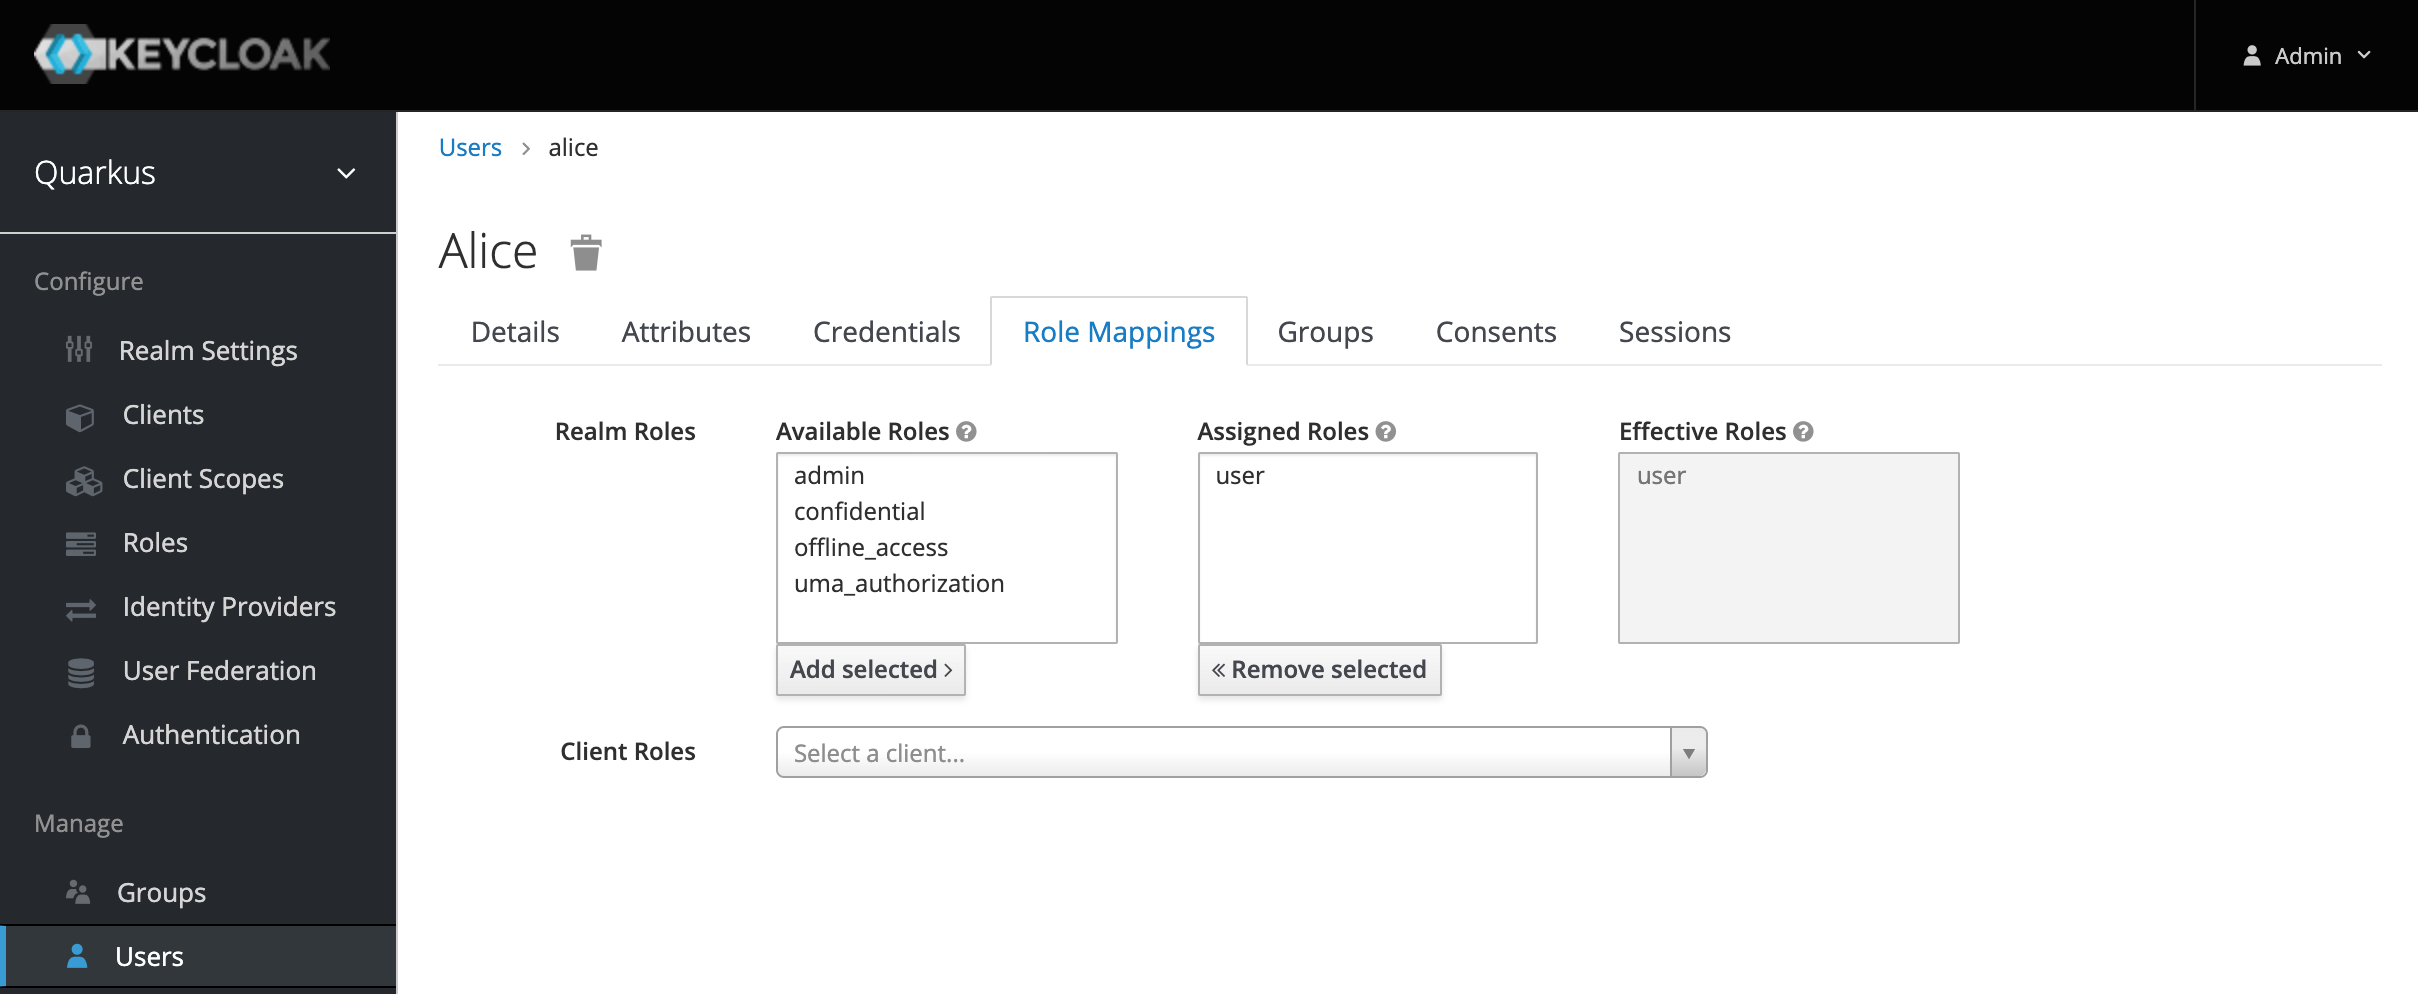
Step 4: Verify the role mapping
Setup Web-App
Step 1: Configure web-app
The web-app is preconfigured for local usage of Keycloak (http://localhost:8282/auth) and web-api (http://localhost:8082/articles) and save the changes. (Link to main.js file)
cd $ROOT_FOLDER/code/web-app/src
nano main.js
Example:
if (currentHostname.indexOf('localhost') > -1) {
  console.log("--> log: option 1");
  urls = {
    api: 'http://localhost:8082',
    login: 'http://localhost:8282/auth',
    cns: 'http://localhost:8080'
  }
  store.commit("setAPIAndLogin", urls);
}
Step 2: Run the web-app
Open the second terminal session and start the application on port 8081.
cd $ROOT_FOLDER/code/web-app
yarn install
yarn serve
Setup Web-Api
Step 1: Configure web-api
When we run the example application locally, we don't need to change the source code for the web-api microservce. (Link to application.properties file)
cd $ROOT_FOLDER/code/web-api/src/main/resources
nano application.properties
Example:
# When running locally, uncomment the next line, add your Keycloak URL, must end on '/auth/realms/quarkus'
quarkus.oidc.auth-server-url=${QUARKUS_OIDC_AUTH_SERVER_URL:'http://localhost:8282/auth/realms/quarkus'}

quarkus.oidc.client-id=backend-service
quarkus.oidc.credentials.secret=secret

quarkus.http.port=8082
quarkus.http.cors=true

org.eclipse.microprofile.rest.client.propagateHeaders=Authorization

cns.articles-url=${CNS_ARTICLES_URL:'http://localhost:8083/articles'}
Step 2: Run the web-api Microservice
Open a third terminal and start the service on port 8082.
cd $ROOT_FOLDER/code/web-api
mvn clean package quarkus:dev
Setup Articles microservice
Step 1: Configure articles
When you run the articles microservice locally ensure you have uncommented quarkus.http.port=8083 and #quarkus.http.port=8080 commented out. ((Link to application.properties file)
cd $ROOT_FOLDER/code/articles/src/main/resources
nano application.properties
Example:
# When running locally, uncomment the next line, add your Keycloak URL, must end on '/auth/realms/quarkus'
quarkus.oidc.auth-server-url=http://localhost:8282/auth/realms/quarkus

quarkus.oidc.client-id=backend-service
quarkus.oidc.credentials.secret=secret

# quarkus.http.port=8080
# When running locally, uncomment the next line, to use the port 8083
quarkus.http.port=8083
quarkus.http.cors=true

resteasy.role.based.security=true
Step 2: Run the articles Microservice
Open a fourth terminal and start the service on port 8083.
cd $ROOT_FOLDER/code/articles
mvn clean package quarkus:dev
Open the Web-App
Step 1: Open the Web-App in your local browser
Open the following URL in your browser:
http://localhost:8080
Step 2: Log in with the test user: alice, password: alice
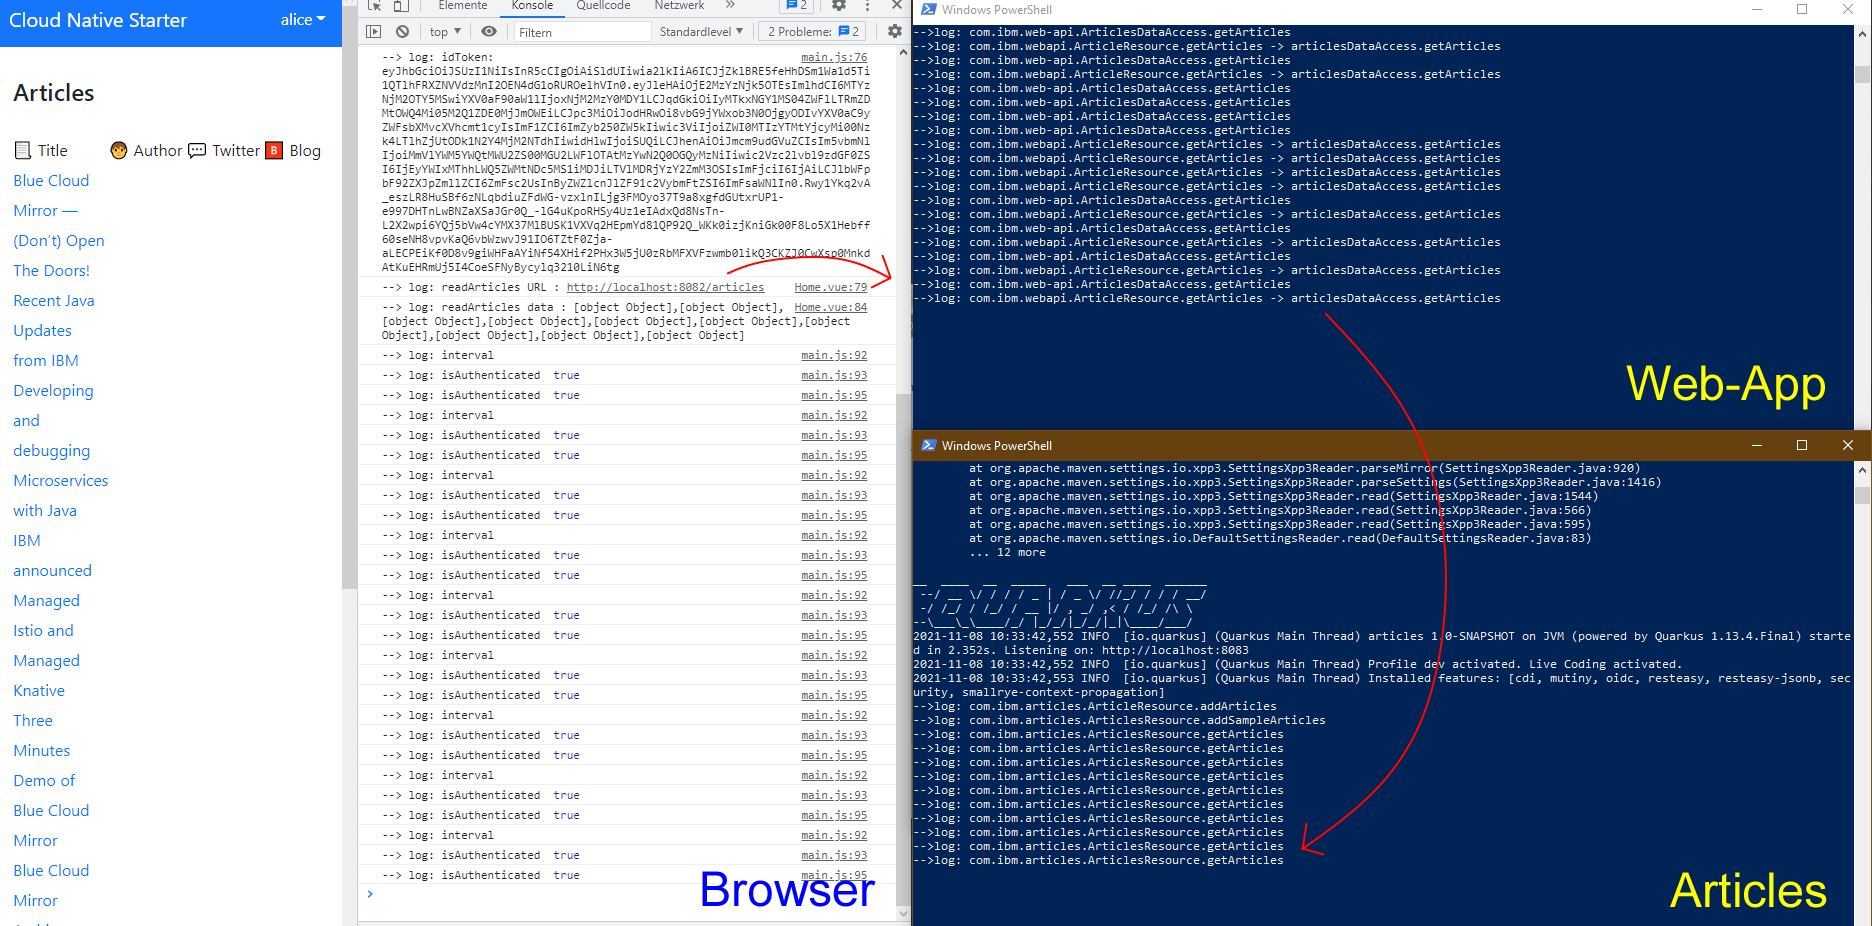
Observe the running application
Congratulations, you have successfully completed this optional hands-on lab tasks for
Authentication and Authorization with Keycloak and Quarkussection of the workshop. Awesome
