Getting started
Db2 for z/OS Developer Extension provides a number of features that make it easy for you to write well-formed SQL, including:
- Code snippets
- Syntax highlighting
- Code completion
- Signature help
It also also provides built-in capability for connecting to Db2 for z/OS databases and running your SQL. This article provides an introduction to using these basic features.
For a quick overview of the Db2 Developer Extension interface, see Getting started with Db2 for z/OS Developer Extension and VS Code.
Important: Before you start to work with Db2 Developer Extension, make sure that your system meets all of the prerequisites and that you have configured Java, that you have set the JDBC license files and JDBC driver files, and that you have specified the required port numbers.
Creating a simple SQL statement
-
Open the Db2 Developer Extension view in Visual Studio Code either by clicking View > Extensions and selecting it from the list of extensions or by clicking the following icon in the Activity Bar:

-
Now, create a new file by clicking File > New File. Save your file as anyname.sql. The .sql suffix identifies the file to Db2 Developer Extension as an SQL file, so as soon as you save it you can start using Db2 Developer Extension’s editing features.
Note: Although our examples use a .sql file, you can embed SQL in any type of file and run that SQL directly from Db2 Developer Extension. See Running SQL from different types of files for more information.
-
Type the first letters of the SELECT statement. You’ll only need to type a few letters before
SELECT statementshows up in the list of available SQL elements.
-
Click
SELECT statementto insert a code snippet that provides the basic structure of this statement, including required and commonly used parameters.
Notice a few things about the code that was added:
-
The snippet contains just the basic parameters. Many SQL statements have a ton of parameters, too many for even the most experienced developer to remember, so a link to the complete syntax is provided at the top of the snippet.
-
The syntax elements are color coded based on element type. For example, keywords are one color and variables are a different color. Syntax highlighting makes it easier to parse your code and to pick out the elements that you’re looking for. Also, if you prefer to use a different color scheme, you can customize the highlighting theme to suit your preferences.
-
Hover over one of the elements that’s underlined with a squiggly line, such as
search-condition, and notice that a message is displayed that indicates a syntax error. Whenever possible, these messages include potential fixes for the syntax error. To display all of the syntax errors in a file, you can click View problems in one of these pop-up messages or you can open the PROBLEMS by clicking View > Problems.
-
-
Let’s get back to that SELECT statement. Highlight
column-nameafter theSELECTkeyword, typeLOCand press Ctrl + Space. TheLOCATE_IN_STRINGclause shows up in a list of available syntax elements. Select it to insert it, then type an open parenthesis to display a description of theLOCATE_IN_STRINGsyntax and a link to detailed reference information about it.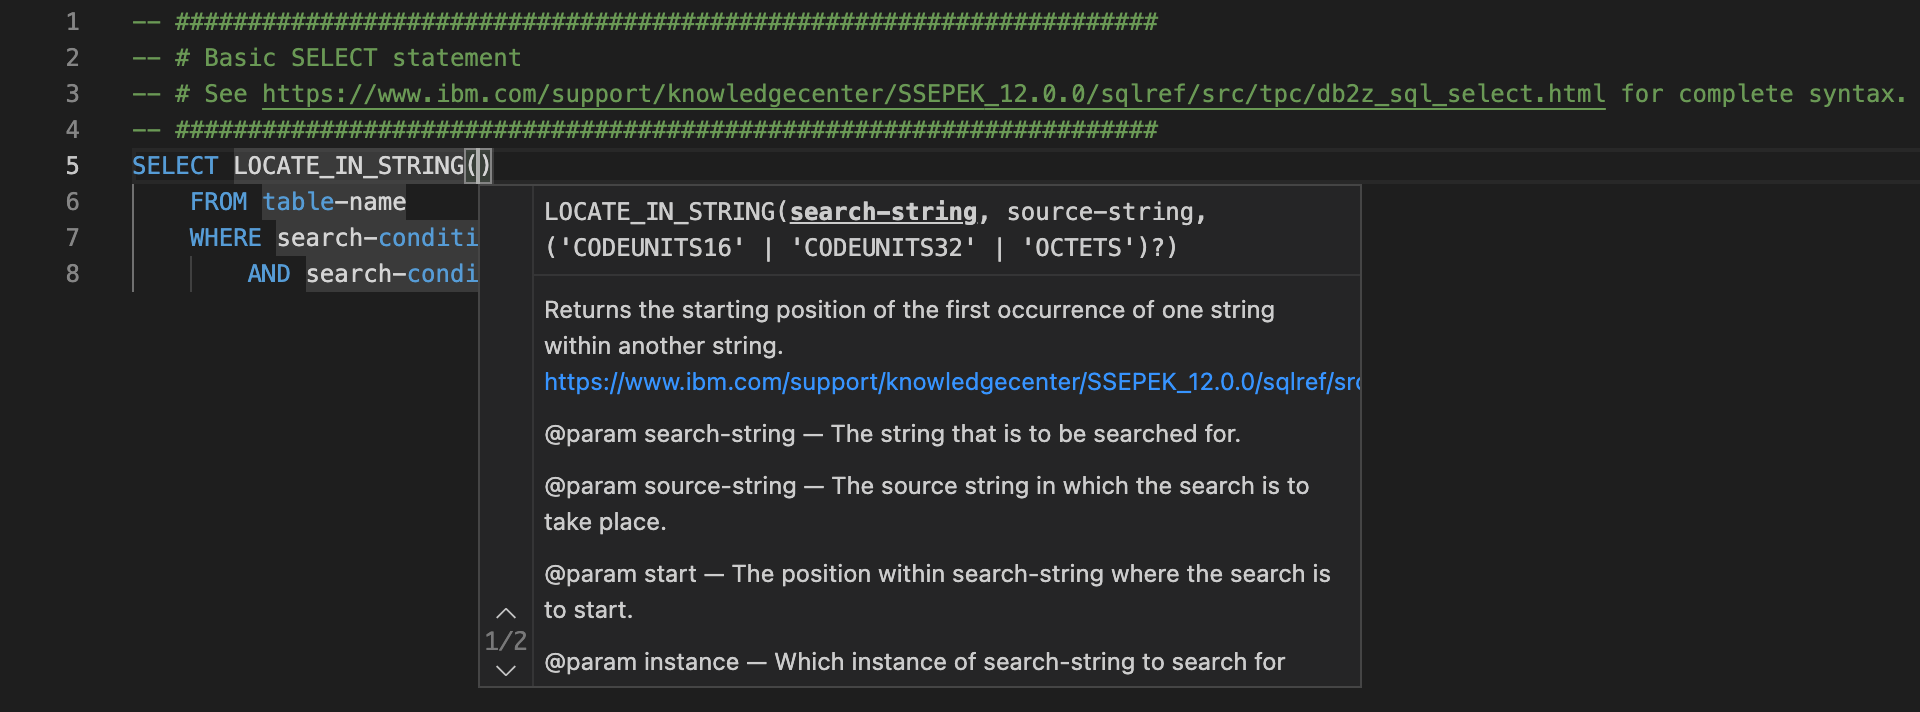
These features are useful when you know which syntax element you want to insert, but maybe you don’t know the precise syntax that you need to enter. They also save you time and reduce the chance that you enter something incorrectly.